Articles
How To Store Sourdough Starter
Modified: February 23, 2024
Learn the best methods for storing your sourdough starter with these helpful articles. Keep your starter fresh and active for deliciously tangy bread!
(Many of the links in this article redirect to a specific reviewed product. Your purchase of these products through affiliate links helps to generate commission for Storables.com, at no extra cost. Learn more)
Introduction
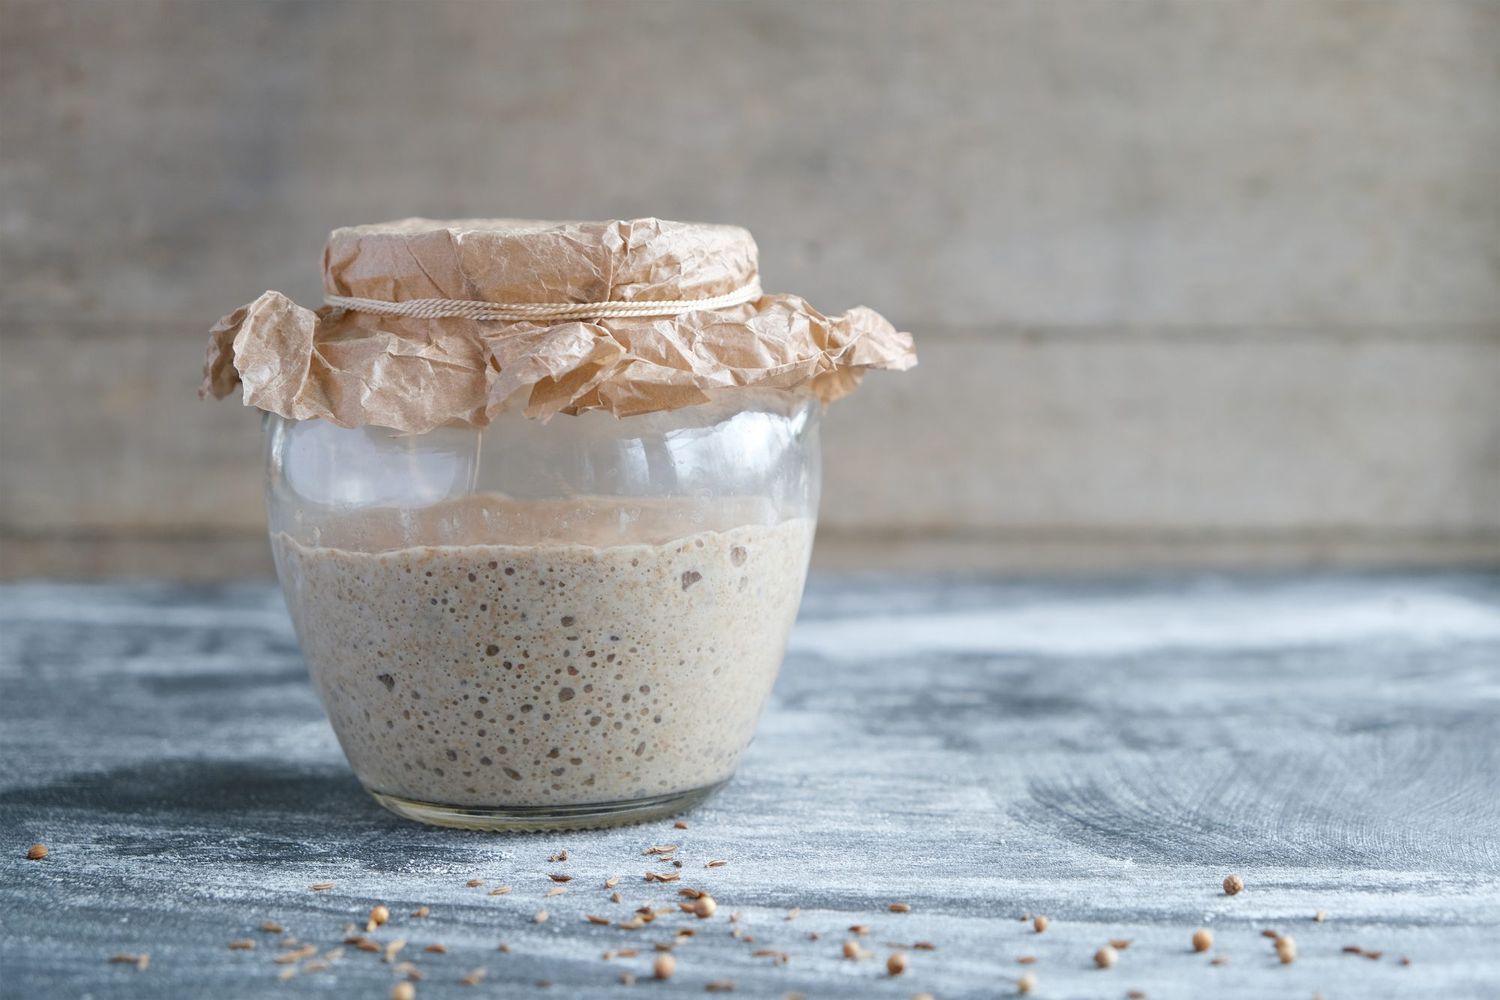
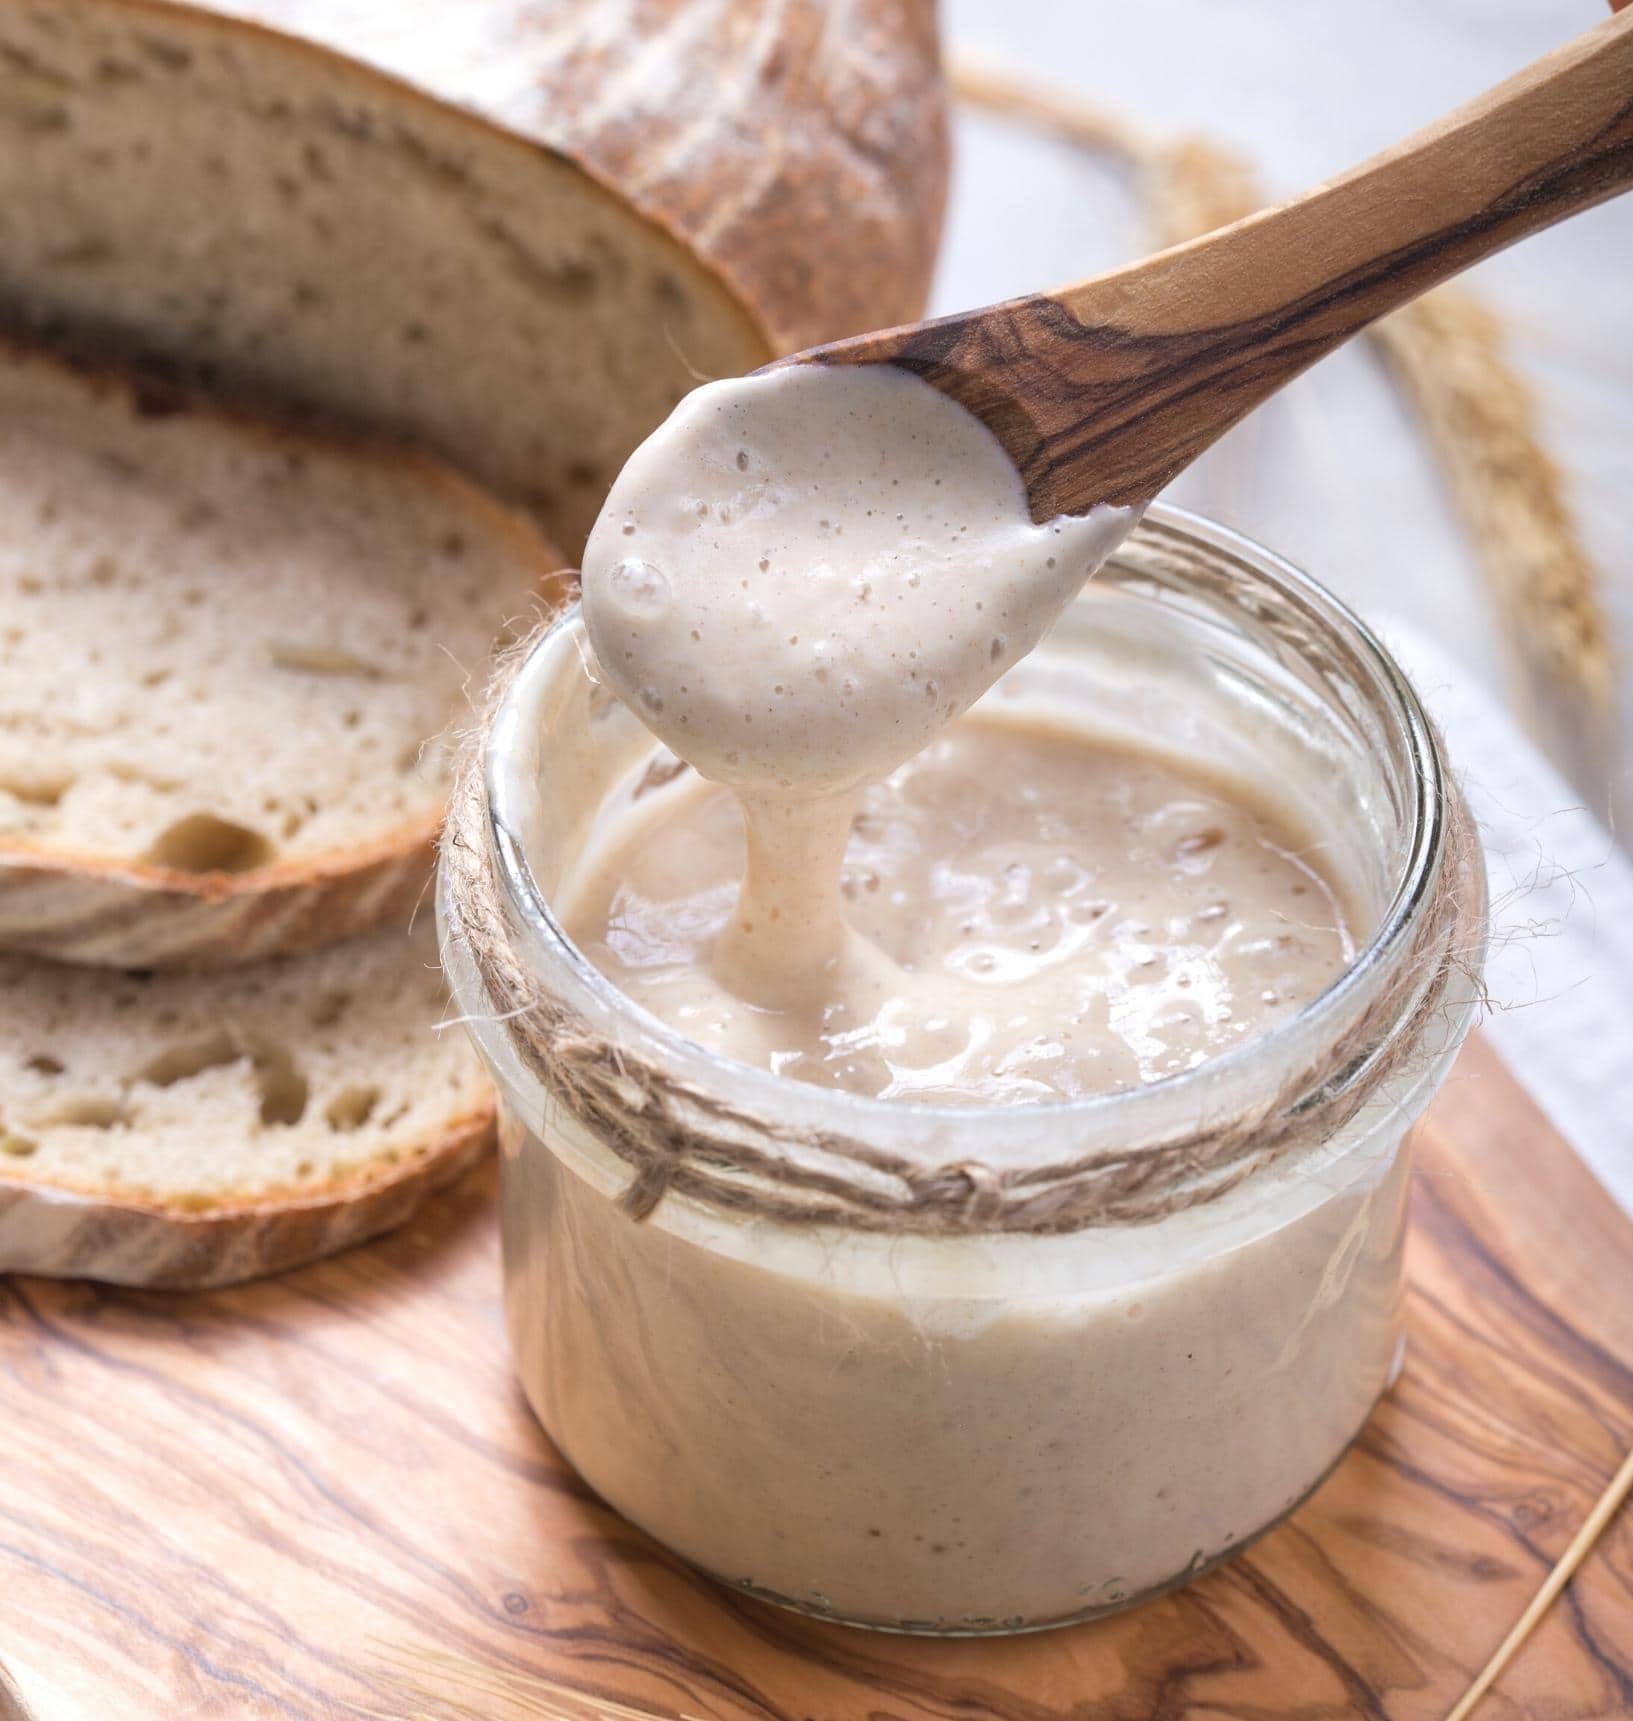
The art of baking sourdough has gained popularity in recent years, with its unique flavor profile and the satisfaction of creating bread from scratch. A key component in making sourdough bread is the sourdough starter, a mixture of flour and water that has been fermented by wild yeast and beneficial bacteria. A well-maintained and active sourdough starter is essential for achieving delicious and fluffy loaves of bread.
However, there may be times when you need to take a break from baking or when you have excess starter that needs to be stored for future use. Storing your sourdough starter correctly is crucial to ensure its viability and maintain its unique flavor. In this article, we will discuss the importance of storing sourdough starter correctly and explore different methods to do so.
Key Takeaways:
- Properly storing your sourdough starter is crucial to preserving its unique flavor and ensuring its longevity for future baking endeavors. Consider factors like frequency of baking and available space when choosing a storage method.
- Whether you opt for refrigeration, freezing, or dehydrating, regular feeding, temperature control, and proper labeling are essential for maintaining the viability and health of your stored sourdough starter. Enjoy the process of storing and reviving your starter for delicious homemade bread.
Read more: How To Store A Sourdough Starter
Why is it important to store sourdough starter?
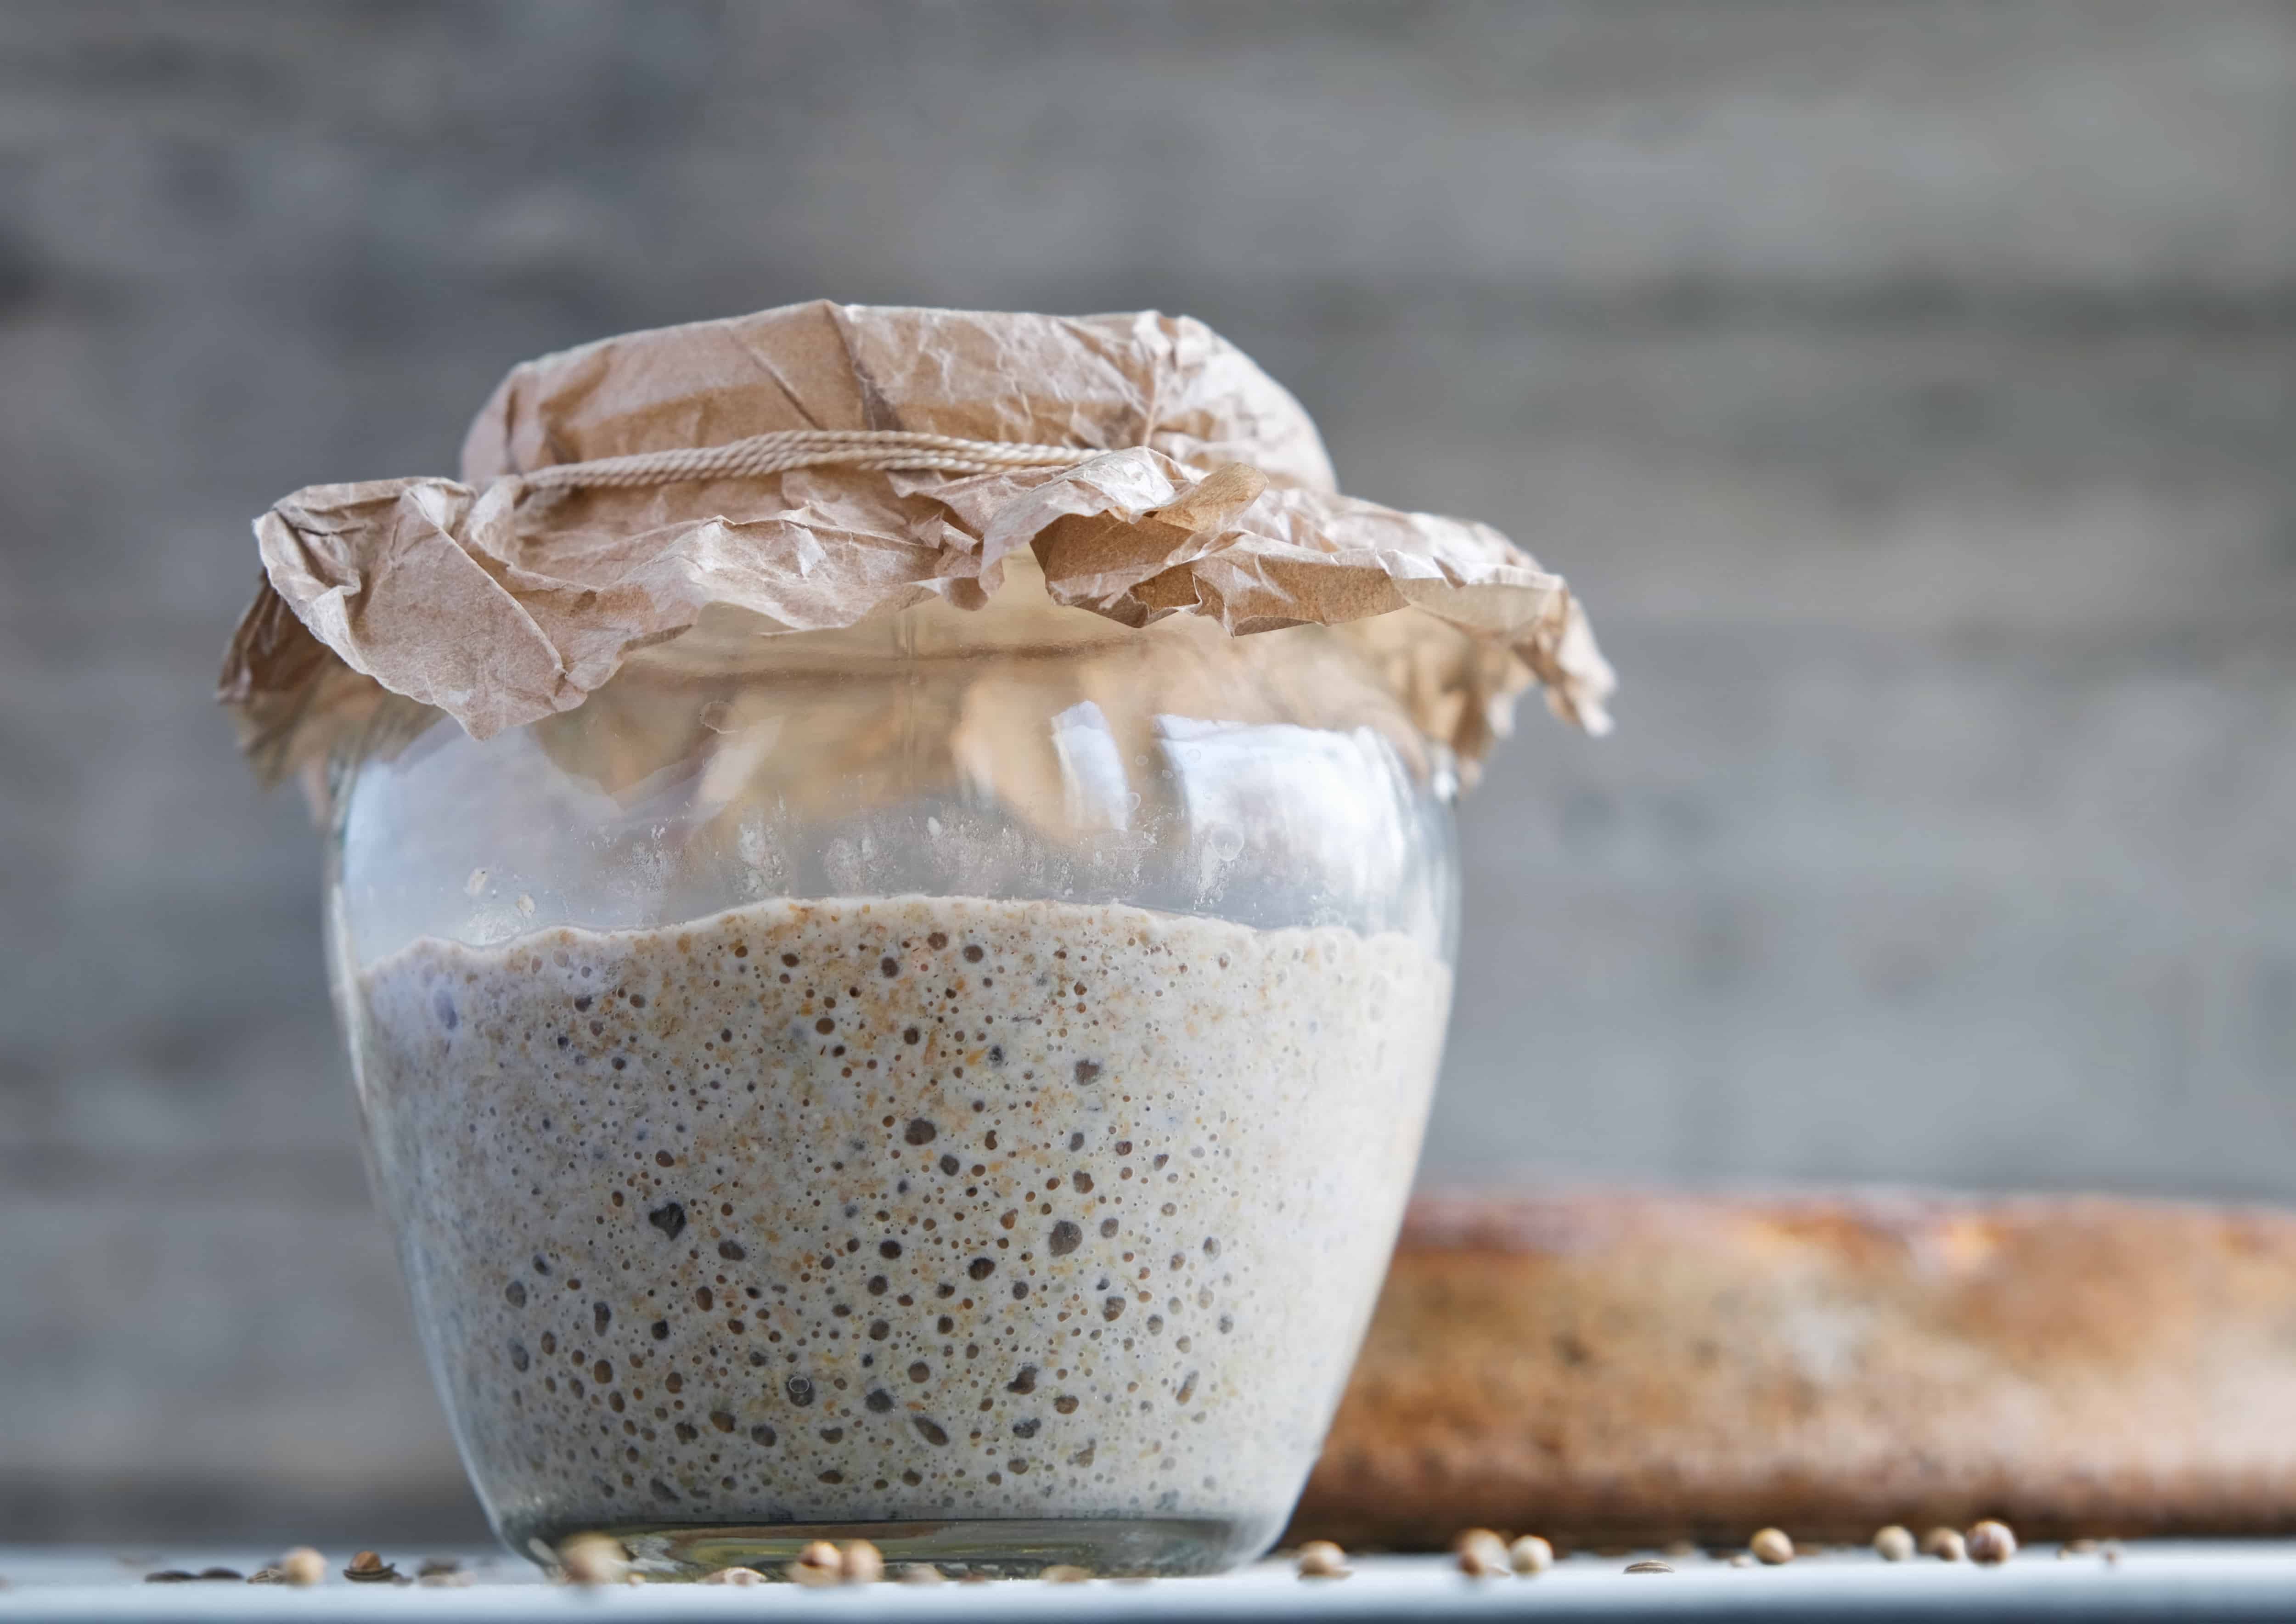
Sourdough starter is a living organism that requires regular feeding to keep the yeast and bacteria cultures active and healthy. If you neglect your starter for too long or leave it in unfavorable conditions, the microorganisms can become dormant or even die. Storing your sourdough starter correctly helps to keep it viable and ready for baking whenever you need it.
Additionally, storing your sourdough starter gives you the flexibility to take a break from baking without having to start from scratch when you’re ready to bake again. It also allows you to keep a backup of your starter in case anything happens to your active batch.
Factors to consider before storing sourdough starter
Before choosing a storage method for your sourdough starter, consider the following factors:
- Frequency of baking: If you bake frequently, you may only need to store your starter for short periods. However, if you bake infrequently or plan to take an extended break, you’ll need a method that can keep the starter viable for a longer duration.
- Available space: Different storage methods require different amounts of space. Consider the storage space you have available before deciding which method to use.
- Convenience: Some methods may require more effort and time to prepare and revive the starter compared to others. Choose a method that suits your convenience and available resources.
Key Takeaways:
- Properly storing your sourdough starter is crucial to preserving its unique flavor and ensuring its longevity for future baking endeavors. Consider factors like frequency of baking and available space when choosing a storage method.
- Whether you opt for refrigeration, freezing, or dehydrating, regular feeding, temperature control, and proper labeling are essential for maintaining the viability and health of your stored sourdough starter. Enjoy the process of storing and reviving your starter for delicious homemade bread.
Read more: How To Store A Sourdough Starter
Why is it important to store sourdough starter?
Sourdough starter is a living organism that requires regular feeding to keep the yeast and bacteria cultures active and healthy. If you neglect your starter for too long or leave it in unfavorable conditions, the microorganisms can become dormant or even die. Storing your sourdough starter correctly helps to keep it viable and ready for baking whenever you need it.
Additionally, storing your sourdough starter gives you the flexibility to take a break from baking without having to start from scratch when you’re ready to bake again. It also allows you to keep a backup of your starter in case anything happens to your active batch.
There are several reasons why properly storing your sourdough starter is important:
- Preserve the vitality of the microorganisms: The yeast and bacteria in the sourdough starter give it its distinct flavor and texture. By storing your starter properly, you ensure that these microorganisms remain active and healthy. This is especially important if you’ve invested time and effort in cultivating a unique flavor profile that you want to preserve.
- Maintain the unique flavor characteristics: Sourdough starter develops complex flavors over time due to the fermentation process. By storing your starter correctly, you can maintain and even enhance these flavor characteristics. This is particularly beneficial if you have a starter that has been passed down through generations or if you’ve created a starter with specific flavor notes.
- Save time and effort: Starting a sourdough starter from scratch can be time-consuming and requires regular feeding and attention. When you store your starter, you eliminate the need to go through the initial fermentation process again. This saves you both time and effort when you want to bake sourdough bread in the future.
- Ensure consistent results: When you store your sourdough starter properly, you can maintain its consistency and reliability. This means that each time you bake bread, you can expect similar results in terms of texture, rise, and flavor. This is particularly beneficial if you’re baking for customers or want to achieve consistent quality in your homemade bread.
Overall, properly storing your sourdough starter ensures its longevity, flavor profile, and consistency, allowing you to have a reliable and delicious sourdough baking experience whenever you desire.
Factors to consider before storing sourdough starter
Before choosing a storage method for your sourdough starter, there are a few important factors to consider. These factors will help you determine the best approach to storing your sourdough starter based on your specific needs and circumstances.
- Frequency of baking: If you bake sourdough bread frequently, you may only need to store your starter for short periods of time between feedings. In this case, a simple refrigeration method might be sufficient. However, if you bake infrequently or plan to take an extended break from baking, you’ll need a method that can keep the starter viable for a longer duration.
- Available space: Different storage methods require different amounts of space. Consider the storage space you have available in your kitchen or refrigerator before deciding which method to use. If you have limited space, you may need to opt for a method that requires less room, such as freezing or dehydrating.
- Convenience: Some methods of storing sourdough starter may require more effort and time to prepare and revive the starter compared to others. Consider your available resources and the convenience factor. If you prefer a method that is quick and easy to use, refrigeration is a good option. On the other hand, if you don’t mind the extra steps involved, freezing or dehydrating may be suitable alternatives.
- Backup plan: It’s always a good idea to have a backup of your sourdough starter in case anything happens to your active batch. This can help you avoid the disappointment of losing your starter due to unexpected circumstances. If having a backup is important to you, consider a method like freezing or dehydrating, which allows you to store portions of your starter for later use.
- Your future baking plans: Think about your future baking plans and how they might affect your storage needs. If you plan to experiment with different types of sourdough bread or want to try new recipes, having a well-stored and reliable starter will be essential. Choose a storage method that allows you to easily revive and use your starter whenever inspiration strikes.
By considering these factors, you can ensure that the storage method you choose aligns with your baking habits, available resources, and future plans. This will help you maintain a healthy and active sourdough starter that is ready to be used whenever you crave delicious homemade sourdough bread.
Read more: How To Store Sourdough Starter On Counter
Different methods of storing sourdough starter
When it comes to storing your sourdough starter, there are several methods you can choose from. Each method has its own advantages and considerations, so it’s important to understand the options available to you. Here are three common methods of storing sourdough starter:
- Refrigeration: Refrigerating your sourdough starter is perhaps the most popular method. It involves keeping your starter in the refrigerator at a lower temperature, usually around 40°F (4°C). This method slows down the activity of the yeast and bacteria, allowing you to extend the time between feedings. Refrigeration is a convenient option if you bake infrequently or want to take a short break from baking. However, it’s important to note that the starter will still need periodic feeding to maintain its vitality.
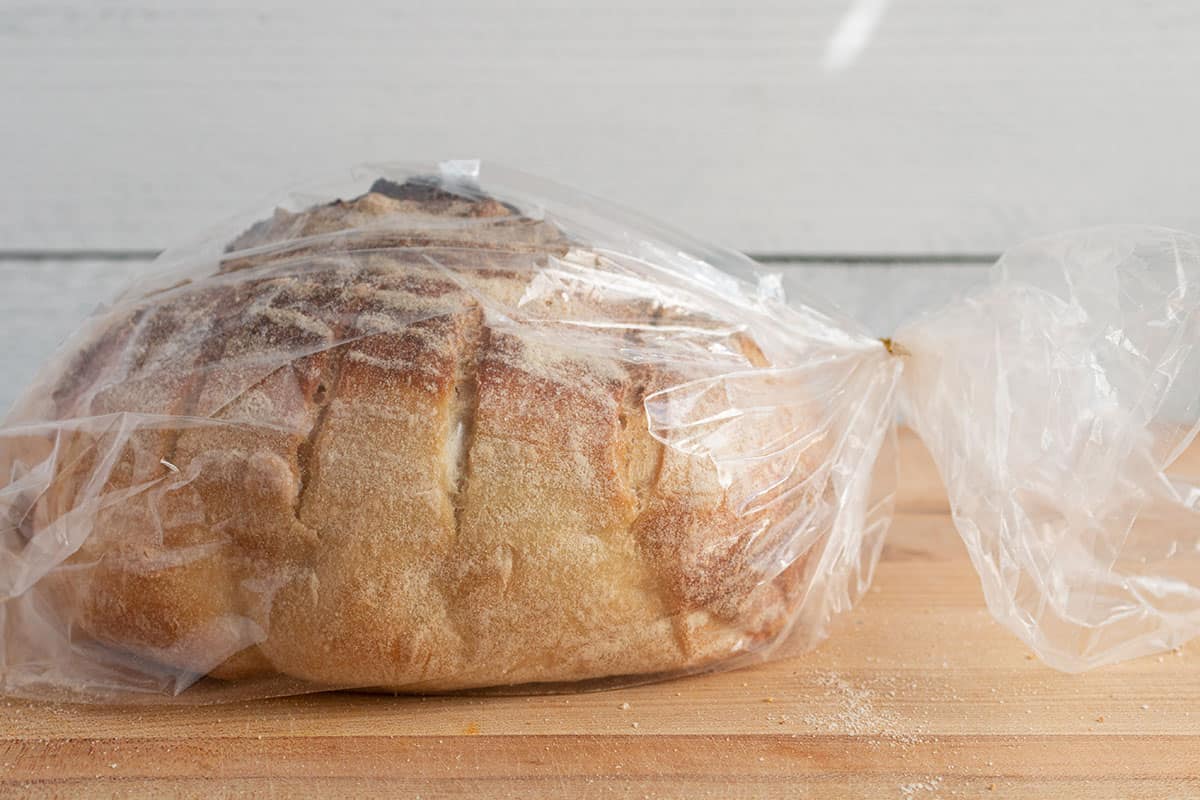
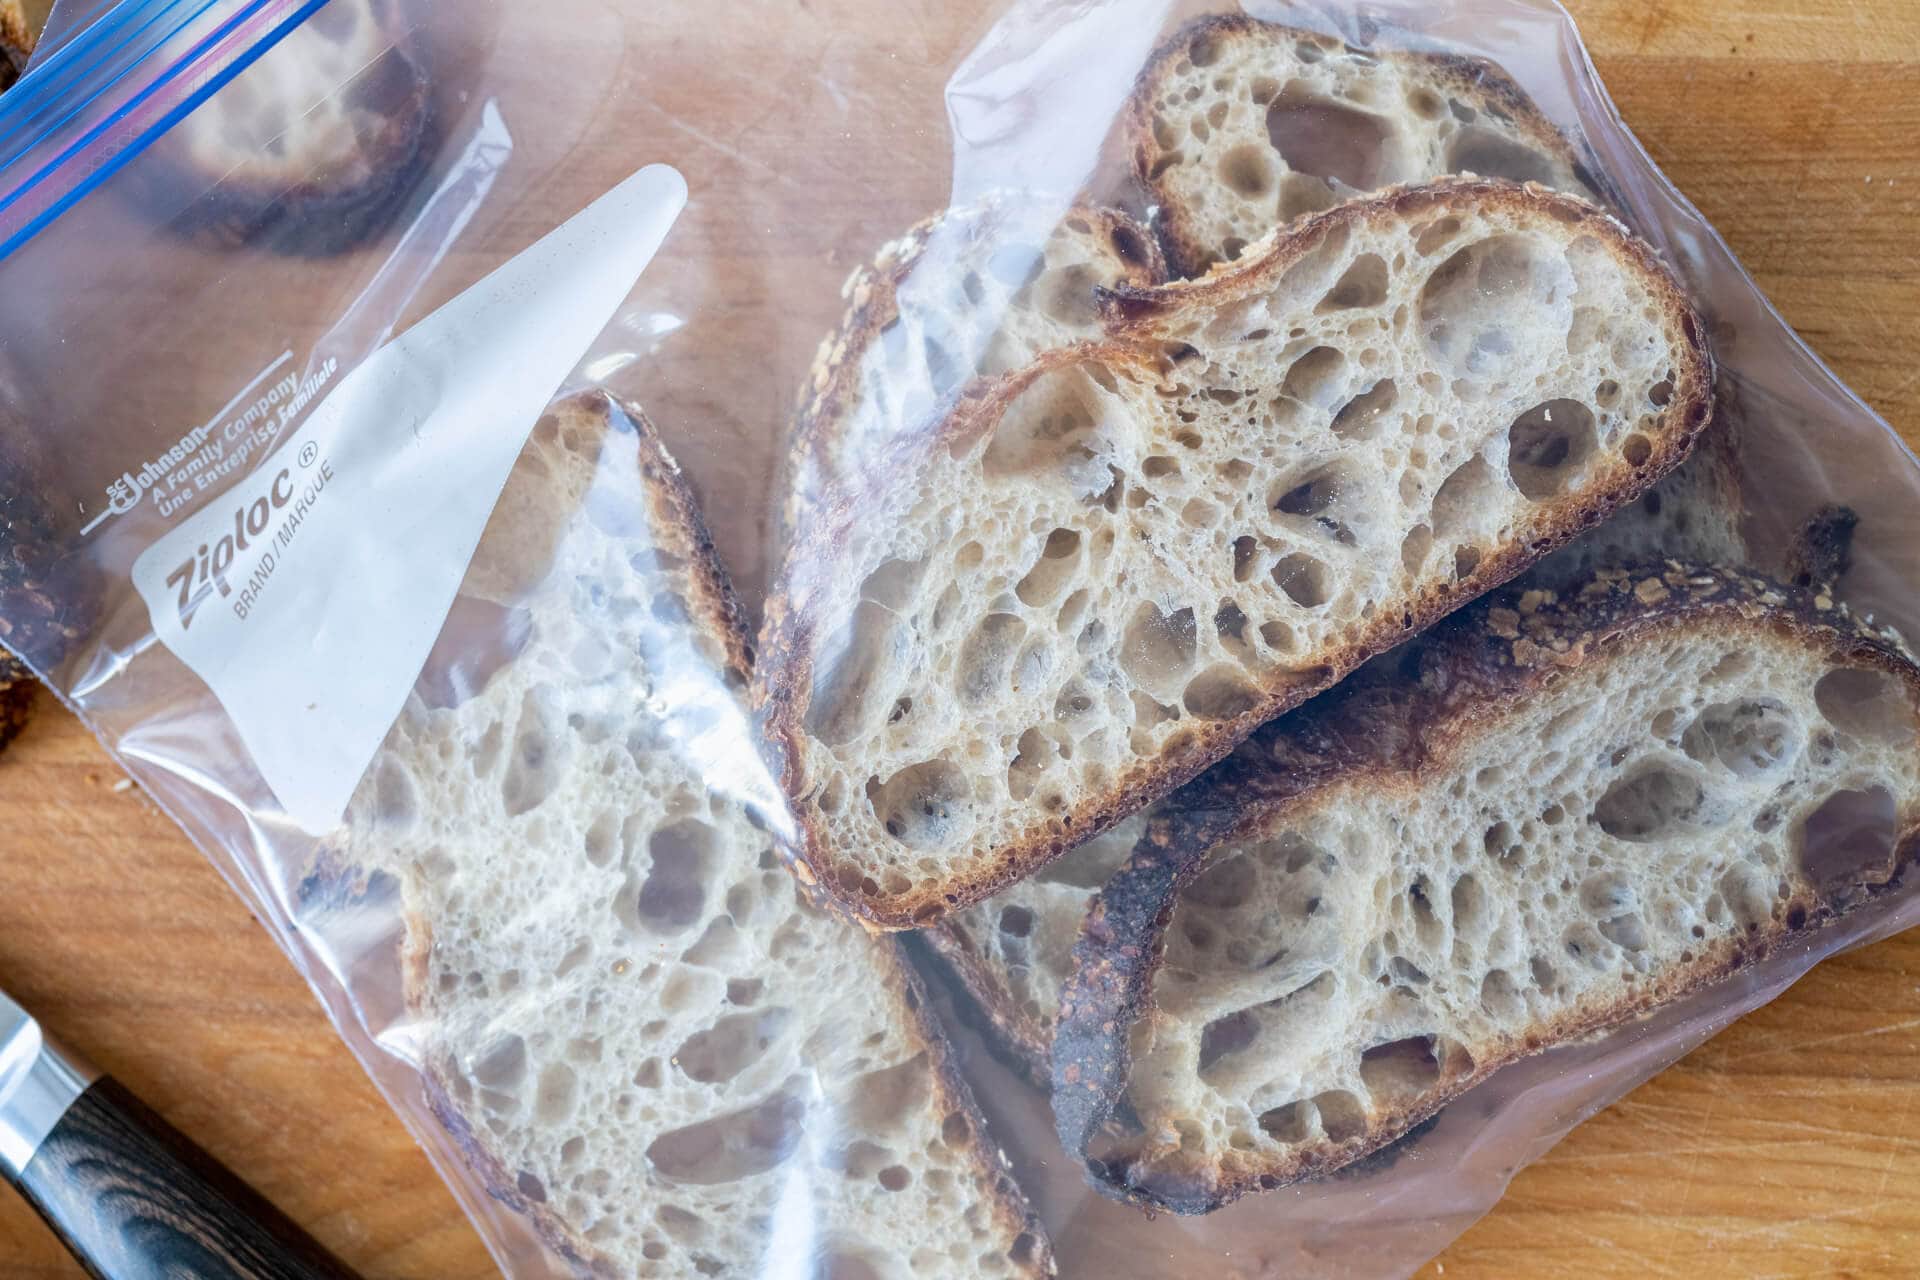
- Freezing: Freezing is another option for storing your sourdough starter. Before freezing, it’s essential to ensure that your starter is in peak condition by feeding it and allowing it to become active. Once your starter is ready, transfer it to a freezer-safe container, such as a plastic bag or airtight jar, and place it in the freezer. Freezing essentially puts the microorganisms in a state of suspended animation, allowing the starter to remain viable for an extended period. When you’re ready to use the frozen starter, allow it to thaw in the refrigerator and reactivate it with regular feedings.
- Dehydrating: Dehydrating your sourdough starter involves removing the moisture from it, resulting in a dry form that can be stored for an extended period. To dehydrate your starter, spread a thin layer of it on parchment paper or a silicone mat and allow it to air dry. Once completely dry, break the starter into small pieces and store them in an airtight container or bag. When you’re ready to use the dehydrated starter, rehydrate it by adding water and reactivating it with regular feedings. Although dehydrating requires additional preparation steps, it is a great option if you’re looking for a long-term storage solution.
Each of these methods has its own pros and cons, so consider your specific needs and circumstances before deciding which method is best for you. It’s also worth noting that regardless of the storage method you choose, periodic feeding and care are still necessary to maintain the vitality and health of your sourdough starter.
By selecting the right storage method and properly maintaining your sourdough starter, you can ensure that it remains viable and ready to produce delicious bread whenever you’re ready to bake.
Method 1: Refrigeration
Refrigeration is one of the most common and convenient methods for storing your sourdough starter. By keeping your starter at a lower temperature, typically around 40°F (4°C), you can slow down the fermentation process and extend the time between feedings. This method is ideal if you bake sourdough bread infrequently or want to take a short break from baking without having to restart your starter from scratch.
Here is a step-by-step guide to storing your sourdough starter using the refrigeration method:
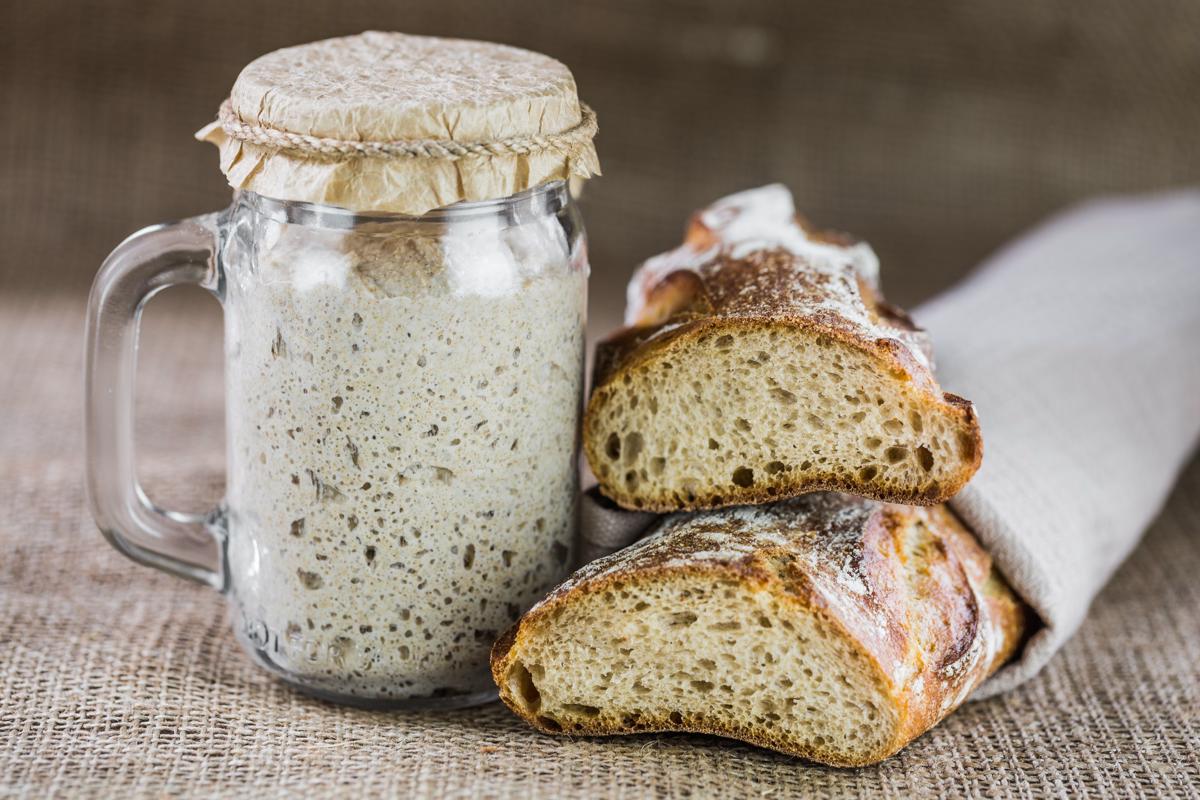
Before transferring your starter to the refrigerator, make sure it has been recently fed and is at its peak activity. This means that it should be bubbly and have a strong yeasty smell. Feeding your starter ensures that it has enough nutrients to sustain itself during the storage period. Transfer your freshly fed sourdough starter to a clean and airtight container. You can use a glass jar, plastic container, or even a resealable plastic bag. Make sure the container is large enough to allow for some expansion of the starter as it continues to produce gas during refrigeration. It’s crucial to label the container with the date when the starter was transferred to the refrigerator. This way, you can keep track of how long it has been stored and when it may need to be fed again. Place the container with the sourdough starter in the refrigerator. You can choose to keep it in the main part of the fridge or in the door compartment. The temperature should be around 40°F (4°C) to maintain the slow fermentation process. While in the refrigerator, your sourdough starter will still need periodic feeding to keep it alive and healthy. Generally, you can feed it once a week to maintain its vitality. When feeding, remove a portion of the starter from the container and discard it, leaving only a small amount behind. Then, feed the remaining starter with equal parts flour and water, mixing well to incorporate the new food source. When you’re ready to use your refrigerated sourdough starter, allow it to come to room temperature before using it in your recipes. This process may take a few hours, so plan ahead and factor in the additional time.
Refrigeration provides a convenient way to store your sourdough starter for short durations or occasional use. By following these steps and maintaining a regular feeding schedule, you can ensure the long-term viability of your sourdough starter and enjoy baking delicious bread whenever you’re in the mood.
Method 2: Freezing
Freezing is another effective method for storing your sourdough starter for longer periods of time. By freezing your starter, you can preserve its viability and have a backup in case anything happens to your active batch. Freezing puts the microorganisms in a state of suspended animation, allowing the starter to remain viable until you’re ready to use it again.
Here is a step-by-step guide to safely freeze your sourdough starter:
Before freezing your sourdough starter, make sure it has been recently fed and is active. This ensures that the starter is at its peak condition and has enough nutrients to sustain itself during the freezing process. Transfer a portion of your fed starter to a freezer-safe container. You can use a plastic bag, airtight jar, or even an ice cube tray. Choose a container that suits your needs and is easy to use when it’s time to thaw the starter. It’s essential to label the container with the date when the starter was frozen. This helps you keep track of how long it has been stored and when it may need to be used. Ensure the container is tightly sealed to prevent any air or moisture from entering. For added protection, you can wrap the container with an additional layer of plastic wrap or aluminum foil. Place the container with the sourdough starter in the freezer. It’s best to keep it in a designated spot where it won’t be easily disturbed. Make sure the temperature in your freezer is consistently set at 0°F (-18°C) or below to maintain the frozen state of the starter. When you’re ready to use the frozen sourdough starter, transfer it to the refrigerator and allow it to thaw slowly. This can take anywhere from a few hours to overnight. Once thawed, you’ll need to reactivate the starter by discarding a portion and feeding it with equal parts flour and water. Continue to feed and discard as you would with a regular starter to restore its vitality.
Freezing your sourdough starter is a reliable method for long-term storage. With proper freezing techniques and careful reactivation, you can maintain an active and healthy starter that yields delicious sourdough bread. Just remember to periodically feed and care for your starter to keep it in optimal condition.
When storing sourdough starter, use a glass or plastic container with a loose-fitting lid to allow for airflow. Keep it in the refrigerator and feed it regularly to maintain its health and activity.
Method 3: Dehydrating
Dehydrating your sourdough starter is an excellent method for long-term storage, as it allows you to preserve the starter in a dry form. By removing the moisture from the starter, you can extend its shelf life and have a backup for future baking endeavors. Dehydrated sourdough starter can be easily rehydrated when you’re ready to use it again.
Here is a step-by-step guide to dehydrate your sourdough starter:
Before dehydrating your sourdough starter, make sure it is active and at its peak condition. Feed the starter as usual to ensure it has enough nutrients for the dehydration process. Line a baking sheet with parchment paper or use a silicone mat. This will prevent the starter from sticking to the surface and make it easier to remove once dried. Pour a portion of your fed starter onto the prepared drying surface. Use a spatula or the back of a spoon to spread the starter into a thin and even layer. Avoid any thick clumps as they will take longer to dry. Leave the drying surface with the spread-out starter in a well-ventilated area at room temperature. Depending on the humidity level, it may take 2 to 3 days for the starter to completely dry. You can periodically check the dryness by gently lifting a corner and ensuring it is crisp and brittle. Once the starter is fully dried, remove it from the drying surface and break it into small pieces. You can use your hands to crumble the dried starter or use a food processor to grind it into a powder-like consistency. Transfer the dehydrated starter into an airtight container or a resealable bag. Make sure the container is labeled with the date of dehydration so you can easily track its storage duration. When you’re ready to use the dehydrated sourdough starter, add a small amount of water to the dried pieces or powder. Allow the starter to rehydrate for several hours or overnight until it becomes pliable. Once rehydrated, discard a portion of it and feed the remaining starter with equal parts flour and water. Continue to feed and discard as you would with a regular starter to revive its activity.
Dehydrating your sourdough starter offers a convenient and long-lasting storage solution. By following these steps and properly rehydrating the starter, you can enjoy the benefits of a preserved starter with the flexibility and convenience of using it whenever you desire.
Read more: How To Store Sourdough Starter In The Fridge
Step-by-step guide to storing sourdough starter using each method
Method 1: Refrigeration
- Feed your starter to ensure it is active and at its peak condition.
- Transfer the fed starter to a clean and airtight container.
- Label the container with the date of transfer for easy tracking.
- Place the container in the refrigerator at a temperature of around 40°F (4°C).
- Feed the refrigerated starter once a week to maintain its vitality.
- Prior to using the starter, allow it to come to room temperature.
Method 2: Freezing
- Feed your starter and ensure it is at its peak condition.
- Transfer a portion of the fed starter to a freezer-safe container.
- Label the container with the date of freezing for reference.
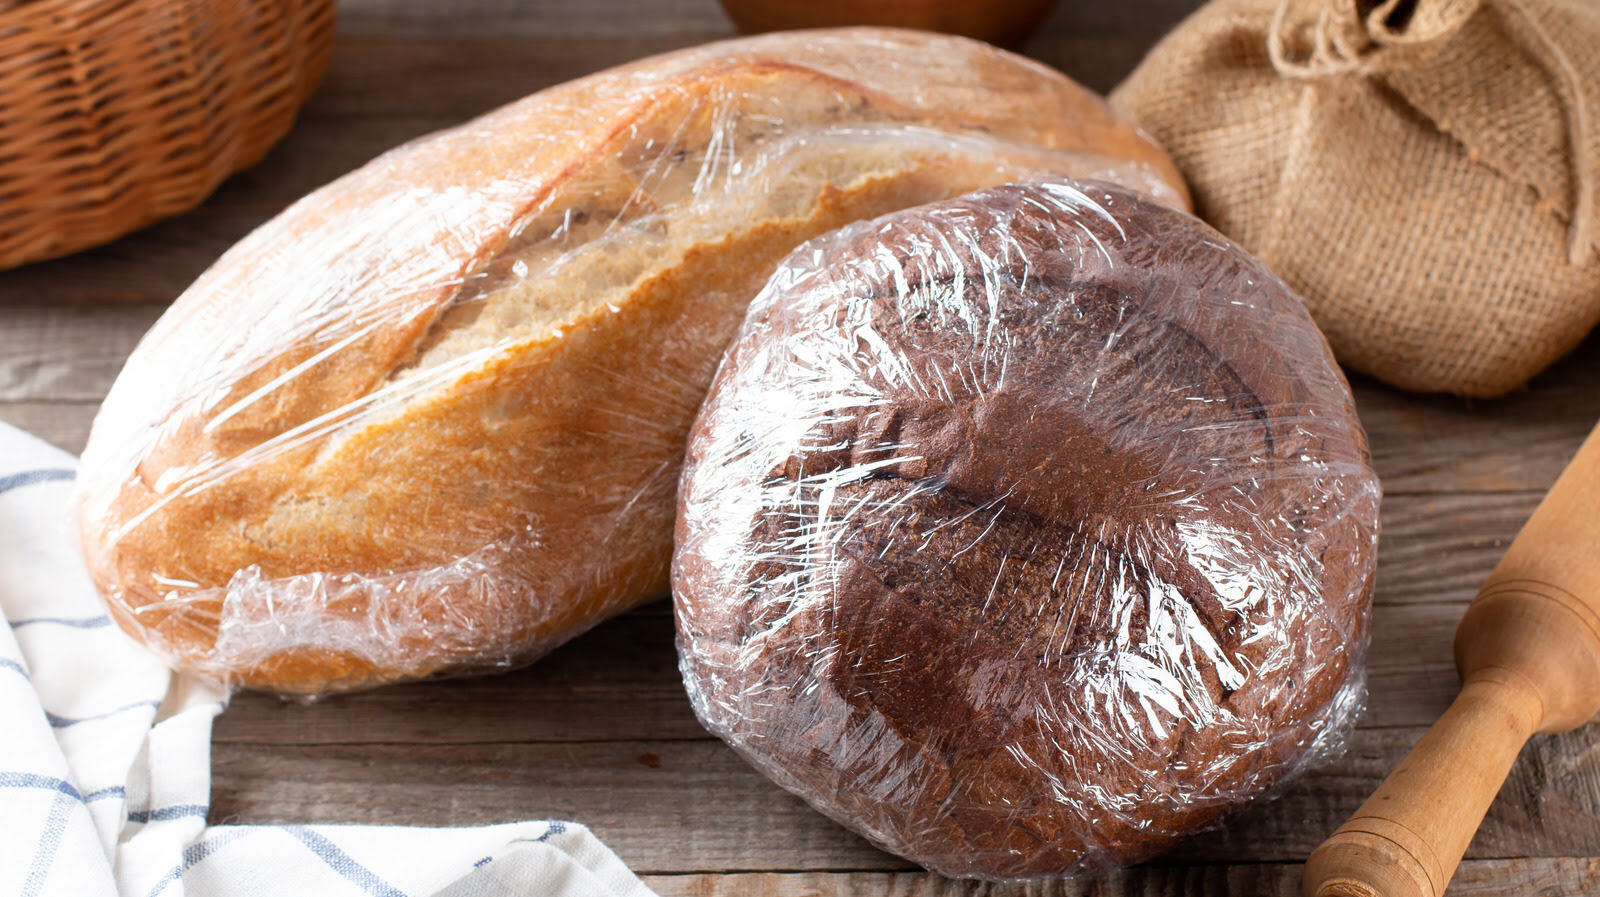
- Ensure the container is tightly sealed to prevent air and moisture from entering.
- Place the container in the freezer at a temperature of 0°F (-18°C) or below.
- To use the frozen starter, thaw it in the refrigerator.
- Reactivate the thawed starter by discarding a portion and feeding it with equal parts flour and water.
Method 3: Dehydrating
- Feed your starter and ensure it is active and at its peak condition.
- Prepare a drying surface by lining a baking sheet with parchment paper or using a silicone mat.
- Spread a thin layer of the fed starter on the prepared drying surface.
- Air dry the starter for 2 to 3 days, or until it becomes crisp and brittle.
- Break the dried starter into small pieces or grind it into a powder-like consistency.
- Transfer the dehydrated starter to an airtight container and label it with the date of dehydration.
- To use the dehydrated starter, rehydrate it with water and proceed with the regular feeding and discard routine.
By following these step-by-step guides, you can effectively store your sourdough starter using each method. Whether you choose to refrigerate, freeze, or dehydrate your starter, proper storage techniques ensure its longevity and usability for your future baking endeavors.
Read more: How To Store Discarded Sourdough Starter
Tips for maintaining the viability of stored sourdough starter
When storing your sourdough starter, there are a few key tips to keep in mind to ensure its viability and health. Proper care and maintenance will help preserve the vitality of the microorganisms and allow you to enjoy baking with your stored starter for an extended period of time. Here are some valuable tips:
- Regular feeding: Even when your sourdough starter is in storage, it still needs periodic feeding to survive and remain active. Follow the recommended feeding schedule for the storage method you choose. This typically involves discarding a portion of the starter and feeding it with fresh flour and water.
- Temperature control: Proper temperature control is crucial for maintaining the activity of the starter. For refrigeration, aim to keep the temperature around 40°F (4°C). If freezing, ensure that the temperature remains consistently at 0°F (-18°C) or lower. Dehydrated starter can be stored at room temperature or in a cool, dry place.
- Labeling and dating: Always label your storage containers with the date of transfer, freezing, or dehydration. This allows you to track the storage duration and ensure that you use the starter within a reasonable timeframe. It also helps you avoid any confusion if you have multiple batches or versions of sourdough starter in storage.
- Quality ingredients: When feeding your stored sourdough starter, use high-quality flour and non-chlorinated water. This ensures that your starter receives the necessary nutrients and maintains its vitality. Avoid using bleached or overly processed flours, as they may have a negative impact on the health of the starter.
- Discarding and refreshing: When reviving your stored sourdough starter after a period of inactivity, it’s important to discard a portion of it before feeding. This helps remove any potential imbalance or harmful byproducts that may have accumulated during storage. It also provides a fresh start for the microorganisms to thrive.
- Storage duration: While sourdough starters can be stored for extended periods, it’s generally recommended to use or refresh your starter within 2-3 months for refrigeration, up to 6 months for freezing, and around 6-12 months for dehydrated starter. Longer storage durations may reduce the viability and activity of the microorganisms.
By following these tips, you can maintain the viability and health of your stored sourdough starter. Regular feeding, temperature control, and proper labeling are key practices to ensure that your starter remains active and ready for your baking adventures when you need it.
Conclusion
Storing your sourdough starter correctly is paramount to preserving its viability and maintaining its unique flavor profile. Whether you need to take a break from baking or have excess starter that needs to be stored, there are various methods available to ensure its longevity.
Refrigeration is a popular and convenient option for short-term storage. By keeping your starter in the refrigerator, you can slow down the fermentation process and extend the time between feedings. This method is suitable if you bake sourdough infrequently or want to take a short break from baking.
Freezing provides a reliable long-term storage solution. By freezing your starter, you can preserve its activity and have a backup in case anything happens to your active batch. Thawing and reactivating frozen starter allows you to bring it back to life for your baking needs.
Dehydrating your sourdough starter offers a unique way to store it in a dry form. This method provides an extended shelf life and allows you to maintain the starter for a longer duration. Rehydrating the dried starter brings it back to an active state, ready to be used in your sourdough recipes.
Remember to consider factors such as frequency of baking, available space, and convenience when choosing a storage method. Proper care and maintenance, including regular feeding, temperature control, and proper labeling, are essential for maintaining the viability of your stored sourdough starter.
By utilizing the appropriate storage method and following these tips, you can ensure that your sourdough starter remains healthy and active, ready to produce delicious loaves of bread whenever inspiration strikes. Enjoy the process of storing and reviving your sourdough starter, and continue to delight in the unique flavors that only sourdough bread can provide.
Frequently Asked Questions about How To Store Sourdough Starter
Was this page helpful?
At Storables.com, we guarantee accurate and reliable information. Our content, validated by Expert Board Contributors, is crafted following stringent Editorial Policies. We're committed to providing you with well-researched, expert-backed insights for all your informational needs.


0 thoughts on “How To Store Sourdough Starter”