Articles
How To Make Sourdough In Bread Machine
Modified: February 20, 2024
Learn the step-by-step process of making delicious sourdough bread in your bread machine with this helpful article. Discover expert tips and tricks for perfect homemade sourdough.
(Many of the links in this article redirect to a specific reviewed product. Your purchase of these products through affiliate links helps to generate commission for Storables.com, at no extra cost. Learn more)
Introduction
There is no doubt that freshly baked bread holds a special place in our hearts and stomachs. The aroma, the taste, and the satisfaction of biting into a warm, crusty loaf are hard to beat. And when it comes to bread, few things are as beloved as sourdough. The tangy, complex flavors and the chewy texture make sourdough bread a favorite among bread enthusiasts.
Traditionally, making sourdough bread involved a lengthy fermentation process and meticulous attention to detail. However, with the advancement of bread machines, it has become easier than ever to enjoy homemade sourdough bread without the need for complex techniques.
In this article, we will guide you through the process of making sourdough in a bread machine. We’ll cover everything from choosing the right machine to preparing the sourdough starter and baking the perfect loaf. Whether you’re a seasoned baker or a novice in the kitchen, this guide will help you master the art of making sourdough bread using a bread machine.
So, let’s roll up our sleeves and dive into the wonderful world of sourdough bread-making!
Key Takeaways:
- Master the art of making tangy, flavorful sourdough bread in a bread machine by choosing the right machine, preparing a healthy sourdough starter, and following the essential steps from mixing and kneading to proofing and baking.
- Overcome common challenges in sourdough bread-making with troubleshooting tips, and embrace the journey of nurturing your own sourdough starter. Enjoy the rewarding experience of creating delicious, homemade sourdough bread.
Read more: How To Store A Loaf Of Sourdough
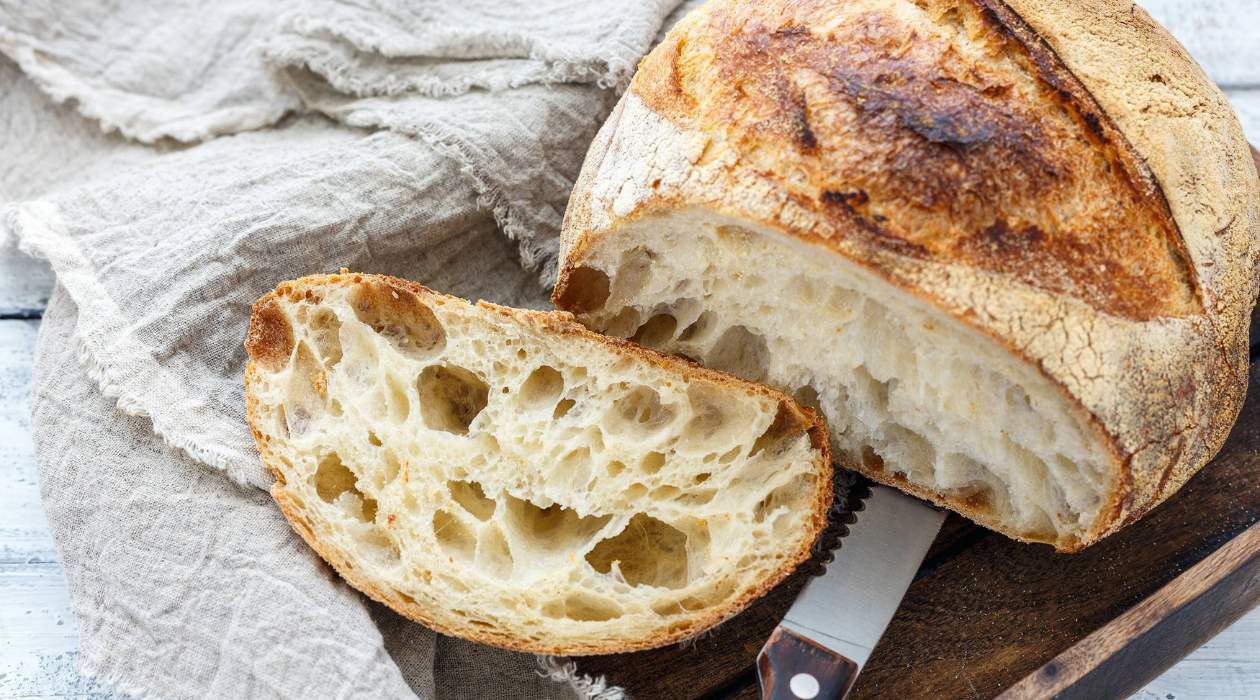
Overview of Sourdough Bread
Sourdough bread is a type of bread that is made using naturally occurring yeast and bacteria. Unlike conventional bread that utilizes commercial yeast for fermentation, sourdough bread relies on wild yeast and beneficial bacteria present in a starter or “sourdough culture.”
The unique aspect of sourdough bread lies in its fermentation process. The sourdough culture, which is a mixture of flour and water, creates an environment where natural yeasts and lactobacilli bacteria thrive. These microorganisms feed on the carbohydrates in the flour, producing carbon dioxide gas and lactic acid.
The carbon dioxide gas generated during fermentation gives the bread its characteristic airy texture, while the lactic acid contributes to the tangy flavor. The longer and slower the fermentation, the more complex the flavor profile of the bread becomes.
Sourdough bread is often prized for its potential health benefits. The fermentation process breaks down gluten and phytic acid, making the bread more easily digestible compared to commercial bread. Additionally, the lactobacilli bacteria present in sourdough can enhance gut health by promoting the growth of beneficial bacteria and aiding in the digestion of nutrients.
Another appeal of sourdough bread is its versatility. From crusty artisan loaves to soft sandwich bread, sourdough can be used to create a wide variety of bread types, each with its own unique taste and texture.
Now that we have a basic understanding of sourdough bread, let’s move on to the next step: choosing the right bread machine to make your homemade loaves a reality.
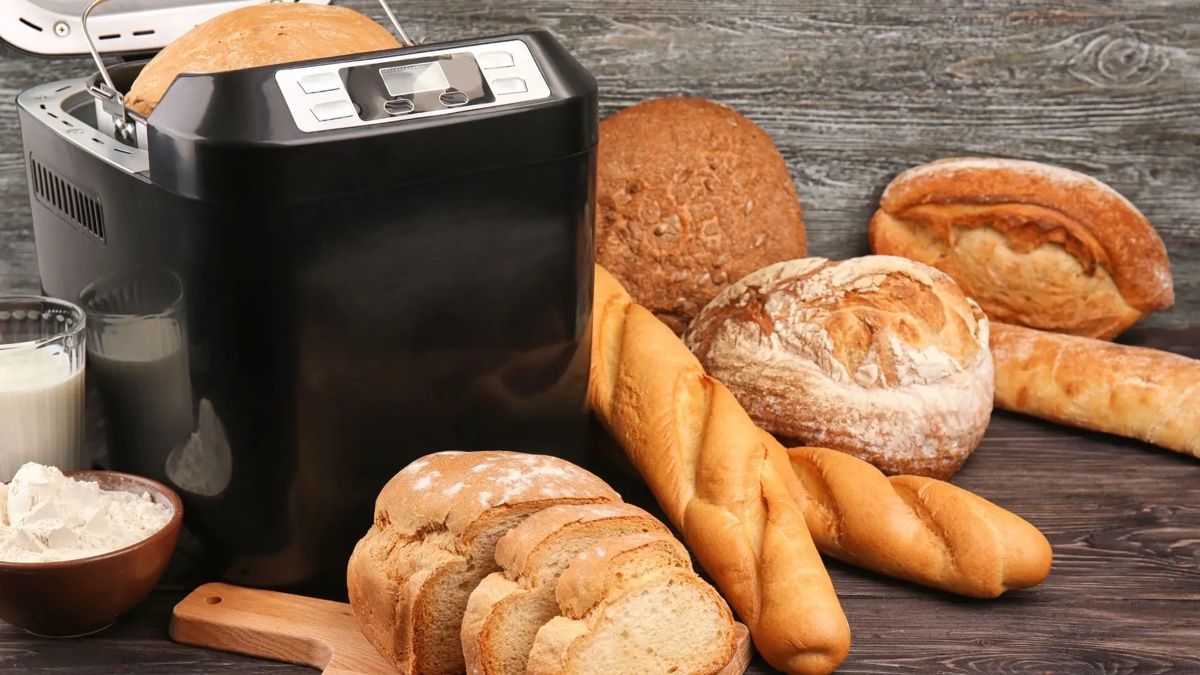
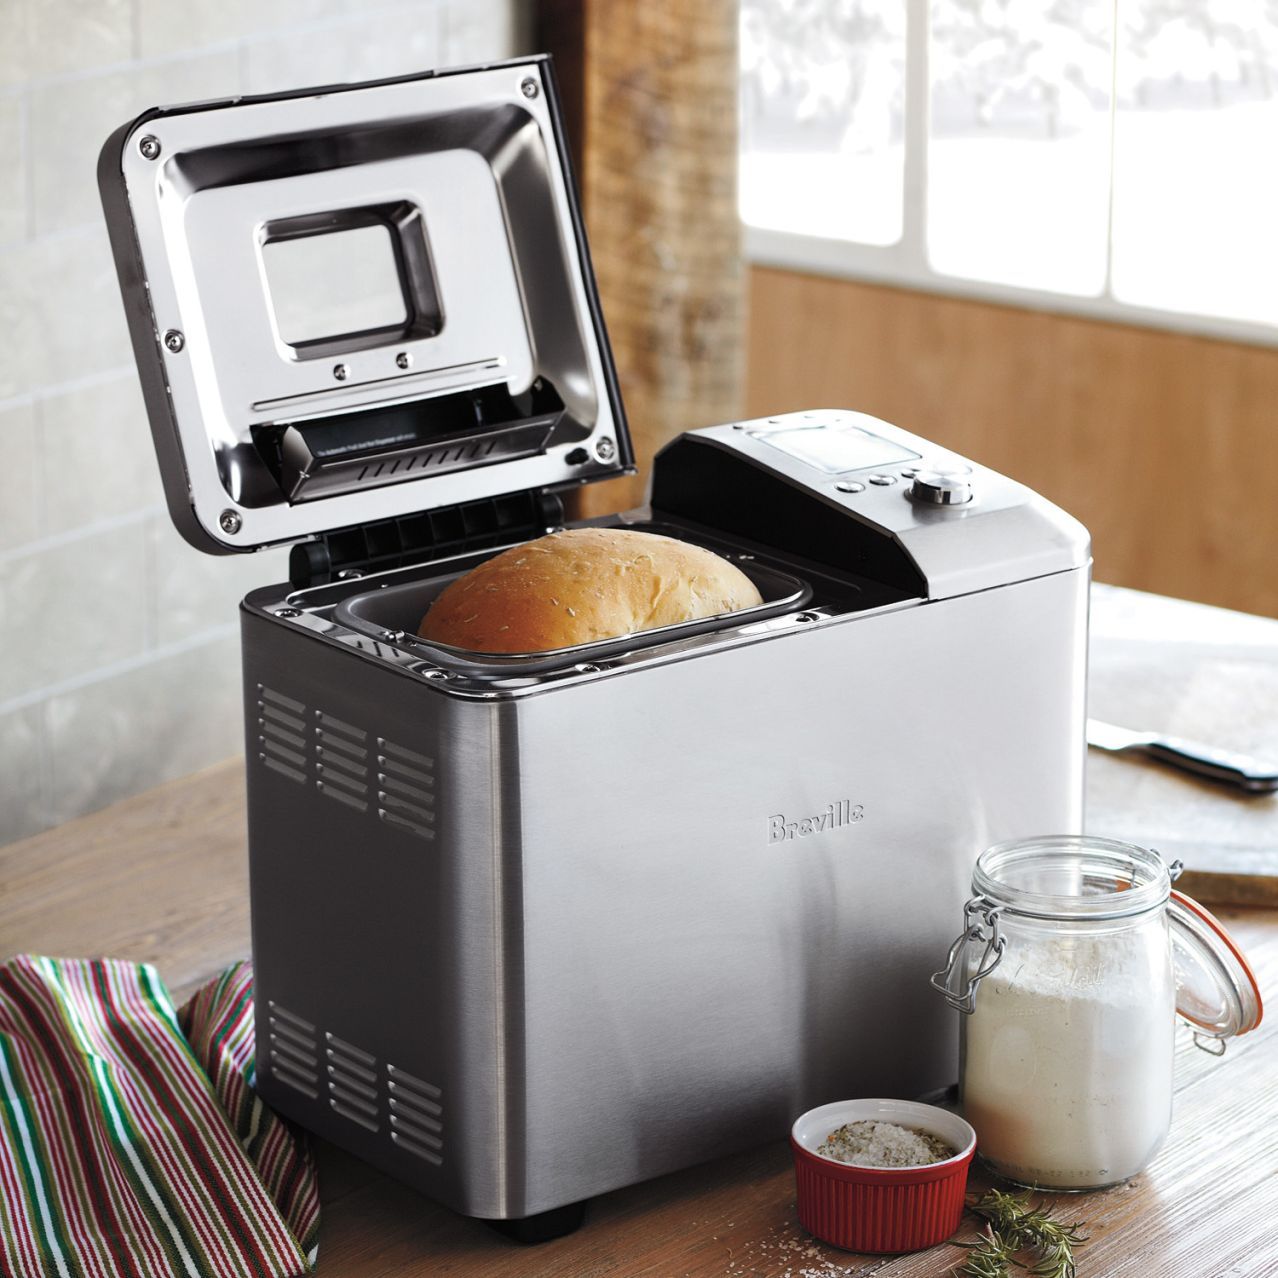
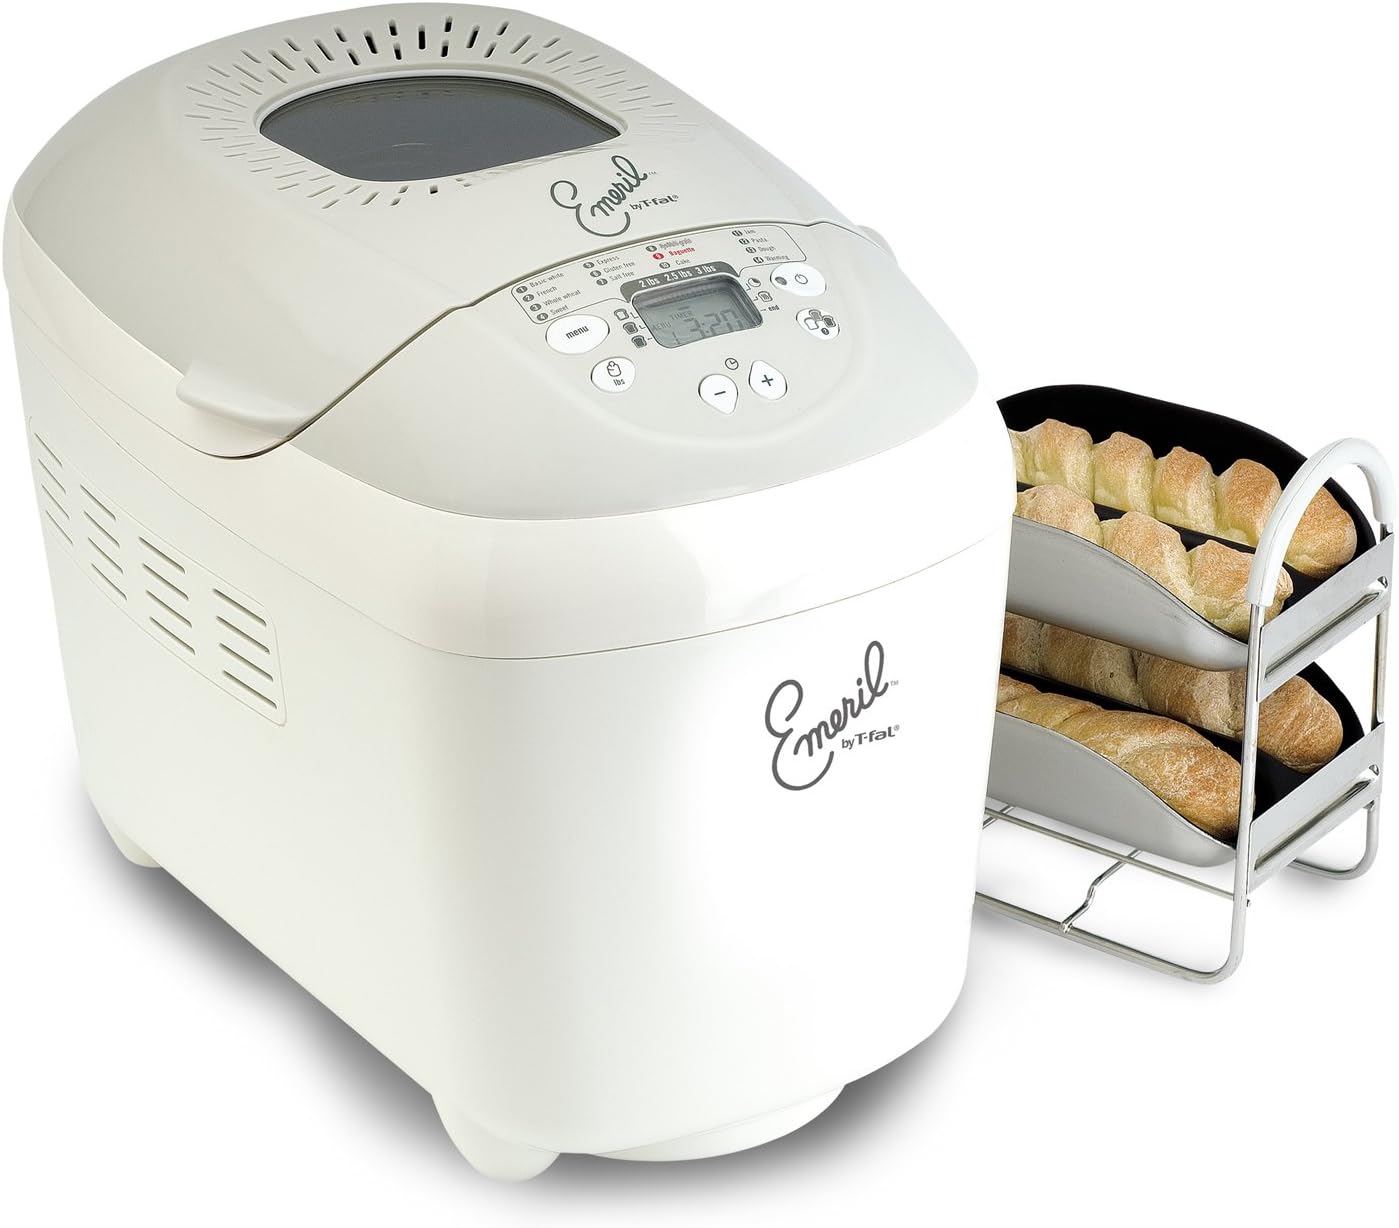
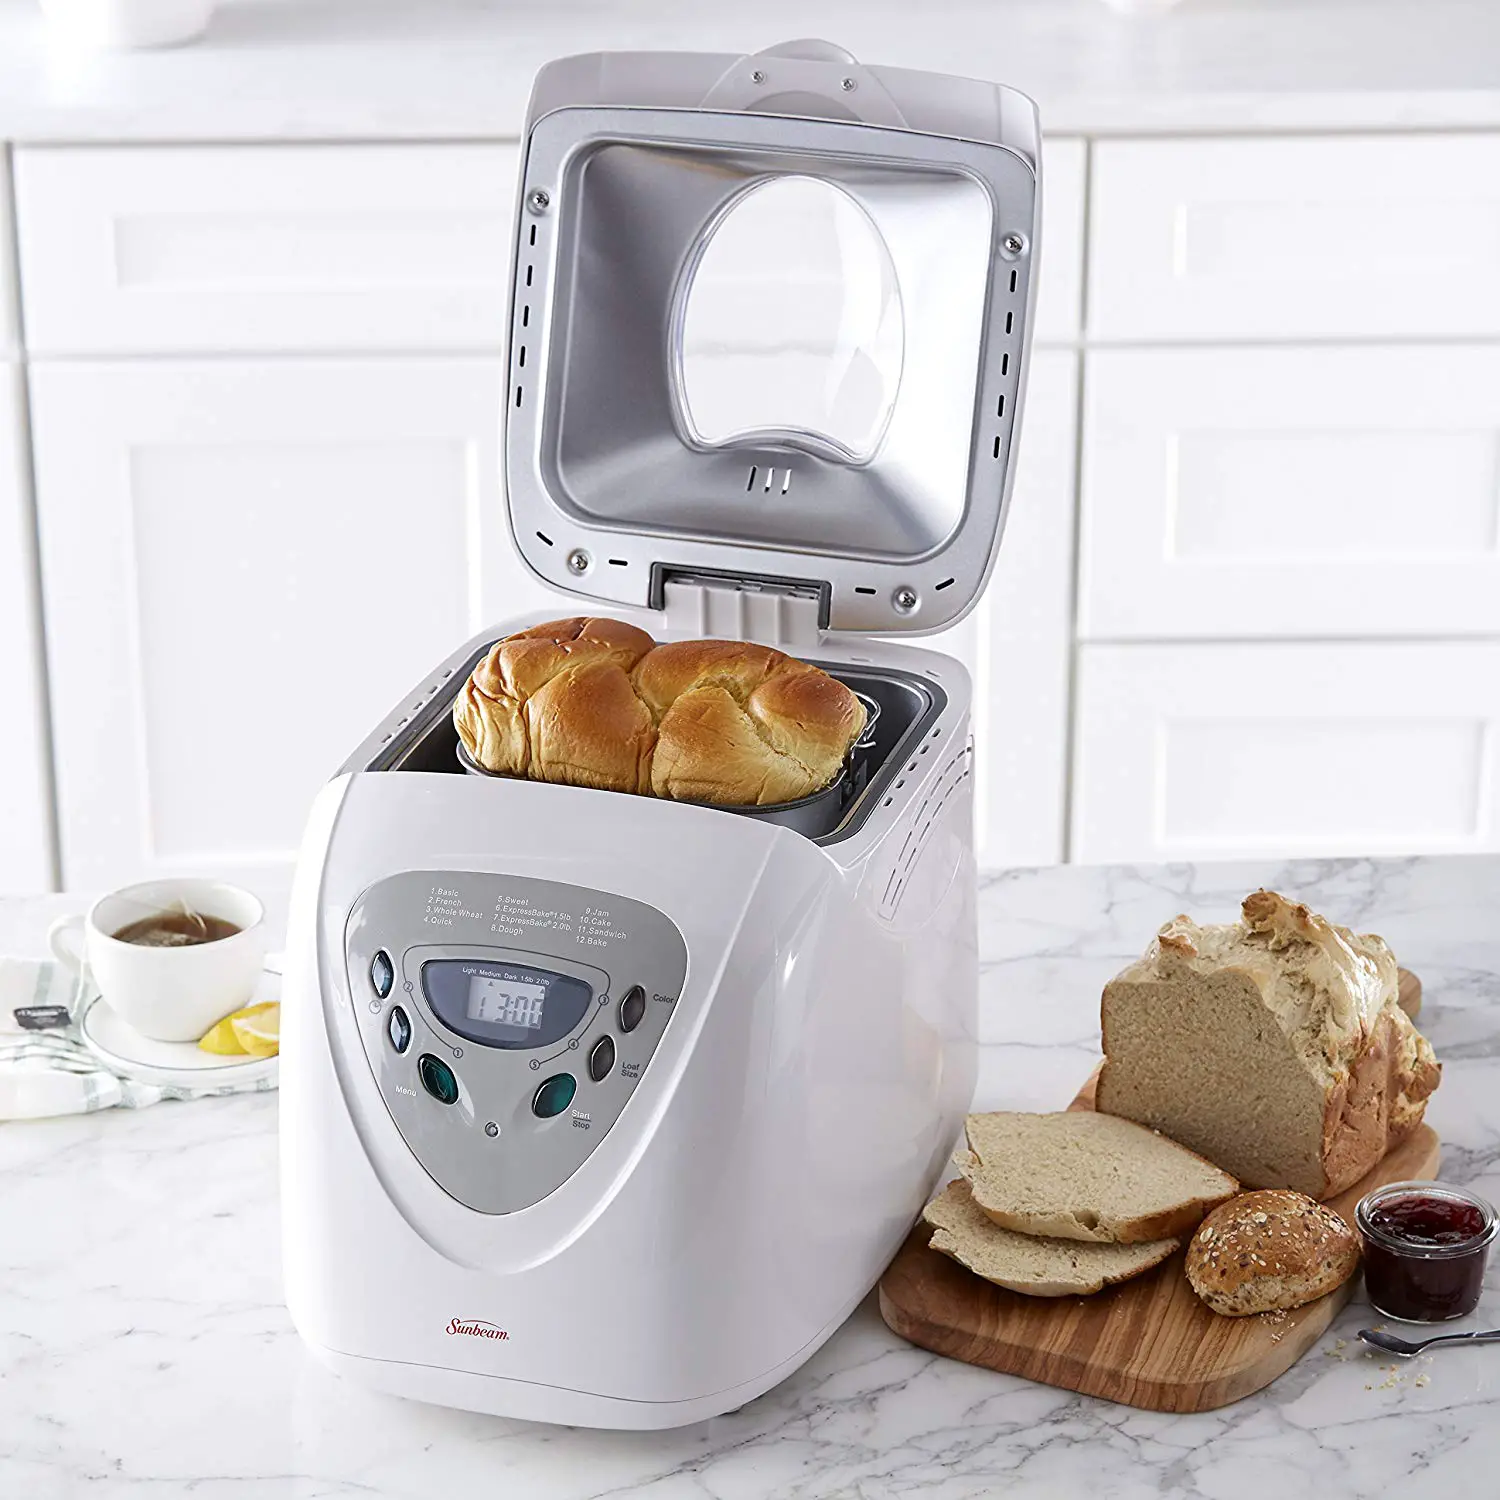
Choosing the Right Bread Machine
When it comes to making sourdough bread in a bread machine, not all machines are created equal. It’s important to choose a machine that is capable of handling the specific requirements of sourdough bread-making. Here are a few factors to consider when selecting the right bread machine:
- Dough Capacity: Sourdough bread tends to be denser and requires more kneading compared to regular bread. Make sure the bread machine you choose has a large enough dough capacity to accommodate sourdough recipes.
- Kneading Power: Sourdough bread requires thorough kneading to develop the gluten structure. Look for a bread machine with a powerful motor and a strong kneading paddle to ensure proper gluten development.
- Fermentation Options: Sourdough bread benefits from longer fermentation periods for better flavor development. Consider a bread machine that offers extended fermentation or proofing options to allow for slow and controlled fermentation.
- Customizable Settings: Sourdough recipes often require specific temperature and timing adjustments. Look for a bread machine that provides customizable settings to allow for precise control over the fermentation and baking process.
- Delayed Start Feature: If you prefer to have your bread ready at a specific time, a bread machine with a delayed start feature can be beneficial. This allows you to prepare the dough in advance and set a timer for the machine to start the baking process.
Before making a purchase, it’s always a good idea to read product reviews and compare different models to find the bread machine that best fits your needs and budget. Once you have chosen the right machine, it’s time to gather the ingredients for your homemade sourdough bread.
Gathering the Ingredients
Before diving into the process of making sourdough bread in a bread machine, it’s important to gather all the necessary ingredients. Here are the key ingredients you’ll need:
- Sourdough Starter: The foundation of sourdough bread is the sourdough starter. This is a mixture of flour and water that has been fermented with wild yeast and bacteria. If you don’t have a starter, you can easily create one by combining equal parts of flour and water and allowing it to ferment for several days.
- Flour: For best results, choose high-quality bread flour or a combination of bread flour and whole wheat flour. The protein content in bread flour helps create a strong gluten network, resulting in a better rise and texture.
- Water: Use filtered or spring water for your sourdough bread. Chlorinated tap water can inhibit fermentation, so it’s best to avoid using it.
- Salt: Salt enhances the flavor of your bread and helps control fermentation. Use fine sea salt or kosher salt in your recipe.
- Optional Ingredients: Depending on the recipe, you may also need additional ingredients such as honey, olive oil, or herbs to flavor your sourdough bread.
It’s important to note that the quality of your ingredients can greatly impact the taste and texture of your bread. Freshly milled flour and filtered water can contribute to a more flavorful and superior end result.
With all your ingredients gathered and ready, it’s time to prepare the most critical component of sourdough bread-making: the sourdough starter. In the next section, we’ll guide you through the process of preparing and maintaining a healthy sourdough starter.
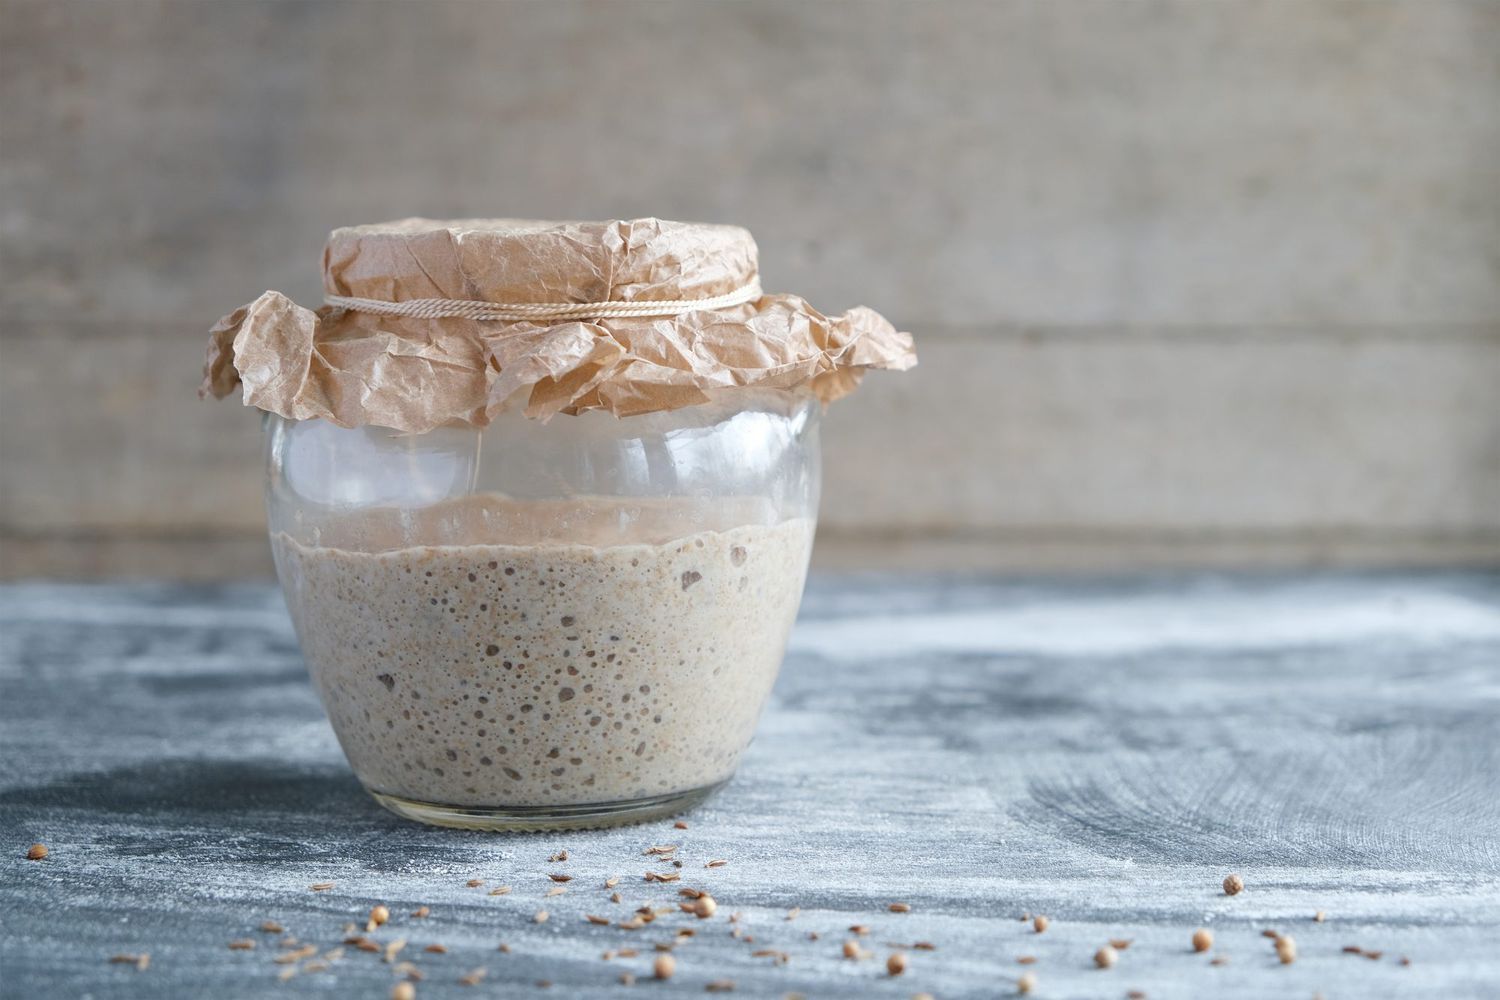
Preparing the Sourdough Starter
The sourdough starter is the heart and soul of sourdough bread. It’s a living culture of wild yeast and bacteria that gives the bread its distinct flavor and texture. Here’s how you can prepare and maintain a healthy sourdough starter:
- Creating the Starter: To start, mix equal parts of flour and water in a glass jar or container. Use high-quality flour, such as bread flour, as it has a higher protein content that encourages yeast activity. Stir well until the mixture is thoroughly combined. Cover the jar loosely, allowing air to circulate, and let it sit at room temperature (around 70°F or 21°C) for 24 hours.
- Feeding the Starter: After 24 hours, you may start to see small bubbles forming on the surface of the mixture. This indicates that fermentation has begun. Feed your starter by discarding about half of the mixture and adding equal parts of flour and water to the remaining portion. Stir well to incorporate. Repeat this process every 24 hours, discarding and refreshing the starter with equal parts of flour and water, to feed and strengthen the yeast and bacteria in the culture.
- Maintaining the Starter: As the days go by, you’ll notice the activity in your starter increasing. It will become bubbly and will rise and fall with each feeding. Maintain your starter by continuing to discard and feed it daily, or you can refrigerate it and refresh it once a week if you’re not baking regularly. When storing in the refrigerator, bring the starter to room temperature and feed it a couple of times before using it in a recipe.
- Using the Starter: A mature sourdough starter is ready to use when it is consistently doubling in size within a few hours of each feeding. At this point, your starter is ready to be incorporated into sourdough bread recipes. Measure out the required amount of starter, leaving enough remaining to sustain and continue to feed it for future use.
Remember that each starter is unique, and it may take a few weeks of regular feeding and observation to fully establish a strong and active sourdough starter. With your sourdough starter prepared and properly maintained, you’re now one step closer to baking delicious sourdough bread in your bread machine.
In the next section, we’ll discuss the process of mixing and kneading the dough using your sourdough starter and bread machine.
When making sourdough in a bread machine, be sure to use active sourdough starter and adjust the hydration level to achieve the desired texture. Also, consider adding a small amount of commercial yeast for a more reliable rise.
Read more: How To Make Dough In Bread Machine
Mixing and Kneading the Dough
With your sourdough starter ready to go, it’s time to move on to the next step: mixing and kneading the dough. The bread machine will handle most of the work for you, but there are a few important steps to follow:
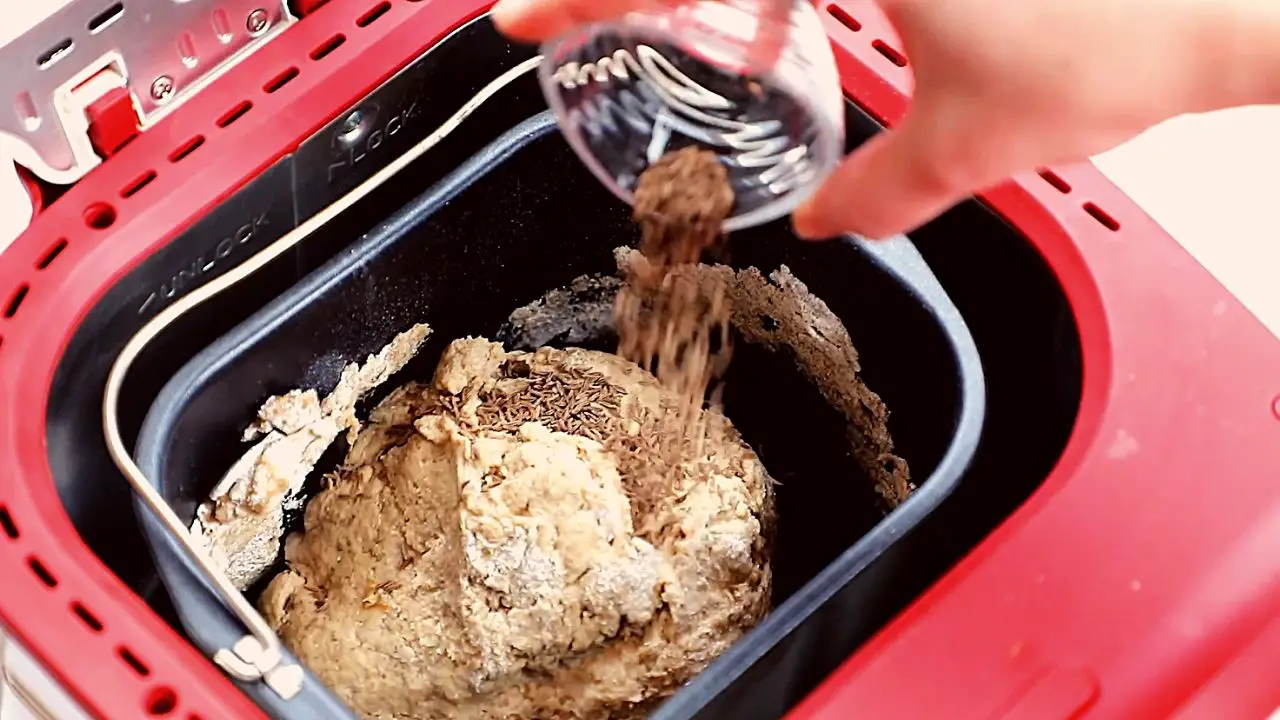
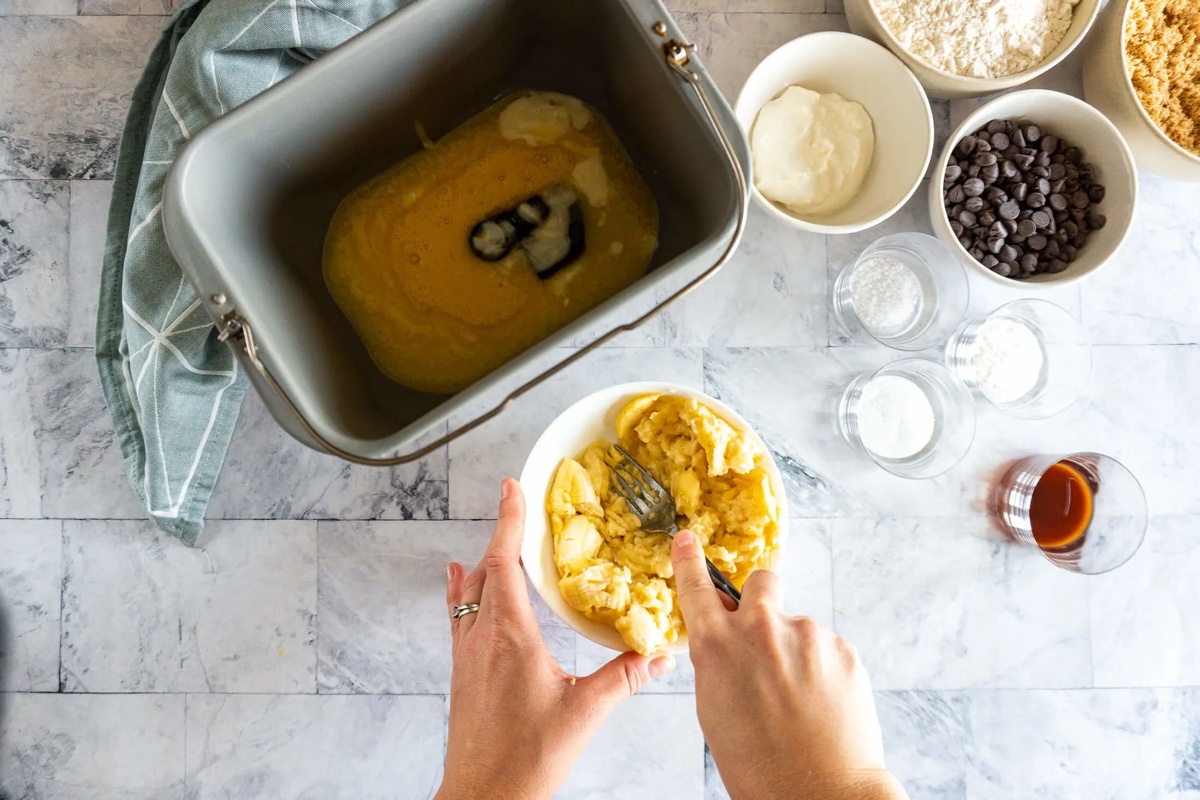
- Measure the Ingredients: Start by measuring the required amount of flour, water, salt, and sourdough starter according to your chosen recipe. Accurate measurements are essential to ensure the right balance of flavors and textures.
- Adding the Ingredients to the Bread Machine: Place the ingredients into the bread machine pan in the order recommended by the manufacturer. Usually, the wet ingredients go first, followed by the dry ingredients with the sourdough starter added last.
- Selecting the Dough Cycle: Set your bread machine to the dough cycle. This cycle usually includes a mix, knead, and first rise stage. The dough cycle on most machines typically lasts about 1.5 to 2 hours.
- Monitoring the Dough: While the machine is running, keep an eye on the dough. It should come together into a smooth, elastic ball. If the dough looks too dry or too wet, you can make adjustments by adding flour or water, a tablespoon at a time, until the desired consistency is reached. The dough should be slightly sticky but not overly wet.
- Assessing Gluten Development: To check if the gluten has developed sufficiently, you can perform the “windowpane test.” Take a small piece of dough and gently stretch it between your fingers. If the dough stretches without tearing and forms a thin, translucent window-like membrane, the gluten has developed enough.
- Shaping the Dough: After the dough cycle is complete, remove the dough from the bread machine pan onto a lightly floured surface. Gently deflate the dough and shape it into a round or oblong shape, depending on your preference and the type of bread you’re making.
At this point, you’ve successfully mixed and kneaded the dough using your bread machine. The next step is to allow the dough to proof and rise, which we’ll cover in the following section.
Proofing the Dough
After mixing and kneading the dough in your bread machine, the next crucial step is to let the dough go through the proofing process, allowing it to rise and develop its flavors. Here’s what you need to know about proofing the sourdough dough:
- Prepare the Proofing Area: Find a warm, draft-free area in your kitchen for the proofing process. Ideally, the temperature should be around 75°F to 80°F (24°C to 27°C) to encourage proper fermentation. You can use methods like turning your oven on for a few minutes to create a slightly warm environment.
- Cover and Rest: Place the shaped dough on a lightly floured surface, cover it with a clean kitchen towel or plastic wrap, and let it rest for about 30 minutes. This resting time helps the dough relax and makes it easier to shape.
- First Proof: After the resting period, transfer the dough to a proofing basket or a well-floured bowl. Cover it again and let it go through the first proof or rise. This stage typically lasts anywhere from 1 to 3 hours, depending on factors like room temperature and the strength of your sourdough starter. The dough should roughly double in size and feel puffy when gently pressed with a finger.
- Optional Cold Proof: For enhanced flavor development, you can opt for a cold proof. Place the dough, covered, in the refrigerator for an extended period, usually 12 to 24 hours. The cold proofing allows the flavors to deepen and can make the bread more digestible. If you choose this method, make sure to adjust the timing accordingly.
- Second Proof: Once the first proof or cold proof is complete, remove the dough from the refrigerator (if applicable) and let it come to room temperature. Allow the dough to go through a second proofing period, which usually takes around 1 to 2 hours. This proofing stage gives the dough a final rise before baking.
Proofing times can vary based on various factors such as room temperature, sourdough starter activity, and the recipe you’re following. It’s essential to keep an eye on the dough and look for visual cues such as size increase and a slightly domed appearance.
With the dough properly proofed and ready to go, it’s time for the exciting final step—baking the sourdough bread to perfection in your bread machine. We’ll explore this in the next section.
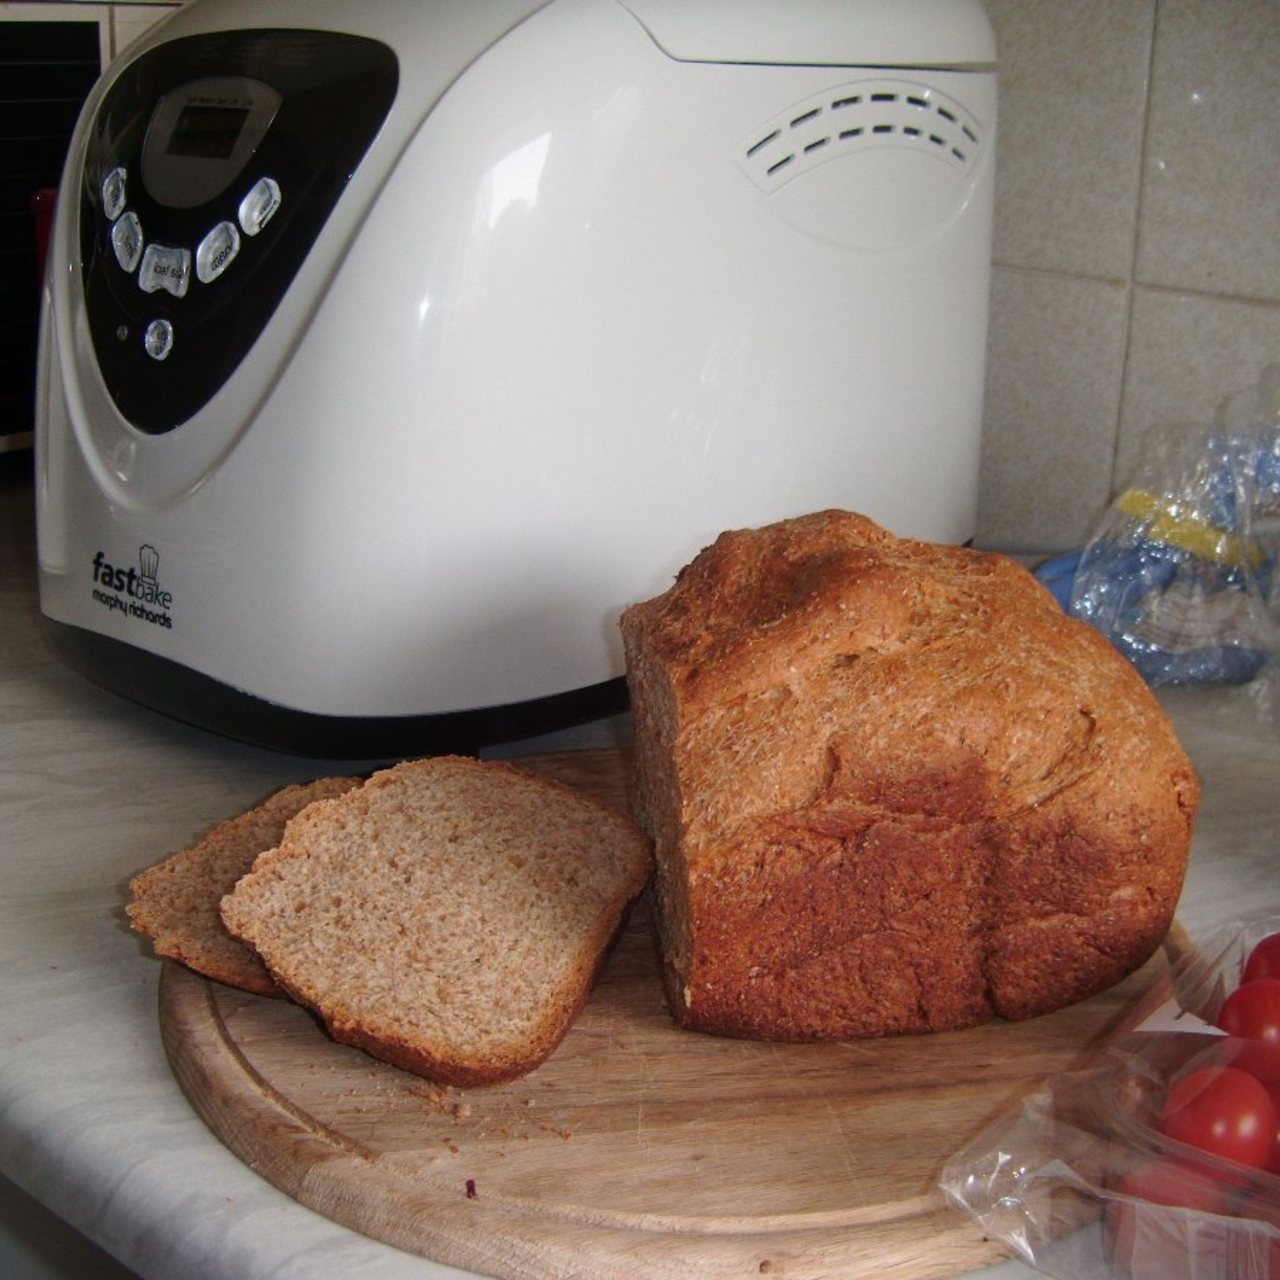
Baking the Sourdough Bread
Now that your sourdough dough has gone through the proofing process and is beautifully risen, it’s time to bake it to perfection in your bread machine. Follow these steps for a successful sourdough bread baking experience:
- Preheat the Bread Machine: Start by preheating your bread machine to the appropriate baking temperature, as specified in your recipe. This usually ranges from 375°F to 425°F (190°C to 220°C).
- Transfer the Dough to the Bread Machine Pan: Carefully transfer the proofed dough from the proofing basket or bowl into the bread machine pan. Ensure that it is evenly distributed and covers the pan’s surface.
- Baking Time: Close the lid of the bread machine and set the baking time according to your recipe. Depending on the size of your loaf and the specific instructions, the baking time can range from 30 to 60 minutes.
- Monitor the Progress: While the bread is baking, keep an eye on its progress through the viewing window, if your machine has one. Avoid opening the lid during baking, as this can release heat and affect the bread’s rise.
- Check for Doneness: Once the baking time is complete, check the doneness of the bread by inserting a skewer or toothpick into the center. If it comes out clean or with just a few crumbs attached, the bread is done. If it needs more time, close the lid and continue baking for a few additional minutes.
- Cooling the Bread: Once baked, carefully remove the bread pan from the machine and transfer the loaf to a wire rack to cool completely. Allow the bread to cool for at least 1 hour before slicing to ensure it maintains its structure.
Remember that baking times can vary depending on your specific bread machine and recipe. It’s important to follow the instructions provided in your recipe and make any adjustments based on your machine’s performance and the desired level of crust color and texture.
With the bread now baked to golden perfection, you can finally enjoy the reward of your efforts— a delicious, homemade sourdough bread ready to be sliced, toasted, or enjoyed however you prefer.
If you encounter any issues or have questions along the way, don’t worry. Troubleshooting tips are available to help you overcome common challenges, which we’ll discuss in the next section.
Troubleshooting Tips
While making sourdough bread in a bread machine can be a rewarding experience, it’s not uncommon to encounter some challenges along the way. Here are a few troubleshooting tips to help you overcome common issues and achieve the best possible results:
- Dense or Heavy Loaf: If your sourdough bread turns out dense or heavy, it may be due to improper gluten development. Ensure that you are kneading the dough adequately during the mixing process. You can also try using bread flour with a higher protein content to strengthen the gluten structure.
- Flat or Sunken Bread: A flat or sunken loaf can result from insufficient proofing time. Make sure to allow the dough to rise adequately during both the first and second proofing stages. Also, ensure that your sourdough starter is active and healthy before using it.
- Mushy or Undercooked Crust: If your crust is coming out mushy or undercooked, it may be due to insufficient baking time or temperature. Double-check your bread machine’s settings and make sure the loaf bakes for the recommended amount of time. You can also try increasing the baking temperature slightly for a more crusty result.
- Overly Dark or Burnt Crust: If your bread crust is constantly coming out overly dark or burnt, it may be due to excessively high baking temperatures or extended baking times. Adjust the baking temperature or reduce the baking time to prevent the crust from becoming too dark.
- Dough Sticking to the Pan: To prevent the dough from sticking to the bread machine pan, make sure to properly grease or flour the pan before adding the dough. If necessary, you can also line the pan with parchment paper to ensure easy release.
- Sour Flavor is Too Strong: While sourdough bread is known for its tangy flavor, if the sourness is overpowering, you can try adjusting the fermentation time. Shorten the proofing stages or consider reducing the sourdough starter amount in your recipe for a milder flavor.
Remember that baking can be a learning process, and it may take a few tries to achieve your desired results. Don’t be discouraged by setbacks—learn from them and keep experimenting to improve your sourdough bread-making skills.
Now that you’re armed with these troubleshooting tips, you’re ready to tackle any challenges that may come your way and create beautiful, delicious sourdough bread in your bread machine.
Let’s wrap up this article with some final thoughts on the wonderful world of sourdough bread and its unique allure.
Read more: How To Make Yogurt In A Bread Machine
Conclusion
Making sourdough bread in a bread machine is a convenient and accessible way to experience the joy of homemade, tangy loaves without the need for complex techniques. By following the steps outlined in this article, you can achieve delicious results and enjoy the wonderful flavors and textures of sourdough bread right in your own kitchen.
From choosing the right bread machine to gathering the ingredients, preparing the sourdough starter, mixing and kneading the dough, proofing, and finally baking the bread – each step plays a crucial role in creating a successful and flavorful loaf.
Remember, the journey of sourdough bread-making is not just about following a recipe but also about nurturing your own sourdough starter and observing the miraculous transformation of flour, water, and time into a delicious, tangy masterpiece. Embrace the process, make adjustments along the way, and enjoy the learning experience.
Don’t forget to troubleshoot any challenges you may encounter, whether it’s a dense loaf or a burnt crust. With the right knowledge and perseverance, you can overcome these obstacles and continue to improve your skills as a sourdough bread baker.
So, why not embark on this delightful bread-making adventure and add the magic of homemade sourdough to your life? From the enticing aroma that fills your kitchen to the satisfaction of breaking into a crusty loaf, sourdough bread is sure to become a staple in your culinary repertoire.
Now, gather your ingredients, fire up your bread machine, and let the journey begin. Happy baking!
Frequently Asked Questions about How To Make Sourdough In Bread Machine
Was this page helpful?
At Storables.com, we guarantee accurate and reliable information. Our content, validated by Expert Board Contributors, is crafted following stringent Editorial Policies. We're committed to providing you with well-researched, expert-backed insights for all your informational needs.


0 thoughts on “How To Make Sourdough In Bread Machine”