Articles
How To Store Sourdough Starter On Counter
Modified: February 23, 2024
Learn the best practices for storing your sourdough starter on the counter in this informative article. Discover key tips and tricks for maintaining a healthy and active starter.
(Many of the links in this article redirect to a specific reviewed product. Your purchase of these products through affiliate links helps to generate commission for Storables.com, at no extra cost. Learn more)
Introduction
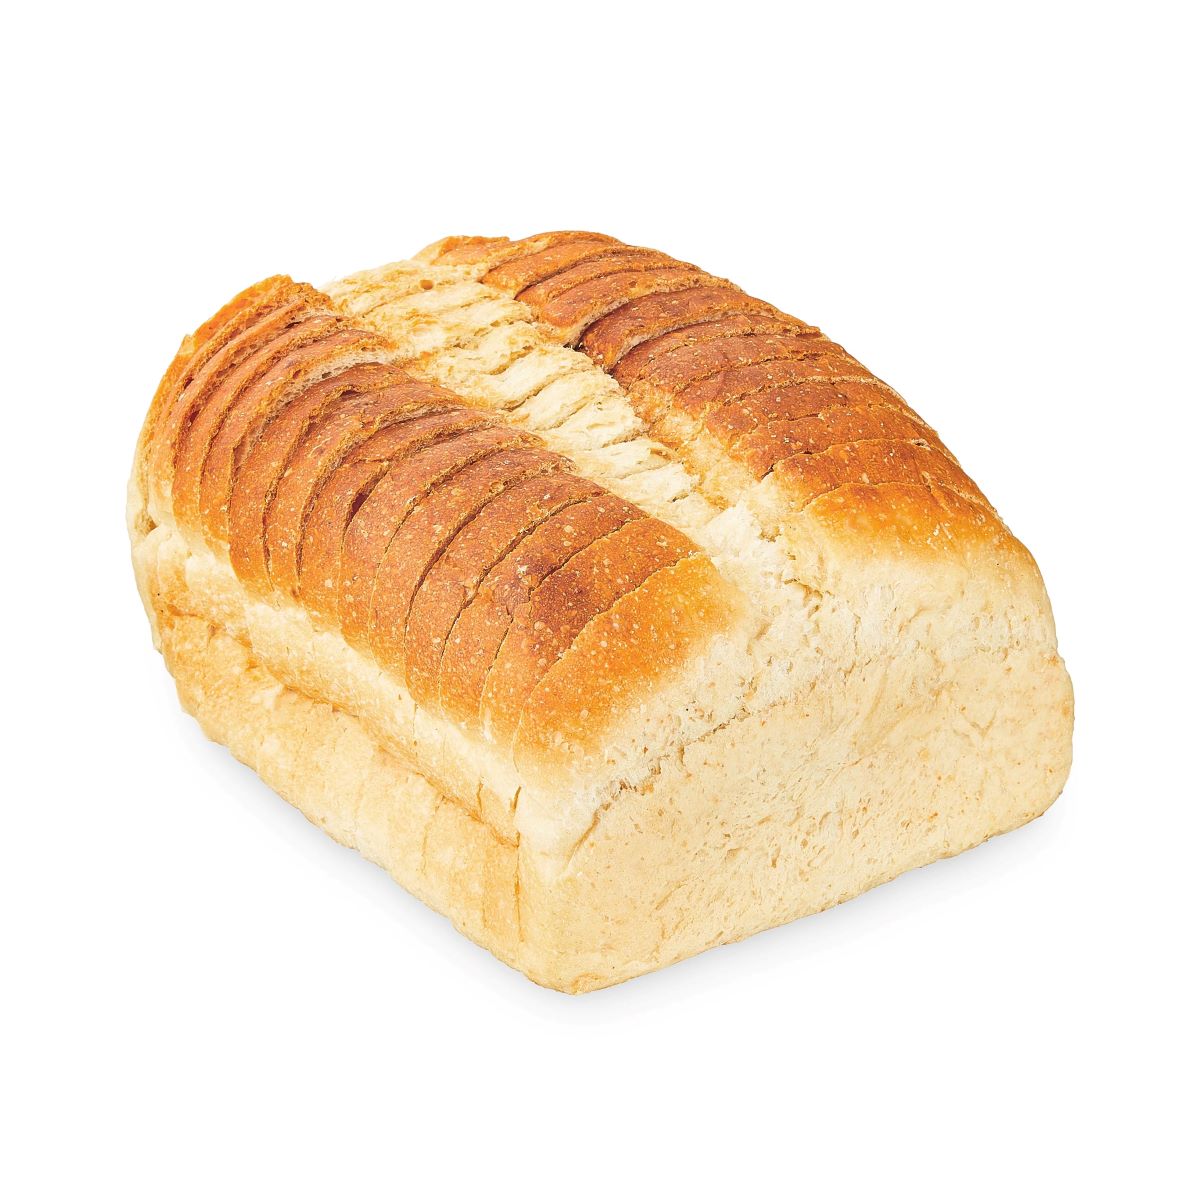
Welcome to the world of sourdough baking! Whether you are a seasoned baker or just starting out, you have probably heard about the magic of sourdough starter. This living mixture of flour and water is the key to making delicious and flavorful sourdough bread.
One of the important aspects of sourdough starter is storing it properly. Many bakers choose to store their sourdough starter in the fridge, but did you know that you can also store it on your kitchen counter?
In this article, we will explore the benefits of storing sourdough starter on the counter and guide you through the steps to do it successfully. So, let’s dive in and discover a new way to store your sourdough starter!
Key Takeaways:
- Storing sourdough starter on the counter offers convenience, flavor development, and improved bread texture. It allows for spontaneous baking and a richer, more flavorful bread.
- Regular feeding, consistent temperature, and observation are key to maintaining a healthy counter-stored sourdough starter. Troubleshoot common issues with patience and experimentation for successful sourdough baking.
Read more: How To Store Sourdough Starter
Understanding Sourdough Starter
Before we jump into storing sourdough starter on the counter, let’s gain a deeper understanding of what sourdough starter actually is. Sourdough starter is a naturally fermented mixture made from flour and water. This mixture becomes a home for wild yeast and lactobacilli, which are the key players responsible for the fermentation process in sourdough baking.
Wild yeast is naturally present in the environment, and when combined with flour and water, it begins to feed on the sugars in the mixture, producing carbon dioxide gas and ethyl alcohol. This is what gives sourdough bread its distinct flavor and airy texture.
Lactobacilli, on the other hand, are a type of friendly bacteria that also contribute to the fermentation process. They give sourdough bread its characteristic tangy taste and improve its digestibility.
Unlike commercial yeast, which is a single strain of yeast that ferments bread dough quickly, sourdough starter offers a slower and more complex fermentation process. This results in a more flavorful and nutritious bread.
Now that we have a basic understanding of sourdough starter and how it works, let’s explore the benefits of storing it on the counter.
Benefits of Storing Sourdough Starter on the Counter
Storing your sourdough starter on the counter has several advantages. Let’s take a closer look at the benefits:
1. Convenience: Storing your sourdough starter on the counter means it is always readily available for baking. You don’t have to remember to take it out of the fridge and wait for it to come to room temperature before using it. This saves you time and allows for more spontaneous baking.
2. Active Fermentation: When you store your sourdough starter at room temperature, the wild yeast and lactobacilli remain active and continue to ferment the mixture. This results in a stronger and more resilient starter that is better equipped to leaven your bread dough.
3. Flavor Development: The longer your sourdough starter sits at room temperature, the more time it has to develop complex flavors. Storing it on the counter allows the fermentation process to progress gradually, resulting in a richer and more flavorful bread.
4. Increased Microbial Diversity: Storing sourdough starter on the counter exposes it to a wider range of microbial activity. This can enhance the diversity of the microorganisms present in your starter, leading to a more robust fermentation process and improved flavor profile.
5. Improved Bread Texture: A sourdough starter that is actively fed and maintained at room temperature tends to have a better balance of yeast and bacteria, resulting in a more consistent and desirable crumb structure in your bread.
While storing sourdough starter on the counter has its benefits, it is important to follow proper maintenance and feeding routines to ensure its longevity and optimal performance. Let’s move on to the next section to learn how to store sourdough starter on the counter.
Steps to Store Sourdough Starter on the Counter
Storing your sourdough starter on the counter requires a few simple steps to ensure its health and vitality. Let’s walk through the process together:
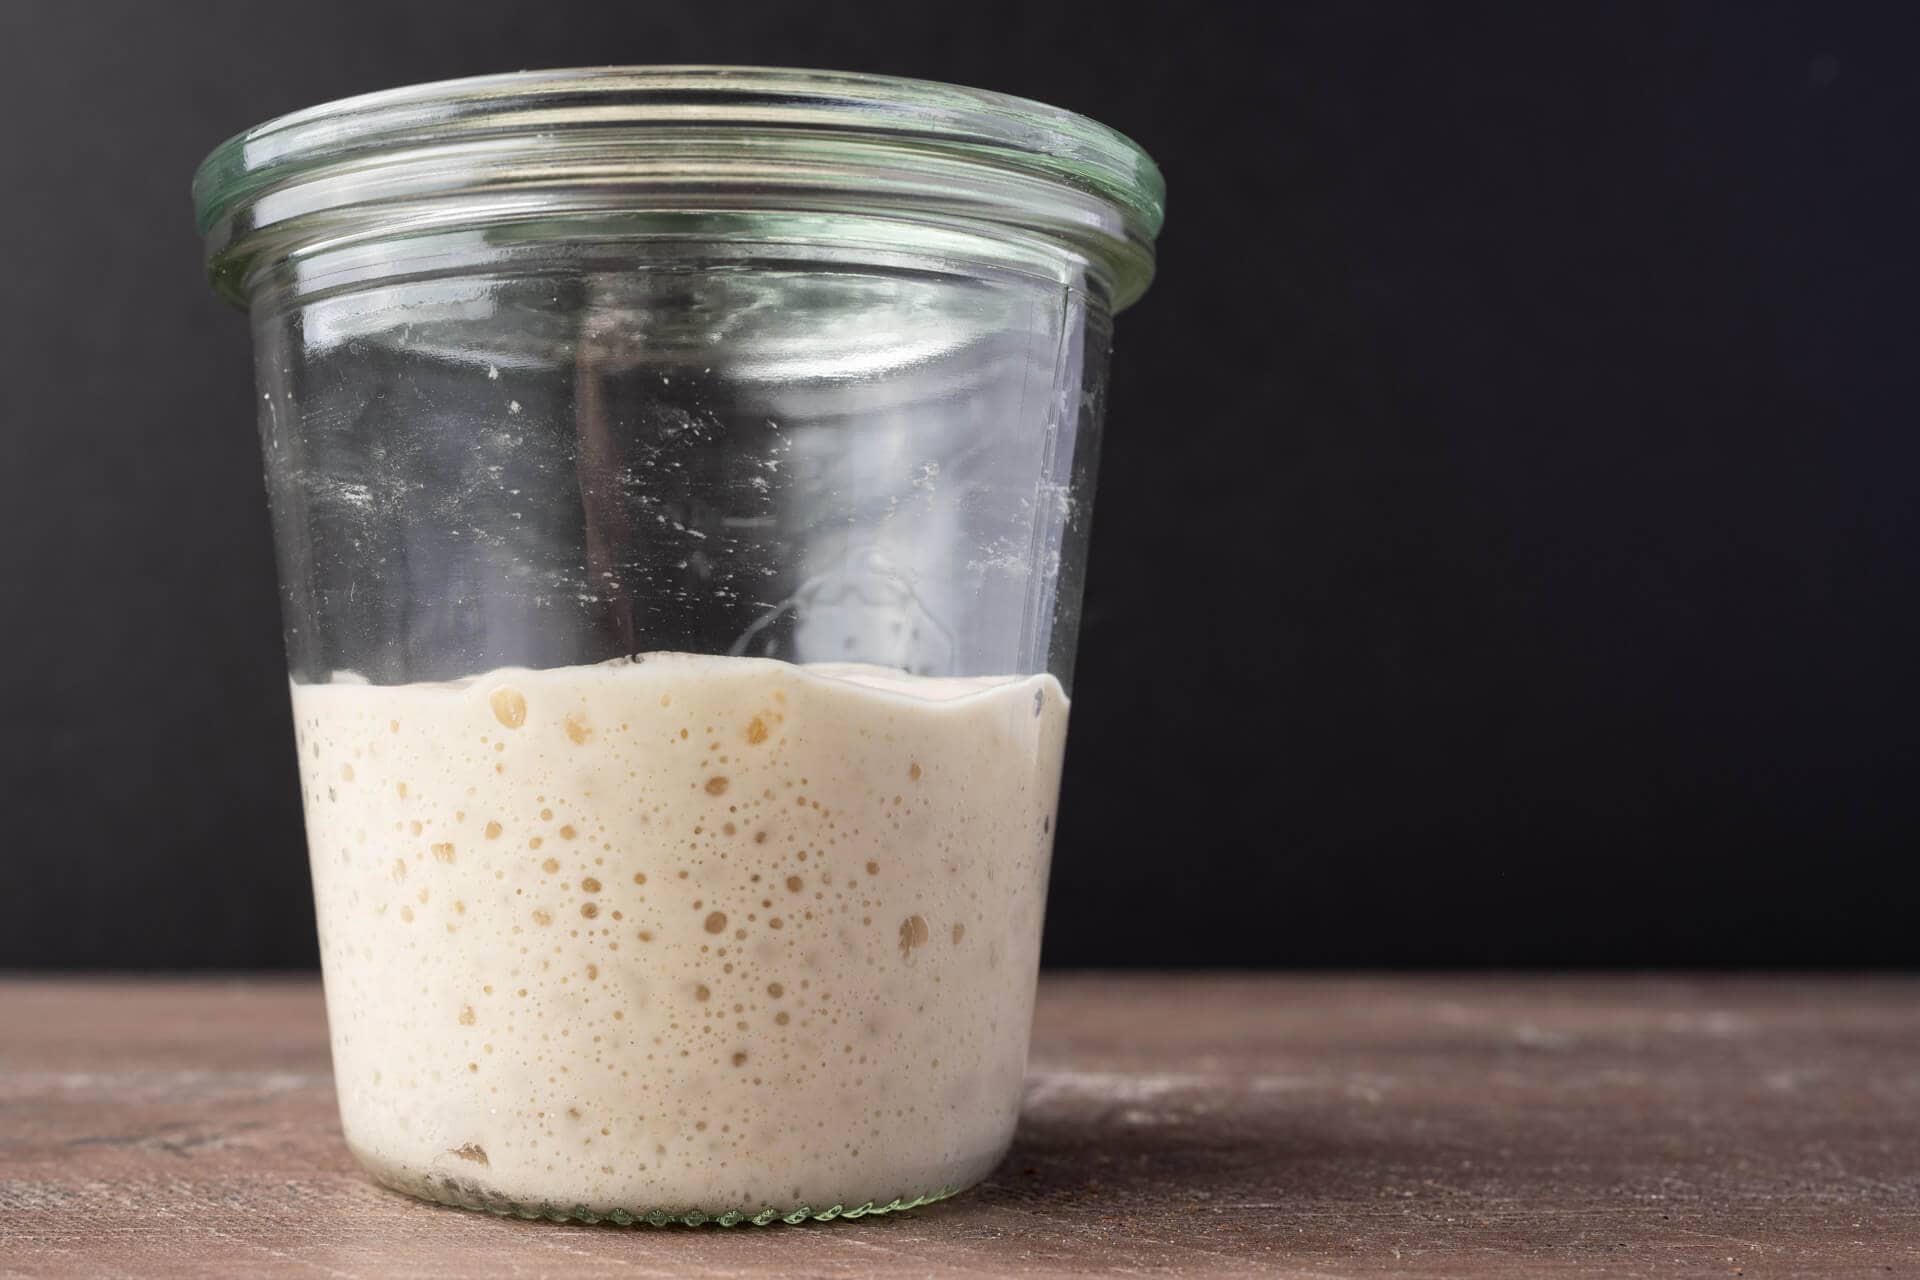
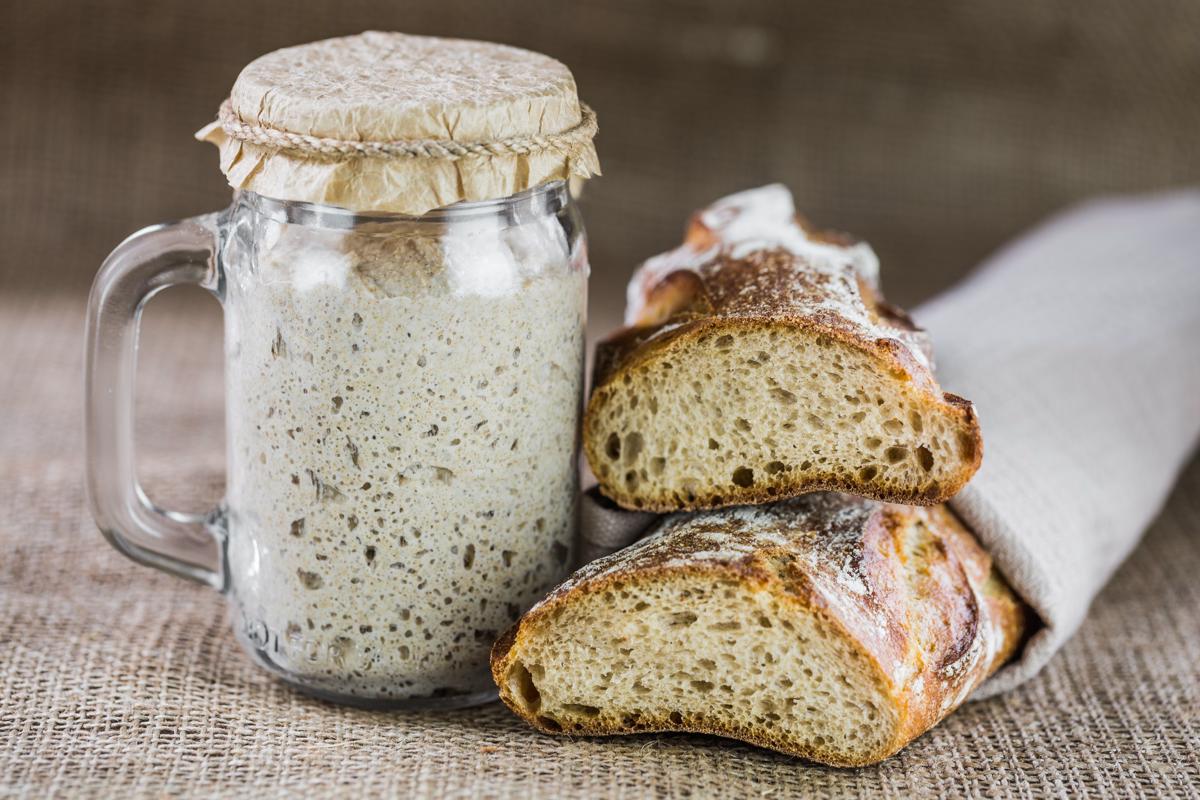
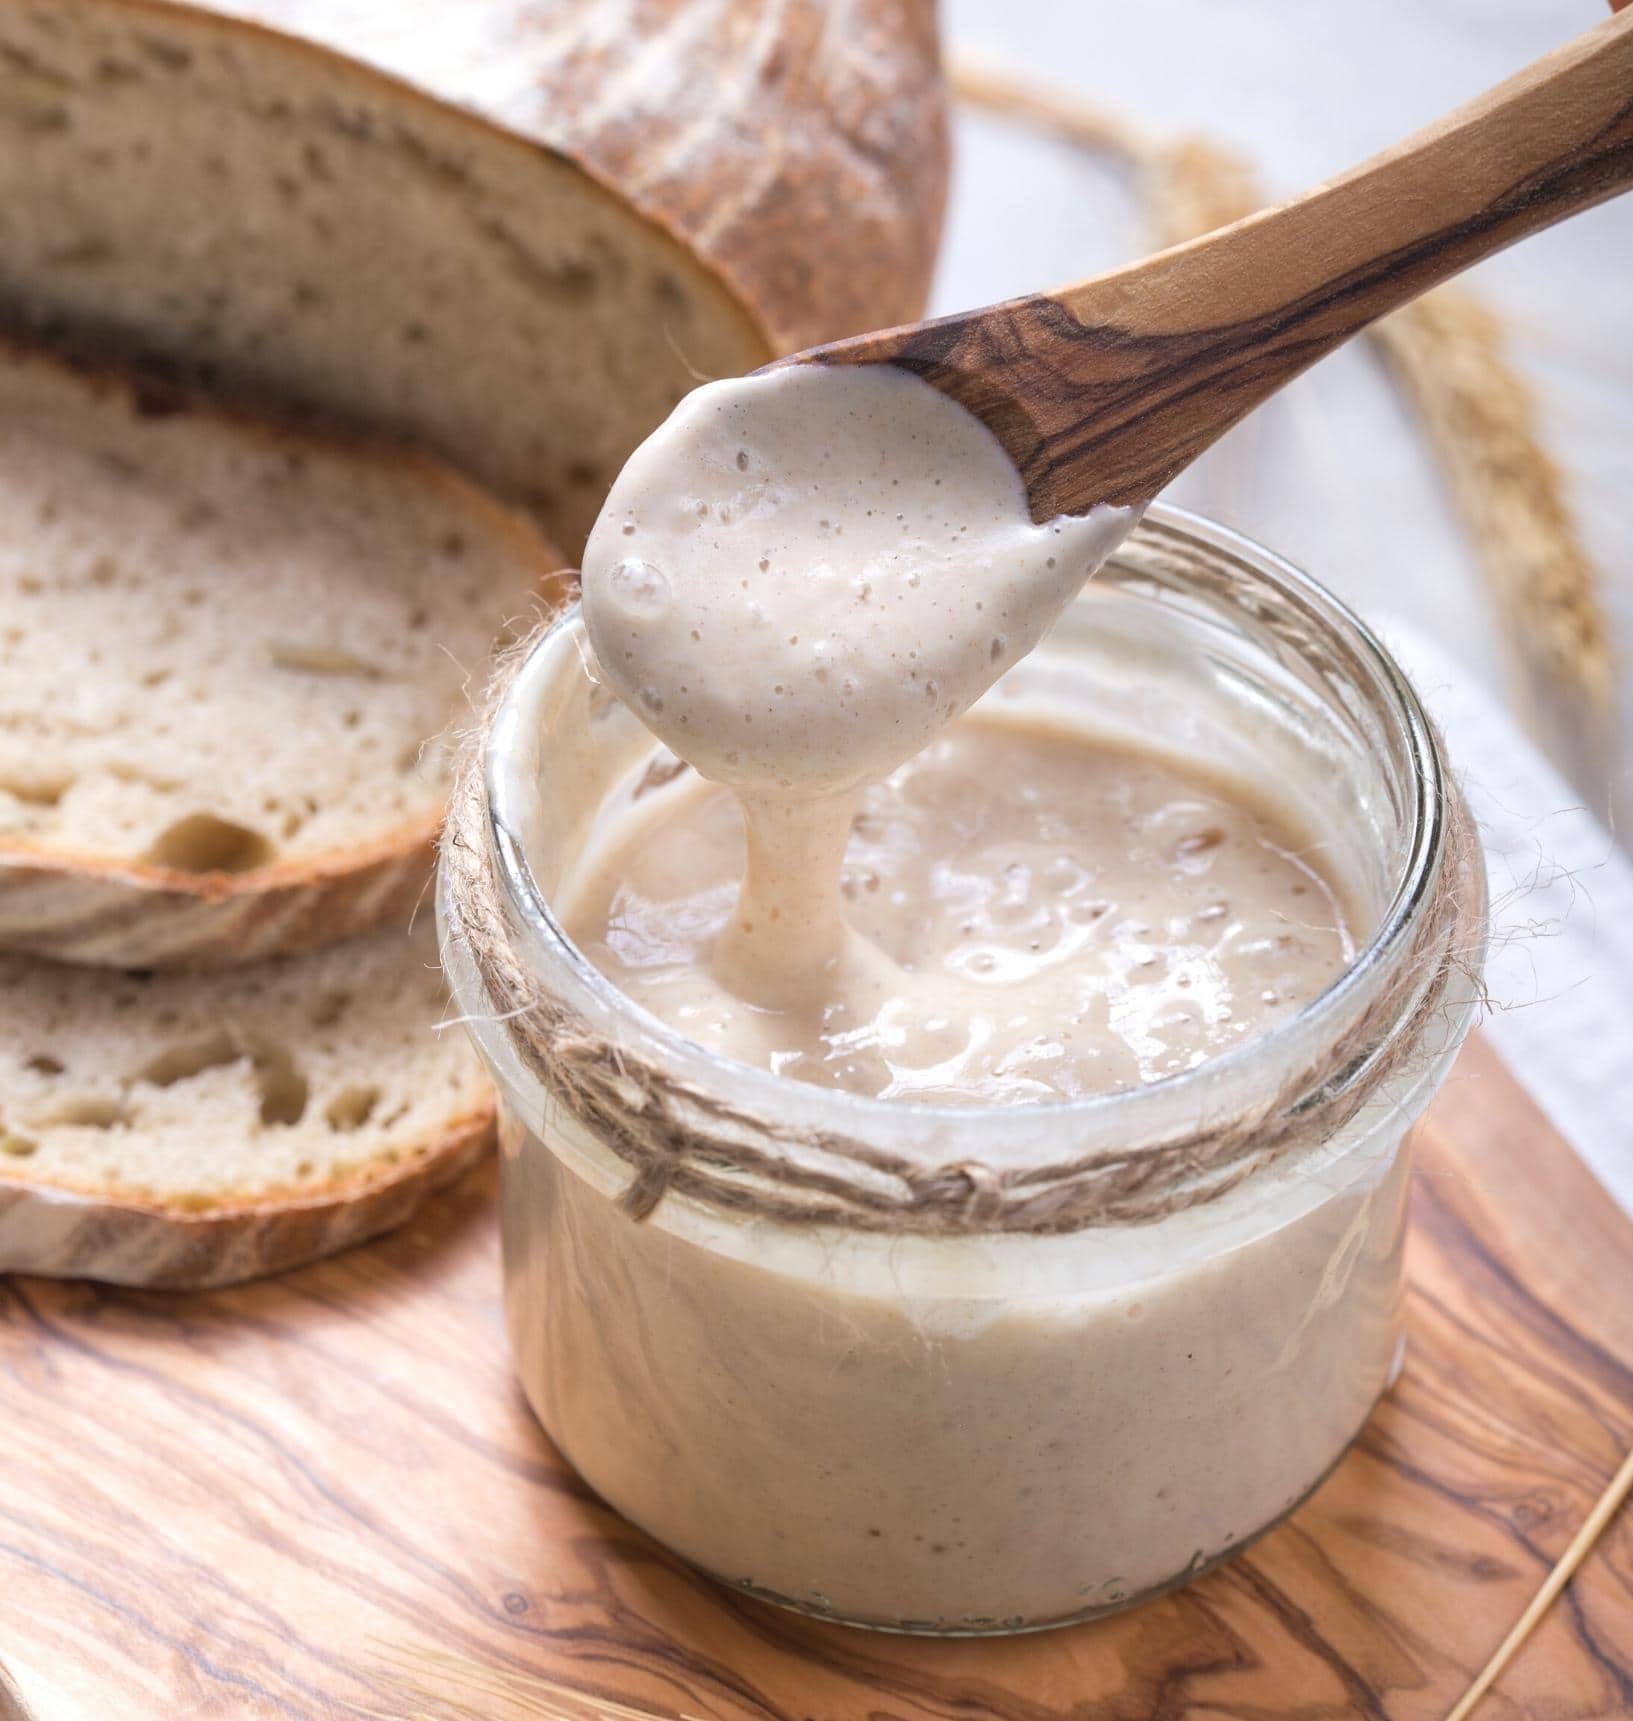
- Obtain a glass jar: Start by finding a clean and lidded glass jar that can comfortably hold your sourdough starter. A quart-sized jar is usually sufficient.
- Remove excess starter: If your current sourdough starter is too large, discard a portion of it to make room for a smaller, manageable amount. You can use the discarded portion to make delicious sourdough discard recipes.
- Transfer the starter: Pour the remaining sourdough starter into the glass jar, ensuring that there is enough room for it to expand as it ferments.
- Feed the starter: Now it’s time to feed your sourdough starter. Add equal parts (by weight) of fresh flour and water to the jar and mix well. For example, if you have 100 grams of starter, add 100 grams each of flour and water. This helps to refresh the starter and provide it with the nutrients it needs to thrive.
- Mark the jar: Use a marker or tape to mark the level of the sourdough starter on the jar. This will help you monitor its rise and fall during the fermentation process.
- Cover and let it ferment: Place the lid loosely on the jar or cover it with a clean cloth. This allows gas to escape while protecting the starter from contamination. Leave the jar in a warm spot on your kitchen counter, away from direct sunlight and drafts.
- Repeat the feeding process: Every 24 hours, discard a portion of the starter (to maintain a manageable amount) and feed it with fresh flour and water following the same ratio as before. Continue this daily feeding and fermentation process to maintain an active and healthy sourdough starter.
By following these steps, you can successfully store your sourdough starter on the counter and keep it alive and thriving. Now let’s move on to the next section to learn how to maintain and feed your counter-stored sourdough starter.
When storing sourdough starter on the counter, make sure to feed it regularly to keep it active and healthy. Keep it in a clean, airtight container and store it in a warm spot to encourage fermentation.
Maintaining and Feeding the Counter-Stored Sourdough Starter
Now that you have successfully stored your sourdough starter on the counter, it’s essential to maintain and feed it regularly to keep it healthy and active. Here are some guidelines to help you maintain your counter-stored sourdough starter:
1. Daily Feeding: The key to maintaining an active sourdough starter is regular feeding. Every 24 hours, discard a portion of the starter (usually about half) to prevent it from becoming too large and unmanageable. Then, feed the remaining starter with fresh flour and water using the same ratio as before. This process keeps your starter well-nourished and prevents the buildup of acidity.
2. Consistent Temperature: Temperature plays a crucial role in the fermentation process of your sourdough starter. Aim to keep your counter-stored starter within a temperature range of 70-80°F (21-27°C). This range provides an ideal environment for the growth of yeast and bacteria.
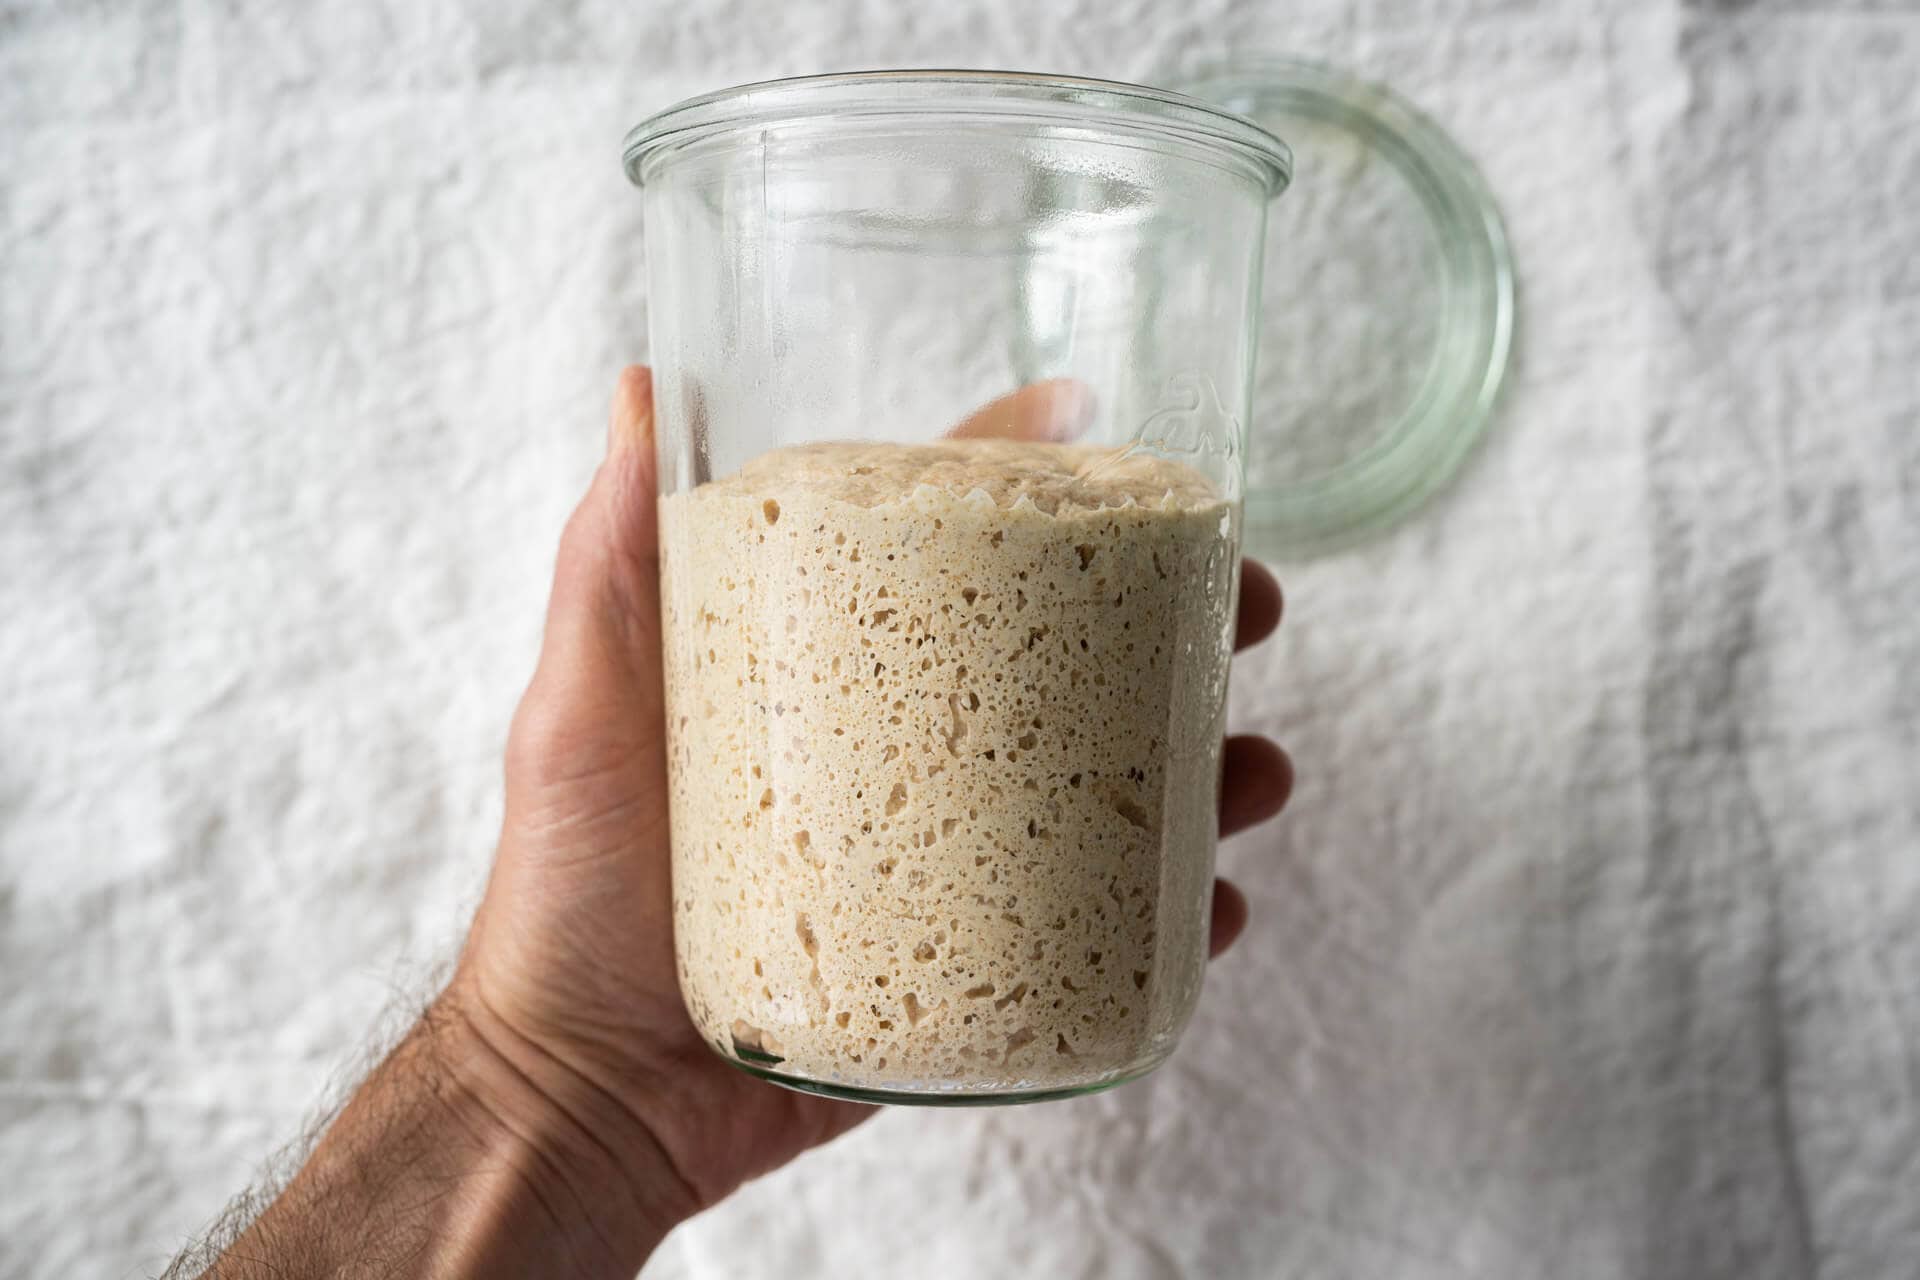
3. Observation and Adjustments: Take time each day to observe your counter-stored sourdough starter. Notice its rise and fall after each feeding. If your starter consistently doubles in volume within a few hours of feeding and then begins to deflate, it is a sign that your starter is healthy and active. However, if it rises too quickly or takes a long time to rise, you may need to adjust your feeding ratio or temperature to find the perfect balance.
4. Smell and Texture: Pay attention to the smell and texture of your sourdough starter. A healthy starter should have a slightly sweet and tangy aroma, reminiscent of ripe fruit. The texture should be bubbly, with a consistency similar to a thick pancake batter. If you notice any off-putting smells, discoloration, or abnormal textures, it may be a sign of contamination or imbalance in your starter.
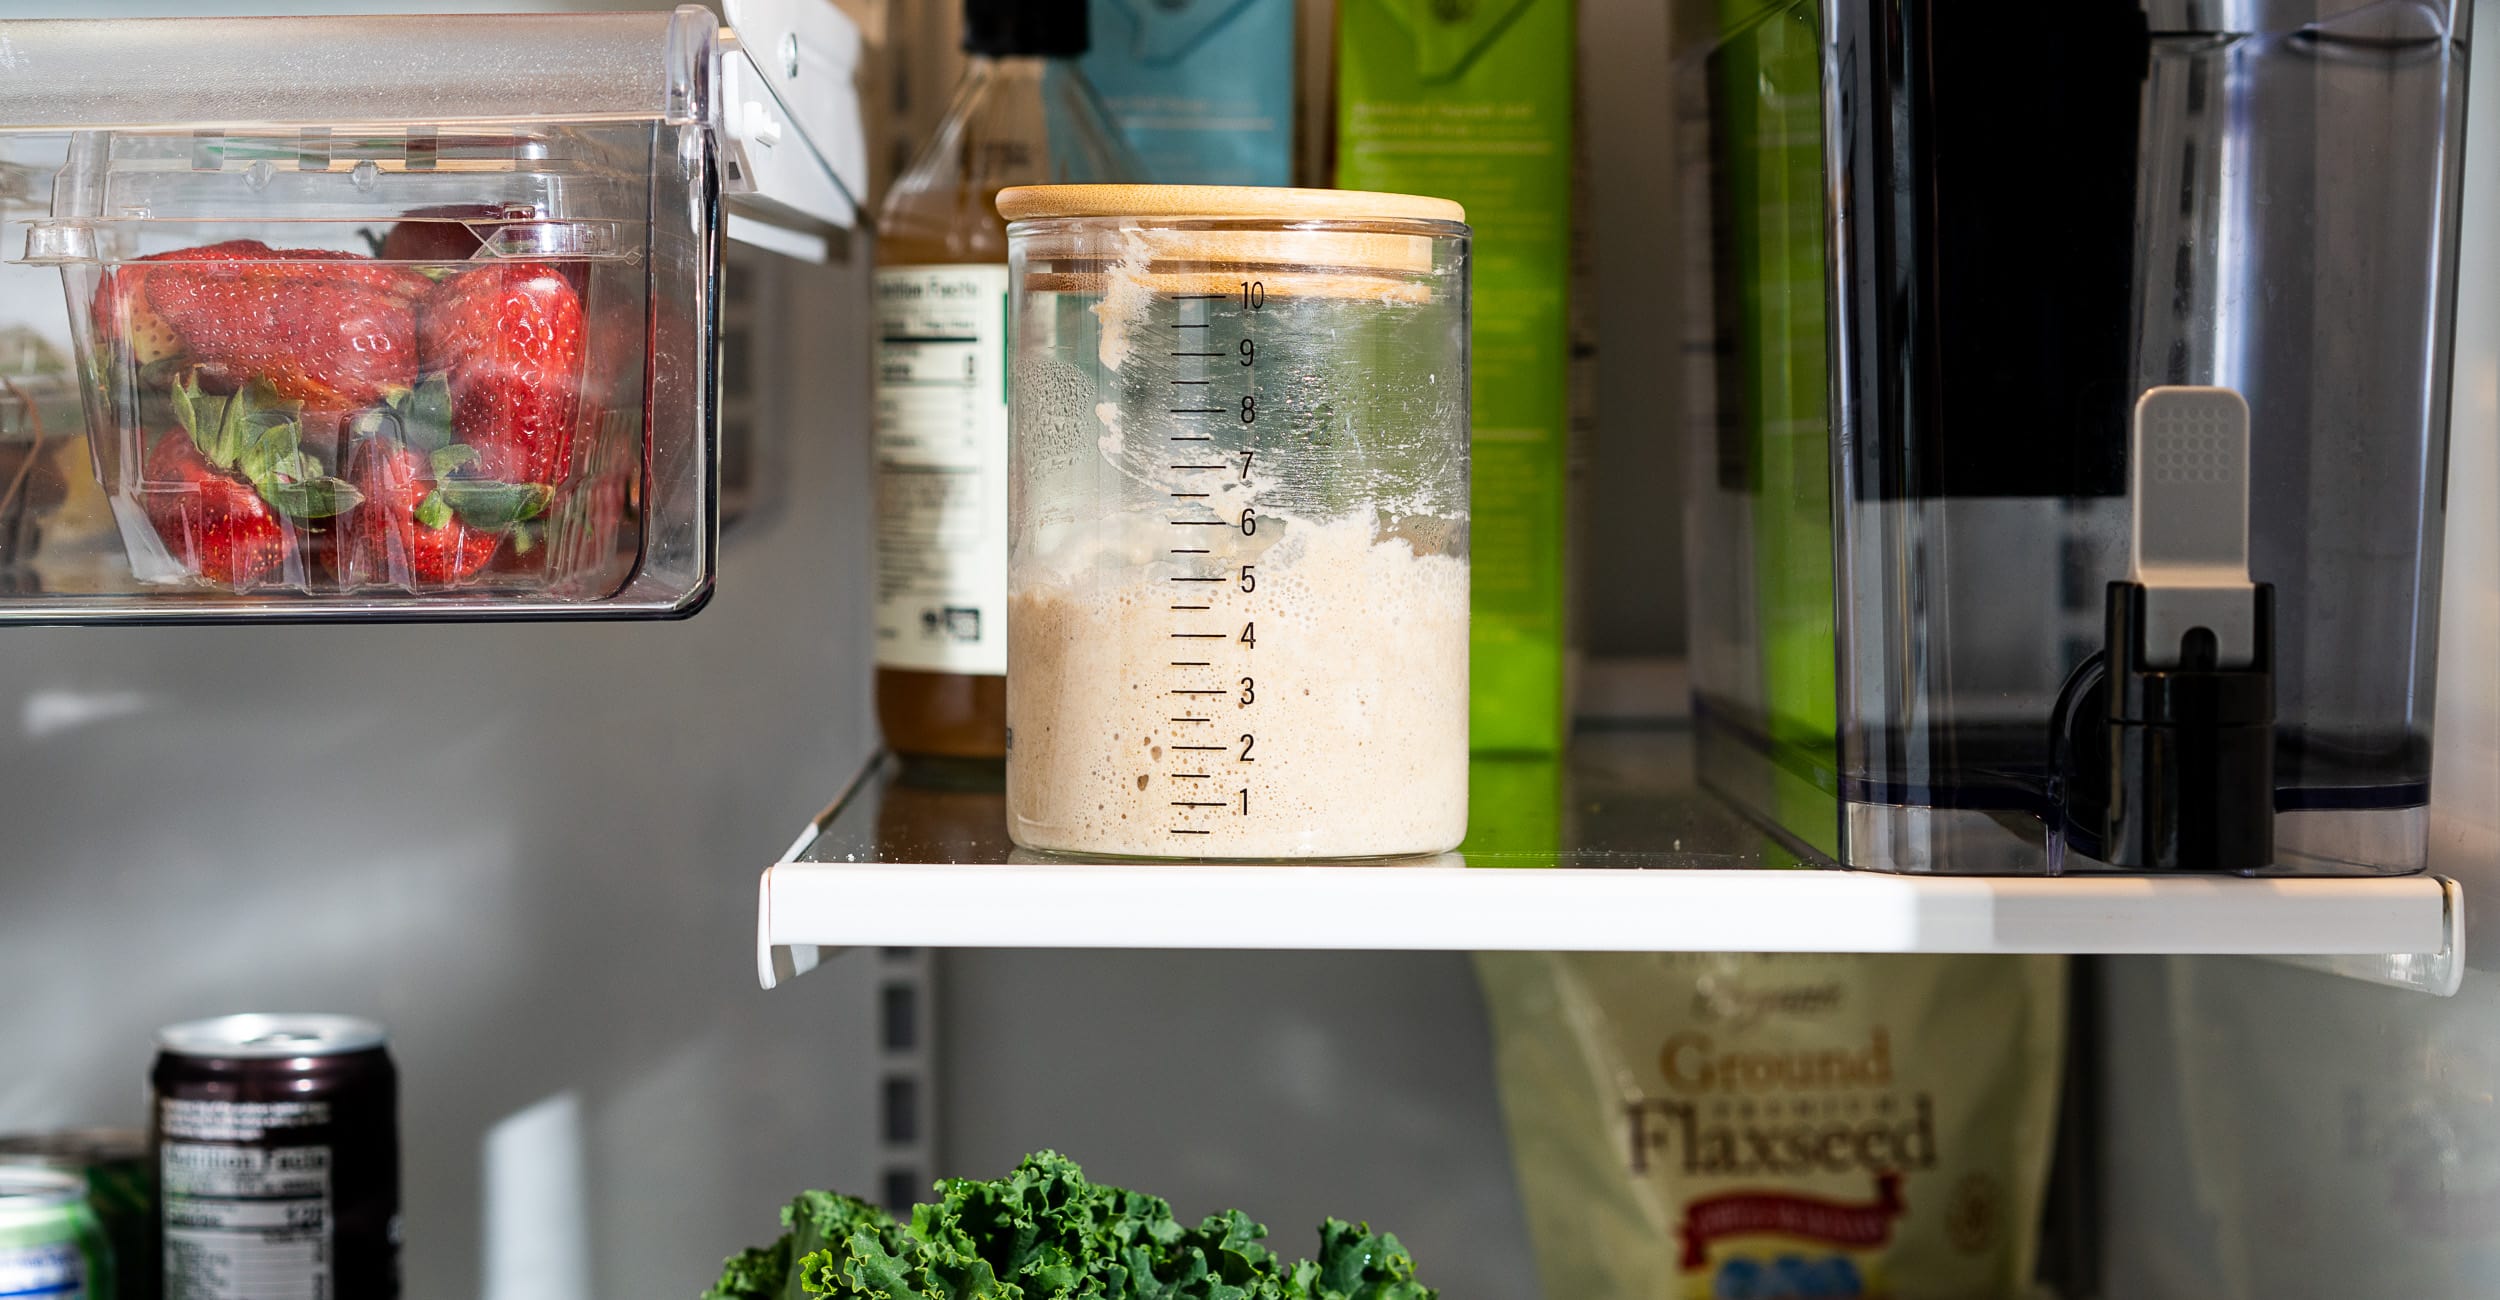
5. Storage Adjustment: If you plan to take a break from baking or need to slow down the fermentation process, you can adjust your feeding routine. Feed your starter with fresh flour and water as usual, then store it in the fridge instead of leaving it on the counter. This temperature change will slow down the activity of the starter, allowing you to feed it less frequently.
By following these maintenance and feeding practices, you can ensure the vitality and longevity of your counter-stored sourdough starter. Now, let’s move on to some additional tips to help you succeed in storing sourdough starter on the counter.
Read more: How To Store A Sourdough Starter
Tips for Successful Counter-Storage of Sourdough Starter
Storing your sourdough starter on the counter can be a rewarding experience, but it does require proper care and attention. Here are some helpful tips to ensure the success of your counter-stored sourdough starter:
- Use a consistent feeding schedule: Stick to a regular feeding routine to maintain the health and activity of your sourdough starter. Feeding it at the same time each day helps establish a stable fermentation cycle.
- Adjust hydration as needed: The hydration level of your sourdough starter influences its consistency and behavior. If you find that your starter is too thick, add a little more water during feedings. If it is too runny, increase the amount of flour you feed it.
- Keep a smaller starter: Unless you are baking large batches of bread regularly, it’s advisable to maintain a smaller quantity of sourdough starter. This makes it easier to handle and requires less feeding and maintenance.
- Maintain good hygiene: Always use clean utensils and jars when working with your sourdough starter. This reduces the risk of contamination and ensures the starter’s health. Wash your hands before handling the starter to avoid introducing unwanted bacteria.
- Consider ambient temperature: The temperature of your kitchen plays a significant role in the fermentation process. If your kitchen is too warm, your starter may ferment too quickly. If it’s too cold, it may become sluggish. Adjust your feeding routine and temperature settings accordingly.
- Label and date your starter: To track the age of your sourdough starter, label the jar with the date of the last feeding. This helps you keep track of its activity and freshness, especially if you have multiple starters.
- Experiment with different flours: Don’t be afraid to experiment with different types of flours in your sourdough starter. This can add unique flavors and nutrients to your bread. Rye flour, whole wheat flour, or even ancient grain flours can be wonderful additions to your starter.
- Don’t be discouraged by setbacks: Sourdough baking is a journey that involves trial and error. If your starter is not behaving as expected or you encounter a setback, don’t give up. Take note of what you observed and make adjustments to your feeding routine or environment. With patience and persistence, you will master the art of sourdough baking.
By incorporating these tips into your sourdough baking routine, you can increase the chances of successful counter-storage for your sourdough starter. Now, let’s move on to troubleshooting common issues that may arise with a counter-stored sourdough starter.
Troubleshooting Common Issues with Counter-Stored Sourdough Starter
While counter-storing your sourdough starter can be a convenient and effective method, you may encounter some common issues along the way. Here are some troubleshooting tips for the most common problems:
1. Slow Rise: If your sourdough starter is taking longer than usual to rise, it may indicate that the wild yeast activity is low. Try adjusting the temperature by placing the starter in a slightly warmer spot, around 75-80°F (24-27°C). You can also give it a boost by feeding it with a higher ratio of flour to water, which encourages yeast growth.
2. Excessive Rise and Fall: If your sourdough starter rises quickly after feeding but then collapses soon after, it may indicate that the yeast is running out of food or producing too much acid. To address this, try feeding it more frequently or increasing the amount of flour during each feeding to provide more sustenance and balance the acidity.
3. Unpleasant Smell: If your sourdough starter has a strong, unpleasant odor, it could be a sign of contamination. Start by discarding a portion of the starter and feeding it with fresh flour and water. Maintain good hygiene and ensure your feeding utensils and jars are thoroughly clean. If the smell persists, you may need to start a new batch of sourdough starter.
4. Lack of Bubbles: Bubbles are a sign of fermentation and yeast activity. If your sourdough starter lacks bubbles, it might indicate that the yeast is inactive or weak. Check the ambient temperature and adjust it if necessary. Ensure that you are feeding your starter with enough fresh flour and water to provide sufficient nutrients for yeast growth.
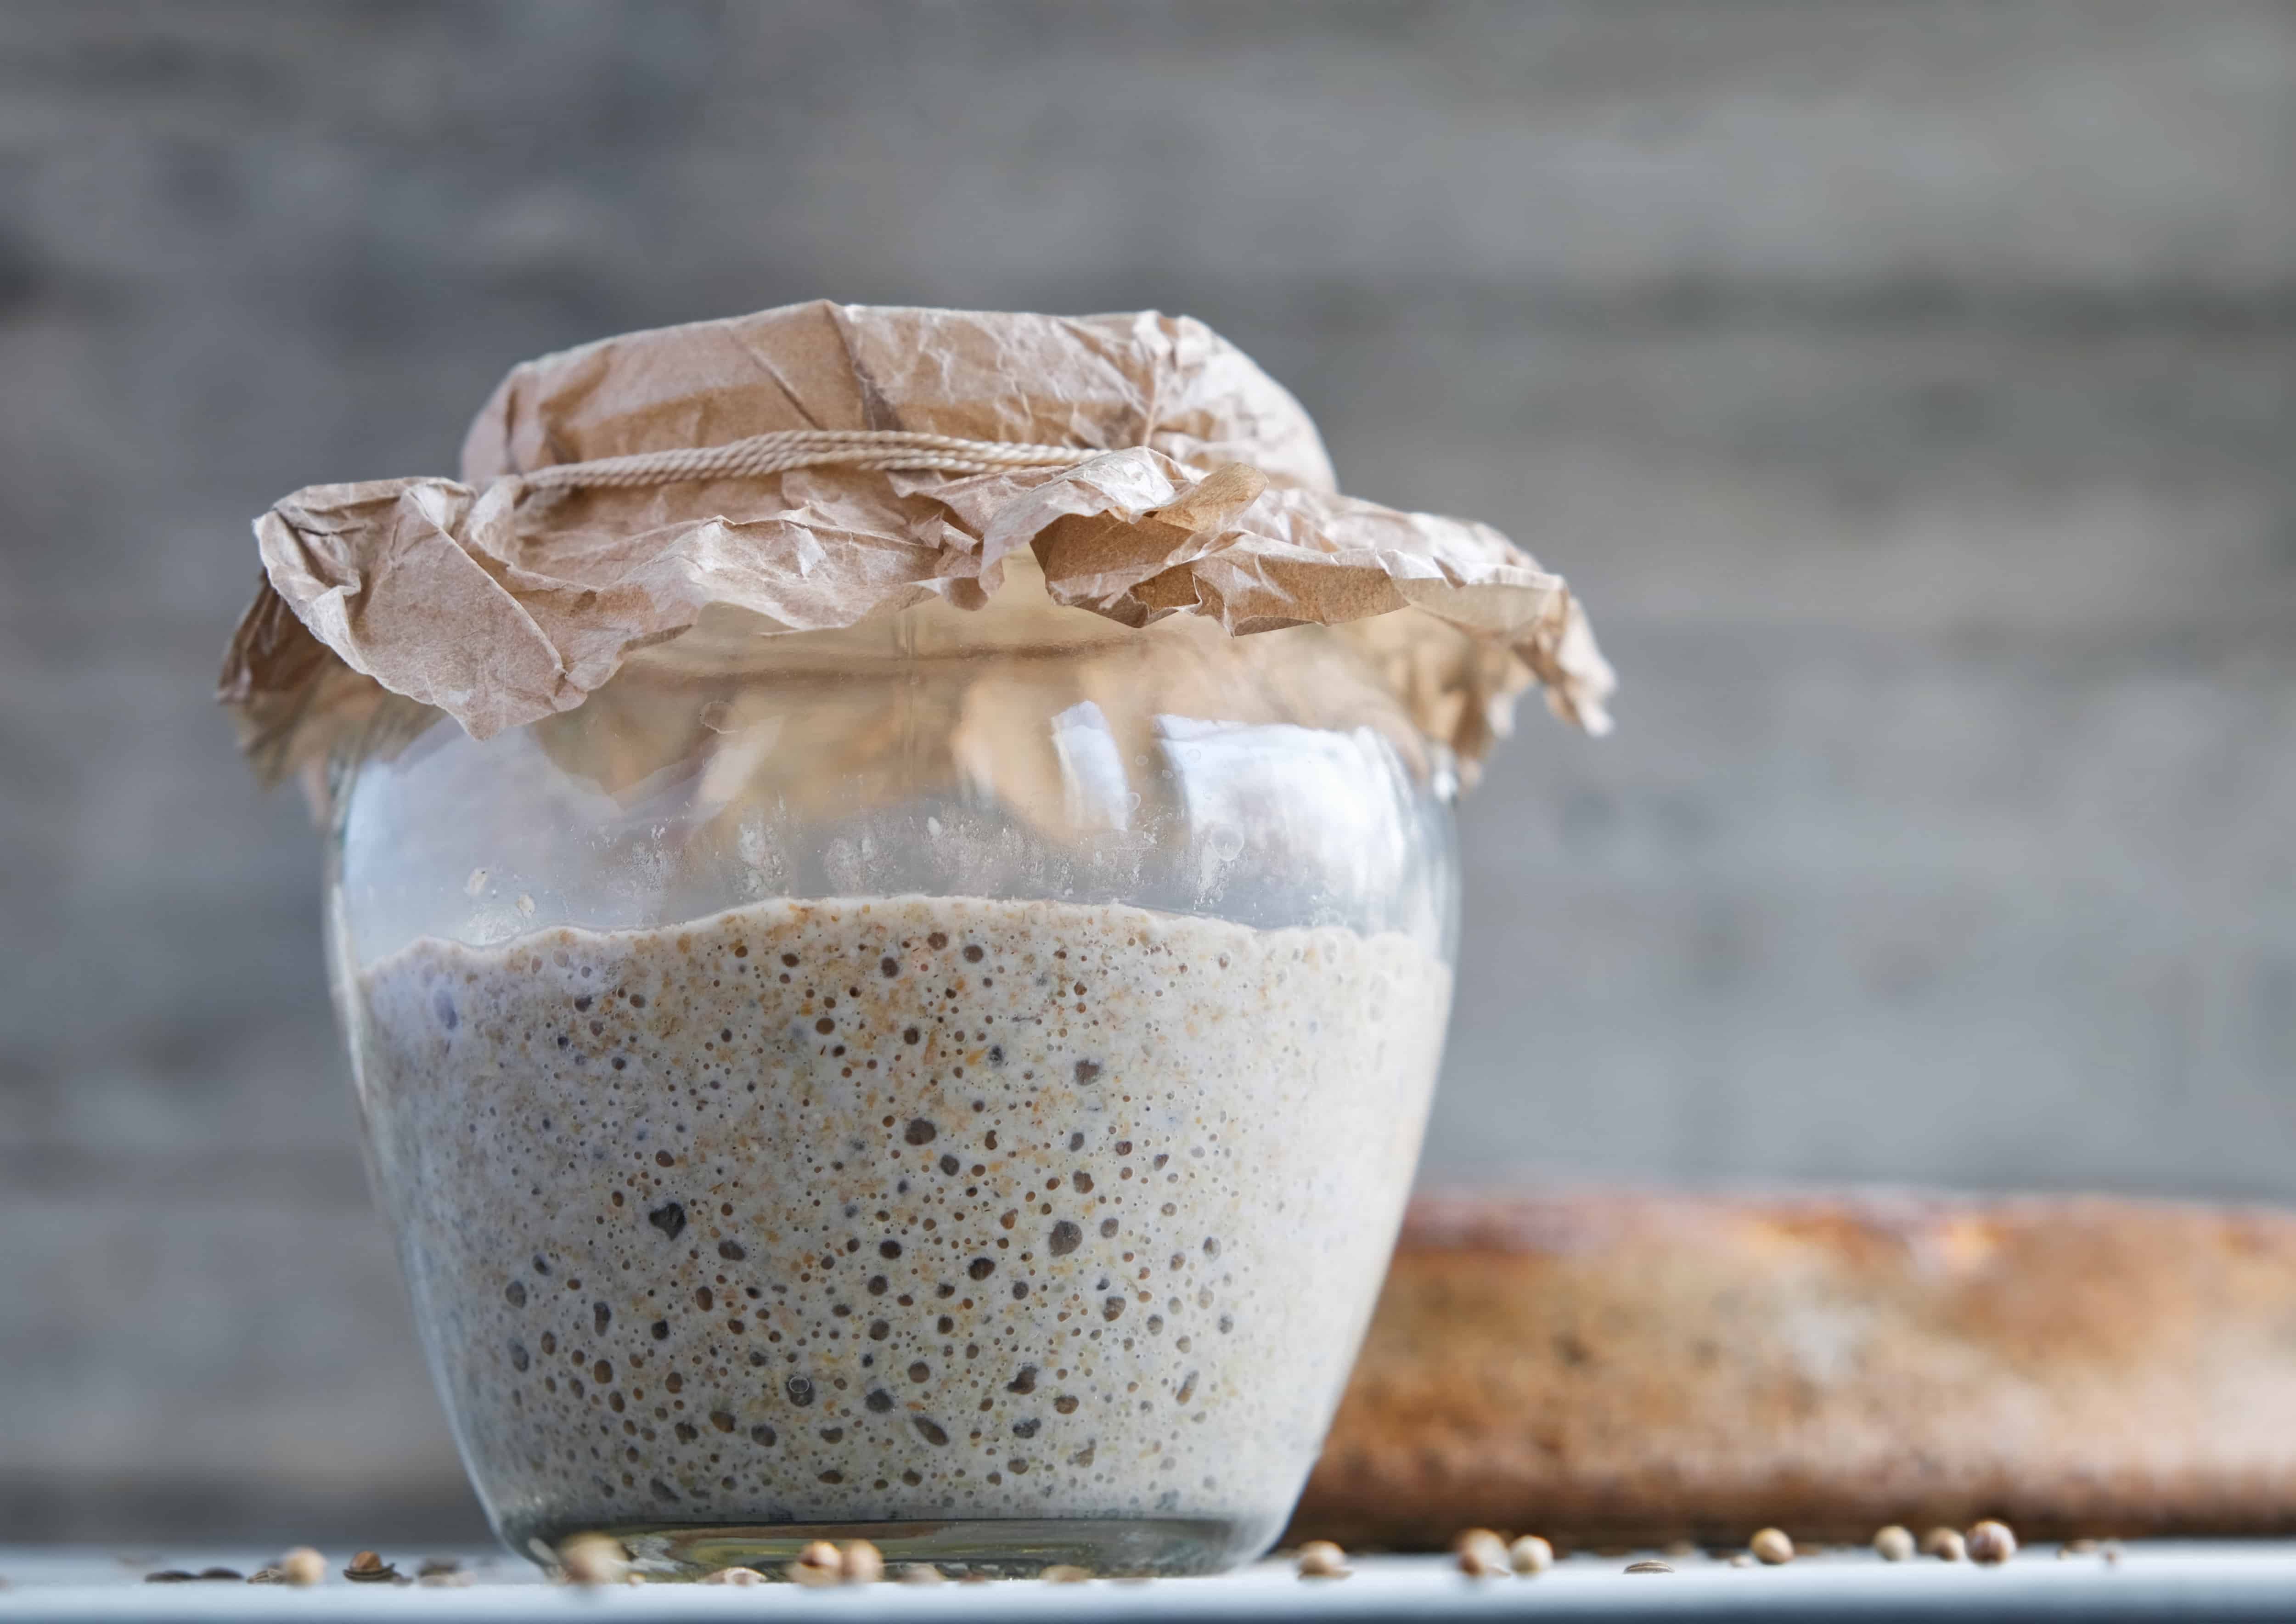
5. Separation of Layers: If you notice a clear layer of liquid on top of your sourdough starter, commonly known as “hooch,” it means that the starter may be hungry and in need of feeding. The hooch is a byproduct of the fermentation process and can indicate that the starter has exhausted its food supply. Stir the hooch back into the starter before discarding and feeding.
6. Inconsistent Bread Rise: If you are experiencing inconsistent rise in your sourdough bread, it could be due to an unbalanced starter. Make sure you are following a consistent feeding routine and that your starter is active and bubbly before using it to leaven the dough. Adjust the feeding ratio and increase the fermentation time as needed to achieve a more predictable rise.
Remember, troubleshooting sourdough starter issues may require some experimentation and adjustments based on your specific environment and ingredients. With practice and observation, you will develop a better understanding of your sourdough starter’s behavior and how to address any issues that arise.
Now, armed with these troubleshooting tips, you’re ready to embark on your sourdough baking journey with confidence!
Conclusion
Congratulations! You have learned the ins and outs of storing sourdough starter on the counter. By following the steps outlined in this article and implementing the tips and troubleshooting techniques, you are well-equipped to successfully store and maintain a healthy and active sourdough starter right in your kitchen.
Storing your sourdough starter on the counter offers convenience, active fermentation, flavor development, increased microbial diversity, and improved bread texture. It allows you to have a readily available starter, ready for spontaneous baking at any time.
Remember to maintain a consistent feeding schedule, adjust hydration as needed, and provide a stable and warm environment for optimal fermentation. Monitor your starter’s rise and fall, observe its smell and texture, and make adjustments accordingly.
Through trial and error, you may encounter some common issues with your counter-stored sourdough starter, but don’t be discouraged. Troubleshoot slow rise, excessive rise and fall, unpleasant smells, lack of bubbles, separation of layers, and inconsistent bread rise. With careful observation and adjustments, you can overcome these challenges.
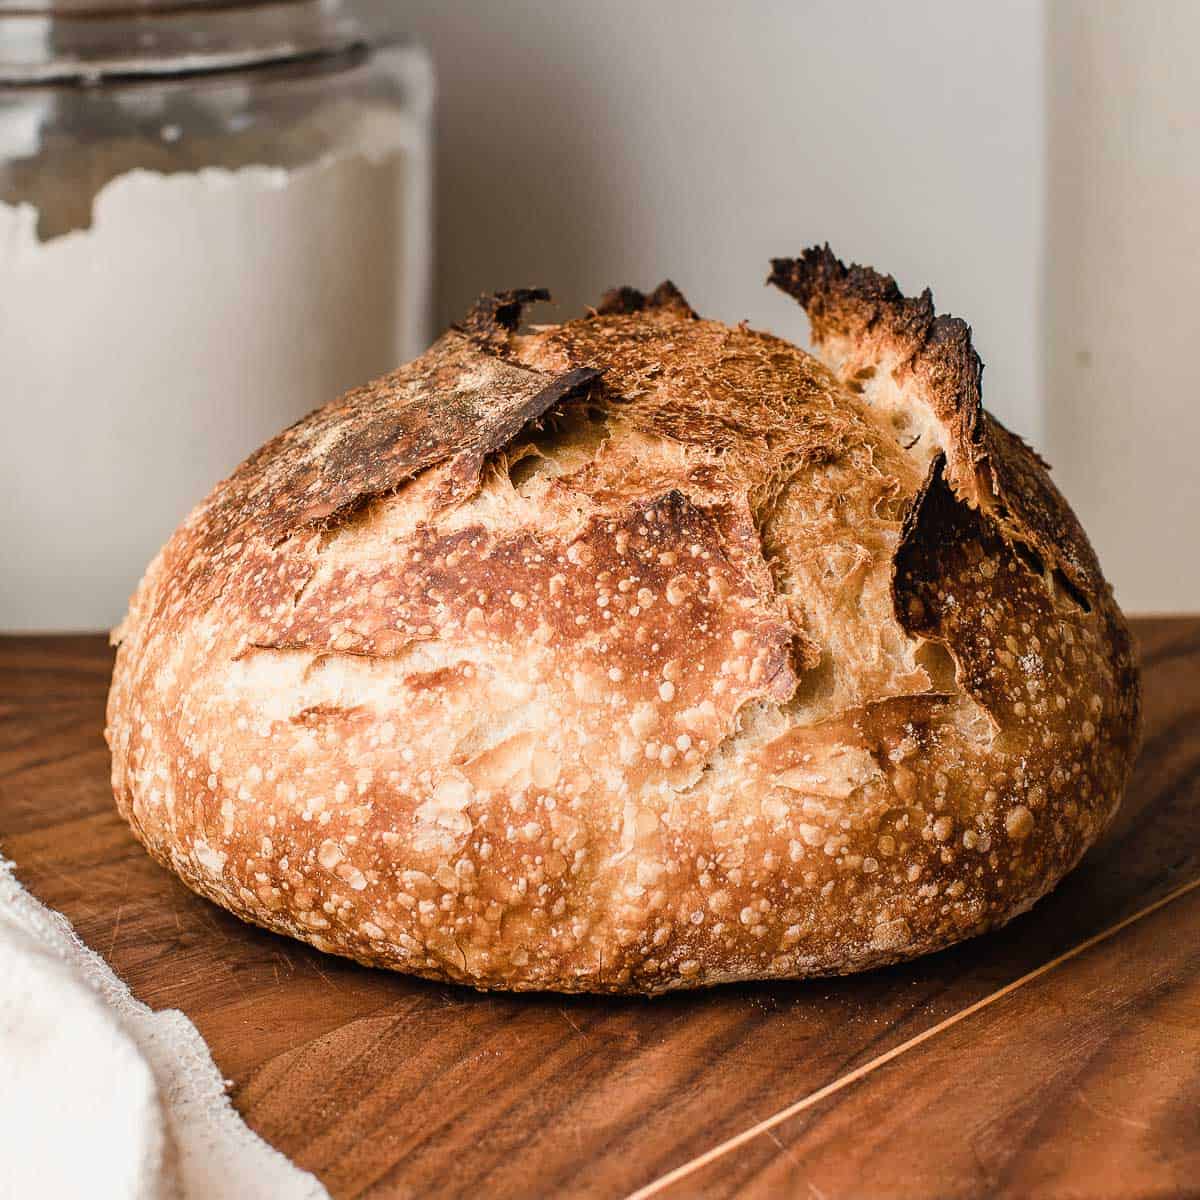
Sourdough baking is an art form and a journey of continuous learning. Embrace the process, experiment with different flours, and have fun with your baking adventures. With time and persistence, you will develop a deep understanding of your sourdough starter and create delicious, flavorful sourdough bread.
So, go ahead, gather your ingredients, and let the magic of sourdough unfold on your kitchen counter. Happy baking!
Frequently Asked Questions about How To Store Sourdough Starter On Counter
Was this page helpful?
At Storables.com, we guarantee accurate and reliable information. Our content, validated by Expert Board Contributors, is crafted following stringent Editorial Policies. We're committed to providing you with well-researched, expert-backed insights for all your informational needs.


0 thoughts on “How To Store Sourdough Starter On Counter”