Articles
How To Store A Sourdough Starter
Modified: December 7, 2023
Learn the best methods for storing your sourdough starter and keep it healthy for your homemade bread baking. Read our informative articles now.
(Many of the links in this article redirect to a specific reviewed product. Your purchase of these products through affiliate links helps to generate commission for Storables.com, at no extra cost. Learn more)
Introduction
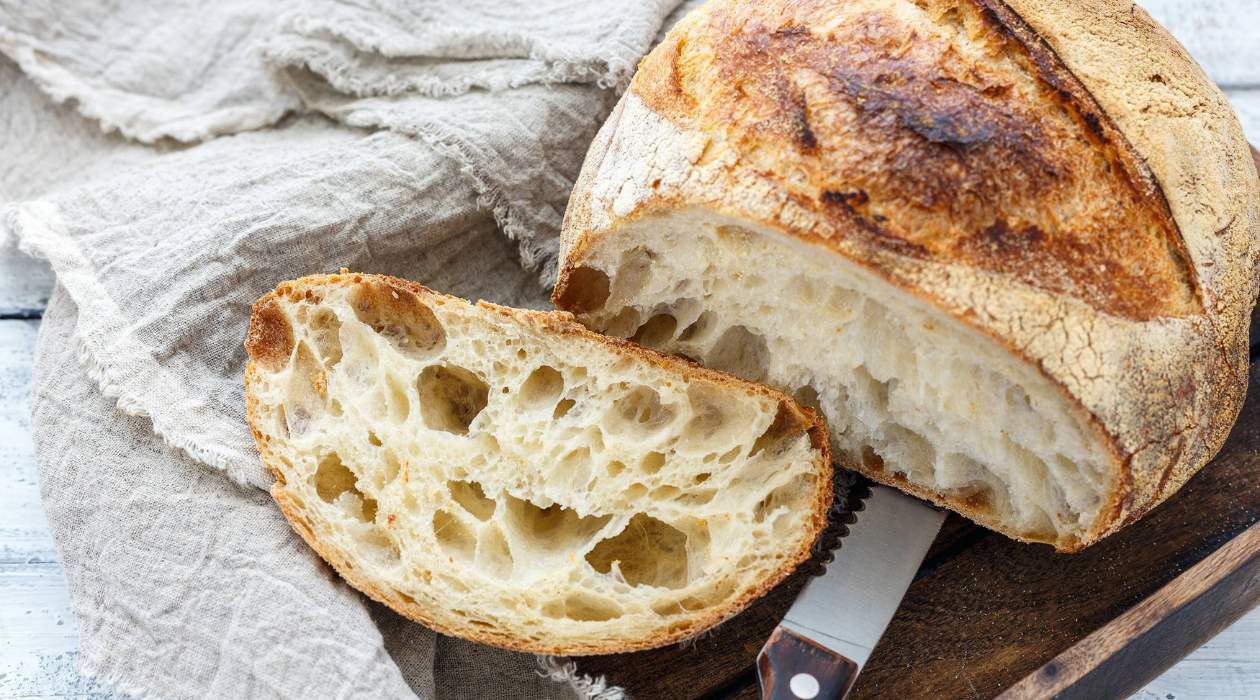
Sourdough bread has gained popularity in recent years due to its distinct flavor and unique texture. One of the key components of making sourdough bread is the sourdough starter. This living culture of wild yeast and bacteria is what gives sourdough bread its characteristic tangy taste and chewy crumb.
Whether you’ve just started your sourdough journey or have been maintaining a starter for some time, proper storage is essential to keep your starter healthy and active. In this article, we will guide you through the best practices for storing a sourdough starter to ensure its longevity and readiness for baking.
Key Takeaways:
- Proper storage is crucial for maintaining a healthy and active sourdough starter. Choosing the right container, regular feeding, and understanding storage options are key to successful sourdough starter storage.
- Refrigerating for short-term storage and freezing for long-term storage are reliable methods. Reviving a dormant starter is possible with care and attention, and incorporating tips such as keeping backups and monitoring the aroma and appearance of your starter enhances storage success.
Read more: How To Store Sourdough Starter In The Fridge
Understanding Sourdough Starter
Before we dive into the details of storing a sourdough starter, let’s first understand what it is and how it works. A sourdough starter is a mixture of flour and water that attracts and cultivates wild yeast and beneficial bacteria naturally present in the air and on the grains.
When you feed your starter regularly, the yeast and bacteria consume the sugars in the flour, producing carbon dioxide gas and lactic acid. The carbon dioxide creates bubbles in the dough, giving it its airy texture, while the lactic acid creates the sour taste.
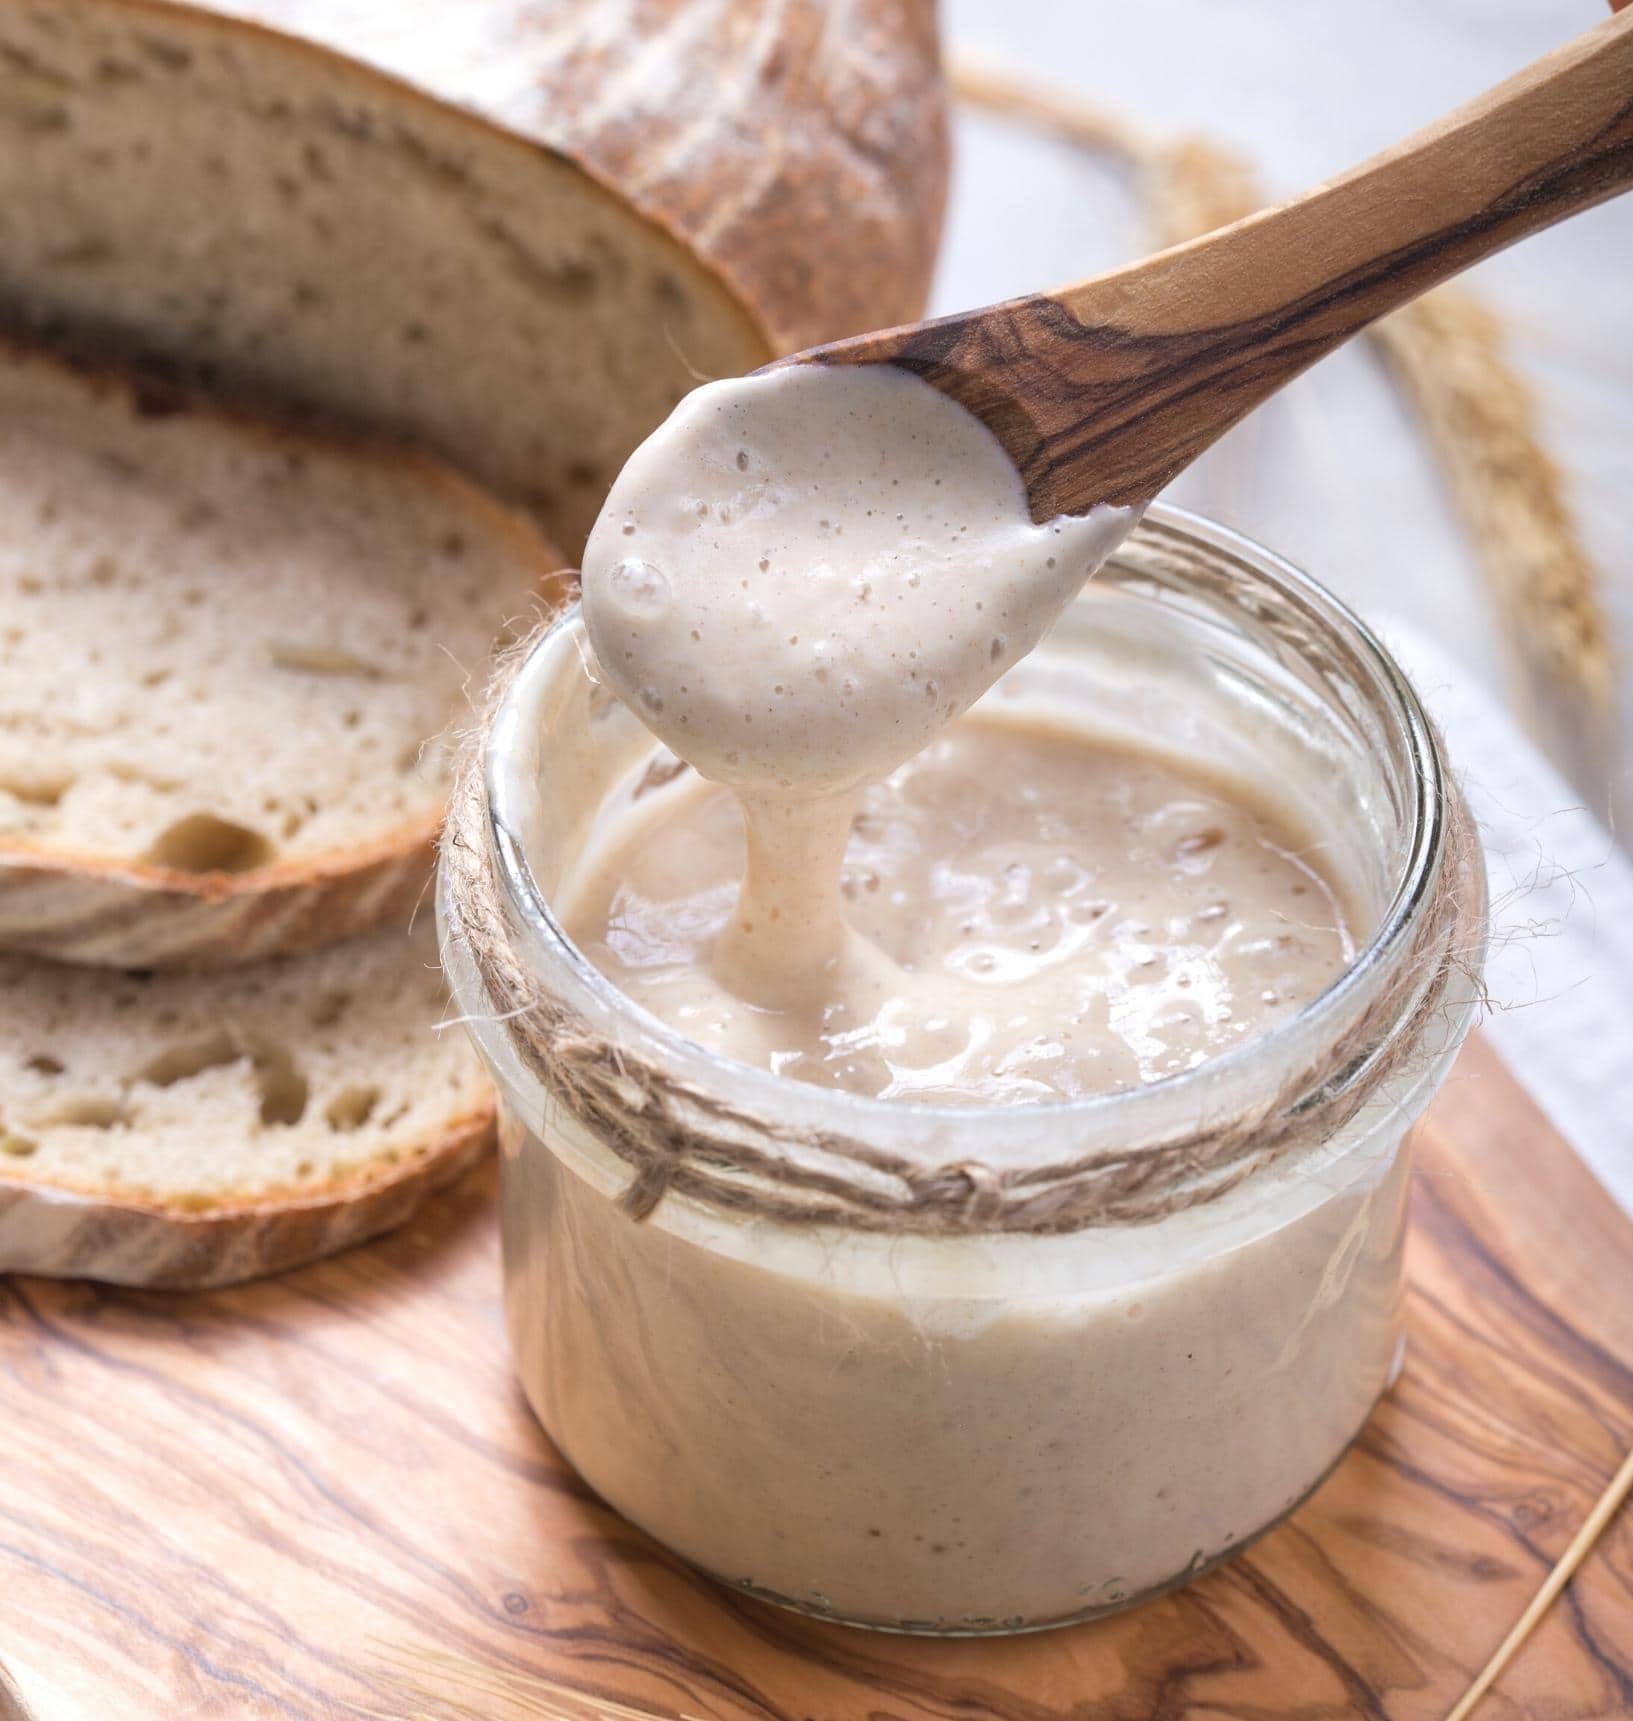
A healthy sourdough starter should have a pleasant aroma, be bubbly, and rise when fed. It becomes the leavening agent for your sourdough bread, providing the rise and flavor that commercial yeast cannot replicate.
Understanding your sourdough starter’s characteristics is important as it will help you determine if it needs feeding or if it’s ready to be stored. A well-maintained and thriving sourdough starter should be fed regularly and kept active.
Choosing the Right Container
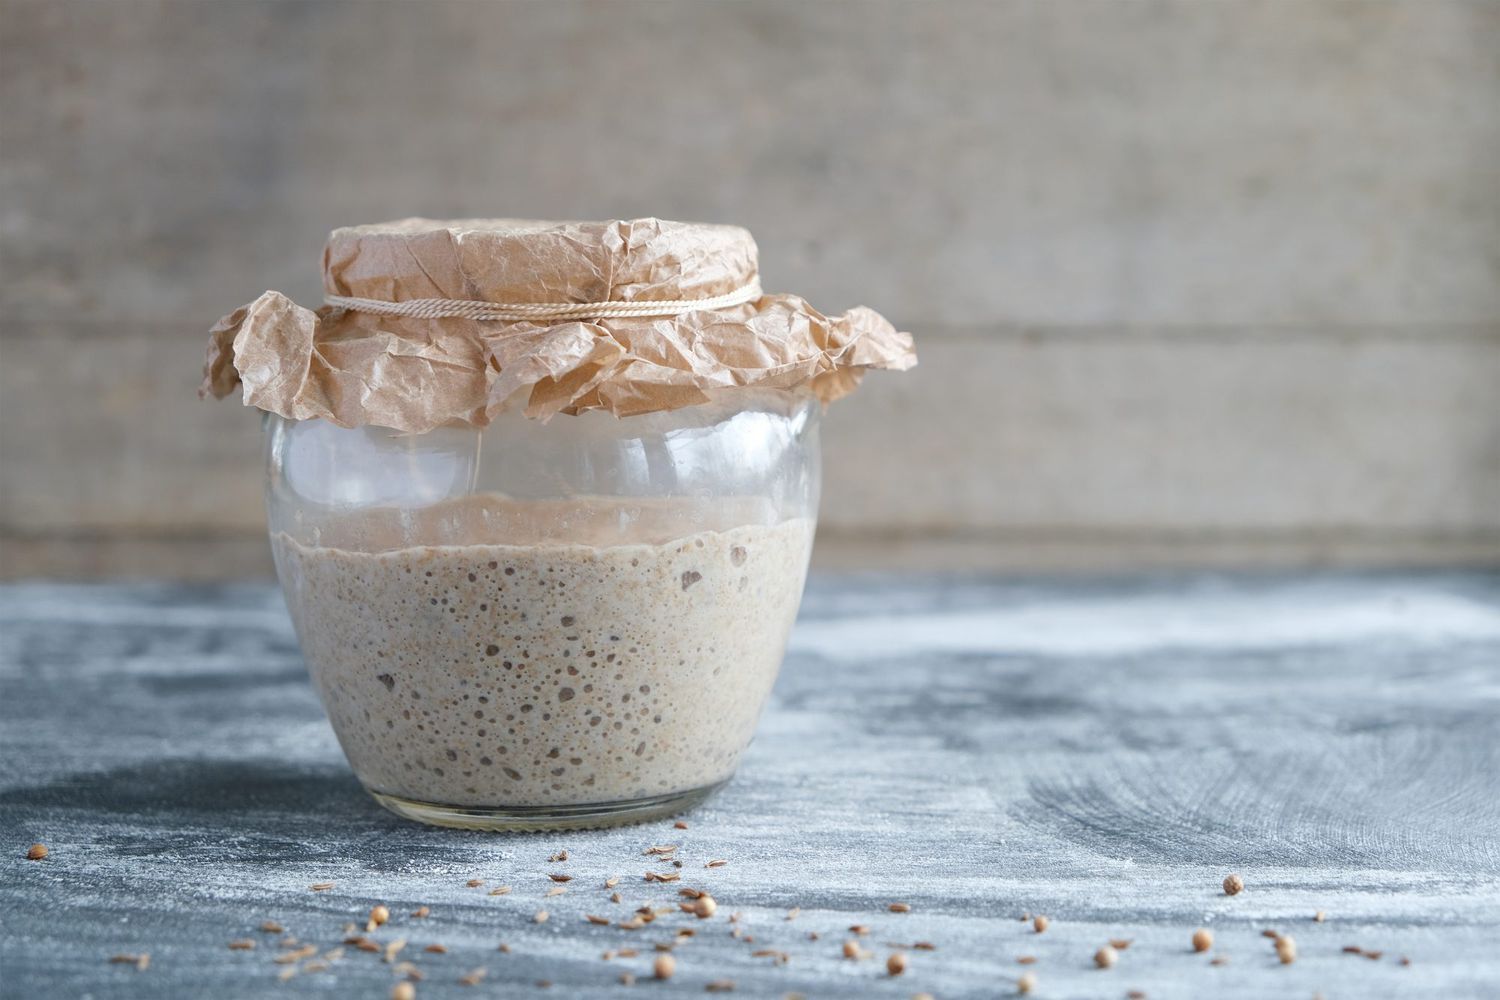
When it comes to storing your sourdough starter, selecting the right container is crucial. The container should be non-reactive and provide enough space for the starter to grow and expand.
Glass jars with airtight lids or food-grade plastic containers are commonly used for storing sourdough starters. Make sure the container is clean and sterilized before transferring your starter into it.
Avoid using metal containers, as some metals can react with the acidic nature of the sourdough starter and affect its flavor and consistency. Additionally, metal containers may also be prone to corrosion and contamination.
It’s important to choose a container size that allows your starter to double or triple in volume without overflowing. As the starter becomes more active during the fermentation process, it will produce gas and expand. The container should have enough headspace to accommodate this growth.
If you’re using a container with an airtight lid, make sure to release the pressure regularly to prevent excessive buildup of gas, which could cause the lid to pop off or the container to burst. Simply loosen the lid slightly or use a breathable cover, such as a coffee filter or a cloth secured with a rubber band.
Another consideration is the transparency of your container. While not essential, a transparent container allows you to easily monitor the activity and growth of your sourdough starter. You can observe the presence of bubbles or signs of activity, which can be helpful in determining the health of the starter.
Feeding and Maintaining the Starter
Feeding your sourdough starter regularly is essential to keep it alive and active. It’s a simple process that involves discarding a portion of the starter and replenishing it with fresh flour and water.
The feeding ratio for sourdough starter is typically 1:1:1, which means you feed equal parts of starter, flour, and water by weight. For example, if you have 100 grams of starter, you would add 100 grams of flour and 100 grams of water.
Here’s a step-by-step guide on how to feed and maintain your sourdough starter:
- Remove a portion of your existing starter. You can either discard it or use it to make sourdough pancakes or other discard recipes.
- Weigh the remaining starter to determine how much flour and water to add. Multiply the weight of the starter by two to calculate the amount of flour and water needed.
- Add the flour and water to the starter. Mix well until no dry flour remains and the mixture is smooth. It should have the consistency of a thick pancake batter.
- Cover the container loosely with a breathable lid or cloth and let it sit at room temperature for several hours or until it becomes bubbly and active.
- Repeat this process every 12 to 24 hours, discarding and feeding the starter, to keep it healthy and active. The fermentation process can vary depending on the temperature of your environment, so adjust the feeding frequency accordingly.
It’s important to note that sourdough starters can tolerate some neglect. If you’re unable to feed your starter regularly, you can refrigerate or freeze it to slow down its activity. We’ll discuss these storage methods in the next sections.
By maintaining a regular feeding schedule and observing the activity and growth of your starter, you’ll be able to ensure its vitality and readiness for baking delicious sourdough bread.
Refrigerating the Starter
Refrigerating your sourdough starter is a common method of storing it for the short term. It helps to slow down the fermentation process and extend the time between feedings.
Here’s how to refrigerate your sourdough starter:
- Make sure your sourdough starter is well-fed and active before refrigerating it. This ensures that it has enough food to sustain itself during the dormancy period.
- Transfer your starter to a clean and airtight container. Make sure the container is properly sealed to prevent any potential odors from seeping in.
- Place the container in the refrigerator, preferably towards the back where the temperature is more stable.
- Refrigerate your sourdough starter for up to a week without needing to feed it. However, if you plan on storing it for longer than a week, it’s recommended to feed it at least once every 7-10 days to maintain its vitality.
- To feed your refrigerated sourdough starter, remove it from the fridge and let it come to room temperature. Discard a portion of the starter and then feed it as you would during regular maintenance. Allow it to sit at room temperature until it becomes active and bubbly before using it for baking.
Refrigerating your sourdough starter is beneficial when you need to take a break from baking or when you don’t have the time to maintain it regularly. However, keep in mind that prolonged refrigeration can cause your starter to become less active. If you find that it’s taking longer than usual for your starter to become active after feeding, it may be time for a couple of consecutive feedings to revive it.
Remember, refrigeration is not a long-term storage solution. If you need to store your sourdough starter for an extended period, freezing is a better option, as we’ll discuss next.
When storing a sourdough starter, make sure to use a non-reactive container, such as glass or plastic, and keep it in the refrigerator to slow down fermentation. Remember to feed it regularly to keep it healthy and active.
Read more: How To Store Sourdough Bread
Freezing the Starter
If you need to store your sourdough starter for an extended period, freezing is a reliable method. Freezing your starter puts it into a state of suspended animation, allowing it to be stored for months without any significant loss in activity.
Here’s how to freeze your sourdough starter:
- Ensure your sourdough starter is active and well-fed before freezing. This ensures that it has enough food to sustain itself during the freezing process.
- Transfer a portion of your starter to a clean and airtight container. Depending on your preference, you can freeze small portions or the entire starter.
- If freezing small portions, divide the starter into manageable portions. It’s helpful to label the containers with the date and the amount of starter in each container for easy reference later.
- Seal the containers tightly to prevent freezer burn and any potential odors from seeping in.
- Place the containers in the freezer and freeze for up to several months.
To revive your frozen sourdough starter:
- Remove the frozen starter from the freezer and let it thaw in the refrigerator overnight.
- Once completely thawed, transfer the starter to a clean container and feed it as you would during regular maintenance.
- Allow the starter to sit at room temperature until it becomes active and bubbly before using it for baking.
While freezing your sourdough starter is a convenient method for long-term storage, keep in mind that it may take a few feedings to revive it fully. The freezing process can cause some damage to the yeast and bacteria, but with proper care and feeding, your starter will regain its strength and vitality.
Remember to always store a backup of your sourdough starter in case anything happens to your active one. This ensures that you can continue your sourdough journey without any interruptions.
Reviving a Dormant Starter
If you’ve neglected your sourdough starter and it has become dormant or less active, don’t worry! There are steps you can take to revive it and bring it back to its former vigor.
Here’s how to revive a dormant sourdough starter:
- Remove your sourdough starter from its storage (whether it’s been refrigerated or frozen) and let it come to room temperature.
- Discard a portion of the starter. This is important as it removes any potential harmful byproducts that may have accumulated during the dormant period.
- Feed the remaining starter with fresh flour and water, following the regular feeding ratio of 1:1:1.
- Allow the starter to sit at room temperature for several hours or until it becomes active and bubbly. You may need to repeat the feeding process for a few consecutive days until your starter shows signs of life.
- Once your starter is active and showing consistent signs of fermentation, it is ready to be used for baking.
Reviving a dormant sourdough starter requires patience and consistent care. It may take a few days or even up to a week of regular feeding to fully revive the starter. But with perseverance, you can bring your starter back to its optimal health and use it to create delicious sourdough bread again.
Remember, prevention is key. Regularly feeding and maintaining your sourdough starter will help prevent it from becoming dormant or losing its activity. However, if you do find yourself with a dormant starter, don’t be discouraged. Just follow the steps outlined above, and your starter will be back to its lively self in no time.
Tips for Long-Term Storage
When it comes to storing your sourdough starter for an extended period, there are a few additional tips that can help you maintain its vigor and viability:
- Before storing your sourdough starter, make sure it is in a healthy and active state. A strong and robust starter has a better chance of surviving long-term storage.
- Consider keeping a small backup of your active starter in case anything happens to the stored one. This ensures that you have a backup to fall back on if needed.
- If you plan on storing your starter for more than a few weeks, it’s recommended to refresh and feed it with fresh flour and water before storage. This provides it with ample nutrients to sustain itself during the hibernation period.
- Label and date your storage containers. This helps you keep track of how long the starter has been stored and ensures you use the oldest starter first when reviving or feeding.
- If your frozen sourdough starter develops ice crystals, allow it to completely thaw before stirring or discarding any excess liquid. This will help maintain the concentration of yeast and bacteria in the starter.
- Keep a written record of your sourdough starter’s feeding schedule, activity, and any changes you observe. This can help you identify patterns or issues in the future and adjust your feeding and storage routines accordingly.
- Observe the smell and appearance of your sourdough starter before using it for baking. If it exhibits any off smells or colors, it’s best to discard and start with a fresh, active starter.
- Regularly refresh and feed your stored sourdough starter, even if you’re not planning to use it. This helps keep it healthy and maintains its viability.
- Experiment with different storage methods and find what works best for your unique environment and preferences. Some people find success with different approaches, so don’t be afraid to try out different techniques.
By implementing these tips, you can increase the chances of successfully storing your sourdough starter for the long term while keeping it thriving and ready for your next baking adventure.
Conclusion
Storing a sourdough starter properly is vital to maintain its vitality, flavor, and activity. Whether you need to store it for a short period or an extended period, following the right methods will ensure that your starter remains healthy and ready for baking.
Choosing the right container, feeding and maintaining your starter regularly, and understanding the best storage options are key factors in successful sourdough starter storage. Refrigerating your starter can help maintain its activity for short-term storage, while freezing is a reliable method for long-term storage.
Reviving a dormant starter is possible with care and attention, and adhering to sound practices will help prevent your starter from becoming dormant in the first place. Additionally, incorporating tips such as keeping backups, labeling containers, and monitoring the aroma and appearance of your starter will enhance the overall success of your storage efforts.
Remember, storing a sourdough starter is not a one-size-fits-all process. Each starter is unique, and it may require some experimentation to find the ideal storage method that works best for you. By understanding the characteristics of your starter and closely observing its behavior, you’ll be able to adapt the storage techniques to meet its specific needs.
With proper storage and maintenance, your sourdough starter will remain a vibrant and active part of your baking journey, providing you with delicious homemade sourdough bread for years to come.
Frequently Asked Questions about How To Store A Sourdough Starter
Was this page helpful?
At Storables.com, we guarantee accurate and reliable information. Our content, validated by Expert Board Contributors, is crafted following stringent Editorial Policies. We're committed to providing you with well-researched, expert-backed insights for all your informational needs.


0 thoughts on “How To Store A Sourdough Starter”