
Articles
How To Store Sunflower Seeds For Eating
Modified: August 27, 2024
Learn how to store sunflower seeds for eating with our comprehensive articles. Find tips and techniques to maximize their freshness and flavor.
(Many of the links in this article redirect to a specific reviewed product. Your purchase of these products through affiliate links helps to generate commission for Storables.com, at no extra cost. Learn more)
Introduction
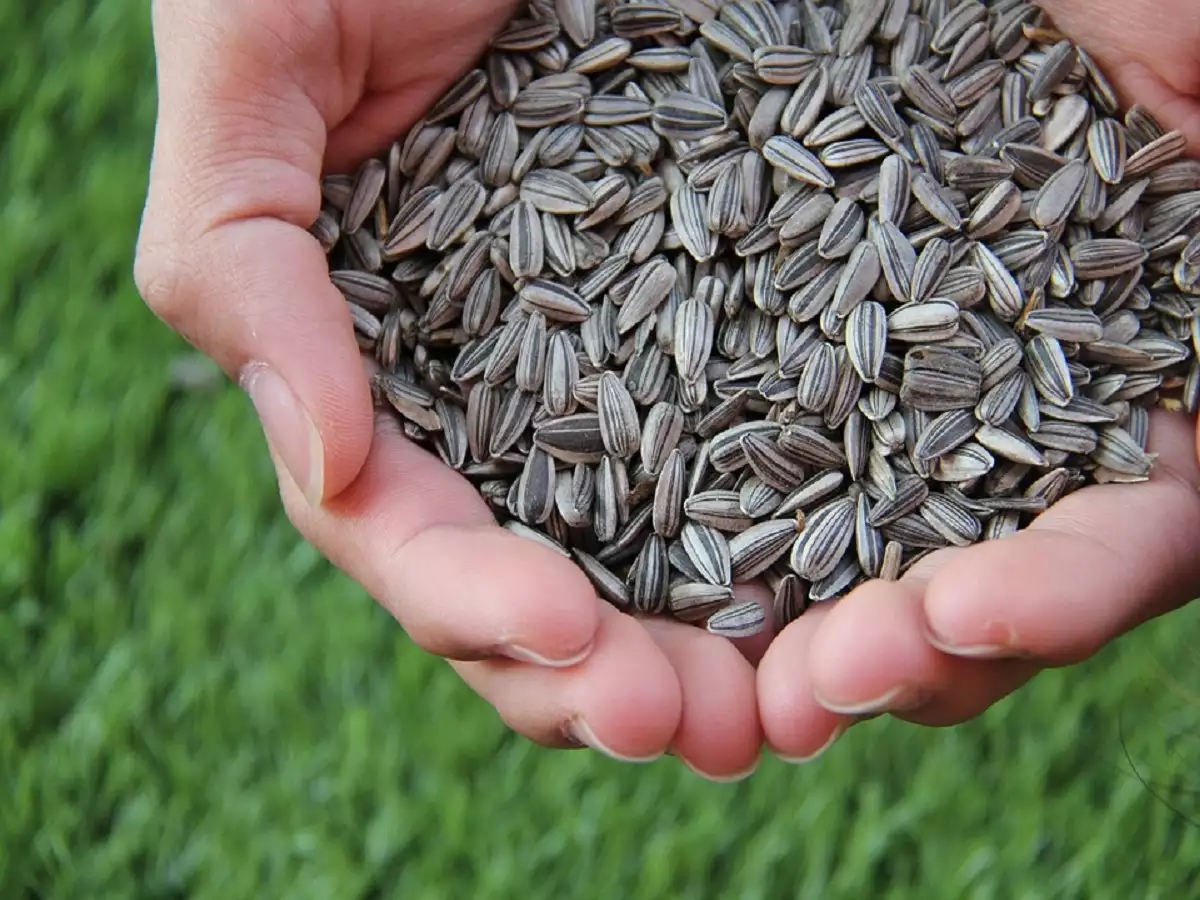
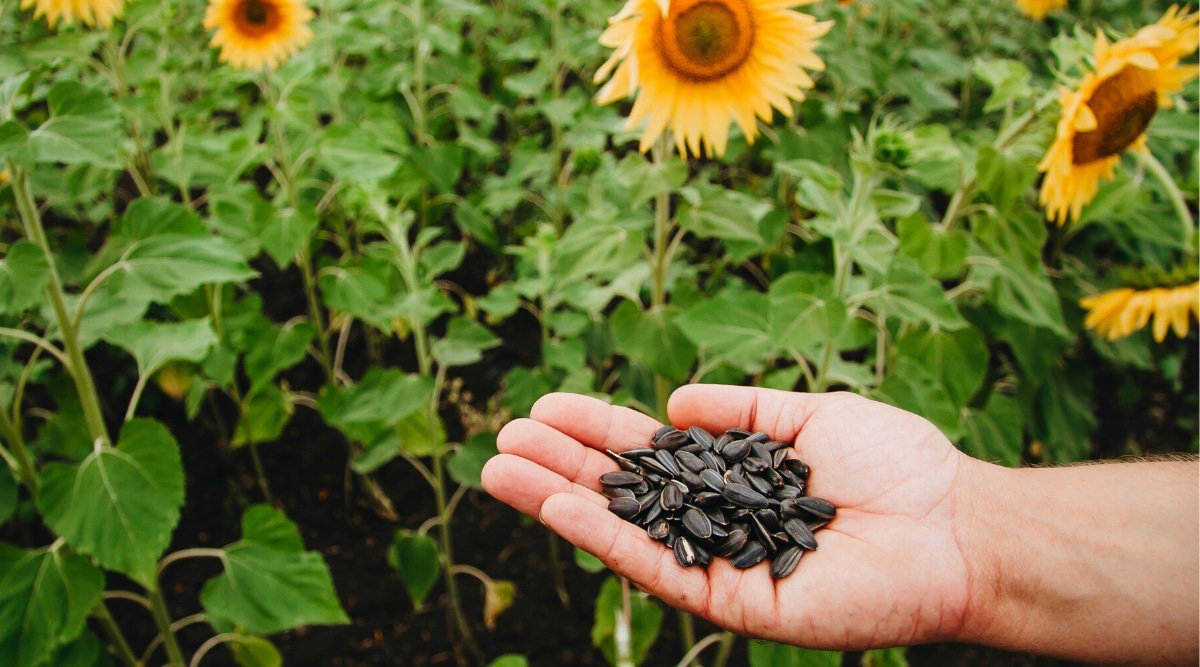
When it comes to healthy snacking options, sunflower seeds are a popular choice. Packed with nutrients and a delicious nutty flavor, these seeds make for a satisfying and nutritious snack. But what if you have a bountiful sunflower harvest and want to store the seeds for long-term consumption? In this article, we will explore the step-by-step process of storing sunflower seeds for eating, ensuring that they remain fresh and full of flavor for an extended period of time.
Harvesting sunflower seeds is just the first step in the process. Once you have a good yield of sunflowers, it is essential to clean and dry the seeds properly to prevent any moisture or contaminants from compromising their quality. Additionally, you’ll want to remove the outer shell of the seeds and roast them to enhance their flavor before storing them.
In the following sections, we will provide a detailed guide, from harvesting to storage, so you can enjoy the goodness of sunflower seeds all year round. So let’s dive in and learn how to store sunflower seeds for eating!
Key Takeaways:
- Harvest sunflower seeds when fully mature by observing color, petal condition, and seed firmness. Clean, dry, shell, roast, and store for long-lasting, flavorful snacking goodness.
- Properly store sunflower seeds in airtight containers in a cool, dark, dry place to maintain freshness. Label and consume within 3-6 months for best quality.
Read more: How To Eat Sunflower Seeds With Shell
Harvesting Sunflower Seeds
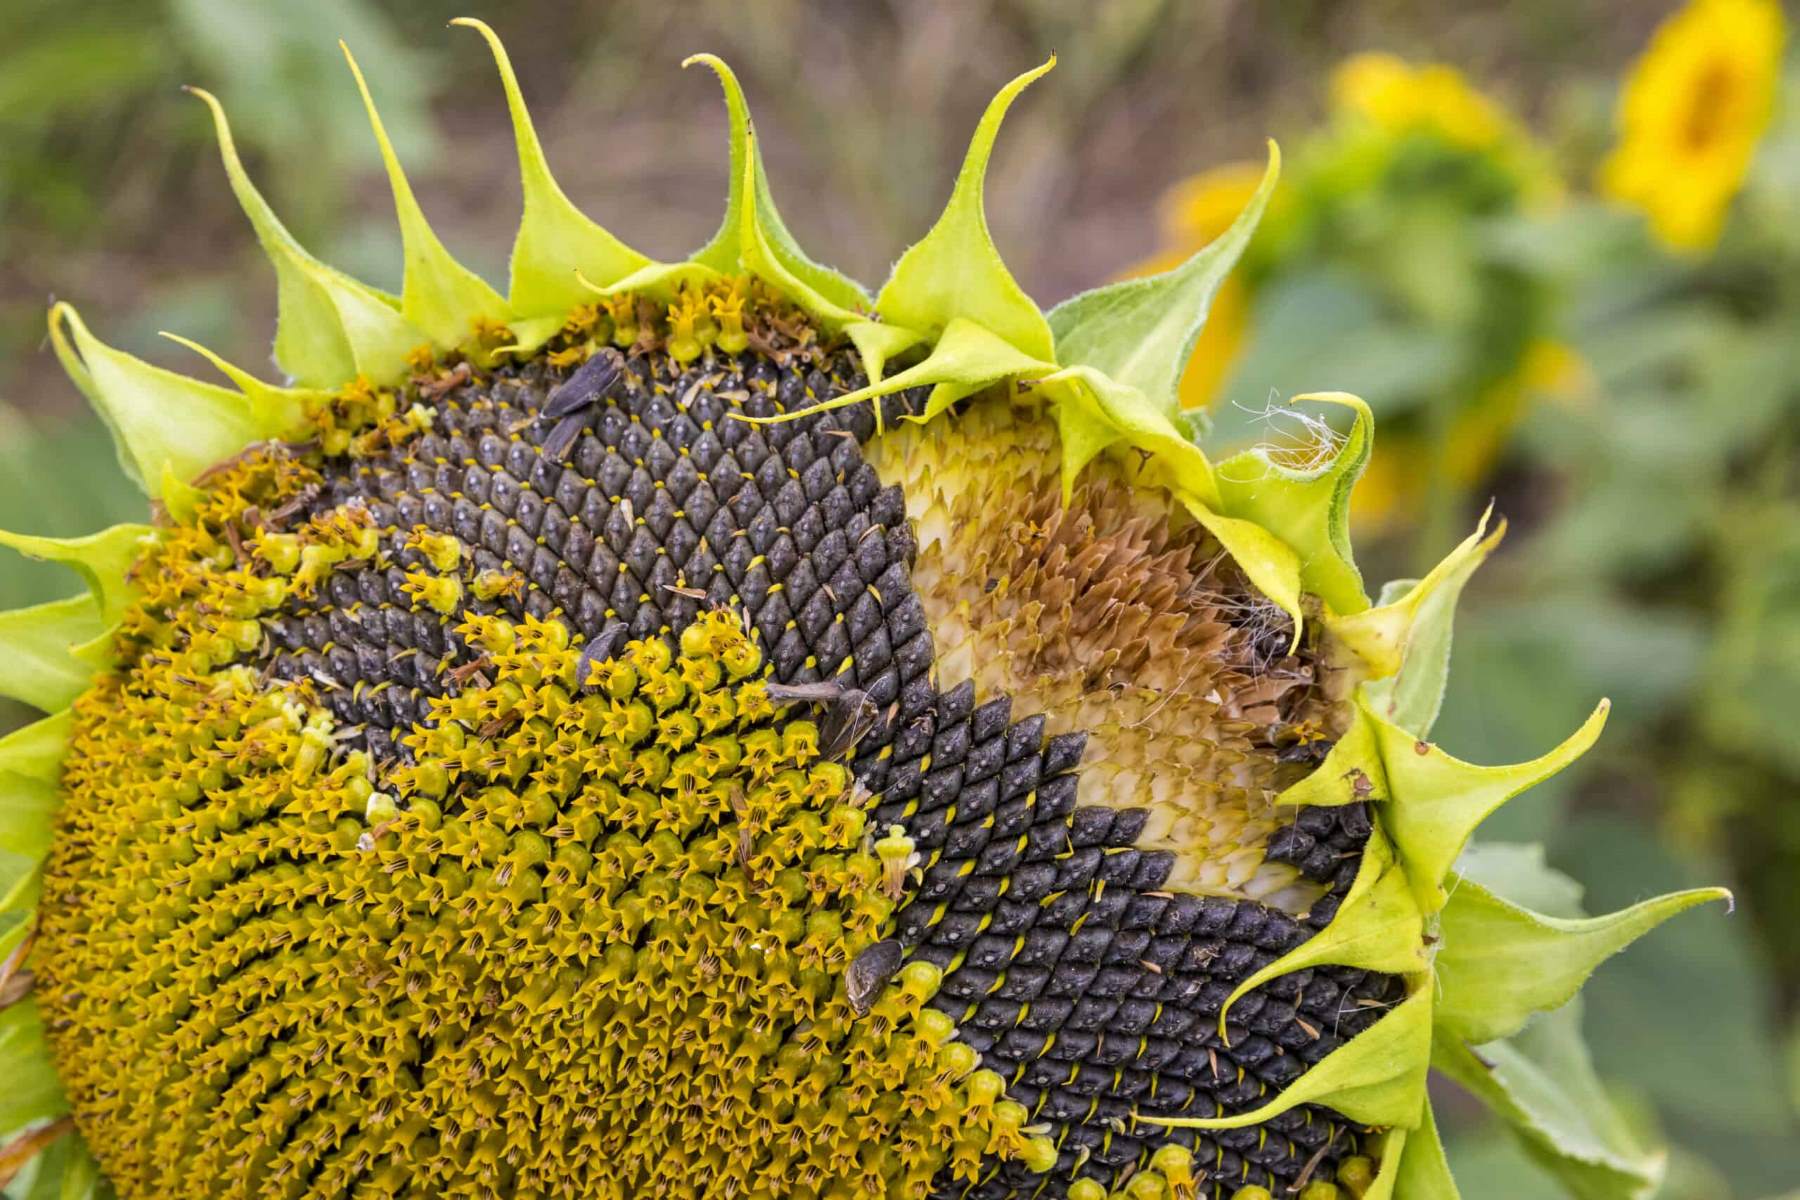
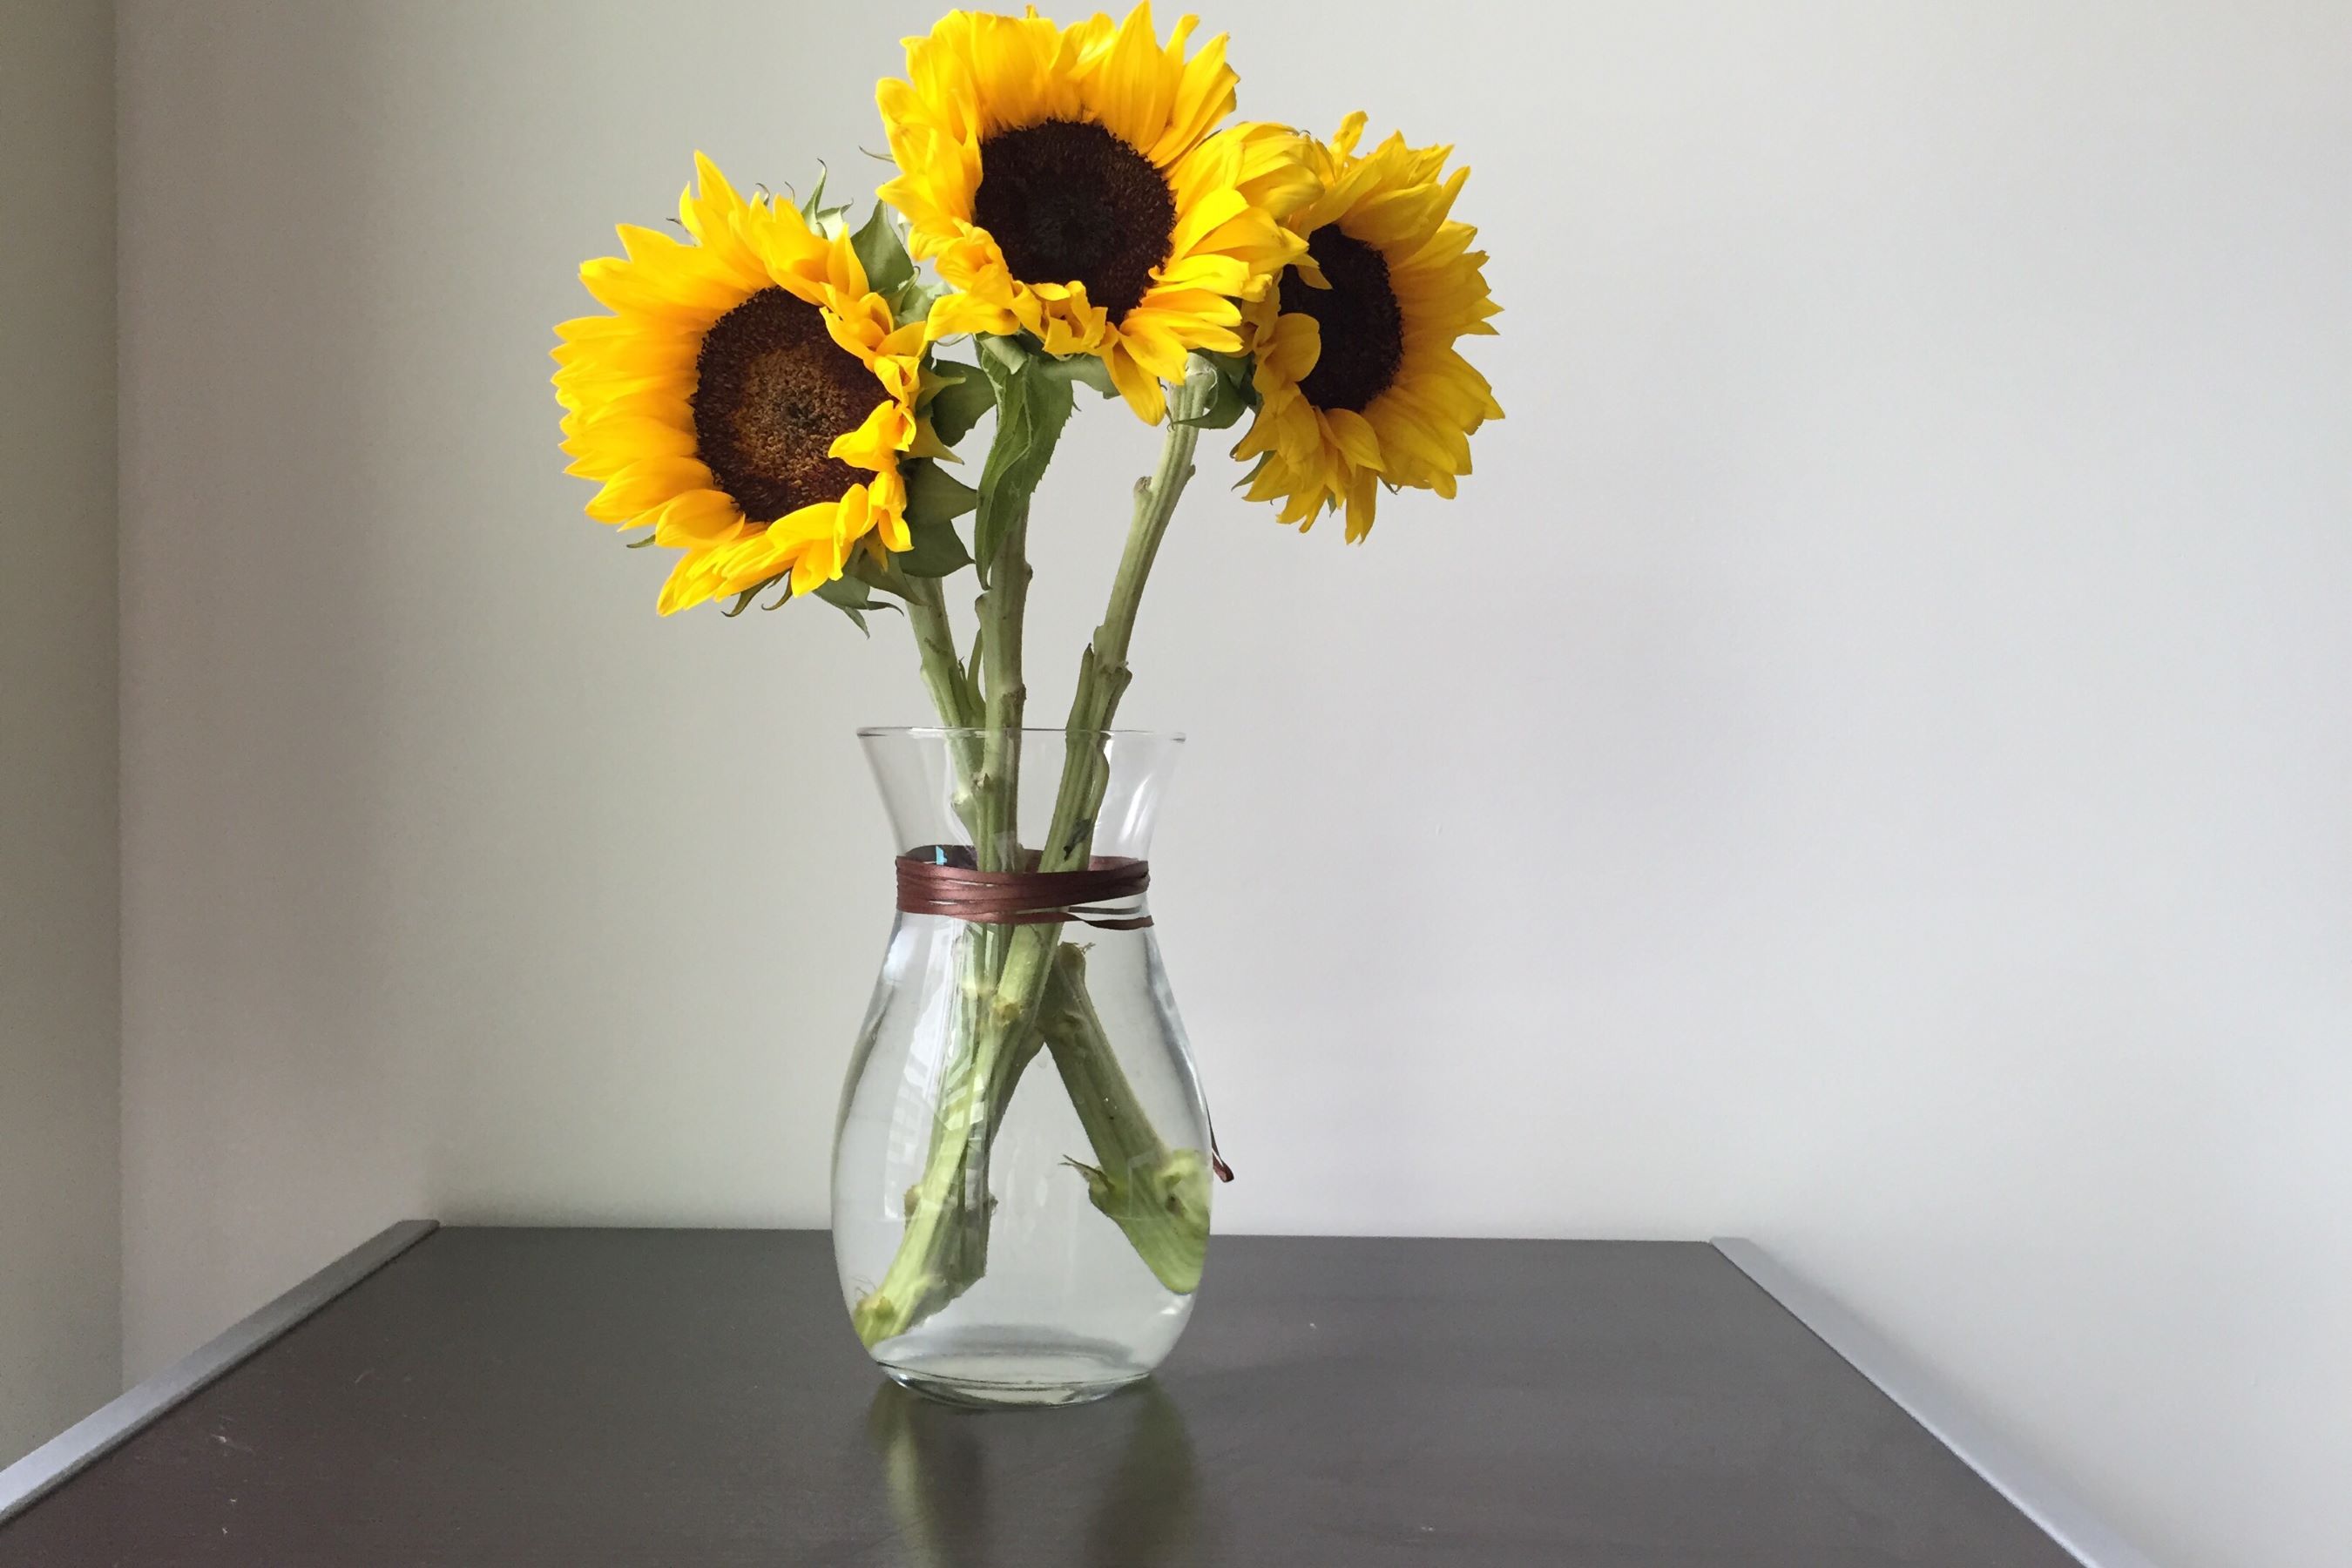
Harvesting sunflower seeds is an exciting process that marks the culmination of months of nurturing and tending to the sunflowers in your garden. Before you can store the seeds, you need to ensure they are fully mature and ready for harvesting. Here’s how you can determine if your sunflowers are ready:
- Observe the back of the sunflower head: As the sunflower matures, the back of the head will turn from green to yellow or brown. This is a clear indication that the seeds are ripening.
- Check the petals: The petals of the sunflower will start to wither and fall off as the seeds mature. Once most of the petals have dried up and fallen, it’s a good sign that the seeds are ready for harvest.
- Feel the seeds: Gently touch the seeds with your fingers. If they feel firm and plump, they are likely mature and ready to be harvested. If the seeds still feel soft or squishy, give them a little more time to mature.
When it comes to harvesting the sunflower seeds, you have two options: cutting the entire head or harvesting individual seeds. If you prefer to cut the entire head, you can do so by using pruning shears or a sharp knife. Cut the head about 4-6 inches below the flower, leaving some stem attached for easier handling.
If you’d rather harvest the seeds individually, you can do so by gently rubbing or plucking them from the sunflower head. This method requires a bit more patience and precision, but it allows you to select only the fully developed seeds.
Once you have harvested the sunflower heads or individual seeds, you are ready to move on to the next step: cleaning and drying the seeds to prepare them for storage.
Cleaning and Drying the Seeds
After harvesting the sunflower seeds, it’s important to properly clean and dry them before storing. This ensures that any dirt, debris, or moisture is removed, preventing mold or spoilage during storage. Follow these steps to clean and dry your sunflower seeds:
- Remove any remaining flower petals or other debris: Take a small brush or your fingers and gently brush away any loose flower petals or dirt clinging to the seeds. Discard any damaged or discolored seeds.
- Rinse the seeds: Fill a bowl with water and add the seeds. Swirl them around gently to remove any remaining dirt or debris. Drain the water and repeat the rinsing process if necessary.
- Spread the seeds for drying: Lay the cleaned seeds on a paper towel or clean cloth in a single layer. Make sure they are spread out evenly and not overlapping to allow for proper airflow.
- Air-dry the seeds: Place the seeds in a cool, dry, and well-ventilated area. Avoid direct sunlight, as it may cause the seeds to become rancid. Allow the seeds to air dry for about a week or until they are completely dry and no longer feel moist to the touch.
During the drying process, it’s essential to check the seeds regularly for any signs of mold or spoilage. If you notice any seeds with a foul odor, dark spots, or mold growth, discard them immediately to prevent it from spreading to the rest of the batch.
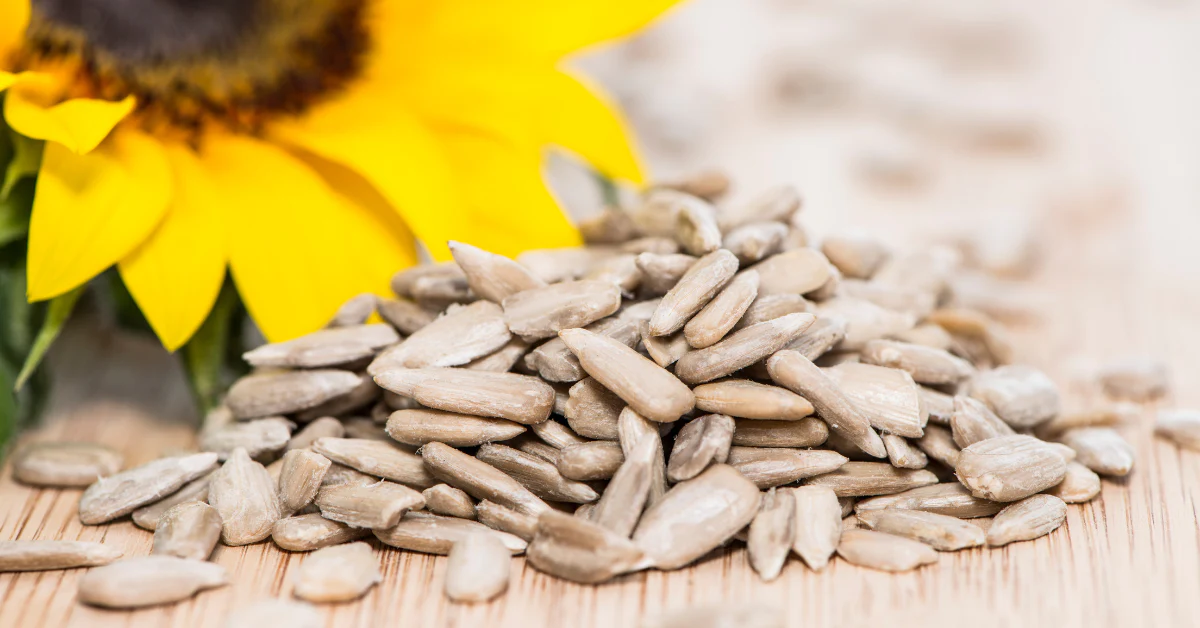
Once the sunflower seeds are thoroughly dried, it’s time to move on to the next step: removing the outer shell to reveal the edible part of the seed.
Removing the Outer Shell
After cleaning and drying the sunflower seeds, you might notice that they still have their outer shell intact. While the shell is edible, many people prefer to remove it for a more enjoyable snacking experience. Here are a few methods to remove the outer shell:
- Cracking method: Place a sunflower seed on a hard surface, such as a cutting board, and gently apply pressure with a pestle, the back of a spoon, or a nutcracker. Be careful not to crush the seed in the process. Once cracked, remove the shell to reveal the inner seed.
- Soaking method: Soak the sunflower seeds in water overnight or for a few hours until the shells become soft. Then, drain the water and use your fingers to gently squeeze and pop off the outer shell.
- Baking soda method: Boil water with a teaspoon of baking soda and add the sunflower seeds. Allow them to simmer for 2-3 minutes. Drain the seeds and rinse them with cold water. The baking soda will help soften the shells, making them easier to remove by hand.
Choose the method that works best for you based on your personal preference and the quantity of seeds you need to process. Whichever method you choose, make sure to work in small batches to avoid overwhelming yourself and to ensure that all the seeds are properly shelled.
With the outer shell removed, the sunflower seeds are now ready to be roasted, which will further enhance their flavor and texture.
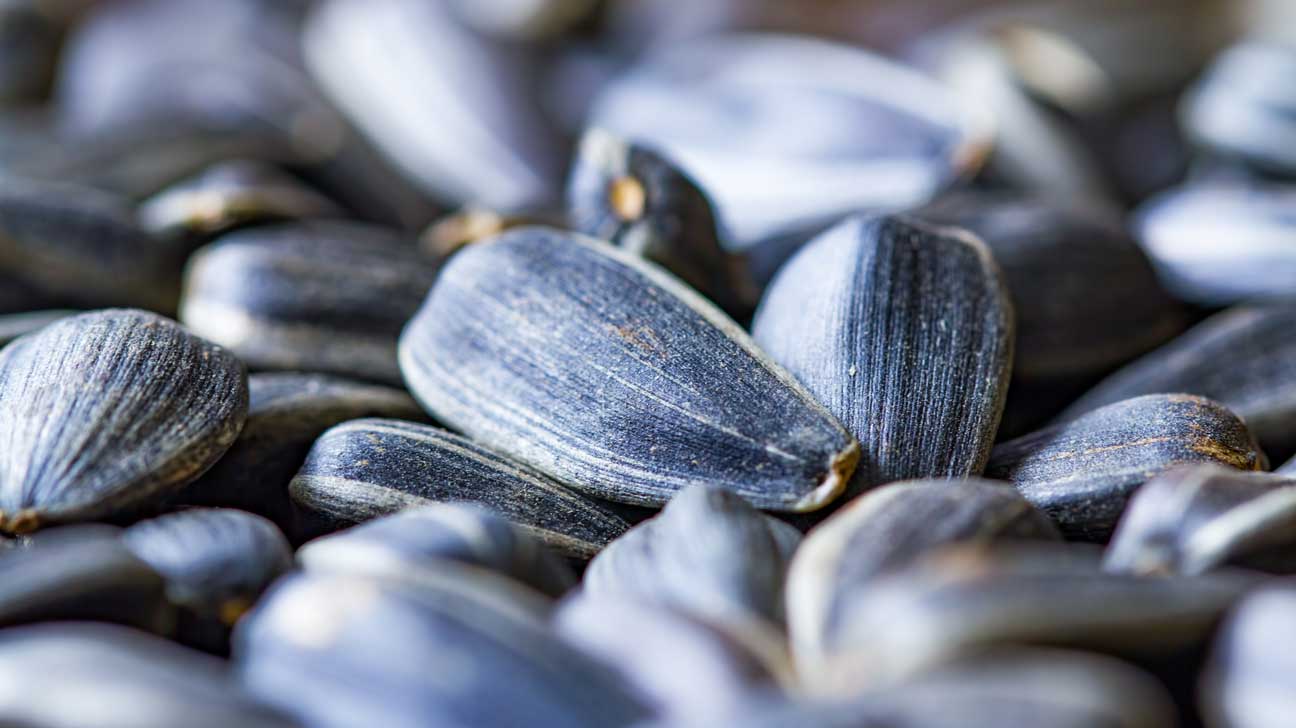
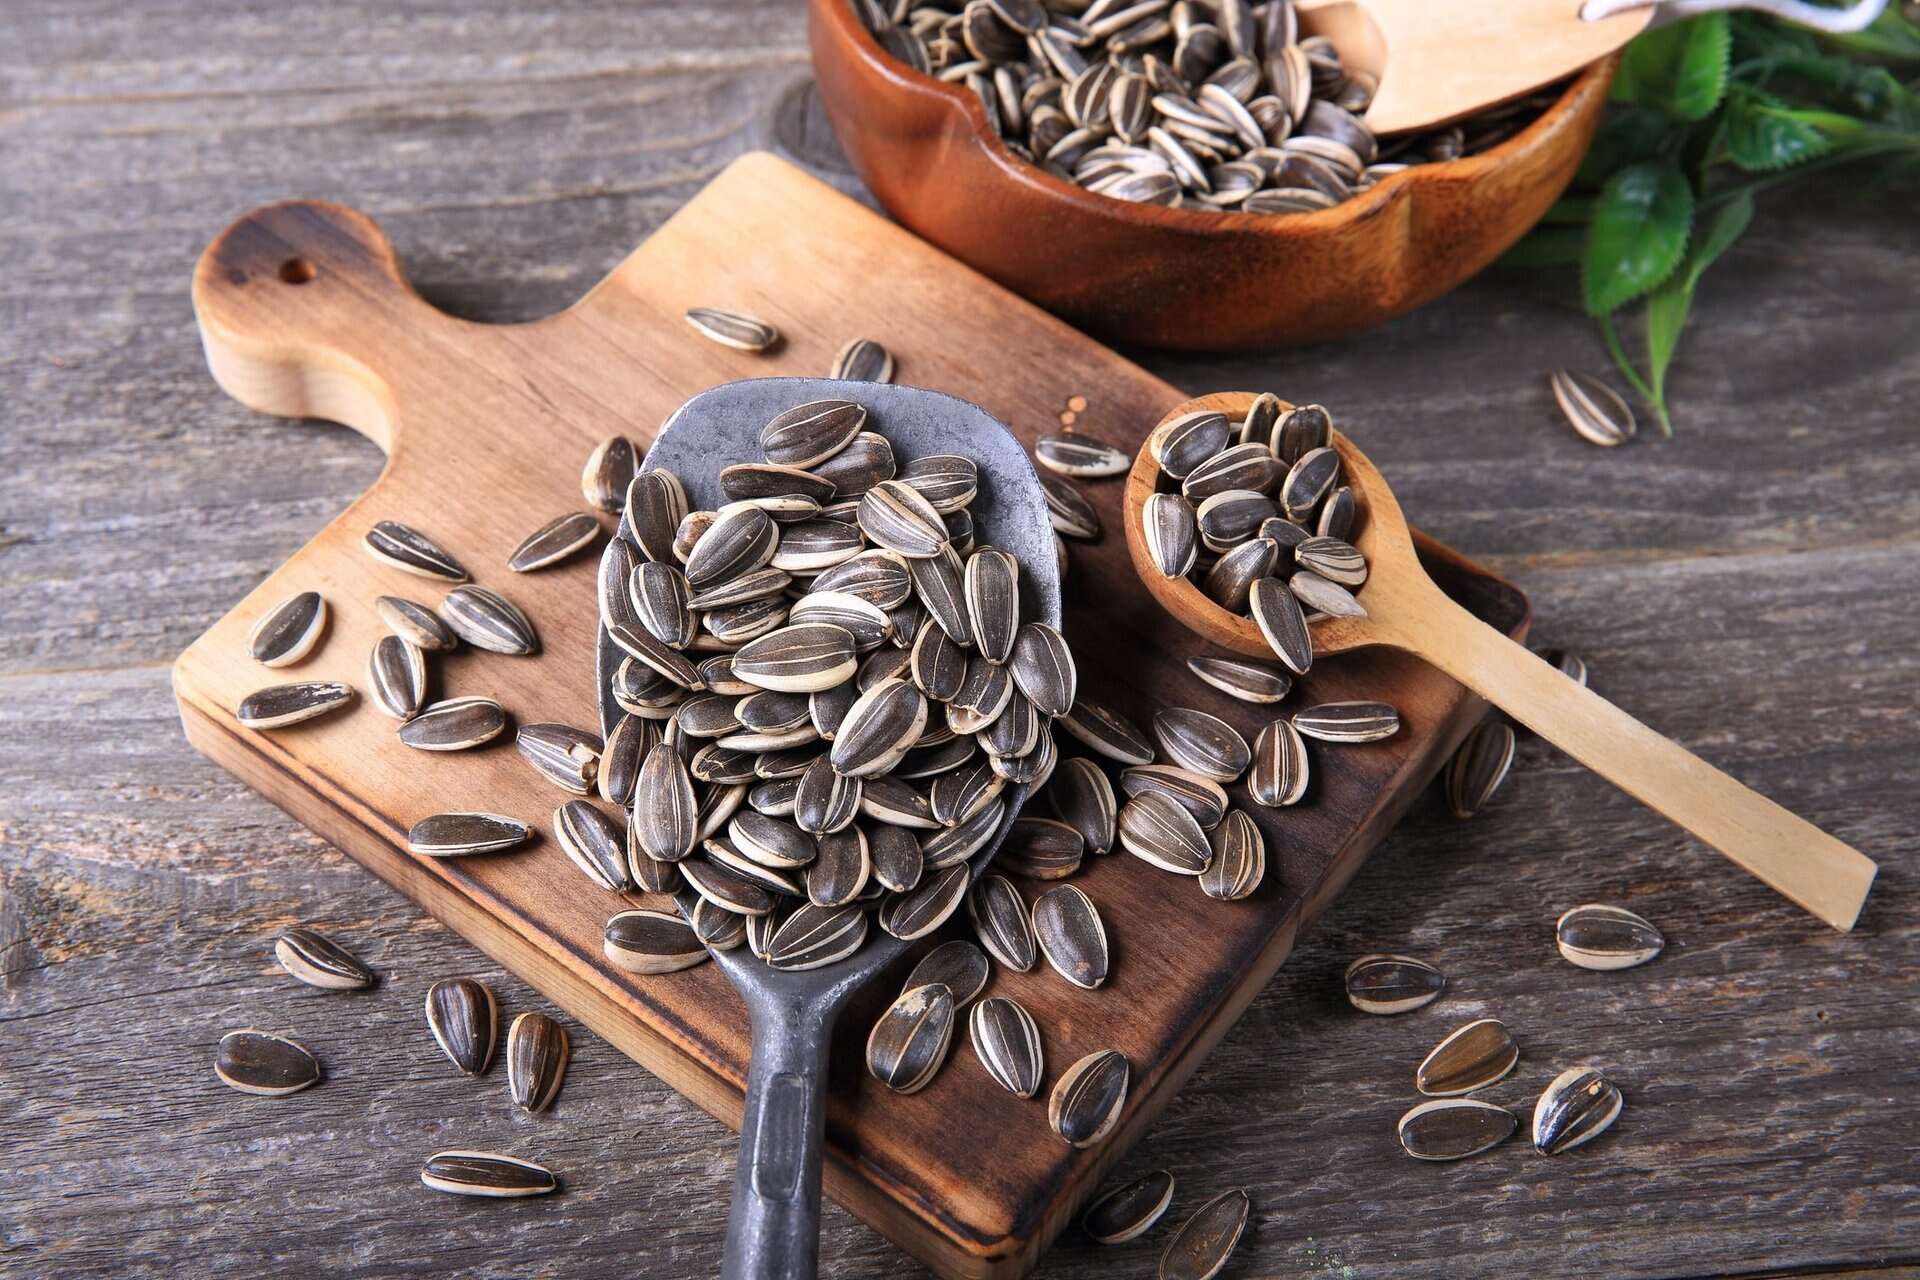
Store sunflower seeds in an airtight container in a cool, dark place to maintain their freshness and prevent them from becoming rancid. Avoid exposing them to heat, light, or moisture.
Roasting the Seeds
Roasting sunflower seeds not only adds a delicious flavor but also helps to extend their shelf life. The roasting process enhances their nutty taste and provides a satisfying crunch. Here’s how you can roast your sunflower seeds:
- Preheat the oven: Start by preheating your oven to 350 degrees Fahrenheit (175 degrees Celsius). Preheating ensures that the seeds cook evenly.
- Prepare the seeds: In a bowl, toss the shelled sunflower seeds with a small amount of oil. You can use olive oil, vegetable oil, or your preferred cooking oil. Adding oil helps to prevent the seeds from sticking to each other and ensures an even roasting.
- Add flavorings (optional): If you want to add extra flavor to your roasted sunflower seeds, now is the time to do it. Sprinkle them with salt, spices, or herbs of your choice. Popular options include garlic powder, paprika, cayenne pepper, or even a touch of honey for a sweet and savory combination. Toss the seeds to evenly distribute the seasonings.
- Spread the seeds on a baking sheet: Lay the coated seeds in a single layer on a baking sheet. Make sure they are spread out evenly and not overlapping to ensure even roasting.
- Roast in the oven: Place the baking sheet in the preheated oven and roast the seeds for about 15-20 minutes, or until they turn golden brown. Stir the seeds occasionally during the roasting process to ensure even browning.
- Cool and store: Once roasted, remove the baking sheet from the oven and let the seeds cool completely. This allows them to achieve their desired crunchiness. Once cooled, transfer the roasted sunflower seeds to an airtight container for storage.
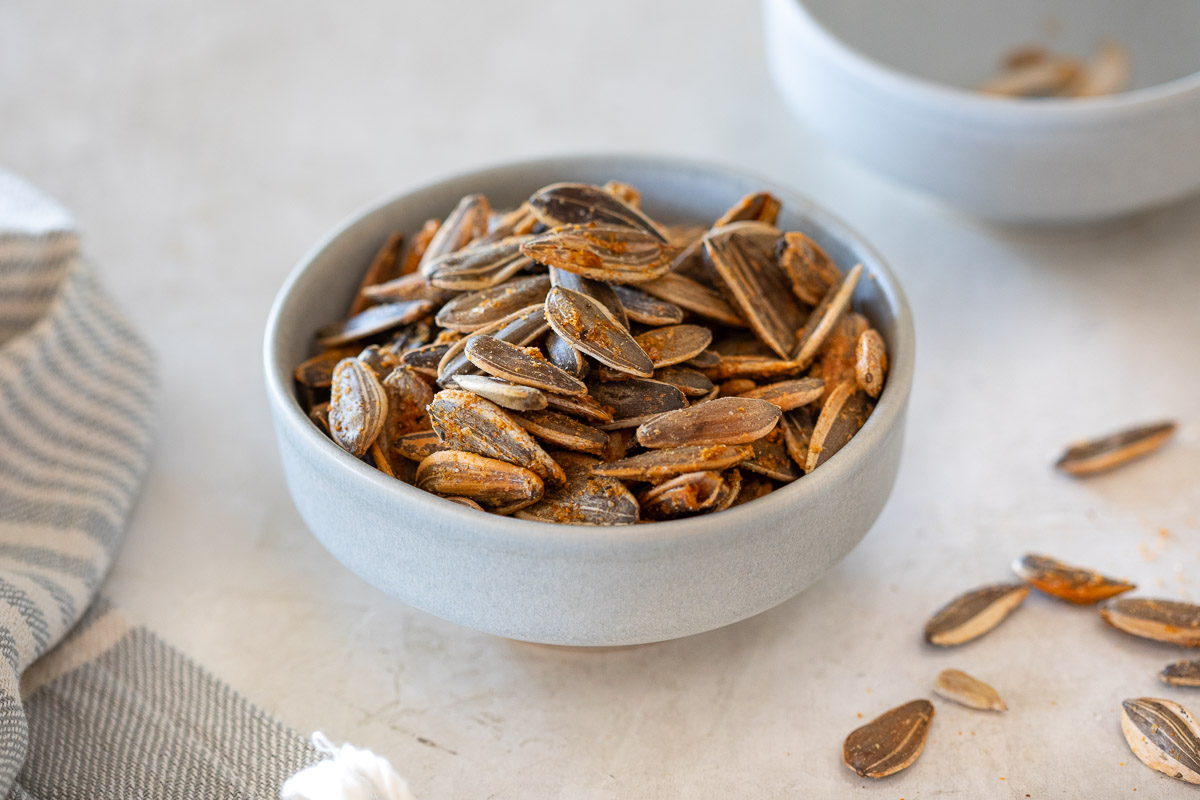
Roasted sunflower seeds make a tasty and nutritious snack on their own or can be used as a topping for salads, baked goods, or even in trail mixes. Ensure that the seeds have cooled completely before storing them to prevent any moisture accumulation.
Now that your sunflower seeds are clean, dry, shelled, and roasted, it’s time to move on to the final step: storing them properly to maintain their freshness and flavor.
Read more: How Do You Eat Sunflower Seeds
Storing the Sunflower Seeds
Proper storage is crucial for preserving the freshness and flavor of your sunflower seeds. Follow these steps to ensure that your seeds stay in optimal condition:
- Ensure that the seeds are completely cool: Before storing the sunflower seeds, make sure that they have reached room temperature. Storing warm seeds can lead to moisture buildup, which can cause them to become rancid or moldy.
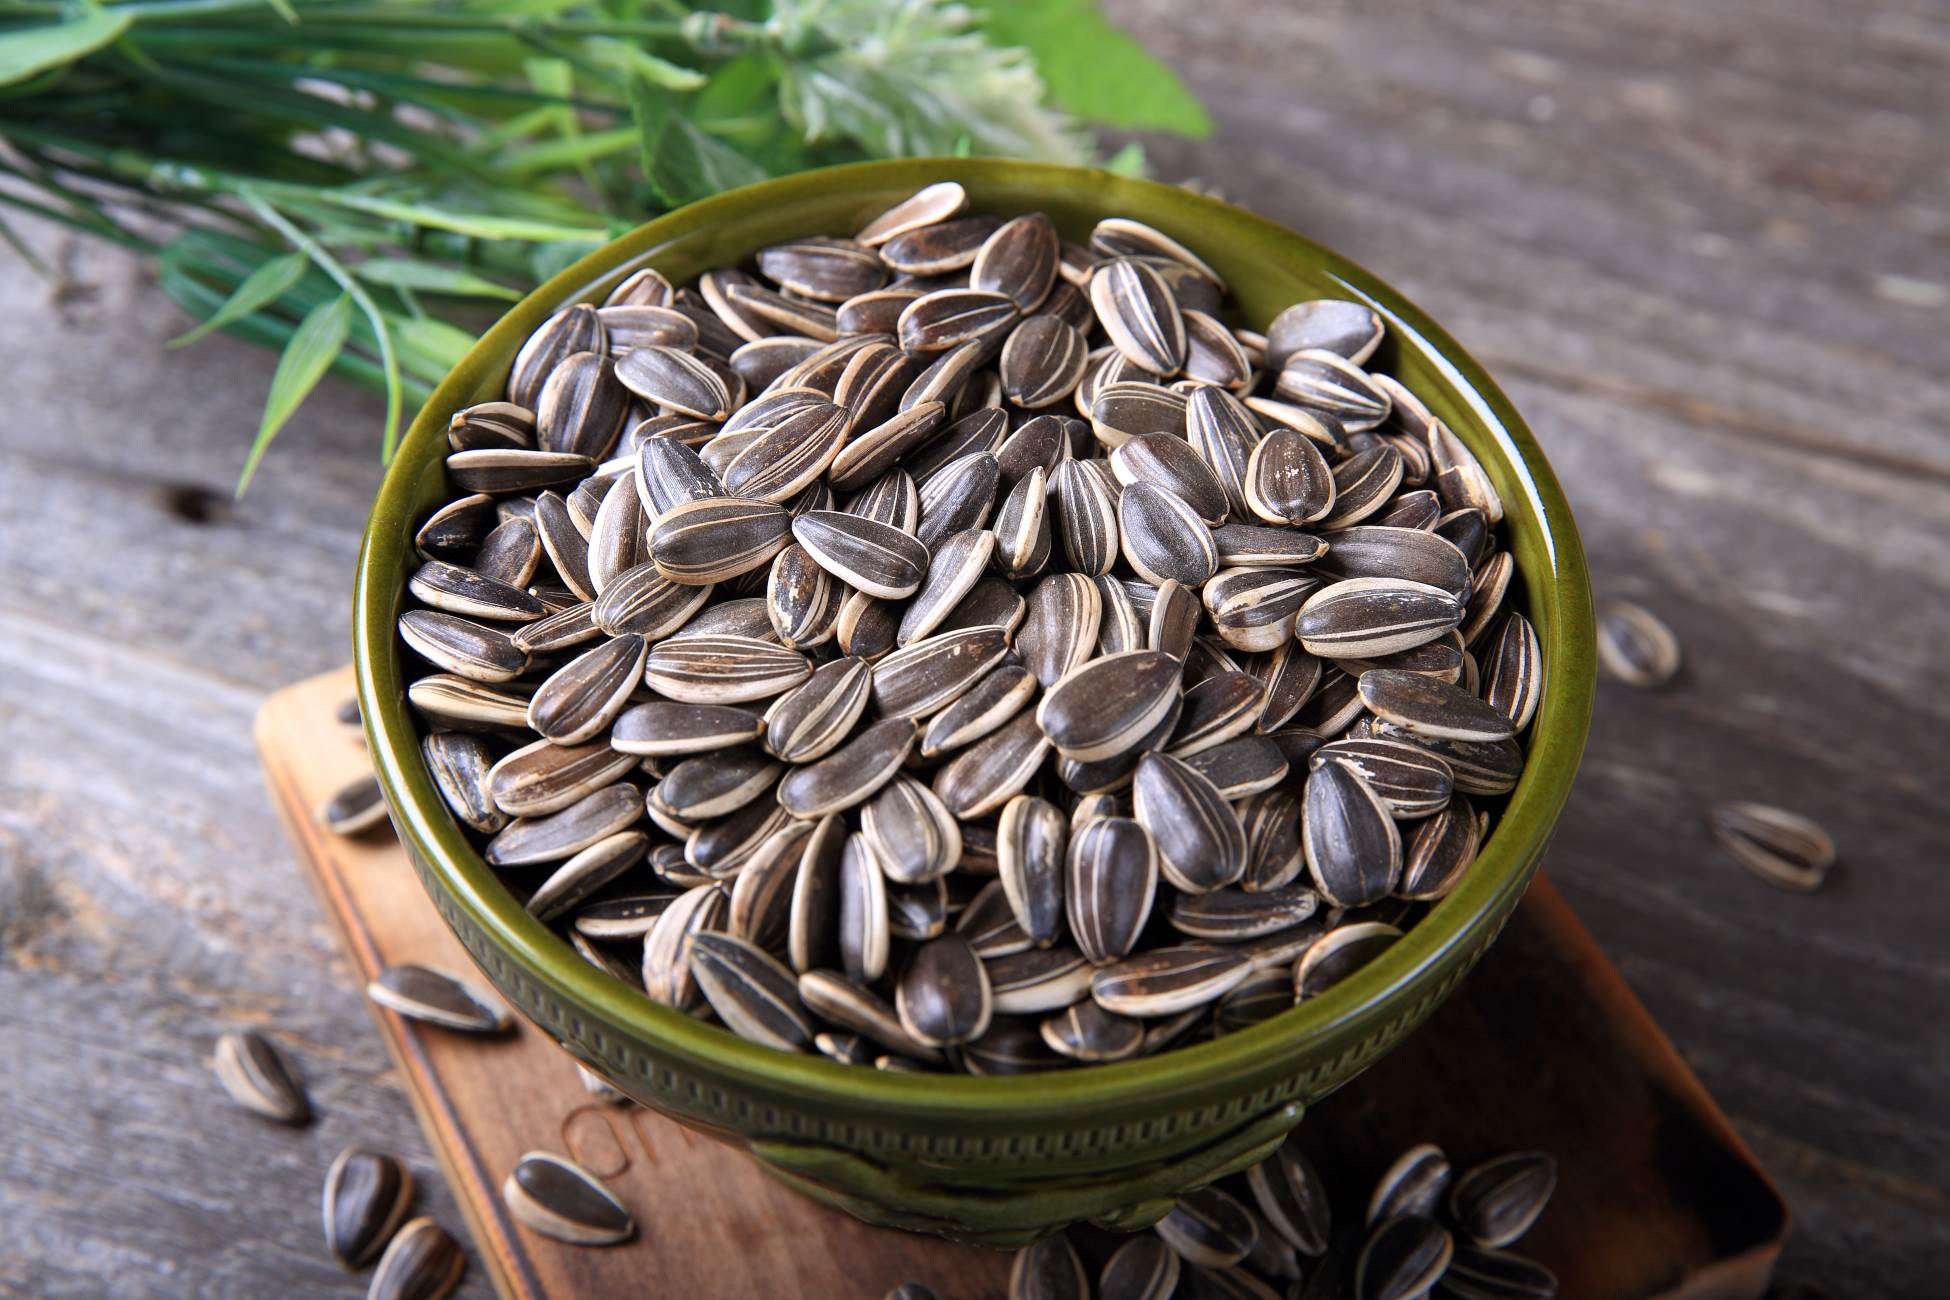
- Choose the right container: Select an airtight container to store your sunflower seeds. This could be a glass jar, a plastic container with a tight-fitting lid, or a resealable bag. The key is to minimize air exposure, which can lead to oxidation and loss of freshness.
- Label the container: It’s a good practice to label your container with the date of storage. This will help you keep track of the freshness and ensure that you use them within a reasonable timeframe.
- Store in a cool, dark place: Sunflower seeds are best stored in a cool, dark, and dry location. Keep them away from direct sunlight, as exposure to light can cause the seeds to deteriorate faster. A pantry or a kitchen cabinet is ideal for storing sunflower seeds.
- Avoid moisture and heat: Moisture and heat are the enemies of seed storage. Make sure the storage area is dry and free from any humidity. Avoid storing the seeds near appliances that generate heat, such as the oven or stovetop.
By following these storage guidelines, your sunflower seeds can remain fresh and flavorful for up to several months. However, for the best taste and quality, it is recommended to consume the seeds within 3-6 months.
Remember to periodically check on your stored sunflower seeds for any signs of spoilage or insects. If you notice any mold, off smells, or signs of infestation, discard the affected seeds immediately to prevent contamination.
Now that you know how to harvest, clean, dry, shell, roast, and store sunflower seeds, you can enjoy the benefits of these nutrient-rich snacks all year round. Whether you sprinkle them on salads, add them to baked goods, or simply enjoy them as a crunchy snack, these stored sunflower seeds are sure to bring deliciousness to your table!
Conclusion
Storing sunflower seeds for eating is a rewarding process that allows you to enjoy these nutritious and delicious snacks for an extended period of time. By following the steps outlined in this article, from harvesting to storage, you can ensure that your sunflower seeds remain fresh, flavorful, and ready to be enjoyed whenever you have a craving.
Remember, the journey starts with harvesting sunflower seeds at the right time. Take the time to observe the signs of maturity in your sunflowers to ensure a bountiful and flavorful yield. Once harvested, cleaning and drying the seeds is essential to remove any dirt, debris, or moisture that can compromise their quality during storage.
Removing the outer shell is a personal choice, as the shell is edible, but many prefer the shelled seeds for a more enjoyable snacking experience. Roasting the seeds adds a delightful flavor and crunch, enhancing their taste even further.
Properly storing the sunflower seeds in airtight containers, in a cool, dark, and dry place, is the key to maintaining their freshness and preventing spoilage. Remember to label the storage containers and consume the seeds within a reasonable timeframe for the best taste and quality.
With these steps in mind, you can confidently store your sunflower seeds for long-term use, ensuring that you always have a wholesome and nutritious snack on hand. Whether you enjoy them on their own, add them to your favorite recipes, or share them with friends and family, these stored sunflower seeds will provide a delightful burst of flavor and nutrition in every bite.
So why wait? Start harvesting those sunflower seeds and embark on an exciting journey of storing and savoring these delightful treats!
Frequently Asked Questions about How To Store Sunflower Seeds For Eating
Was this page helpful?
At Storables.com, we guarantee accurate and reliable information. Our content, validated by Expert Board Contributors, is crafted following stringent Editorial Policies. We're committed to providing you with well-researched, expert-backed insights for all your informational needs.

0 thoughts on “How To Store Sunflower Seeds For Eating”