Home>Garden Essentials>How To Sow Sunflower Seeds
Garden Essentials
How To Sow Sunflower Seeds
Modified: October 18, 2024
Learn how to sow sunflower seeds in your garden with these easy step-by-step instructions. Create a beautiful and vibrant sunflower bloom in your backyard.
(Many of the links in this article redirect to a specific reviewed product. Your purchase of these products through affiliate links helps to generate commission for Storables.com, at no extra cost. Learn more)
Introduction
Welcome to the world of sunflowers! These bright and cheerful flowers not only bring beauty to your garden but also offer a host of benefits for both humans and wildlife. Whether you’re a seasoned gardener or just starting out, sowing sunflower seeds can be a rewarding and enjoyable experience.
Sunflowers belong to the genus Helianthus, which is derived from the Greek words “helios” meaning sun, and “anthos” meaning flower. True to their name, these vibrant flowers are known for their ability to turn their faces towards the sun, following its movement throughout the day. Sunflowers come in various sizes, from petite dwarf varieties to towering giants that can reach heights of up to 12 feet.
Aside from their aesthetic appeal, sunflowers also play an important ecological role. They attract pollinators such as bees and butterflies, helping to support the health and diversity of your garden ecosystem. Additionally, their large, showy blooms provide a food source for birds, with the seeds serving as a rich source of energy during the winter months.
Now that we’ve established the beauty and ecological significance of sunflowers, let’s dive into the step-by-step process of sowing sunflower seeds. By following these guidelines, you’ll be on your way to growing vibrant, towering sunflowers that will brighten up your garden and provide a feast for the eyes and soul.
Key Takeaways:
- Sowing sunflower seeds involves preparing the soil, choosing the right seeds, germinating them, and planting in a sunny spot. With care and patience, you can grow vibrant sunflowers that attract pollinators and provide a feast for birds.
- Harvesting sunflower seeds is a rewarding process that involves waiting for the flowers to mature, drying the flower heads, and storing the seeds for future use. Enjoy the journey of growing sunflowers and the beauty they bring to your garden!
Read more: How To Make Sunflower Seeds From A Sunflower
Step 1: Prepare the soil
The first step in successfully growing sunflowers starts with preparing the soil. Sunflowers thrive in well-draining soil that is rich in organic matter. Follow these steps to ensure your soil is ready for sowing:
- Clear the area: Begin by clearing the area where you plan to sow the sunflower seeds. Remove any weeds, rocks, or debris that may hinder the growth of the sunflowers.
- Loosen the soil: Use a garden fork or a tiller to loosen the soil. This will help improve drainage and provide a loose medium for the sunflower roots to grow. Avoid compacting the soil as it can impede root development.
- Amend the soil: Sunflowers prefer soil that is rich in organic matter. Incorporate compost or well-rotted manure into the soil to add fertility and improve moisture retention. Aim for a pH level of 6.0 to 7.5, which is considered ideal for sunflower growth.
- Level the soil: Smooth out the soil surface using a rake, ensuring it is level and free from any major lumps or bumps. This will help provide a uniform growing environment for the sunflower seeds.
By taking the time to properly prepare your soil, you are setting the foundation for healthy sunflower growth. The enriched soil will provide the necessary nutrients for robust plant development and help minimize the risk of waterlogging, which can lead to root rot.
Next, let’s move on to selecting the best sunflower seeds for your garden in Step 2.
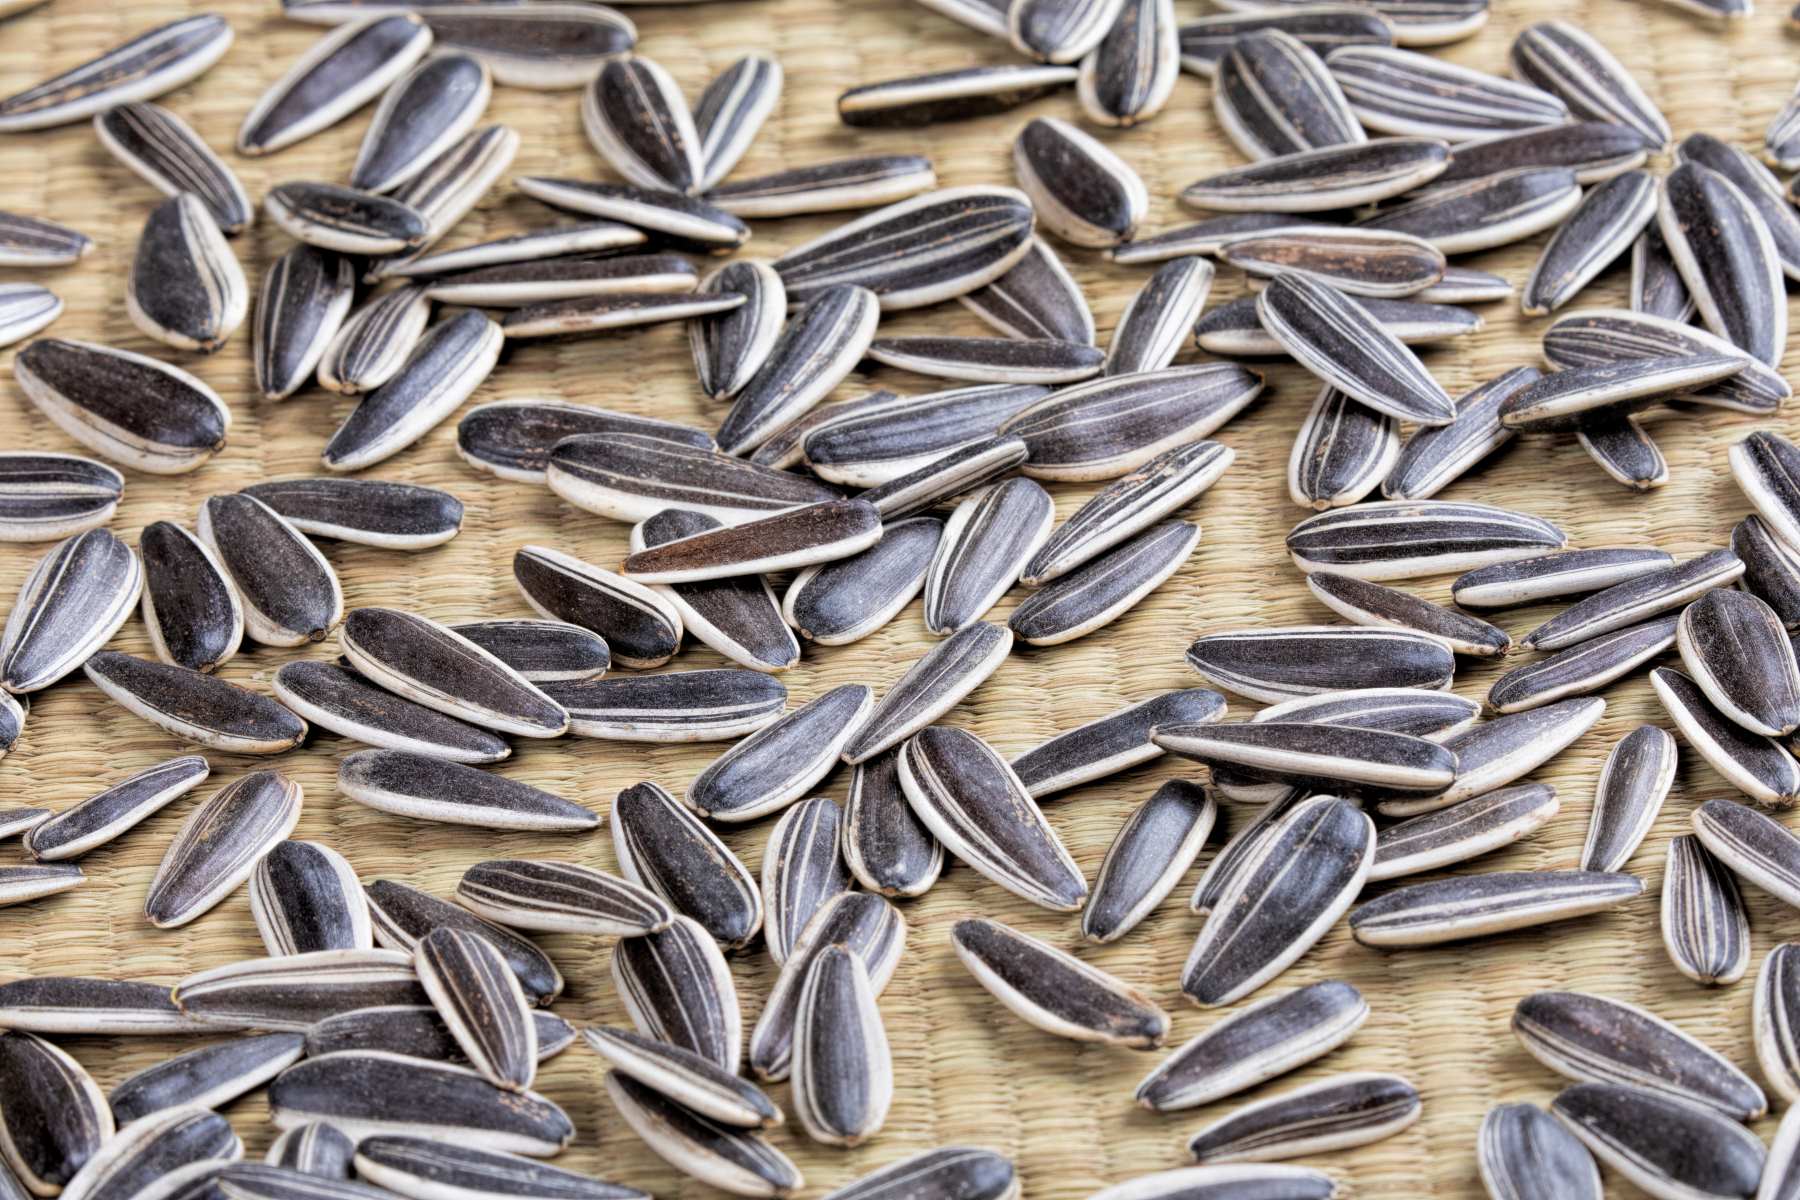
Step 2: Selecting the sunflower seeds
Choosing the right sunflower seeds is crucial for a successful garden. There are countless varieties available, each with its own unique characteristics. Here’s what you need to consider when selecting sunflower seeds:
- Seed type: Sunflower seeds come in two main types: ornamental and edible. Ornamental sunflowers are bred for their large, showy blooms and are perfect for adding a pop of color to your garden. Edible sunflowers, on the other hand, produce seeds that can be harvested and enjoyed as a tasty snack.
- Size: Sunflowers can vary in size, ranging from dwarf varieties that stay compact to mammoth varieties that can reach impressive heights. Consider the space you have available in your garden and choose a size that fits your needs.
- Color: While yellow is the classic sunflower color, there are also varieties that come in shades of orange, red, and even bi-color combinations. Decide on the color you find most appealing and that best complements your overall garden aesthetic.
- Days to maturity: Sunflowers have different maturity periods, so it’s important to consider the length of your growing season. If you live in a region with a shorter growing season, opt for varieties that have a shorter maturity period to ensure that your sunflowers have enough time to bloom before the frost arrives.
- Disease resistance: Some sunflower varieties are bred to be more resistant to common diseases, such as powdery mildew or downy mildew. Check the seed packet or product description for any information on disease resistance, especially if you’ve had issues with diseases in your garden in the past.
When selecting sunflower seeds, look for reputable seed suppliers that offer high-quality seeds. Reading reviews and checking for certifications can help ensure that you’re purchasing seeds that are reliable and true to their variety.
Now that you’ve chosen the perfect sunflower seeds, it’s time to move on to Step 3: Germinating the seeds.
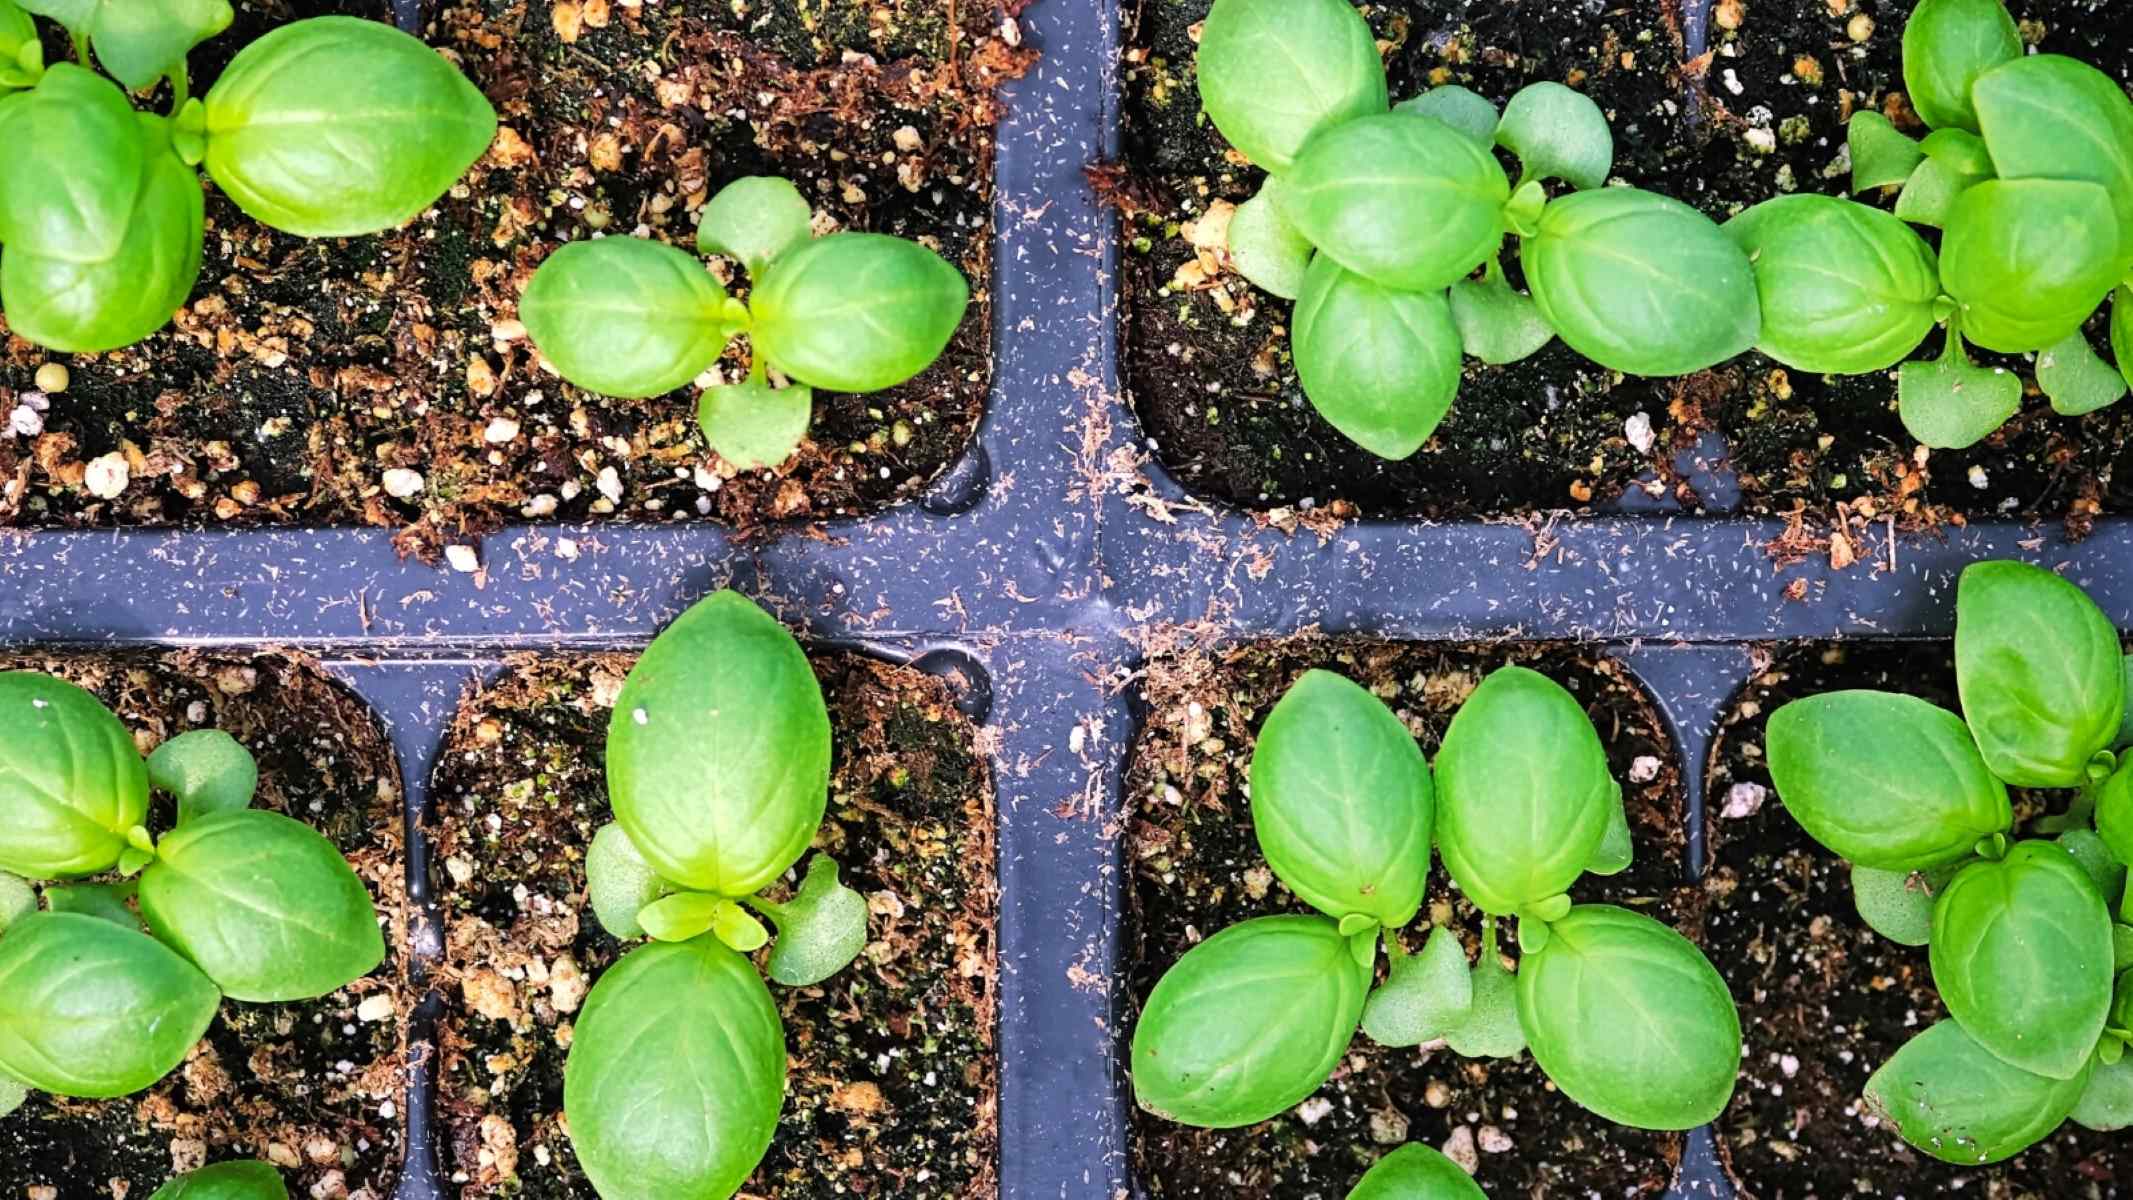
Step 3: Germinating the seeds
In order to get your sunflower seeds off to a successful start, it’s important to germinate them properly. Follow these steps to ensure successful seed germination:
- Pre-soaking the seeds: Start by soaking the sunflower seeds in water for 24 hours before planting. This helps to soften the seed coat, allowing for easier germination.
- Preparing a seed tray: Fill a seed tray or small pots with a moist, well-draining seed starting mix. Make sure the container has drainage holes to prevent waterlogging.
- Sowing the seeds: Place the pre-soaked sunflower seeds about 1 inch deep into the seed starting mix. Leave a gap of about 2 to 3 inches between each seed to allow for growth.
- Maintaining proper moisture: It’s crucial to keep the seed starting mix consistently moist during the germination process. Check the moisture levels regularly and water gently if the soil feels dry to the touch.
- Providing warmth: Sunflower seeds prefer warm temperatures for germination. Place the seed tray in a warm location, such as near a sunny window or on a heat mat, to encourage quicker and more uniform germination.
- Ensuring proper light: While warmth is important, sunlight is not necessary during the germination phase. Keep the seeds out of direct sunlight to prevent excessive drying and overheating. Artificial grow lights can be used if natural light is limited.
- Germination time: Sunflower seeds typically germinate within 7 to 10 days, depending on the variety and environmental conditions. Be patient and monitor the progress of the seedlings.
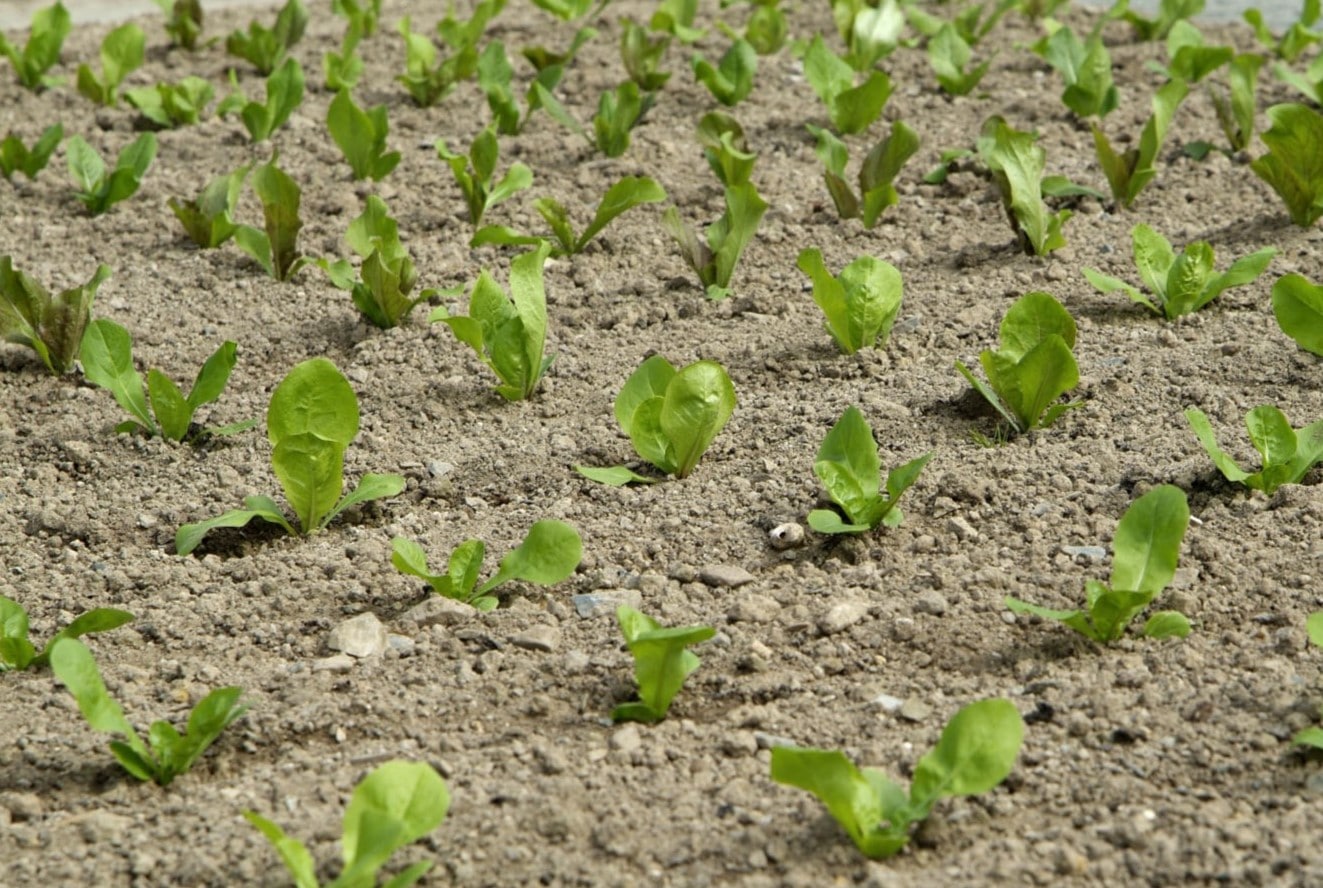
Once the sunflower seedlings have emerged and have grown their first set of true leaves, they are ready to be transplanted into the garden. We’ll cover the details of selecting the perfect planting location in Step 4.
Step 4: Choosing the planting location
Choosing the right planting location for your sunflowers is crucial for their overall growth and development. Here are some factors to consider when selecting the perfect spot:
- Sunlight: Sunflowers are aptly named because they thrive in full sun. Choose a location that receives at least 6 to 8 hours of direct sunlight per day. The more sun exposure your sunflowers get, the better they will grow and produce vibrant blooms.
- Soil type: Sunflowers are adaptable plants that can grow in a wide range of soil types. However, they prefer well-draining soil that is rich in organic matter. Avoid planting in heavy clay soil or areas prone to waterlogging, as this can cause the roots to rot.
- Space: Consider the height and spread of the sunflower variety you are planting. Sunflowers can grow quite tall and wide, so make sure to allow enough space between each plant to accommodate their size. Planting them too close together can lead to overcrowding and hinder their growth.
- Wind protection: Sunflowers can be susceptible to damage from strong winds. If you live in an area with frequent gusts, consider planting them near a fence, wall, or other structures that can provide some protection from wind.
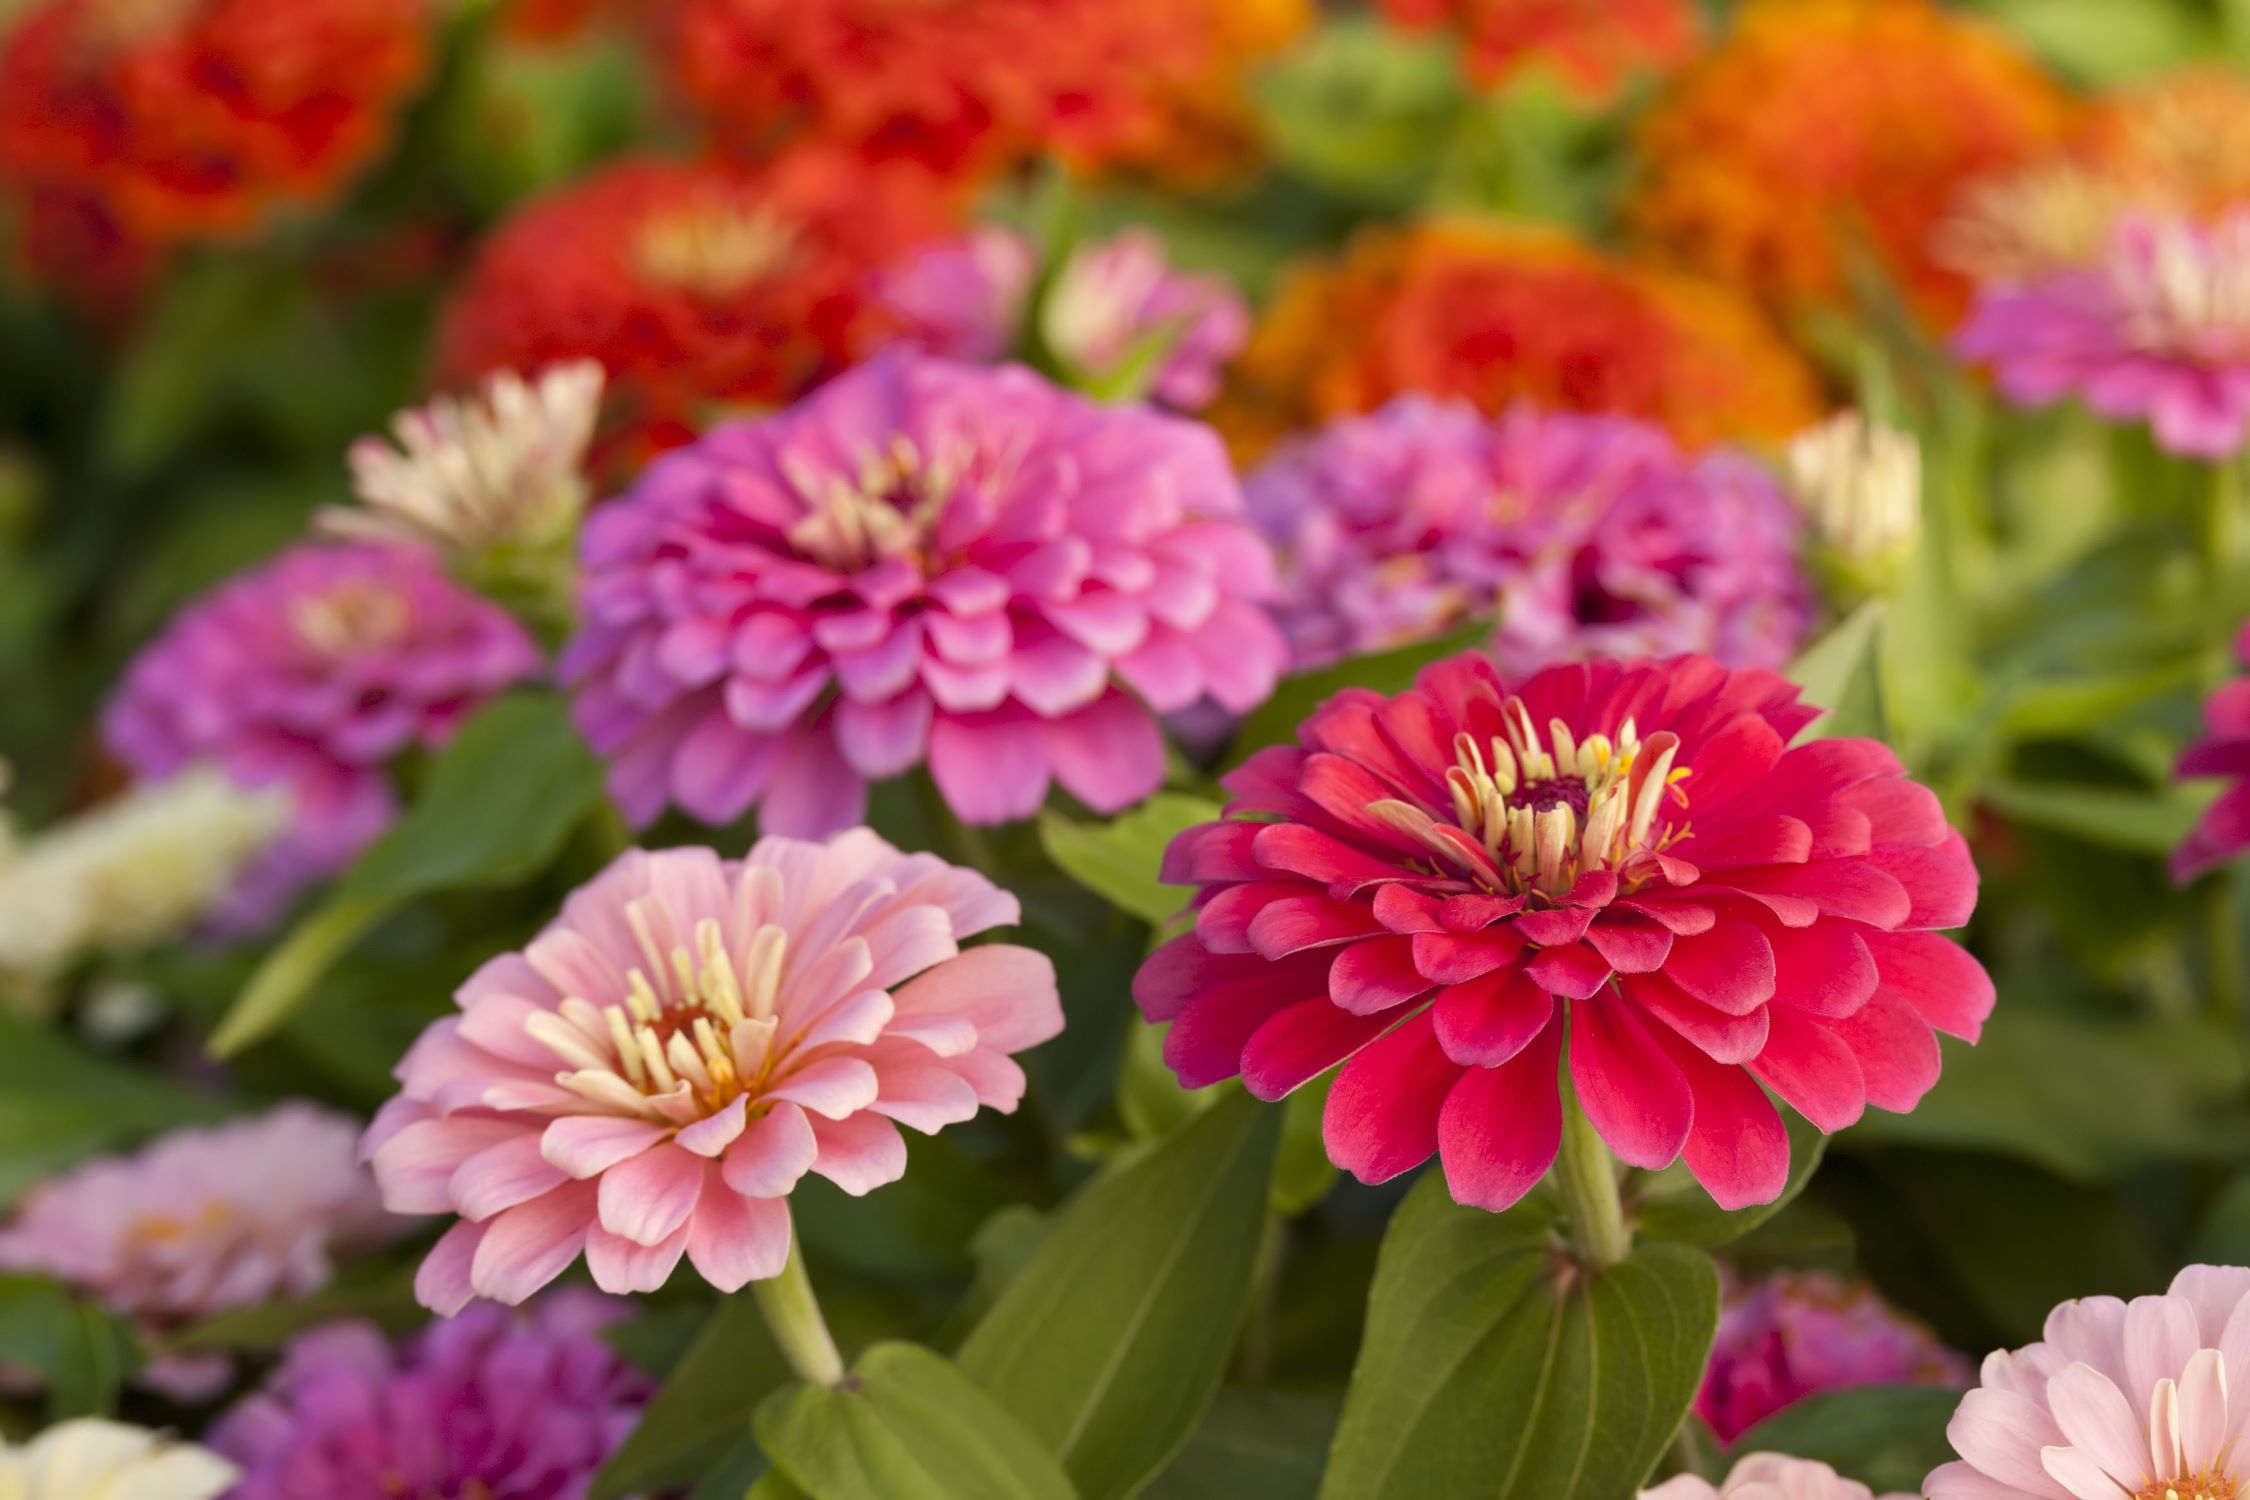
- Companion plants: Sunflowers are known to attract pollinators, so planting them near other flowering plants can help create a vibrant and diverse ecosystem in your garden. Some popular companion plants for sunflowers include zinnias, marigolds, and cosmos.
- Accessibility: Consider the accessibility of the planting location. Ensure that you can easily water, monitor, and harvest the sunflowers without any obstacles or difficulty.
By choosing the right planting location, you are setting the stage for healthy sunflowers that will thrive and bloom beautifully. Now that you’ve selected the ideal spot, it’s time to move on to Step 5: Planting the sunflower seeds and watching them grow!
Read more: How To Sow Snapdragon Seeds
Step 5: Planting the sunflower seeds
Now that you have prepared the soil and selected the perfect planting location, it’s time to sow the sunflower seeds and watch them grow into majestic beauties. Here is how you can plant the sunflower seeds:
- Timing: Sunflower seeds should be planted after the last frost date in your area, when the soil has warmed up. This is typically in spring or early summer. Check your local climate and gardening resources for specific timing recommendations.
- Digging holes: Use a small trowel or your fingers to dig holes in the planting area. The depth of the holes should be around 1 to 2 inches, depending on the size of the sunflower seeds.
- Spacing: Leave adequate space between each hole, following the spacing recommendations provided on the seed packet. This will ensure that the sunflowers have enough room to grow and develop properly.
- Sowing the seeds: Place one sunflower seed in each hole and cover it with soil. Gently pat down the soil to ensure good seed-to-soil contact.
- Watering: After planting the sunflower seeds, give them a thorough watering to ensure that the soil is evenly moist. Avoid overwatering, as this can lead to rotting of the seeds or the emergence of fungal diseases.
- Mulching: Consider adding a layer of organic mulch around the sunflower seedlings. Mulch helps retain moisture, suppress weeds, and maintain a more consistent soil temperature.
- Labeling: It’s a good practice to label your sunflower planting area, noting down the variety name and the planting date. This will come in handy for tracking the growth and keeping records.
Now, all you have to do is wait patiently and provide the appropriate care for your sunflower seedlings to thrive. In Step 6, we will discuss watering, fertilizing, and caring for the young sunflower plants.
When sowing sunflower seeds, choose a sunny spot with well-drained soil. Plant seeds 1 inch deep and 6 inches apart. Water regularly and watch them grow!
Step 6: Watering and caring for the seedlings
Now that your sunflower seedlings have emerged, it’s important to provide them with proper care to ensure healthy growth and development. Follow these guidelines for watering and caring for your young sunflower plants:
- Watering: Sunflowers require regular watering, especially during dry spells. Keep the soil evenly moist but avoid overwatering, as this can lead to root rot. Water at the base of the plants, aiming for the soil rather than the leaves, to prevent fungal diseases.
- Soil moisture: Monitor the soil moisture levels by checking the top inch of soil. If it feels dry to the touch, it’s time to water. Be mindful of any rainfall, as it can affect the watering frequency.
- Fertilizing: Sunflowers are generally low-maintenance plants and do not require much fertilization. However, you can apply a balanced, slow-release fertilizer once the seedlings have grown a few inches tall. Follow the manufacturer’s instructions for application rates.
- Weeding: Keep the area around the sunflower plants free of weeds. Weeds compete for nutrients, water, and sunlight, which can hinder the growth of your sunflowers. Regularly remove any weeds that appear near the base of the plants.
- Thinning: If you planted multiple seeds in one hole and more than one seedling emerges, you may need to thin them. Choose the healthiest and strongest seedling and remove the others carefully to prevent damaging the roots.
- Protection from extreme weather: In case of extreme weather conditions, such as heavy rains or strong winds, consider providing temporary protection to your sunflower seedlings. Use stakes or a protective barrier to shield them from potential damage.
- Monitoring pests: Keep an eye out for any signs of pest infestation, such as aphids, slugs, or snails. If necessary, use organic pest control methods to protect your sunflowers.
By following these care guidelines, you will ensure that your sunflower seedlings have the optimal conditions to thrive. Next, we’ll discuss how to protect your young sunflowers from common pests in Step 7.
Step 7: Protecting young sunflowers from pests
As your sunflowers grow, they may become susceptible to various pests that can hinder their growth and damage their leaves and blooms. Taking proactive measures to protect your young sunflowers from pests is essential. Here are some tips:
- Identify common pests: Familiarize yourself with common sunflower pests such as aphids, slugs, snails, and caterpillars. Understanding the pests will help you implement appropriate pest control strategies.
- Natural pest control: Embrace organic and natural pest control methods to minimize the use of harmful chemicals. For example, vinegar solutions or insecticidal soaps can be effective against pests like aphids. Beer traps or copper tape can deter slugs and snails.
- Companion planting: Utilize companion planting to deter pests. Consider planting herbs such as marigolds, lavender, or basil near your sunflowers, as their strong scents can repel certain pests.
- Physical barriers: Use physical barriers like netting or mesh to protect your sunflower plants from birds or larger pests. Place the barriers around the plants, ensuring they are tall enough to prevent access to the flowers.
- Remove affected leaves: If you notice leaves that are infested or diseased, promptly remove them to prevent the spread of pests or diseases to other parts of the plant.
- Regular inspection: Take the time to regularly inspect your sunflowers for any signs of pest activity. Early detection allows for quicker intervention and reduces the chance of severe damage to the plants.
- Beneficial insects: Attract beneficial insects to your garden, such as ladybugs and lacewings, which feed on common sunflower pests. Plant flowers that attract these beneficial insects, ensuring a natural balance in your garden ecosystem.
By implementing these pest control measures, you can help protect your young sunflowers and ensure their health and vitality. In the next step, we’ll discuss the importance of supporting and staking your sunflowers as they grow taller.
Step 8: Supporting and staking the sunflowers
As your sunflowers grow taller and their impressive blooms develop, it becomes crucial to provide adequate support to prevent them from flopping over due to their weight or strong winds. Follow these steps to support and stake your sunflowers:
- Choosing the right support: Select a sturdy support system for your sunflowers, such as bamboo stakes, wooden stakes, or metal trellises. The height and strength of the support will depend on the sunflower variety and its expected height.
- Placement: Place the stakes or trellises in the ground near the base of the sunflowers, ensuring they are firmly planted and stable. Ideally, they should be installed at planting time or shortly after the seedlings emerge.
- Tie gently: As the sunflowers grow, loosely tie the main stem to the stake using soft plant ties or twine. Make sure to leave room for the stem to expand as it grows thicker. Avoid tying too tightly, as it can restrict growth or damage the stem.
- Additional support: For taller sunflower varieties that may require extra support, consider using additional stakes or creating a tripod by tying three stakes together at the top. This provides a stable structure to keep the sunflowers upright.
- Regular monitoring: Regularly inspect the sunflowers and adjust the ties or stakes as needed. As the sunflowers continue to grow, they may require additional support or adjustments to maintain their stability.
- Protection from wind: If you live in an area prone to strong winds, consider planting your sunflowers near a fence, wall, or other windbreaks for added protection.
Providing proper support and staking for your sunflowers will help ensure that they grow upright and remain stable, showcasing their beauty to the fullest. Now, in Step 9, we’ll discuss the eagerly anticipated stage of harvesting sunflower seeds!
Read more: How To Sow Okra Seeds
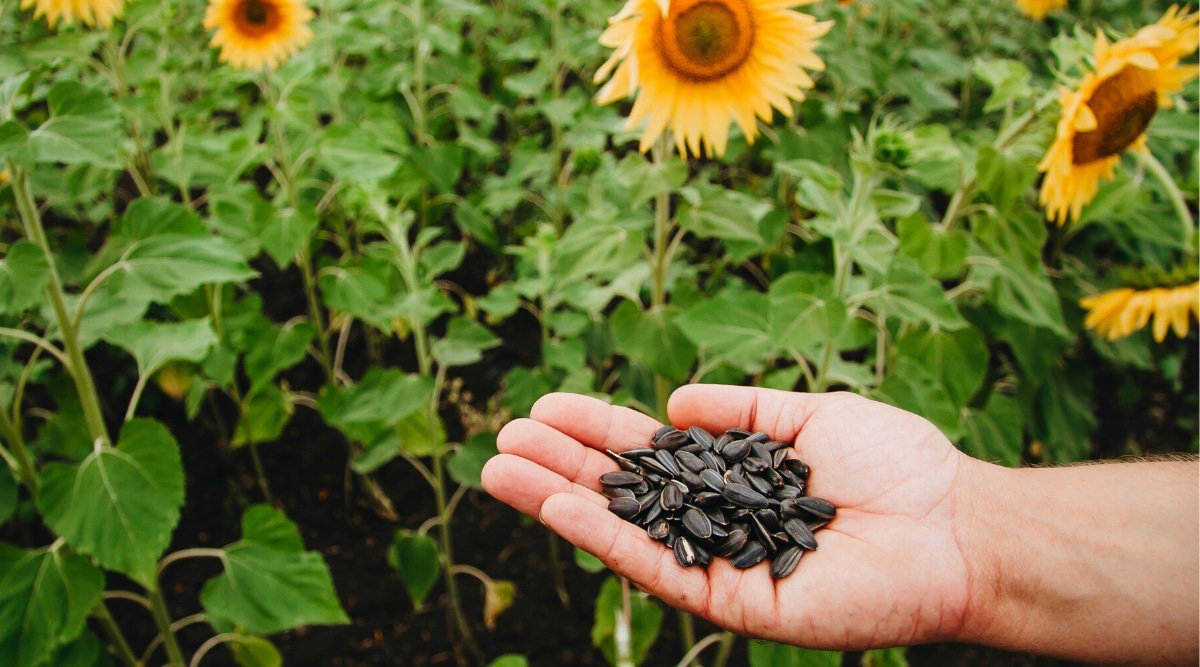
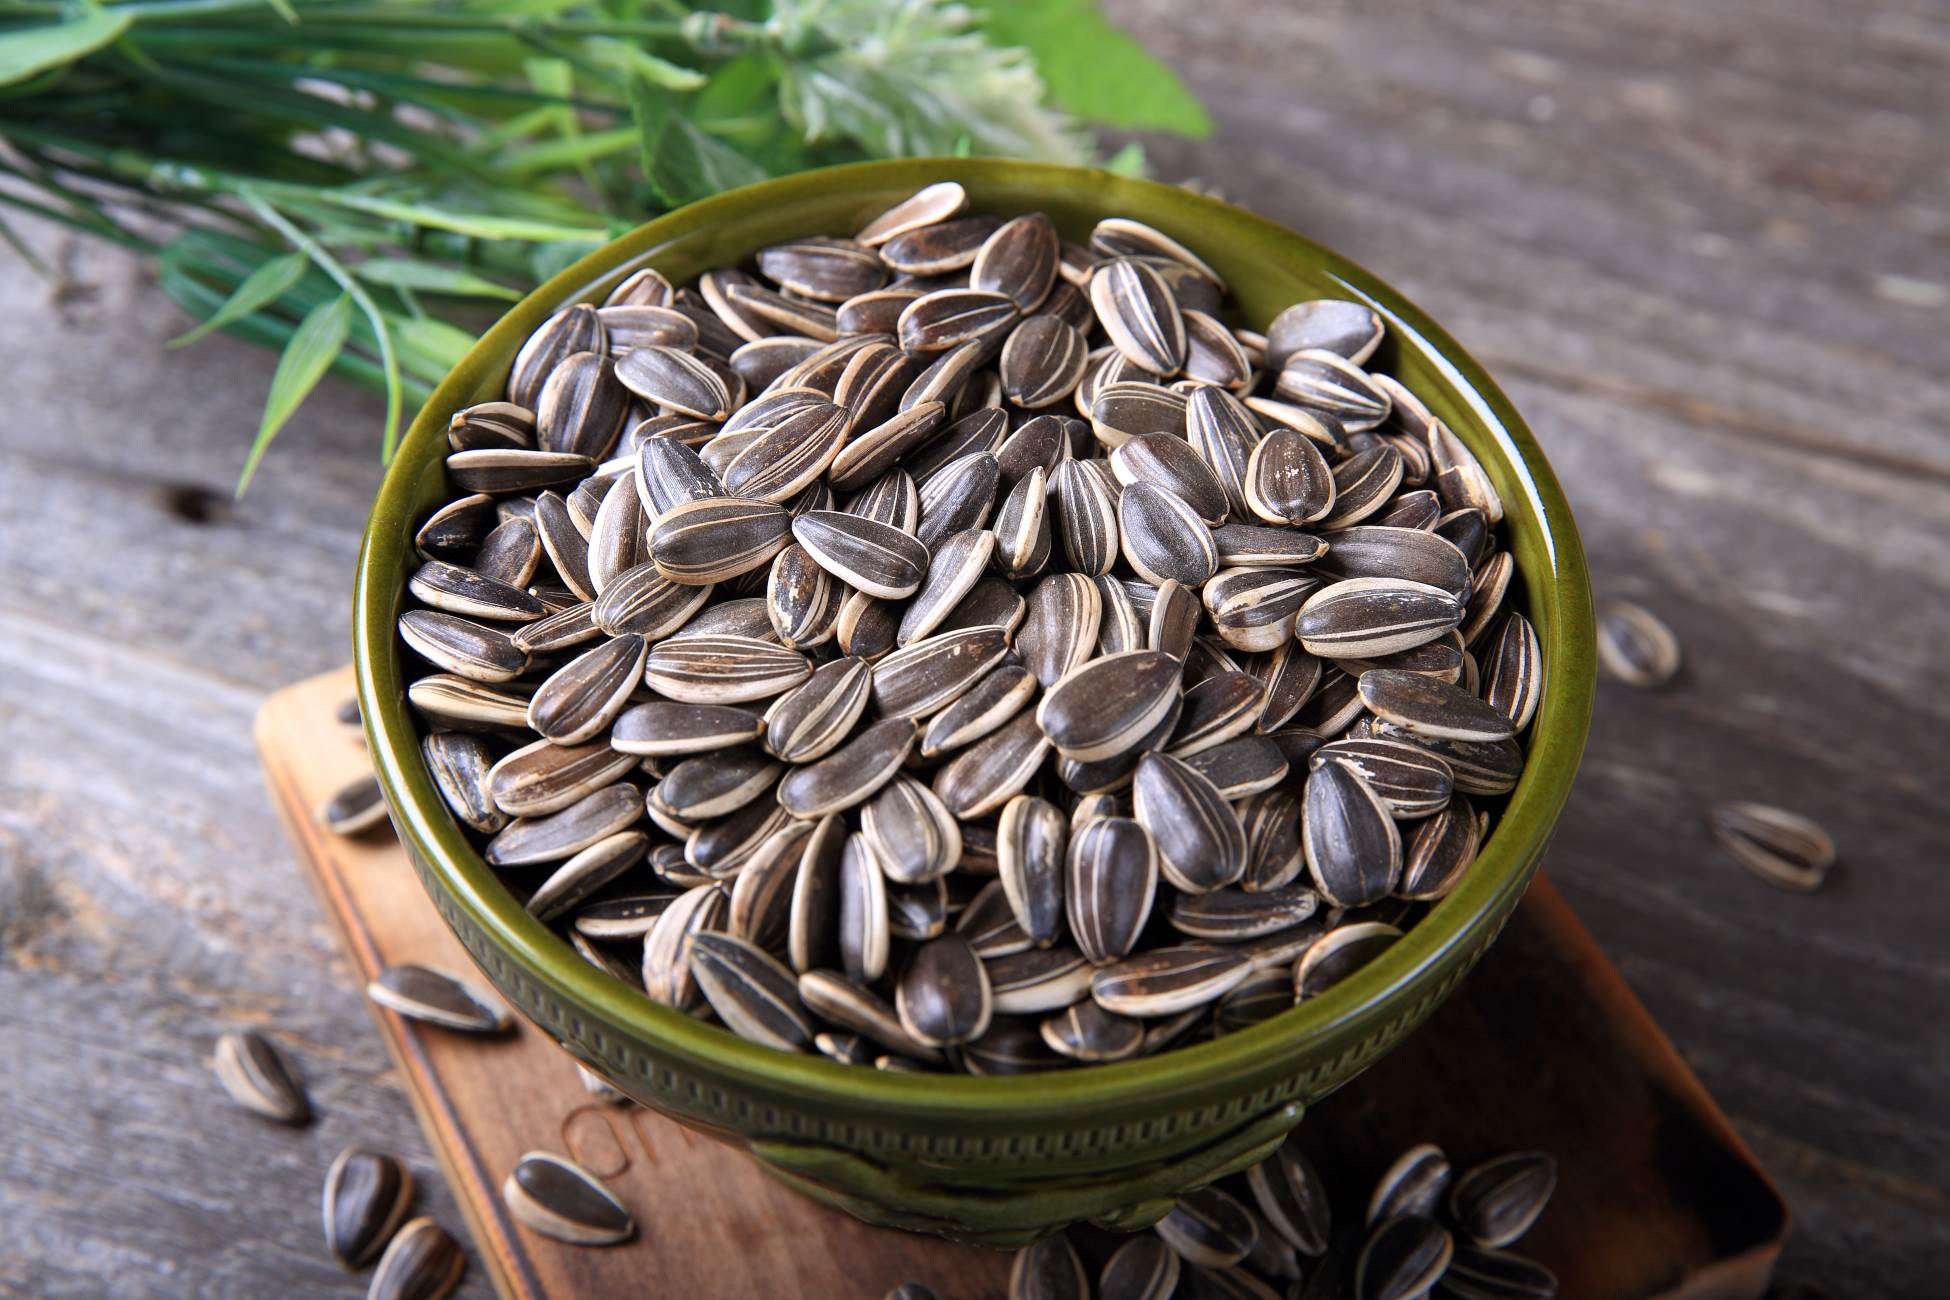
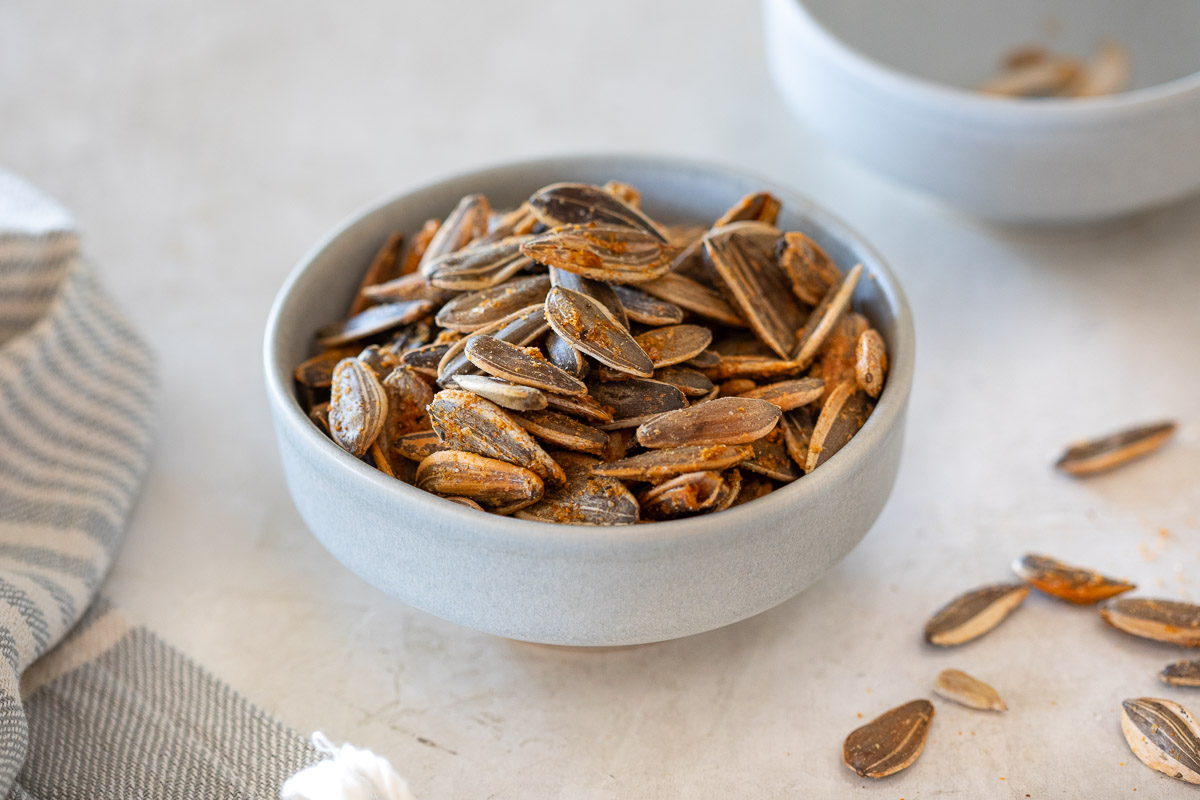
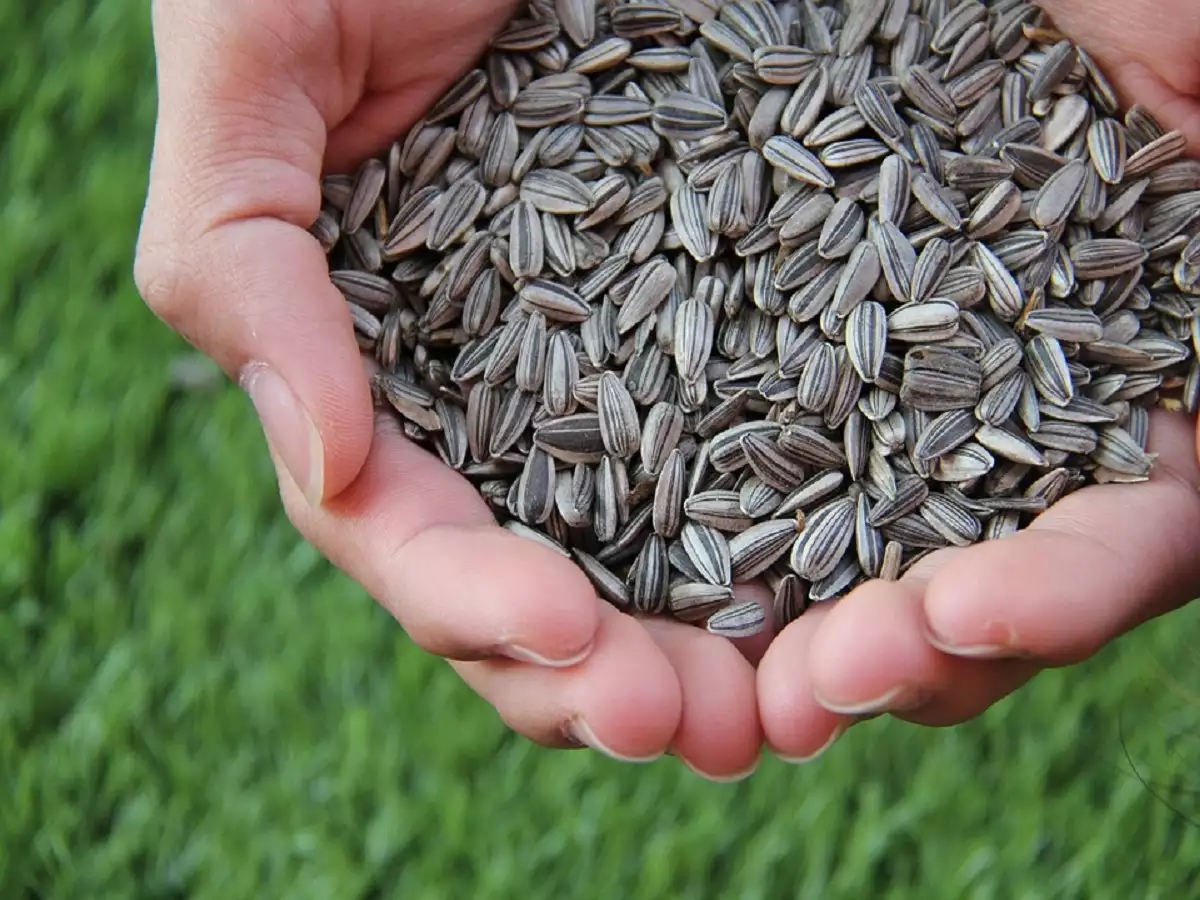
Step 9: Harvesting the sunflower seeds
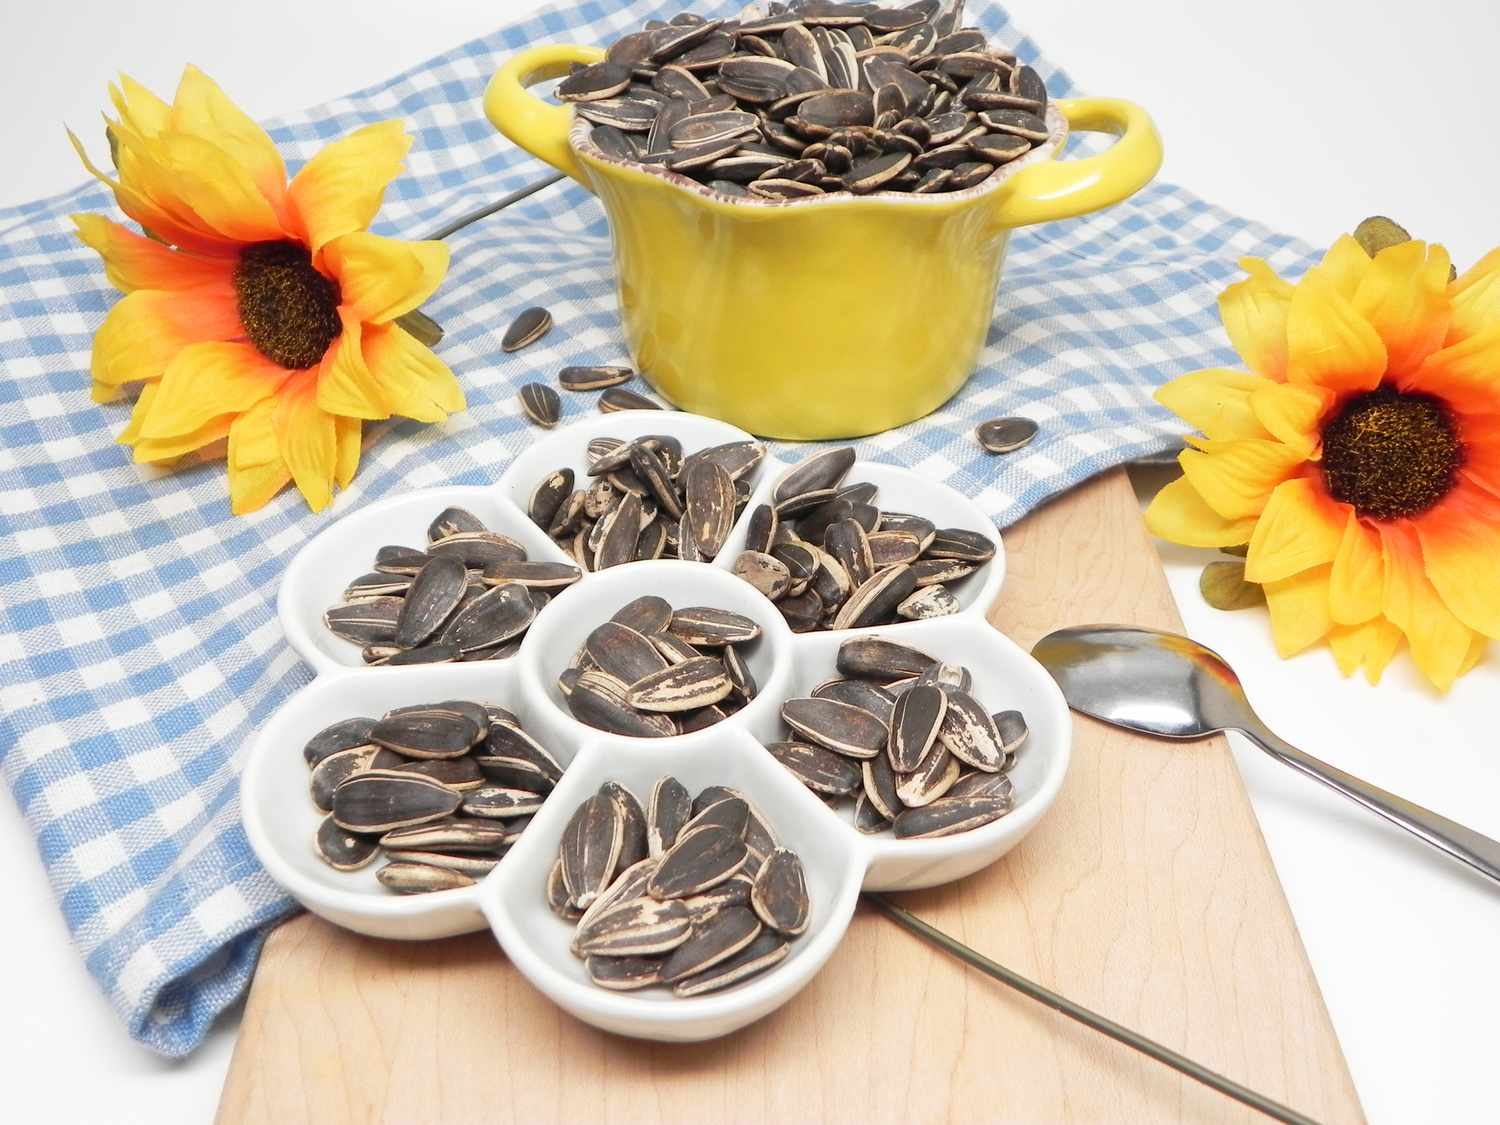
One of the most exciting moments in growing sunflowers is the time to harvest the seeds. Sunflower seeds make for a delicious and nutritious treat and can be used in a variety of culinary creations. Here’s how to harvest the sunflower seeds:
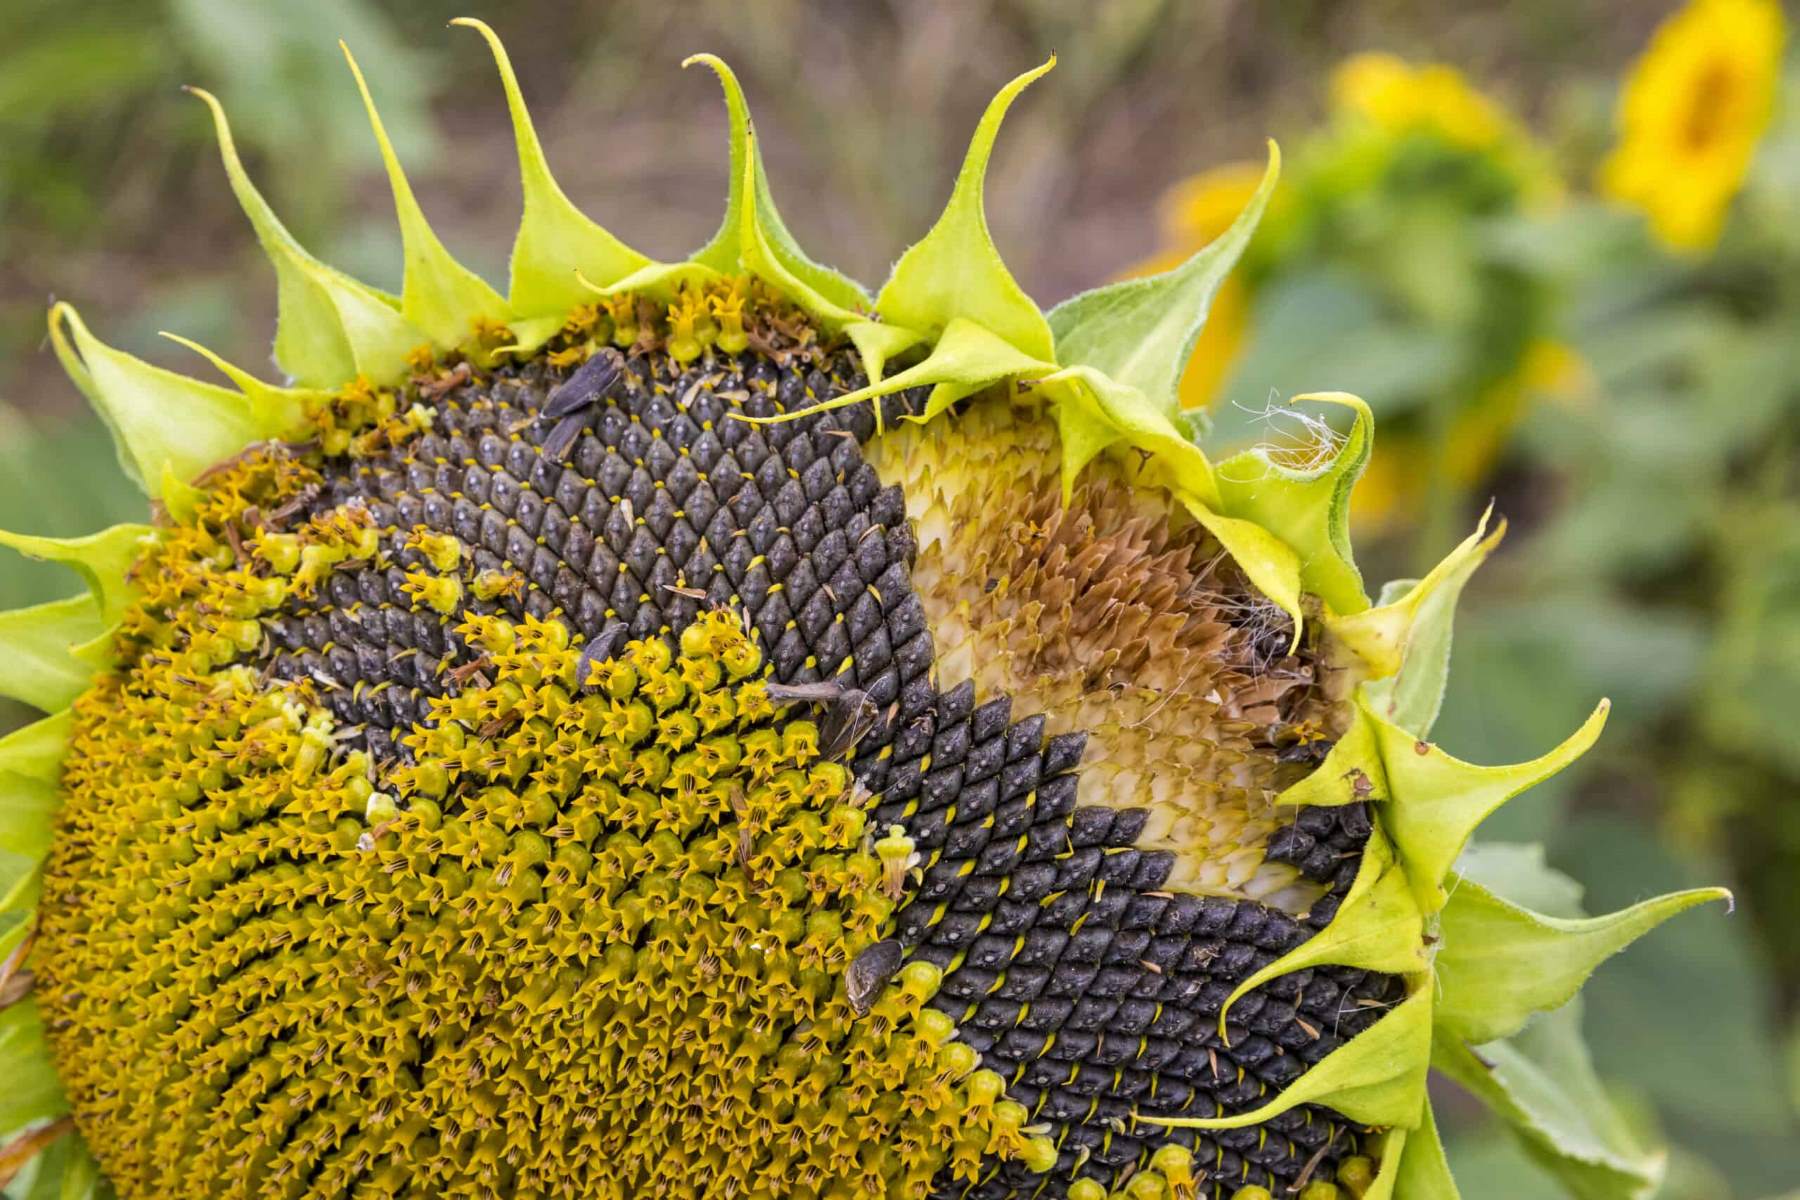
- Maturity: Wait until the sunflower heads have fully matured and the back of the flower heads turn yellow or brown. The petals will have withered and fallen off, and the seeds will be plump and developed.
- Paper bag method: To harvest the seeds, place a large paper bag over the flower head. Secure the bag around the stem using a string or rubber band. This will catch the seeds as they naturally fall out of the flower head.
- Drying the flower head: Hang the paper bag with the flower head in a dry, well-ventilated area such as a garage or shed. Allow the flower head to dry completely. This process usually takes a few weeks. The seeds will continue to mature and dry out during this time.
- Removing the seeds: Once the sunflower head is completely dry, gently shake or rub the flower head to release the seeds. The seeds will easily fall out of the bag. Alternatively, you can carefully pick the seeds from the flower head by hand.
- Seed cleaning: After removing the seeds, separate them from the chaff or debris. You can do this by using a sieve or a clean kitchen colander. Gently toss the seeds in the sieve or colander to remove any remaining plant matter.
- Storing the seeds: Once cleaned, store the sunflower seeds in airtight containers such as glass jars or plastic bags. Keep them in a cool, dry place away from direct sunlight. Properly stored sunflower seeds can last several months.
Remember, harvesting the sunflower seeds is not only a rewarding process, but it also allows you to enjoy the fruits of your labor and provide a sustainable supply of seeds for future plantings or culinary uses.
Now that you’ve successfully harvested your sunflower seeds, it’s time to reflect on the journey of growing sunflowers from sowing the seeds all the way to the bountiful harvest. Congratulations on your green thumb and the joy you have brought to your garden!
Here’s to the vibrant and inspiring beauty of sunflowers that have brightened your world!
Conclusion
Growing sunflowers from seed to harvest is a rewarding and fulfilling experience that brings beauty, joy, and a sense of accomplishment to any garden. By following these nine steps, you’ve learned how to sow sunflower seeds, prepare the soil, select the right variety, germinate the seeds, choose the ideal planting location, provide proper care and support, protect from pests, and finally, harvest the sunflower seeds.
Throughout the process, you’ve witnessed the remarkable growth of these magnificent flowers, from tiny seedlings to tall and vibrant sunflowers, standing proudly in your garden. Your dedication, patience, and care have allowed these sunflowers to thrive and share their radiant beauty with the world.
In addition to their aesthetic appeal, sunflowers attract pollinators, support biodiversity, and offer a source of food for birds. They bring life and vibrancy to any garden, creating a habitat for beneficial insects and fostering a harmonious ecosystem.
As you continue to grow sunflowers, feel free to experiment with different varieties, colors, and heights. Embrace the opportunity to save and share seeds from your sunflowers, creating a cycle of life and growth that can be enjoyed year after year.
Remember, gardening is a dynamic and ongoing learning experience. Take note of your successes and challenges, allowing them to guide you in future endeavors. Each sunflower you grow contributes to the beauty and resilience of your garden while nourishing your own connection to nature.
So, grab your gardening tools, prepare the soil, and sow those sunflower seeds with confidence. Watch as these majestic flowers transform your garden into a haven of beauty and wonder. Enjoy the process, embrace the journey, and let the sunflowers bring joy and inspiration to your world.
Happy gardening!
Now that you're well-versed in growing sunflowers, why not give your garden a fresh look with creative barriers? For those green thumbs seeking inspiration, our guide on garden fence ideas offers an array of styles to suit any taste. Whether you prefer something functional or purely decorative, there's plenty in our roundup to spark imagination and transform your outdoor space.
Frequently Asked Questions about How To Sow Sunflower Seeds
Was this page helpful?
At Storables.com, we guarantee accurate and reliable information. Our content, validated by Expert Board Contributors, is crafted following stringent Editorial Policies. We're committed to providing you with well-researched, expert-backed insights for all your informational needs.
0 thoughts on “How To Sow Sunflower Seeds”