Home>Garden Essentials>How To Shell Sunflower Seeds
Garden Essentials
How To Shell Sunflower Seeds
Modified: March 16, 2024
Learn how to shell sunflower seeds in your garden and enjoy this nutritious snack. Find step-by-step instructions and helpful tips to maximize your harvest.
(Many of the links in this article redirect to a specific reviewed product. Your purchase of these products through affiliate links helps to generate commission for Storables.com, at no extra cost. Learn more)
Introduction
Welcome to our comprehensive guide on how to shell sunflower seeds! If you love snacking on sunflower seeds but find the process of shelling them a bit daunting, fear not. We are here to walk you through the step-by-step process of easily and efficiently shelling sunflower seeds, so you can enjoy their delicious and nutritious benefits without any hassle.
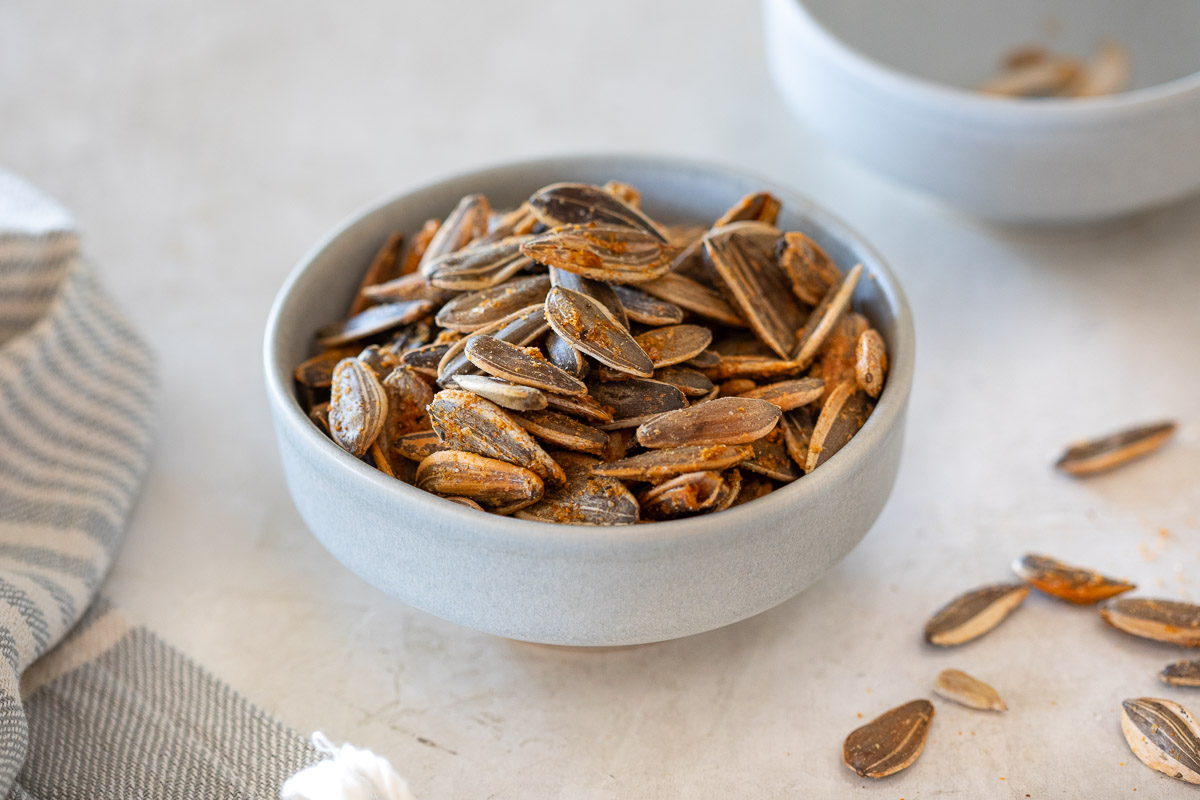
Sunflower seeds are not only a popular snack but also offer numerous health benefits. Packed with important nutrients such as fiber, protein, healthy fats, vitamin E, and various minerals, sunflower seeds can be a great addition to your diet. However, the hard outer shell can be tricky to crack without the proper technique – that’s where we come in!
In this guide, we will outline the materials you’ll need, walk you through the step-by-step process, and provide some tips to ensure your sunflower seed shelling experience is both efficient and enjoyable. So let’s get started!
Key Takeaways:
- Shelling sunflower seeds is a fun and rewarding process that requires patience and the right technique. With the proper steps, you can enjoy the delicious and nutritious kernels inside each shell.
- By following the step-by-step guide, you can easily shell sunflower seeds and store them for future snacking or cooking. Enjoy the satisfaction of handcrafted, freshly shelled sunflower seeds!
Read more: How To Eat Sunflower Seeds With Shell
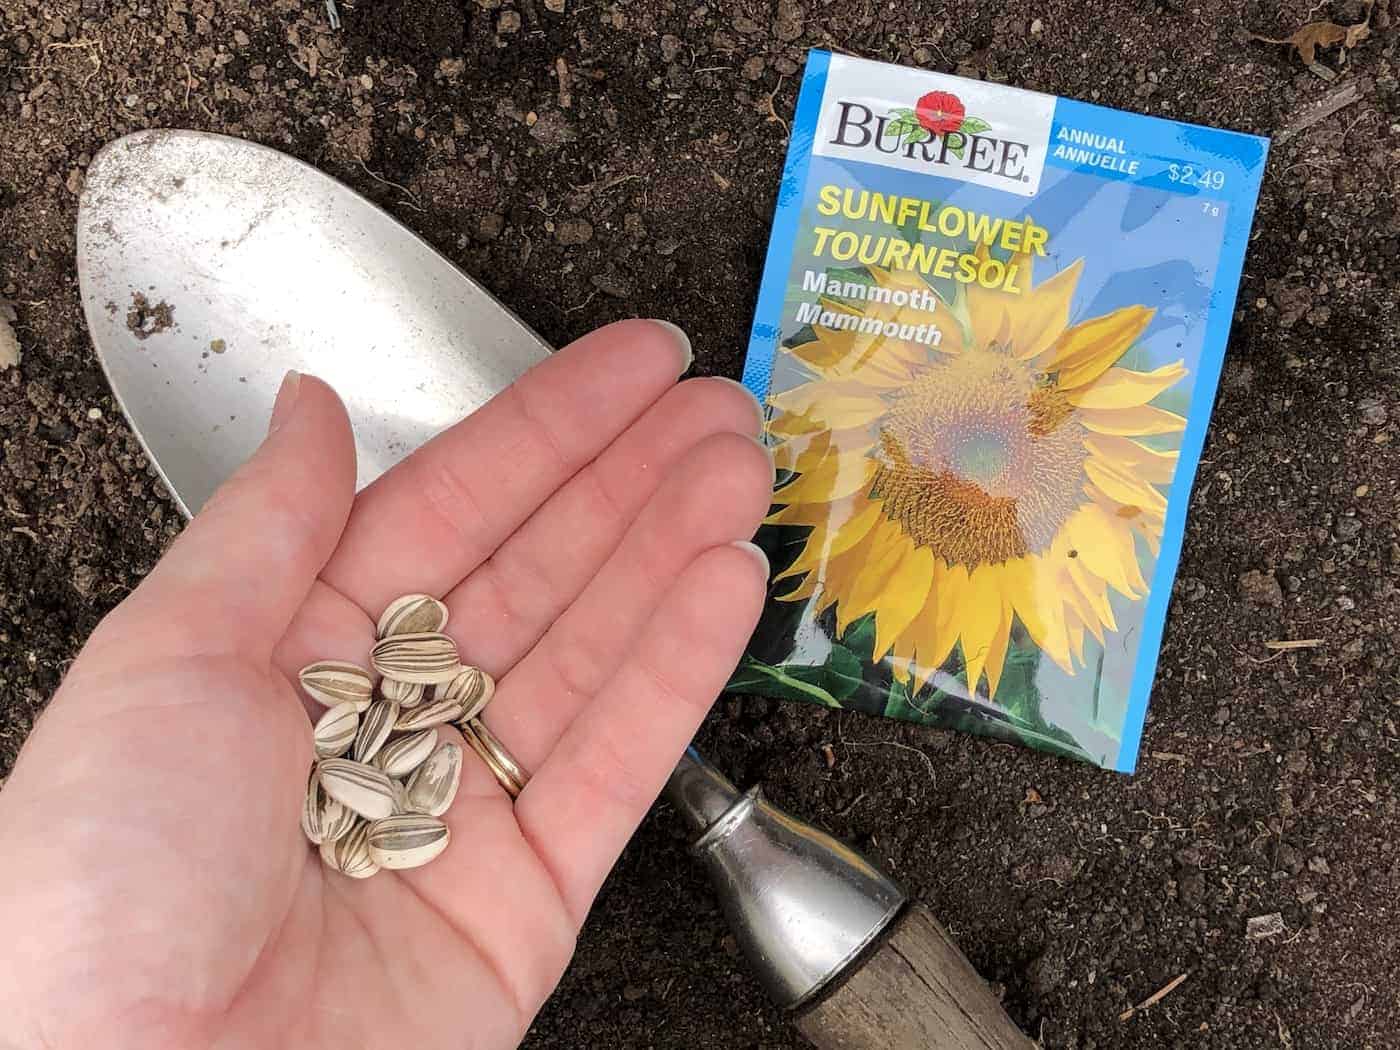
Step 1: Gather the necessary materials
Before you begin shelling sunflower seeds, it’s important to gather all the necessary materials. Having everything prepared in advance will make the process much smoother. Here are the items you will need:
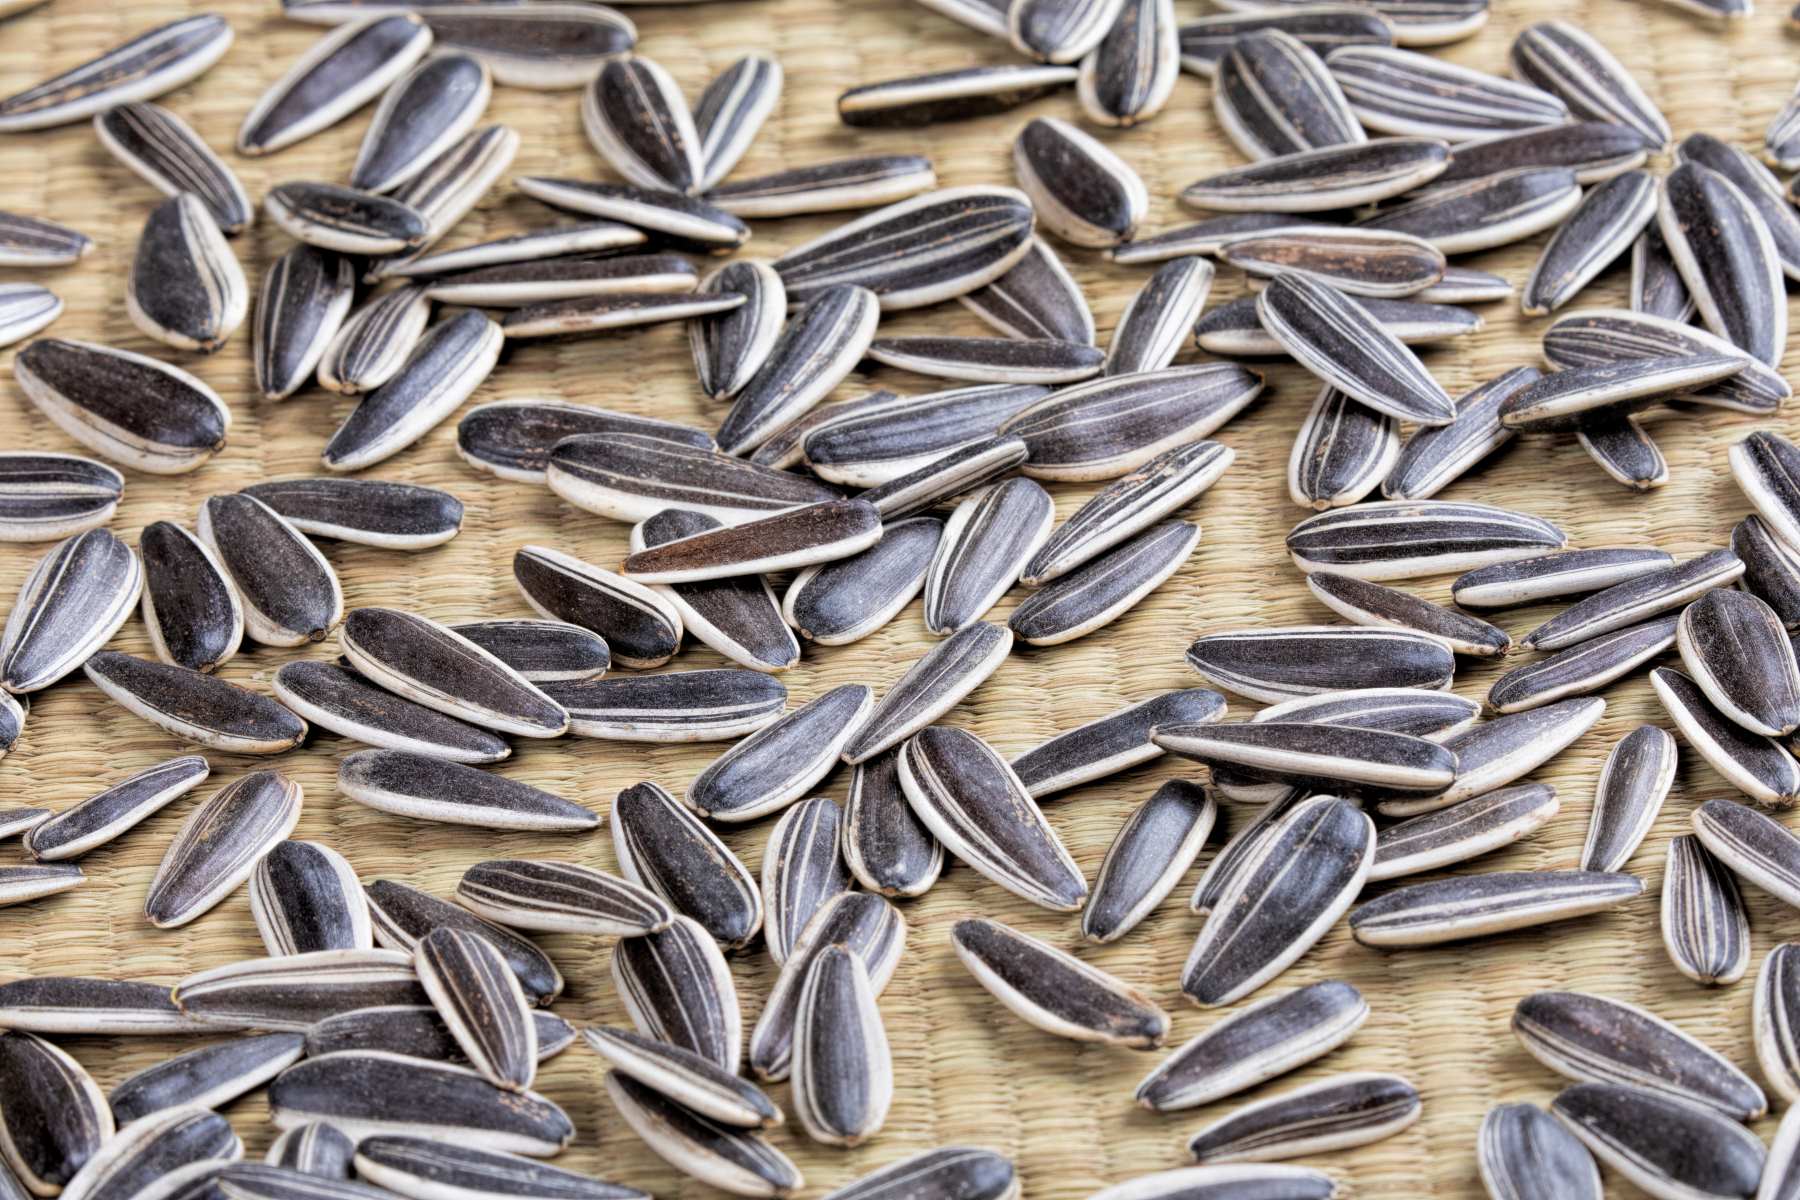
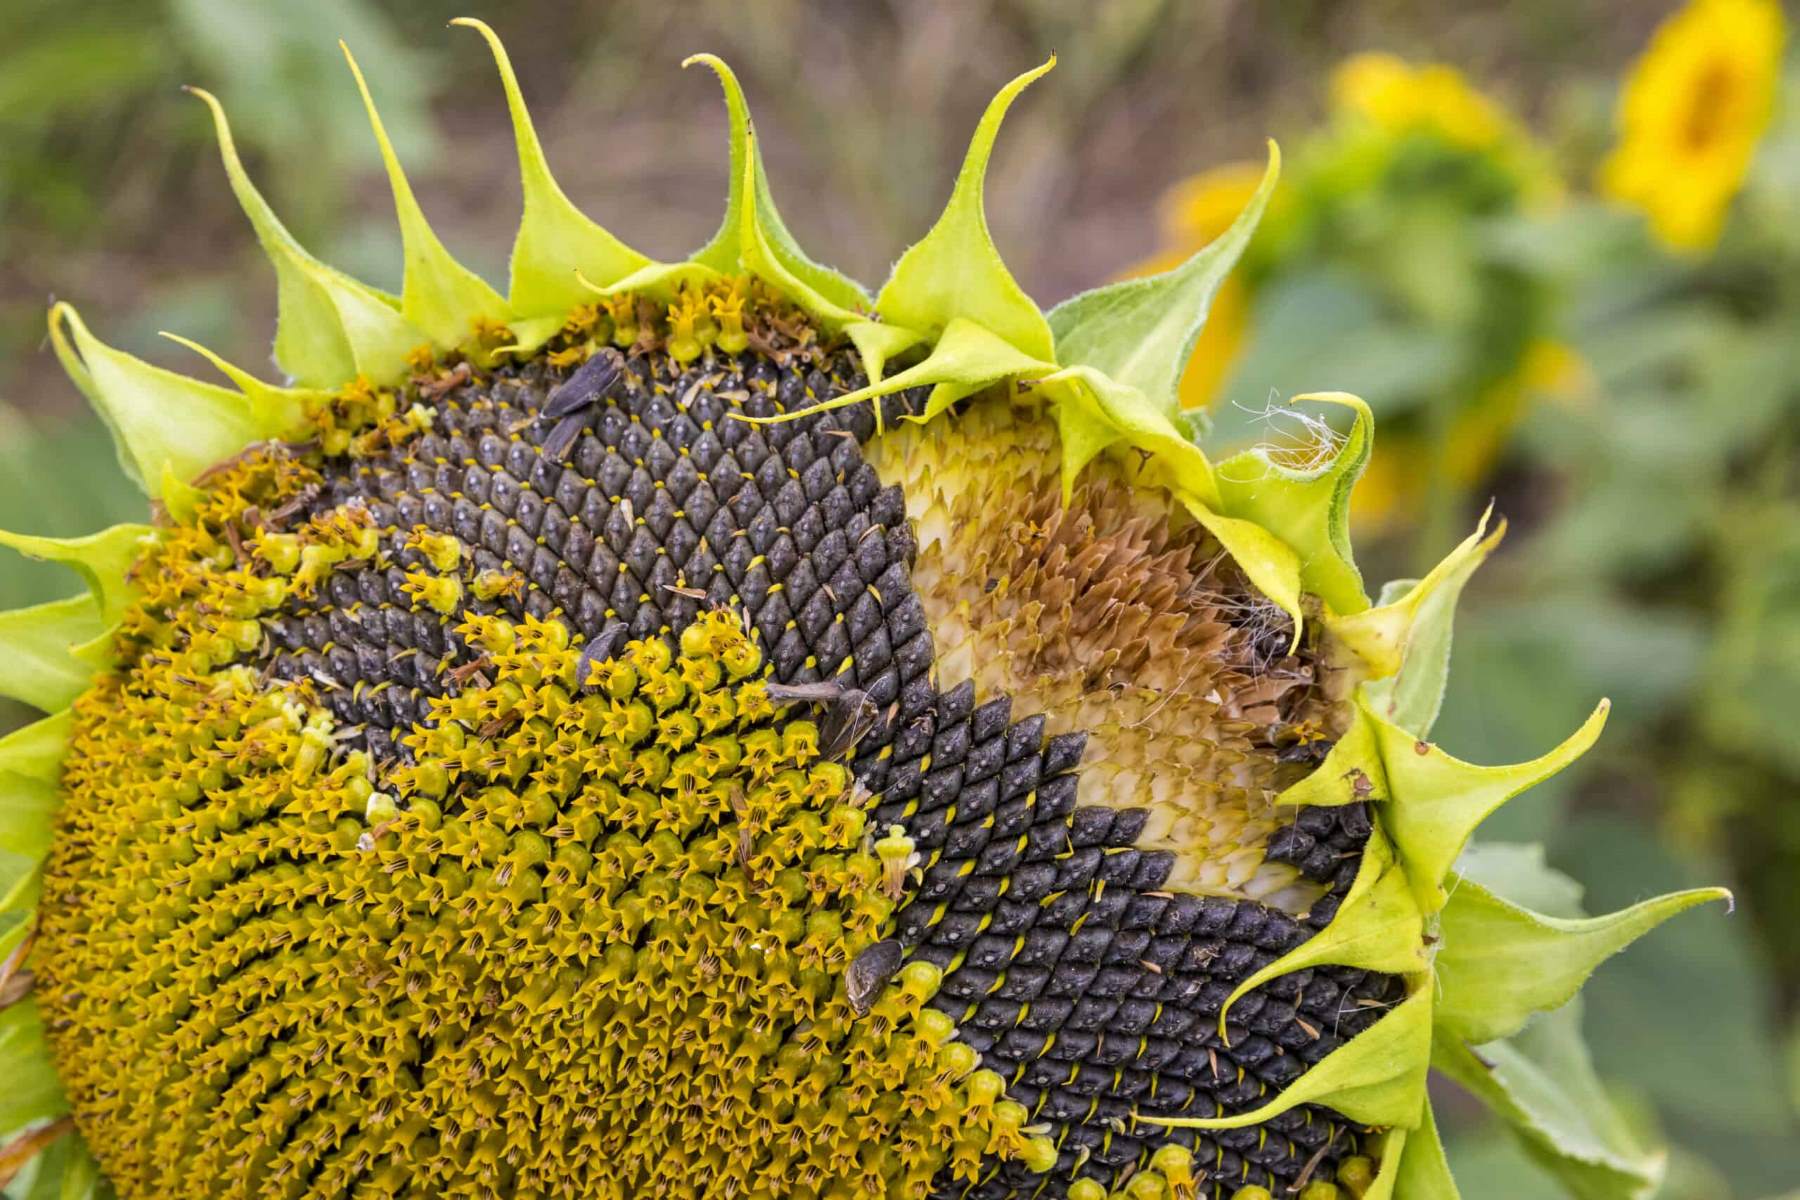
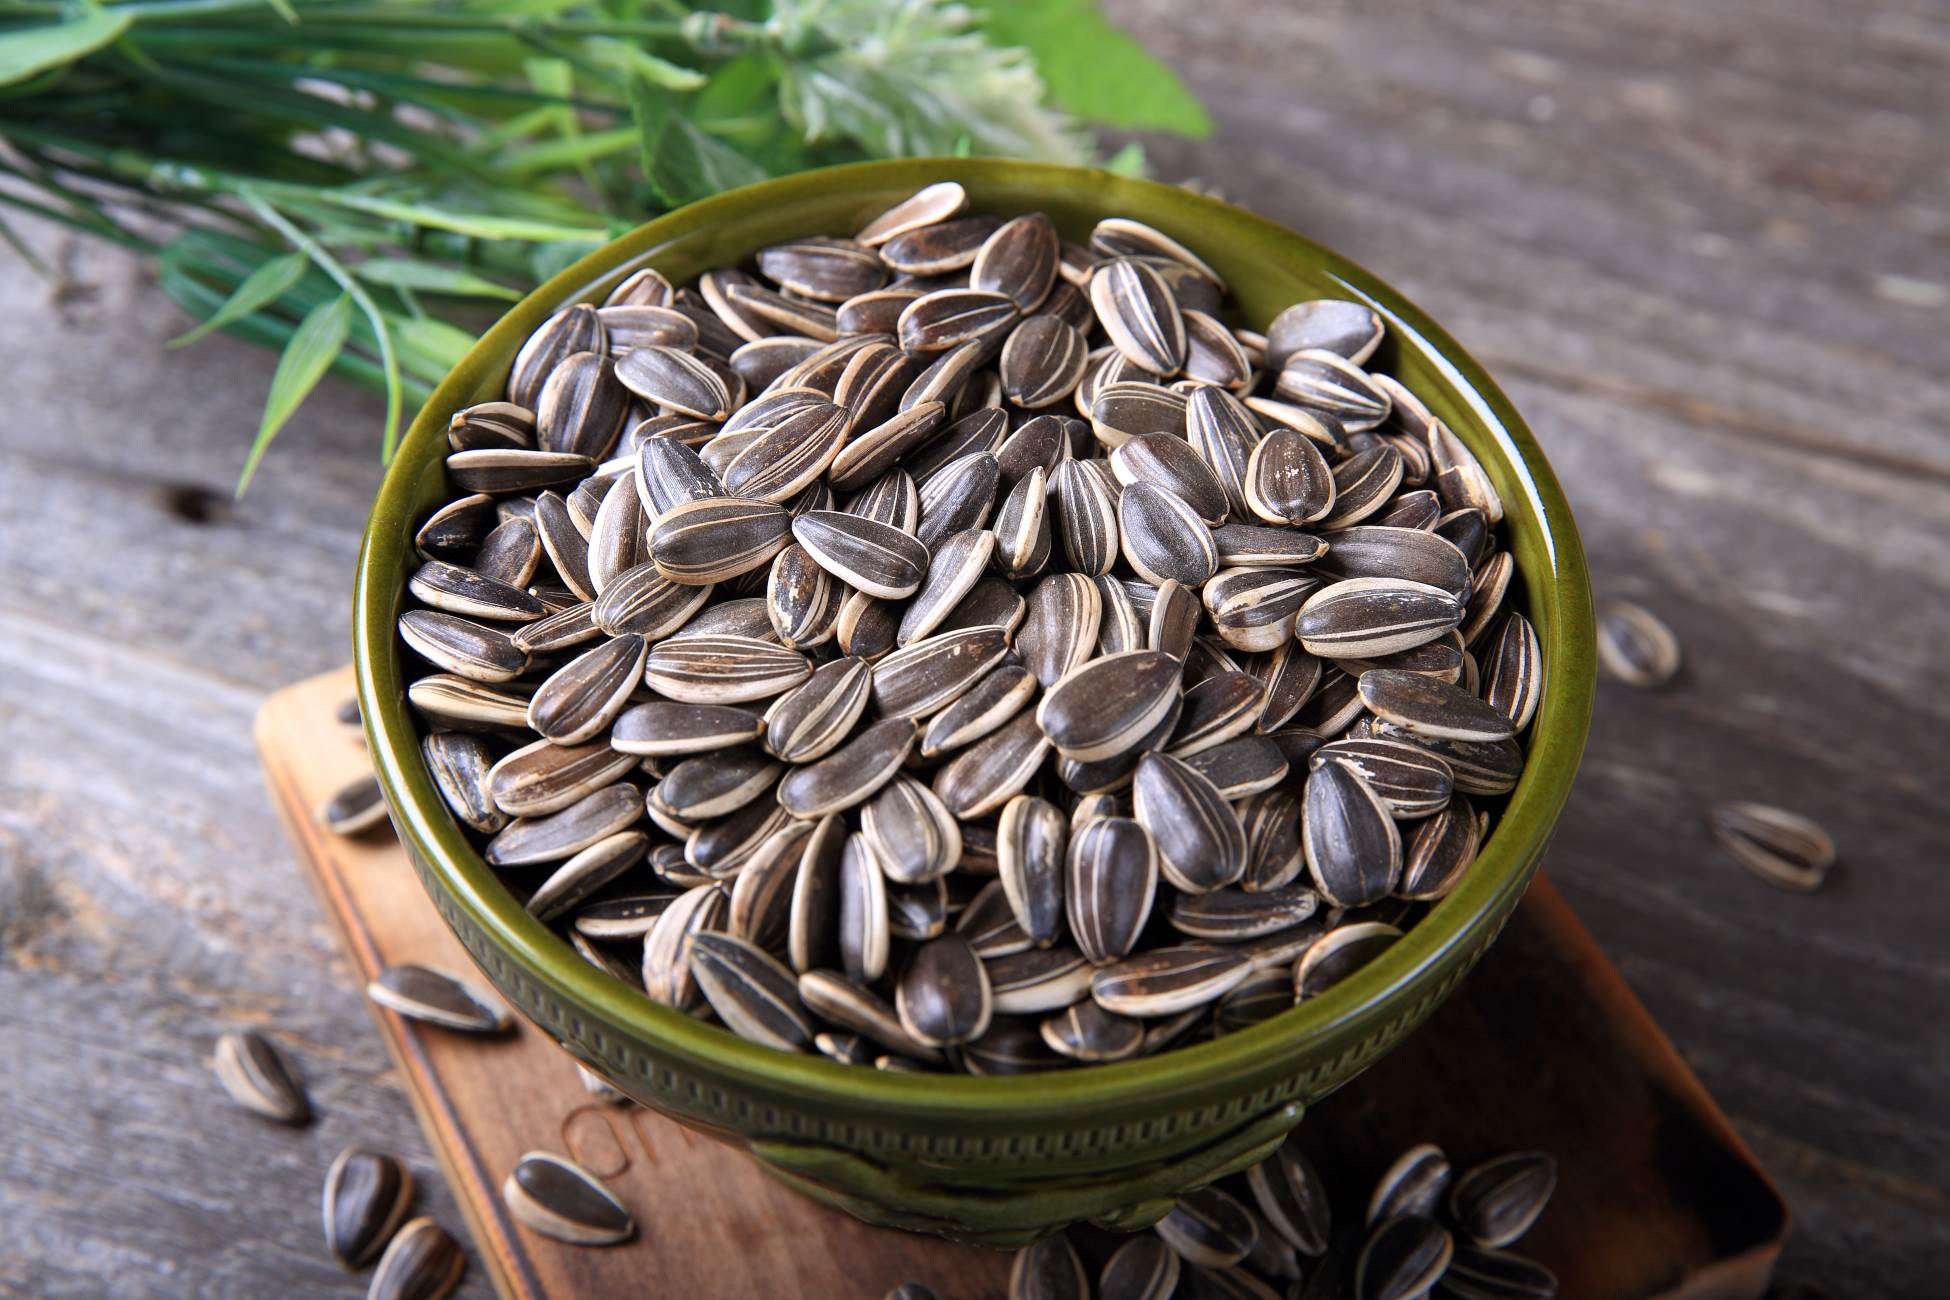
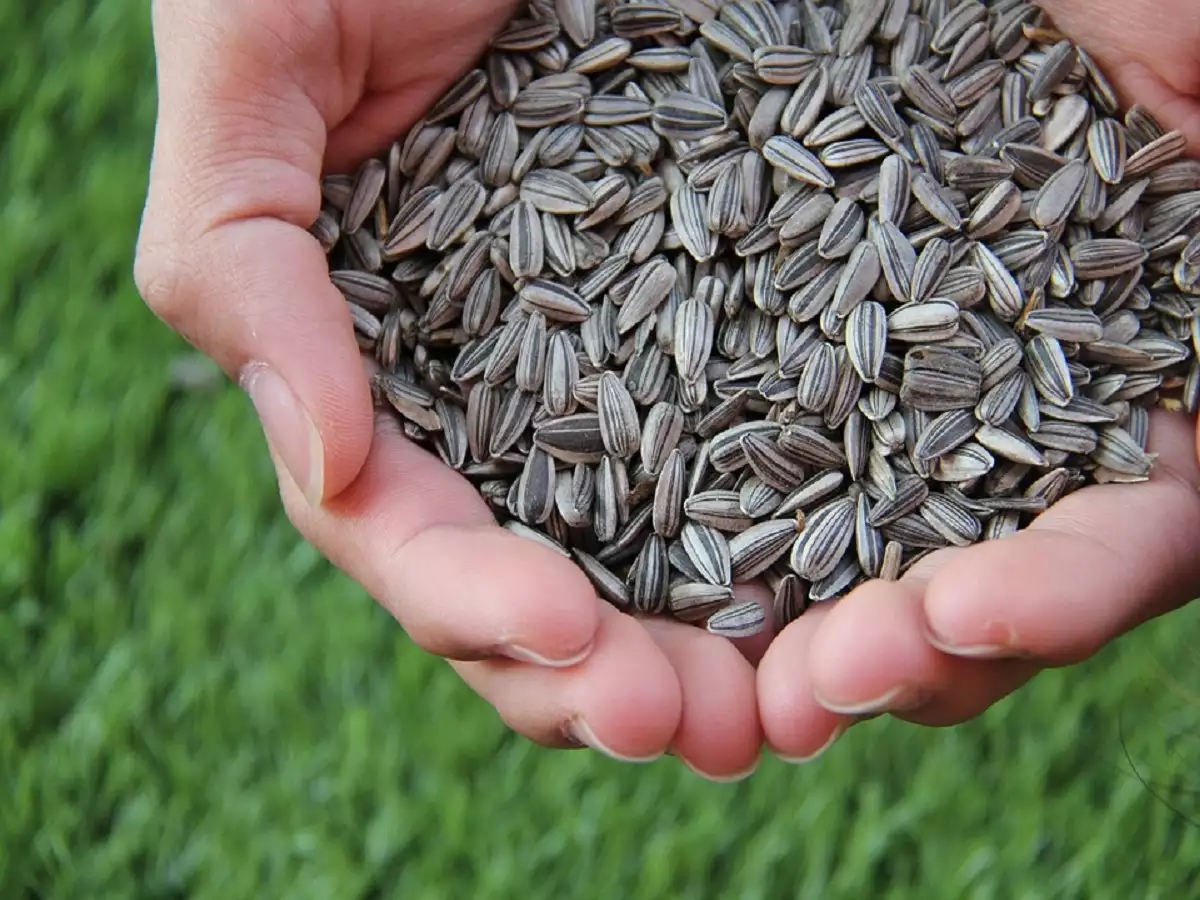
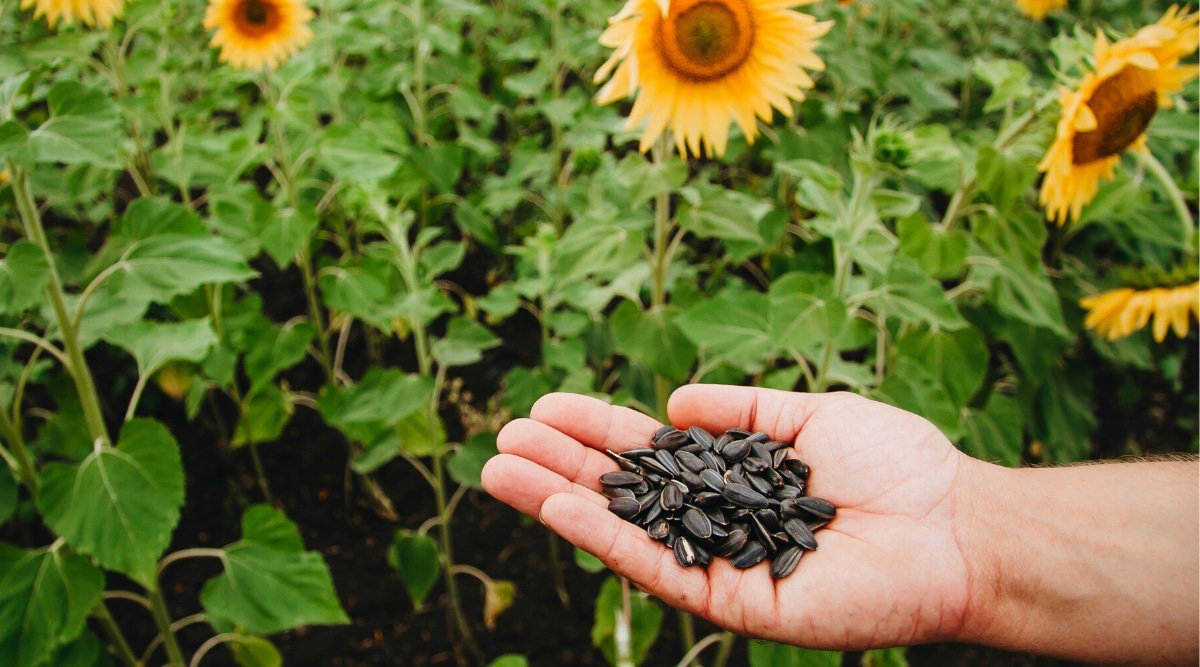
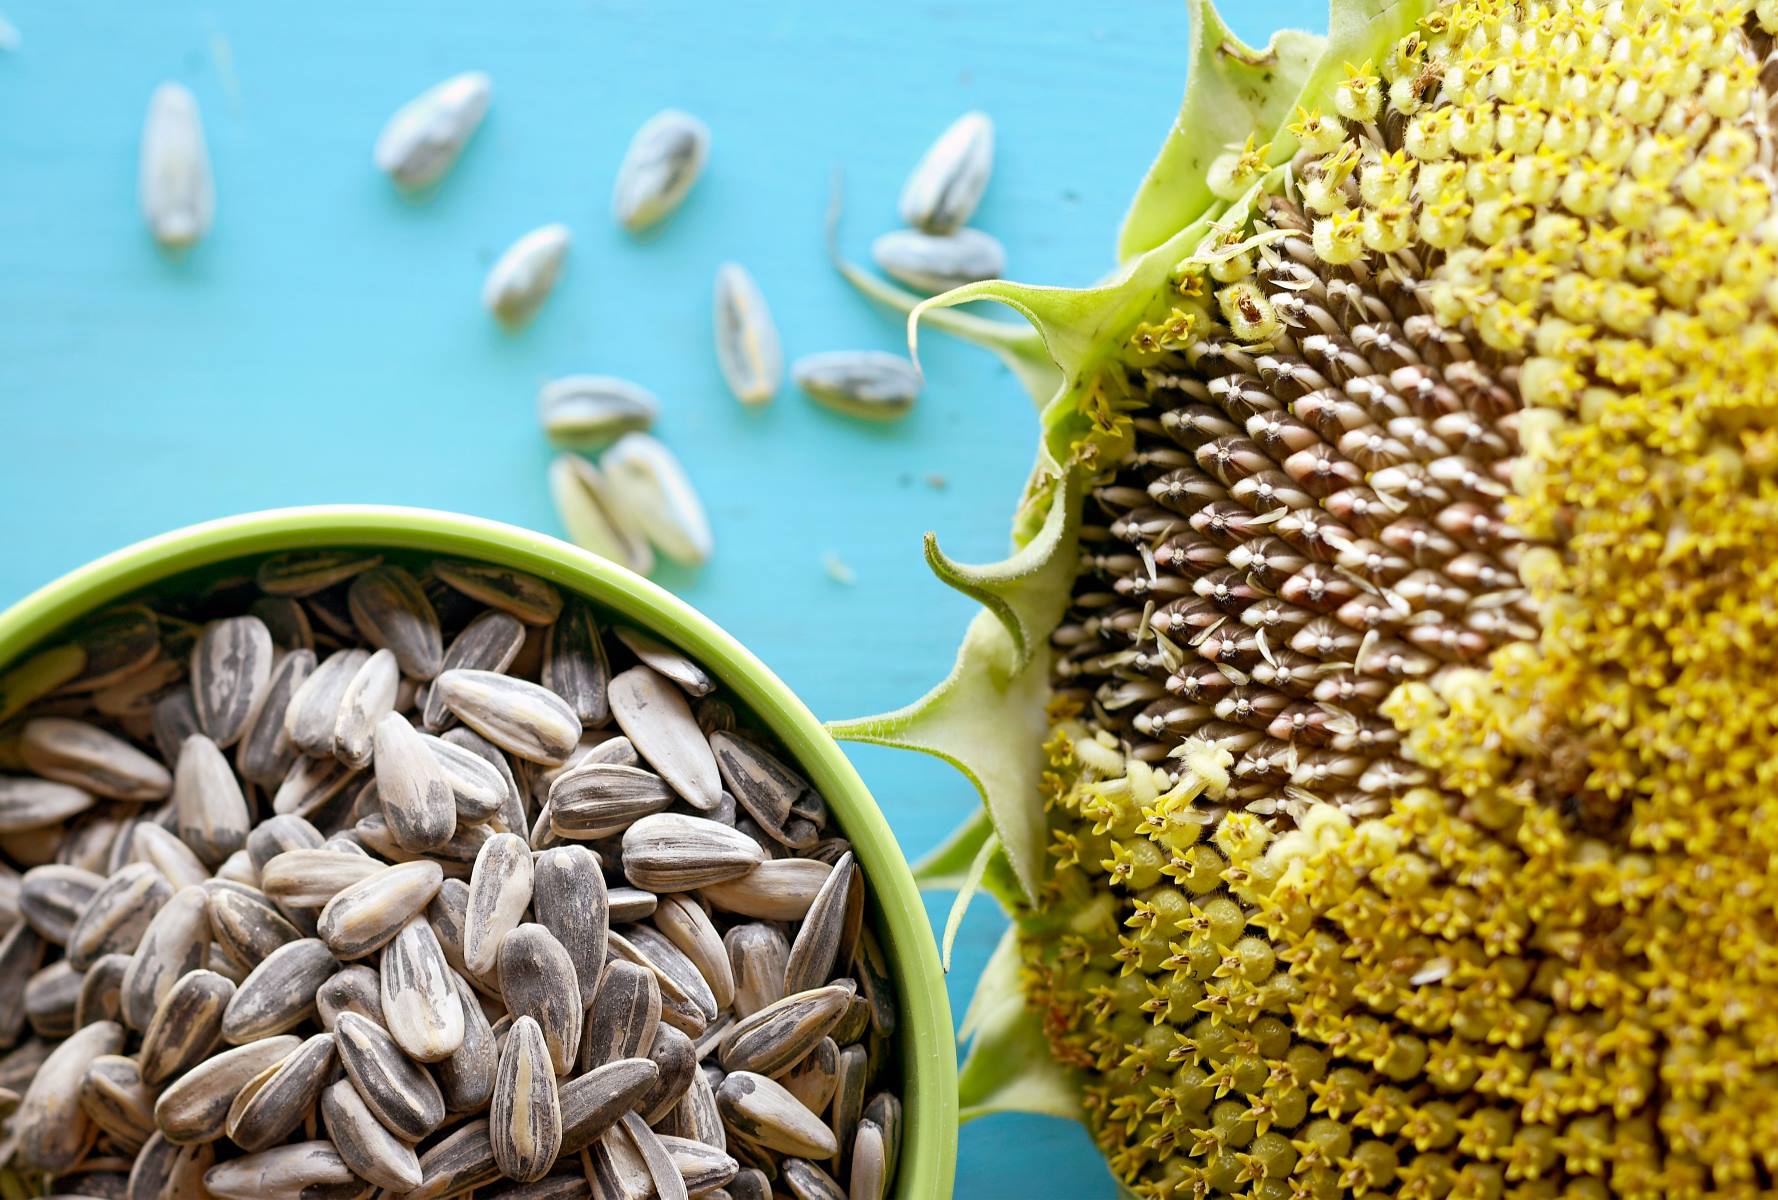
- A bowl of fresh sunflower heads: Look for sunflower heads that are fully matured, with petals turned yellow or brown.
- A large, clean work surface: This can be a countertop or a cutting board that provides ample space to work comfortably.
- A sharp knife or garden clippers: You will need a tool to cut the sunflower heads from the stalk.
- A large bowl or container: This will be used to collect the shelled seeds and any debris that may come off during the shelling process.
- A colander or strainer: This will be used to rinse and drain the sunflower seeds.
- A clean towel or paper towels: You will need these to dry the seeds after rinsing.
- Airtight containers or storage bags: These will be used to store the shelled sunflower seeds once they are ready.
Once you have gathered these materials, you are ready to move on to the next step: removing the petals from the sunflower heads.
Step 2: Remove the petals
Now that you have all the necessary materials, it’s time to start shelling those sunflower seeds! The first step is to remove the petals from the sunflower heads. Here’s how:
- Hold the sunflower head by the base, with the petals facing downwards.
- Use your other hand to gently twist or pull the petals away from the center of the sunflower head. The petals should start to come off easily, revealing the circular cluster of seeds underneath.
- Continue removing the petals until you have exposed the entire cluster of seeds.
- If there are any remaining stubborn petals or bits of stem, you can use a small brush or your fingertips to gently remove them.
- Once all the petals have been removed, you should be left with a clean and exposed cluster of seeds, ready for the next step.
Removing the petals may seem like a tedious task, but it’s an important step in preparing the sunflower seeds for shelling. Taking your time and being gentle will ensure that you don’t damage the seeds or lose any of their delicious potential. With the petals gone, it’s time to move on to separating the seeds from the head.
Step 3: Separate the seeds from the head
With the petals removed, it’s time to separate the sunflower seeds from the head. This step requires a bit of patience and precision, but with the right technique, it can be done easily. Here’s how:
- Hold the sunflower head with one hand, gripping it firmly by the base.
- Use your other hand to carefully rake your fingers or a fork over the circular cluster of seeds. Apply gentle pressure as you move your fingers or fork in a circular motion.
- Continue raking your fingers or fork over the seeds, exerting a bit more pressure as needed. This will help loosen the seeds from the head.
- As you rake, you will notice that the seeds start to come loose and fall out. Be sure to catch the seeds with a bowl or container placed directly beneath the sunflower head.
- Continue raking until all the seeds have been removed from the head. Take your time and be thorough to ensure you don’t miss any seeds.
Separating the seeds from the head can be a bit time-consuming, but it’s a crucial step in the shelling process. By using a gentle yet firm technique, you can efficiently extract all the seeds without damaging them. Once you have successfully separated the seeds, it’s time to move on to the next step: soaking the seeds.
Step 4: Soak the seeds
After separating the seeds from the head, it’s time to give them a good soak. Soaking the sunflower seeds helps to soften the shell, making it easier to remove later on. Follow these steps to properly soak the seeds:
- Transfer the sunflower seeds into a large bowl or container.
- Add enough water to fully cover the seeds.
- Allow the seeds to soak in the water for at least 6 hours or overnight. This will give them enough time to soften and become easier to shell.
- During the soaking period, the water may become murky. In this case, drain the water and add fresh water to continue the soaking process.
- After the soaking time is complete, drain the water from the seeds using a colander or strainer.
- Rinse the seeds thoroughly with cool water to remove any residue or debris.
Soaking the sunflower seeds not only helps with easy shelling but also enhances their flavor and texture. The water penetrates the shell and hydrates the seeds, making them plump and ready for the next steps in the shelling process. Now that the seeds have been soaked and rinsed, it’s time to move on to drying them.
Use your teeth to crack open the shell of the sunflower seed, then use your tongue to push out the seed. Dispose of the shell and enjoy the seed!
Read more: What To Do If You Eat Sunflower Seed Shells
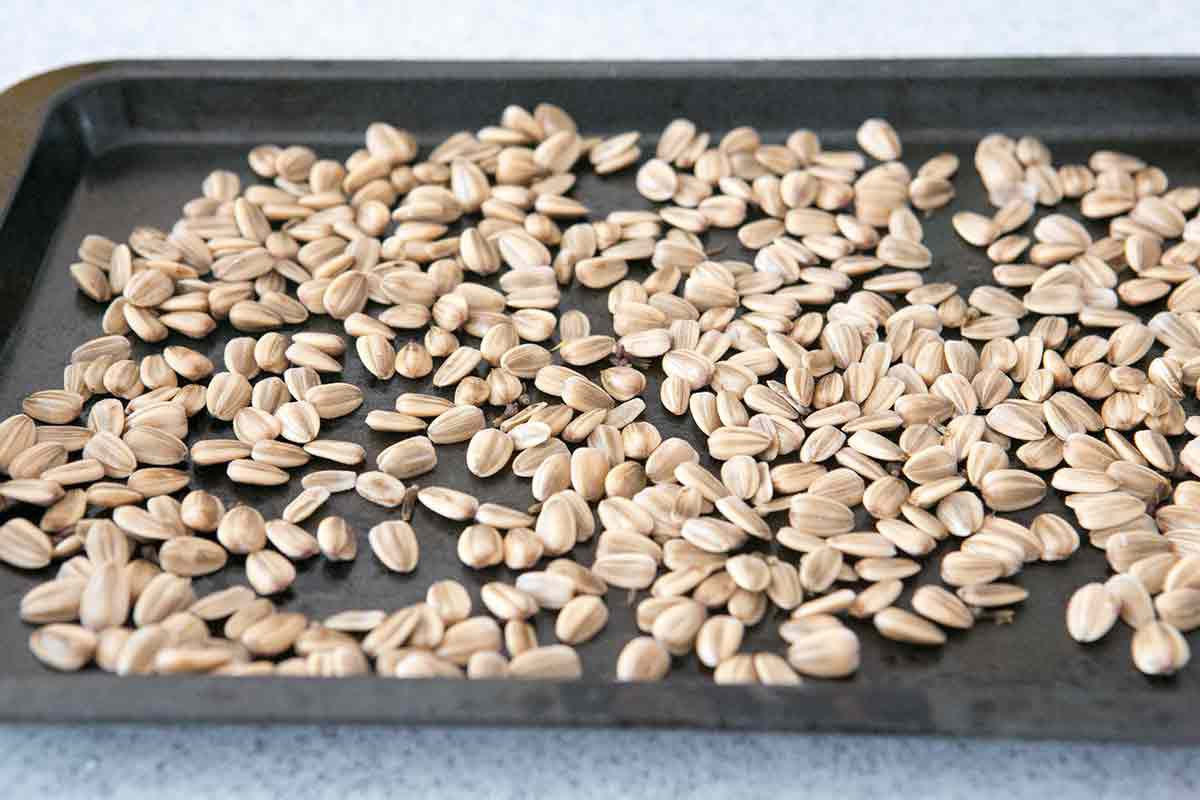
Step 5: Dry the seeds
After soaking and rinsing the sunflower seeds, it’s essential to dry them thoroughly before shelling. Drying the seeds will remove any excess moisture and ensure that they are ready for the shelling process. Follow these steps to dry the seeds:
- Spread the soaked and rinsed sunflower seeds evenly on a clean towel or several layers of paper towels.
- Gently pat the seeds dry with the towel or paper towels, absorbing as much moisture as possible.
- Allow the seeds to air dry for about 24 hours or until they are completely dry. You can place them in a well-ventilated area or use a fan to expedite the drying process.
- During the drying period, periodically check the seeds and give them a gentle stir to ensure even drying.
- Once the seeds are completely dry, give them a final check to make sure there is no residual moisture.
Properly drying the sunflower seeds is important as it reduces the risk of mold or spoilage and improves the overall success of the shelling process. By ensuring that the seeds are fully dry, you’ll have an easier time shelling them in the next step. With the seeds thoroughly dried, let’s move on to the exciting part: shelling the sunflower seeds!
Step 6: Shell the sunflower seeds
Now comes the moment you’ve been waiting for – it’s time to shell those sunflower seeds and reveal their delicious and nutritious kernels. Here’s how to do it:
- Take a dried sunflower seed in between your fingers.
- Using your fingernails or a small knife, carefully make a small incision on the side of the seed.
- Gently apply pressure to crack open the shell without crushing the kernel inside. It should split open easily.
- Once the shell is cracked, use your fingers or the knife to remove it and reveal the edible kernel inside.
- Repeat this process for each sunflower seed, cracking and removing the shells one by one.
Shelling sunflower seeds can be a meditative and enjoyable process, allowing you to fully appreciate the beautiful kernels within. Take your time and enjoy the tactile experience as you crack open each shell. Remember to be gentle to avoid crushing the kernels inside.
As you shell the seeds, you may notice that some kernels are tightly attached to the shell. In these cases, you can use the tip of your knife or a toothpick to carefully pry them out. With a bit of practice and patience, you’ll become more adept at shelling the seeds and separating the kernels effortlessly.
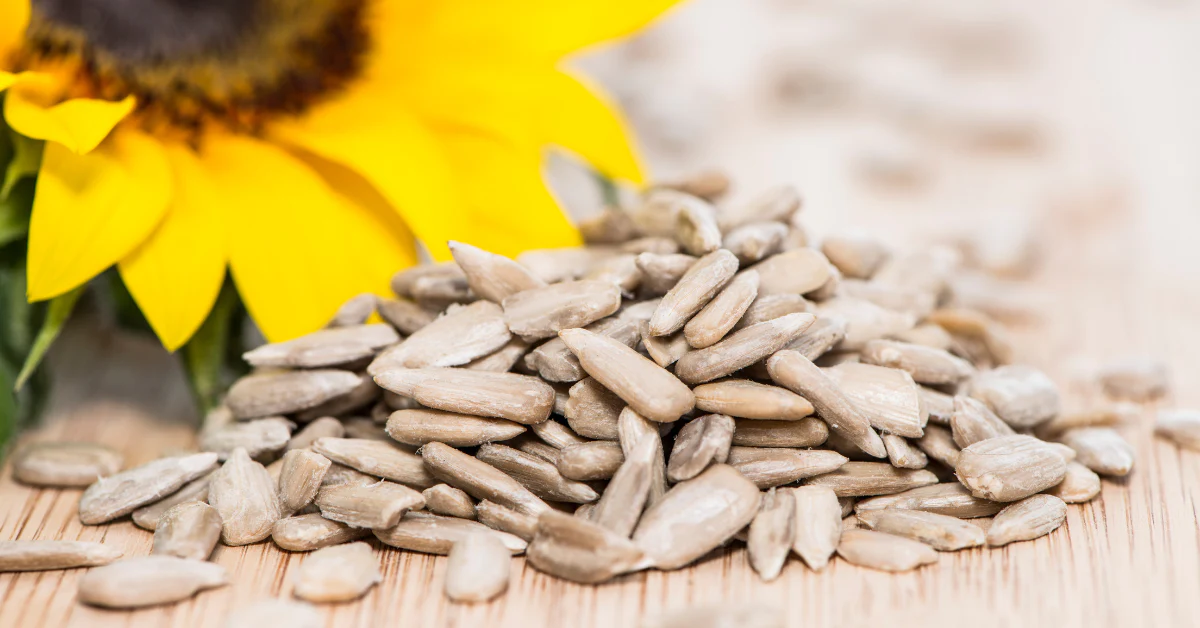
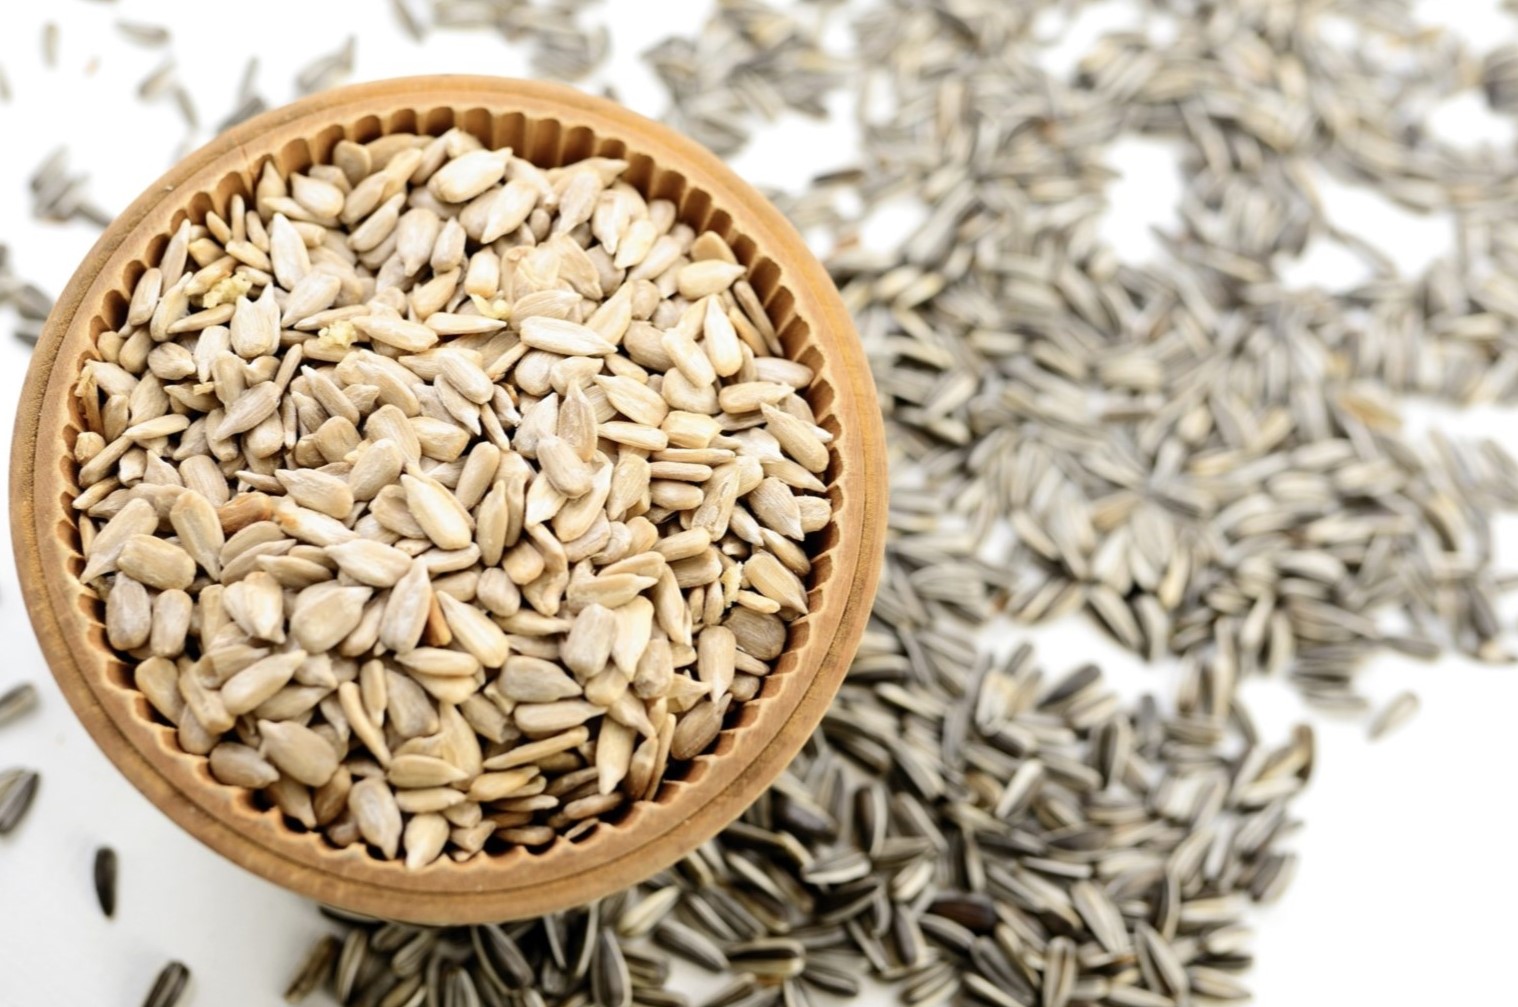
After shelling all the sunflower seeds, you will be left with a bowl full of delicious and nourishing kernels. But before you dive into snacking on them, let’s talk about the final step: storing the shelled seeds.
Step 7: Store the shelled seeds
Now that you’ve successfully shelled your sunflower seeds, it’s important to store them properly to maintain their freshness and quality. Follow these steps to store your shelled seeds:
- Ensure that the shelled sunflower seeds are completely dry. Any residual moisture can lead to mold or spoilage during storage.
- Choose airtight containers or storage bags to store the seeds. Mason jars or resealable plastic bags work well for this purpose.
- Transfer the shelled seeds into the containers, filling them up to about three-quarters full.
- Seal the containers tightly to prevent air and moisture from entering.
- Label the containers with the date of storage to keep track of their freshness. Sunflower seeds can be stored for up to a year when properly stored.
- Store the containers in a cool, dark, and dry place. The ideal storage temperature is around 40°F (4°C) to maintain the quality of the seeds.
- Avoid exposing the seeds to direct sunlight or high temperatures, as this can lead to rancidity and a decline in flavor.
By following these storage guidelines, you can enjoy freshly shelled sunflower seeds for an extended period. Remember to check the seeds periodically for any signs of spoilage or pest infestation. If you notice any issues, discard the affected seeds to prevent contamination of the remaining batch.
Now that your shelled seeds are properly stored, you can enjoy them as a healthy snack, or use them as a versatile ingredient in various recipes like salads, baked goods, or granola mixes. Get creative and explore the many possibilities that these nutritious seeds have to offer!
Congratulations on successfully shelling and storing your sunflower seeds. Enjoy the fruits of your labor and savor the deliciousness of homemade, freshly shelled sunflower seeds!
Conclusion
Congratulations on completing your journey to learn how to shell sunflower seeds! By following the step-by-step guide we provided, you’ve gained the knowledge and skills to easily shell sunflower seeds and enjoy their wholesome goodness.
Shelling sunflower seeds may seem like a daunting task at first, but with practice and the right technique, it becomes a rewarding and enjoyable process. Remember to gather all the necessary materials, remove the petals, separate the seeds from the head, soak and dry the seeds, and finally, shell them with care.
By shelling your own sunflower seeds, you have the opportunity to savor their fresh flavor, customize the level of saltiness, and avoid any additives that may be present in store-bought options. Plus, you can savor the satisfaction that comes with the handcrafted process of cracking open each shell.
Now that you have mastered the art of shelling sunflower seeds, you can explore endless culinary possibilities. Add the shelled seeds to your salads, trail mixes, or baked goods for a boost of nutrition and a delightful crunch. They can also be ground into butter or used as a topping for yogurt or oatmeal.
Remember to store your shelled sunflower seeds properly in airtight containers to maintain their freshness. Enjoy them within a year and make sure to regularly check for any signs of spoilage or pest infestation.
We hope this comprehensive guide has empowered you to confidently shell sunflower seeds and unlock the delicious potential within. So go ahead, embrace this newfound skill, and enjoy the journey of shelling sunflower seeds!
Frequently Asked Questions about How To Shell Sunflower Seeds
Was this page helpful?
At Storables.com, we guarantee accurate and reliable information. Our content, validated by Expert Board Contributors, is crafted following stringent Editorial Policies. We're committed to providing you with well-researched, expert-backed insights for all your informational needs.


0 thoughts on “How To Shell Sunflower Seeds”