Home>Garden Essentials>How To Plant Sunflower Seed
Garden Essentials
How To Plant Sunflower Seed
Modified: October 18, 2024
Learn how to plant sunflower seeds in your garden and enjoy beautiful blooms all season long. Follow our step-by-step guide for successful planting.
(Many of the links in this article redirect to a specific reviewed product. Your purchase of these products through affiliate links helps to generate commission for Storables.com, at no extra cost. Learn more)
Introduction
Welcome to the wonderful world of gardening! If you’ve always admired the beauty and grandeur of sunflowers, then you’re in for a treat. Growing your own sunflowers from seed can be a rewarding and fulfilling experience. Not only do sunflowers instantly add a vibrant touch to any garden, but they also attract pollinators and provide a source of food for birds.
In this article, we will guide you through the process of planting sunflower seeds step by step. Whether you’re a seasoned gardener or just starting out, this comprehensive guide will equip you with the knowledge and techniques needed to grow healthy and robust sunflowers.
Before we dive into the details, it’s important to note that there are different types of sunflowers, each with its own unique characteristics. From giant varieties that reach towering heights to dwarf ones that are perfect for small spaces, you have a wide range of options to choose from based on your preferences and the available space in your garden.
Now, let’s get started on our sunflower planting adventure!
Key Takeaways:
- Choose the right sunflower seeds based on your preferences, climate, and space availability to ensure successful growth and vibrant blooms in your garden.
- Provide proper sunlight, water, and support for your sunflowers while monitoring for pests and diseases to enjoy the beauty and rewards of growing these magnificent plants.
Read more: How To Plant Mexican Sunflower Seeds
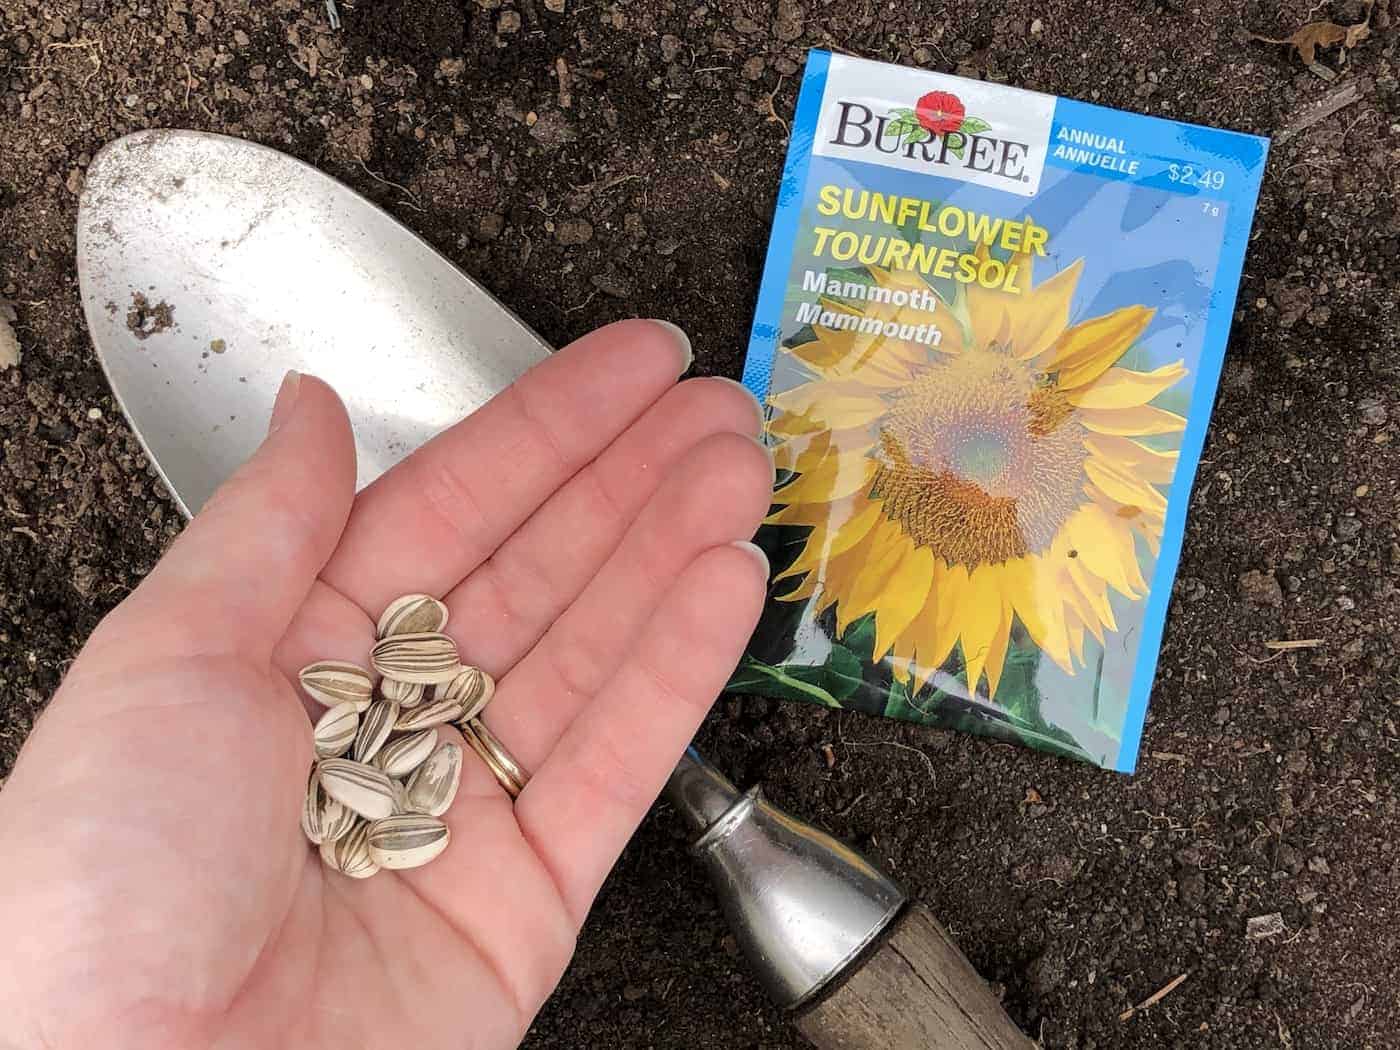
Step 1: Choosing the right sunflower seeds
When it comes to growing sunflowers, selecting the right seeds is crucial for a successful and thriving garden. Here are a few factors to consider when choosing your sunflower seeds:
- Variety: Sunflowers come in a variety of sizes, colors, and petal arrangements. Determine what you’re looking for in terms of height, flower size, and aesthetic appeal. Common varieties include the classic Giant Sunflower, the colorful Teddy Bear Sunflower, and the multi-petaled Moulin Rouge.
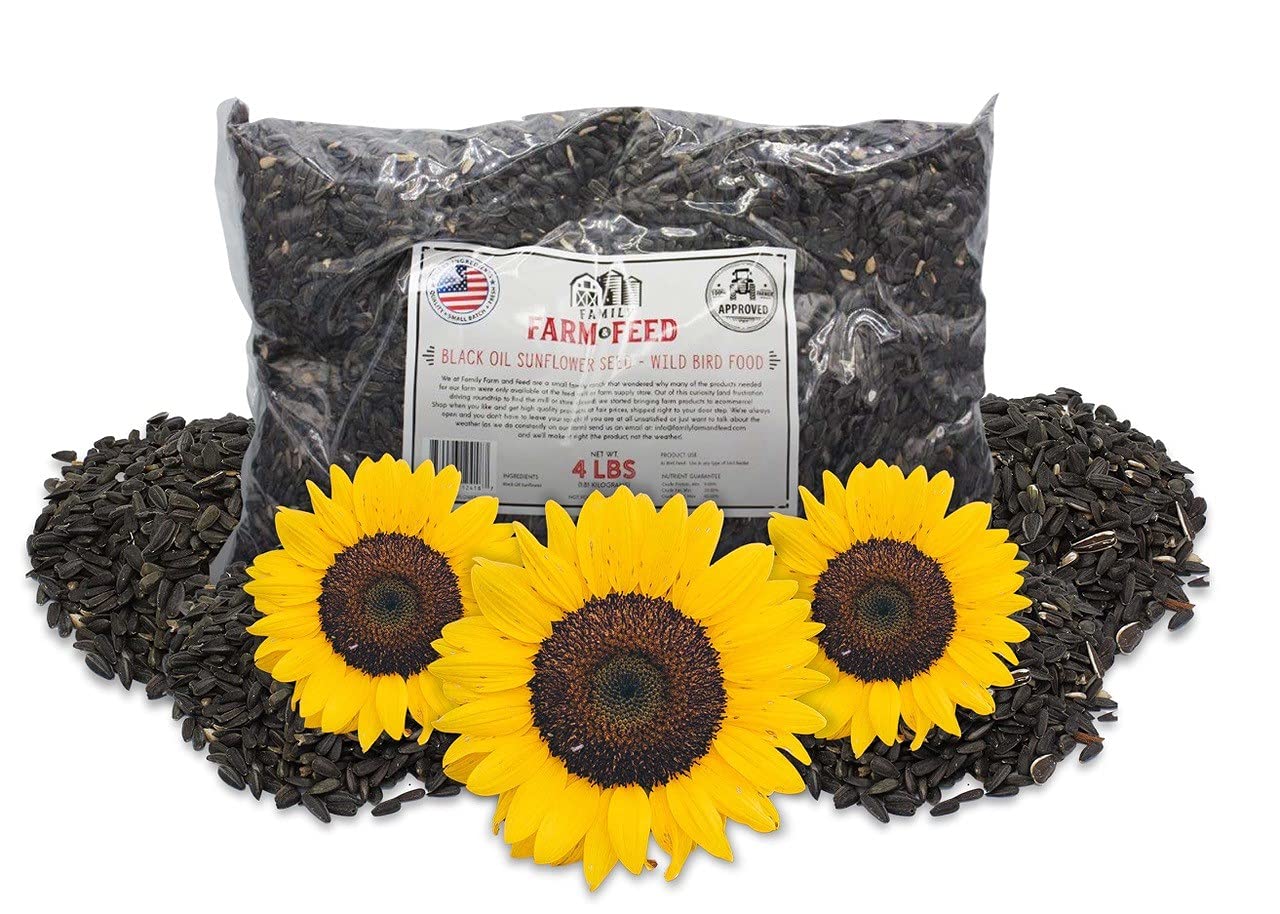
- Seed type: Sunflower seeds can be classified into two types: ornamental and edible. Ornamental varieties are mainly grown for their beauty, while edible varieties produce tasty, nutritious seeds. Take your pick based on your preferences and intended use.
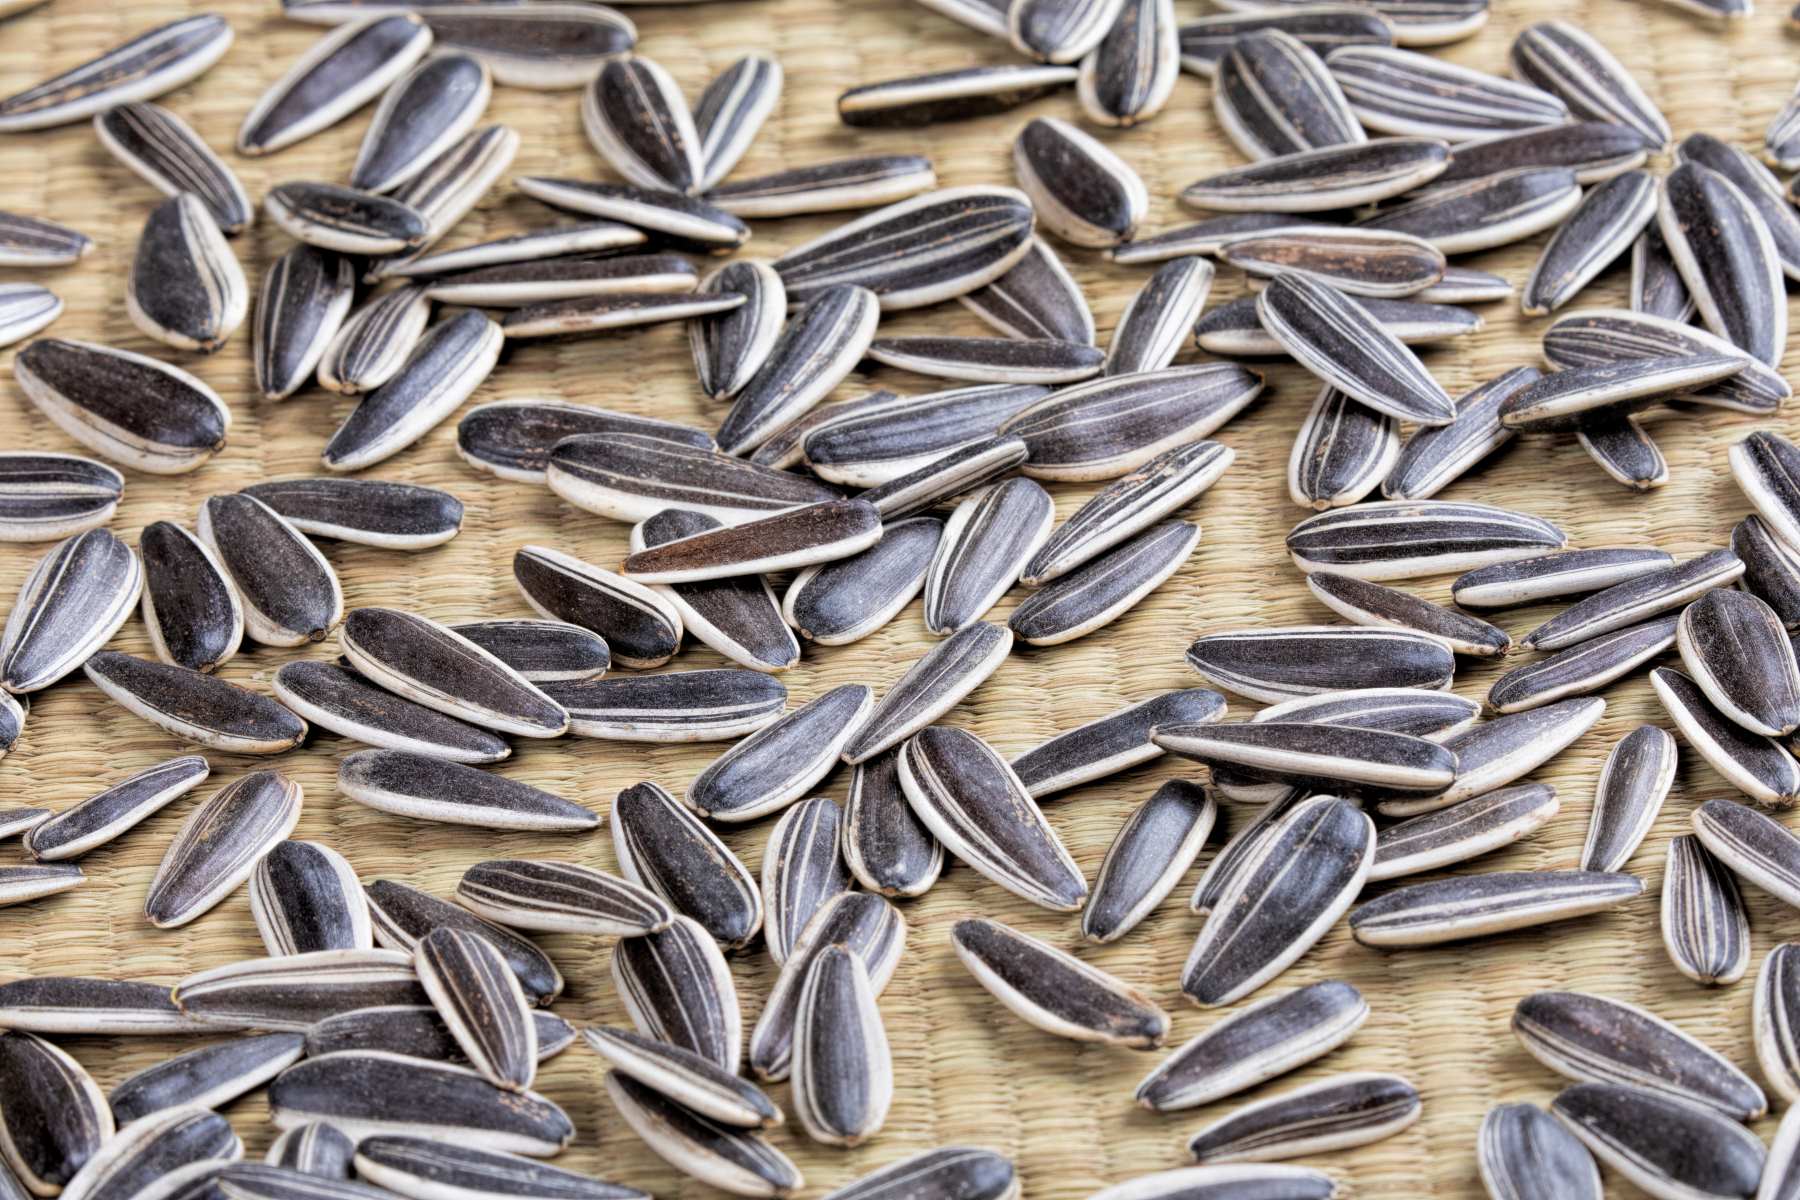
- Seed quality: Choose high-quality seeds from reputable suppliers or nurseries to ensure good germination rates and healthy plants. Look for seeds that are plump, firm, and free from mold or damage.
- Climate suitability: Consider your climate and growing conditions when selecting sunflower seeds. Different varieties have different temperature and sunlight requirements, so choose ones that are well-suited to your region.
- Space availability: Take into account the space available in your garden or pots. Some sunflower varieties can grow quite tall and may require ample space for proper development.
It’s worth noting that sunflower seeds are relatively affordable and widely available, so don’t hesitate to experiment with different varieties to find your favorites.
Once you’ve chosen your sunflower seeds, it’s time to prepare the soil for planting. In the next step, we will discuss how to get the soil ready for optimal sunflower growth.
Step 2: Preparing the soil
Now that you have your sunflower seeds ready, it’s important to prepare the soil to provide an ideal growing environment for your plants. Here are the steps to prepare the soil for planting sunflower seeds:
- Choose the right location: Sunflowers require full sunlight to thrive, so select a spot in your garden that receives at least six to eight hours of direct sunlight each day. Additionally, ensure that the chosen area has well-drained soil.
- Clear the area: Remove any weeds, rocks, or debris from the planting area to create a clean and clear space for your sunflowers to grow. Weeds can compete with sunflowers for nutrients and water, so it’s crucial to eliminate them before planting.
- Loosen the soil: Use a garden fork or a tiller to loosen the soil to a depth of about 12 to 18 inches. This will improve the soil’s texture and allow the sunflower roots to penetrate easily.
- Amend the soil: If your soil is heavy clay or sandy, you can improve its fertility and drainage by adding organic matter such as compost or well-rotted manure. This will enhance the nutrient content and water-holding capacity of the soil.
- Test the soil pH: Sunflowers prefer slightly acidic to neutral soil with a pH range of 6.0 to 7.5. You can perform a soil test using a pH testing kit available at garden centers. If the pH is off, you can adjust it by adding the appropriate soil amendments.
By following these steps, you’ll provide your sunflowers with a healthy and nutrient-rich soil environment, setting the stage for their successful growth. In the next step, we’ll discuss the actual process of planting the sunflower seeds.
Step 3: Planting the sunflower seeds
Now that the soil is prepared, it’s time to get your sunflower seeds into the ground. Follow these steps to ensure proper planting:
- Dig holes: Dig holes in the soil, spacing them according to the recommended distance for the specific sunflower variety you are planting. Generally, larger varieties require more space, so aim for a spacing of about 1-3 feet apart.
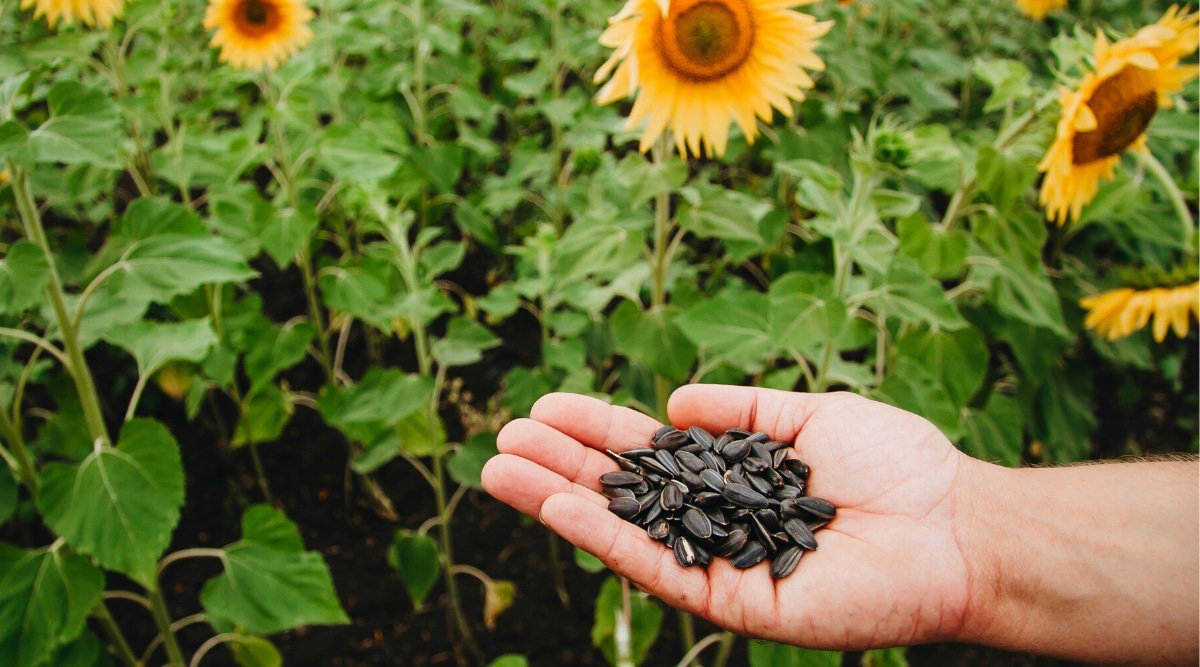
- Plant the seeds: Place one or two sunflower seeds in each hole, about 1 inch deep. If you’re planting multiple rows, maintain a distance of at least 2-3 feet between the rows.
- Cover the seeds: Gently cover the seeds with soil, patting it down to ensure good seed-to-soil contact. Avoid compacting the soil too firmly, as this can hinder seed germination.
- Water the newly planted seeds: Give the freshly planted seeds a thorough watering. Ensure that the soil is moist but not waterlogged. Water regularly to keep the soil evenly moist during the germination period.
- Label the planting area: It’s a good idea to label each planting area with the variety name and planting date. This will help you keep track of the different sunflower varieties and their growth progress.
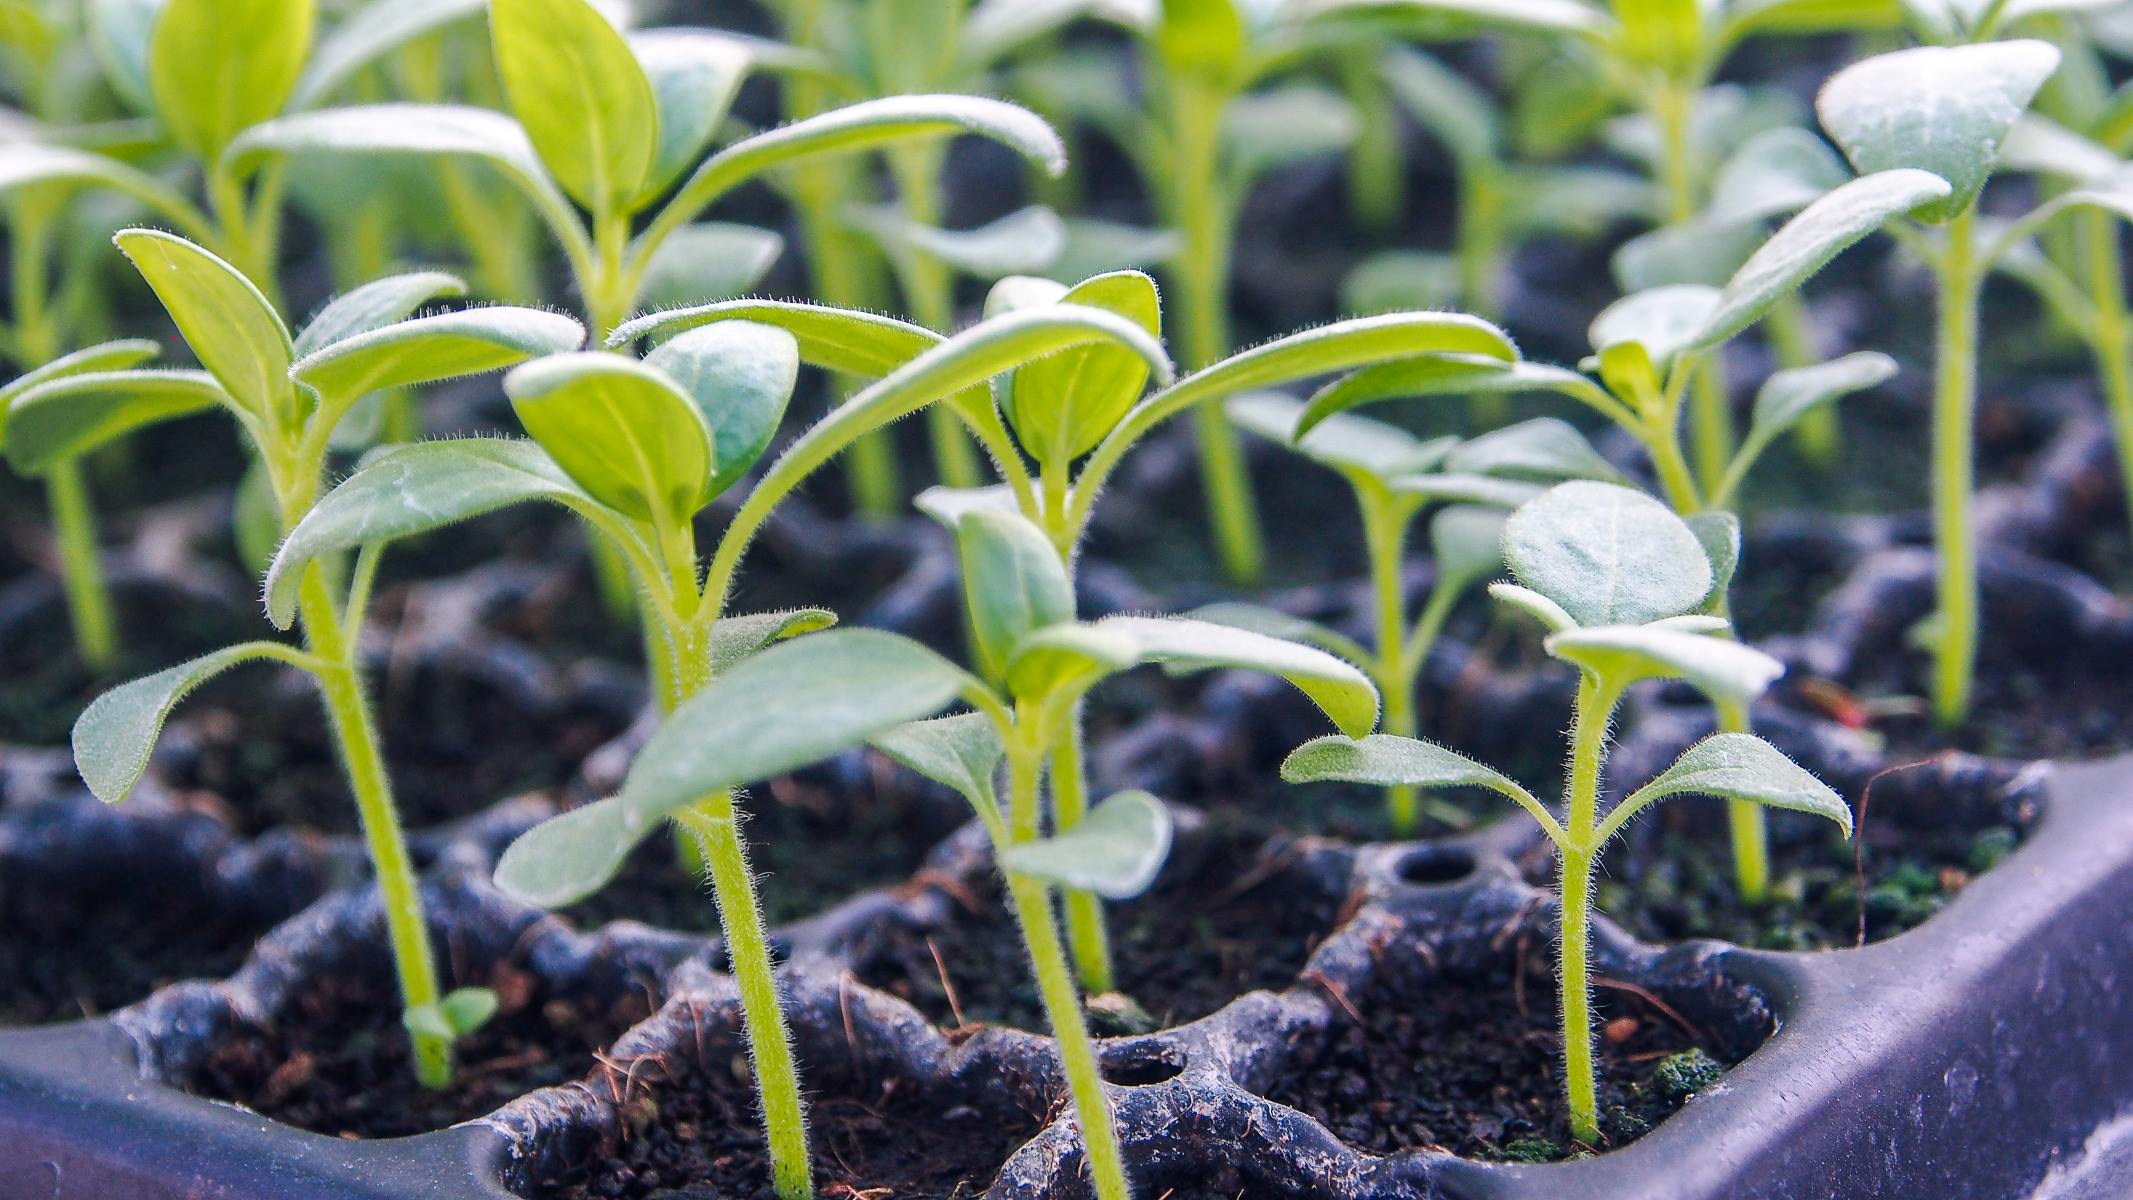
Once the seeds are planted, it’s time to wait and watch for them to sprout and emerge from the soil. This typically takes around 7-14 days, depending on the variety and growing conditions. In the next step, we’ll discuss how to care for your growing sunflower plants.
Step 4: Watering and fertilizing
Proper watering and fertilizing are essential for the healthy growth and development of your sunflower plants. Here are some guidelines to follow:
- Watering: Sunflowers need regular watering to keep the soil consistently moist but not overly saturated. Water deeply, ensuring that the water reaches the root zone. Check the moisture level of the soil by inserting your finger into the soil up to the first knuckle. If it feels dry, it’s time to water. Aim to provide around 1 inch of water per week, either through rainfall or manual watering.
- Fertilizing: Sunflowers are relatively low-maintenance plants and typically thrive in nutrient-rich soil. However, you can give them a boost by incorporating organic fertilizers into the soil before planting. Alternatively, you can apply a balanced fertilizer, such as a 10-10-10 or 14-14-14, during the early growth stages. Follow the instructions on the fertilizer package for the recommended application rates.
- Avoid over-fertilizing: While fertilizing can promote healthy growth, it’s important not to overdo it. Excessive fertilizer can lead to lush foliage but fewer flowers. Always follow the recommended dosage and avoid applying fertilizer late in the growing season, as this can delay the natural hardening-off process.
- Mulching: Applying a layer of organic mulch around the sunflower plants can help conserve moisture, suppress weeds, and regulate soil temperature. Use materials like straw, wood chips, or compost, and spread them around the base of the plants, taking care not to smother the stems.
- Monitor for water stress: Keep an eye out for signs of water stress, such as drooping leaves, and adjust your watering routine accordingly. Hot and windy conditions may require more frequent watering.
By providing adequate water and nutrients, you’ll ensure that your sunflowers have the best chance of thriving and producing beautiful blooms. In the next step, we’ll discuss the importance of sunlight and temperature for sunflower growth.
Plant sunflower seeds in well-drained soil, 1-2 inches deep and 6 inches apart. Choose a sunny spot and water regularly. Watch them grow!
Read more: How To Plant Sunflower Seeds Indoors
Step 5: Providing proper sunlight and temperature
Sunflowers are sun-loving plants and require ample sunlight and the right temperature conditions to thrive. Here’s what you need to know regarding their sunlight and temperature requirements:
- Sunlight: Sunflowers need full sun exposure, which means they should receive at least six to eight hours of direct sunlight each day. Ensure that the location where you planted your sunflowers is not overshadowed by large trees or buildings that may block the sun. Lack of sunlight can result in tall, spindly stems and fewer flowers.
- Temperature: Sunflowers are relatively adaptable to different temperature ranges. They can tolerate both hot and cooler temperatures, but they tend to thrive in warmer conditions. The optimal temperature range for sunflower growth is between 70°F to 78°F (21°C to 26°C). However, sunflowers can still grow in temperatures ranging from 50°F to 90°F (10°C to 32°C).
- Protect from strong winds: Sunflower stems and leaves can be easily damaged by strong winds. Consider planting sunflowers near fences, walls, or other tall structures that provide some wind protection. You can also use stakes or garden trellises to support taller sunflower varieties and prevent them from toppling over in windy conditions.
- Monitor temperature fluctuations: Rapid temperature changes, especially during early growth stages, can stress sunflower plants. If you live in an area with unpredictable weather patterns, consider covering young sunflower plants with cloches or garden fabric to protect them from sudden temperature drops.
By providing your sunflowers with the right amount of sunlight and ensuring that they are protected from extreme weather conditions, you’ll create an optimal environment for their growth and development. In the next step, we’ll discuss how to support the growing plants as they reach for the sun.
Step 6: Supporting the growing plants
As sunflowers grow, they can become tall and top-heavy, making them prone to bending or even snapping under their weight. Providing support for your sunflower plants will help keep them upright and prevent any damage. Here’s how you can support your growing sunflowers:
- Staking: For taller sunflower varieties, install sturdy stakes around the base of the plants, ensuring they are driven into the ground at least 1 to 2 feet deep. Gently tie the main stem of the sunflower to the stake using soft garden twine or plant ties. This will help support the plant as it grows and prevents it from leaning or falling over.
- Garden netting: Another effective way to support sunflowers is by using garden netting or trellises. As the sunflowers grow, carefully weave the stems through the netting holes, providing support and preventing them from swaying in the wind.
- Companion planting: Planting smaller or bushier plants near your sunflowers can provide natural support. Flowers like marigolds or low-growing herbs can help provide stability and support to sunflower stems, acting as living companions in the garden.
- Regular checking: Regularly check the plant’s growth and adjust the support as needed. As the sunflower continues to grow, you may need to tie it to the stake or netting at different heights to ensure proper support.
Providing support for your sunflowers will not only prevent bending or breakage but also enhance their appearance by keeping them upright and proud. In the next step, we’ll cover how to monitor and prevent common pests or diseases that can affect sunflowers.
Step 7: Monitoring and preventing pests or diseases
While sunflowers are generally hardy and resilient plants, they are still susceptible to certain pests and diseases. Regular monitoring and proactive measures can help protect your sunflowers and maintain their health. Here are some tips for monitoring and preventing common pests and diseases:
- Inspect plants regularly: Take the time to examine your sunflower plants regularly for any signs of pests or diseases. Look for yellowing leaves, wilting, chewed foliage, or the presence of any pests.
- Handpick pests: If you spot any pests on your sunflower plants, such as aphids or caterpillars, remove them by hand and squash them or drop them into a bucket of soapy water. This can help reduce the population and prevent further damage.
- Use organic pest control: Consider using organic pest control methods such as neem oil or insecticidal soap to treat common pests. These options are safer for the environment and can help control a wide range of sunflower pests without harming beneficial insects.
- Avoid overhead watering: Moisture on the leaves and flowers of sunflowers can encourage the development of fungal diseases. Avoid overhead watering and instead aim to water the soil directly at the base of the plants to minimize the risk of fungal infections.
- Practice crop rotation: If you consistently face pest or disease problems with your sunflowers, consider rotating their planting location each year. This can help disrupt pest life cycles and reduce the likelihood of reinfestation.
- Plant disease-resistant varieties: Choosing disease-resistant sunflower varieties can be an effective preventive measure. Disease-resistant varieties are bred to be more resistant to specific diseases, reducing the risk of infection.
By actively monitoring your sunflowers, taking prompt action against pests, and practicing preventive measures, you can minimize the impact of pests and diseases on your plants. In the final step, we’ll discuss the process of harvesting and saving sunflower seeds for future use.
Step 8: Harvesting and saving seeds
One of the most rewarding aspects of growing sunflowers is the ability to harvest and save the seeds for future planting or for culinary purposes. Here’s how you can harvest and save sunflower seeds:
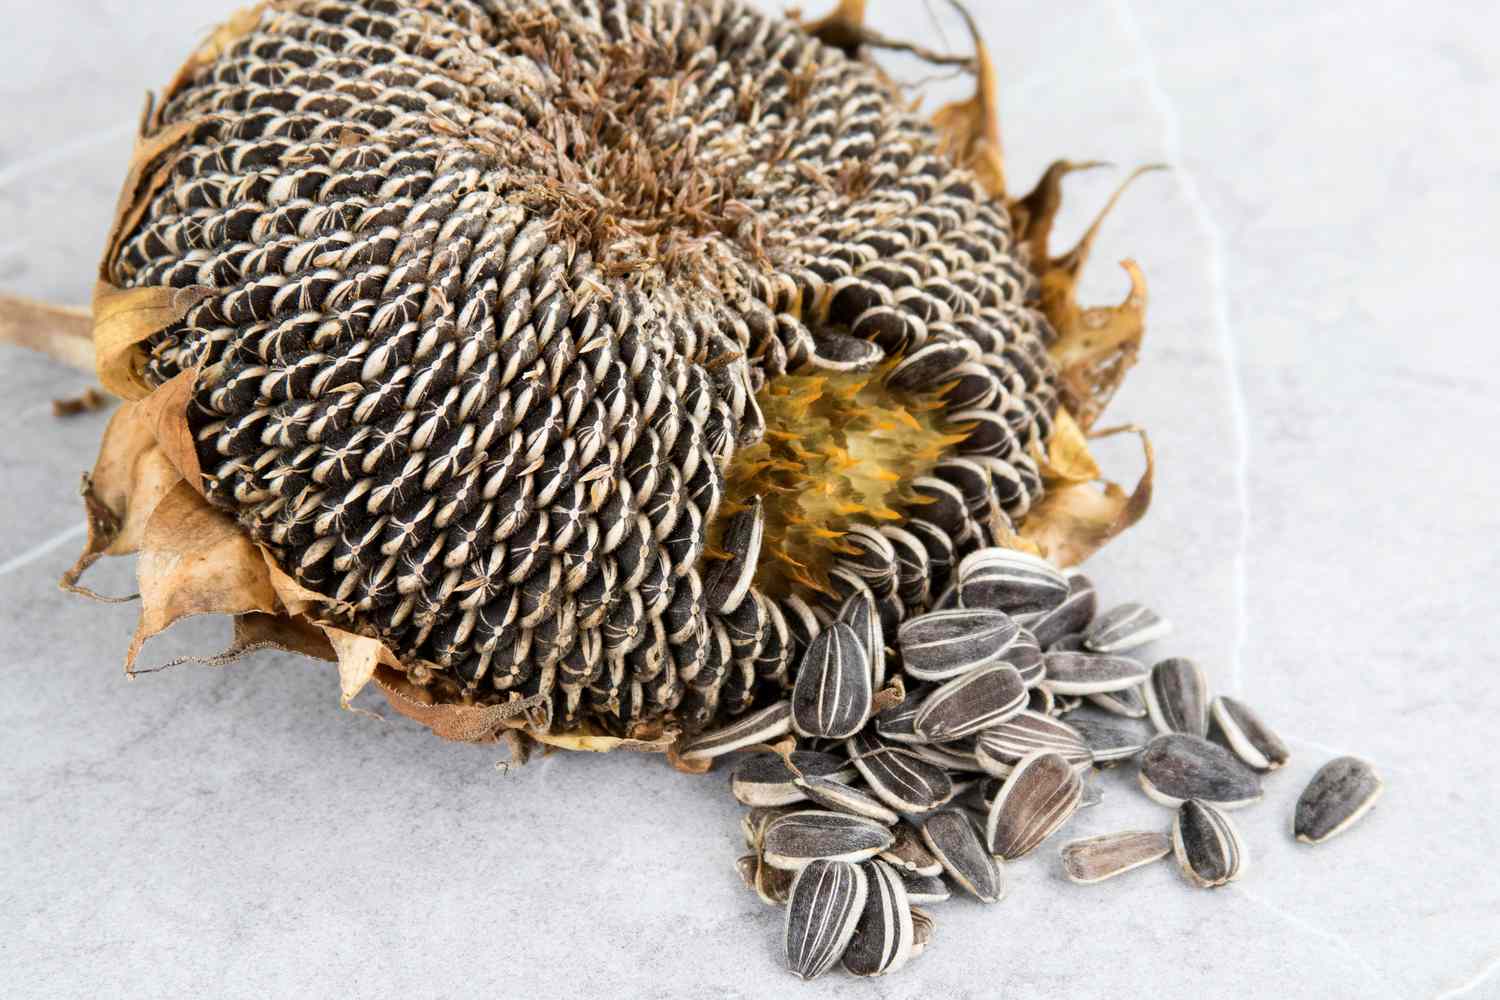
- Timing the harvest: Sunflower seeds are ready for harvest when the back of the flower heads turn yellow or brown and the petals begin to dry out and fall off. The seeds should be fully mature and plump.
- Protecting the seeds: To protect the seeds from birds and other wildlife, cover the flower heads with a lightweight fabric or paper bag. This will allow air circulation while preventing seed loss.
- Harvesting the seeds: Once the flower heads have dried out, remove them from the stems. You can do this by cutting the stem around 6-8 inches below the flower head. Be cautious, as some larger varieties may have prickly stems.
- Removing the seeds: To access the sunflower seeds, rub the back of the flower head with your hand or use a brush to dislodge the seeds from the seed head. You’ll find the seeds nestled in the central disk of the flower head.
- Drying the seeds: Spread the sunflower seeds in a single layer on a clean, dry surface and allow them to air dry completely. This typically takes about one to two weeks. Stir the seeds occasionally to ensure even drying.
- Storing the seeds: Once the seeds are thoroughly dry, store them in airtight containers such as glass jars or sealed plastic bags. Label each container with the variety and date of harvest to keep track of their freshness and characteristics.
- Using the seeds: Sunflower seeds can be used for planting in future seasons, as snacks, or in various recipes. Roast them for a tasty treat, use them in baking, or sprinkle them on salads and other dishes for added crunch and flavor.
By harvesting and saving sunflower seeds, you can continue the cycle of growth and enjoy the fruits of your labor year after year.
Congratulations! You have learned the step-by-step process of planting, caring for, and harvesting sunflowers. Now you’re equipped with the knowledge to embark on your sunflower-growing journey. Enjoy the vibrant blooms, cheerful faces, and the joy that these magnificent flowers bring to your garden.
Happy gardening!
Read more: When To Plant Sunflower Seeds In Ohio
Conclusion
Growing sunflowers from seed is a rewarding and fulfilling experience that allows you to witness the beauty and grandeur of these magnificent plants up close. By following the step-by-step process outlined in this guide, you’ll have the knowledge and skills to successfully plant, care for, and harvest sunflowers in your garden.
From choosing the right sunflower seeds and preparing the soil to providing proper sunlight, water, and support, every step plays a crucial role in the growth and development of your sunflowers. Monitoring for pests and diseases, as well as taking proactive measures to address them, will ensure the health and vitality of your plants.
When the time comes to harvest the seeds, you’ll have the chance to savor the fruits of your labor. Whether you use the seeds for future planting or enjoy them as a delicious snack or culinary ingredient, the reward of seeing the life cycle of a sunflower come full circle is truly special.
Sunflowers not only bring beauty and vibrancy to your garden but also attract pollinators and provide a source of food for birds. Their towering presence and radiant blooms are a testament to the wonders of nature’s creation.
So grab your gardening tools, embrace the joy of nurturing plants, and embark on the journey of growing your own sunflowers. Let their golden faces follow the sun, brighten your days, and bring a touch of sunshine to your garden.
Happy growing and may your sunflowers reach new heights!
After learning how to plant sunflower seeds, why not spruce up your garden's boundaries with some creative flair? Our guide on garden fence ideas offers smart, stylish options to enhance your outdoor space. Whether you're looking for privacy, security, or just a touch of beauty, we've got you covered with suggestions that will transform any garden into a charming, secure haven. Dive into our collection of fencing solutions that are perfect for any gardener looking to define their little paradise.
Frequently Asked Questions about How To Plant Sunflower Seed
Was this page helpful?
At Storables.com, we guarantee accurate and reliable information. Our content, validated by Expert Board Contributors, is crafted following stringent Editorial Policies. We're committed to providing you with well-researched, expert-backed insights for all your informational needs.


0 thoughts on “How To Plant Sunflower Seed”