Articles
How To Store Unused Caulk
Modified: August 27, 2024
Learn how to properly store unused caulk with our informative articles. Prevent waste and ensure your caulk stays usable for longer.
(Many of the links in this article redirect to a specific reviewed product. Your purchase of these products through affiliate links helps to generate commission for Storables.com, at no extra cost. Learn more)
Introduction
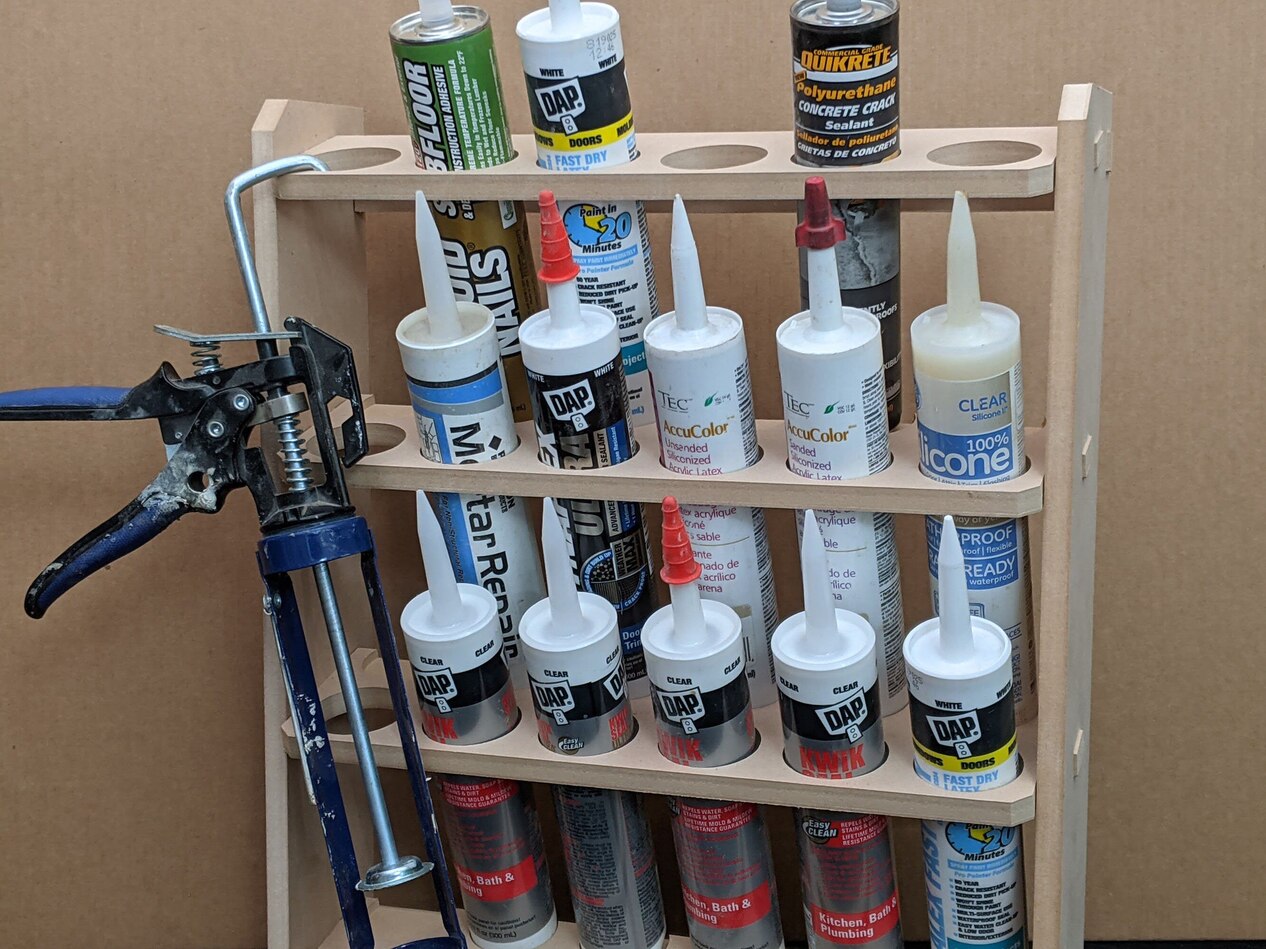
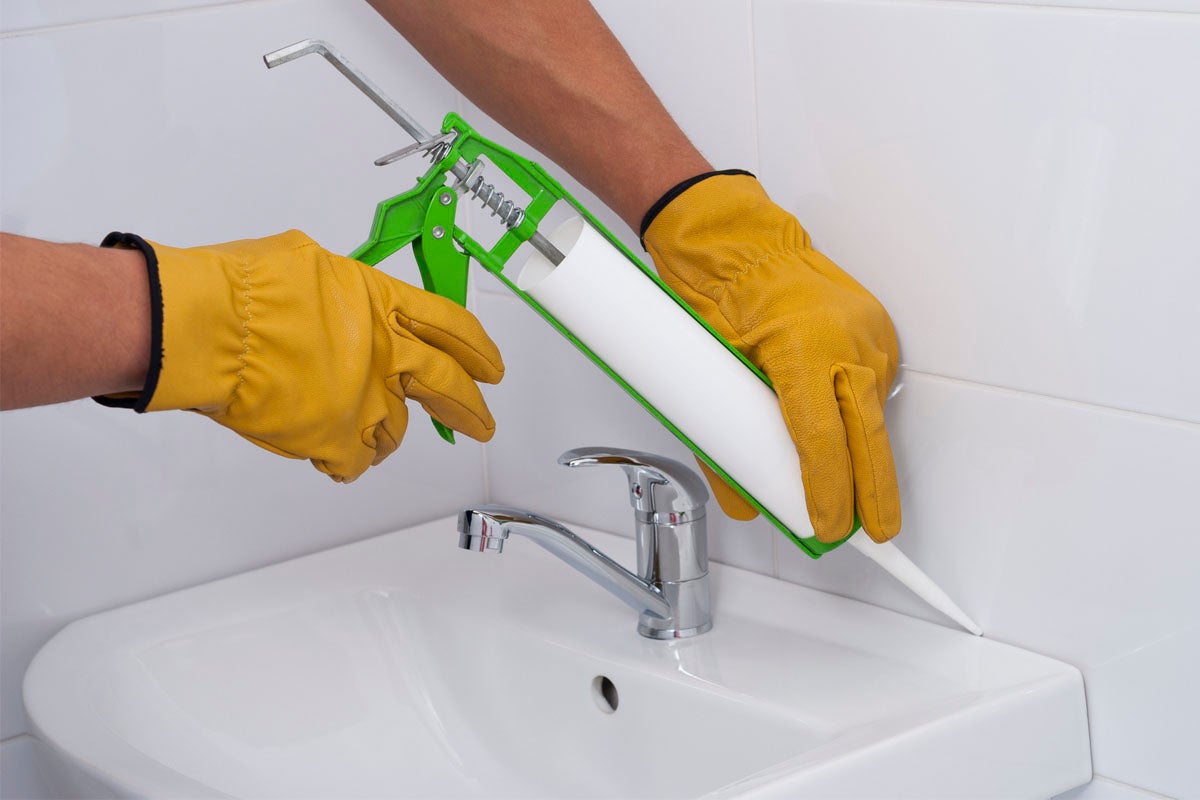
Unused caulk can be a handy item to have around the house for sealing gaps and cracks. However, if not properly stored, caulk can dry out, become unusable, and end up going to waste. Properly storing unused caulk will not only save you money but also ensure that it remains in good condition for future use.
In this article, we will guide you through the process of storing unused caulk effectively. By following these simple steps, you can prolong the shelf life of your caulk and ensure its usability for any future projects that may come your way.
So, let’s get started with step 1: cleaning the caulk tube.
Key Takeaways:
- Properly storing unused caulk involves cleaning the tube, sealing it airtight, and storing it in a cool, dry place. Regularly checking its shelf life ensures usability for future projects, saving money and minimizing waste.
- By following simple steps like cleaning, sealing, and storing caulk properly, you can extend its shelf life and be prepared for any future sealing or caulking needs. This not only saves money but also minimizes waste.
Read more: How To Store Unused Refrigerator
Step 1: Clean the Caulk Tube
Before you store unused caulk, it’s important to clean the caulk tube properly. This step ensures that any residue or excess caulk is removed, preventing clogs and potential issues in the future.
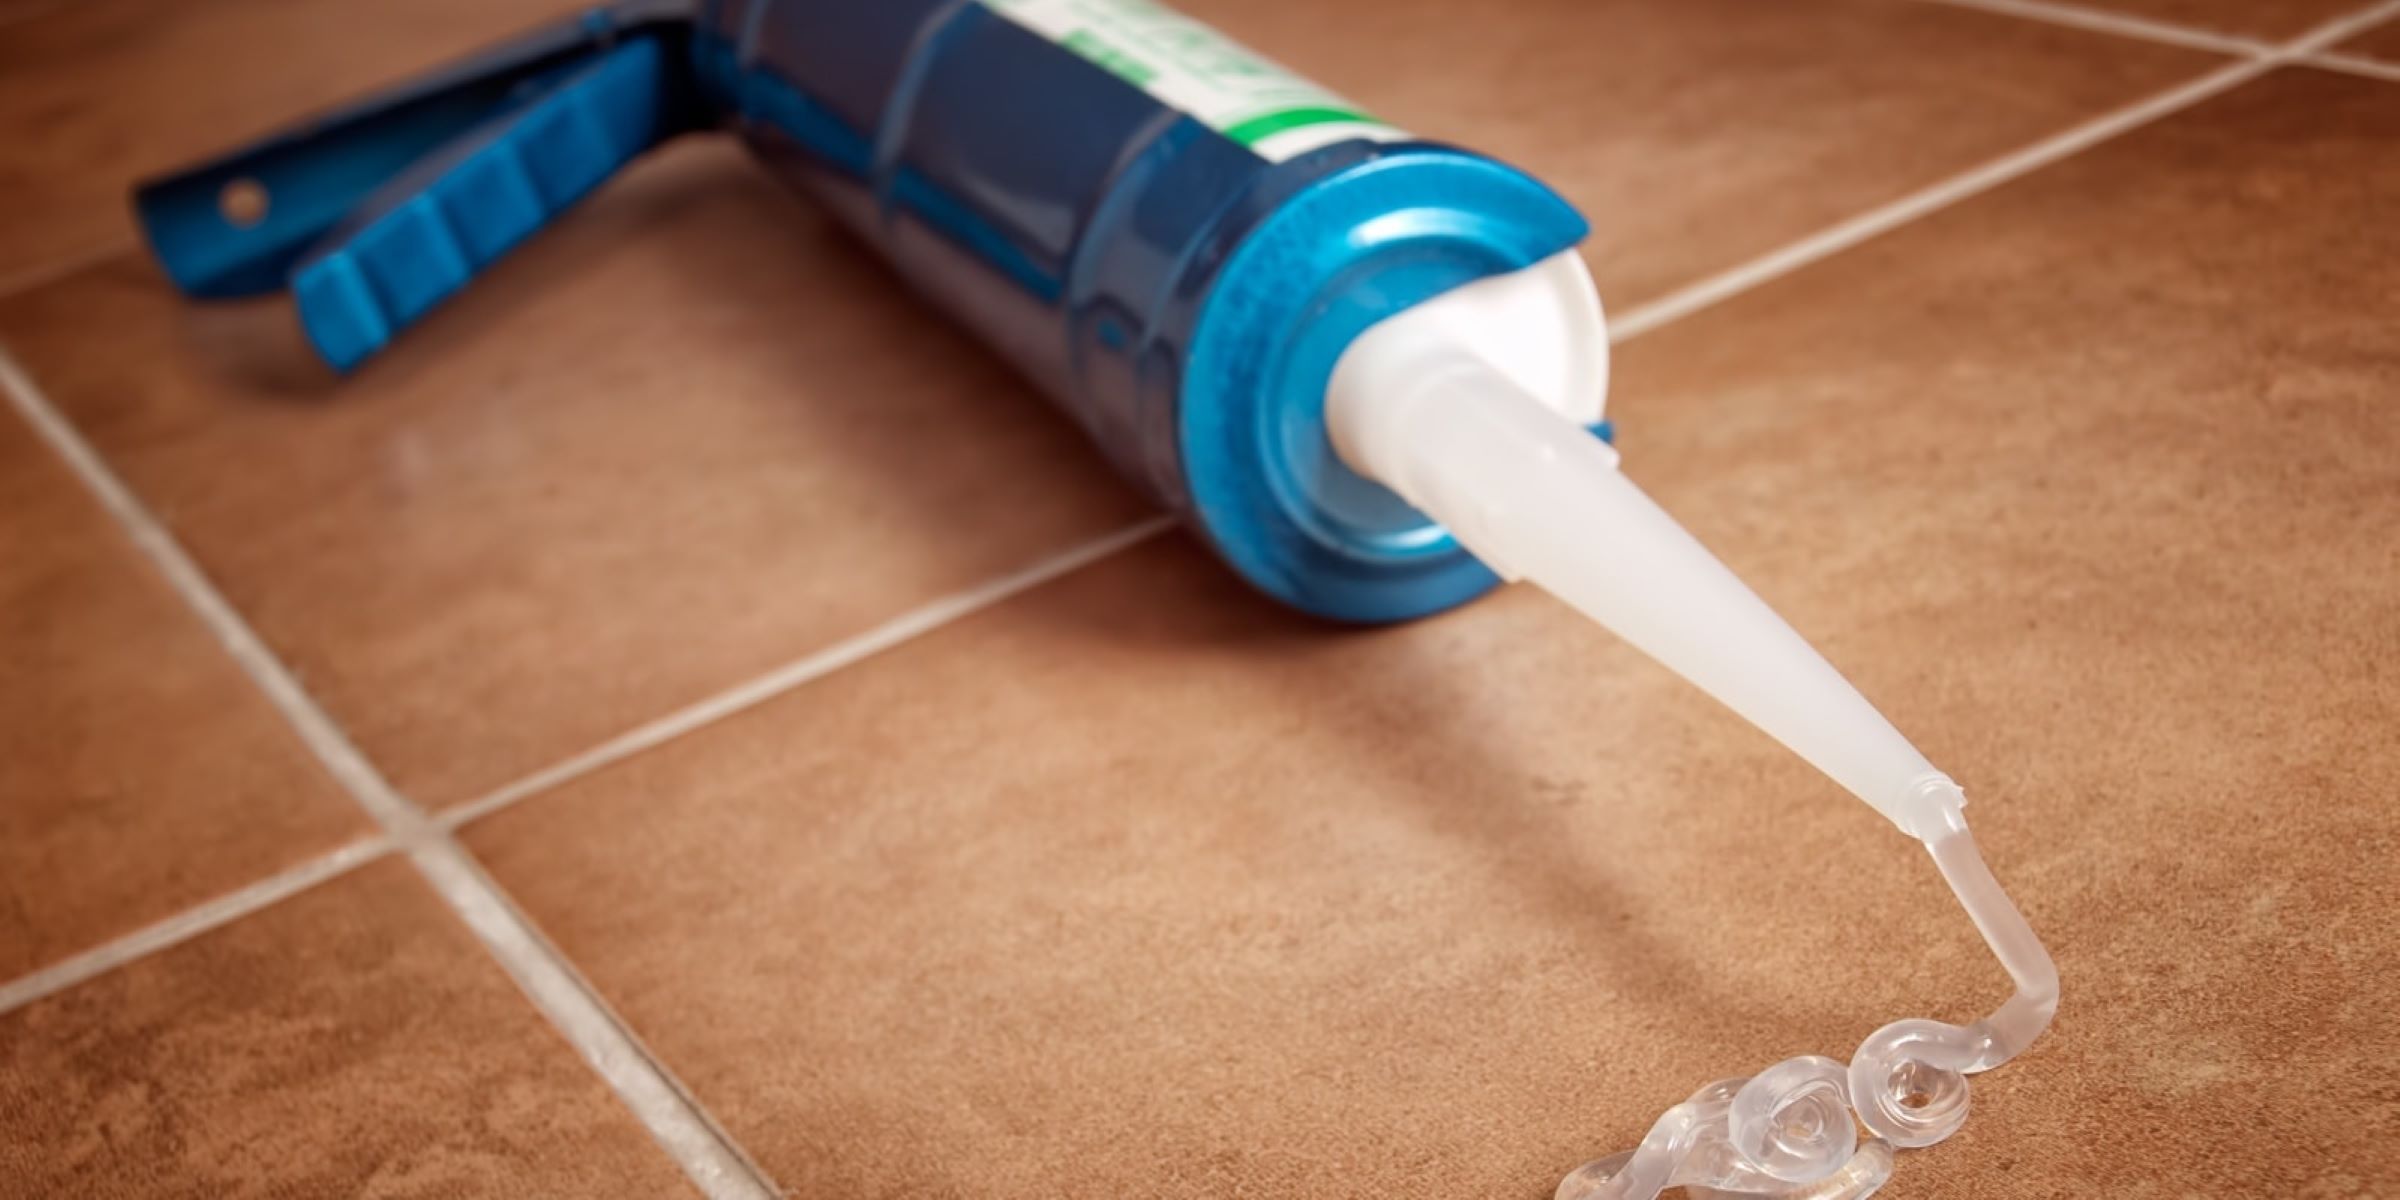
To clean the caulk tube, start by wiping off any excess caulk from the nozzle using a rag or paper towel. Make sure to remove as much caulk as possible to prevent it from drying and blocking the nozzle.
Next, unscrew the nozzle from the caulk tube and inspect it for any dried caulk or debris. Use a toothpick or a small wire brush to gently remove any buildup and ensure that the nozzle is clean and clear.
Once the nozzle is clean, you can proceed to clean the inside of the caulk tube. Squeeze out any excess caulk onto a disposable surface, such as a piece of cardboard or plastic wrap. Be careful not to squeeze too hard and damage the tube or cause the caulk to splatter.
After removing the excess caulk, take a damp cloth or sponge and wipe the inside of the caulk tube. This will help remove any remaining residue and ensure that the tube is clean before storage.
Allow the caulk tube and nozzle to dry completely before moving on to the next step. Ensuring that they are thoroughly dry will prevent moisture from promoting mold or mildew growth inside the tube.
Now that you have cleaned the caulk tube, it’s time to move on to step 2: sealing the caulk tube.
Step 2: Seal the Caulk Tube
Once you have cleaned the caulk tube, it is crucial to properly seal it to prevent air and moisture from getting inside. This step is essential in maintaining the quality and usability of the caulk for an extended period.
There are a few options you can choose from to seal the caulk tube:
- Caulk cap: One option is to use a caulk cap, which is a specially designed cap that fits over the nozzle of the caulk tube. It creates an airtight seal and prevents the caulk from drying out. Simply place the caulk cap on the nozzle and make sure it is securely fastened.
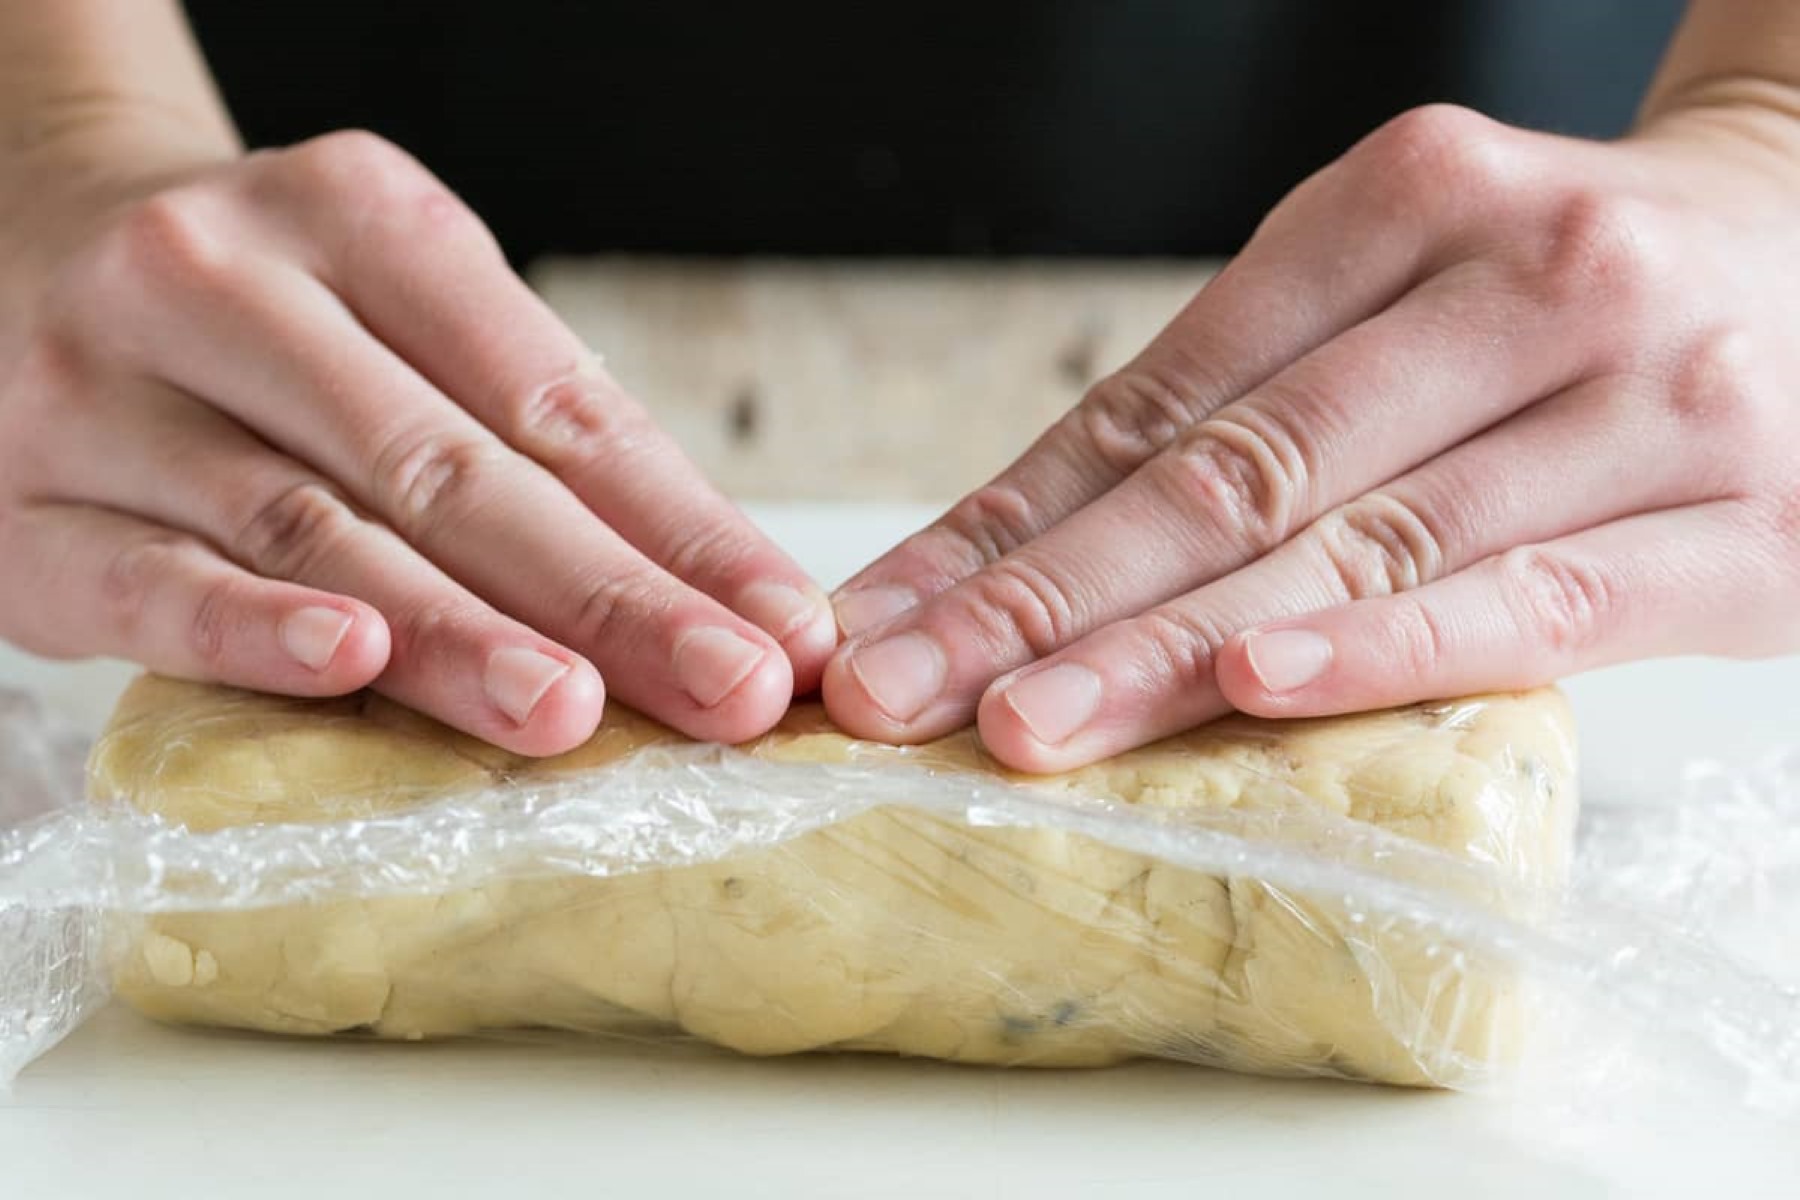
- Plastic wrap: Another option is to cover the nozzle of the caulk tube with plastic wrap. Start by removing any excess caulk from the nozzle and then tightly wrap the plastic wrap around it. Secure it with a rubber band or tape to ensure a tight seal.
- Ziplock bag: If you don’t have a caulk cap or plastic wrap, you can also store the caulk tube in a ziplock bag. Place the caulk tube inside the bag, remove as much air as possible, and seal it tightly. This will help to keep the caulk fresh and prevent it from drying out.
Regardless of the method you choose, ensure that the caulk tube is securely sealed to prevent air and moisture from entering. This will help to maintain the consistency and usability of the caulk over time.
Now that the caulk tube is properly sealed, it’s time to move on to step 3: storing in a cool, dry place.
After using caulk, store the remaining product by sealing the tube tightly with a cap or plastic wrap. Store it in a cool, dry place to prevent it from drying out.
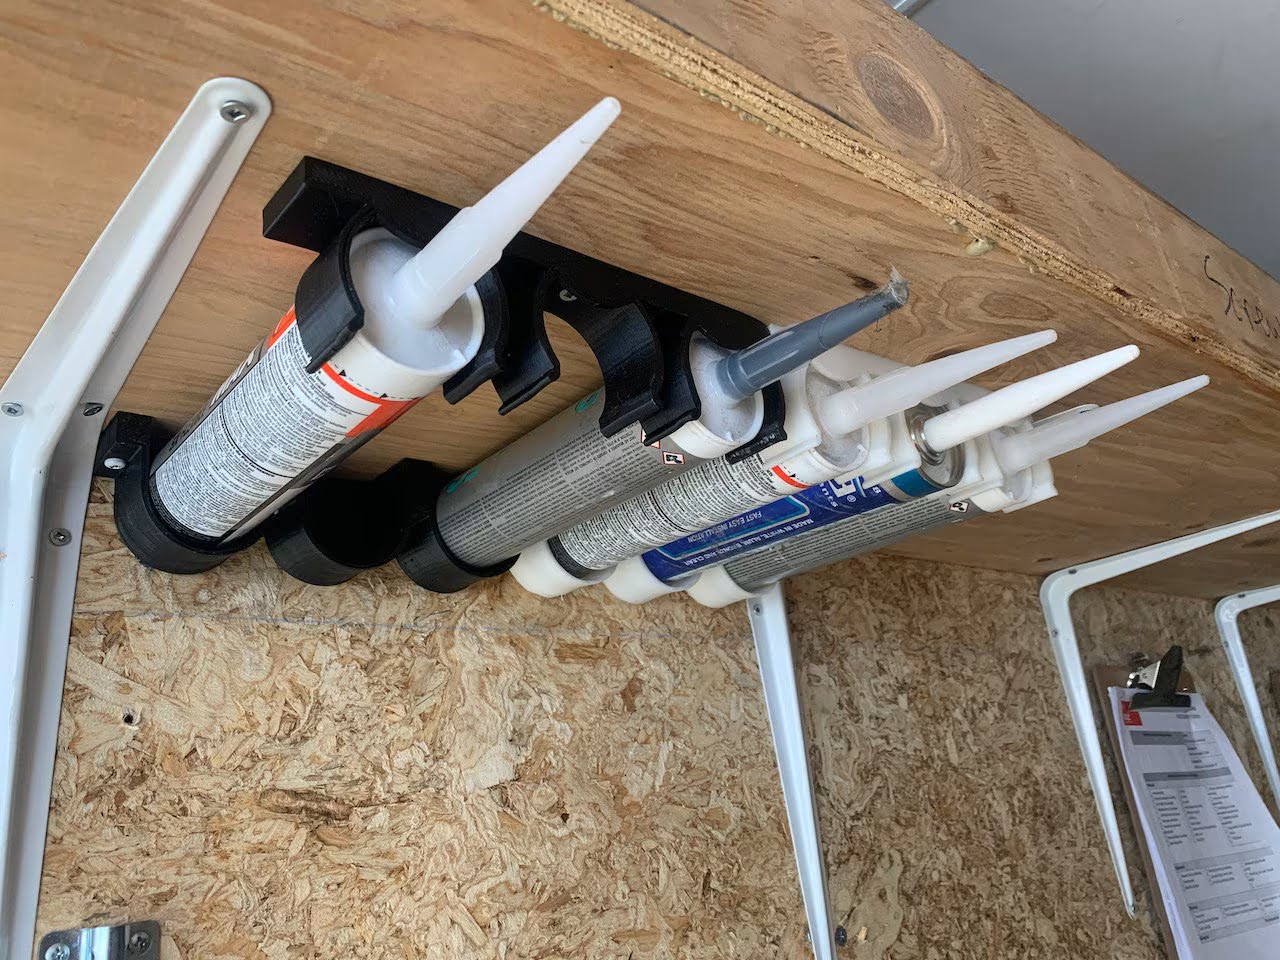
Step 3: Store in a Cool, Dry Place
Proper storage of unused caulk is key to maintaining its quality and usability. Storing caulk in a cool and dry place will prevent it from deteriorating, drying out, or becoming hardened.
Here are some tips for storing caulk in an optimal environment:
- Select a cool location: Choose a storage area that is consistently cool and doesn’t experience extreme temperature fluctuations. Avoid areas that are exposed to direct sunlight or heat sources, as these can accelerate the drying process of the caulk.
- Avoid excessive moisture: Moisture can compromise the quality of caulk, so it’s important to keep it away from humid areas or places prone to water leaks. A moisture-free environment will help prevent mold or mildew growth, which can render the caulk unusable.
- Consider airtight containers: If possible, store the caulk tube in an airtight container or plastic bag. This additional layer of protection will further prevent air and moisture from reaching the caulk, keeping it in optimal condition.
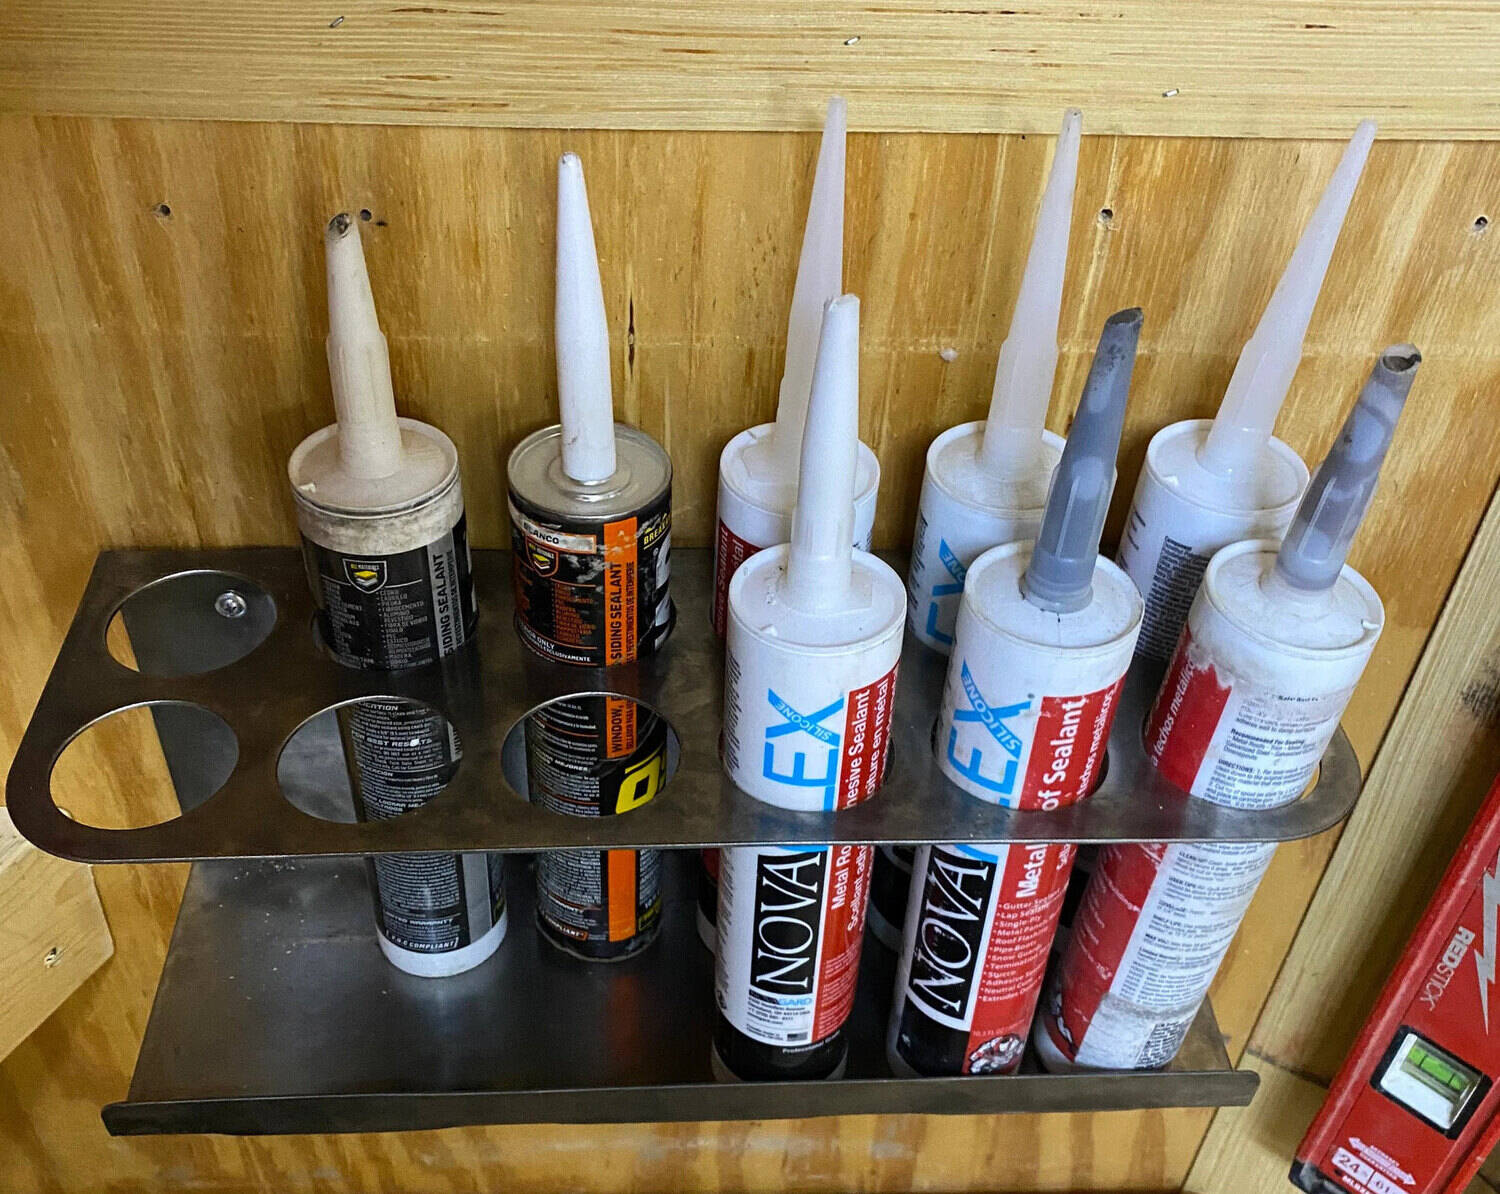
- Keep it off the ground: Place the caulk tube on a shelf, countertop, or any elevated surface to avoid direct contact with the ground. This precaution will prevent potential damage and ensure that the caulk remains intact.
By following these guidelines, you can create an ideal storage environment for your unused caulk, preserving its freshness and usability for future projects.
Now that you have stored the caulk tube in a suitable location, it’s important to regularly check its shelf life. Let’s move on to step 4: checking regularly for shelf life.
Step 4: Check Regularly for Shelf Life
While properly stored caulk can have a decent shelf life, it is essential to regularly check its condition to ensure its usability. Over time, caulk can deteriorate, dry out, or become hardened, making it unsuitable for use.
Here are some tips for checking the shelf life of your stored caulk:
- Inspect the caulk: Periodically examine the caulk tube for any signs of drying or hardening. Squeeze a small amount of caulk onto a disposable surface and check its consistency. If the caulk appears dry, lumpy, or difficult to spread, it may be past its prime and should be discarded.
- Check the expiration date: Many caulk brands come with an expiration date. Take note of this date and make sure to use the caulk before it expires. If the caulk is past its expiration date, it is best to dispose of it and purchase a fresh tube.
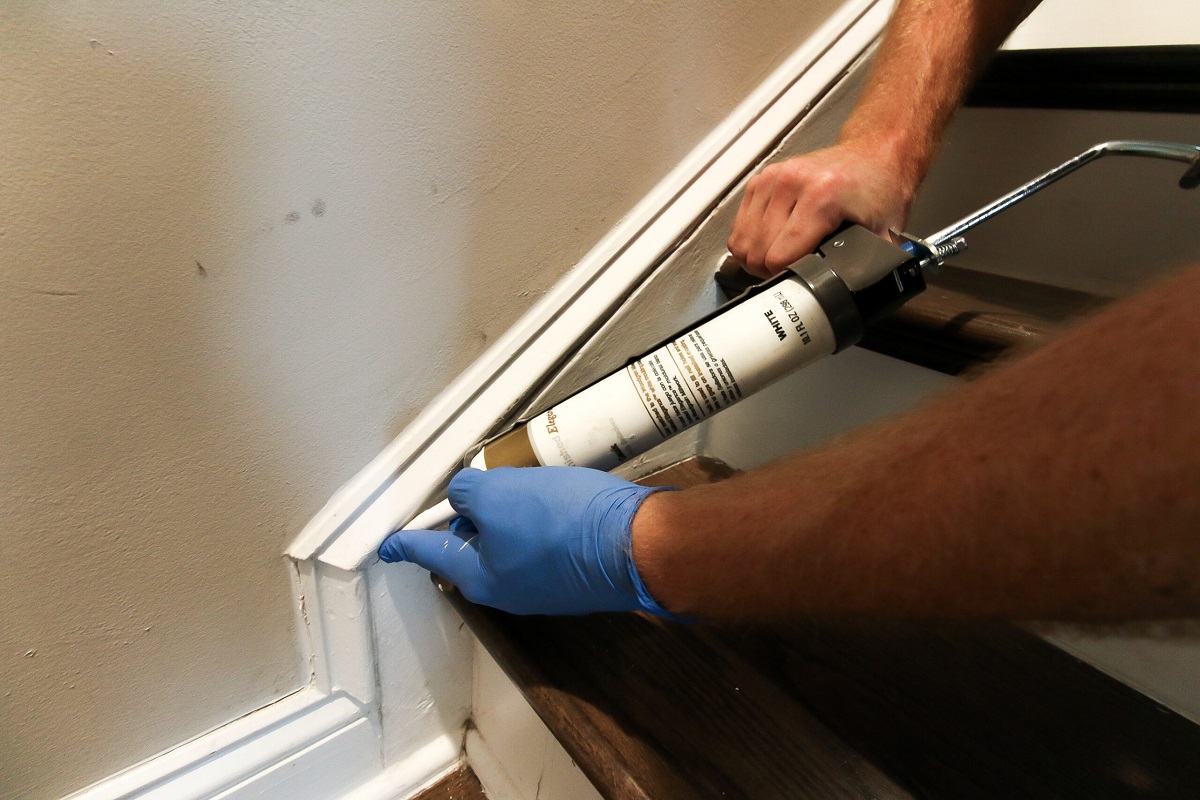
- Perform a test application: To be absolutely certain about the usability of the caulk, perform a small test application on a non-visible surface. If the caulk adheres well and forms a proper seal, it is still in good condition. However, if it fails to perform as expected, it may be time to discard it.
Regularly checking the condition and shelf life of your stored caulk will help you avoid any surprises or disappointments when you eventually need to use it. By staying vigilant, you can ensure that your caulk is always in optimum condition.
By following these four simple steps – cleaning the caulk tube, sealing it properly, storing it in a cool, dry place, and regularly checking its shelf life – you can effectively store unused caulk and extend its usability. This not only saves you money but also minimizes waste by ensuring that the caulk is always in good condition when you need it.
So, the next time you have leftover caulk from a project, don’t let it go to waste. Take the time to store it properly, and you’ll be ready for any sealing or caulking needs that may arise in the future.
Happy caulking!
Read more: How To Store Unused Paint
Conclusion
Properly storing unused caulk is essential for maintaining its quality and ensuring its usability for future projects. By following the steps outlined in this article, you can effectively store caulk and prevent it from drying out, becoming hardened, or going to waste.
First, make sure to clean the caulk tube by removing any excess caulk from the nozzle and nozzle tip. This prevents clogs and ensures that the tube is ready for storage.
Next, seal the caulk tube using a caulk cap, plastic wrap, or a ziplock bag. These methods create an airtight seal and prevent air and moisture from entering the tube, preserving the caulk’s freshness.
Store the caulk tube in a cool, dry place to maintain its integrity. Avoid areas with extreme temperatures or excessive moisture, as these can adversely affect the caulk’s quality.
Regularly check the shelf life of the caulk by inspecting its consistency and performing a test application. Discard any caulk that has dried out, become lumpy, or fails to form a proper seal.
By taking these steps, you can ensure that your unused caulk remains in optimal condition until you need it for your next project. This not only saves you money but also minimizes waste by utilizing the caulk to its fullest potential.
Remember, proper storage is key to preserving the usability of caulk. By implementing these guidelines, you can confidently store your caulk and be prepared for any sealing or caulking needs that may arise in the future.
So, don’t let your unused caulk go to waste. Take the time to store it properly and make the most out of this versatile and essential sealing material.
Happy storing!
Frequently Asked Questions about How To Store Unused Caulk
Was this page helpful?
At Storables.com, we guarantee accurate and reliable information. Our content, validated by Expert Board Contributors, is crafted following stringent Editorial Policies. We're committed to providing you with well-researched, expert-backed insights for all your informational needs.

0 thoughts on “How To Store Unused Caulk”