Articles
How To Store Unused Potting Soil
Modified: October 28, 2024
Learn the best way to store unused potting soil in this informative article. Find out how to keep your soil fresh and ready for your next gardening project.
(Many of the links in this article redirect to a specific reviewed product. Your purchase of these products through affiliate links helps to generate commission for Storables.com, at no extra cost. Learn more)
Introduction
When it comes to gardening, potting soil is an essential component for healthy plant growth. Whether you buy it in bulk or have leftover soil from previous gardening projects, properly storing unused potting soil is crucial to maintain its quality and maximize its longevity. Proper storage not only helps preserve the nutrients in the soil, but it also prevents issues such as moisture accumulation, mold growth, and pest infestation.
In this article, we will guide you through the steps to store unused potting soil effectively. By following these guidelines, you can ensure that your potting soil remains in optimal condition for future use.
Key Takeaways:
- Properly storing unused potting soil is crucial for maintaining its quality, preventing moisture-related issues, saving money, and promoting efficiency in gardening activities.
- Clearing debris, checking moisture levels, transferring to a container, sealing tightly, storing in a cool, dry location, and periodic inspections are key steps for effective potting soil storage.
Read more: How To Store Potting Soil In An Apartment
Why is it important to store unused potting soil properly?
Properly storing unused potting soil is essential for several reasons. First and foremost, storing it correctly helps preserve the quality and nutrient content of the soil. Potting soil contains a carefully balanced mixture of organic matter, minerals, and fertilizers that provide the necessary nutrients for plants to thrive. If the soil is not stored properly, these nutrients can degrade over time, rendering the soil less effective for plant growth.
In addition to nutrient preservation, proper storage also helps prevent moisture accumulation in the potting soil. Excess moisture can lead to the growth of molds and fungi, which not only deteriorate the quality of the soil but can also harm the health of your plants. Moisture can also attract pests such as insects and rodents, which can further damage the soil and potentially infest your garden.
Furthermore, storing unused potting soil properly helps you avoid unnecessary costs. By storing soil correctly, you can reuse it for future gardening projects, saving money and reducing waste. Properly stored potting soil can maintain its quality for an extended period, ensuring that you have a readily available supply whenever needed.
Last but not least, storing potting soil properly helps promote organization and efficiency in your gardening endeavors. By having a designated storage area for unused soil, you can easily locate and access it when required. This saves you time and effort, allowing you to focus more on planting and nurturing your garden.
Overall, the proper storage of unused potting soil is crucial for maintaining its quality, preventing moisture-related issues, saving money, and promoting efficiency in your gardening activities. Now let’s dive into the step-by-step process of storing your unused potting soil effectively.
Step 1: Clear the potting soil of any debris or roots
Before storing your unused potting soil, it is important to eliminate any debris or roots that may be present. Clearing the soil of these unwanted materials ensures that you are storing clean and healthy soil that is ready for future use.
Start by inspecting the potting soil and removing any large debris such as twigs, leaves, or rocks. These items can take up valuable space in your storage container and may contribute to moisture buildup or pest activity. Use your hands or a garden scoop to carefully sift through the soil and remove any visible debris.
In addition to debris, it is important to check for any roots that may have grown into the potting soil. Plants that were previously potted in the soil may have left behind roots that can cause issues in storage. Gently break up and remove any visible roots, taking care not to disrupt the structure of the soil too much.
If you encounter a significant amount of roots or clumps in the potting soil, you may consider sifting the soil through a mesh screen or using a garden sieve to ensure that you are left with a smooth and debris-free texture.
By clearing the potting soil of any debris or roots, you are preparing it for proper storage and ensuring that it remains in optimal condition for future use. This step sets the foundation for maintaining the quality and usability of your potting soil over an extended period of time.
Step 2: Check the moisture levels in the potting soil
Before storing your unused potting soil, it’s crucial to assess its moisture levels. Proper moisture content is essential for maintaining the quality and usability of the soil during storage. Excess moisture can lead to the growth of mold and mildew, while overly dry soil may lose its nutrient content and become less effective for plant growth.
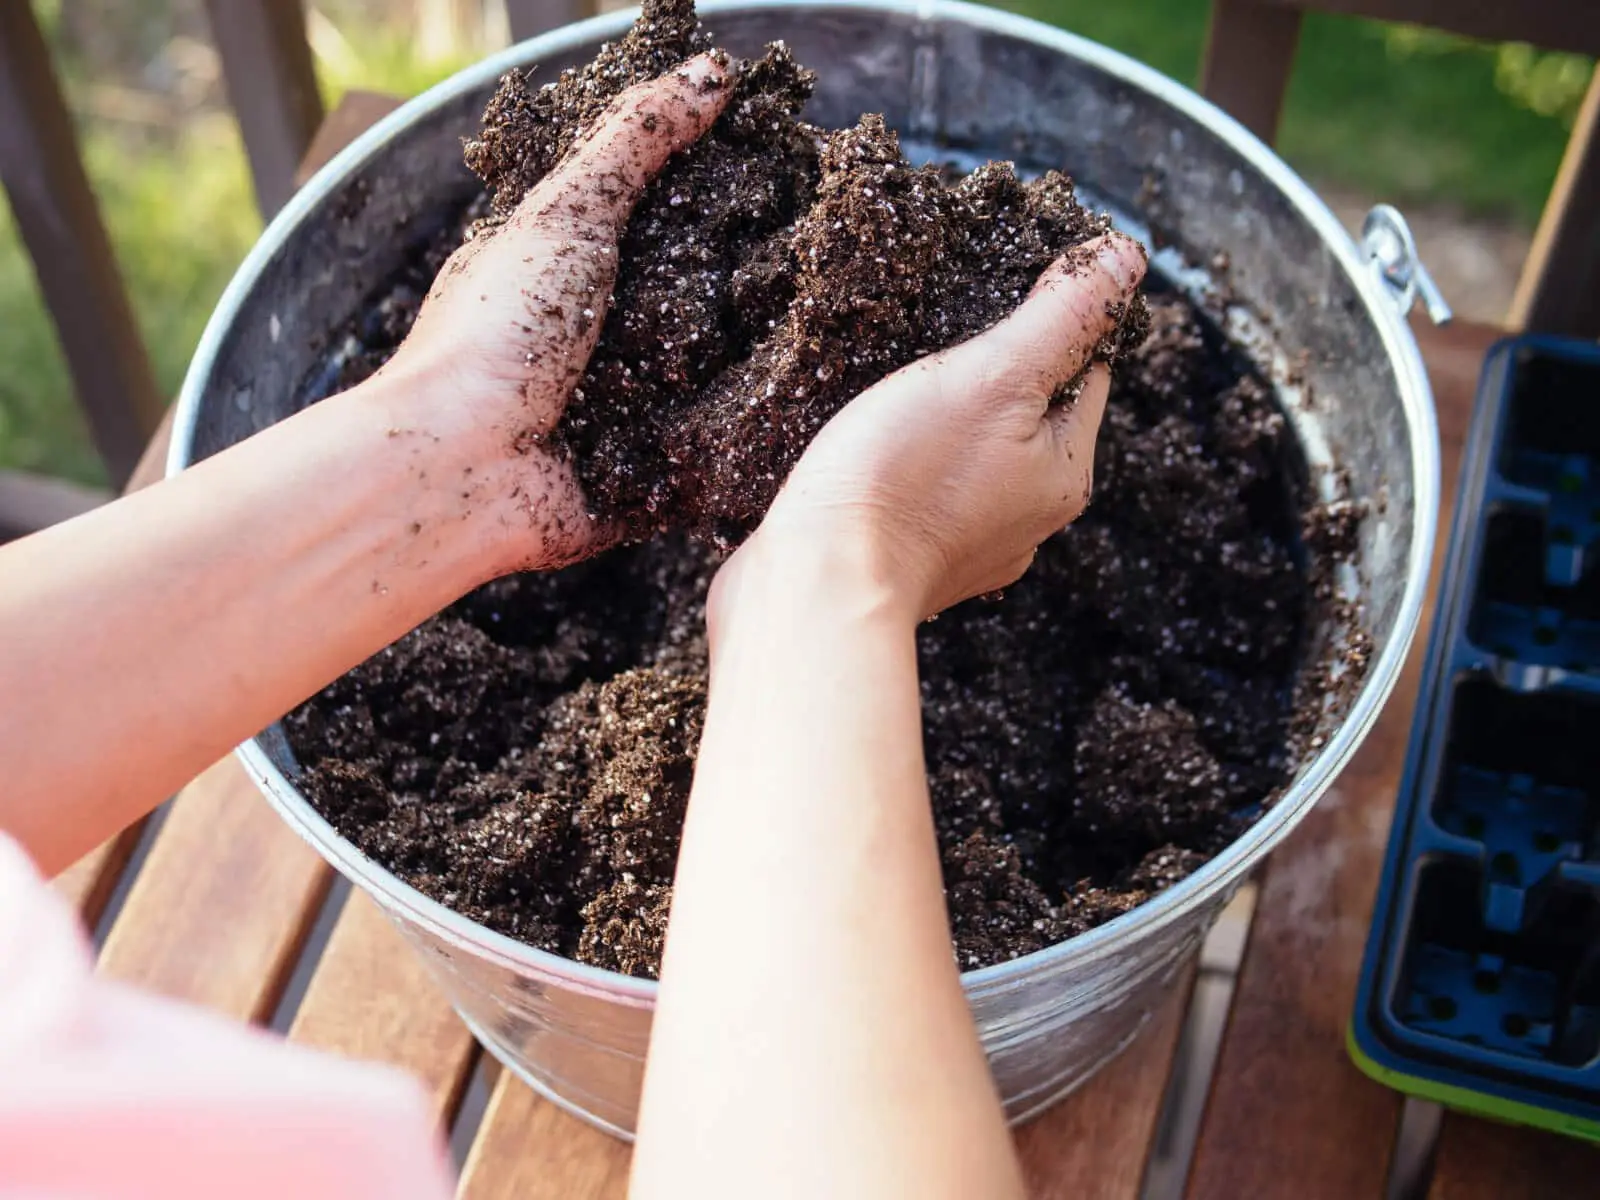
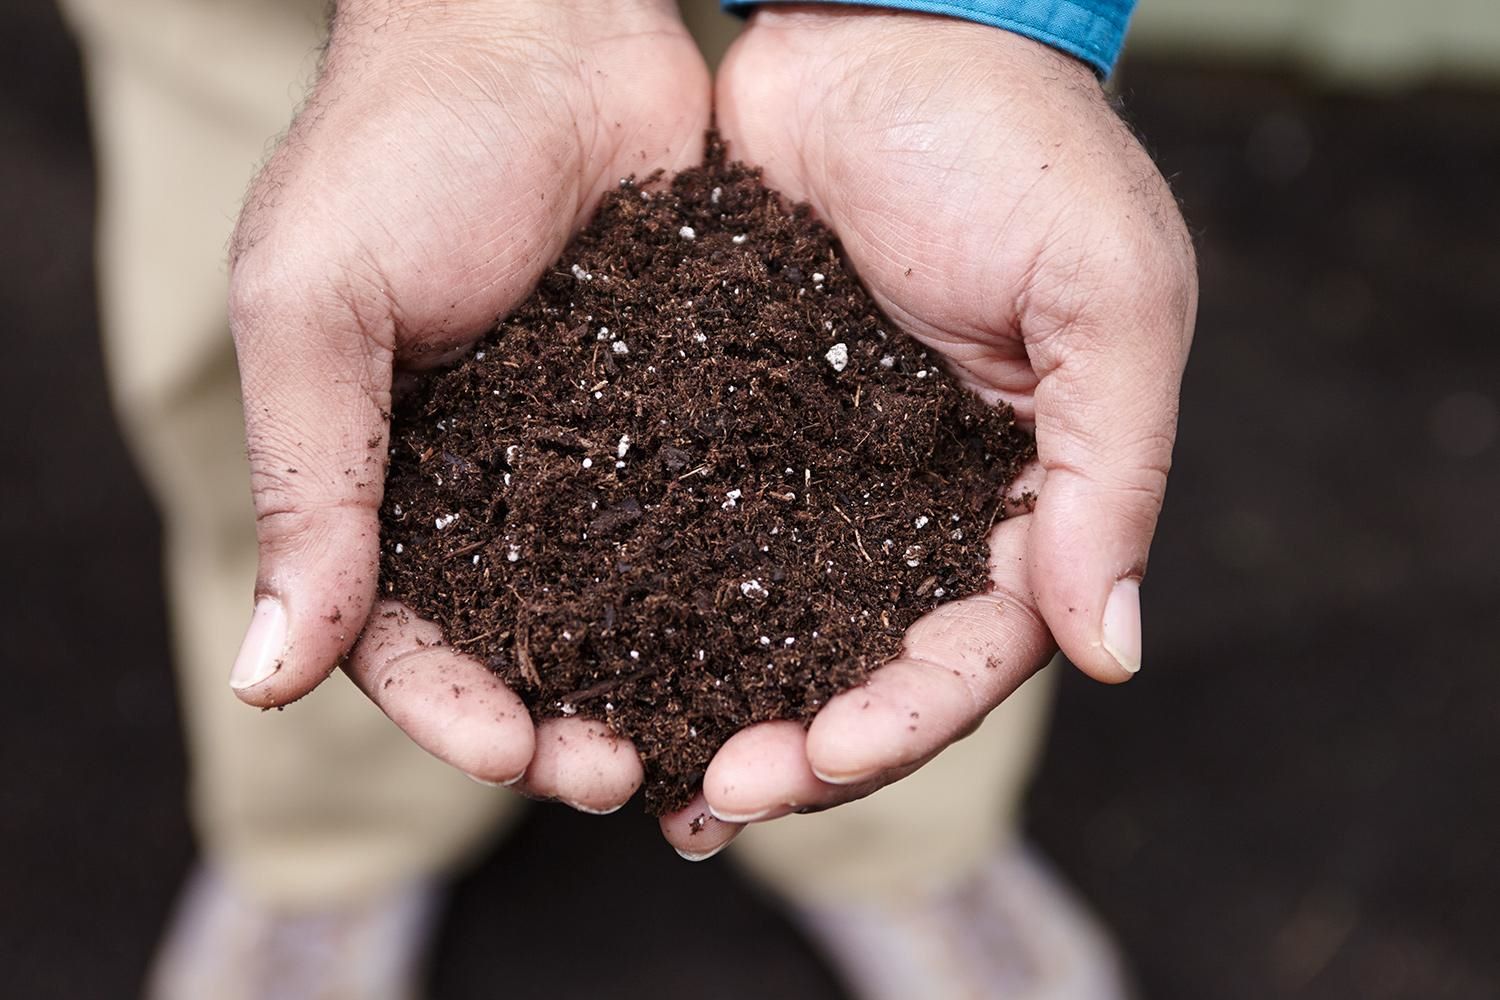
To check the moisture levels, take a handful of the potting soil and squeeze it gently. Ideally, the soil should feel slightly damp but not overly wet or dripping with water. If the soil is too dry, it may need a little water added before storage. Conversely, if it is too wet, you may need to allow it to dry out slightly before proceeding with storage.
If the potting soil is too dry, you can add water gradually while mixing it thoroughly. Be careful not to add too much water at once to avoid saturating the soil. The goal is to achieve a slightly moist consistency throughout the soil, similar to what you would typically use for planting. Remember that it’s crucial to strike the right balance and avoid excessive moisture, as this can lead to issues during storage.
On the other hand, if the potting soil is too wet, you can spread it out in a well-ventilated area or on a tarp to allow it to dry. It’s important to ensure that the soil is completely dry before proceeding with storage to prevent the growth of mold or rot.
By checking and adjusting the moisture levels of your potting soil, you are taking the necessary steps to ensure that it remains in optimal condition throughout the storage period. This will help preserve its nutrient content and prevent any potential issues that may arise due to excessive moisture or dryness.
Step 3: Transfer the potting soil to a clean and dry container
Once you have cleared the potting soil of debris and assessed its moisture levels, it’s time to transfer it to a clean and dry container. Proper storage containers help create a controlled environment for the soil, protecting it from external elements such as moisture, pests, and contaminants.
Choose a container that is suitable for storing potting soil, such as a plastic or metal container with a lid. Make sure the container is clean and dry before use to avoid introducing any unwanted substances or moisture into the soil.
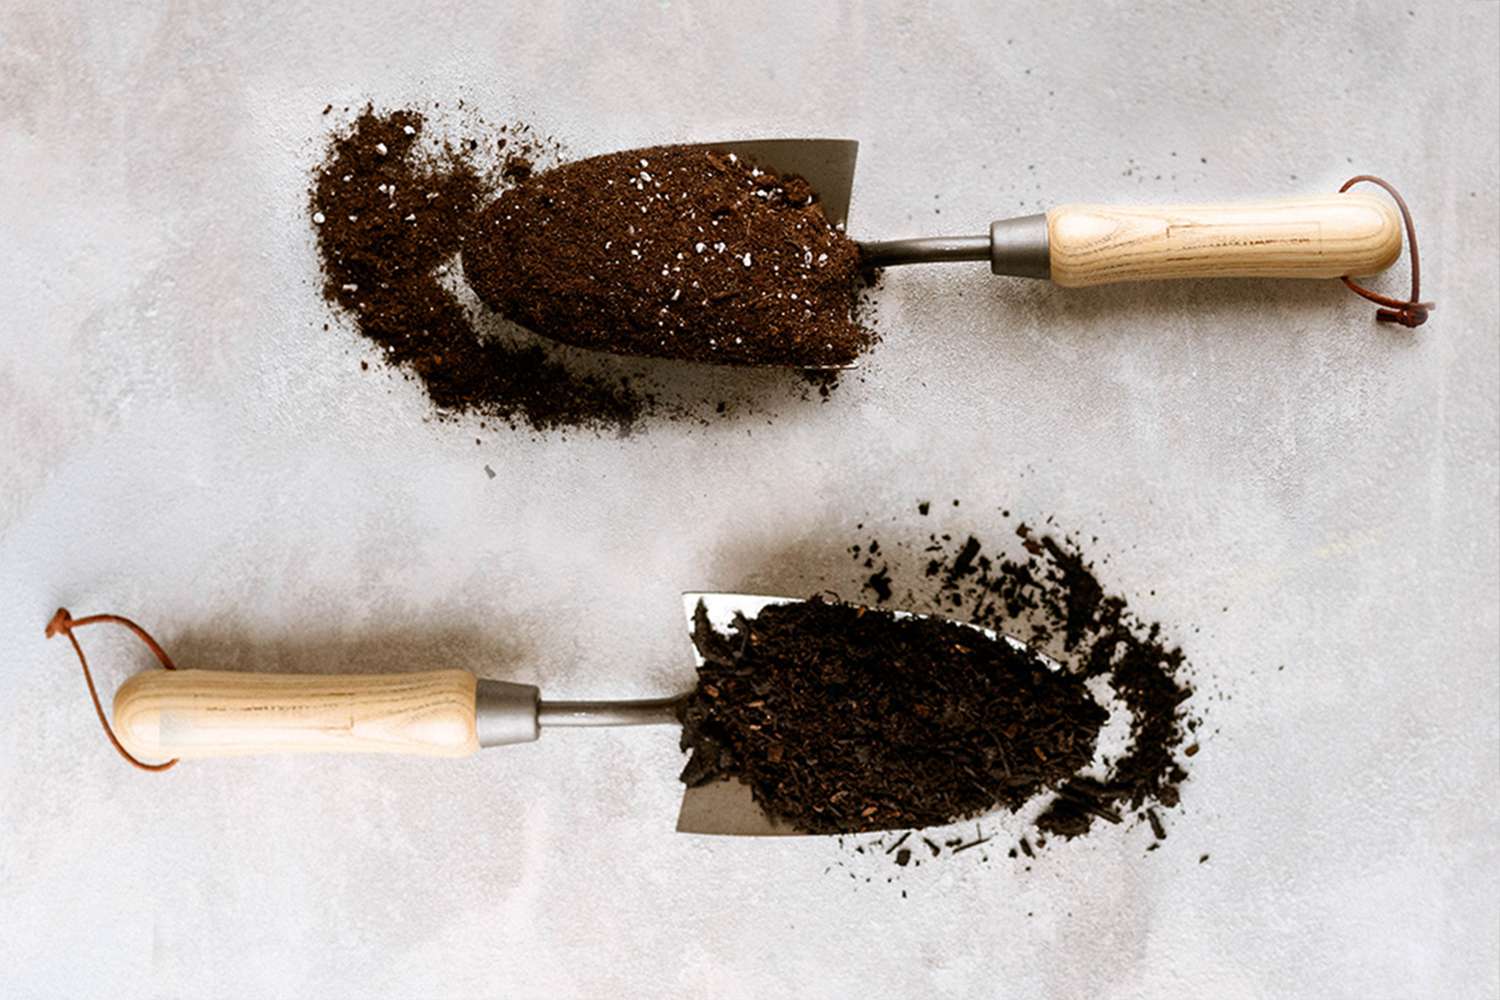
To transfer the potting soil, carefully scoop it into the container using a garden trowel or scoop. Fill the container to the desired level, leaving some headspace at the top to allow for proper sealing. Avoid compacting the soil too much as this can limit its ability to breathe and may affect its quality over time.
Alternatively, you can use resealable plastic bags or heavy-duty garbage bags if you prefer a more flexible storage option. Just make sure the bags are durable and can be sealed tightly to prevent any moisture or pest intrusion.
If you have a significant amount of potting soil to store, consider dividing it into smaller portions and using multiple containers. This allows for easier handling and accessibility when you need to use the soil in the future.
By transferring the potting soil to a clean and dry container, you are taking a crucial step towards creating an ideal storage environment. This helps protect the soil from contaminants, moisture, and pests, ensuring that it remains in top condition for future gardening projects.
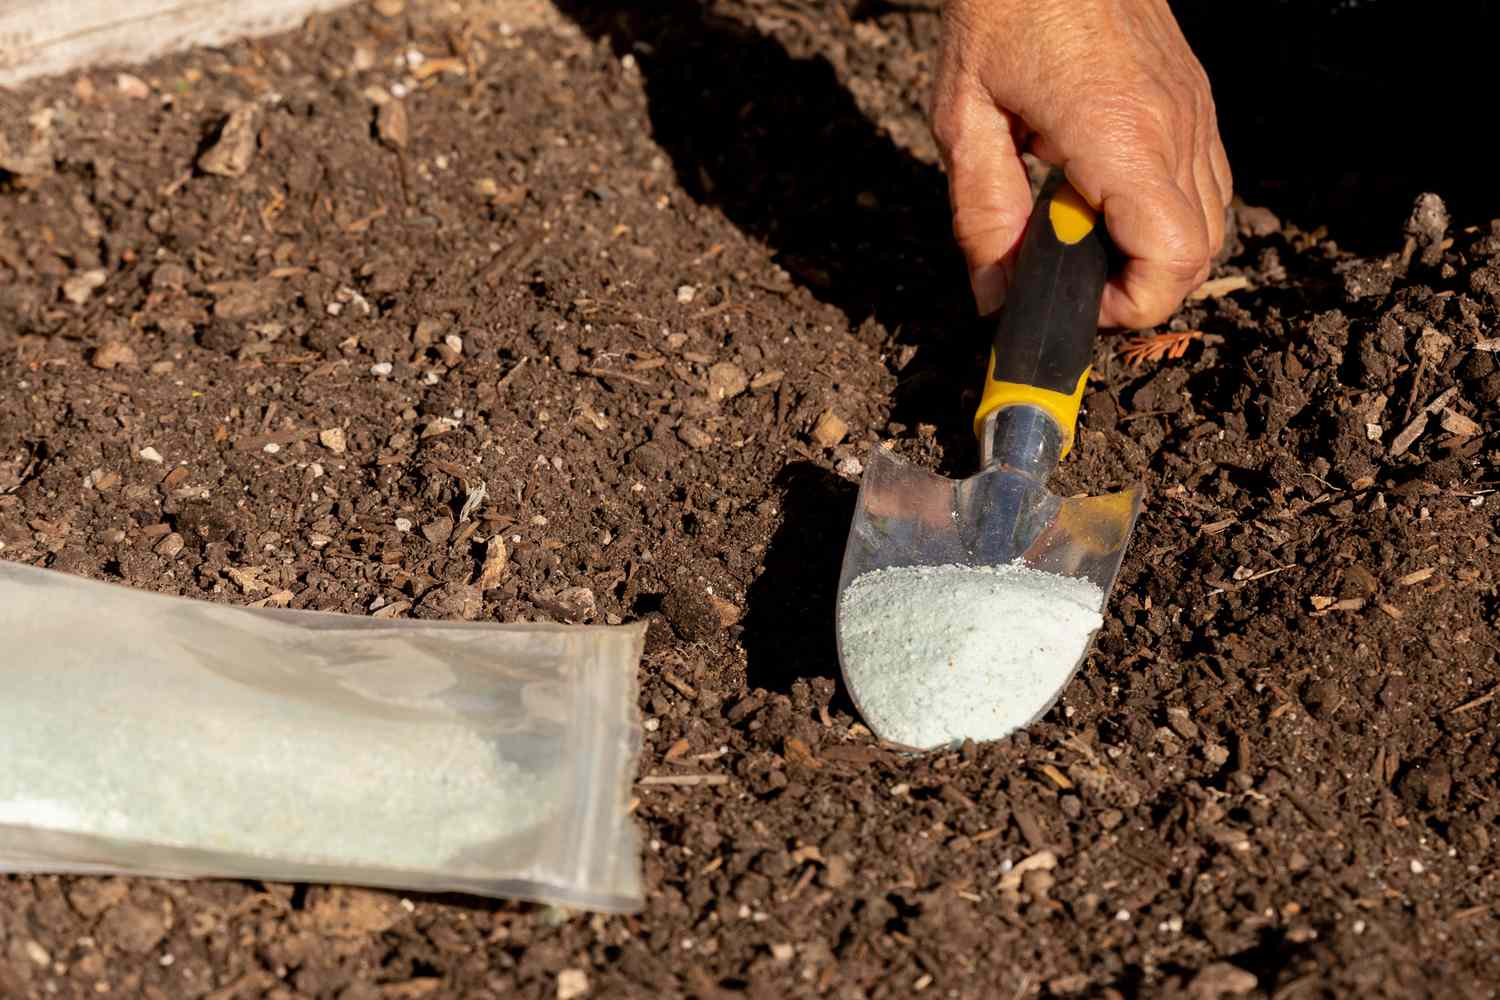
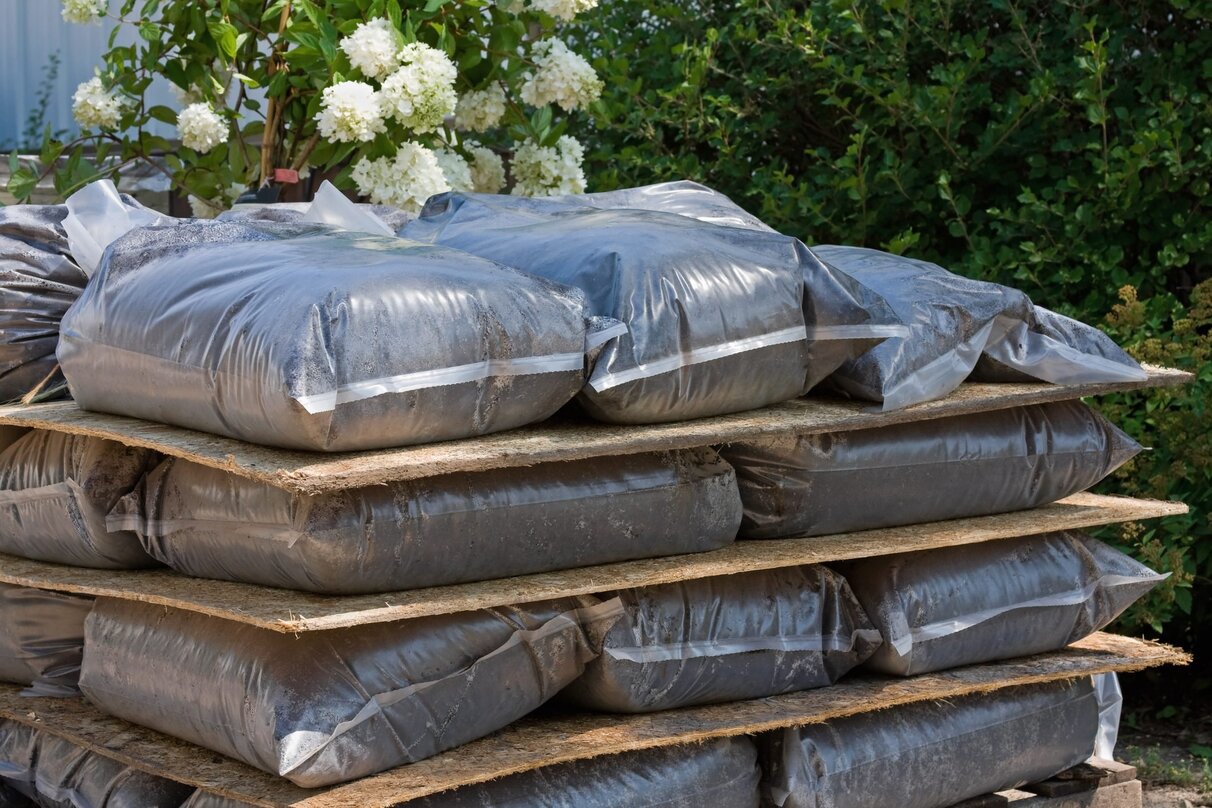
Store unused potting soil in a cool, dry place to prevent it from becoming compacted or developing mold. Seal the bag tightly to keep out moisture and pests.
Read more: How To Make Potting Soil Mix
Step 4: Seal the container tightly to prevent moisture or pests
After transferring the potting soil to a clean and dry container, the next step is to ensure that it is properly sealed. A tight seal is essential for maintaining the quality of the soil during storage by preventing moisture accumulation and deterring pests.
Start by placing the lid securely on the container. If using a container with a snap-on lid, make sure it is firmly locked in place. For resealable plastic bags, squeeze out any excess air before sealing them tightly.
It’s important to create an airtight seal to prevent moisture from entering the container. Moisture can lead to the growth of mold, mildew, and bacteria, which can compromise the quality of the potting soil. Additionally, it is crucial to keep pests such as insects and rodents out of the container, as they can cause damage to the soil and potentially spread diseases.
If the container or bag has any gaps or openings, consider using additional measures to enhance the seal. You can wrap an elastic band around the lid or use packing tape to seal any gaps in the container. For resealable bags, double-bagging can provide an extra layer of protection.
Furthermore, it is advisable to label the container with the date of storage and the type of potting soil inside. This helps you keep track of the age of the soil and easily identify it when needed in the future.
By sealing the container tightly, you are creating a secure and protected environment for your potting soil. This ensures that it remains free from excess moisture and any potential pest infestation, allowing it to retain its quality for extended periods of storage.
Step 5: Store the container in a cool and dry location
Once the potting soil has been properly sealed, it’s crucial to choose a suitable storage location. The ideal environment for storing potting soil is cool and dry, as this helps preserve the soil’s quality and prevents the growth of mold, mildew, and pests.
Find a storage area that has a stable temperature and low humidity. Avoid areas that are exposed to direct sunlight or fluctuating temperatures, as these can affect the quality of the soil. A basement, garage, or storage shed are often good options for storing potting soil, as they tend to provide a cooler and more stable environment.
Ensure that the storage area remains dry and free from moisture. Excess humidity can lead to the growth of mold and mildew, which can negatively impact the quality of the soil. If the storage area is prone to dampness, consider using moisture-absorbing products like silica gel packs or desiccants to help maintain a dry environment.
Place the container of potting soil on a raised surface, such as a shelf or pallet, to protect it from potential water leaks or floor condensation. This helps prevent moisture from seeping into the container and compromising the soil quality.
Keep the container away from any potential sources of water or moisture, including leaky pipes, damp walls, or plumbing fixtures. It’s important to ensure that the storage area remains as dry as possible to prevent any issues with the potting soil.
By storing the container of potting soil in a cool and dry location, you are providing optimal conditions for its preservation. This helps maintain the integrity of the soil, ensuring that it remains nutrient-rich and free from moisture-related problems.
Step 6: Check the potting soil periodically for any signs of mold or pest infestation
While you have taken all the necessary steps to store your potting soil properly, it is still important to periodically check the soil for any signs of mold or pest infestation. Regular inspections help ensure that the soil remains in good condition and can be used effectively when needed.
Every few months, open the container and examine the potting soil for any visible signs of mold, mildew, or fungal growth. Look for patches of discoloration, unusual odors, or web-like structures. If you notice any of these signs, it’s essential to address the issue promptly.
If you come across mold or fungal growth, carefully remove the affected area using a garden trowel or scoop. Make sure to dispose of the contaminated soil properly and avoid spreading the mold spores to the rest of the potting soil. Once removed, allow the remaining soil to air out for a while before resealing the container.
In addition to checking for mold, keep an eye out for signs of pest infestation. Look for any visible pests such as insects, larvae, or eggs. If you spot any pests, it’s crucial to take immediate action to eliminate them. You can use natural insecticides or contact a professional pest control service for guidance on how to deal with the specific pests affecting your potting soil.
During the inspection, also pay attention to the moisture content of the potting soil. If you find the soil to be too dry, consider lightly moistening it using a spray bottle or misting it with water. On the other hand, if the soil feels overly wet, allow it to air out and dry before resealing the container.
By regularly checking the potting soil for signs of mold or pest infestation, you can address any issues before they become severe. This helps ensure that your potting soil remains healthy, free from contaminants, and ready for use in your gardening endeavors.
Conclusion
Properly storing unused potting soil is essential for maintaining its quality and ensuring its effectiveness for future gardening projects. By following the steps outlined in this article, you can ensure that your potting soil remains in optimal condition and ready for use whenever needed.
Clearing the potting soil of any debris or roots, checking its moisture levels, transferring it to a clean and dry container, sealing the container tightly, storing it in a cool and dry location, and periodically checking for mold or pest infestation are all crucial steps in the storage process.
By clearing the soil of debris and roots, you ensure that it is clean and ready for storage. Checking the moisture levels helps maintain the ideal moisture content to prevent mold or dryness issues. Transferring the soil to a suitable container and sealing it tightly help create a controlled environment, protecting it from moisture and pests.
Storing the potting soil in a cool and dry location helps maintain its quality, while regular inspections for mold and pest infestation allow you to address any issues promptly. Taking these steps helps preserve the integrity of the soil and ensures that it remains nutrient-rich and free from contaminants.
Remember to label the container with the storage date and type of potting soil for easy identification. This practice helps you keep track of the age of the soil and maintain an organized gardening supply.
Proper storage not only saves money by reusing unused soil but also reduces waste and promotes efficiency in your gardening endeavors. With well-preserved potting soil on hand, you can enjoy healthy plant growth and successful garden projects in the future.
So, take the time to store your unused potting soil properly and reap the benefits of revitalized and nutrient-rich soil for your gardening endeavors.
Frequently Asked Questions about How To Store Unused Potting Soil
Was this page helpful?
At Storables.com, we guarantee accurate and reliable information. Our content, validated by Expert Board Contributors, is crafted following stringent Editorial Policies. We're committed to providing you with well-researched, expert-backed insights for all your informational needs.

0 thoughts on “How To Store Unused Potting Soil”