Articles
How To Store Used Caulk
Modified: February 22, 2024
Learn the best method to store used caulk in this informative article. Keep your caulk fresh and ready for future projects.
(Many of the links in this article redirect to a specific reviewed product. Your purchase of these products through affiliate links helps to generate commission for Storables.com, at no extra cost. Learn more)
Introduction
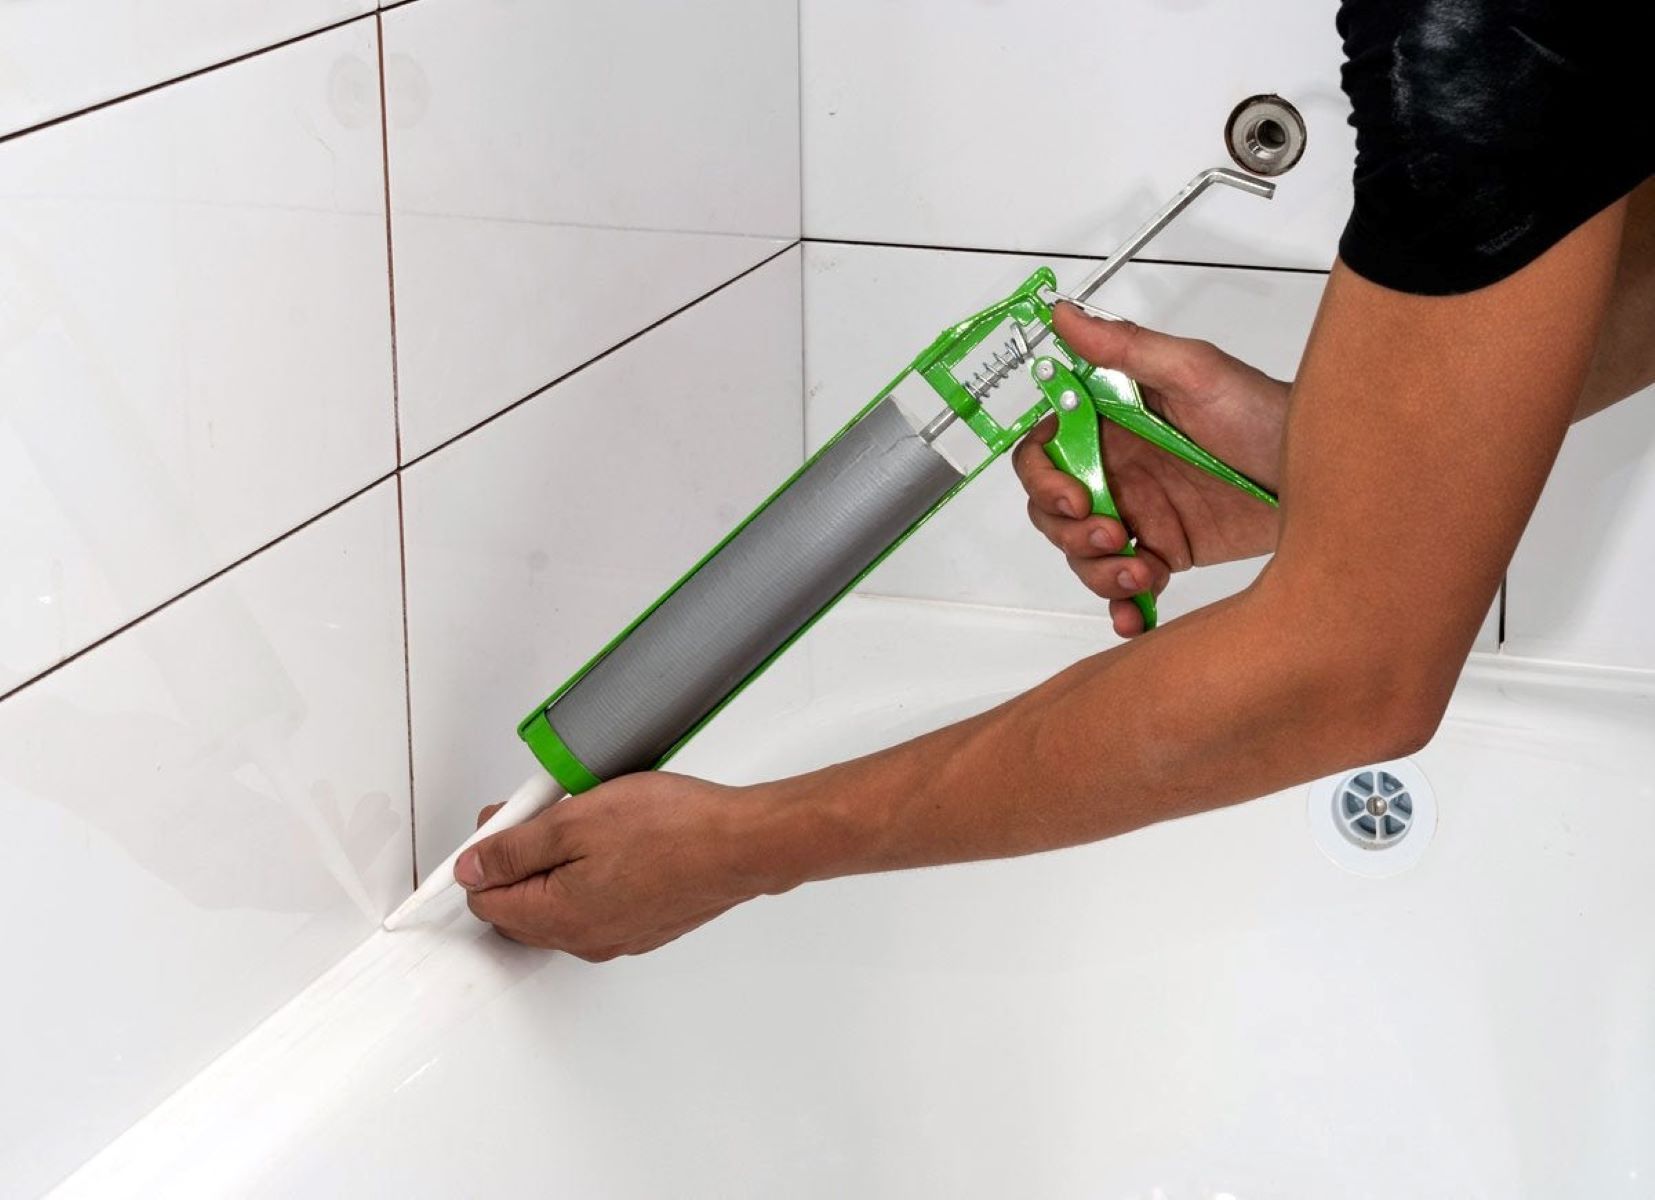
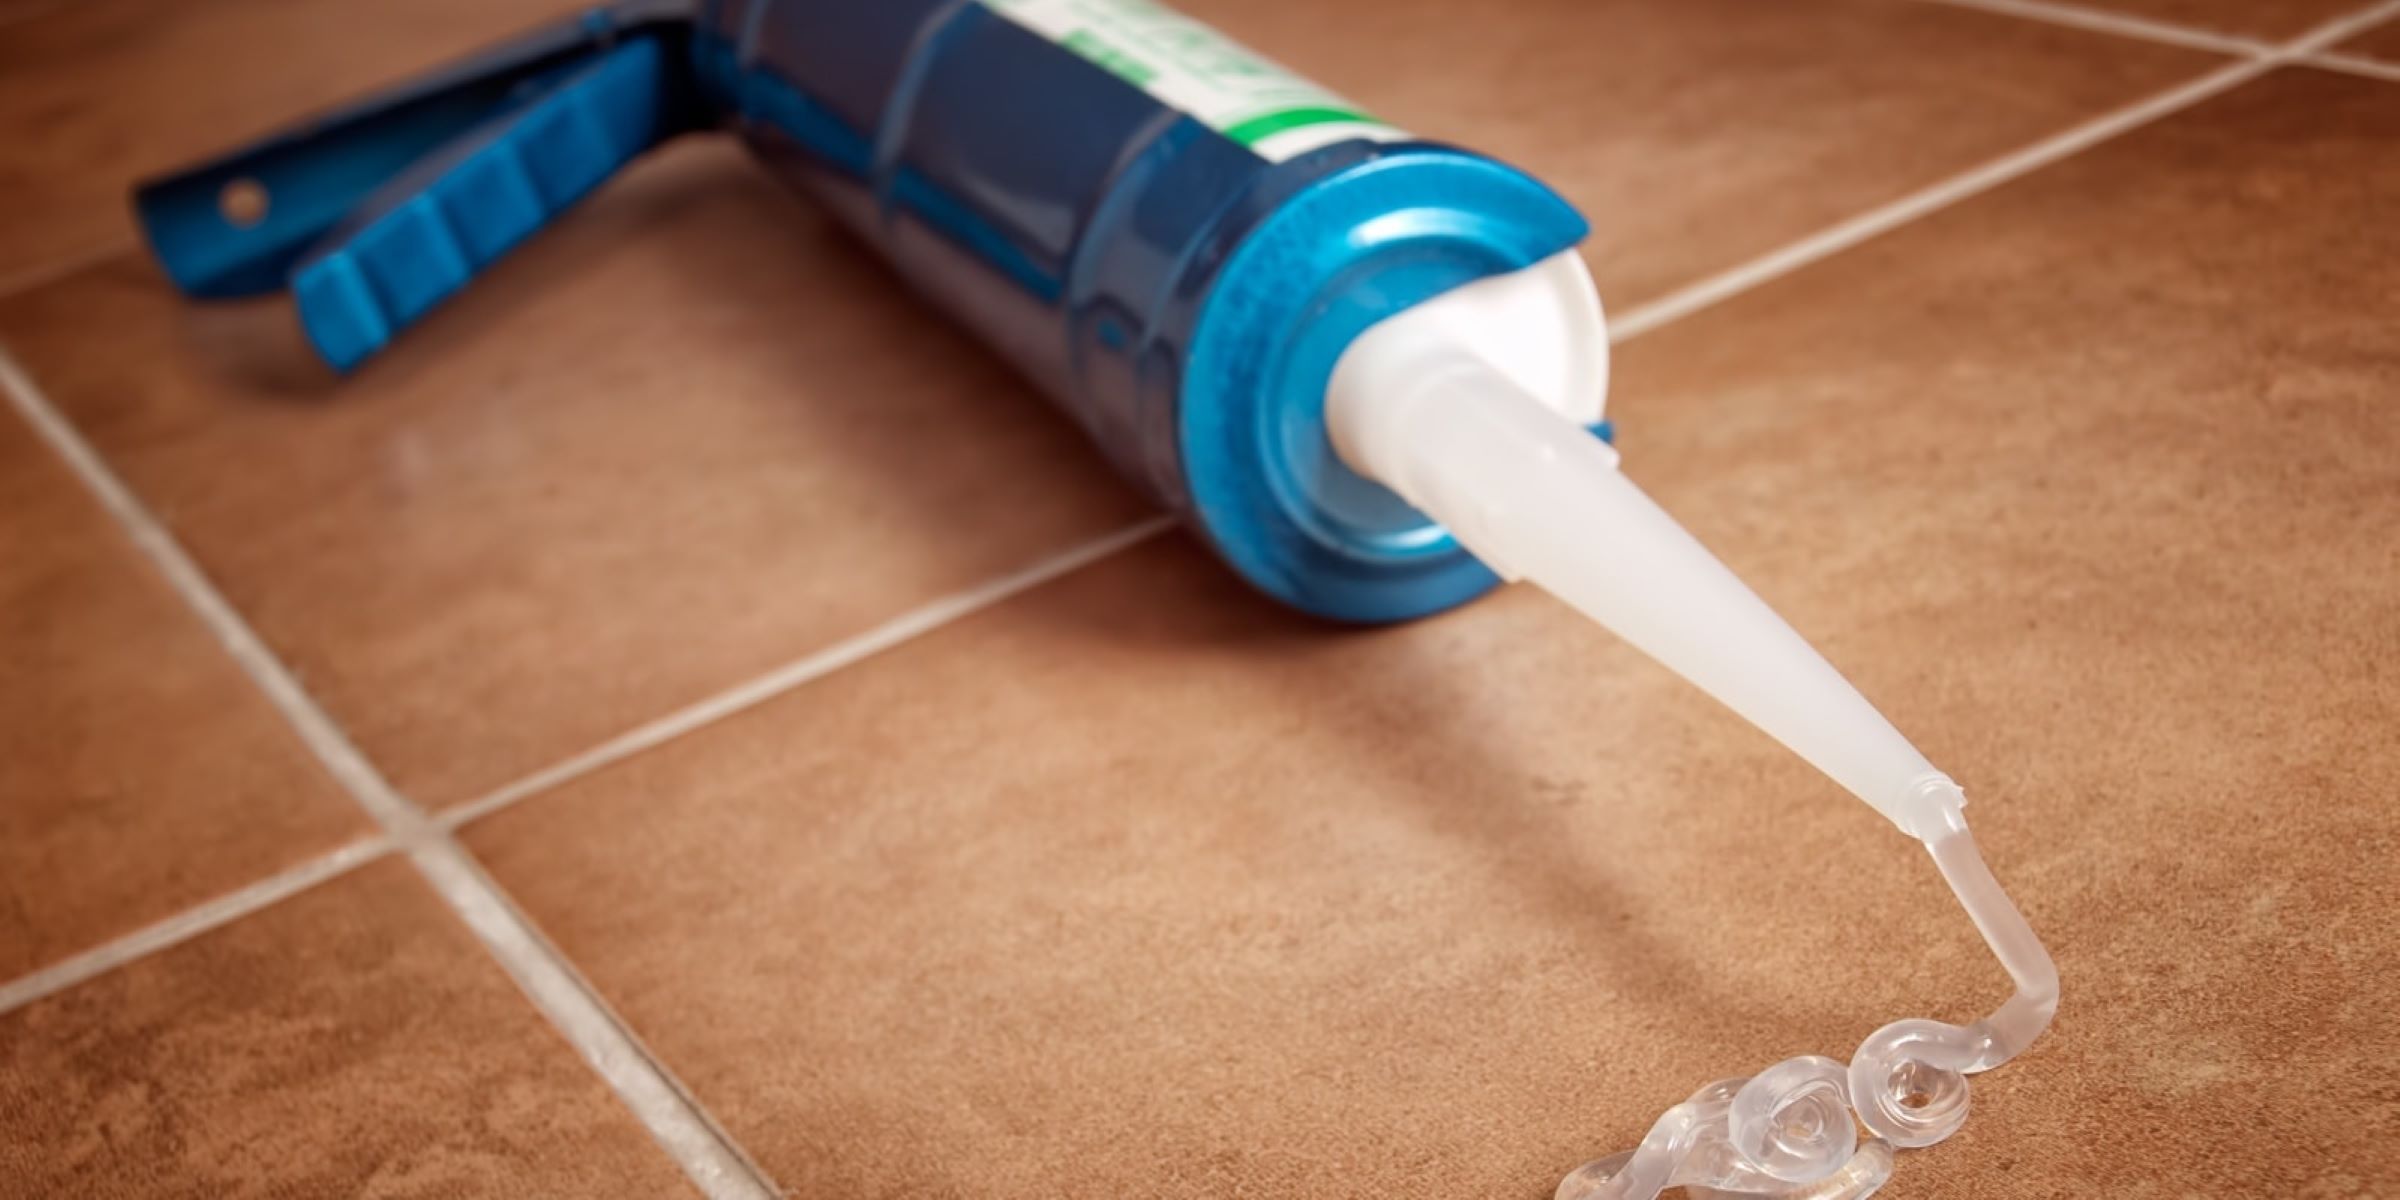
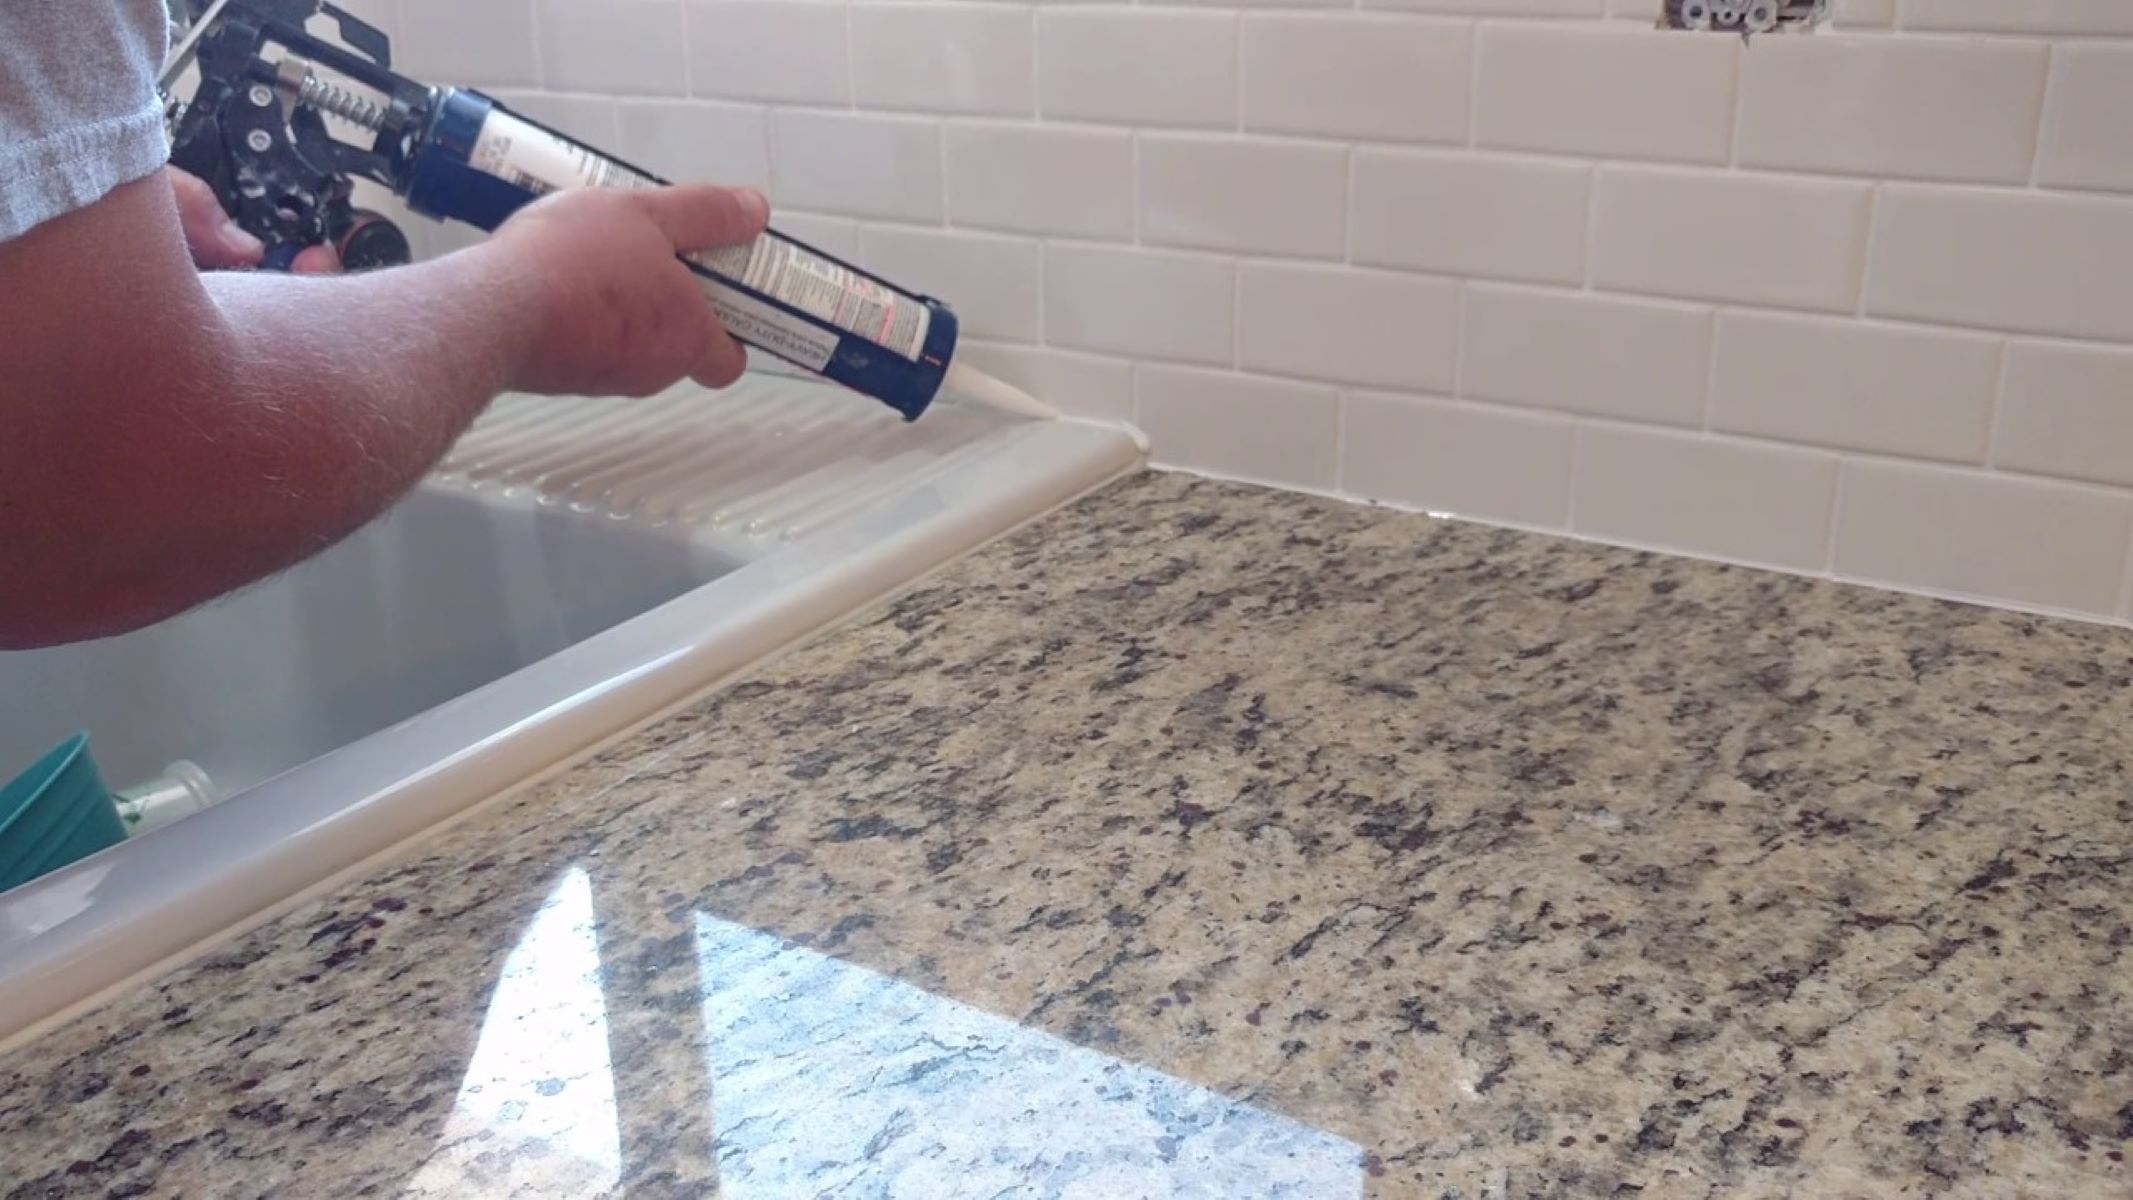
When working on home improvement projects, you may find yourself with partially used tubes of caulk. Whether it’s silicone, acrylic, or any other type of caulk, properly storing it is essential to extend its shelf life and ensure its usability for future projects. While it may be tempting to leave an open tube lying around, exposure to air can cause the caulk to dry out and become unusable. In this article, we will guide you through the process of storing used caulk effectively, so you can save money and minimize waste.
Key Takeaways:
- Properly storing used caulk involves cleaning, removing excess caulk, re-sealing, and storing in a cool, dry place. Labeling the tube ensures easy identification for future projects, saving money and minimizing waste.
- By following the steps outlined, you can ensure that your caulk remains fresh and ready to use for future home improvement projects. Proper storage saves money, minimizes waste, and contributes to a sustainable approach.
Read more: How To Store Used Caulk Tube
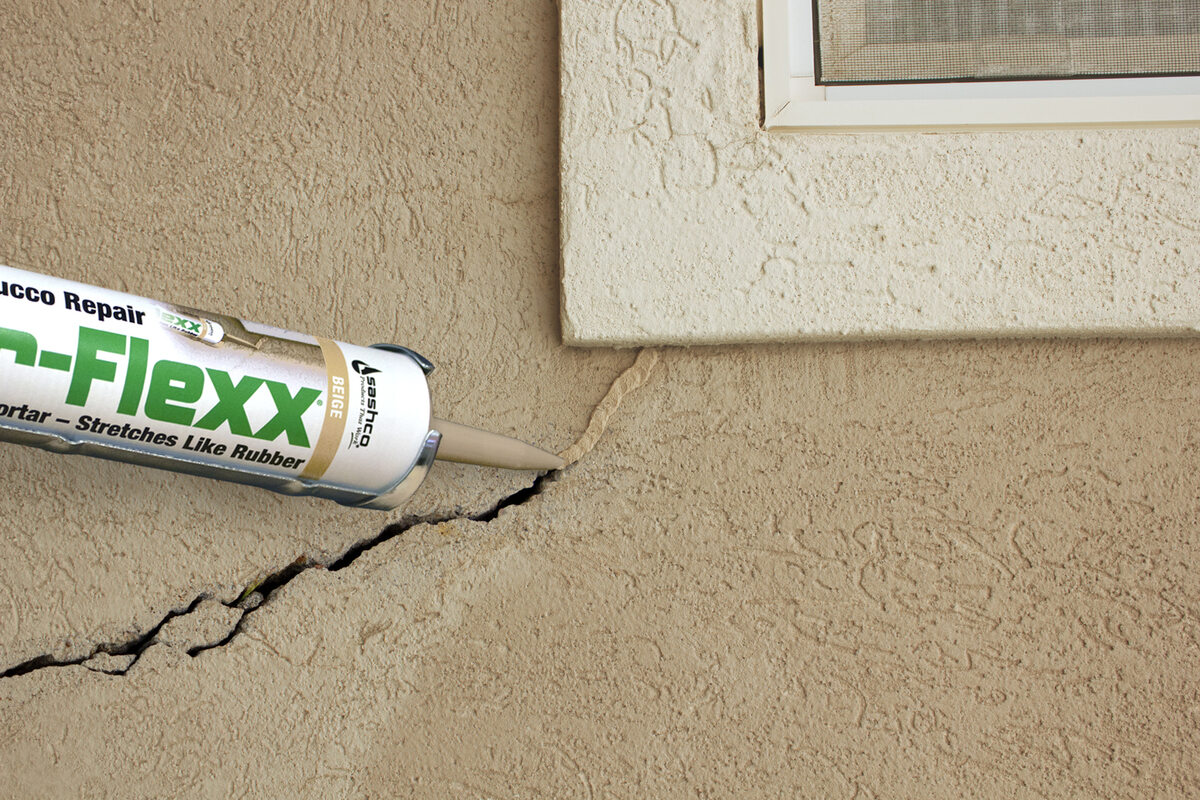
Step 1: Clean the Caulk Tube
Before storing used caulk, it’s important to clean the tube to remove any excess caulk or debris. This will help prevent clogs and ensure that the remaining caulk remains fresh and ready to use in the future. Here’s how you can clean a caulk tube:
- Using a rag or paper towel, wipe the outside of the caulk tube to remove any dirt or residue.
- If there is caulk on the nozzle or tip of the tube, use a utility knife or a caulk removal tool to carefully scrape it off. Be sure to exercise caution when handling sharp tools.
- If the caulk has hardened inside the tube, you can try cutting off the hardened portion using a utility knife. However, it’s important to note that this may not always be possible, and in some cases, you may need to discard the tube if the caulk is no longer usable.
- Once the tube is clean, run warm water through it to flush out any remaining caulk particles. Hold the tube under the faucet and allow the water to flow through the tube for a few seconds.
- After rinsing, use a clean rag or paper towel to dry the inside and outside of the tube thoroughly. Moisture can lead to mold or degradation of the caulk, so it’s important to ensure that the tube is completely dry before moving on to the next step.
By following these steps to clean the caulk tube, you can remove any impurities and prepare it for proper storage. This will help maintain the quality and usability of the caulk for future projects.
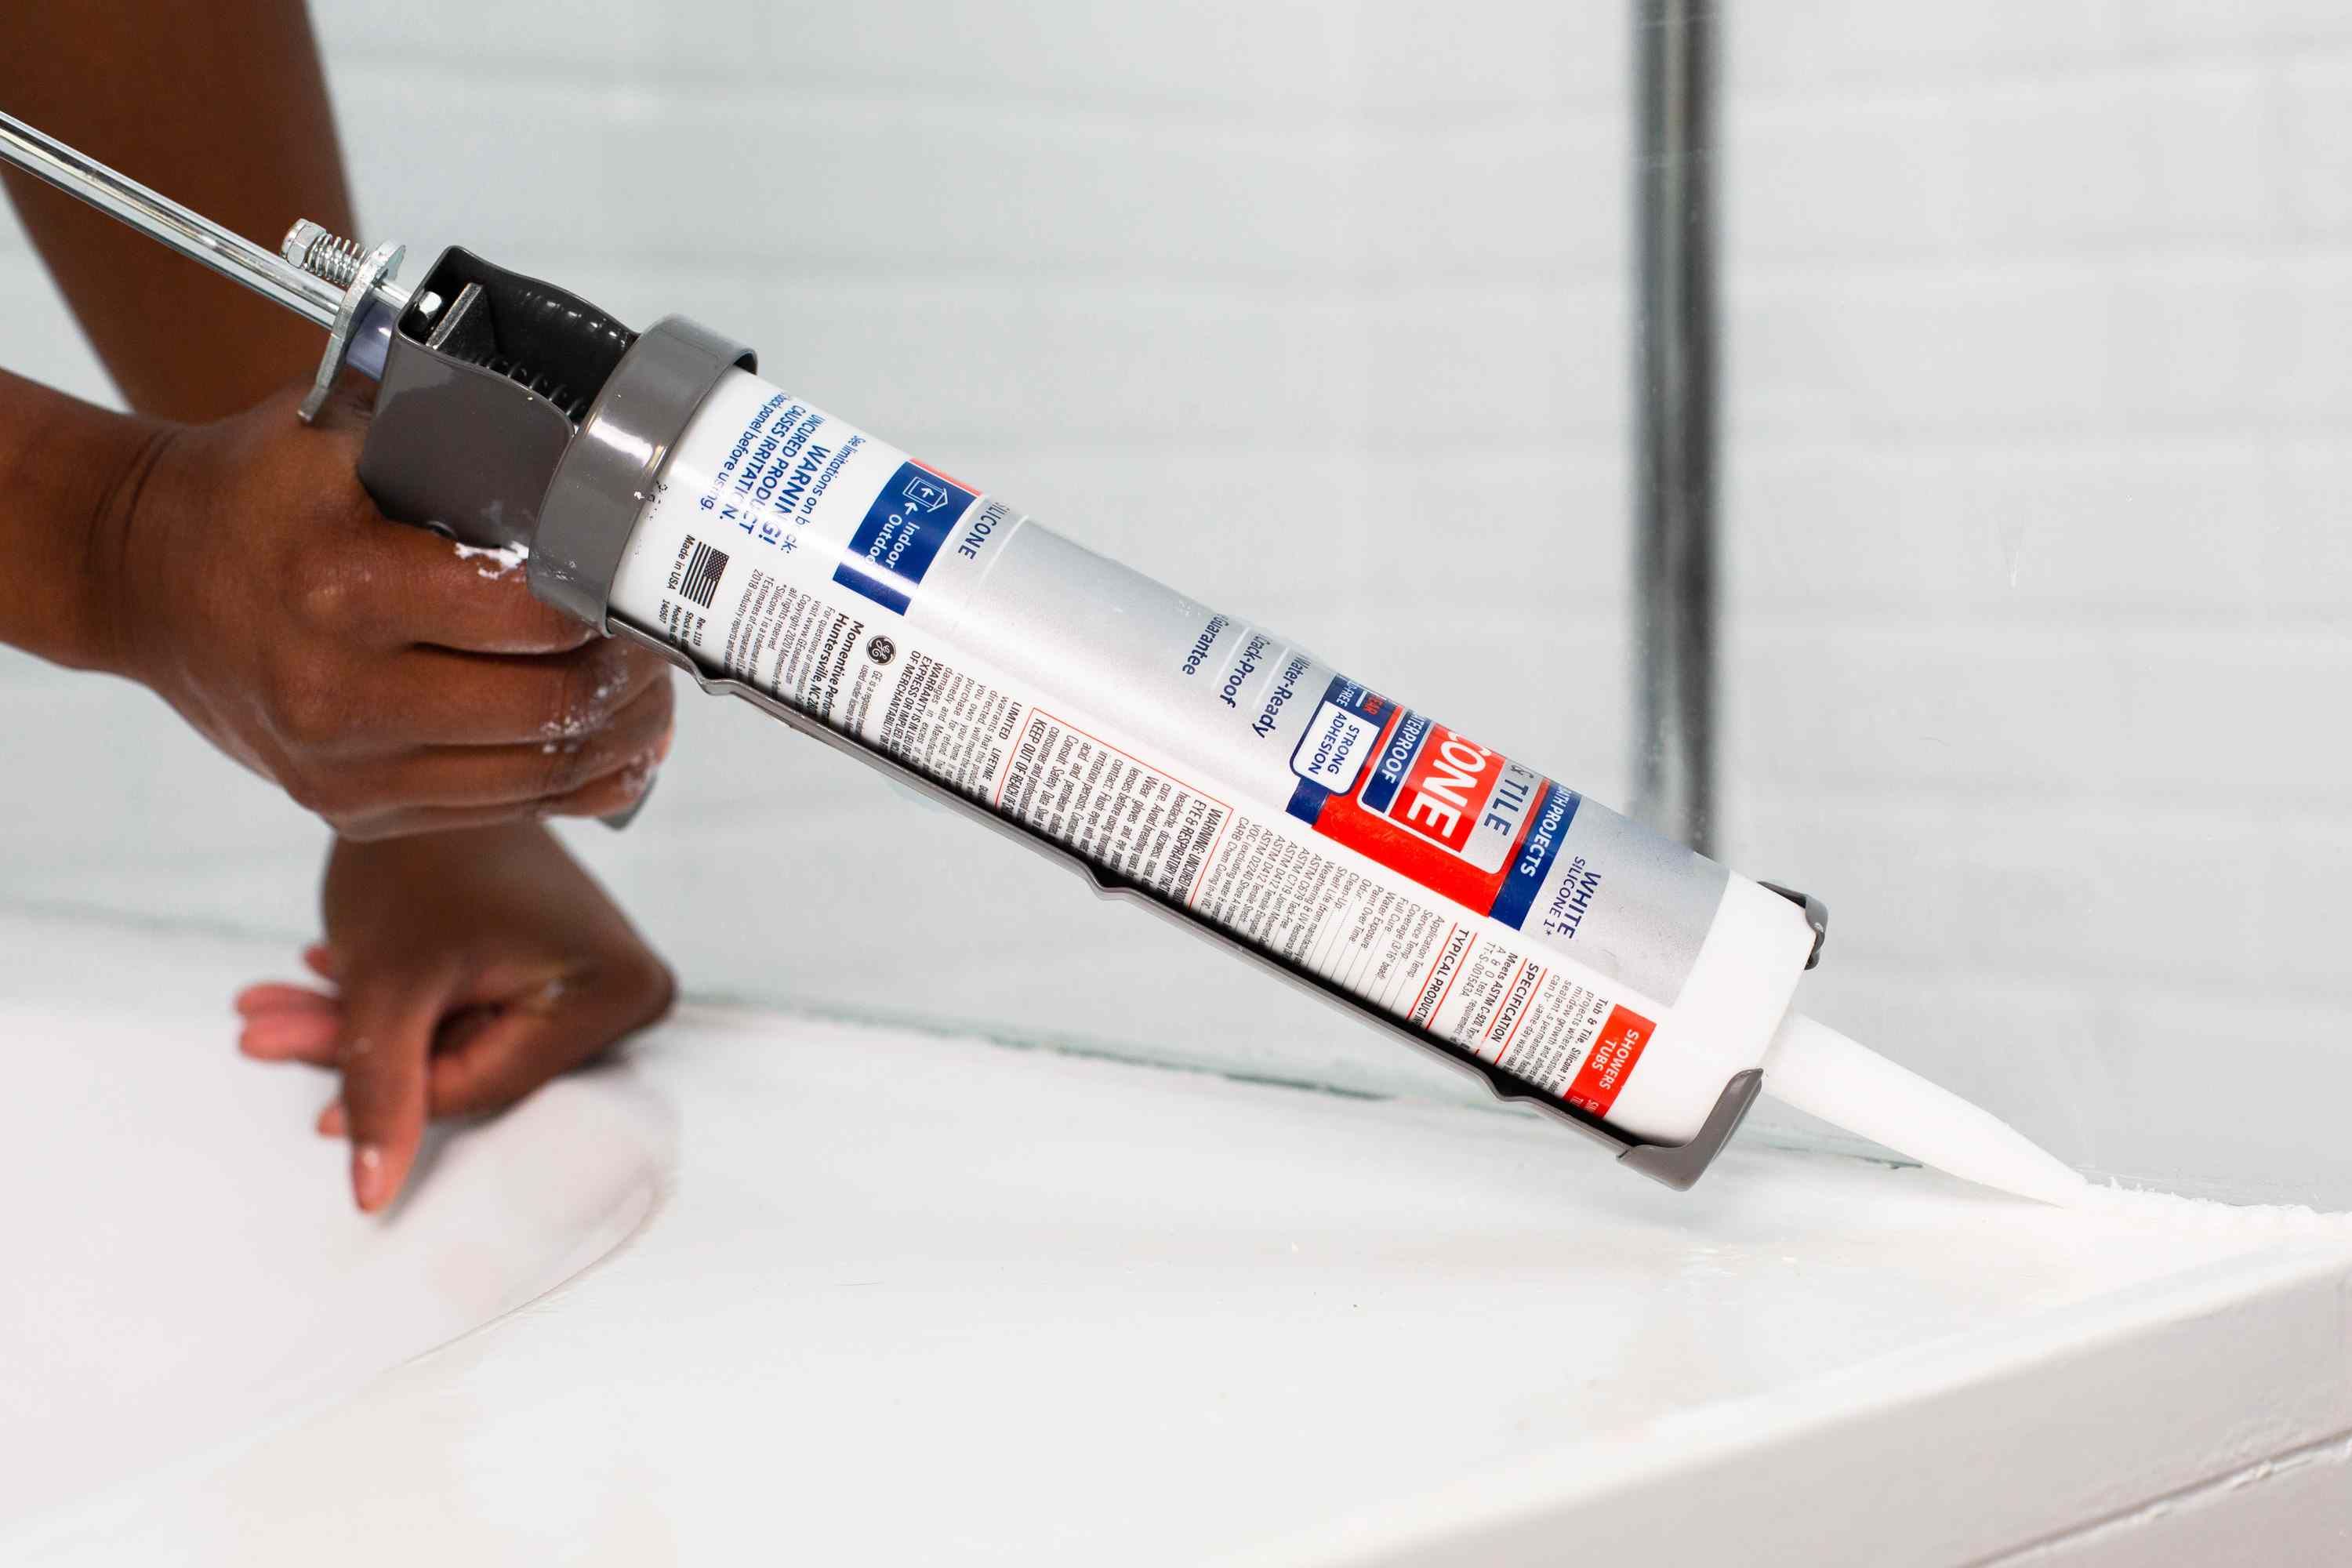
Step 2: Remove Excess Caulk
After cleaning the caulk tube, the next step is to remove any excess caulk that may be present. This will not only make storage more convenient but also prevent the caulk from drying out or becoming hardened within the tube. Here’s how you can effectively remove excess caulk:
- Inspect the caulk tube and identify any areas where excess caulk may be present. This can include the nozzle, the opening of the tube, or any residue inside the tube.
- Use a caulk removal tool or a utility knife to carefully scrape away the excess caulk. Start from the nozzle and work your way down the tube, removing any build-up of caulk. Be cautious not to damage the tube or nozzle while removing the caulk.
- If there is hardened caulk inside the tube, you can try squeezing the tube to push out any remaining excess caulk. This can help prevent the caulk from drying out and clogging the tube.
- Once you have removed the excess caulk, wipe the tube clean with a rag or paper towel to ensure there is no residue left behind.
By removing excess caulk, you can prevent it from obstructing the tube or causing the remaining caulk to dry out. This step is crucial in maintaining the quality and usability of the caulk for future projects. It will also make the storage process easier and more effective.
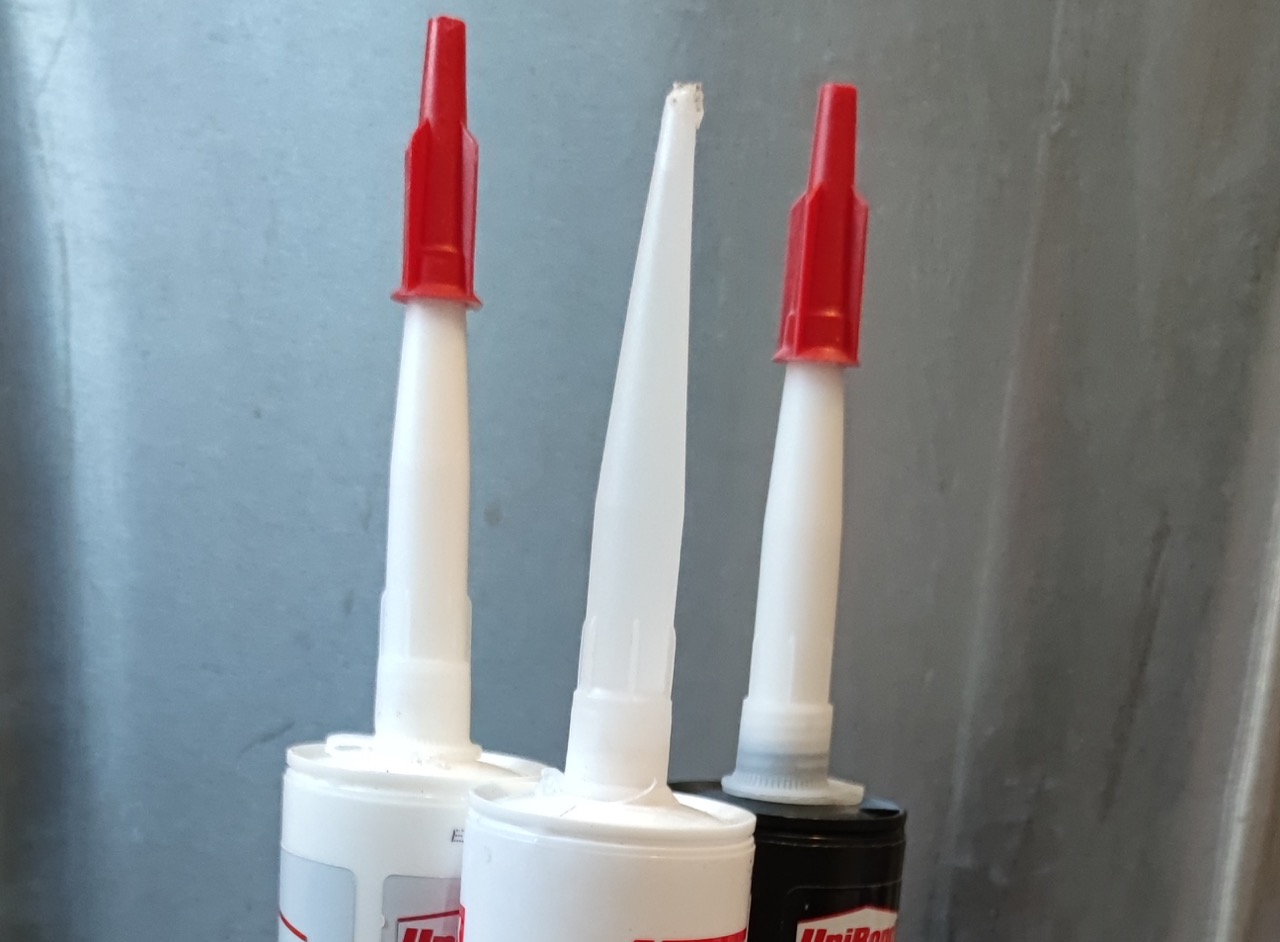
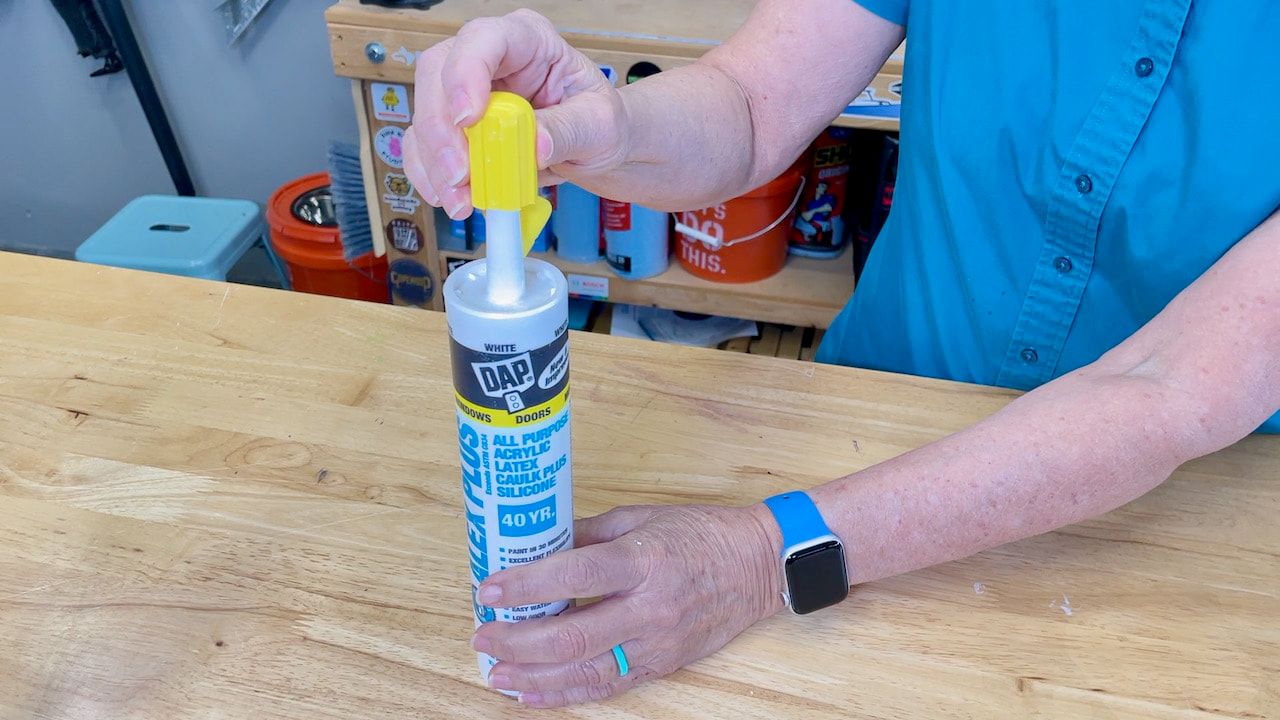
Step 3: Re-seal the Caulk Tube
Once you have cleaned the caulk tube and removed any excess caulk, it’s important to re-seal the tube properly. This will help prevent air and moisture from entering the tube, ensuring the longevity and usability of the caulk. Follow these steps to effectively re-seal the caulk tube:
- Ensure the opening of the caulk tube is clean and dry before re-sealing. Use a rag or paper towel to wipe away any moisture or debris.
- Replace the cap or nozzle onto the tube. Make sure it fits securely and tightly to provide a proper seal.
- If the tube came with a protective seal or cover, reapply it. This will provide an extra layer of protection and help maintain the freshness of the caulk.
- If the original cap or nozzle is damaged or lost, you can use alternative methods to seal the tube. One option is to place a small piece of plastic wrap over the opening and secure it with a rubber band or tape. Another option is to insert a nail or screw into the opening of the tube to create a temporary seal. Remember to remove the nail or screw before using the caulk in the future.
Properly re-sealing the caulk tube is essential to prevent air and moisture from affecting the quality of the caulk. By taking the time to seal the tube correctly, you can ensure that the caulk remains fresh and ready to use for future projects.
After using caulk, store the remaining caulk in an airtight container to prevent it from drying out. Make sure to label the container with the type and color of caulk for future use.
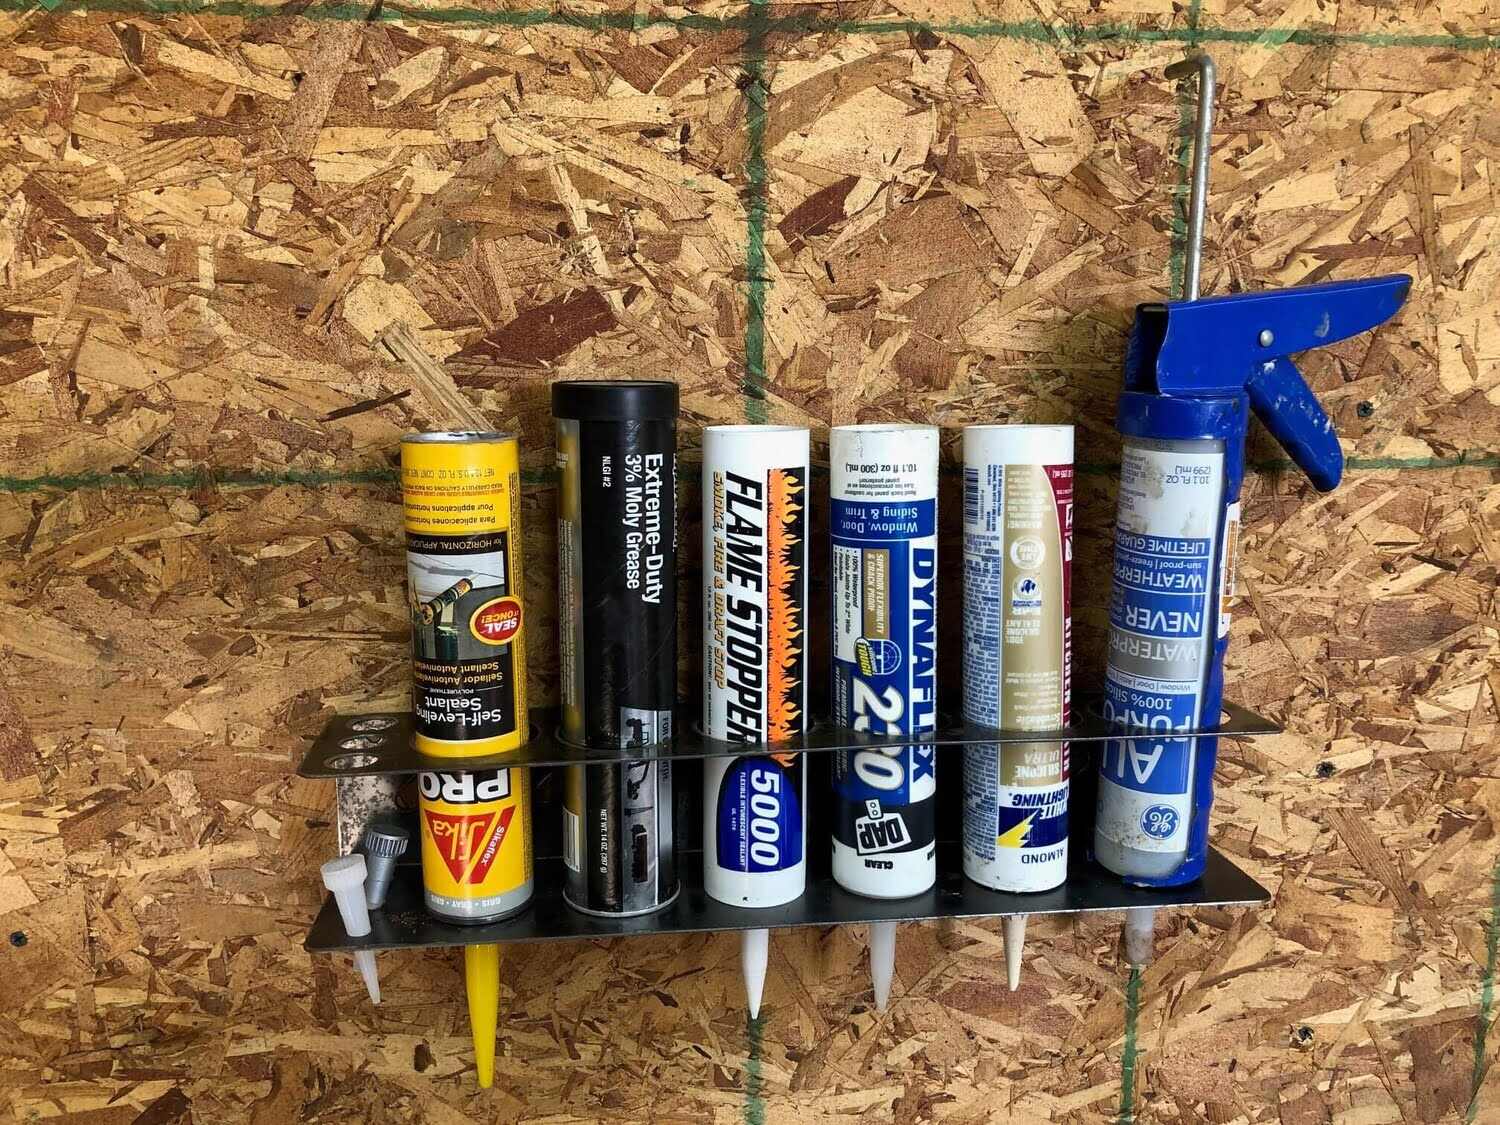
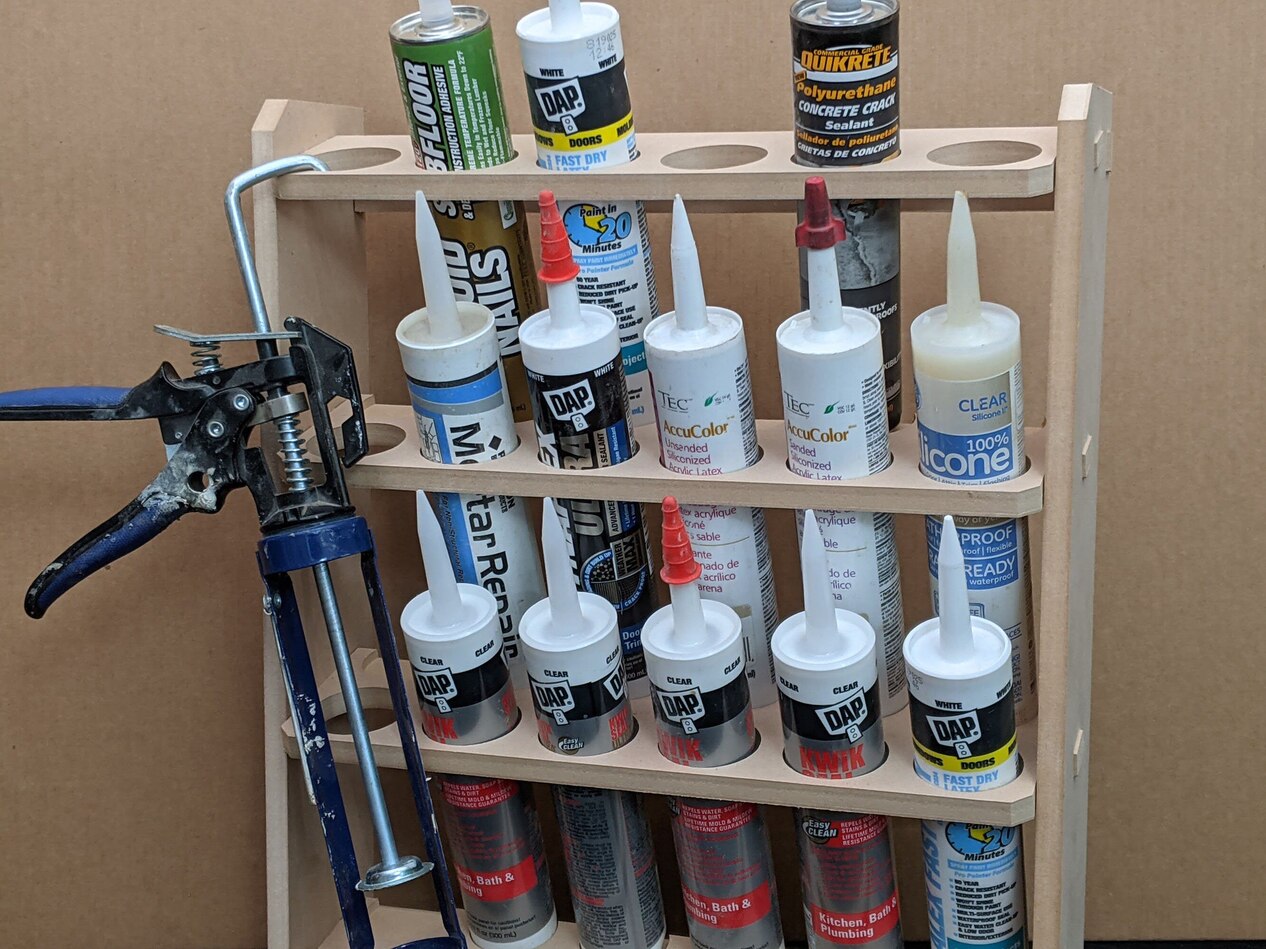
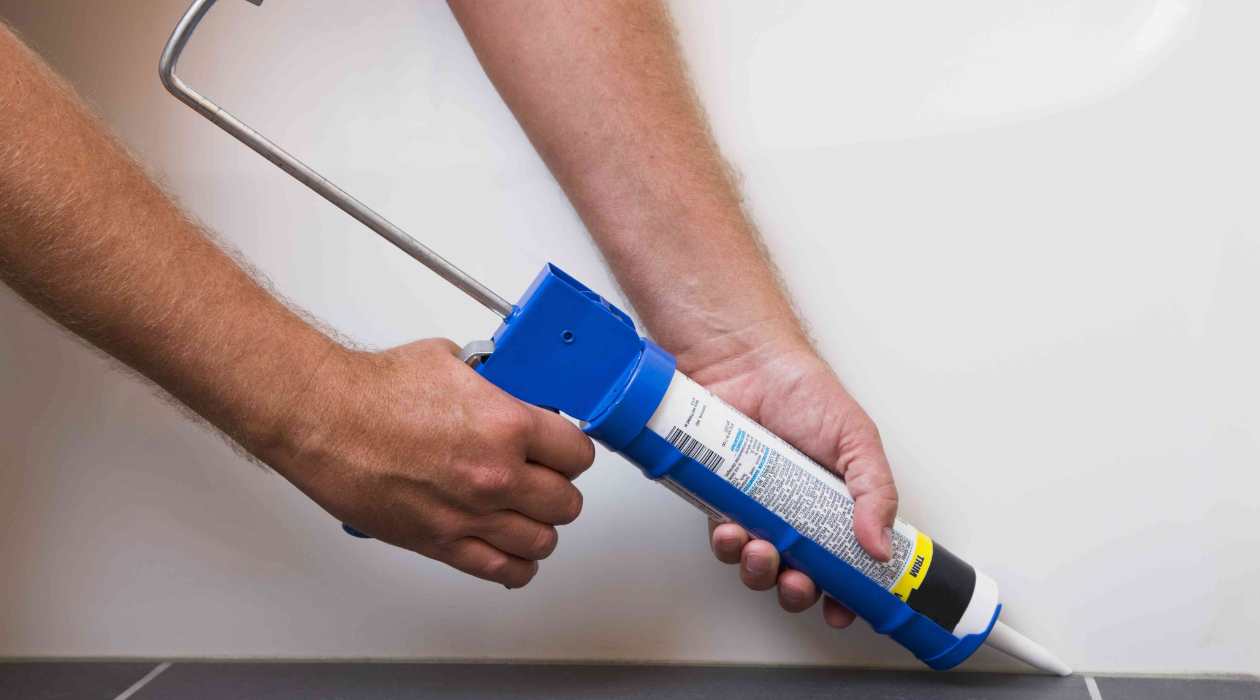
Step 4: Store in a Cool, Dry Place
Choosing the right storage location for your caulk tube is crucial to preserving its quality and prolonging its shelf life. Exposing caulk to extreme temperatures or humidity can cause it to deteriorate and become unusable. Follow these guidelines to ensure proper storage:
- Find a cool and dry place to store the caulk tube. Ideally, the temperature should be between 50°F (10°C) and 70°F (21°C). Avoid storing it in areas where temperatures fluctuate drastically, such as attics or garages.
- Avoid exposing the caulk tube to direct sunlight. UV rays can degrade the caulk and affect its performance. Store it in a shaded area or use a box or container to protect it from light exposure.
- Ensure that the storage area is dry to prevent moisture from entering the tube. Moisture can cause mold growth or compromise the quality of the caulk.
- Keep the caulk tube away from sources of heat, such as radiators or heaters. High temperatures can cause the caulk to dry out or become hardened.
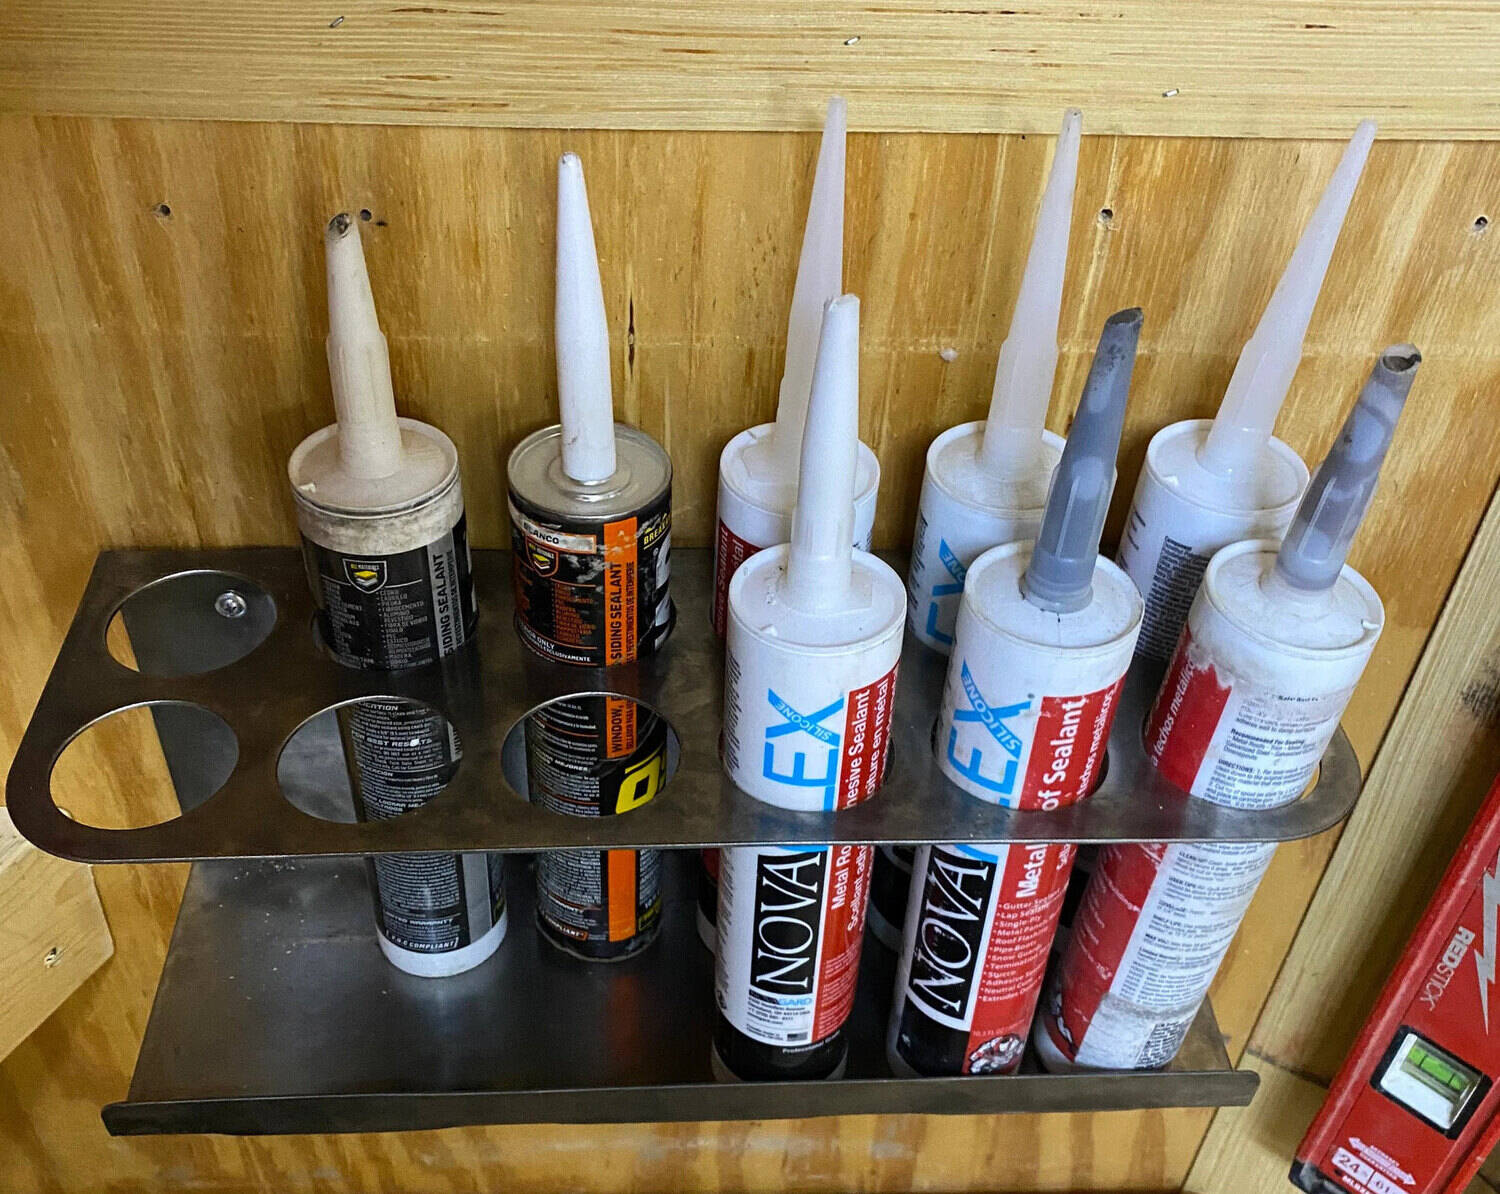
- If possible, store the caulk tube in an upright position. This will help prevent any potential leakage and maintain the proper consistency of the caulk.
By storing the caulk tube in a cool and dry place, you can preserve its quality and ensure its usability for future projects. Following these guidelines will help maintain the effectiveness and longevity of the caulk, saving you time and money in the long run.
Read more: How To Store Caulk After Use
Step 5: Label the Caulk Tube
Labeling the caulk tube is an important step in organizing your home improvement supplies and ensuring easy identification in the future. By clearly indicating the type and color of caulk, as well as the date of purchase or first use, you can avoid confusion and make informed decisions when selecting caulk for your next project. Here’s how you can effectively label the caulk tube:
- Use a permanent marker or label maker to write the necessary information on the tube. Include details such as the brand, type (e.g., silicone, acrylic), color, and any specific features or properties.
- Indicate the date of purchase or first use. This will help you keep track of the caulk’s shelf life and ensure that you use the oldest caulk first, minimizing wastage.
- If you have multiple tubes of the same type or color, consider numbering or lettering them to easily differentiate between them.
- Make the label visible and easy to read. Place it on the side or cap of the tube where it is likely to remain visible even when stored with other supplies.
Labeling the caulk tube is a simple yet crucial step that can save you time and prevent confusion during future projects. By clearly identifying the type, color, and age of the caulk, you can ensure that you select the right tube for the job and avoid using expired or compromised caulk. Take a few moments to label each tube, and you’ll appreciate the ease and convenience it brings when it’s time to use them.
Conclusion
Properly storing used caulk is essential to maintain its quality, usability, and shelf life. By following the steps outlined in this article, you can ensure that your caulk remains fresh and ready to use for future home improvement projects. Cleaning the caulk tube, removing excess caulk, and re-sealing the tube are crucial steps in preparing it for storage. Additionally, storing the caulk in a cool, dry place away from direct sunlight and extreme temperatures will help preserve its effectiveness. Lastly, labeling the caulk tube with important information such as type, color, and date of purchase or first use will aid in easy identification and selection for future projects.
By implementing these practices, you can save money by effectively storing and reusing partially used caulk instead of constantly buying new tubes. Furthermore, you’ll minimize waste and contribute to a more sustainable approach to home improvement projects. So, take the time to properly store your used caulk and you’ll have reliable caulk ready to go whenever you need it.
Frequently Asked Questions about How To Store Used Caulk
Was this page helpful?
At Storables.com, we guarantee accurate and reliable information. Our content, validated by Expert Board Contributors, is crafted following stringent Editorial Policies. We're committed to providing you with well-researched, expert-backed insights for all your informational needs.

0 thoughts on “How To Store Used Caulk”