Home>Home Appliances>Bathroom Appliances>How To Clean Your Electric Toothbrush
Bathroom Appliances
How To Clean Your Electric Toothbrush
Modified: August 16, 2024
Learn the best techniques for cleaning your electric toothbrush to maintain hygiene and prolong its lifespan. Discover expert tips for maintaining bathroom appliances.
(Many of the links in this article redirect to a specific reviewed product. Your purchase of these products through affiliate links helps to generate commission for Storables.com, at no extra cost. Learn more)
Introduction
Welcome to the world of modern dental hygiene, where electric toothbrushes have become a staple in many households. These high-tech oral care devices offer superior plaque removal and a more thorough cleaning compared to traditional manual toothbrushes. However, like any tool, electric toothbrushes require regular maintenance to ensure optimal performance and hygiene. In this comprehensive guide, we will walk you through the step-by-step process of cleaning your electric toothbrush, helping you maintain its effectiveness and prolong its lifespan.
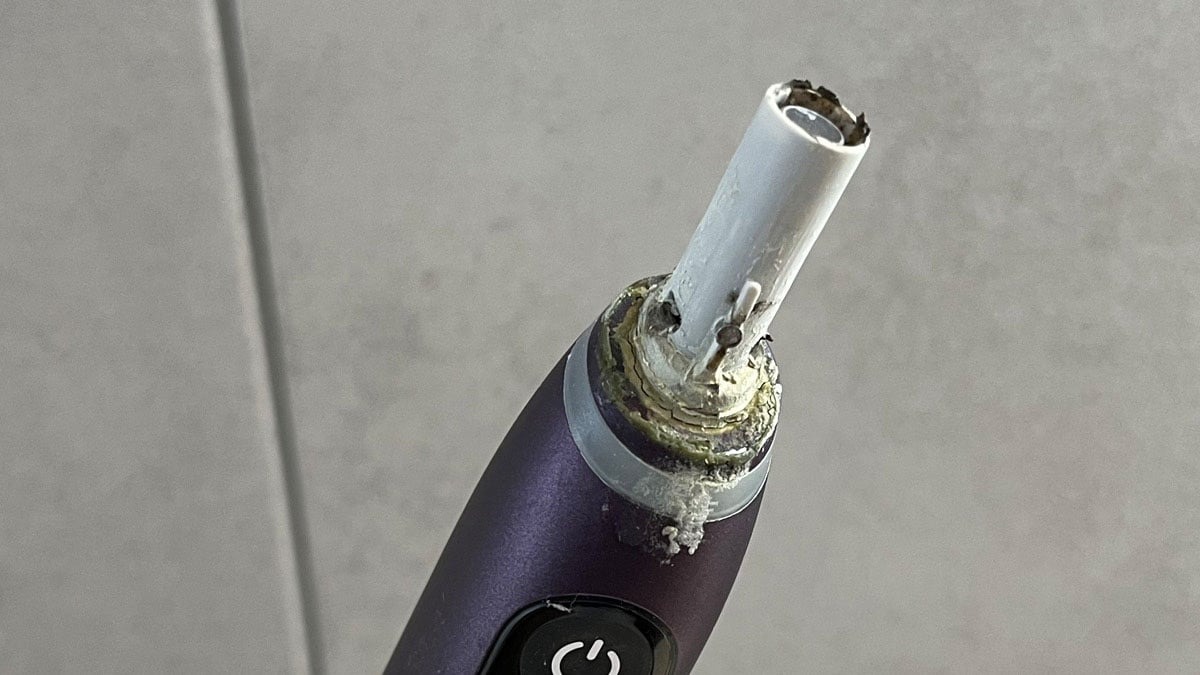
Regular cleaning of your electric toothbrush is essential for preventing the buildup of bacteria, toothpaste residue, and other debris that can accumulate over time. By following these simple yet effective cleaning steps, you can keep your electric toothbrush in top condition, promoting not only oral health but also overall well-being. So, let’s dive in and discover the best practices for keeping your electric toothbrush clean and functioning at its best!
Key Takeaways:
- Keep your electric toothbrush clean by following these simple steps to prevent bacteria buildup and ensure a longer lifespan for your oral care device.
- Regular cleaning of your electric toothbrush is essential for maintaining optimal oral hygiene and promoting overall well-being.
Read more: How To Clean Your Oral-B Electric Toothbrush
Step 1: Gather Your Supplies
Before embarking on the cleaning process, it’s crucial to assemble the necessary supplies. Here’s what you’ll need:
- Mild Liquid Soap or Dish Detergent: Opt for a gentle, non-abrasive soap to avoid damaging the delicate components of your electric toothbrush.
- Warm Water: Ensure that the water is comfortably warm, as hot water can cause damage to the bristles and other parts of the toothbrush.
- Toothbrush Head: If your electric toothbrush has a detachable head, you’ll need to remove it for separate cleaning.
- Clean Cloth or Towel: Use a soft, lint-free cloth or towel for wiping and drying the toothbrush components.
- Cup or Container: A clean cup or container to hold the soapy water for soaking the brush head.
- Optional: Antiseptic Mouthwash: While not essential, using antiseptic mouthwash in the cleaning process can help disinfect the toothbrush.
By ensuring that you have all these items within reach, you can streamline the cleaning process and ensure that your electric toothbrush receives the thorough care it deserves. Now that you’ve gathered your supplies, it’s time to move on to the next step and start cleaning the brush head.
Step 2: Clean the Brush Head
The brush head of your electric toothbrush is the primary component responsible for removing plaque and debris from your teeth. Therefore, it’s essential to keep it clean to maintain optimal oral hygiene. Follow these steps to effectively clean the brush head:
- Remove the Brush Head: If your electric toothbrush has a detachable head, carefully remove it from the handle.
- Soak in Soapy Water: Fill a cup or container with warm water and add a small amount of mild liquid soap or dish detergent. Submerge the brush head in the soapy water and let it soak for a few minutes to loosen any trapped debris.
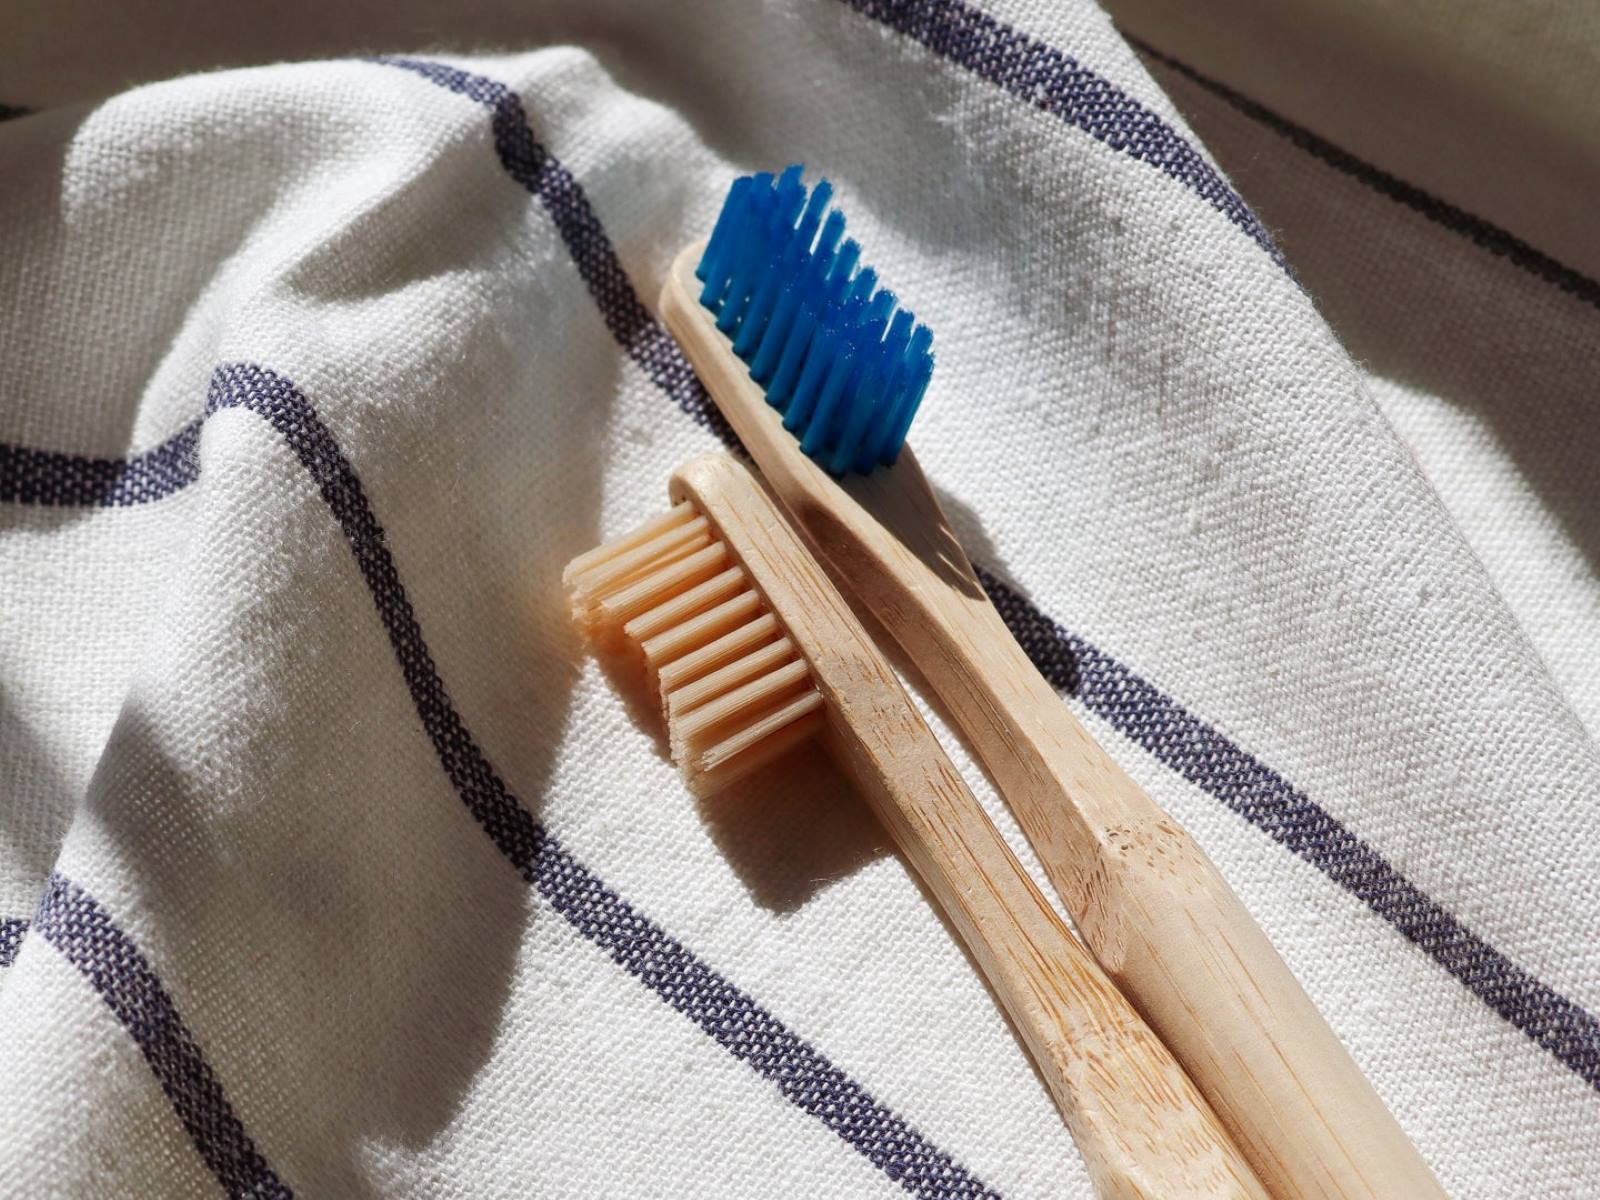
- Gently Scrub the Bristles: After soaking, use your fingers or a soft-bristled toothbrush to gently scrub the bristles of the brush head. Be careful not to apply excessive pressure, as this can cause damage to the bristles.
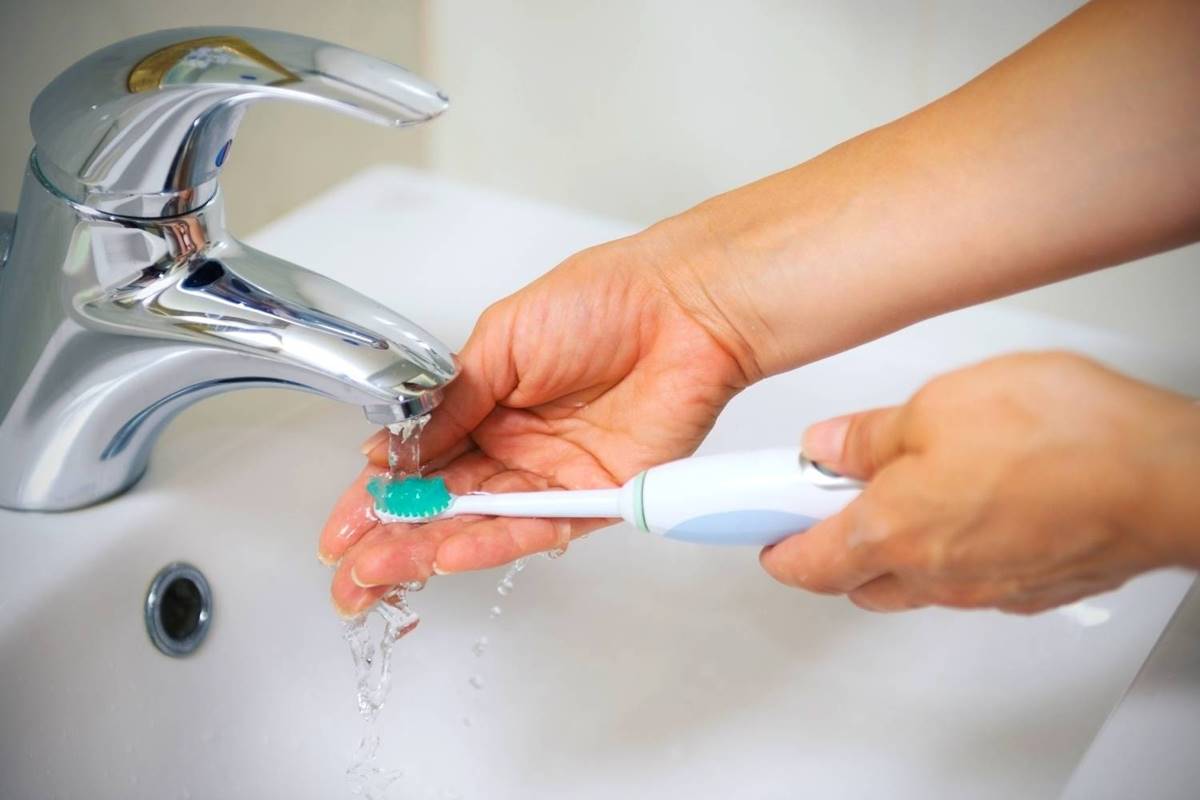
- Rinse Thoroughly: Once the bristles have been cleaned, rinse the brush head under running water to remove any soap residue and dislodged debris.
- Optional: Soak in Antiseptic Mouthwash: For an extra level of cleanliness, you can opt to soak the brush head in antiseptic mouthwash for a few minutes to help disinfect it.
- Dry Completely: Use a clean cloth or towel to pat the brush head dry, ensuring that it is completely free of moisture before reattaching it to the handle.
By following these steps, you can effectively clean the brush head of your electric toothbrush, ensuring that it remains free from bacteria and debris. With the brush head taken care of, it’s time to move on to the next step and address the cleaning of the handle.
Step 3: Clean the Handle
While the brush head does the heavy lifting when it comes to oral hygiene, the handle of your electric toothbrush also requires regular cleaning to maintain overall cleanliness and functionality. Here’s how to effectively clean the handle:
- Wipe the Exterior: Use a damp cloth or sponge to wipe the exterior of the handle, removing any toothpaste splatters, water spots, or other surface debris.
- Sanitize with Soapy Water: Prepare a mixture of warm water and mild liquid soap or dish detergent. Dampen a cloth or sponge with the soapy water and gently wipe the entire handle, ensuring thorough coverage.
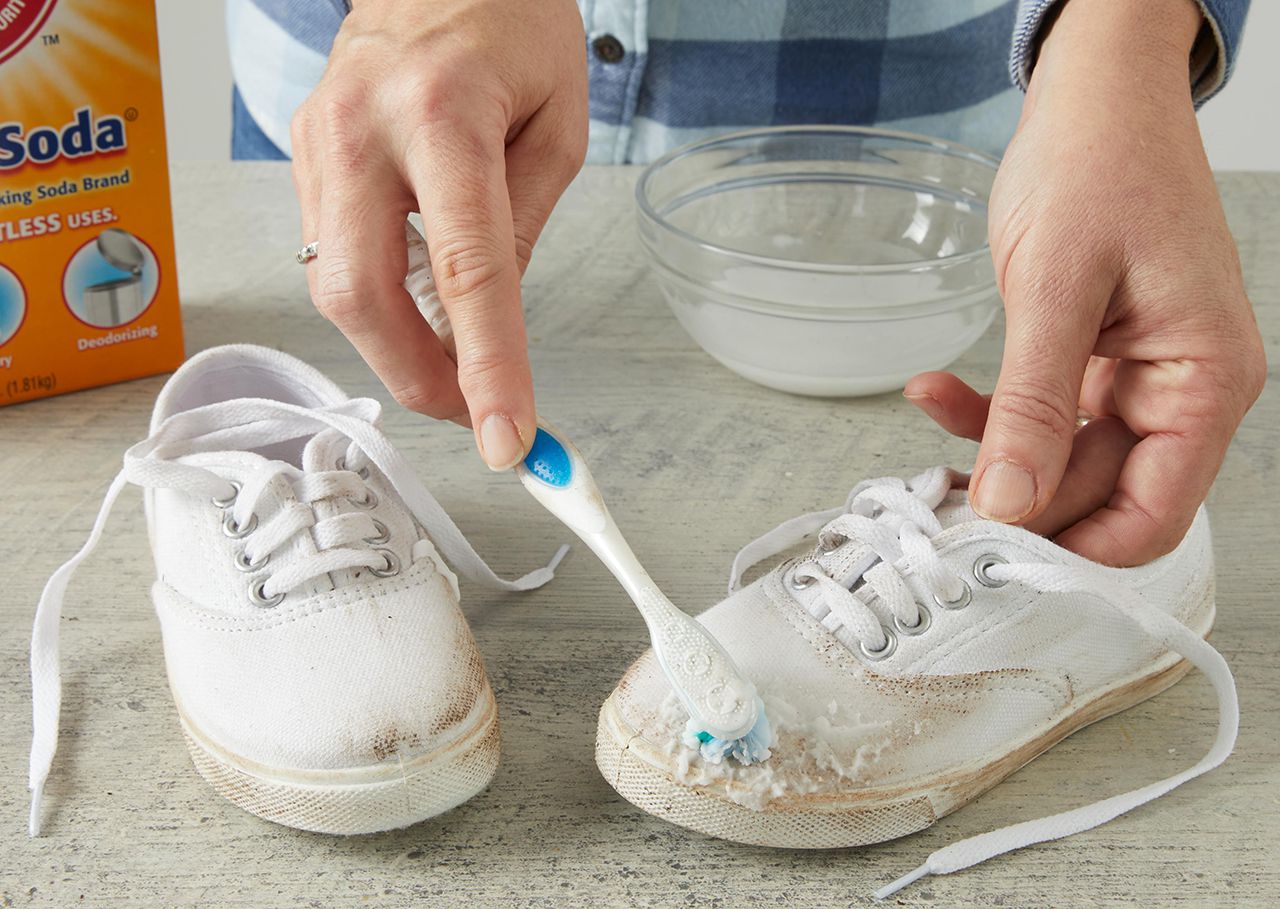
- Pay Attention to Buttons and Indentations: Use a cotton swab or soft-bristled toothbrush dampened with soapy water to clean around the buttons, crevices, and other hard-to-reach areas on the handle.
- Rinse and Dry: Once the handle has been cleaned, rinse it with a damp cloth to remove any soap residue. Then, use a dry cloth to wipe it down, ensuring that no moisture remains on the surface.
- Optional: Disinfect with Rubbing Alcohol: For an extra level of sanitation, you can wipe the handle with a cloth dampened with rubbing alcohol, focusing on the areas that come into direct contact with your hands and mouth.
By following these steps, you can effectively clean the handle of your electric toothbrush, removing dirt, grime, and bacteria that may have accumulated over time. With the handle now sparkling clean, it’s time to proceed to the next step and ensure that all components are thoroughly rinsed and dried.
To clean your electric toothbrush, remove the brush head and rinse it thoroughly under running water. Then, use a small amount of toothpaste and a damp cloth to gently clean the handle and base of the brush. Finally, rinse everything again and let it air dry before reassembling.
Step 4: Rinse and Dry
After cleaning the brush head and handle of your electric toothbrush, it’s crucial to ensure that all components are thoroughly rinsed and dried to prevent the accumulation of moisture and the growth of bacteria. Follow these steps to complete the rinsing and drying process:
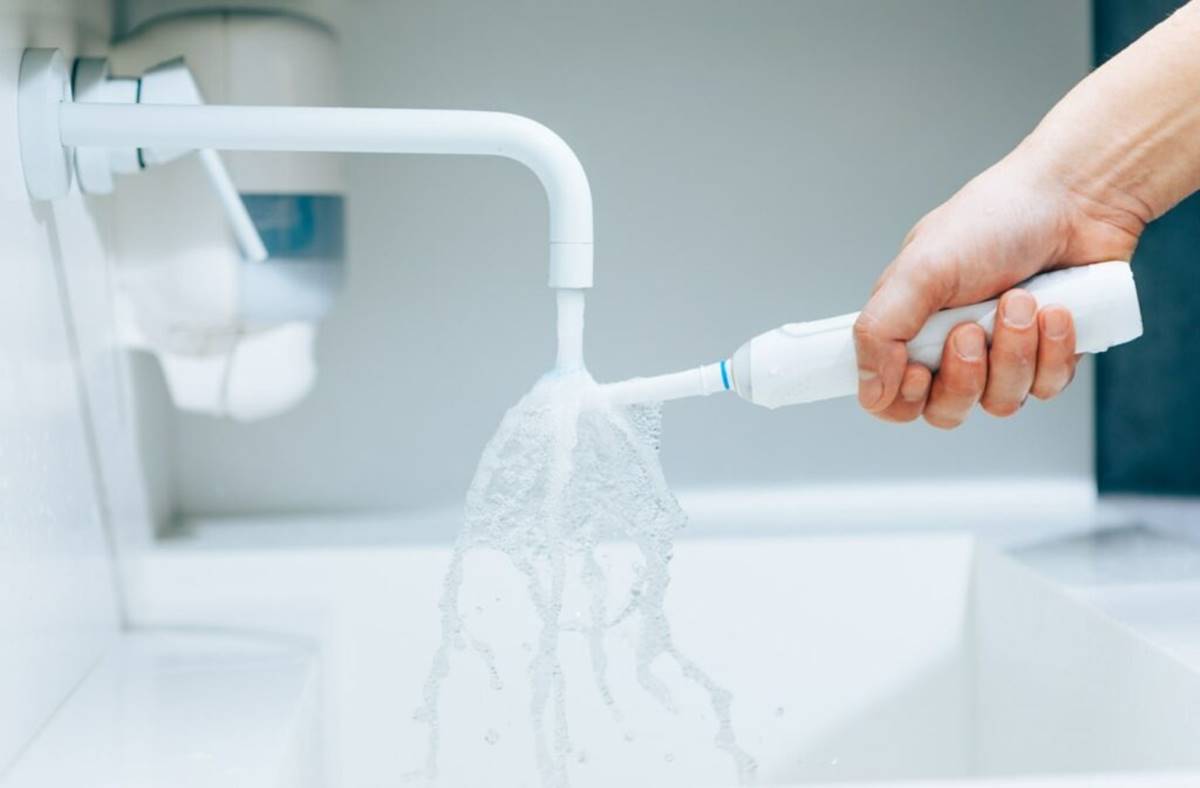
- Rinse Under Running Water: Thoroughly rinse the brush head and handle under running water, ensuring that all traces of soap and debris are completely removed.
- Shake Off Excess Water: After rinsing, gently shake the brush head and handle to remove excess water droplets.
- Pat Dry with a Cloth: Use a clean, dry cloth to pat the brush head and handle, absorbing any remaining moisture. Ensure that all components are completely dry to the touch.
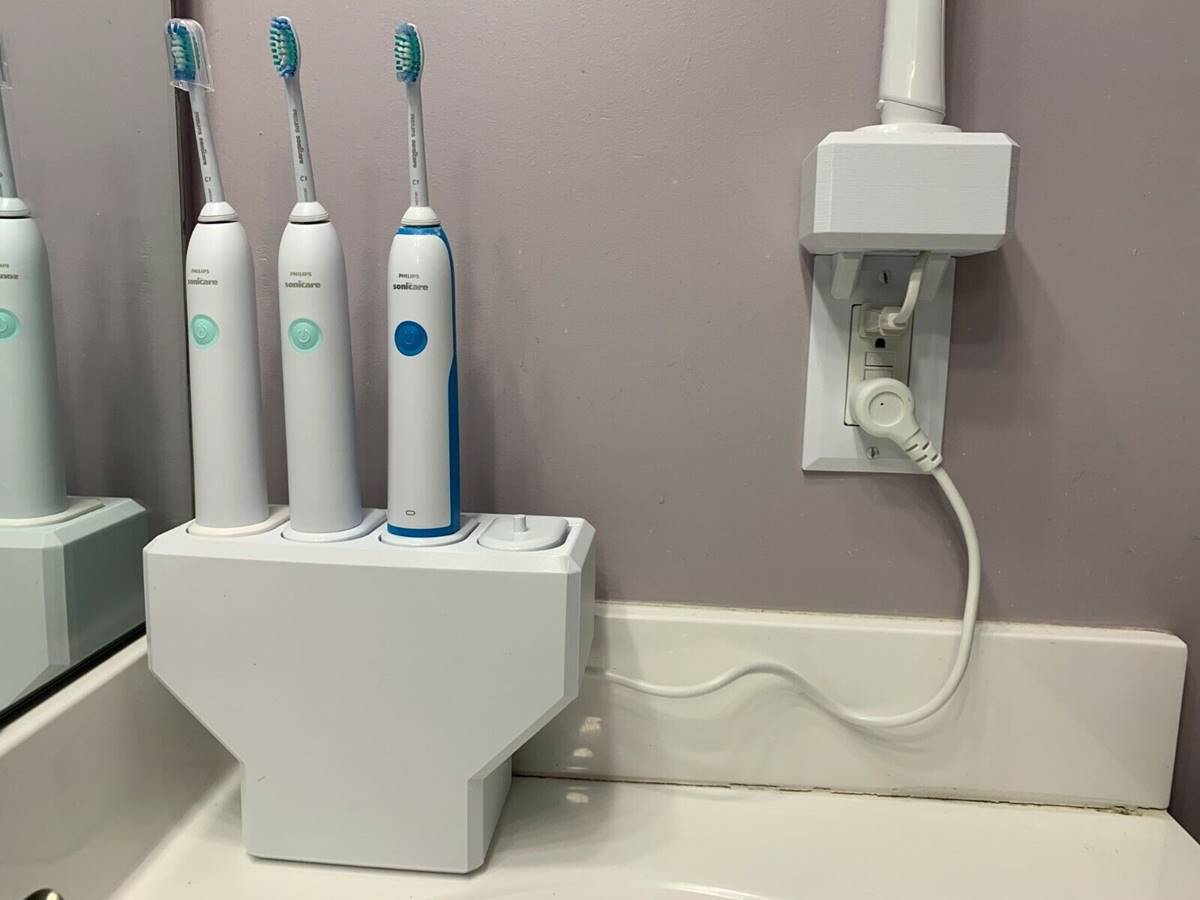
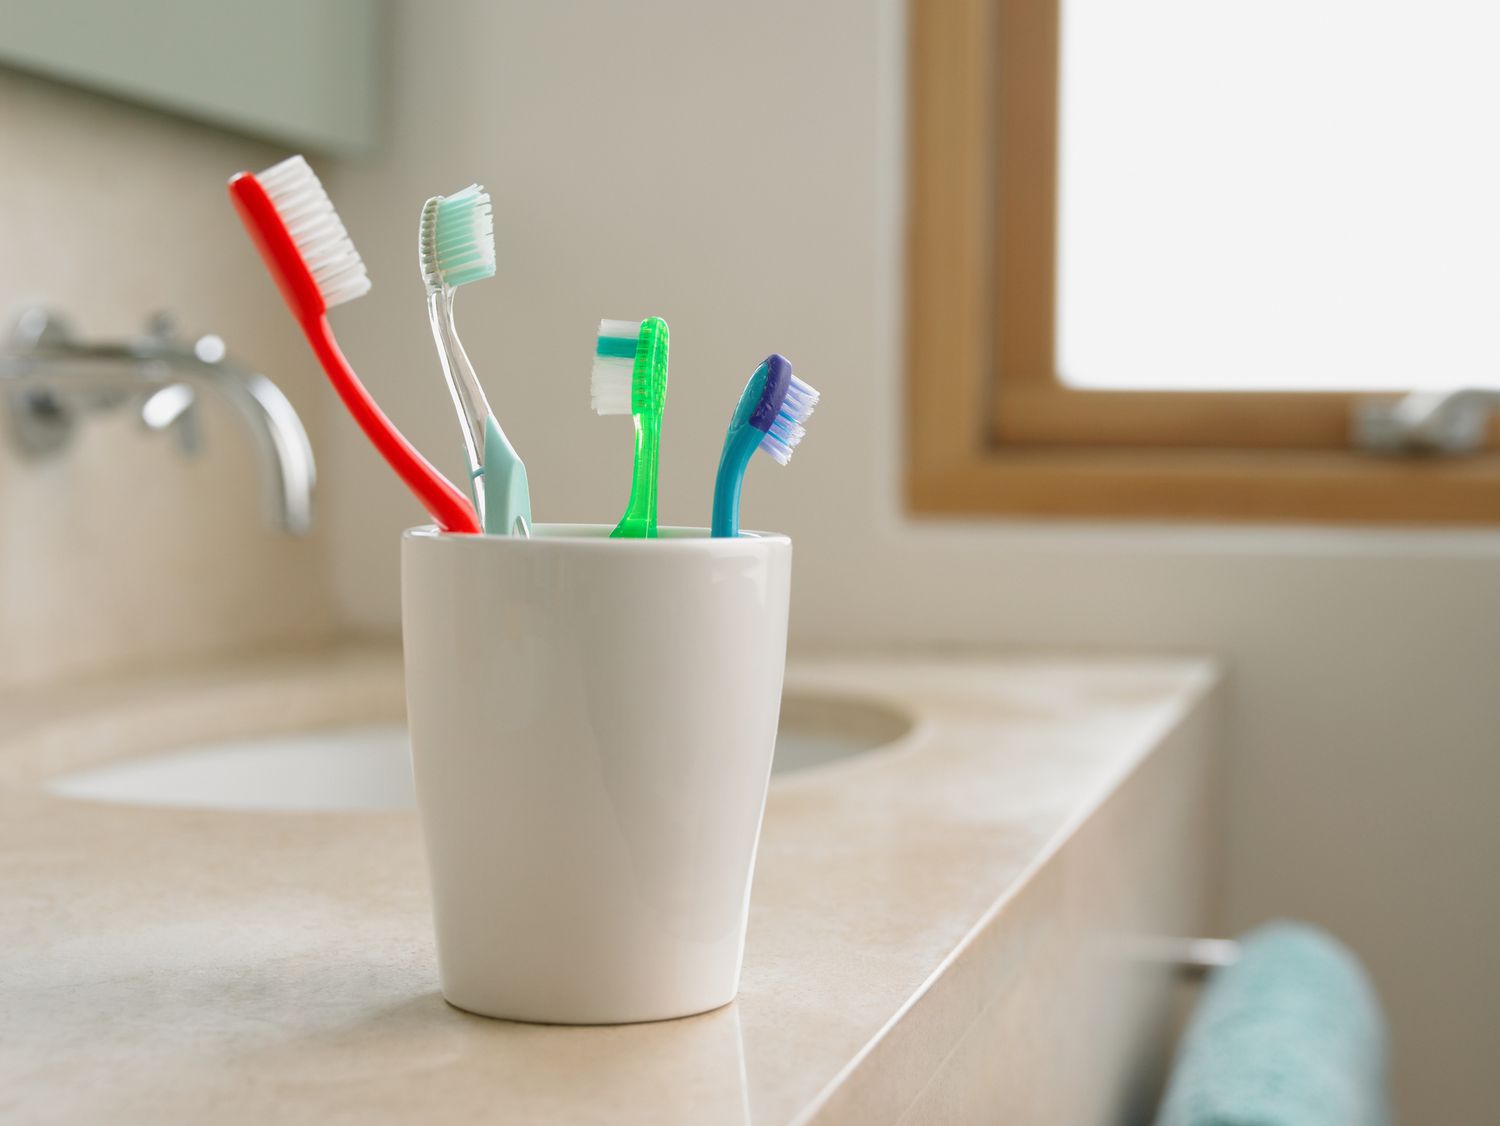
- Air Dry in an Upright Position: Place the brush head and handle in an upright position, such as in a toothbrush holder or on a clean, dry surface, allowing them to air dry completely.
- Ensure Proper Ventilation: To expedite the drying process, ensure that the brush head and handle are placed in a well-ventilated area, away from enclosed spaces or damp environments.
By diligently rinsing and drying all components of your electric toothbrush, you can minimize the risk of bacterial growth and maintain a hygienic oral care tool. With the rinsing and drying process complete, let’s move on to the final step: reassembling and storing your clean electric toothbrush.
Step 5: Reassemble and Store
With your electric toothbrush components thoroughly cleaned, rinsed, and dried, it’s time to reassemble the brush head and handle and ensure proper storage to maintain cleanliness and hygiene. Follow these steps to complete the process:
- Reattach the Brush Head: If you removed the brush head for cleaning, securely reattach it to the handle according to the manufacturer’s instructions, ensuring a snug fit.
- Inspect for Residue: Before storing, inspect the brush head and handle to ensure that no soap residue or debris remains, as this can attract bacteria over time.
- Store in a Clean, Dry Area: Place your clean electric toothbrush in a designated storage area that is clean, dry, and away from potential sources of contamination, such as the sink or toilet.
- Avoid Enclosed Containers: Refrain from storing your electric toothbrush in enclosed containers or travel cases immediately after cleaning, as trapped moisture can lead to bacterial growth.
- Replace the Protective Cover: If your electric toothbrush includes a protective cover for the brush head, ensure that it is clean and dry before placing it back on to protect the bristles.
By reassembling and storing your electric toothbrush with care, you can maintain the cleanliness and hygiene of the device, ensuring that it is ready for use whenever you need it. With the reassembly and storage process complete, you’ve successfully cleaned and maintained your electric toothbrush, promoting not only oral health but also overall well-being.
Conclusion
Congratulations on completing the comprehensive cleaning process for your electric toothbrush! By following the step-by-step guide outlined in this article, you’ve taken proactive measures to ensure that your oral care device remains clean, hygienic, and effective in promoting optimal dental health. Regular cleaning of your electric toothbrush not only prevents the accumulation of bacteria and debris but also extends the lifespan of the device, allowing you to continue enjoying its benefits for years to come.
Remember, maintaining a clean electric toothbrush is an essential aspect of your overall oral hygiene routine. By incorporating these cleaning steps into your regular dental care regimen, you can uphold the highest standards of cleanliness and ensure that your electric toothbrush continues to provide thorough plaque removal and a refreshing clean with every use.
As you embark on your journey to a cleaner, healthier smile, be sure to prioritize the maintenance of your electric toothbrush. With consistent cleaning and proper care, your electric toothbrush will remain a reliable ally in your quest for excellent oral health.
Thank you for investing the time and effort to learn the best practices for cleaning your electric toothbrush. We hope this guide has empowered you to maintain a hygienic and effective oral care routine, ultimately contributing to a brighter, healthier smile.
Frequently Asked Questions about How To Clean Your Electric Toothbrush
Was this page helpful?
At Storables.com, we guarantee accurate and reliable information. Our content, validated by Expert Board Contributors, is crafted following stringent Editorial Policies. We're committed to providing you with well-researched, expert-backed insights for all your informational needs.


0 thoughts on “How To Clean Your Electric Toothbrush”