Articles
How To Store Toothbrush
Modified: February 26, 2024
Learn the best ways to store your toothbrush in this informative article. Find helpful tips and tricks to keep your toothbrush clean and hygienic.
(Many of the links in this article redirect to a specific reviewed product. Your purchase of these products through affiliate links helps to generate commission for Storables.com, at no extra cost. Learn more)
Introduction
Welcome to our guide on how to store your toothbrush properly. Many people don’t realize how important it is to store their toothbrushes correctly, but it can make a significant difference in maintaining good oral hygiene. Storing your toothbrush in the right way helps to prevent the growth of bacteria, keep bristles clean and intact, and ensure that your toothbrush is effective in removing plaque and tartar from your teeth. In this article, we will provide you with some simple yet effective tips on how to store your toothbrush to keep it clean and in optimal condition.
Your toothbrush is an essential tool in maintaining good oral health. It helps to remove food particles, plaque, and bacteria from your teeth and gums. Therefore, it is crucial to ensure that your toothbrush remains clean and hygienic. By following a few simple steps, you can easily store your toothbrush to prevent the build-up of bacteria and ensure that it remains effective in keeping your teeth and gums healthy.
In the following sections, we will walk you through step-by-step instructions on how to store your toothbrush properly. From rinsing your toothbrush to choosing the right storage location, we will cover all the necessary details to help you maintain optimal oral hygiene.
Key Takeaways:
- Proper toothbrush storage is crucial for maintaining oral hygiene. Rinse, dry, and store toothbrushes separately to prevent bacterial growth and ensure effective cleaning.
- Regularly replace toothbrushes every 3-4 months to maintain optimal oral health. Avoid enclosed containers and allow proper drying to keep toothbrushes clean and hygienic.
Read more: How To Store Your Toothbrush
Step 1: Rinse the Toothbrush
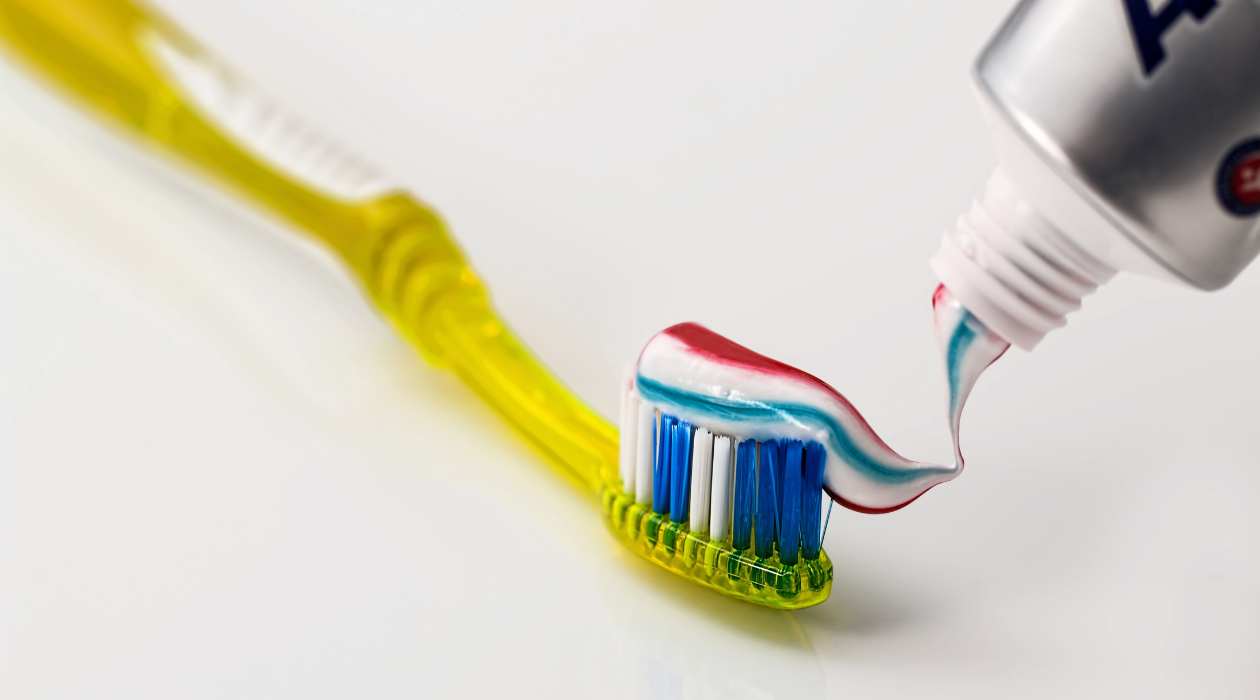
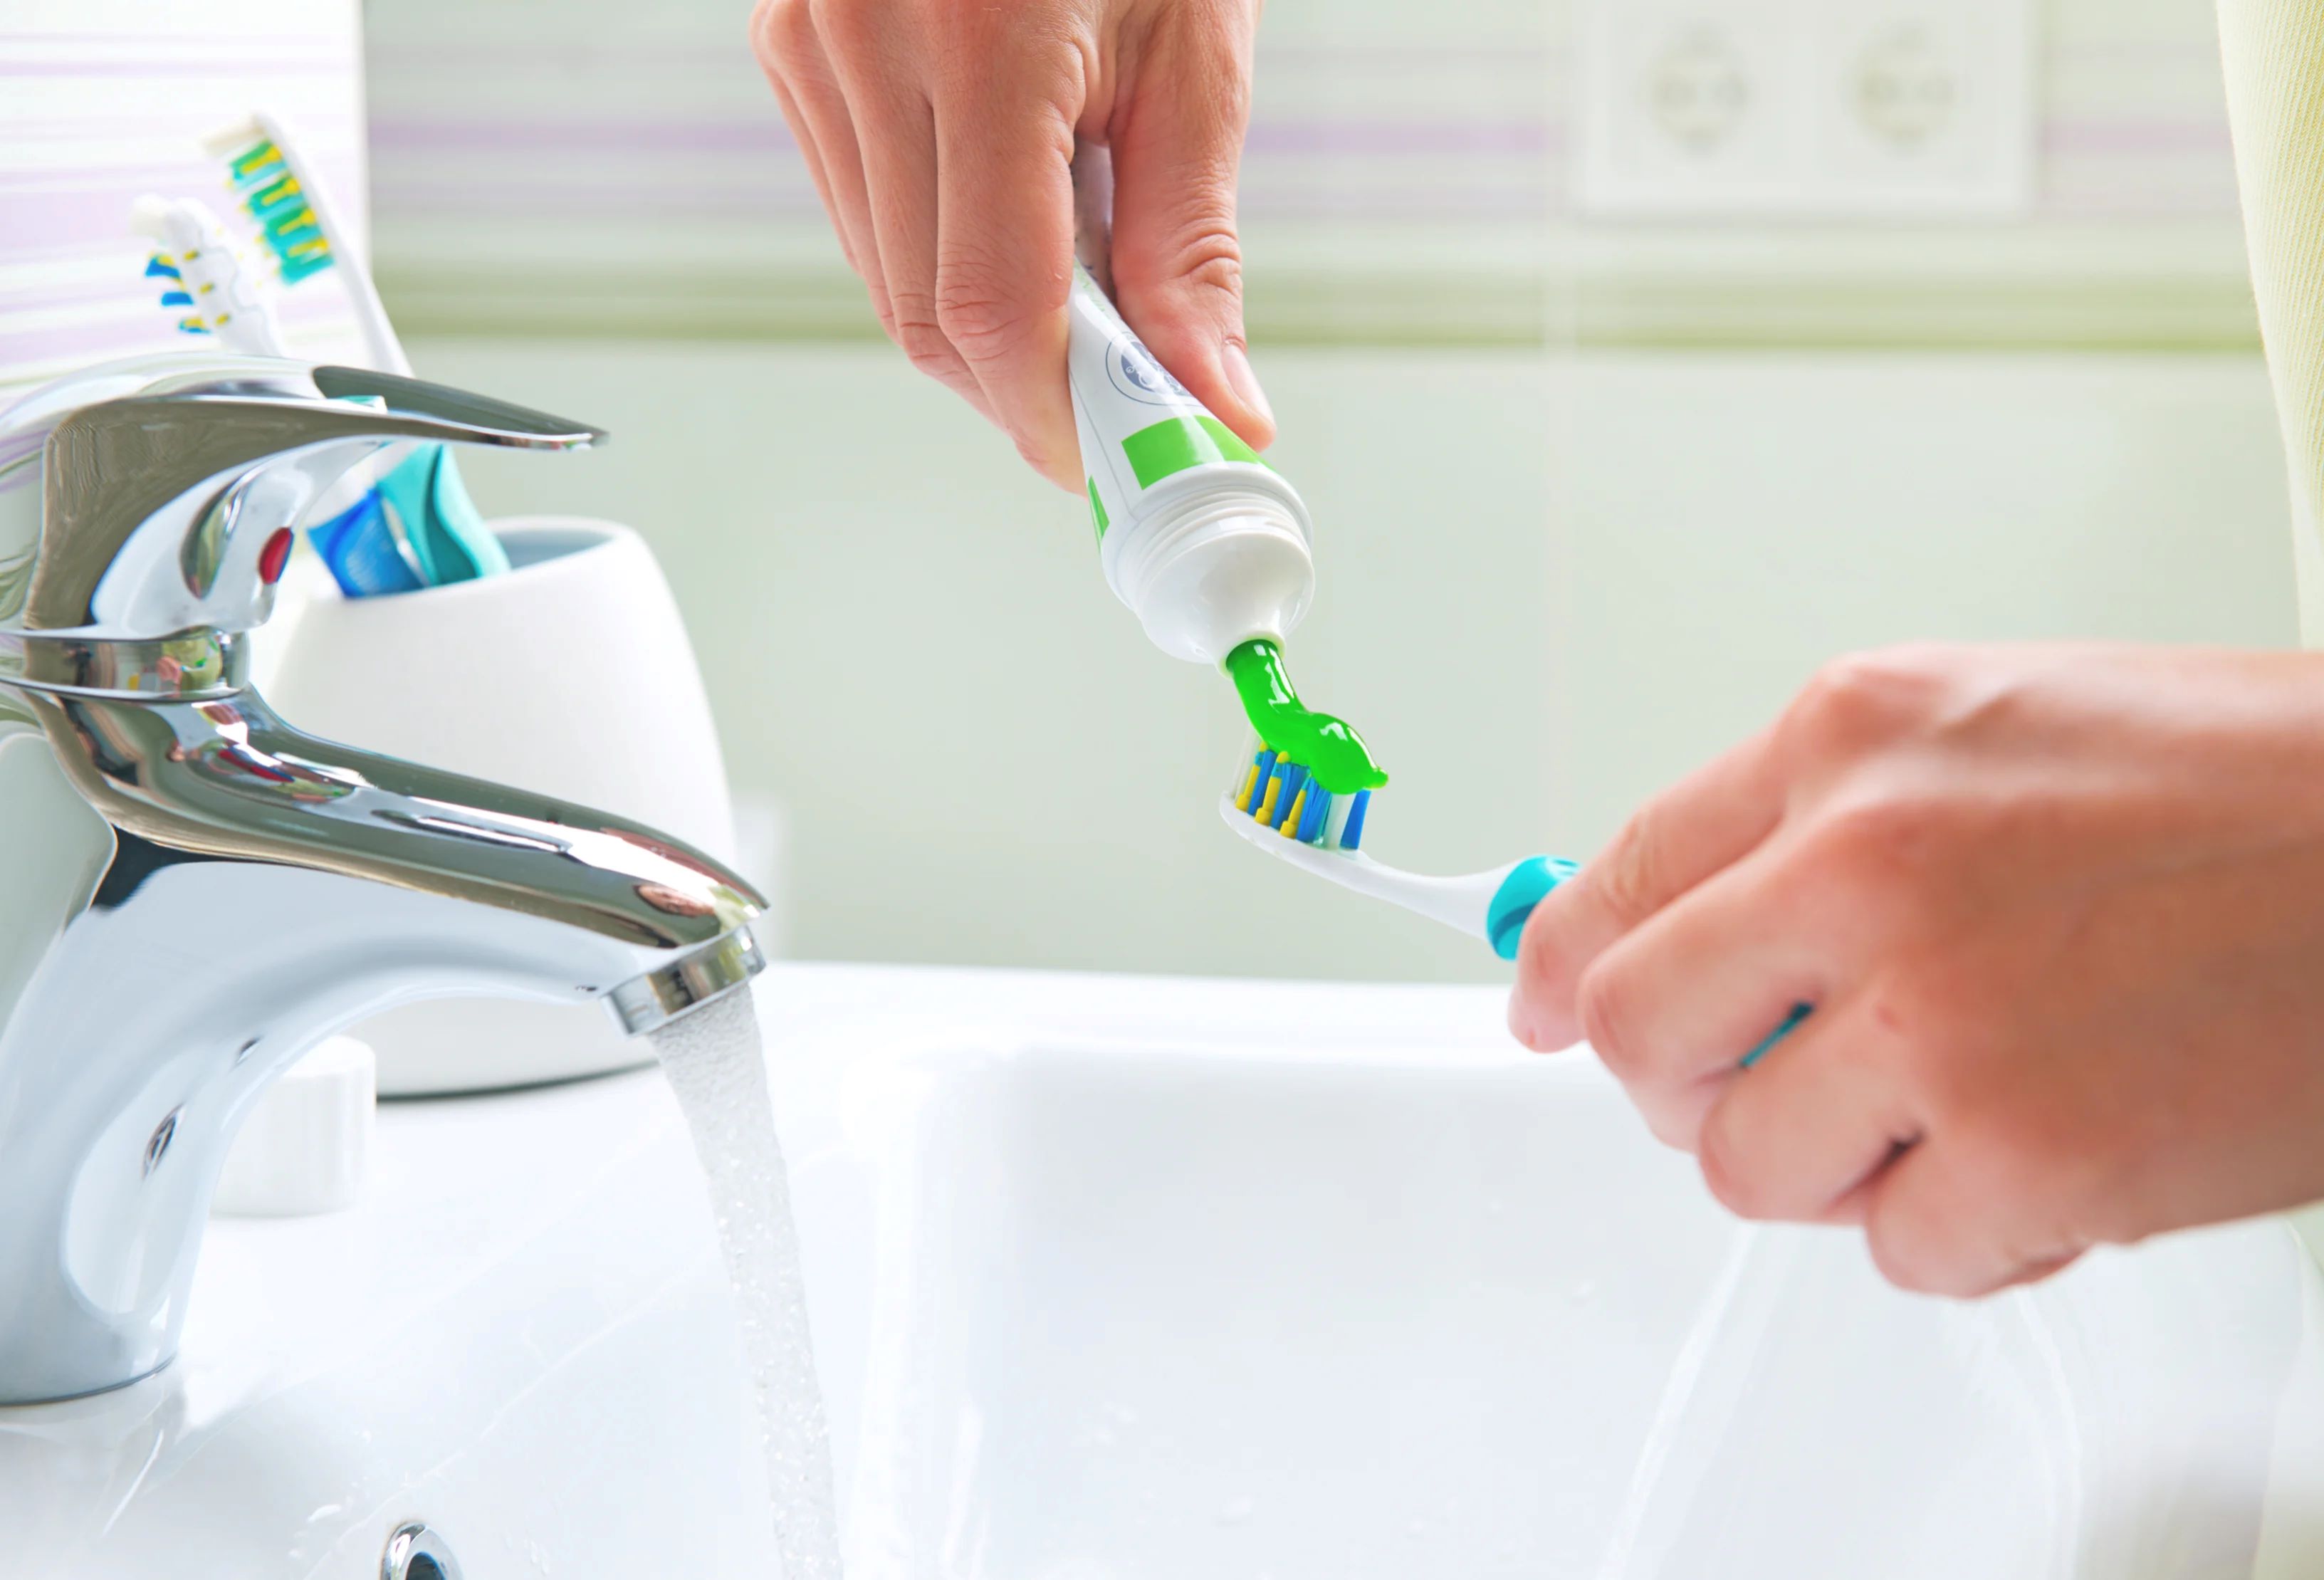
The first step in proper toothbrush storage is to rinse your toothbrush thoroughly after each use. Rinse the bristles under running water to remove any remaining toothpaste, food particles, or other debris. This simple practice helps to remove any lingering bacteria and prevent the growth of mold or mildew on your toothbrush.
While rinsing, make sure to use warm water as it helps to loosen and wash away any residue effectively. Avoid using hot water as it can damage the bristles of your toothbrush. Additionally, be gentle during the rinsing process to avoid bending or damaging the bristles.
Once you have thoroughly rinsed your toothbrush, shake off any excess water. It’s important to remove as much moisture as possible to promote faster drying and prevent bacterial growth. Remember to never store a wet toothbrush as it creates an ideal environment for bacteria to thrive.
By making it a habit to rinse your toothbrush after every use, you will ensure that it remains clean and ready for the next brushing session. This simple step sets the foundation for proper toothbrush storage and helps to maintain good oral hygiene.
Step 2: Choose a Suitable Storage Location
The next step in proper toothbrush storage is to choose a suitable location to keep your toothbrush. It’s important to select a storage spot that minimizes the risk of contamination and allows for proper airflow to facilitate drying.
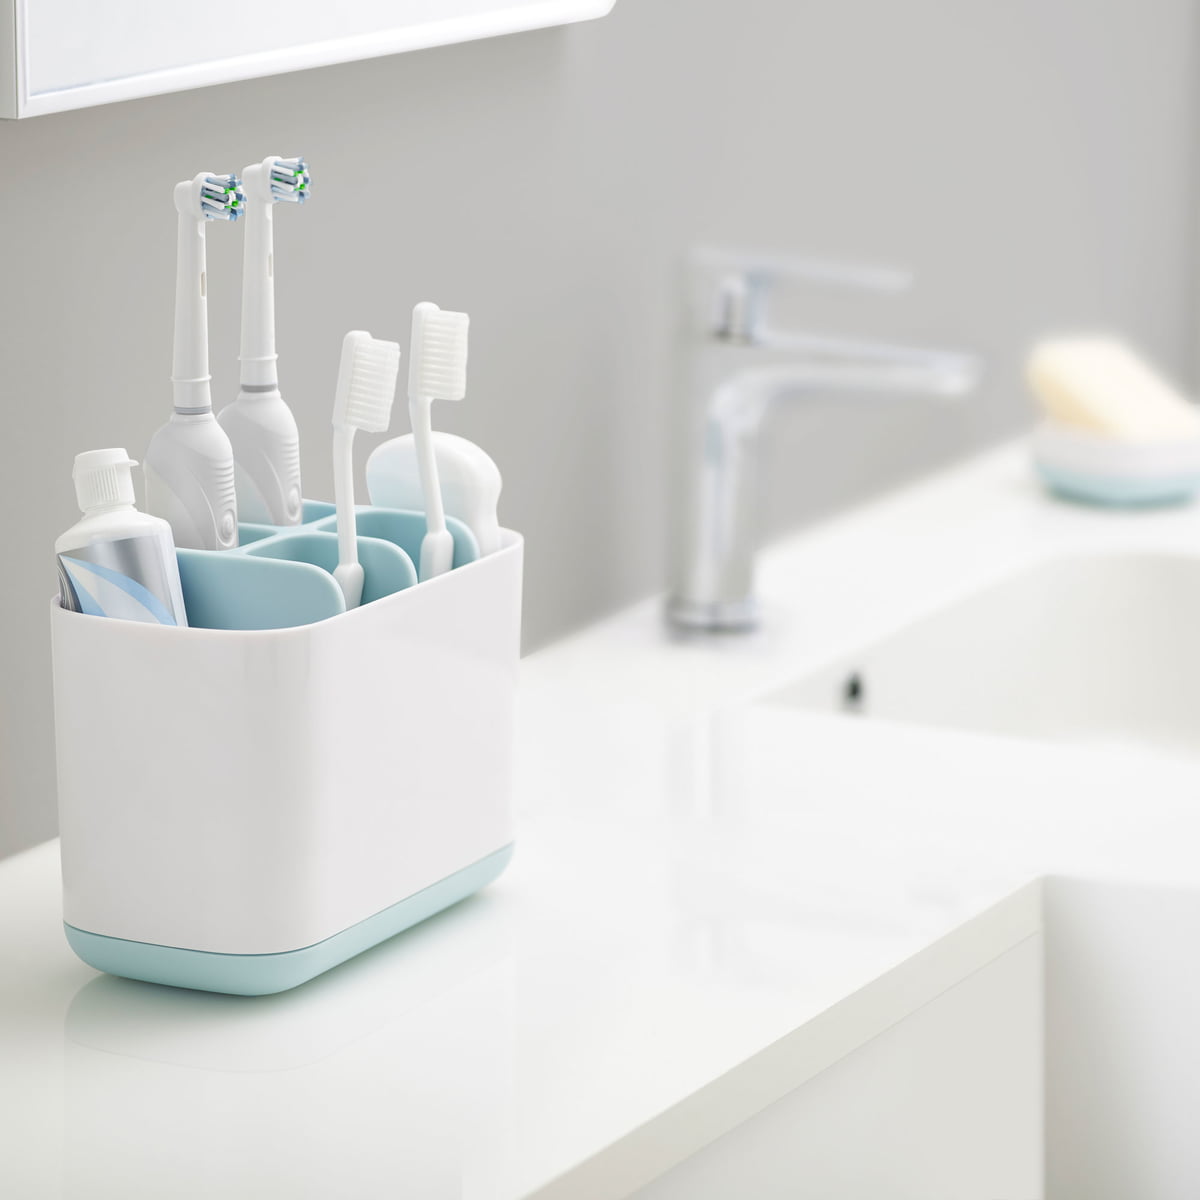
One of the best places to store your toothbrush is in an upright position. This allows any excess water to drain away from the bristles, preventing moisture buildup and reducing the chances of bacterial growth.
A countertop or bathroom cabinet is a common choice for toothbrush storage. However, it’s crucial to ensure that the storage area is clean and free from dust, debris, and other potential contaminants. Regularly clean and disinfect the storage surface to maintain a hygienic environment for your toothbrush.
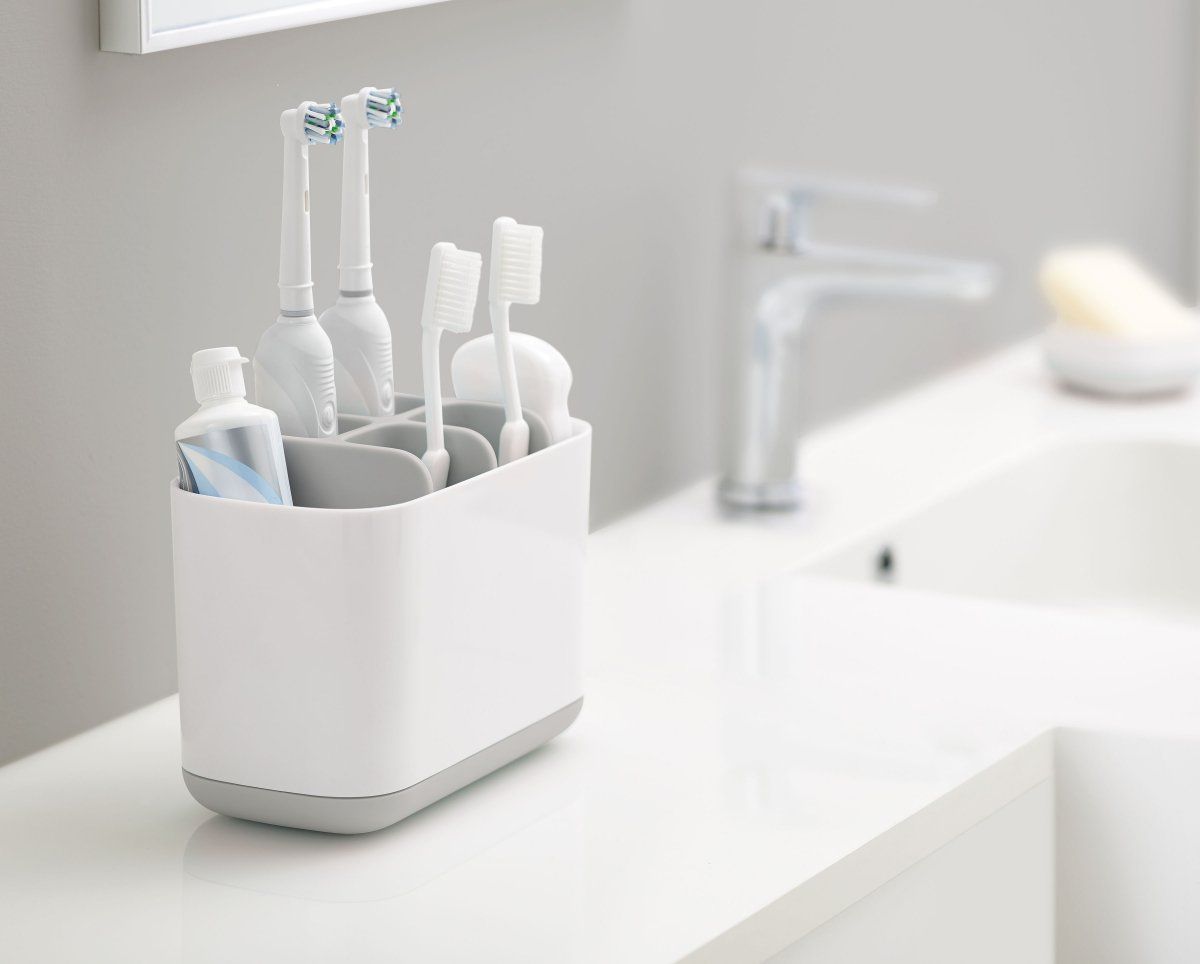
If you prefer to keep your toothbrush covered, consider using a toothbrush holder with individual slots for each family member’s toothbrush. This helps to prevent cross-contamination and keeps the bristles protected from outside elements.
It’s important to avoid storing your toothbrush in close proximity to the toilet. Flushing the toilet can release bacteria into the air, and this can potentially contaminate your toothbrush. Keep your toothbrush at a safe distance from potential sources of contamination to maintain its cleanliness and hygiene.
Furthermore, keep your toothbrush away from other personal care items, such as razors or makeup brushes, to prevent cross-contamination. Each item should have its designated storage space to ensure optimal hygiene.
By choosing a suitable storage location for your toothbrush, you minimize the risk of bacterial contamination and create an environment that promotes proper drying and hygienic toothbrush use.
Step 3: Avoid Enclosed Containers
When it comes to proper toothbrush storage, it’s important to avoid using enclosed containers. While it may seem like a convenient option to keep your toothbrush protected, enclosed containers can create a damp and dark environment that promotes bacterial growth.
Air circulation is essential for keeping your toothbrush dry and preventing the buildup of moisture, which can lead to the growth of mold, mildew, and bacteria. When stored in an enclosed container, moisture becomes trapped, providing an ideal breeding ground for microorganisms.
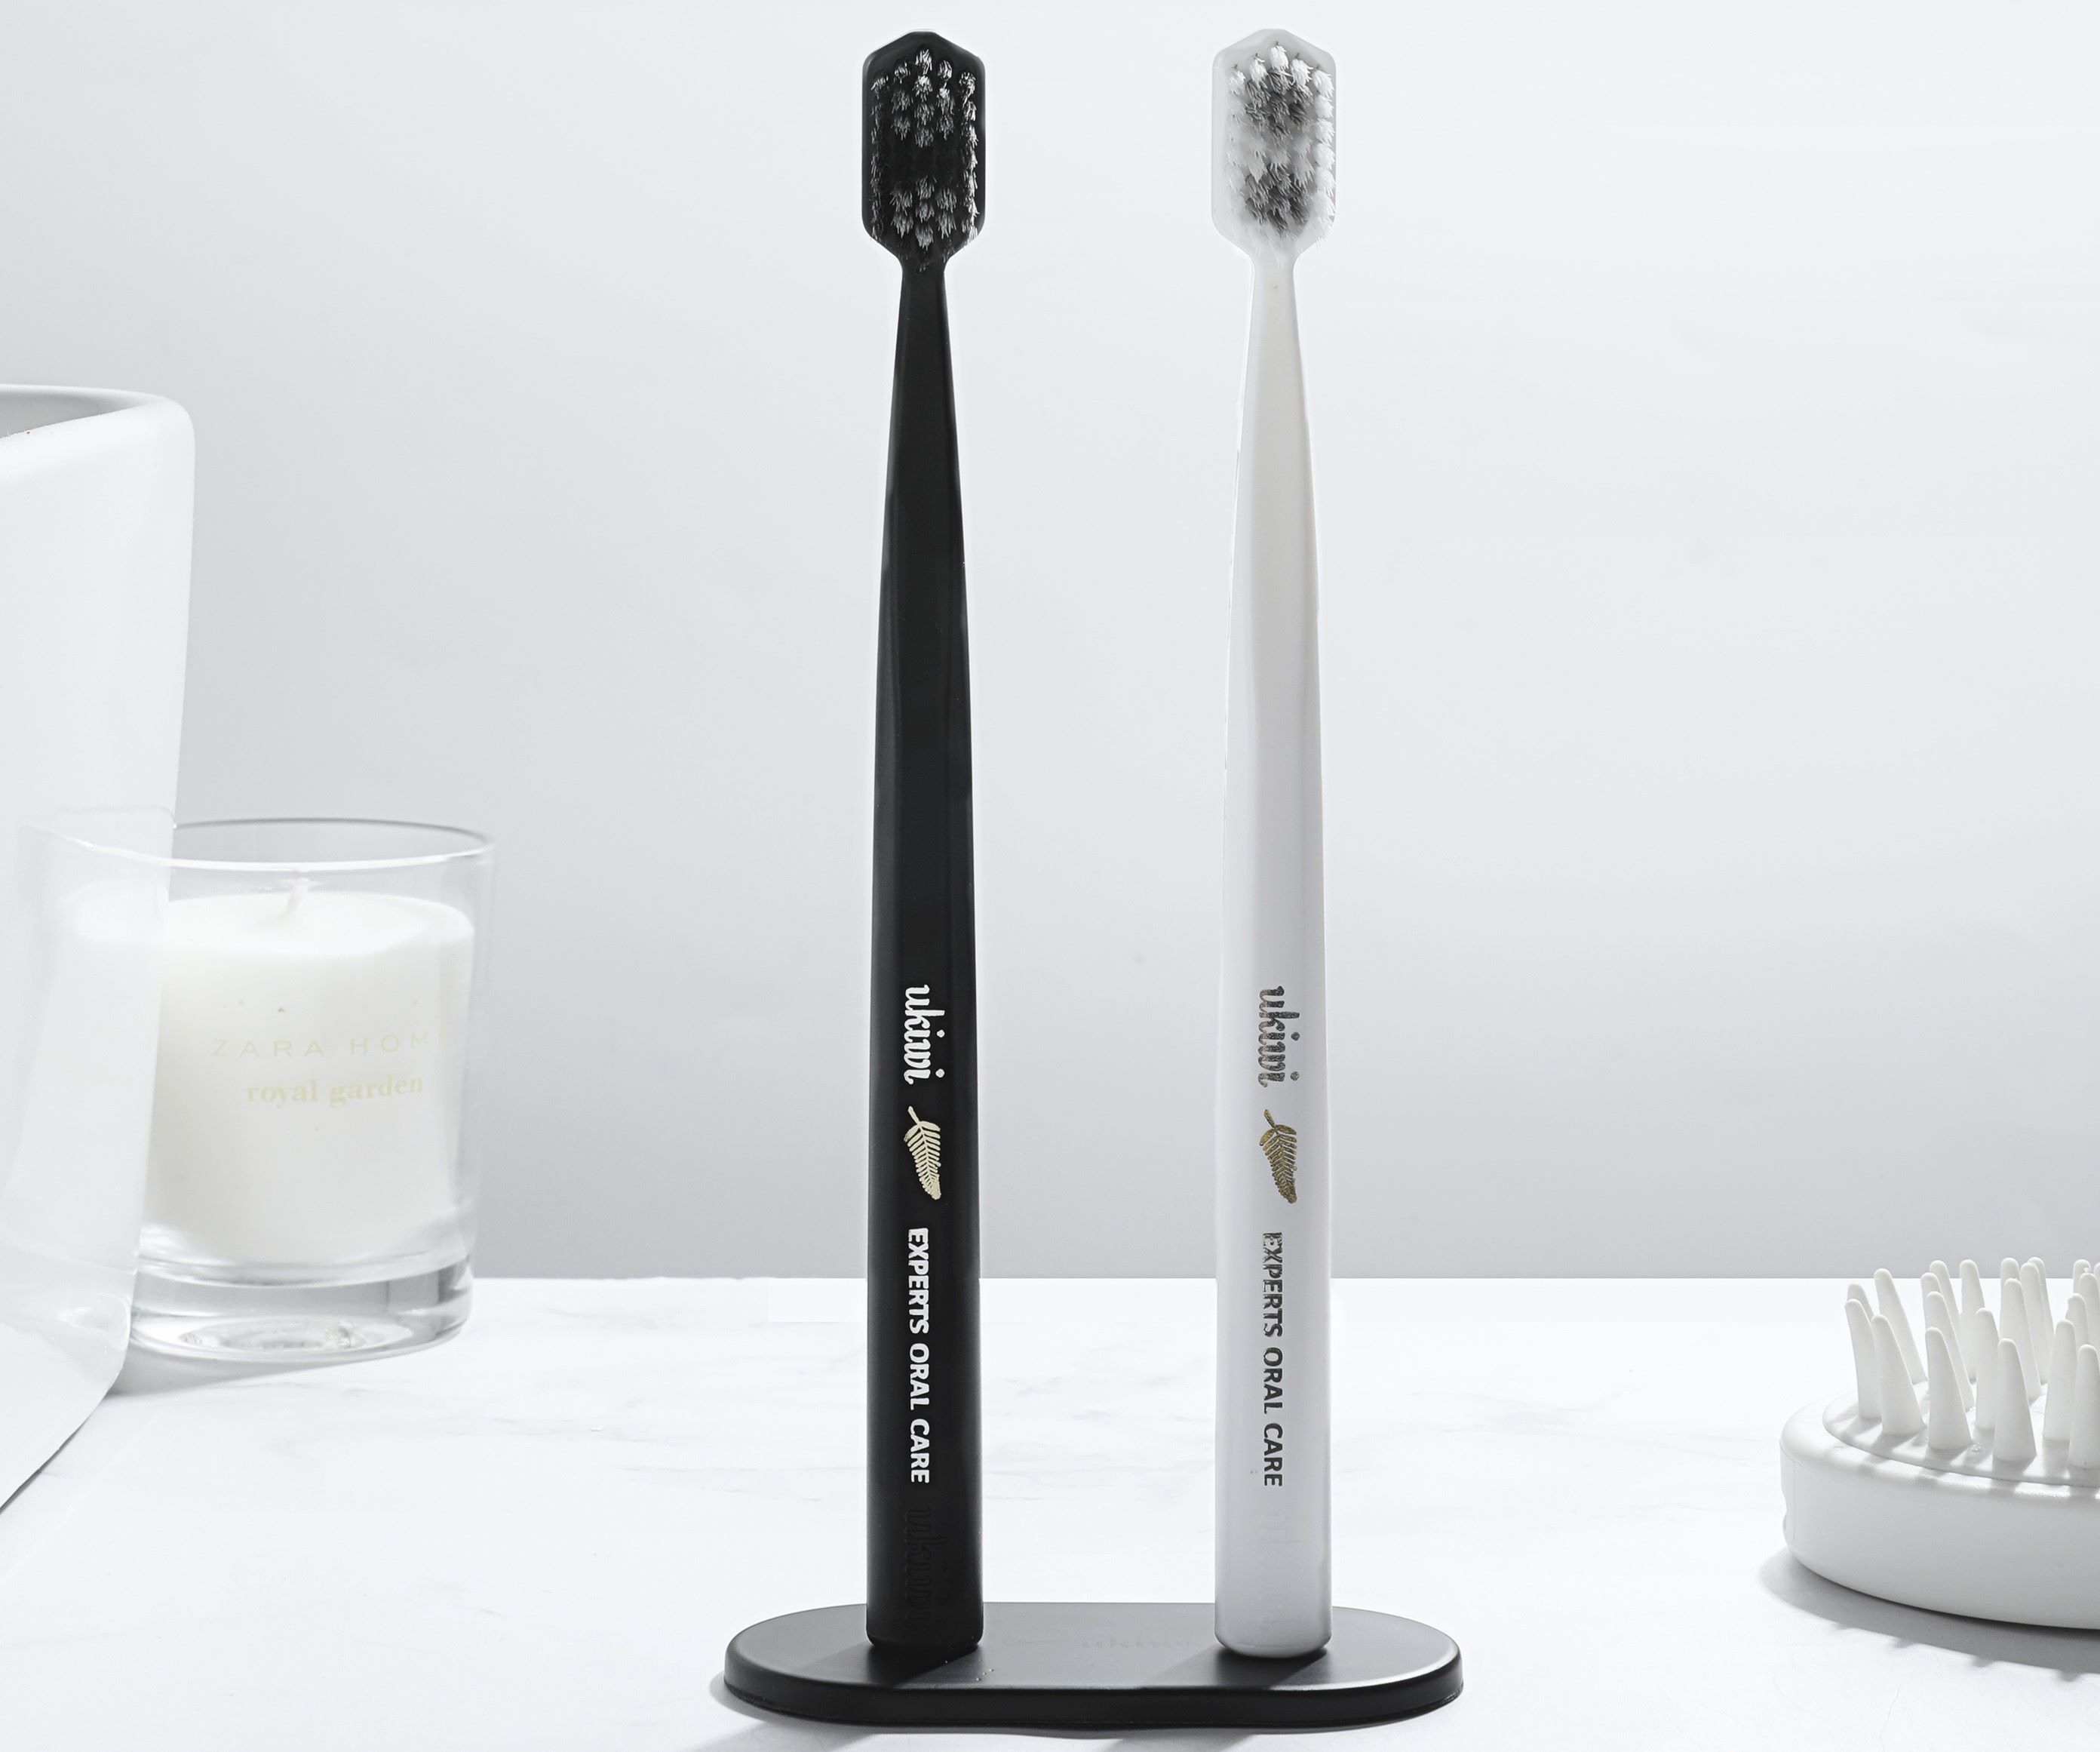
Instead, opt for open-air storage methods that allow your toothbrush to dry completely between uses. This can be achieved by using a toothbrush stand or holder that holds your toothbrush upright and allows air to circulate around the bristles.
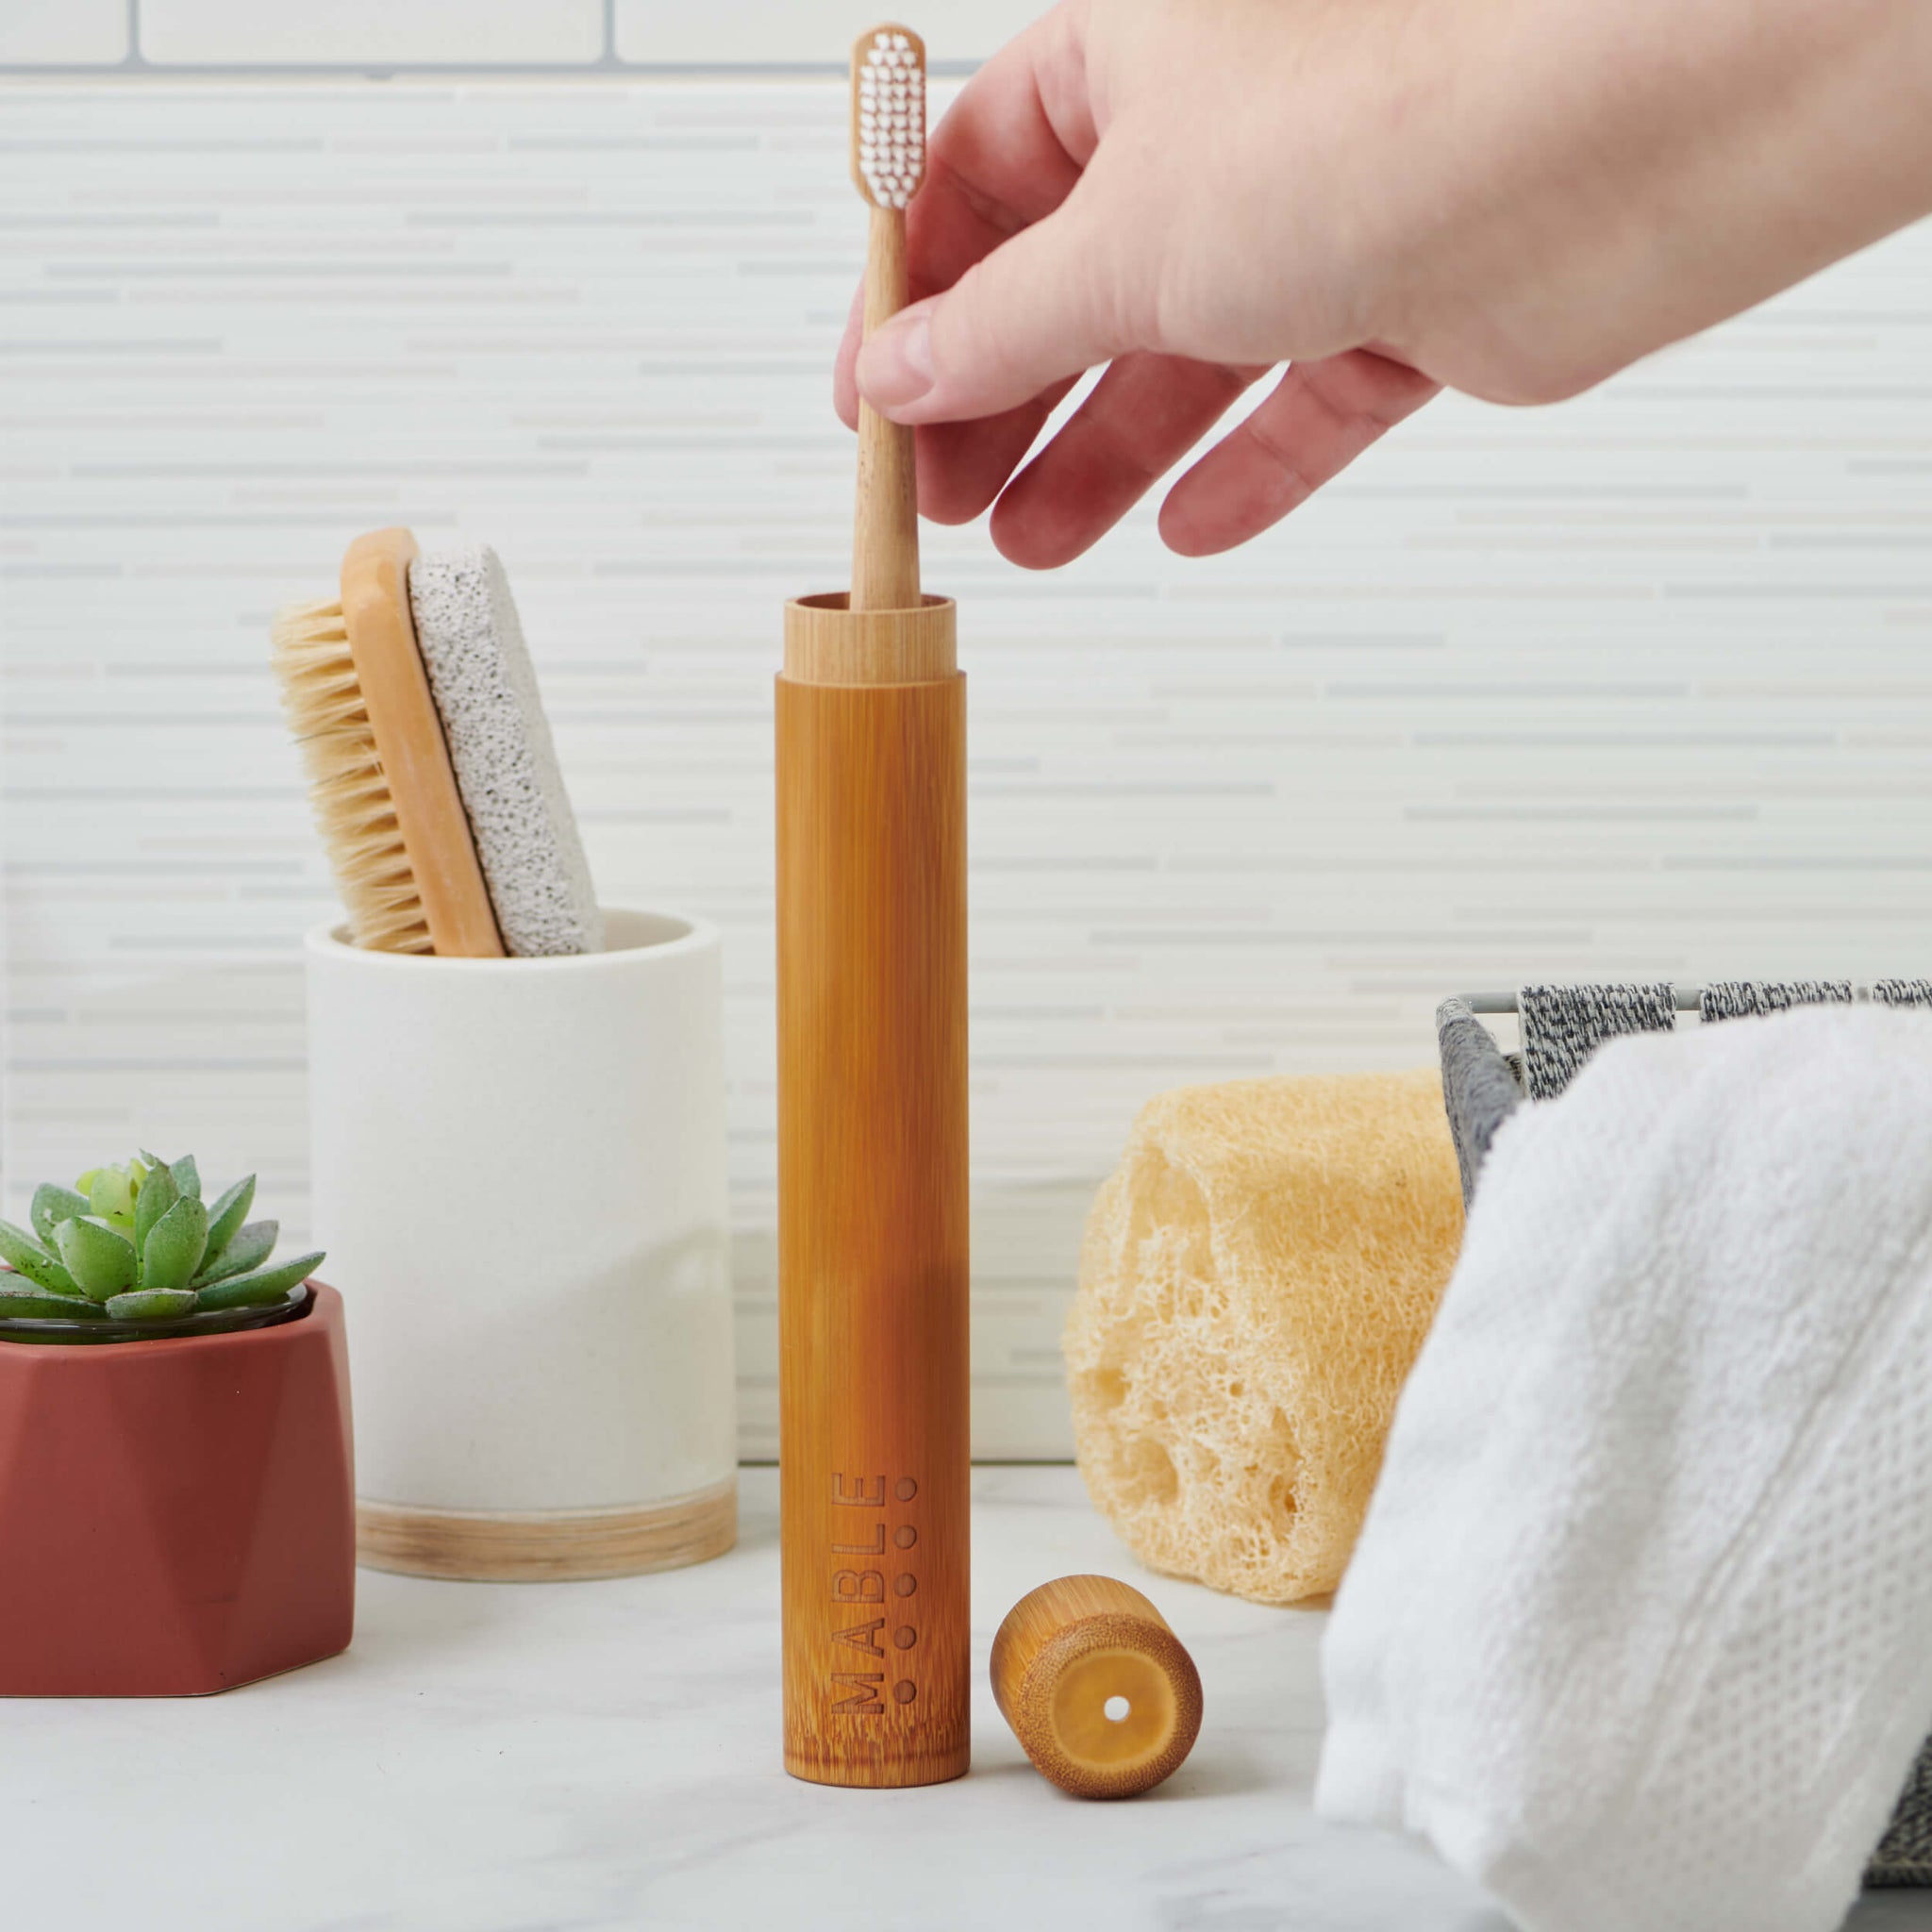
If you prefer to cover your toothbrush for extra protection, make sure to use a cover that has ventilation holes or slots. These openings allow for airflow and ensure that the bristles stay dry and free from bacterial growth.
It’s important to note that even with open-air storage, you should still clean and disinfect your toothbrush holder regularly to prevent the build-up of bacteria and other contaminants.
By avoiding enclosed containers and opting for open-air storage methods, you ensure that your toothbrush remains clean, dry, and free from harmful bacteria.
Store your toothbrush in an upright position to allow it to air dry and prevent bacteria growth. Keep it away from the toilet and other toothbrushes to avoid cross-contamination.
Step 4: Allow Proper Drying
Proper drying is crucial to maintain the cleanliness and effectiveness of your toothbrush. Allowing your toothbrush to dry thoroughly between uses helps to prevent the growth of bacteria, mold, and mildew.
After each use, shake off any excess water from your toothbrush and ensure that it is not dripping wet. Then, place your toothbrush in an upright position to allow proper airflow around the bristles. Avoid placing it in a closed cabinet or drawer where moisture can accumulate.
If possible, try to position your toothbrush in a well-ventilated area, away from any potential sources of moisture like the shower or sink. This allows the bristles to dry naturally and helps to prevent the growth of bacteria.
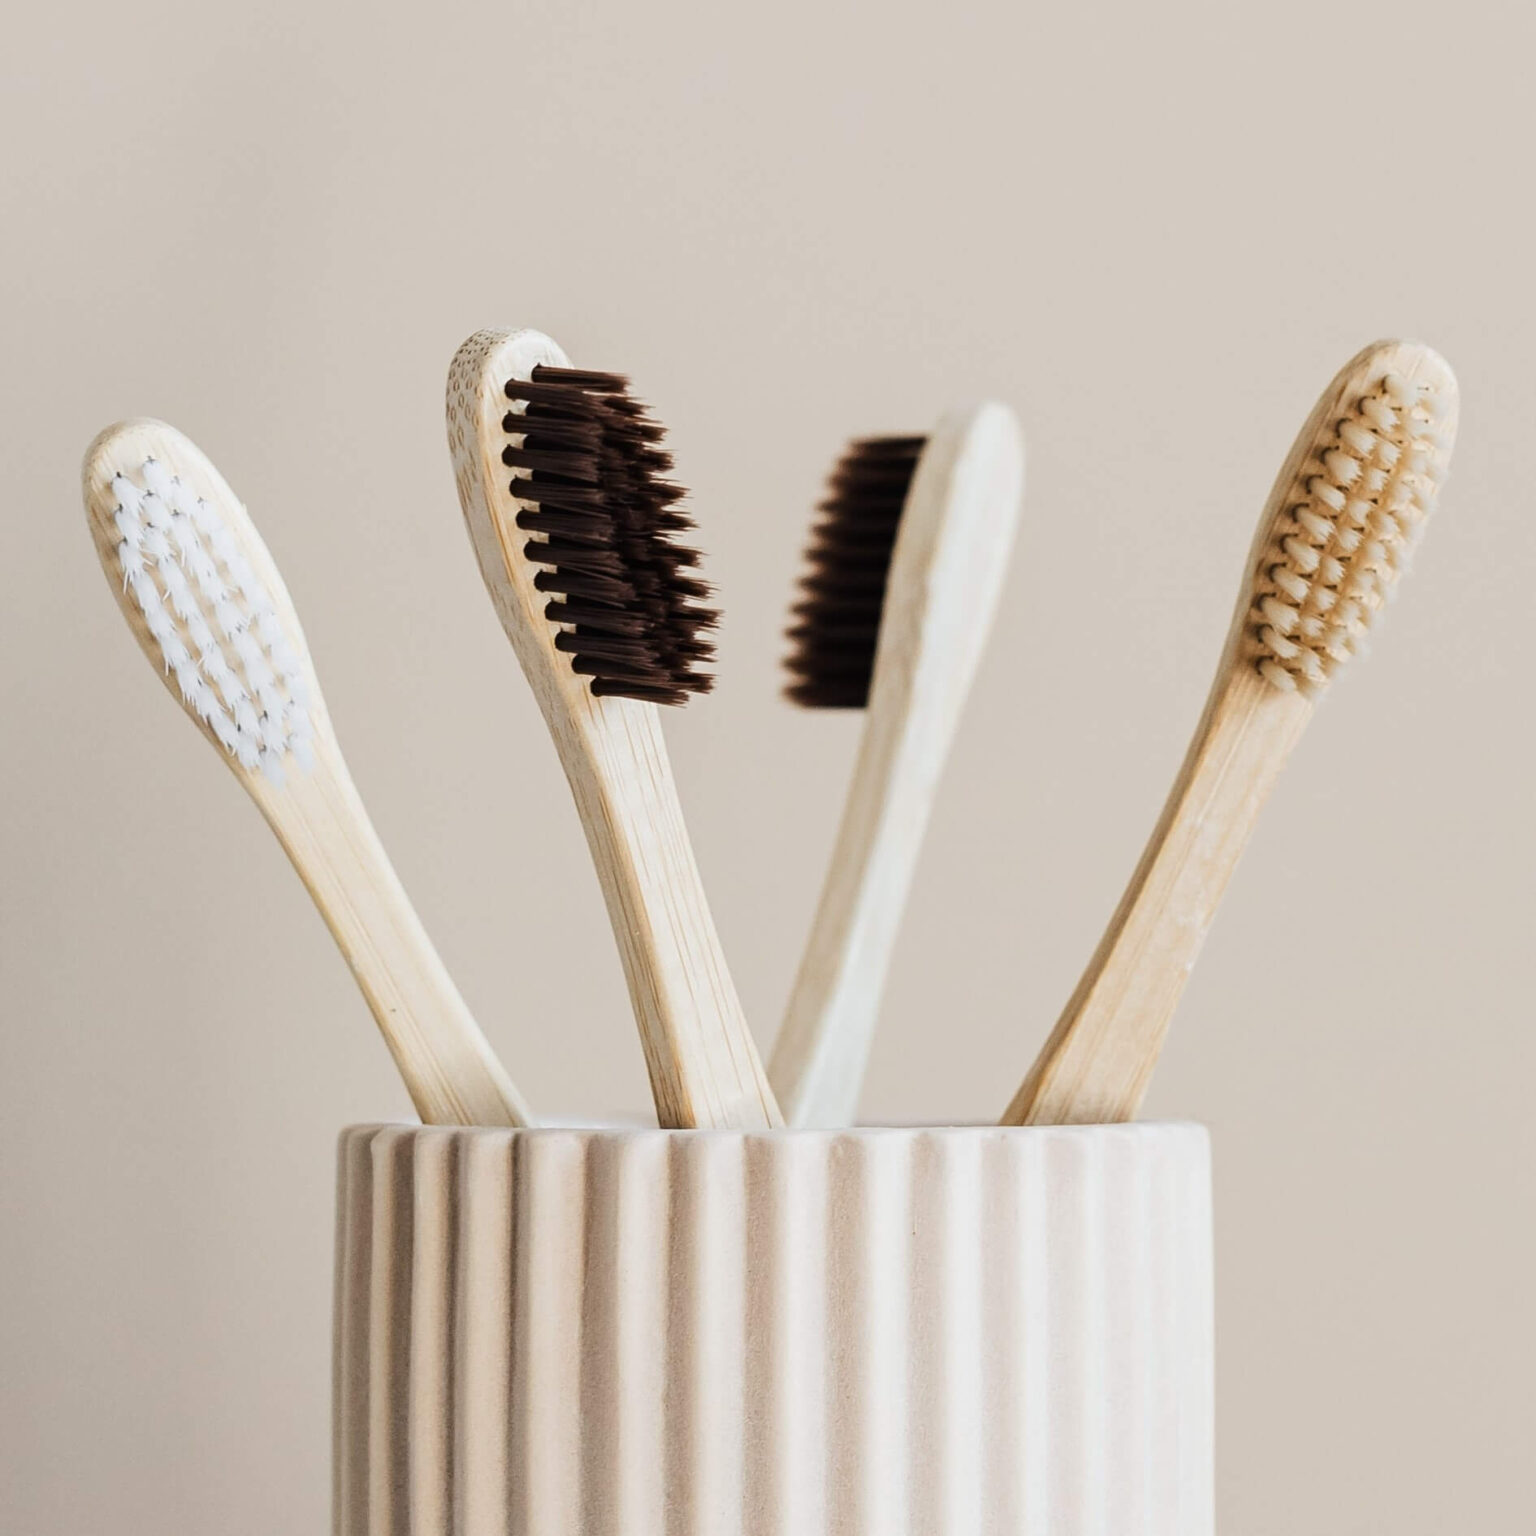
It’s important to note that toothbrushes should not touch or come into contact with each other during the drying process. Ensure that there is enough space between toothbrushes to prevent cross-contamination.
Additionally, avoid using toothbrush caps or covers immediately after brushing. While these may seem like a good idea for protecting the bristles from airborne particles, they can actually trap moisture and create a breeding ground for bacteria.
To further promote drying, consider using a toothbrush stand or holder that holds your toothbrush vertically. This allows any residual moisture to drain away from the bristles.
In general, it is recommended to wait until your toothbrush is completely dry before storing it for the next use. By allowing proper drying, you ensure that your toothbrush remains clean and free from harmful bacteria.
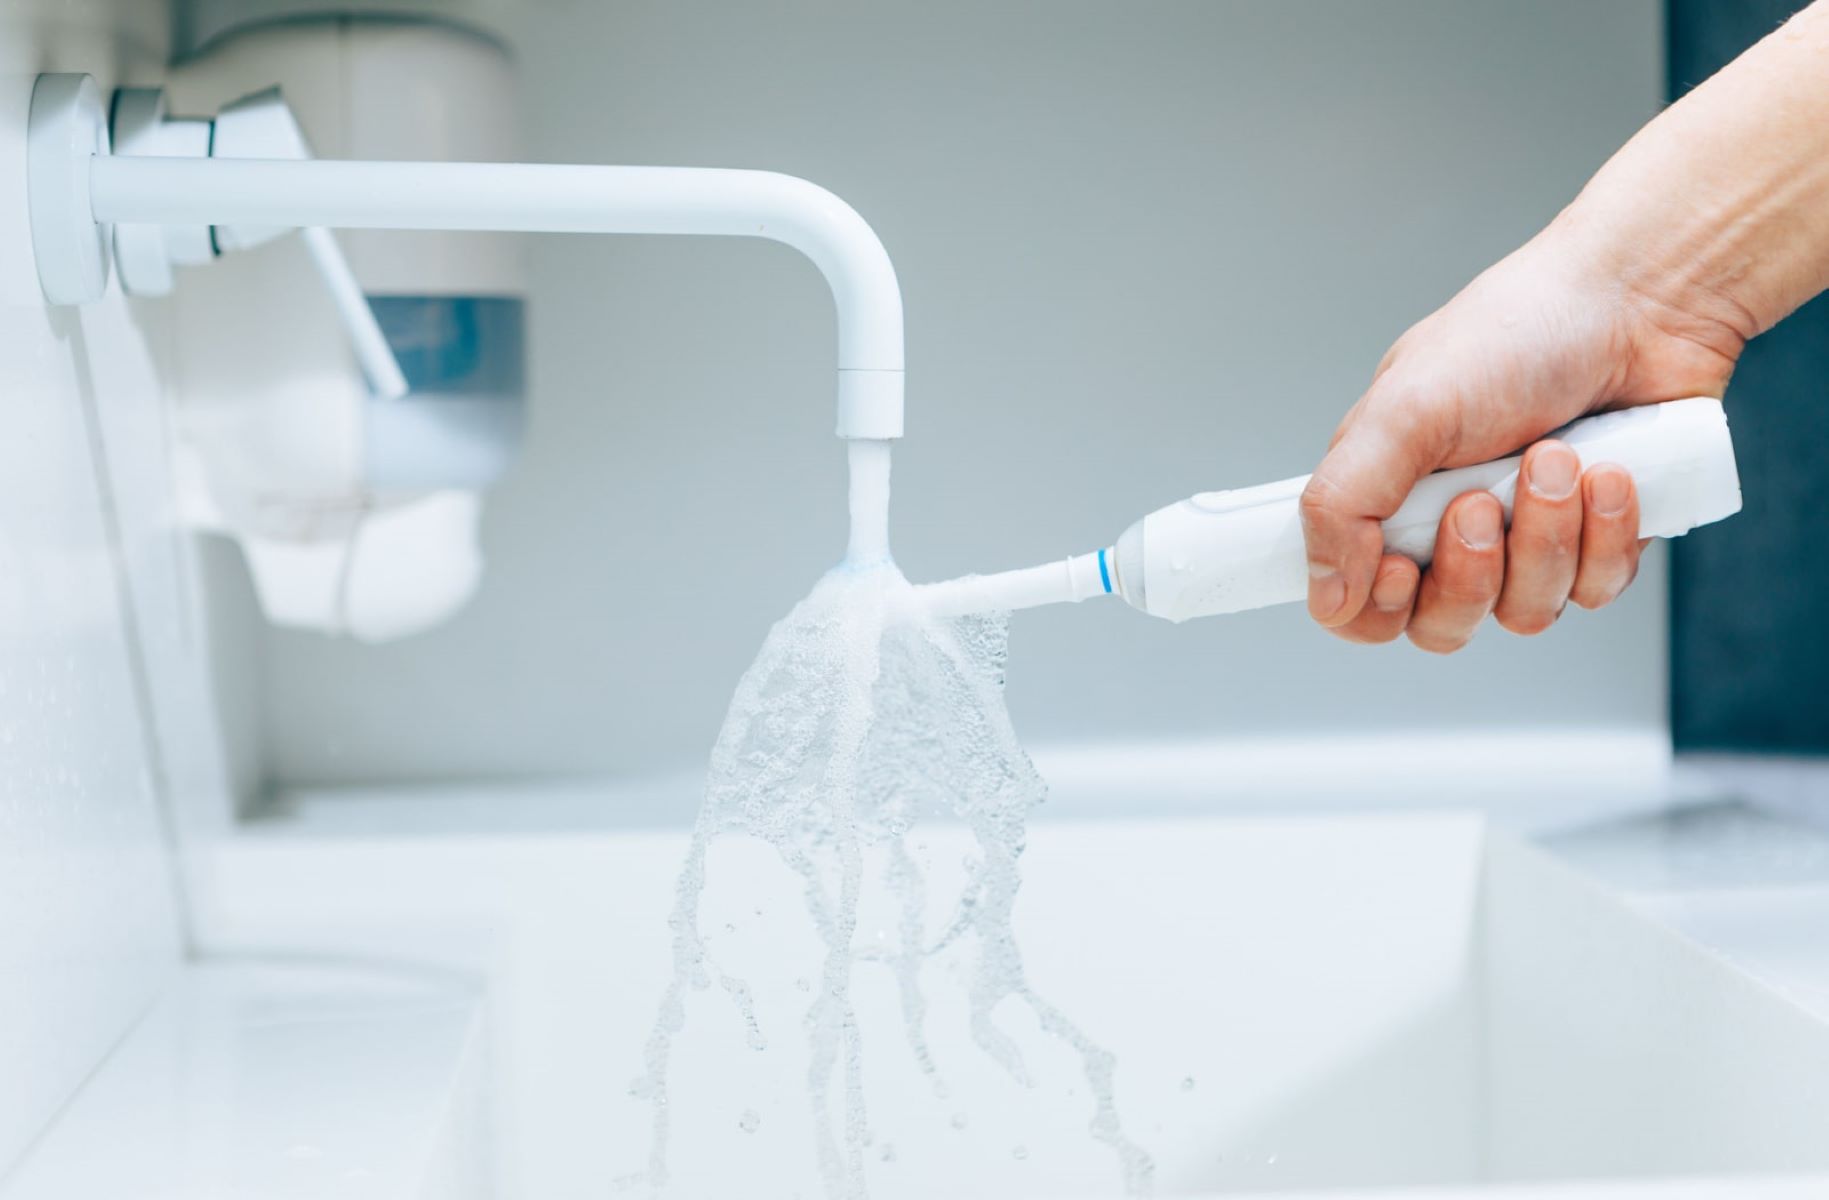
Read more: How To Store Electric Toothbrush
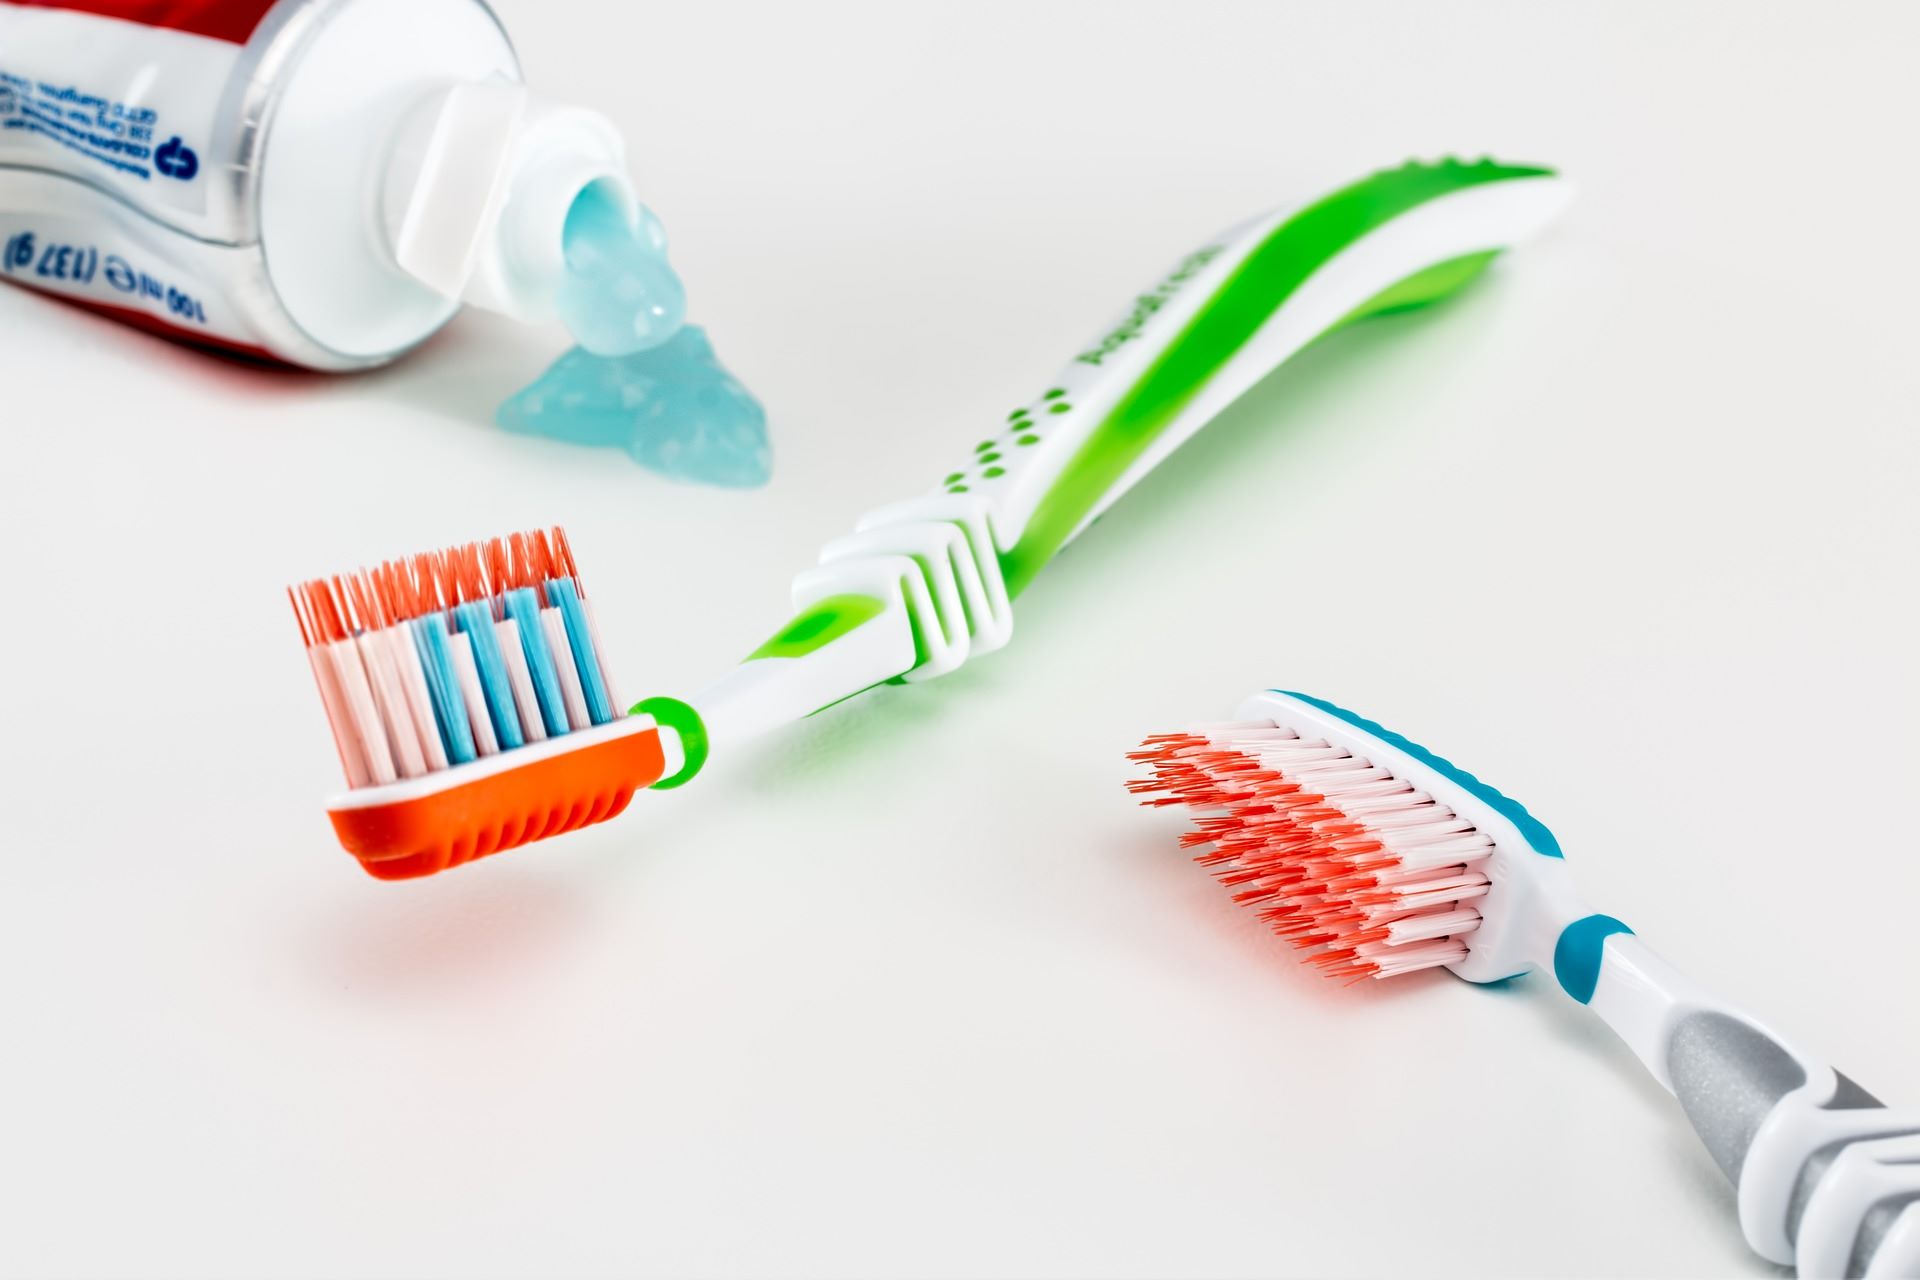
Step 5: Store Toothbrushes Separately
Avoiding cross-contamination is an important aspect of proper toothbrush storage. It is essential to store each toothbrush separately to prevent the transfer of bacteria and other germs between brushes.
Sharing toothbrushes can lead to the spread of oral bacteria, which can increase the risk of infections and oral health issues. Therefore, it is important for each family member to have their own designated toothbrush, stored in a separate location.
If you have multiple toothbrushes in your household, make sure they are stored at a sufficient distance from each other. This minimizes the chances of their bristles touching and prevents the transfer of bacteria.
Opting for toothbrush holders or stands with individual slots for each family member’s toothbrush is an effective way to keep them separated. This not only ensures proper hygiene but also helps each person easily identify their own toothbrush.
Furthermore, avoid storing toothbrushes in close proximity to each other in a cup or container without any dividers. This can lead to bristles touching or rubbing against one another, which can cause damage to the bristles and facilitate the transfer of bacteria.
Properly storing toothbrushes separately reduces the risk of contamination and helps maintain good oral hygiene for each family member.
Step 6: Replace Regularly
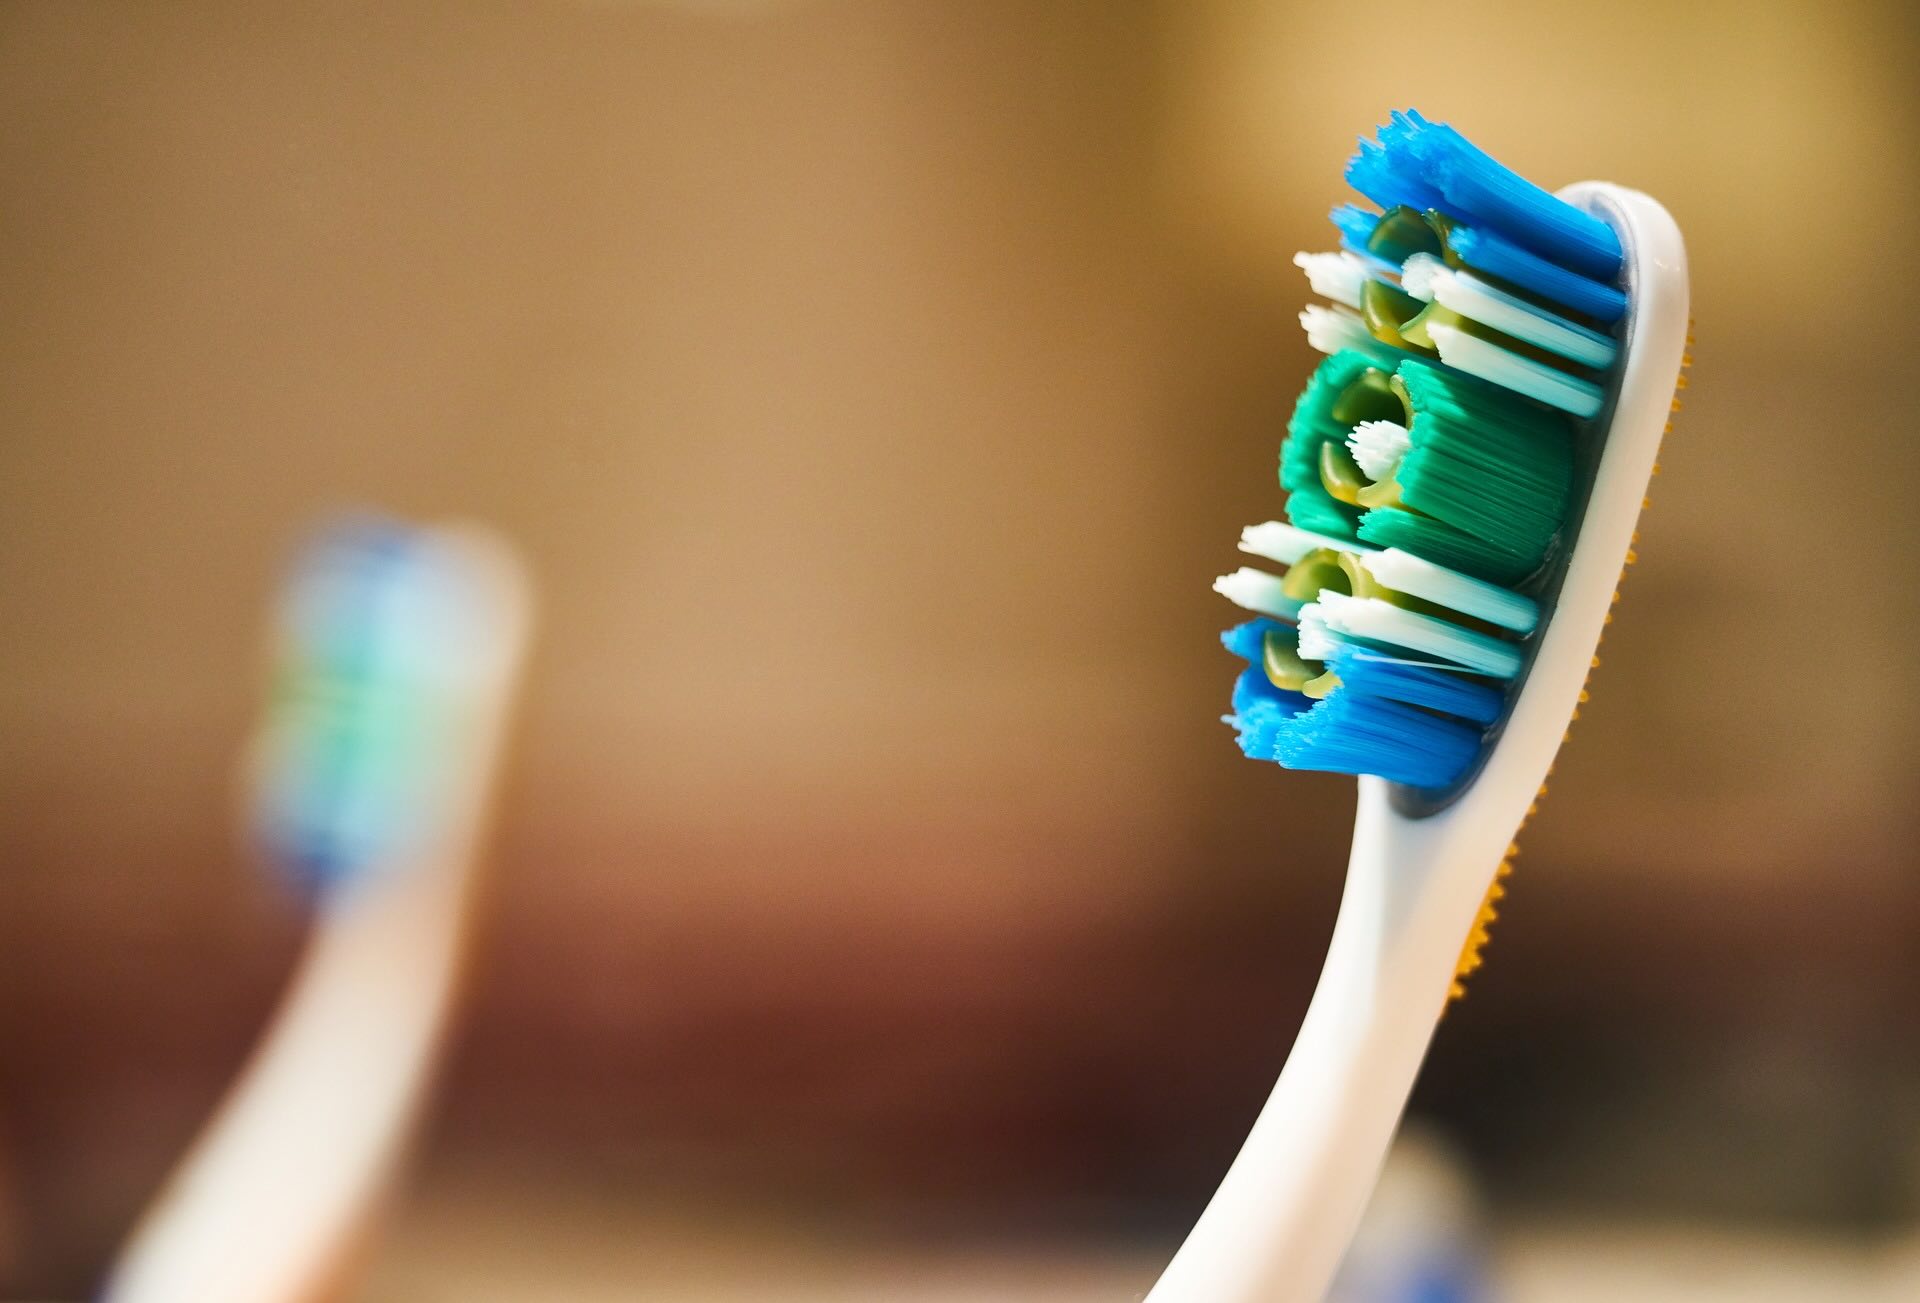
Regularly replacing your toothbrush is a vital step in maintaining good oral hygiene. Over time, the bristles of a toothbrush can become frayed, worn, and less effective at cleaning your teeth and gums.
The American Dental Association (ADA) recommends replacing your toothbrush every three to four months, or sooner if the bristles become frayed. This ensures that you always have a toothbrush with bristles in optimal condition.
Replacing your toothbrush regularly is essential for several reasons:
- Effectiveness: Worn bristles are less effective in removing plaque, food particles, and bacteria from your teeth and gums. By using a fresh toothbrush, you can ensure that you are achieving thorough cleaning.
- Hygiene: Over time, the bristles of your toothbrush can accumulate bacteria, mold, and other microorganisms. Regularly replacing your toothbrush reduces the risk of reintroducing these harmful substances into your mouth.
- Gum Health: Frayed or worn bristles can be harsh on your gums and cause irritation or damage. Using a new toothbrush with soft, intact bristles helps to maintain the health and integrity of your gums.
Make it a habit to mark your calendar or set a reminder to replace your toothbrush every three to four months. This will help you stay consistent with this important oral hygiene practice.
It’s also crucial to replace your toothbrush immediately after recovering from an illness, such as a cold or flu. This prevents the potential reintroduction of bacteria or viruses into your system.
By regularly replacing your toothbrush, you ensure that you are using an effective tool for maintaining good oral hygiene and minimizing the risk of bacterial contamination and gum irritation.
Conclusion
Properly storing your toothbrush is essential for maintaining good oral hygiene and preventing the growth of bacteria and other harmful microorganisms. By following these simple steps, you can ensure that your toothbrush remains clean, hygienic, and effective in keeping your teeth and gums healthy:
- Rinse the Toothbrush: After each use, thoroughly rinse your toothbrush under warm water to remove any remaining debris and bacteria.
- Choose a Suitable Storage Location: Select a clean and well-ventilated area to keep your toothbrush, avoiding enclosed containers and areas prone to moisture.
- Avoid Enclosed Containers: Open-air storage allows for proper drying and prevents the growth of bacteria and mold.
- Allow Proper Drying: After rinsing, ensure your toothbrush dries completely between uses to prevent bacterial growth.
- Store Toothbrushes Separately: Keep each family member’s toothbrush separate to prevent cross-contamination and maintain proper hygiene.
- Replace Regularly: Follow the ADA’s recommendation and replace your toothbrush every three to four months, or sooner if the bristles become frayed.
By implementing these steps into your oral hygiene routine, you can ensure that your toothbrush remains clean, effective, and free from harmful bacteria. Remember, maintaining a clean toothbrush is just as important as proper brushing and flossing techniques in achieving optimal oral health.
So, whether you store your toothbrush in a holder on your bathroom countertop or in a divided holder inside a cabinet, make sure to follow these guidelines for proper toothbrush storage. Your smile will thank you!
Frequently Asked Questions about How To Store Toothbrush
Was this page helpful?
At Storables.com, we guarantee accurate and reliable information. Our content, validated by Expert Board Contributors, is crafted following stringent Editorial Policies. We're committed to providing you with well-researched, expert-backed insights for all your informational needs.

0 thoughts on “How To Store Toothbrush”