Articles
How To Store Electric Toothbrush
Modified: May 6, 2024
Learn the best methods for storing your electric toothbrush in this informative article. Keep your toothbrush protected and in optimal condition.
(Many of the links in this article redirect to a specific reviewed product. Your purchase of these products through affiliate links helps to generate commission for Storables.com, at no extra cost. Learn more)
Introduction
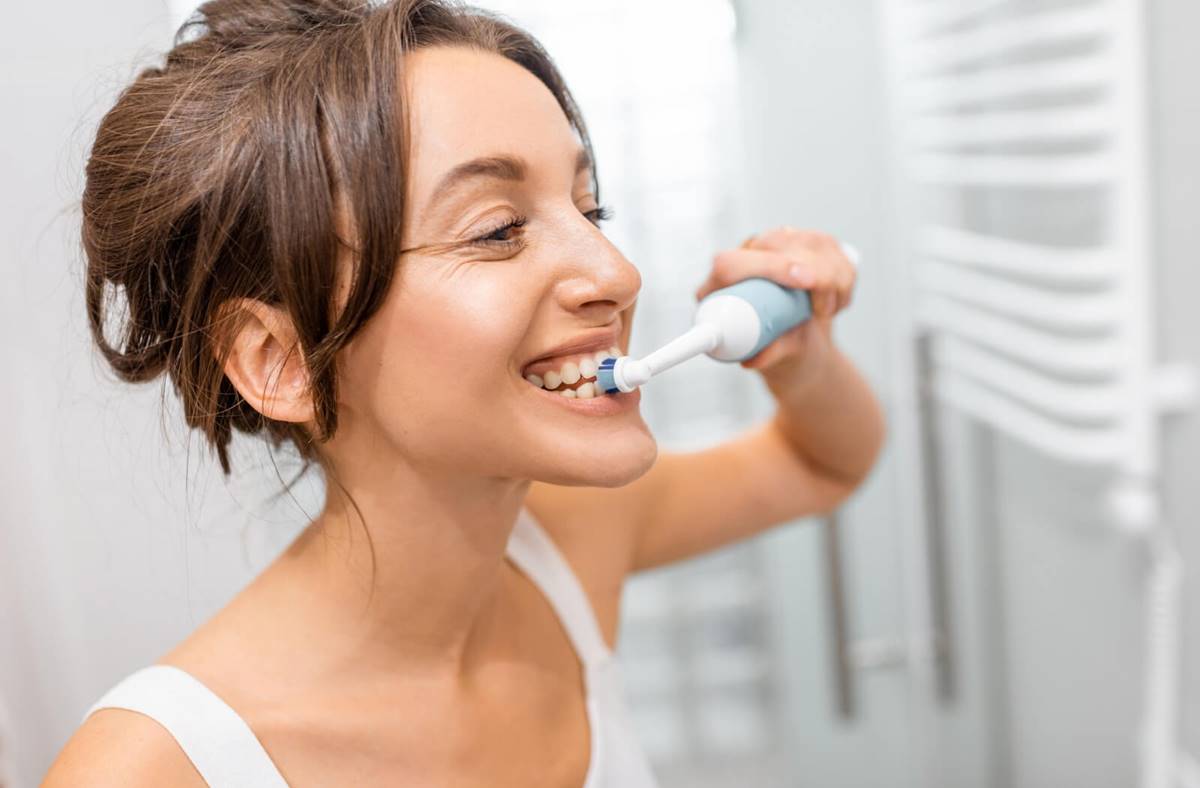
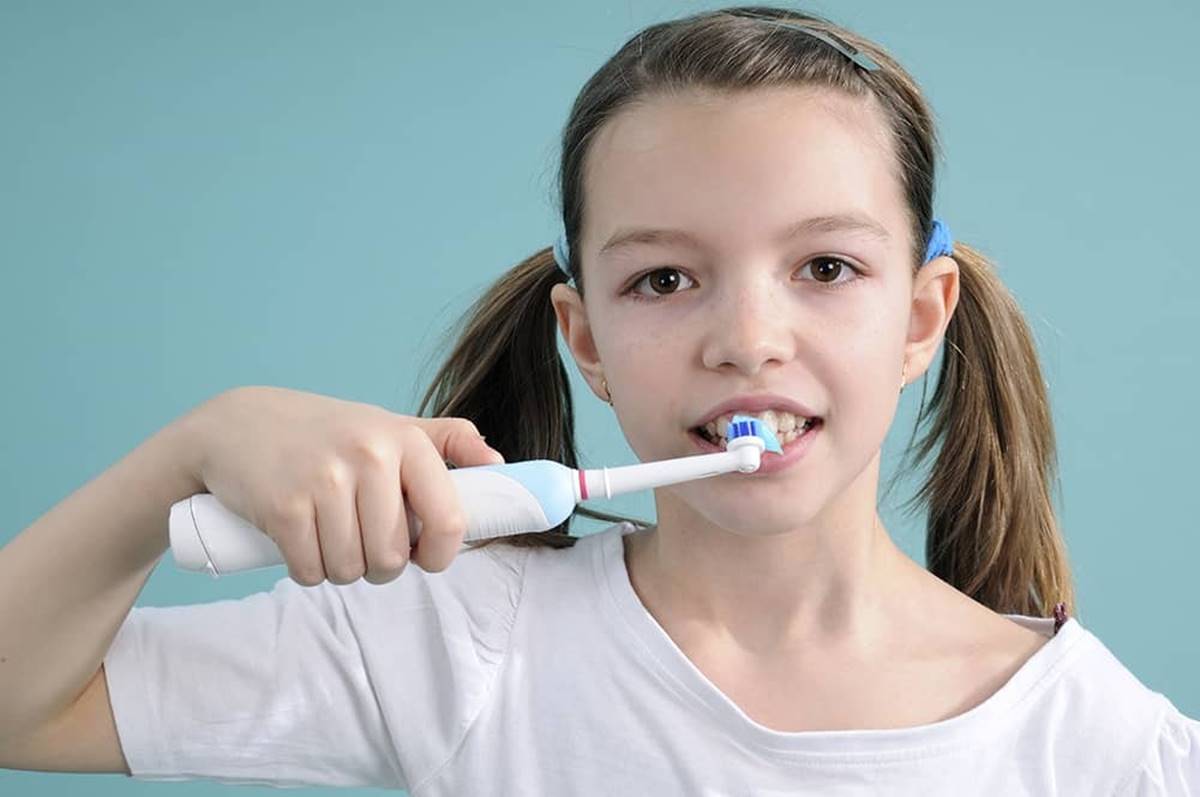
When it comes to maintaining our oral hygiene, electric toothbrushes have become increasingly popular for their effectiveness in removing plaque and keeping our teeth clean. However, proper storage of these toothbrushes is often overlooked, leading to potential issues such as bacterial growth or damage to the bristles. In this article, we will guide you through the steps on how to store your electric toothbrush correctly to ensure its longevity and optimal performance.
By following these simple guidelines, you can keep your electric toothbrush clean, hygienic, and ready for use whenever you need it.
Key Takeaways:
- Properly storing your electric toothbrush is crucial for maintaining its cleanliness, hygiene, and optimal performance. Follow the steps outlined to ensure longevity and effective oral care.
- By removing, cleaning, and drying the toothbrush and head separately, using a toothbrush holder, and avoiding bathroom storage, you can reduce the risk of bacterial growth and extend the lifespan of your electric toothbrush.
Read more: How To Recycle An Electric Toothbrush
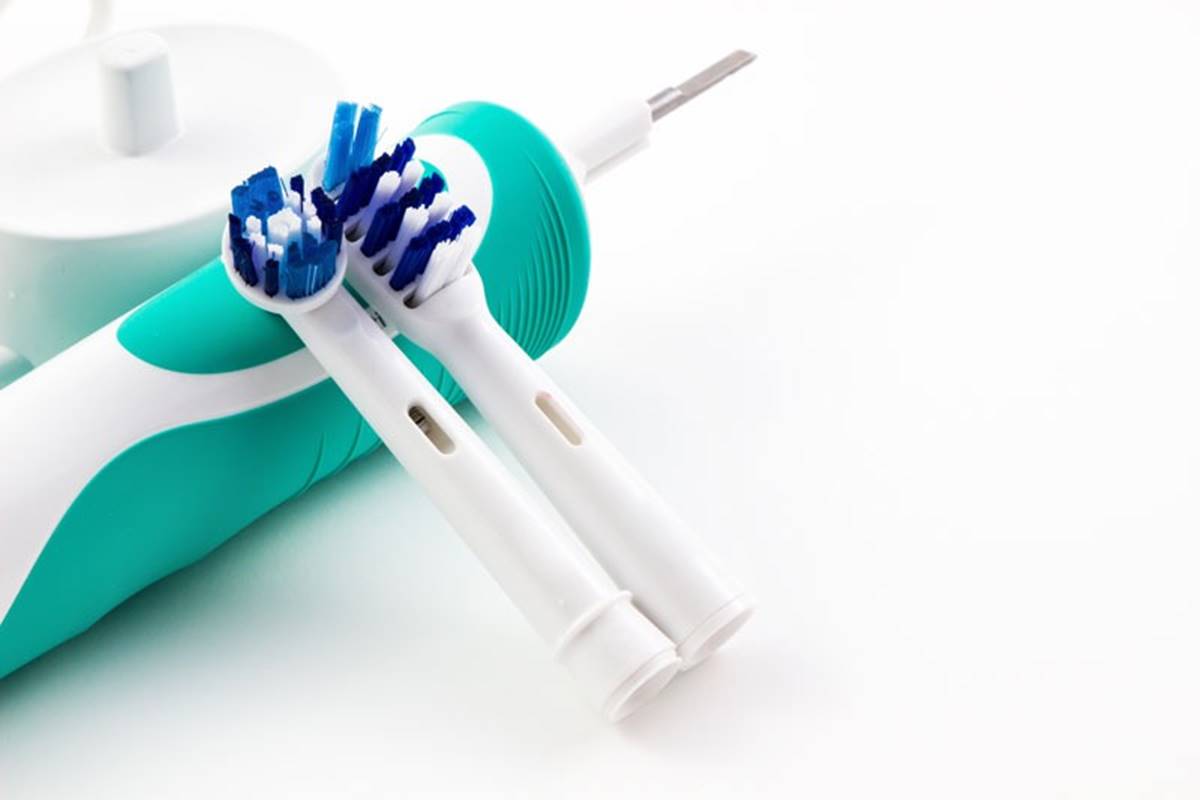
Step 1: Remove the Toothbrush Head
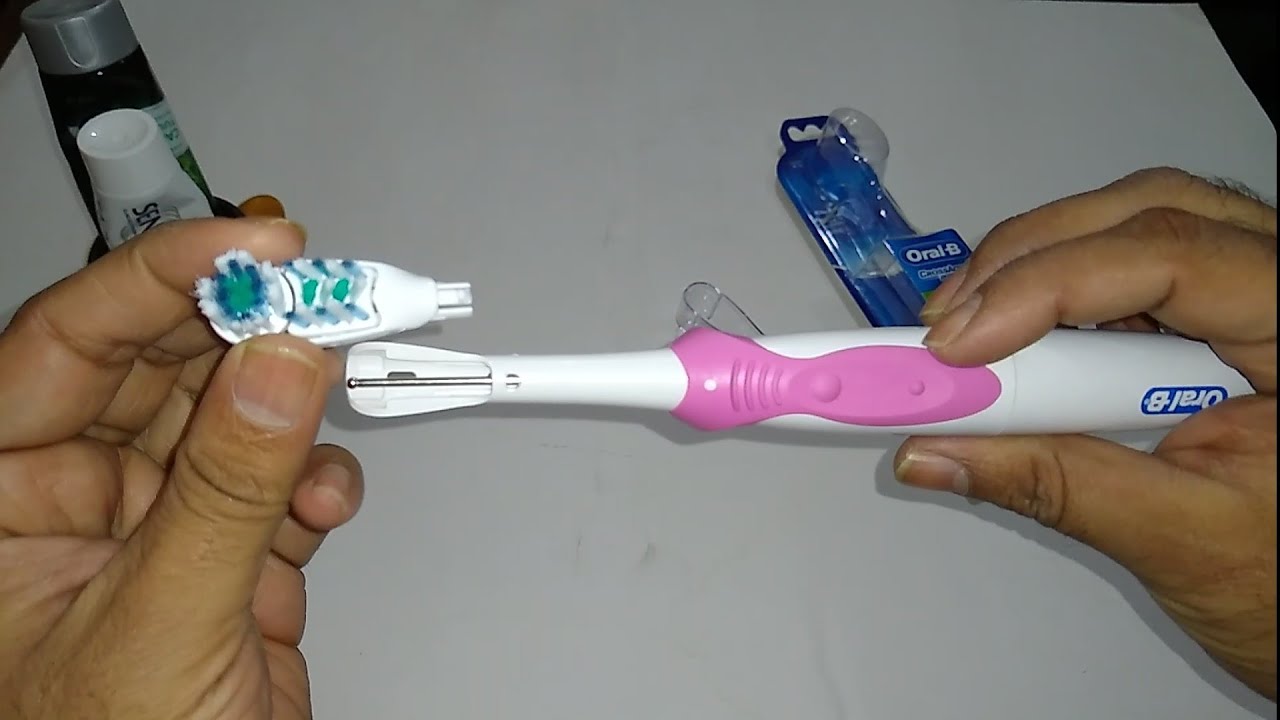
The first step in properly storing your electric toothbrush is to remove the toothbrush head. Most electric toothbrushes allow for easy removal of the brush head by simply pulling it off the handle. This step is essential as it allows for thorough cleaning and drying of both the toothbrush head and the handle.
Removing the toothbrush head also helps prevent the growth of bacteria or mold in hard-to-reach areas, ensuring optimal oral hygiene during your brushing routine. Additionally, it allows for easier maintenance and replacement of the brush heads when needed.
To remove the toothbrush head, simply grasp the head firmly and pull it away from the handle. Make sure to hold the handle securely to avoid any accidental dropping or damage to the toothbrush. Once the head is detached, proceed to the next step.
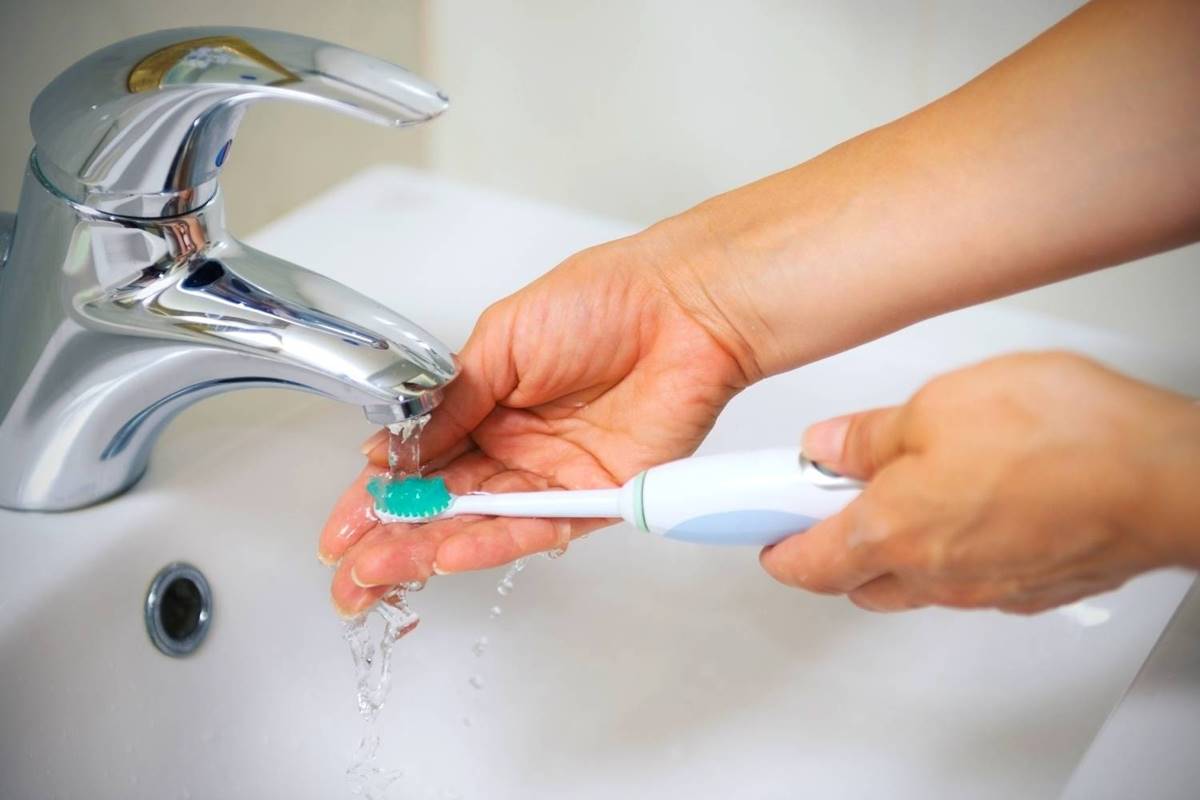
Step 2: Clean the Toothbrush Head
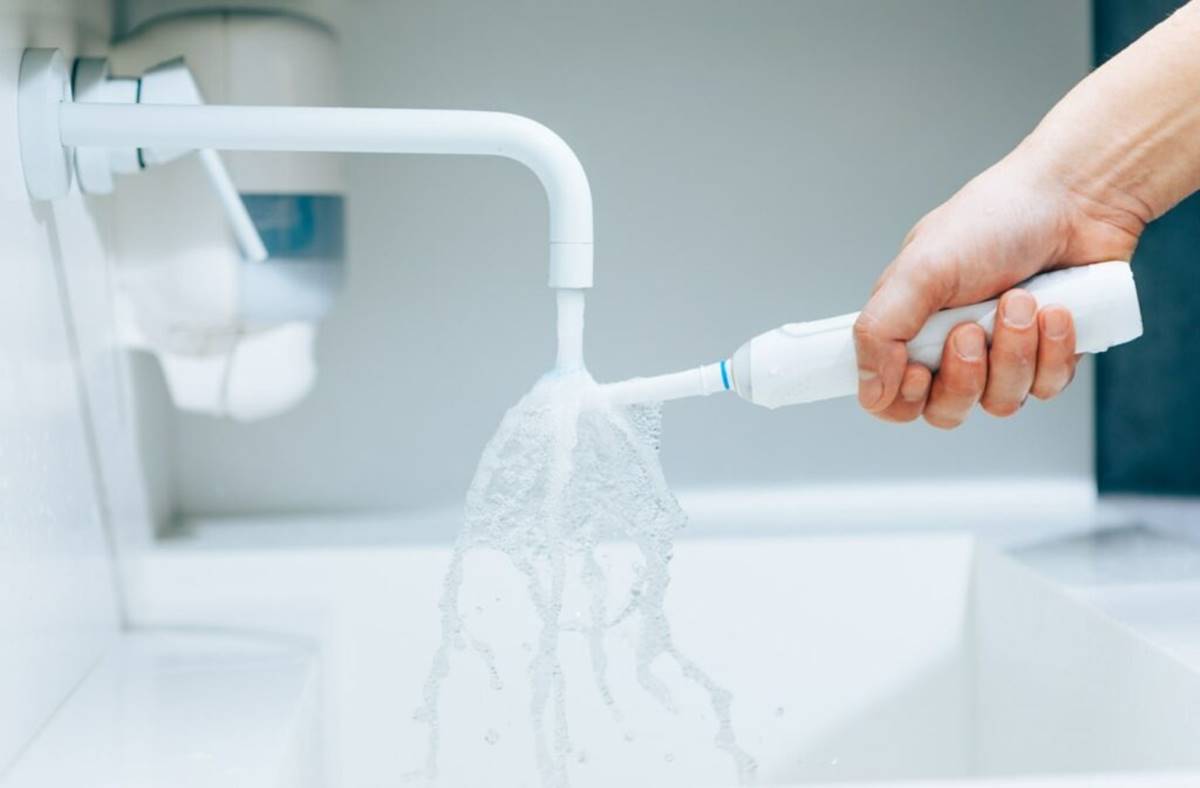
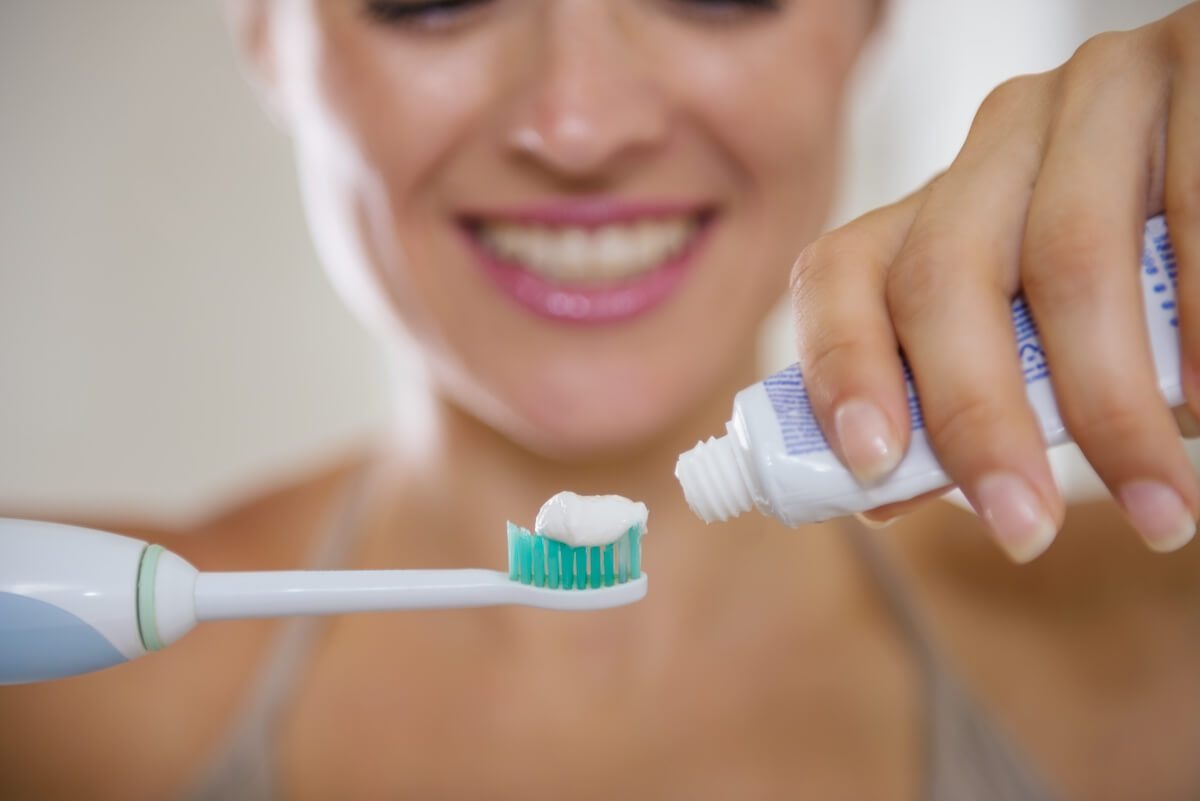
After removing the toothbrush head, it is important to thoroughly clean it to remove any debris, toothpaste residue, or bacteria that may have accumulated during use. Cleaning the toothbrush head regularly helps prevent the buildup of bacteria and ensures optimal oral hygiene.
You can clean the toothbrush head using warm water and a gentle soap or toothpaste. Fill a small bowl or cup with warm water and add a few drops of soap or apply a small amount of toothpaste to the bristles. Use your fingers or a soft toothbrush to gently scrub the bristles, ensuring you clean all sides thoroughly.
Pay close attention to the area where the bristles meet the base of the head, as this is a common spot for debris to accumulate. Use your fingers to remove any visible buildup or use a toothbrush to gently scrub the area.
After cleaning the toothbrush head, rinse it thoroughly with water to remove any soap or toothpaste residue. Ensure that you rinse the head from all angles, ensuring all debris and cleaning agents are completely removed.
Once the toothbrush head is clean and free from any residue, move on to the next step to ensure proper drying.
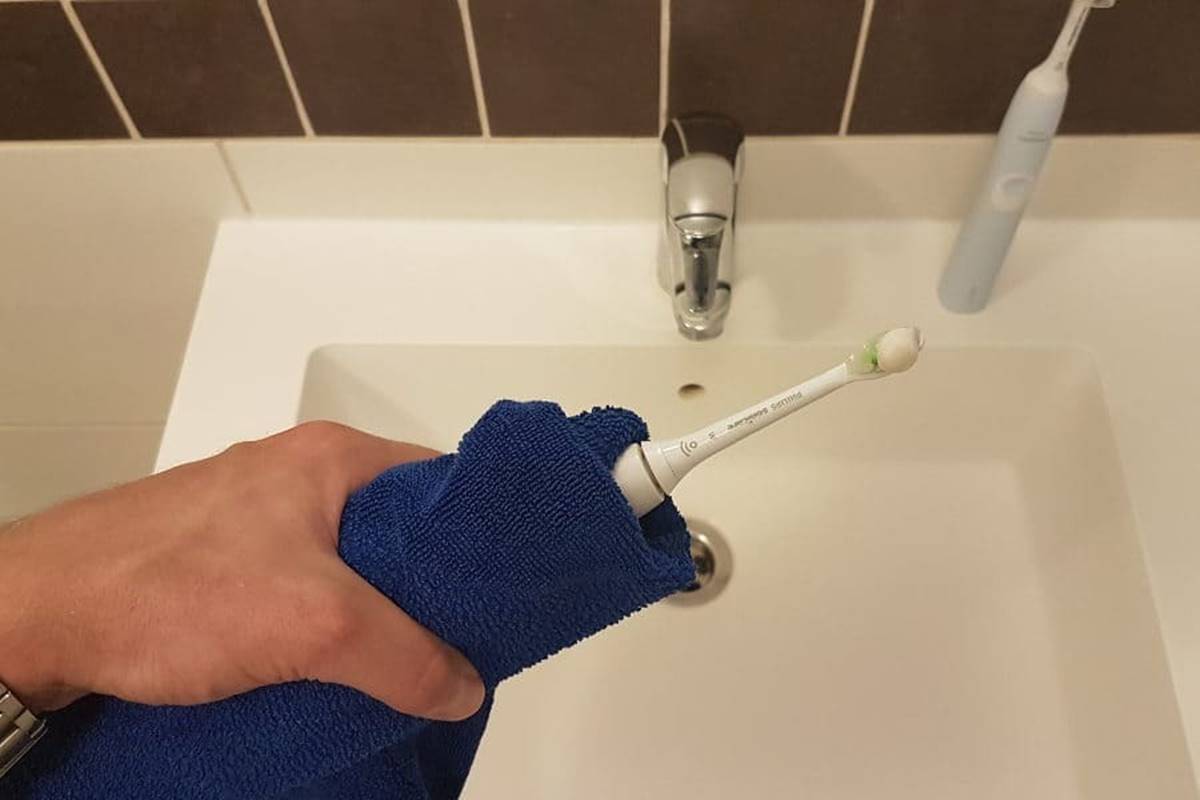
Step 3: Dry the Toothbrush and Head Separately
After cleaning the toothbrush head, it is essential to ensure that both the toothbrush and the head are thoroughly dried before storing them. This step is crucial in preventing the growth of bacteria and mold, which can thrive in moist environments.
Start by shaking off any excess water from the toothbrush head. Gently tap it against the sink or a towel to remove as much moisture as possible. You can also use a clean towel or tissue to blot the bristles and absorb any remaining water.
Next, place the toothbrush head in an upright position, such as in a toothbrush holder or a cup, with the bristles facing upwards. This allows for proper airflow and allows any remaining moisture to evaporate more efficiently. Avoid laying the toothbrush head flat or covering it with a cap, as this can trap moisture and create a breeding ground for bacteria.
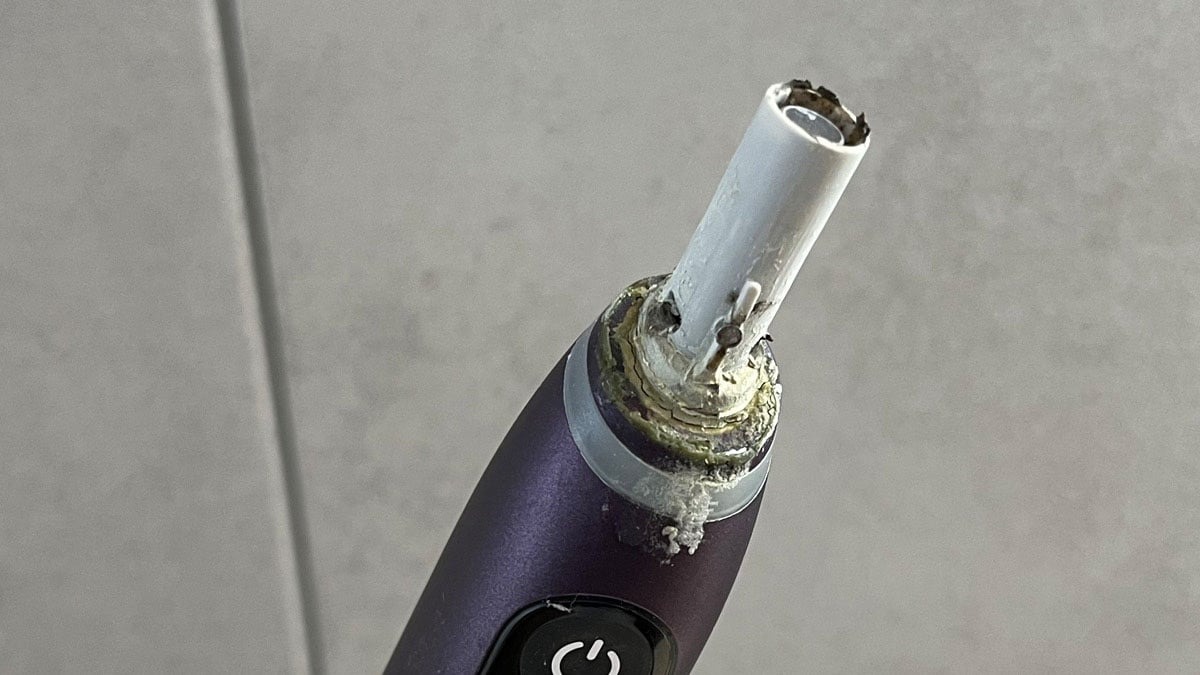
For the toothbrush handle, wipe it down with a clean, dry cloth to remove any moisture or residue. Pay close attention to the area where the toothbrush head connects to the handle, as water may have accumulated here during the cleaning process.
It’s important to note that storing the toothbrush and the head separately and allowing them to dry individually not only prevents bacterial growth but also helps maintain the integrity of the bristles and prolongs the lifespan of your electric toothbrush.
Once both the toothbrush head and handle are dry, you are ready to move on to the next step, which involves storing the toothbrush in an appropriate location.
Step 4: Store in a Dry, Ventilated Area
Proper storage of your electric toothbrush is crucial to ensure its longevity and prevent the growth of bacteria. It is essential to store your toothbrush in a dry, ventilated area to keep it clean and hygienic.
Avoid storing your electric toothbrush in a closed container or a damp environment, as this can promote the growth of mold and bacteria. Instead, find a location that allows for adequate airflow and keeps the toothbrush away from direct contact with moisture.
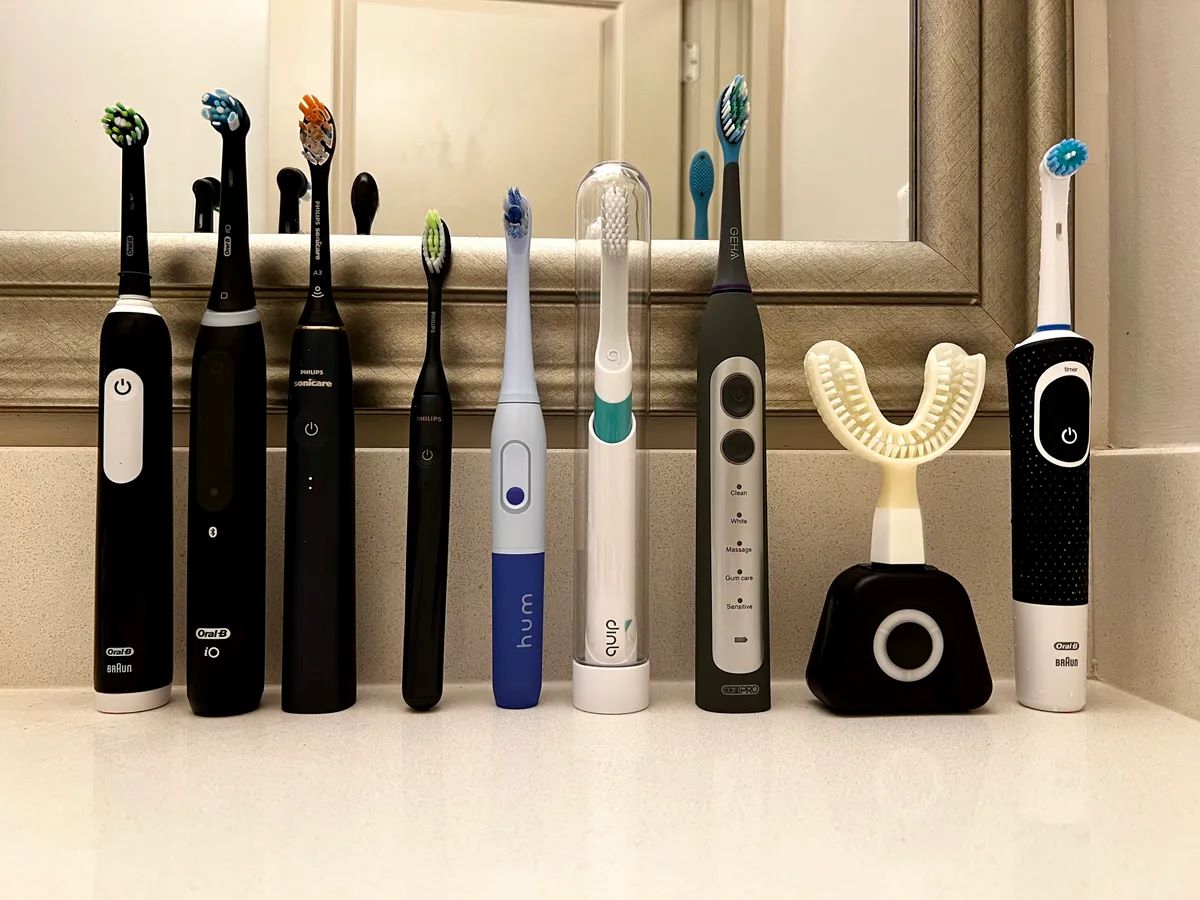
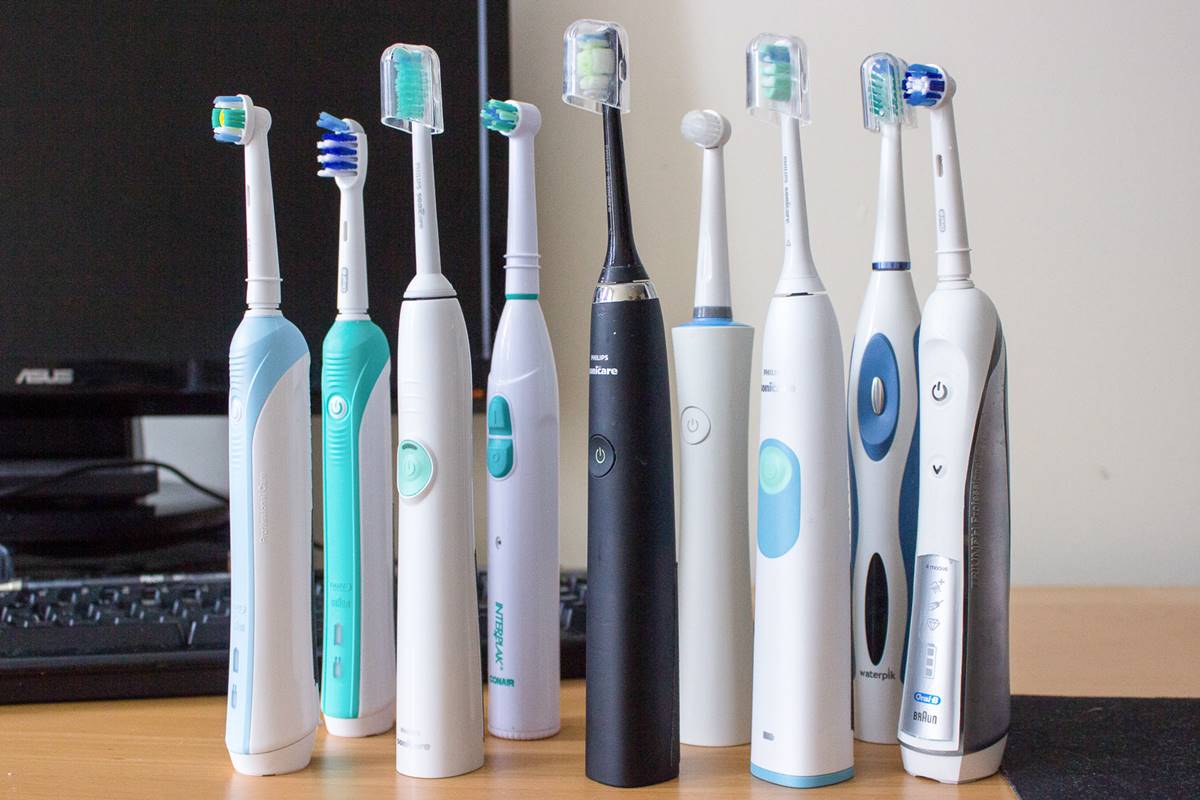
An ideal storage option is a toothbrush holder specifically designed for electric toothbrushes. These holders often feature slots or compartments where you can place both the handle and the brush head separately. They provide proper ventilation and protection from dust or contaminants, keeping your toothbrush clean and ready for use.
If you don’t have a toothbrush holder, you can also consider using a clean cup or a designated area on your bathroom countertop where the toothbrush can air dry. Ensure that the area is away from the sink to prevent splashes of water from reaching the toothbrush.
Remember to keep your toothbrush away from high humidity areas such as near the shower or toilet, as excessive moisture can affect its effectiveness and promote bacterial growth.
By storing your electric toothbrush in a dry, ventilated area, you can maintain its cleanliness, extend its lifespan, and ensure that each brushing session is as hygienic as possible.
Store your electric toothbrush in an upright position to allow for proper air circulation and to prevent moisture buildup. Keep it away from the sink to avoid water damage.
Read more: How To Charge An Electric Toothbrush
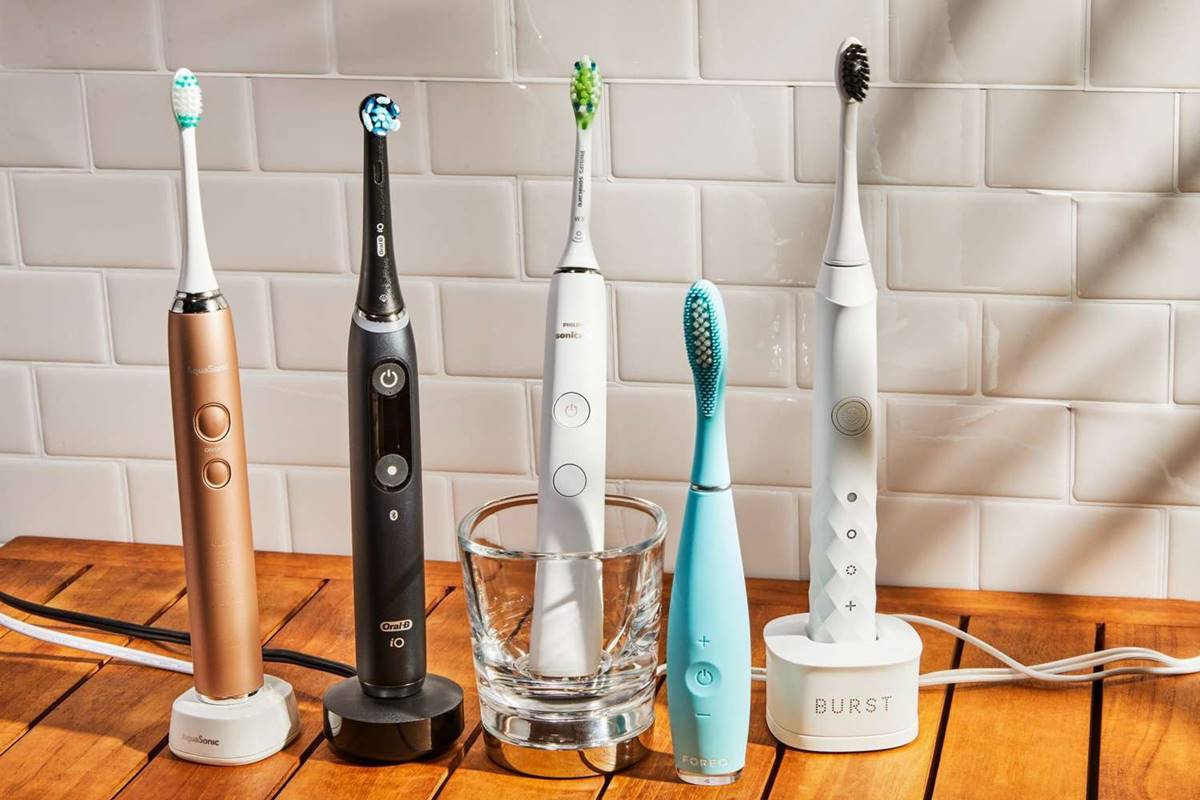
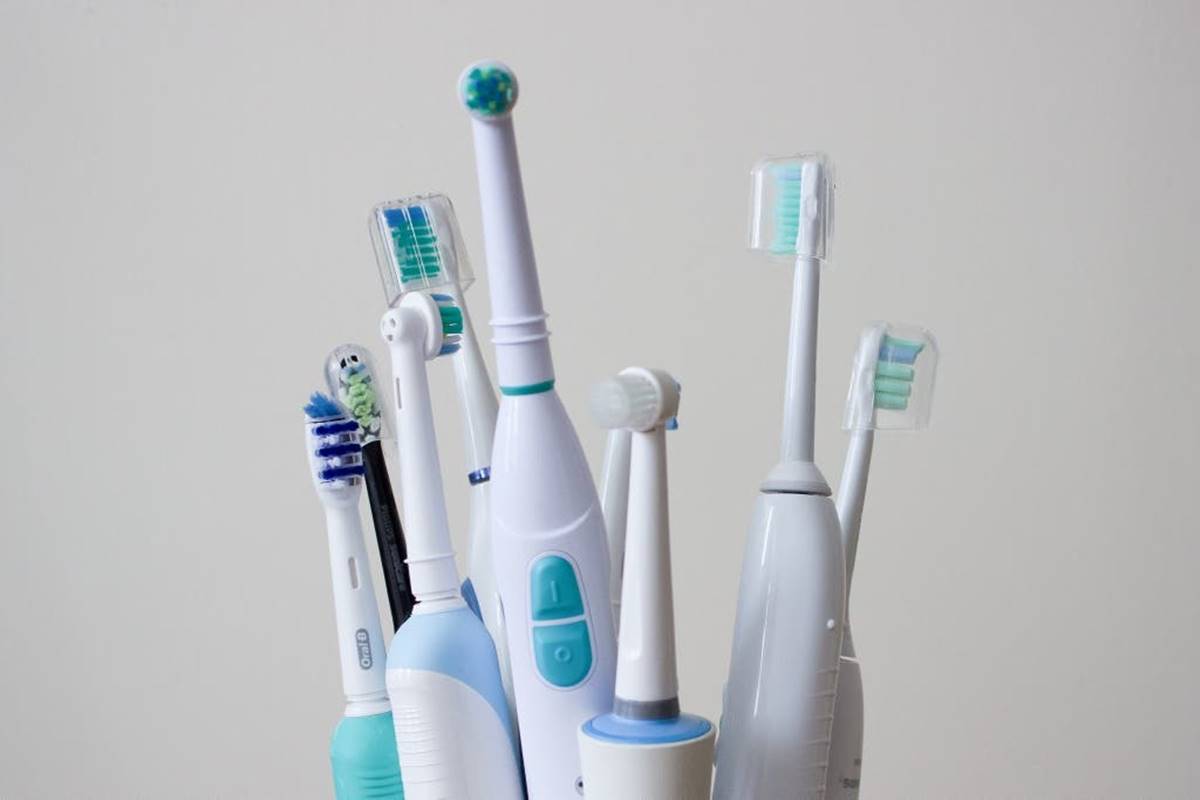
Step 5: Consider Using a Toothbrush Holder
Using a toothbrush holder is a practical and convenient way to store your electric toothbrush. Toothbrush holders are specifically designed to keep your toothbrush clean, organized, and easily accessible.
One of the main advantages of using a toothbrush holder is that it provides a designated spot for your toothbrush, ensuring that it remains upright and secure. Most toothbrush holders have separate compartments for the handle and the brush head, allowing for proper airflow and drying.
When choosing a toothbrush holder, look for one that is easy to clean and has openings or slots that accommodate your specific electric toothbrush model. Opt for a holder with removable parts or one that can be disassembled for thorough cleaning. This ensures that you can maintain the hygiene of both the holder and your toothbrush.
Some toothbrush holders even feature additional features, such as UV sanitizing capabilities, which use ultraviolet light to kill bacteria and germs on your toothbrush. While not essential, these extra features can provide an added layer of cleanliness and peace of mind.
Whether you opt for a basic toothbrush holder or one with advanced features, using a holder can help keep your electric toothbrush organized, protected, and easily accessible. It also promotes proper drying and reduces the risk of bacterial growth, ensuring a clean and hygienic brushing experience.
Step 6: Avoid Storing in the Bathroom
While the bathroom may seem like a convenient location to store your electric toothbrush, it is actually best to avoid storing it in this humid environment. Bathrooms tend to have high humidity levels, which can create an ideal breeding ground for bacteria and mold.
Exposing your electric toothbrush to constant moisture and humidity can lead to bacterial growth and potential damage to the bristles and internal components of the toothbrush. Additionally, bathrooms are often filled with airborne particles, such as aerosolized water droplets and chemicals from personal care products, which can contaminate your toothbrush.
To ensure the cleanliness and longevity of your electric toothbrush, consider storing it outside of the bathroom in a dry and well-ventilated area. This can be in your bedroom, on a vanity, or in another location that is away from moisture and potential contaminants.
By keeping your electric toothbrush in a dry environment, you reduce the risk of bacterial growth, extend the lifespan of the toothbrush, and maintain optimal oral hygiene.
Step 7: Replace or Store the Toothbrush Charger
When it comes to storing your electric toothbrush, it is important to also consider the charger. The charger is an essential component that keeps your toothbrush powered and ready for use. However, you need to carefully evaluate whether it is best to replace the charger or store it properly.
If your electric toothbrush charger is showing signs of wear and tear, such as frayed wires or a loose connection, it is advisable to replace it. Using a faulty charger can be unsafe and may damage your toothbrush or pose a risk of electric shock. Check with the manufacturer or consult the user manual to find the appropriate charger for your specific toothbrush model.
On the other hand, if your charger is in good condition, you can store it properly to ensure its longevity and protect it from dust and damage. Unplug the charger from the power source and neatly coil the cable to prevent any tangles or knots. Avoid wrapping the cord too tightly, as this can cause damage to the wires.
It is also important to store the toothbrush charger in a dry area that is away from moisture and excessive heat. Consider using a cable organizer or a small bag specifically designed for electronic accessories to protect the charger from dirt and potential damage.
By ensuring the proper storage of the toothbrush charger, you can maintain its functionality and extend its lifespan, ensuring that your electric toothbrush remains powered and ready for use whenever you need it.
Conclusion
Properly storing your electric toothbrush is essential for maintaining its cleanliness, hygiene, and optimal performance. By following the steps outlined in this article, you can ensure that your electric toothbrush remains in excellent condition and provides you with effective oral care.
Remember to remove the toothbrush head for thorough cleaning, dry the head and handle separately to prevent bacterial growth, store it in a dry and ventilated area, consider using a toothbrush holder for added protection, avoid storing it in the bathroom to minimize exposure to moisture, and replace or store the toothbrush charger appropriately.
Taking these steps will not only keep your electric toothbrush clean and hygienic but also extend its lifespan and ensure that you continue to enjoy the benefits of effective oral hygiene. Additionally, by properly storing your electric toothbrush, you reduce the risk of bacteria and mold growth, improving your overall dental health.
So, put these guidelines into practice and make proper storage of your electric toothbrush a part of your oral care routine. Your teeth and gums will thank you for it!
Now that you've mastered storing your electric toothbrush, why not step up your oral hygiene game even further? Smart toothbrushes are revolutionizing dental care with advanced technology that provides real-time feedback, ensuring your brushing technique is nothing short of perfect. Curious about how these innovative devices work and how they could benefit your daily routine? Check out our detailed guide on smart toothbrushes to get all the insights you need for a healthier smile.
Frequently Asked Questions about How To Store Electric Toothbrush
Was this page helpful?
At Storables.com, we guarantee accurate and reliable information. Our content, validated by Expert Board Contributors, is crafted following stringent Editorial Policies. We're committed to providing you with well-researched, expert-backed insights for all your informational needs.

0 thoughts on “How To Store Electric Toothbrush”