Home>Articles>How To Test Ignition Coils With Basic Hand Tools

Articles
How To Test Ignition Coils With Basic Hand Tools
Modified: January 5, 2024
Learn how to test ignition coils using basic hand tools for HD Carsntoys. Read our informative articles for step-by-step guides and troubleshooting tips.
(Many of the links in this article redirect to a specific reviewed product. Your purchase of these products through affiliate links helps to generate commission for Storables.com, at no extra cost. Learn more)
Introduction
Welcome to the world of automotive diagnostics! If you suspect that your vehicle’s ignition coils may be malfunctioning, you’ve come to the right place. Ignition coils play a vital role in the proper functioning of your car’s ignition system, as they are responsible for converting the low voltage from the battery into a high voltage needed to ignite the fuel-air mixture in the engine’s cylinders.
Testing the ignition coils is a crucial step in diagnosing any ignition-related issues. While there are specialized tools available for this, you’ll be surprised to learn that you can perform this test with just some basic hand tools in your garage. In this article, we will guide you through the process of testing ignition coils using common tools, allowing you to save both time and money.
Before we dive into the testing process, it’s important to note that not all ignition coil issues can be detected through these tests. However, these tests will help you identify any obvious problems with the ignition coils, such as a complete failure or inconsistency in electrical flow. Let’s get started!
Key Takeaways:
- Ensure safety and efficiency by preparing the vehicle, wearing safety gear, and following the testing process step by step. Visual inspection and testing with basic tools can help identify and address potential ignition coil issues.
- Perform resistance and voltage tests on each ignition coil to ensure proper functioning. Replace any faulty coils to prevent engine performance problems and maintain a reliable driving experience.
Read more: How To Test Ignition Coil On A Leaf Blower
Tools Required
To perform the ignition coil testing, you will need the following tools:
- Multimeter: This is a versatile tool used to measure electrical voltage, resistance, and current. Make sure it is capable of measuring both AC and DC voltages.
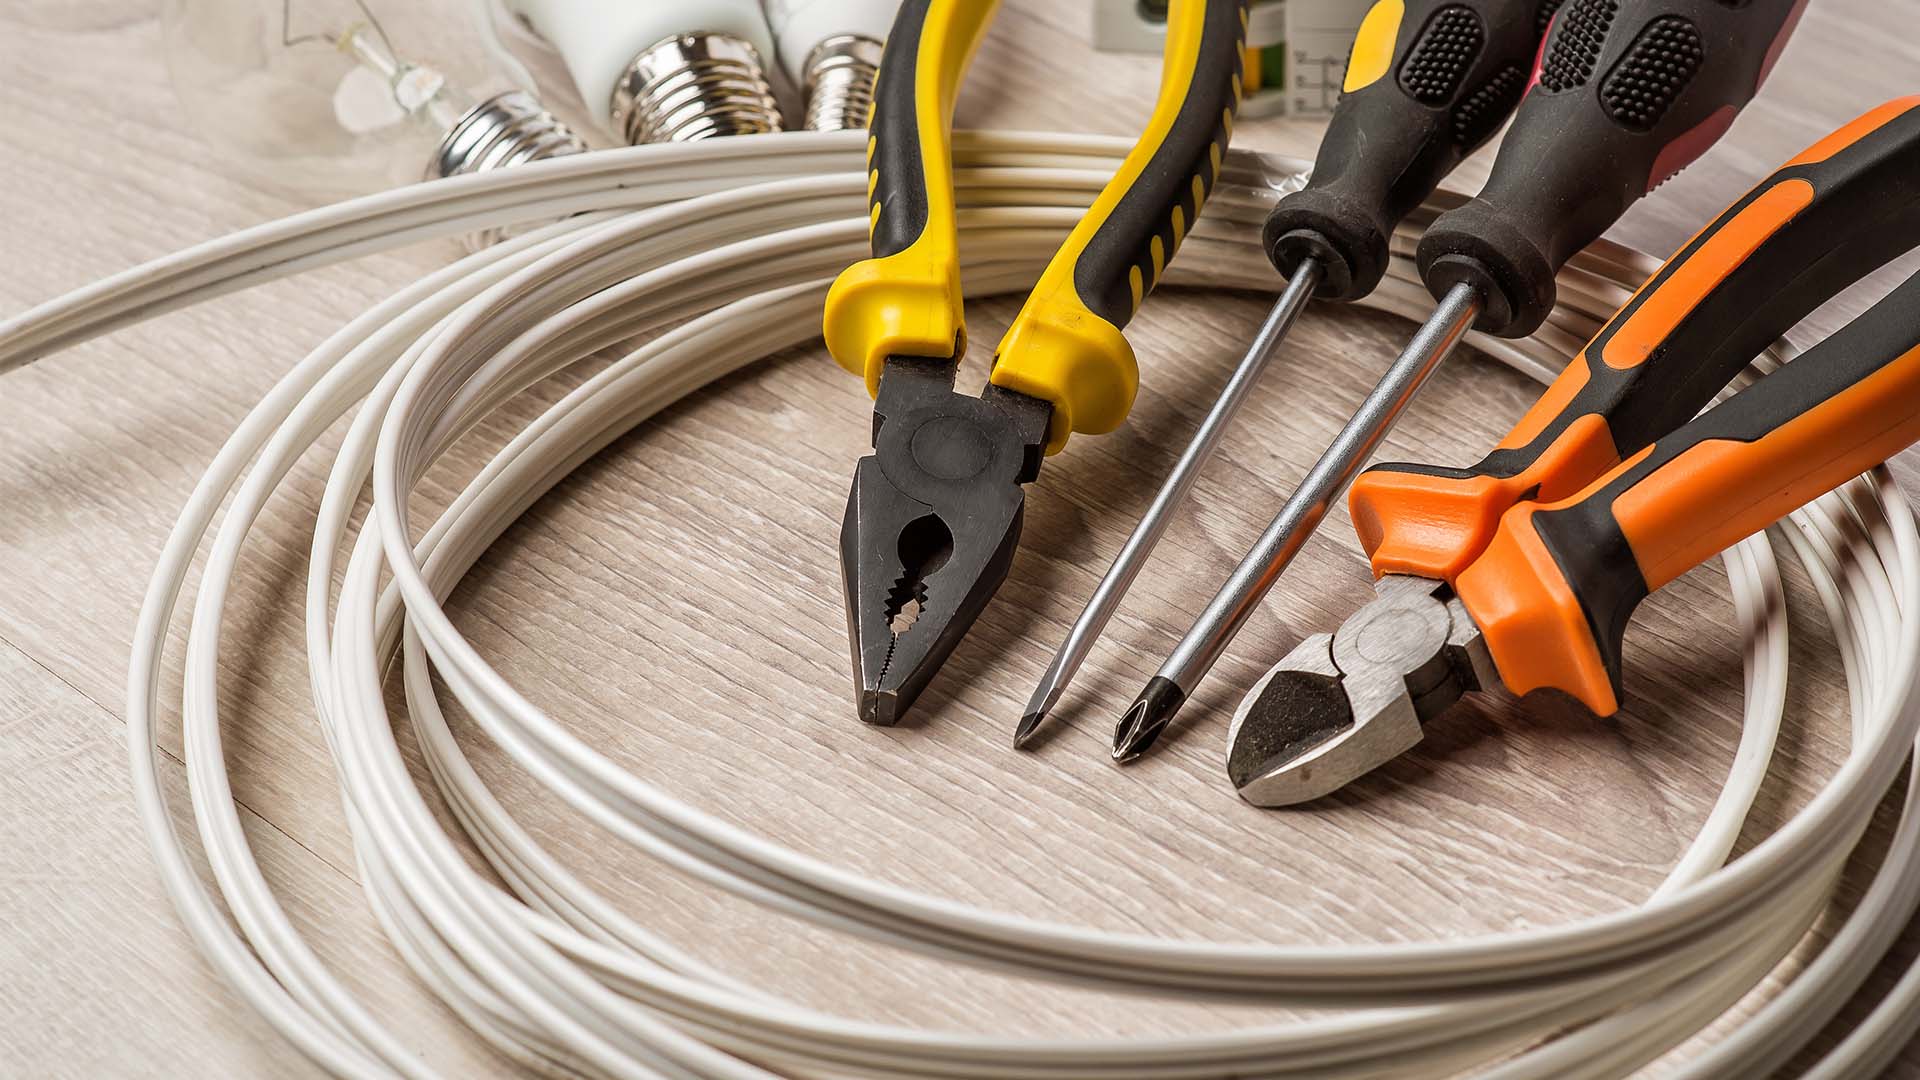
- Screwdriver: A set of screwdrivers with various sizes and types will come in handy for removing the ignition coil connections.
- Spark Plug Socket: A spark plug socket is necessary for disconnecting the ignition coil from the spark plug.
- Rag or Shop Towel: You’ll need a rag or shop towel to wipe off any dirt or debris that may be present around the ignition coils.
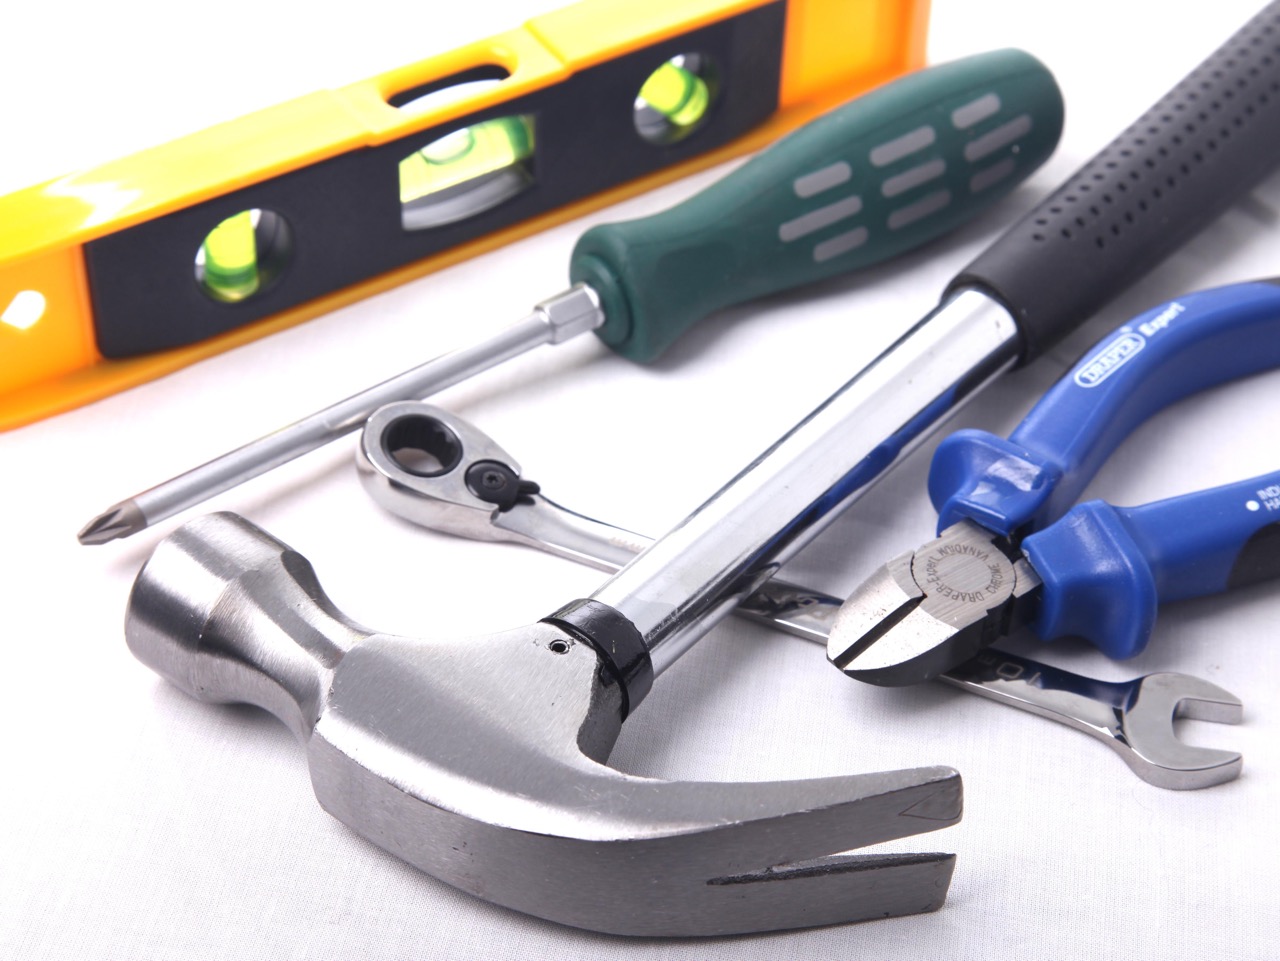
These basic hand tools can be found in most automotive tool kits or purchased individually from a local auto parts store. Ensure that you have these tools readily available before starting the ignition coil testing process.
Step 1: Prepare the Vehicle
Before you begin testing the ignition coils, it is important to ensure the safety of both yourself and your vehicle. Follow these steps to prepare the vehicle:
- Find a well-ventilated area: Choose an open space or a well-ventilated garage to work on your vehicle. This will help dissipate any fumes that may be released during the testing process.
- Turn off the engine: Make sure the engine is turned off and the key is removed from the ignition. This will prevent any accidents or injuries while working on the ignition coils.
- Allow the engine to cool down: Wait for the engine to cool down before beginning the testing process. This will prevent any burns or injuries caused by touching hot engine components.
- Open the hood: Release the hood latch and open the hood of the vehicle. Use the hood support rod to keep the hood in the open position, allowing easy access to the engine compartment.
- Locate the battery: Identify the location of the vehicle’s battery. This is typically found in the engine compartment. Ensure that it is securely connected and that there are no signs of corrosion or damage.
- Put on safety gear: Wearing safety glasses and gloves is highly recommended to protect your eyes and hands from any potential hazards or injuries.
By following these preparation steps, you can ensure a safe and efficient testing process for your vehicle’s ignition coils. With the vehicle ready, you can now move on to the next step of locating the ignition coils.
Step 2: Locate the Ignition Coils
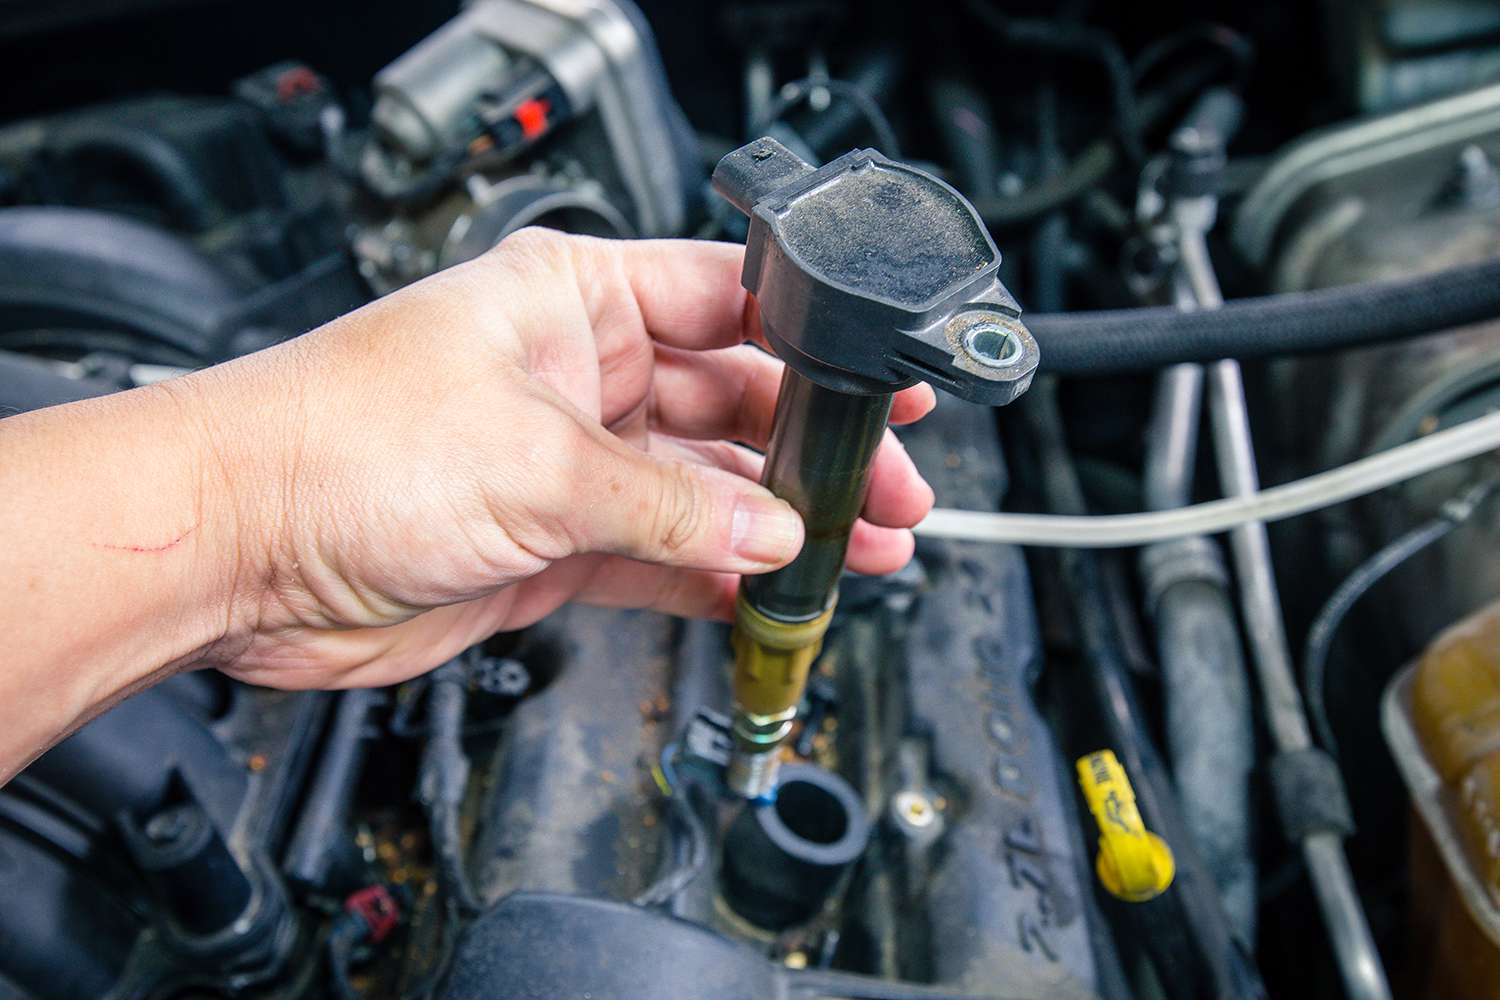
Now that you have prepared the vehicle, it’s time to locate the ignition coils. The ignition coils are typically found on or near the engine and are connected to the spark plugs. Here’s how to find them:
- Consult the vehicle’s manual: The easiest and most accurate way to locate the ignition coils is by referring to the vehicle’s manual. The manual will provide specific instructions and diagrams for your particular make and model.
- Perform a visual inspection: If you don’t have access to the manual, you can visually inspect the engine compartment for cylindrical or block-shaped components with electrical connections. The ignition coils are usually located near the top of the engine and can be identified by their electrical connectors.
- Identify the coil-on-plug or distributor system: Depending on the age and design of your vehicle, it may have either a coil-on-plug (COP) system or a distributor system. In a COP system, each cylinder has its own ignition coil, while in a distributor system, there is a single ignition coil that distributes the spark to the spark plugs. Determine which system your vehicle has.
Remember that the location of the ignition coils may vary depending on the make, model, and engine configuration of your vehicle. Take your time to properly identify the ignition coils before proceeding to the next step of disconnecting them.
Step 3: Disconnect the Ignition Coils
With the ignition coils located, it’s time to disconnect them. Follow these steps to safely disconnect the ignition coils:
- Identify the electrical connectors: Each ignition coil will have an electrical connector attached to it. These connectors are usually secured with clips or screws. Identify the connectors and determine the type of fastening mechanism.
- Remove the fasteners: Depending on the type of connectors, use a screwdriver or a suitable tool to remove the fasteners that secure the electrical connectors. Be careful not to damage the connectors or the wiring while removing the fasteners.
- Gently pull out the connectors: Once the fasteners are removed, gently pull out the electrical connectors from the ignition coils. You may need to wiggle the connectors slightly to loosen them before they can be fully disconnected.
- Label or mark the connectors: To avoid confusion, it is a good practice to label or mark each connector with the cylinder number or position it corresponds to. This will make it easier to reassemble everything correctly after the testing process.
- Inspect the connectors and wiring: While the connectors are disconnected, take a moment to inspect them and the wiring for any signs of damage, corrosion, or loose connections. If you notice any issues, it’s recommended to address them before proceeding further.
By following these steps, you can safely disconnect the ignition coils without causing any damage or disruptions. Once the ignition coils are disconnected, you can move on to the next step of inspecting them for any visible issues.
Read more: How To Test Hand Tools
Step 4: Inspect the Ignition Coils
After disconnecting the ignition coils, it’s time to inspect them for any visible issues. This visual inspection can help identify physical damage or abnormalities that may indicate a faulty ignition coil. Follow these steps to inspect the ignition coils:
- Check for physical damage: Examine each ignition coil for any signs of physical damage, such as cracks, dents, or corrosion. Pay close attention to the coil housing and the electrical connector for any visible issues.
- Inspect the wiring and connectors: Take a close look at the wiring and connectors connected to each ignition coil. Look for loose connections, frayed wires, or signs of corrosion. Ensure that the connectors are clean and free of any debris.
- Inspect the coil boot and spark plug adapters: If your vehicle has a COP system, check the coil boots and spark plug adapters for any signs of wear, damage, or corrosion. These components play a crucial role in delivering the electrical charge to the spark plugs.
- Verify the consistency of the coils: Compare the ignition coils to each other and check for any discrepancies in terms of color, shape, or size. While slight variations may be normal, any significant differences could indicate a problem.
- Smell for any unusual odors: Give the ignition coils a sniff to check for any unusual odors, such as a burnt smell or the scent of electrical insulation burning. These smells may indicate internal damage or overheating.
During the inspection process, take note of any issues or abnormalities you observe. These observations will help you determine the overall condition of the ignition coils and whether further testing is necessary. If everything looks good, you can proceed to the next step of testing the ignition coils for resistance.
When testing ignition coils with basic hand tools, always start by checking for visible damage or corrosion. Use a multimeter to test the resistance of the coil and compare it to the manufacturer’s specifications.
Step 5: Perform Resistance Test
Once the ignition coils have been visually inspected and deemed to be in good condition, it’s time to move on to the actual testing process. The first test we’ll perform is the resistance test, which measures the resistance of the ignition coils. Follow these steps to perform the resistance test:
- Set your multimeter: Start by setting your multimeter to the resistance or ohms (Ω) setting. Make sure the range is appropriate for the expected resistance values of the ignition coils, which can vary depending on the manufacturer and model.
- Connect the multimeter: Connect the multimeter probes to the corresponding terminals on the ignition coil. The terminals are typically labeled “Positive” or “+”, “Negative” or “-“, and “Primary” or “Secondary”. Refer to your vehicle’s manual or the ignition coil’s specifications for the specific terminal labels.
- Record the resistance values: With the multimeter connected, take note of the resistance values displayed on the multimeter. The ignition coil should have two resistance values: primary resistance and secondary resistance.
- Compare the readings: Compare the recorded resistance values to the specifications provided by the vehicle manufacturer or the ignition coil manufacturer. If the resistance values deviate significantly from the specified range, it may indicate a faulty ignition coil.
- Repeat the test for each ignition coil: Repeat the resistance test for each ignition coil in your vehicle. Make sure to label or mark the resistance values for each coil to keep track of the results.
The resistance test helps determine if there are any issues with the internal windings of the ignition coil. A significant deviation from the specified resistance values may indicate a faulty coil that needs to be replaced. If the resistance values are within the acceptable range, proceed to the next step of performing a voltage test.
Step 6: Perform Voltage Test
After conducting the resistance test, the next step is to perform a voltage test on the ignition coils. This test measures the voltage output of the ignition coils when they are energized. Follow these steps to perform the voltage test:
- Set your multimeter: Set your multimeter to the voltage setting. Ensure that the range is appropriate for measuring the voltage output of the ignition coils. The specific voltage range can vary depending on the vehicle and ignition system design.
- Connect the multimeter: Connect the multimeter probes to the corresponding terminals on the ignition coil. The terminals are typically labeled “Positive” or “+”, “Negative” or “-“, and “Primary” or “Secondary”. Refer to your vehicle’s manual or the ignition coil’s specifications for the specific terminal labels.
- Turn on the vehicle’s ignition: Start the vehicle’s ignition by turning the key to the “On” position. This will power up the ignition system and allow you to measure the voltage output of the ignition coils.
- Read the voltage output: With the ignition on, observe the voltage reading on the multimeter. The voltage output should be within the specified range provided by the vehicle manufacturer or the ignition coil manufacturer.
- Repeat the test for each ignition coil: Repeat the voltage test for each ignition coil in your vehicle, following the same procedure. Compare the voltage readings to ensure consistency across all coils.
The voltage test helps determine if the ignition coils are providing the proper voltage output to ignite the fuel-air mixture in the engine cylinders. If the voltage readings are not within the specified range or if there is a significant difference in the voltage output between coils, it may indicate a faulty ignition coil.
Remember to take proper safety precautions and follow the manufacturer’s instructions when performing the voltage test. If the voltage readings are abnormal or indicate a faulty ignition coil, it is recommended to replace the affected coil with a new, reliable one to ensure optimal engine performance.
Step 7: Repeat the Tests for Each Ignition Coil
Now that you have performed the resistance and voltage tests on one ignition coil, it’s important to repeat the tests for each remaining ignition coil. This step ensures that all the coils in your vehicle are properly tested for any potential issues.
Follow these steps to repeat the tests for each ignition coil:
- Disconnect and inspect the next ignition coil: On your vehicle, locate the next ignition coil that needs to be tested. Disconnect it following the same steps outlined earlier and perform a visual inspection to ensure it is in good condition.
- Perform the resistance test: Use your multimeter to measure the resistance of the ignition coil. Connect the multimeter probes to the appropriate terminals and record the resistance values. Compare the readings to the specified range to determine if the coil is within acceptable limits.
- Perform the voltage test: Connect the multimeter probes to the terminals of the ignition coil and turn on the vehicle’s ignition. Measure the voltage output and compare it to the recommended range. Ensure consistency with the previous coil and within the specified range.
- Repeat the tests for all remaining ignition coils: Continue this process for each ignition coil in your vehicle. Disconnect, inspect, perform the resistance test, and then the voltage test. Label or mark the results for each coil for easy reference.
By repeating the tests for each ignition coil, you can identify any individual coils that may be faulty or causing issues. Remember, the results should be consistent across all coils, and any significant deviations should be noted for further action.
If you find any ignition coil that does not meet the specified resistance or voltage range, it is recommended to replace that coil with a new one to ensure optimal engine performance and prevent potential ignition-related issues.
Read more: How To Test Vibration In Hand Tools
Step 8: Reconnect the Ignition Coils
After completing the testing process for each ignition coil, it’s time to reassemble and reconnect them to the spark plugs. Follow these steps to properly reconnect the ignition coils:
- Clean the connectors and terminals: Before reconnecting the ignition coils, clean the electrical connectors and terminals to ensure a good connection. Use a rag or shop towel to wipe off any dirt, debris, or corrosion.
- Insert the connectors into the ignition coils: Gently insert the electrical connectors back into the ignition coils. Make sure they are fully seated and securely connected. Give them a gentle tug to ensure they are properly attached.
- Secure the connectors: If the connectors were secured with clips or screws, reattach them to firmly hold the connectors in place. Be careful not to overtighten any screws to avoid damaging the connectors.
- Double-check the connection: After reconnecting each ignition coil, double-check the connections to ensure they are secure and properly fitted. Look for any loose wires or connectors that may need adjustment.
- Reinstall any protective covers: If there were any protective covers or shields that you removed during the testing process, reinstall them to provide added protection to the ignition coils and wiring.
It’s important to ensure that all the connections are properly made and secure to prevent any electrical issues or misfires. By following these steps, you can confidently reconnect the ignition coils and prepare your vehicle for normal operation.
Once the ignition coils are reconnected, close the vehicle’s hood and start the engine to verify that everything is working properly. Listen for any odd noises or misfires that could indicate a faulty connection or ignition coil.
By completing this step, you have successfully performed the testing and reconnection process for the ignition coils in your vehicle. If you have identified any faulty ignition coils during the testing, it’s recommended to replace them with new, high-quality ones to ensure optimal engine performance and reliability.
Conclusion
Testing ignition coils is an essential part of diagnosing and troubleshooting ignition-related issues in your vehicle. By following the steps outlined in this article, you can perform these tests using basic hand tools and a multimeter. The resistance test helps determine if there are any issues with the internal windings of the ignition coils, while the voltage test measures the voltage output to ensure proper ignition.
Throughout the testing process, visual inspection plays a crucial role in identifying any physical damage or abnormalities that may indicate a faulty ignition coil. It is important to repeat the tests for each ignition coil to ensure consistency and pinpoint any individual coils that may be causing issues.
If you discover any ignition coils that deviate significantly from the specified resistance or voltage range, it is advisable to replace them with new, reliable coils. This will help prevent potential engine performance problems, misfires, and other ignition-related issues.
Remember to always prioritize safety by preparing the vehicle, wearing appropriate safety gear, and following the manufacturer’s instructions when performing any tests or repairs. If you are unsure or uncomfortable with the testing process, it is recommended to seek assistance from a qualified automotive professional.
By taking the time to test and properly maintain your vehicle’s ignition coils, you can ensure a smooth-running engine and prolong the lifespan of the ignition system. Regular maintenance and testing will keep your vehicle running at its best, providing you with a reliable and efficient driving experience.
Frequently Asked Questions about How To Test Ignition Coils With Basic Hand Tools
Was this page helpful?
At Storables.com, we guarantee accurate and reliable information. Our content, validated by Expert Board Contributors, is crafted following stringent Editorial Policies. We're committed to providing you with well-researched, expert-backed insights for all your informational needs.









0 thoughts on “How To Test Ignition Coils With Basic Hand Tools”