
Articles
How To Cut Asphalt With Hand Tools
Modified: May 6, 2024
Learn how to cut asphalt with hand tools in this comprehensive article. Discover tips, techniques, and safety precautions for successful asphalt cutting.
(Many of the links in this article redirect to a specific reviewed product. Your purchase of these products through affiliate links helps to generate commission for Storables.com, at no extra cost. Learn more)
Introduction
Welcome to our comprehensive guide on how to cut asphalt with hand tools. Whether you’re a homeowner looking to repair a damaged driveway or a contractor working on a paving project, knowing how to cut asphalt can be a valuable skill. While there are electric and gas-powered tools available for this task, using hand tools can be a cost-effective and efficient option, especially for smaller jobs or areas with limited access.
In this article, we will walk you through the step-by-step process of cutting asphalt using hand tools. Before we dive into the details, it’s important to note that safety should always be your top priority. Asphalt can be heavy, and the cutting process can generate dust and debris, so it’s crucial to take necessary precautions to protect yourself and those around you.
In the next section, we will discuss some essential safety precautions that you should follow before starting the cutting process. By following these guidelines, you can ensure a safe working environment and minimize the risk of accidents or injuries.
Key Takeaways:
- Master the art of cutting asphalt with hand tools by following safety precautions, marking the cut area, breaking the surface, cutting the asphalt, and adding finishing touches for professional results.
- Prioritize safety, gather the necessary tools, and follow the step-by-step process to cut asphalt with hand tools effectively, whether for small repairs or larger paving projects.
Read more: How To Cut Miters With Hand Tools
Safety Precautions
Before you begin cutting asphalt with hand tools, it is important to prioritize safety. Here are some crucial safety precautions to keep in mind:
- Wear Protective Gear: Always wear appropriate safety gear, including goggles or safety glasses, a dust mask or respirator, ear protection, and sturdy work gloves. This will help protect your eyes, lungs, ears, and hands from potential hazards.
- Clear the Work Area: Ensure that the work area is clear of any obstacles, debris, or loose materials that could pose a tripping hazard.
- Notify Others: If you are working in a shared space or near a residential area, inform those nearby about the cutting process to prevent any accidents or disturbances.
- Secure the Asphalt: If you are cutting a section of asphalt, make sure it is properly secured to avoid any movement or shifting during the cutting process.
- Avoid Overexertion: Cutting asphalt can be physically demanding, especially when using hand tools. Take frequent breaks to rest and hydrate, and avoid pushing your body beyond its limits.
- Keep a Fire Extinguisher Nearby: Asphalt can be flammable, so it is important to have a fire extinguisher readily available in case of any unforeseen fire hazards.
- Be Mindful of Power Lines: If you are cutting near power lines, exercise extreme caution to avoid contact. Contact with power lines can be extremely dangerous and potentially fatal.
- Work with a Partner: Having a second person present can provide assistance and an extra pair of eyes to ensure safety during the cutting process.
- Follow Manufacturer Guidelines: If you are using specific hand tools, make sure to read and follow the manufacturer’s instructions and guidelines for proper usage and safety.
By adhering to these safety precautions, you can mitigate the risks associated with cutting asphalt and create a safer working environment.
Required Tools and Materials
Before you start cutting asphalt with hand tools, gather all the necessary tools and materials. Here is a list of the items you will need:
- Measuring Tape: Used to mark the area where you want to cut the asphalt.
- Chalk or Spray Paint: These can be used to clearly mark the cutting lines on the asphalt surface.
- Safety Gear: As mentioned earlier, make sure to have safety glasses or goggles, a dust mask or respirator, ear protection, and work gloves to protect yourself.
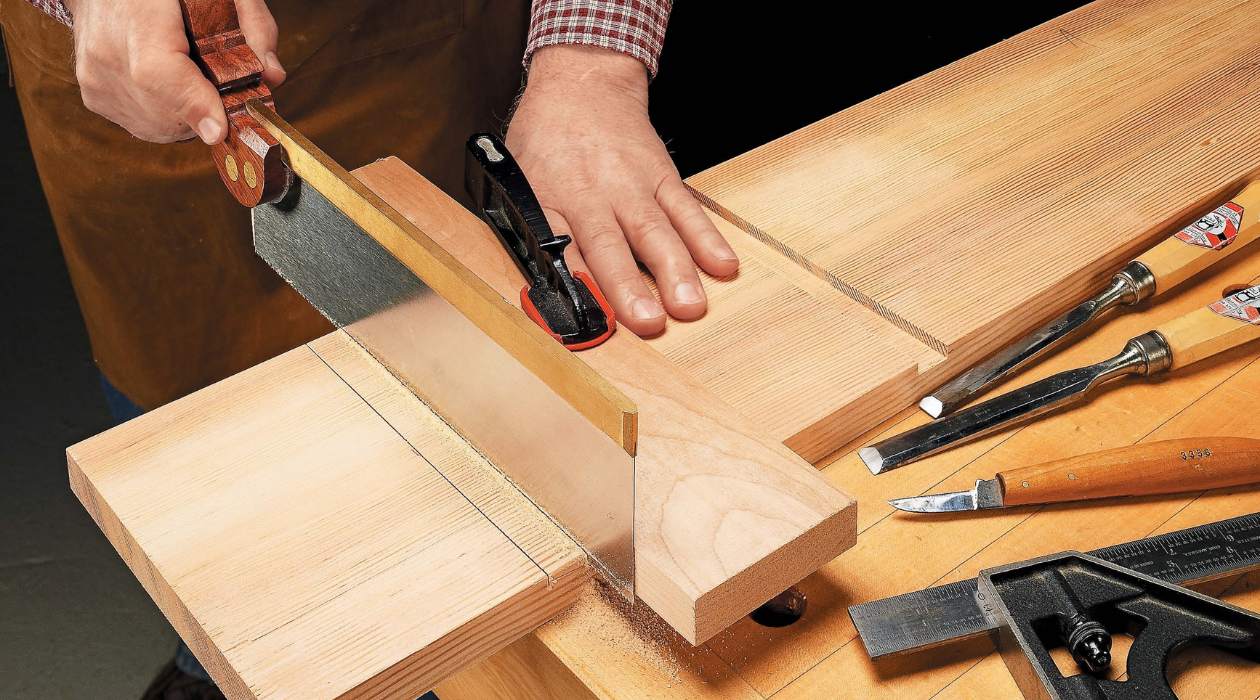
- Hand Saw: A hand saw with a sharp blade specifically designed for asphalt cutting is essential. Look for a saw with serrated teeth and a comfortable grip.
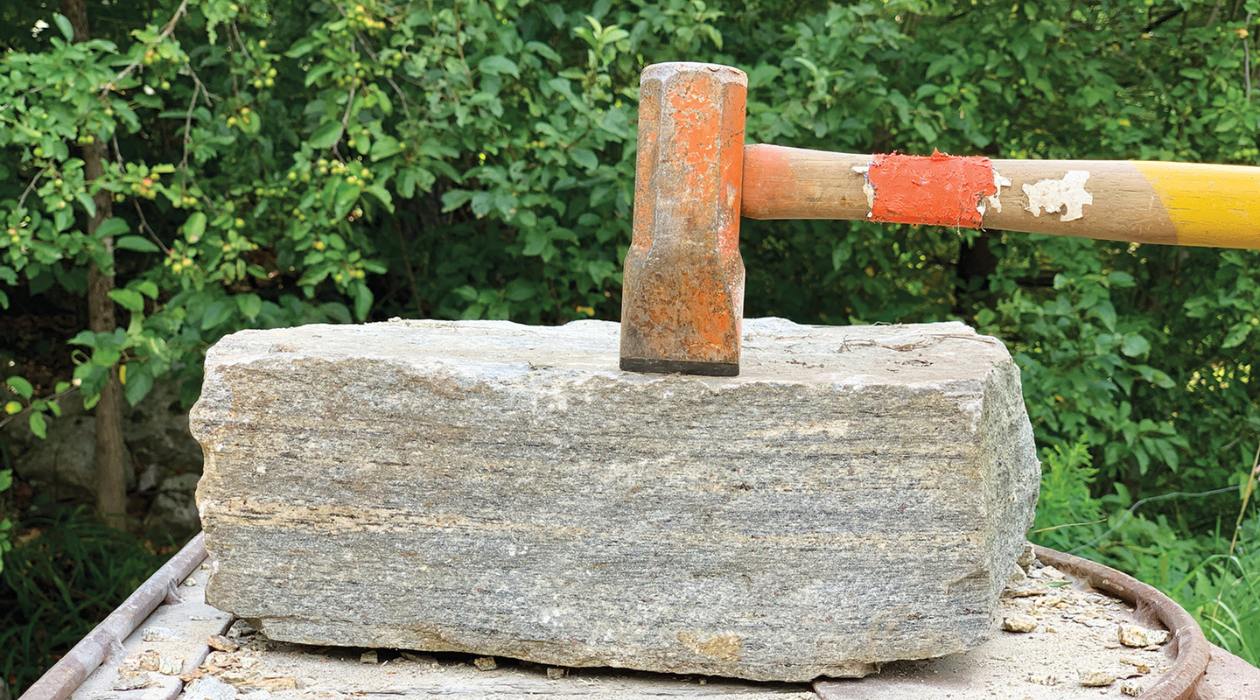
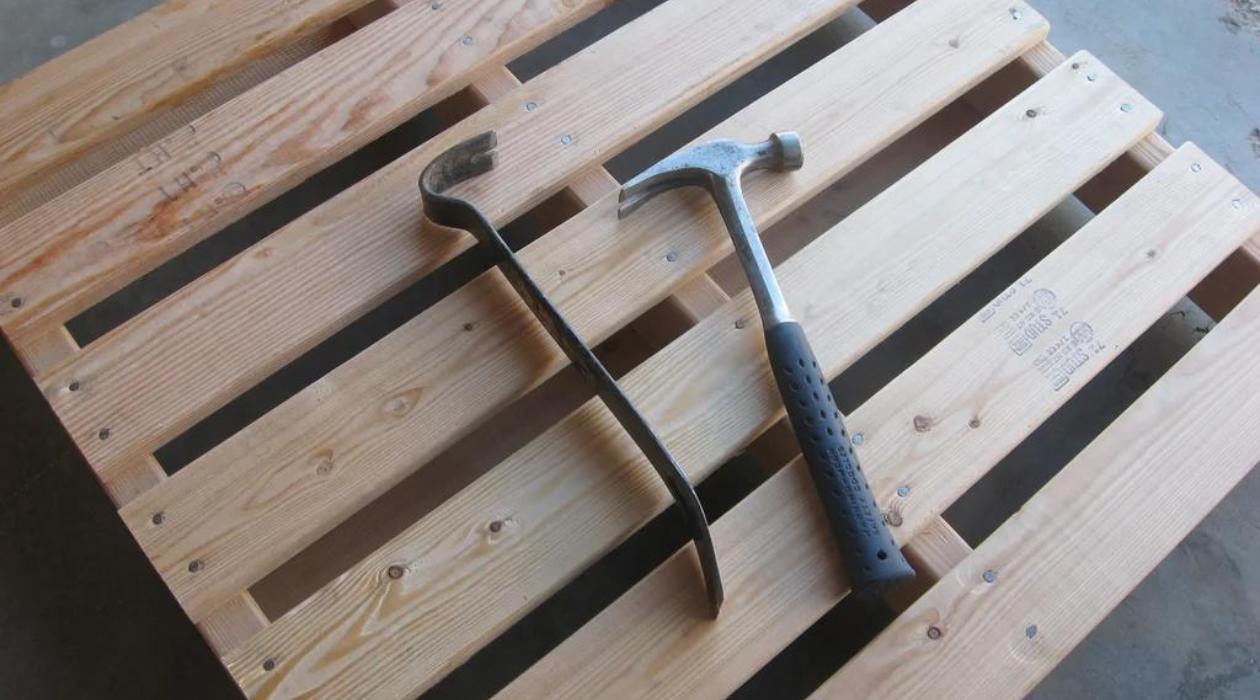
- Hammer: A hammer will be needed to break the surface of the asphalt along the cutting lines.
- Chisel: A chisel can help separate the broken asphalt pieces and create clean edges.
- Pry Bar: A pry bar can be used to lift and remove broken asphalt pieces.
- Broom or Leaf Blower: These tools will help you clean away debris and dust from the cutting area.
- Wheelbarrow or Bucket: You will need a container to collect and dispose of the broken asphalt pieces.
- Dustpan and Brush: These will assist in collecting smaller debris and dust.
- Proper Footwear: Wear sturdy, closed-toe shoes or work boots to protect your feet from potential hazards.
It’s important to have all the necessary tools and materials readily available before starting the cutting process. This will ensure a smooth and efficient workflow and minimize any potential delays.
Step 1: Marking the Cut Area
The first step in cutting asphalt with hand tools is marking the area you want to cut. Follow these steps to accurately mark the cut lines:
- Measure and Plan: Use a measuring tape to determine the dimensions of the area that needs to be cut. Take accurate measurements and plan the layout of the cuts to achieve the desired results.
- Mark with Chalk or Spray Paint: Once you have determined the cutting lines, use chalk or spray paint to mark them on the surface of the asphalt. Make sure the lines are clearly visible and straight.
- Use a Straight Edge: To ensure straight and precise cuts, use a straight edge, such as a long piece of wood or a chalk line, to connect the marked points. This will serve as a guide for cutting.
- Double-Check the Markings: Take a final look at the marked lines to ensure they are accurate and aligned correctly. Make any adjustments if necessary.
By thoroughly marking the cut area, you will have a clear guide to follow during the cutting process. This step is crucial for achieving clean and accurate cuts in the asphalt.
Step 2: Breaking the Surface
After marking the cut area, the next step is to break the surface of the asphalt along the cutting lines. Follow these steps to break the surface effectively:
- Position Yourself Safely: Stand in a stable and balanced position, ensuring that you have a firm grip on the hand tools you’ll be using.
- Start with a Hammer: Using a hammer, gently tap the surface of the asphalt along the marked cutting lines. This will create small indentations or cracks to weaken the surface.
- Apply Slight Pressure: With the hammer still in hand, apply slightly more pressure to create deeper cracks in the asphalt. Be careful not to exert too much force at once, as it can cause the asphalt to shatter or become unstable.
- Use a Chisel: Once you have created sufficient cracks, switch to a chisel. Position the chisel’s cutting edge against the cracks and strike it with the hammer. This will help separate the broken pieces of asphalt.
- Work in Sections: If you are cutting a larger area, work in sections rather than trying to break the entire surface at once. This will make the process more manageable and allow for better control.
Breaking the surface of the asphalt is a critical step in the cutting process. By following these steps carefully, you will create fractures in the asphalt, making it easier to cut and remove the sections in the next steps.
When cutting asphalt with hand tools, make sure to wear protective gear such as gloves and safety glasses to prevent injury from flying debris.
Read more: How To Cut Plexiglass With Hand Tools
Step 3: Cutting the Asphalt
Now that you have marked and broken the surface of the asphalt, it’s time to move on to the actual cutting process. Follow these steps to cut the asphalt effectively:
- Position Yourself: Stand in a stable and balanced position, ensuring that you have a clear view of the cutting lines.
- Start with a Hand Saw: Using a hand saw specifically designed for asphalt cutting, position the saw’s blade along one of the marked cutting lines.
- Apply Steady Pressure: Start sawing back and forth along the cutting line with a steady and even pressure. Let the saw’s sharp, serrated teeth do the work, and avoid using excessive force.
- Maintain a Controlled Cut: Keep the saw aligned with the cutting line and follow the marked path as closely as possible. This will result in clean and accurate cuts.
- Take Breaks if Needed: Cutting asphalt can be physically demanding. If you feel fatigued or need to rest, take breaks to prevent overexertion.
- Continue Cutting: Repeat the process for each marked cutting line, gradually moving along the surface until you have completely cut through the asphalt.
It’s important to stay focused and maintain a controlled cutting motion throughout the process. By following these steps carefully, you will achieve clean and precise cuts in the asphalt.
Step 4: Removing the Debris
Once you have successfully cut through the asphalt, it’s time to remove the debris. Follow these steps to clean up the cutting area effectively:
- Clear the Cutting Area: Use a broom or leaf blower to sweep away loose debris, such as small rocks or asphalt particles, from the surface. Clearing the area will make it easier to handle the larger pieces of broken asphalt.
- Collect the Broken Pieces: With the help of a pry bar, gently lift and remove the broken asphalt pieces. Place them in a wheelbarrow or bucket for disposal.
- Check for Residual Asphalt: Inspect the cut area for any remaining stubborn pieces or uneven edges of asphalt. Use a chisel to carefully remove them, ensuring a smooth finish.
- Clean Up Dust and Small Debris: Use a dustpan and brush to collect any remaining dust or small debris from the cutting process. This will help create a clean and tidy work area.
- Dispose of the Debris: Depending on the regulations in your area, contact local waste management facilities or consult with professionals to determine the appropriate disposal method for the asphalt debris.
Properly removing the debris not only helps maintain a clean work environment but also prepares the surface for any further repairs or maintenance that may be required.
Step 5: Finishing Touches
After removing the debris and completing the cutting process, there are a few finishing touches you can apply to ensure a professional and polished outcome. Follow these steps to add those final touches:
- Smooth Edges: Examine the cut edges of the asphalt and use a chisel or hand saw to carefully smooth out any rough or jagged areas. This will help create a neater and more aesthetically pleasing finish.
- Remove Excess Dust: Use a broom or leaf blower to remove any remaining dust or loose particles from the surface of the cut area. This will provide a clean canvas for any further repairs or sealants.
- Consider Sealcoating: Depending on your project’s requirements, you may choose to apply a sealcoat to the freshly cut asphalt to enhance its durability and appearance. Sealcoating can also help protect the asphalt from the elements and prevent future damage.
- Inspect for Adequate Drainage: Take a quick look at the cut area to ensure that there is proper drainage in place. Water should be able to flow freely, preventing any potential pooling or damage to the asphalt.
- Clean and Store Tools: After completing the cutting process, clean your hand tools thoroughly and store them in a safe and dry place. This will help prolong their lifespan and ensure they are ready for future use.
By adding these finishing touches, you can ensure that the cut area looks professional and is well-prepared for any further repairs or maintenance that may be required.
Conclusion
Knowing how to cut asphalt with hand tools can be a valuable skill for both homeowners and contractors. By following the step-by-step process outlined in this guide, you can effectively cut through asphalt surfaces and achieve clean and precise results.
Remember, safety should always be your top priority when working with hand tools and asphalt. Be sure to wear the appropriate safety gear, clear the work area of any hazards, and follow the manufacturer’s guidelines for proper tool usage.
From marking the cut area to breaking the surface, cutting the asphalt, removing the debris, and adding the finishing touches, each step plays a crucial role in achieving a professional outcome. Take your time, stay focused, and maintain a controlled cutting motion to ensure accurate and clean cuts.
Once you have completed the cutting process, clean up the debris, perform any necessary smoothing or finish work, and inspect the area for proper drainage. Consider sealcoating the asphalt to enhance its durability and appearance.
By following the steps outlined in this guide, you can successfully cut asphalt with hand tools and achieve the desired results. Whether you’re repairing a damaged driveway or working on a larger paving project, having the knowledge and skills to cut asphalt will prove to be valuable.
Remember to always prioritize safety, take breaks when needed, and consult professionals or local regulations for proper disposal methods of any debris. With practice and patience, you can become proficient at cutting asphalt and tackle various projects with confidence.
Now that you've mastered cutting asphalt with hand tools, why not broaden your knowledge on related practices? Safety always comes first, especially in high-stakes environments. Our next read offers crucial insights into maintaining a secure workspace. Diving into "Safety in Construction" will equip you with essential strategies to prevent accidents and ensure a safer environment for everyone involved. Don't miss out on elevating your safety protocols!
Frequently Asked Questions about How To Cut Asphalt With Hand Tools
Was this page helpful?
At Storables.com, we guarantee accurate and reliable information. Our content, validated by Expert Board Contributors, is crafted following stringent Editorial Policies. We're committed to providing you with well-researched, expert-backed insights for all your informational needs.


0 thoughts on “How To Cut Asphalt With Hand Tools”