Home>Articles>Tips On How Install Wood Floor Panels With Hand Tools
Articles
Tips On How Install Wood Floor Panels With Hand Tools
Modified: October 27, 2024
Learn how to make wood floor panels with hand tools in this informative article. Discover useful tips and guidance for installation, ensuring a successful DIY project.
(Many of the links in this article redirect to a specific reviewed product. Your purchase of these products through affiliate links helps to generate commission for Storables.com, at no extra cost. Learn more)
Introduction
Welcome to this comprehensive guide on how to make wood floor panels with hand tools. Whether you’re a DIY enthusiast or simply looking to add a touch of elegance to your home, creating wood floor panels can be a rewarding project. While power tools may be the go-to choice for many, working with hand tools allows for a more tactile and intimate experience, allowing you to fully appreciate the craftsmanship involved.
In this article, we will provide you with step-by-step instructions on how to make wood floor panels using only hand tools. We will also offer tips on wood selection, preparation, panel construction, installation, and finishing touches. So, let’s get started on transforming your space with beautiful and handmade wood floor panels.
Before we begin, it’s important to note that creating wood floor panels with hand tools requires time, patience, and attention to detail. This process may not be as quick as using power tools, but it offers a more personalized touch and allows you to have complete control over the final result.
Now, let’s take a look at the essential tools you’ll need to complete this project.
Key Takeaways:
- Embrace the tactile and intimate experience of creating wood floor panels with hand tools, allowing for complete control over the craftsmanship and a personalized touch to your space.
- From wood selection to installation and finishing touches, follow the comprehensive guide to achieve beautiful and durable wood floor panels that enhance the aesthetics of your home.
Read more: How To Hand Form Body Panels With Hand Tools
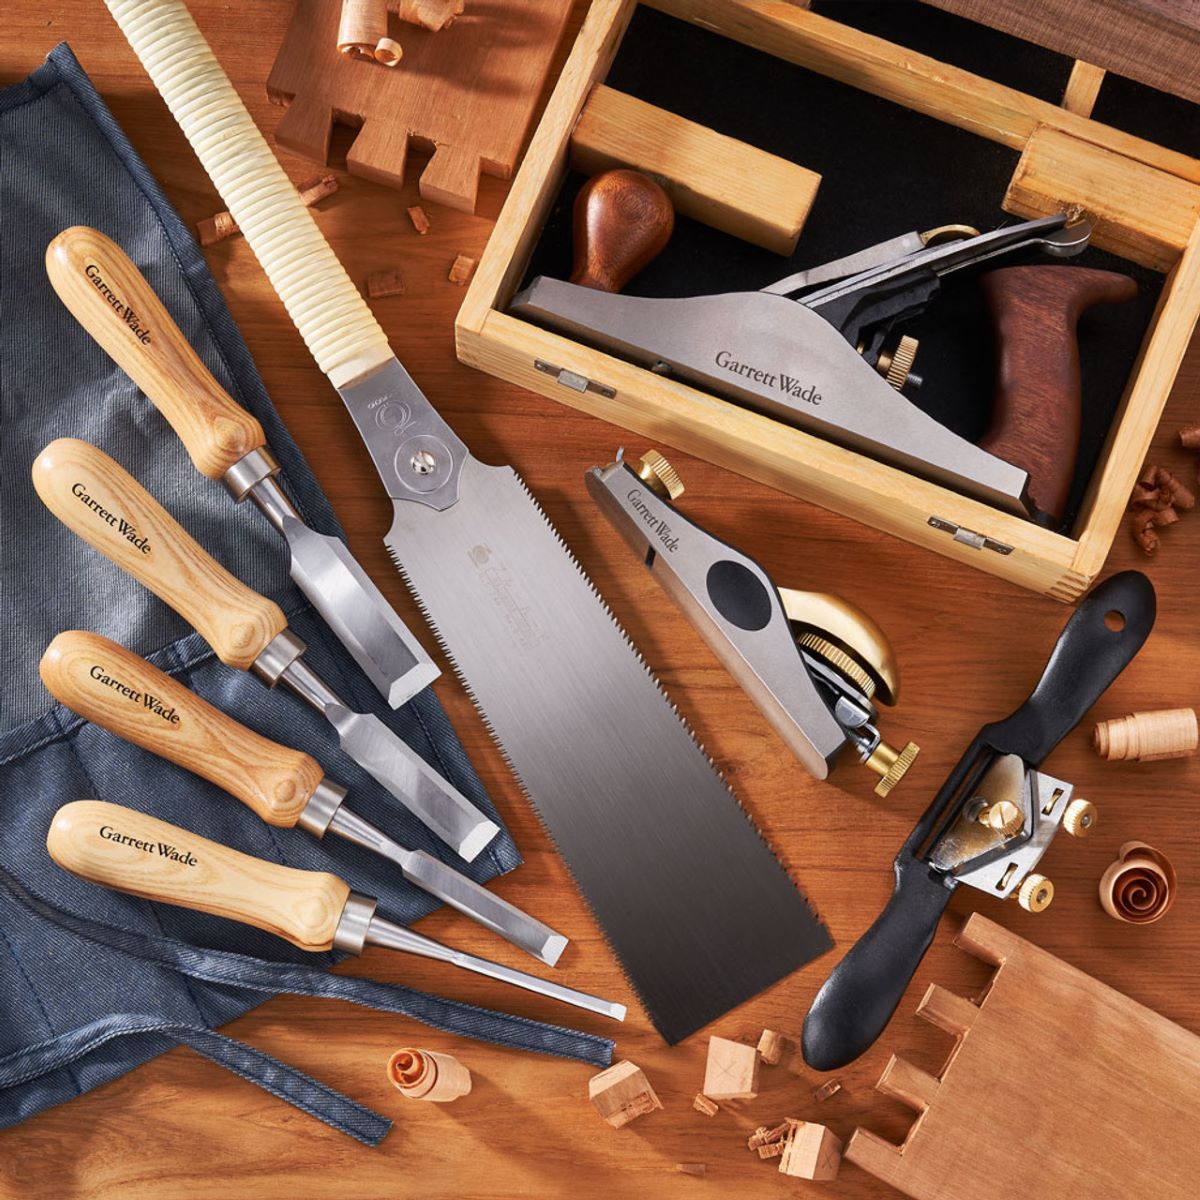
Tools Needed
Before you embark on creating wood floor panels with hand tools, it’s important to gather all the necessary equipment. Here are the tools you’ll need for this project:
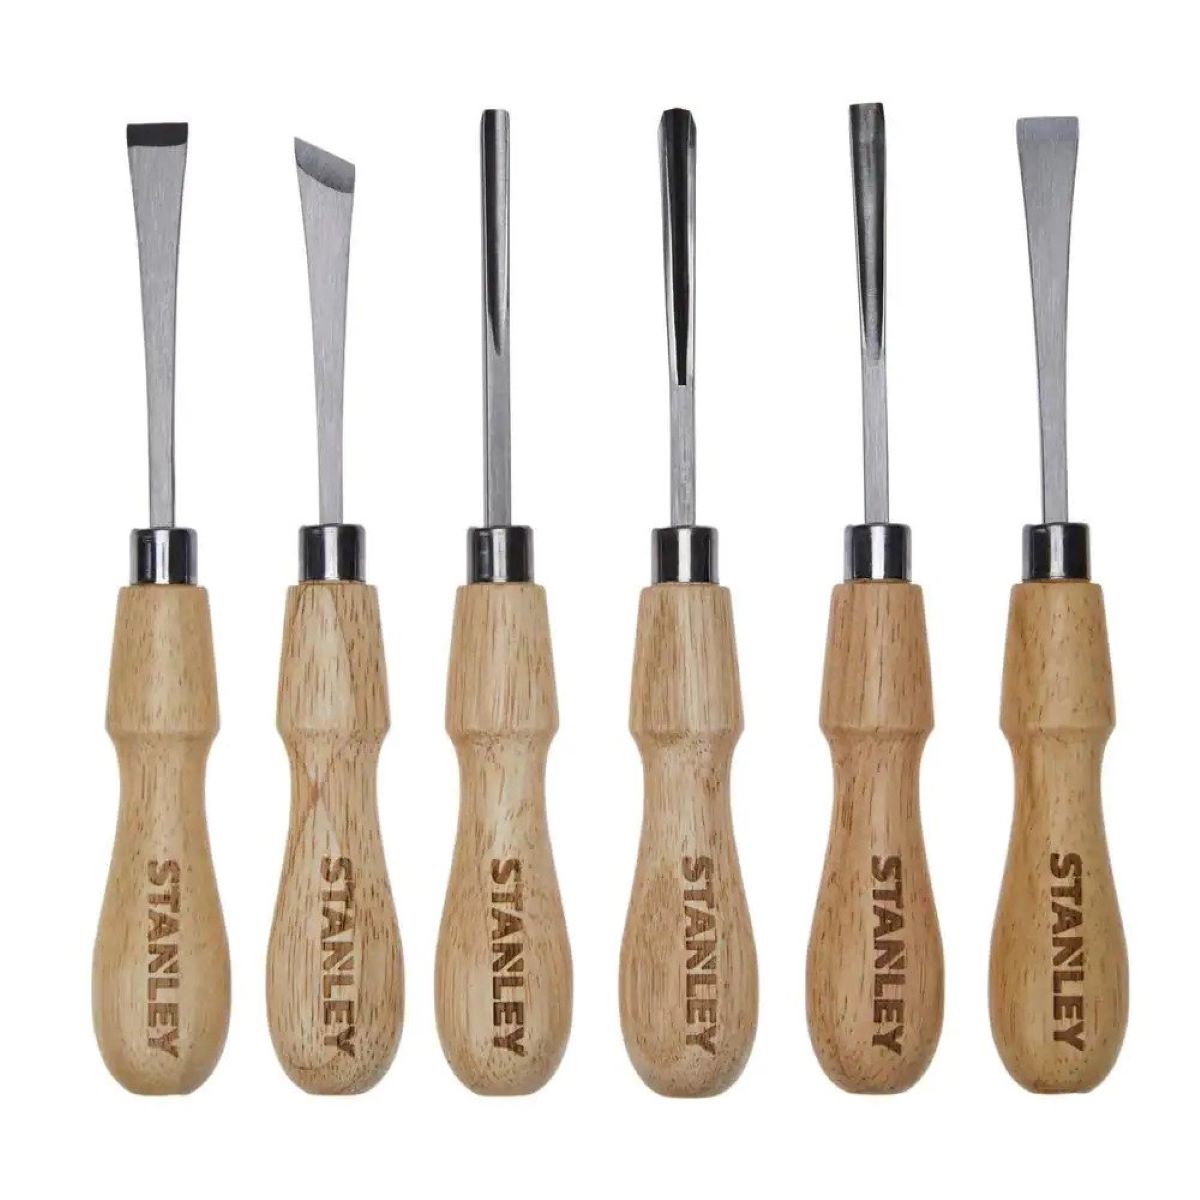
- Hand saw: A good quality hand saw is essential for cutting the wood panels to size. Look for a saw with fine teeth that can create clean and precise cuts.
- Chisel: A sharp chisel will help you smooth the edges of the wood panels for a seamless fit. It’s important to have different sizes of chisels to accommodate various cuts and angles.
- Sandpaper: Sandpaper is essential for ensuring a smooth finish on your wood floor panels. Start with a coarse-grit sandpaper to remove any rough edges and gradually work your way up to a finer grit sandpaper for a polished result.
- Hammer: A hammer is necessary for driving nails into the wood panels during the installation process. Choose a hammer with a comfortable grip and a head that is suited for the size of nails you’ll be using.
- Measuring tape: Accurate measurements are crucial for creating precise wood floor panels. A measuring tape will help you determine the dimensions of the room, as well as the length and width of each panel.
- Pencil: A pencil is an indispensable tool for marking the wood panels and making accurate cuts. Make sure to use a sharp pencil that will leave a clear and visible mark on the wood.
- Straight edge: A straight edge, such as a ruler or a straight board, will help you create straight and precise cuts on the wood panels. It’s important to have a reliable straight edge to ensure the panels fit together seamlessly.
Having these tools readily available will make the process of creating wood floor panels with hand tools much easier and more efficient. Ensure that your tools are in good condition and properly maintained to achieve the best results.
With the necessary tools at your disposal, it’s time to move on to the next step: selecting the right wood for your floor panels.
Wood Selection
When it comes to creating wood floor panels, choosing the right type of wood is essential for both aesthetics and durability. Here are some factors to consider when selecting the wood for your project:
Choosing the right type of wood:
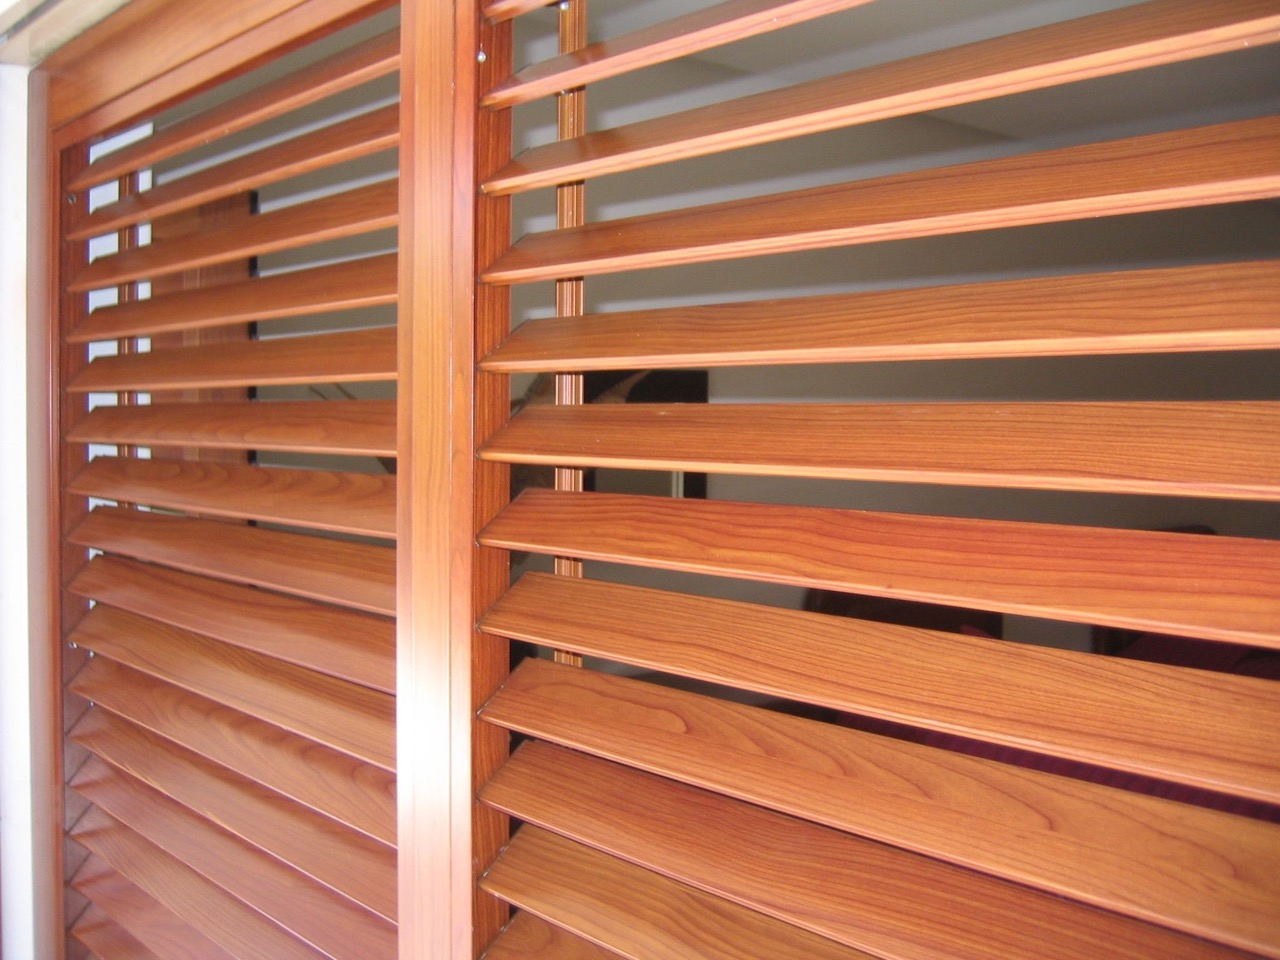
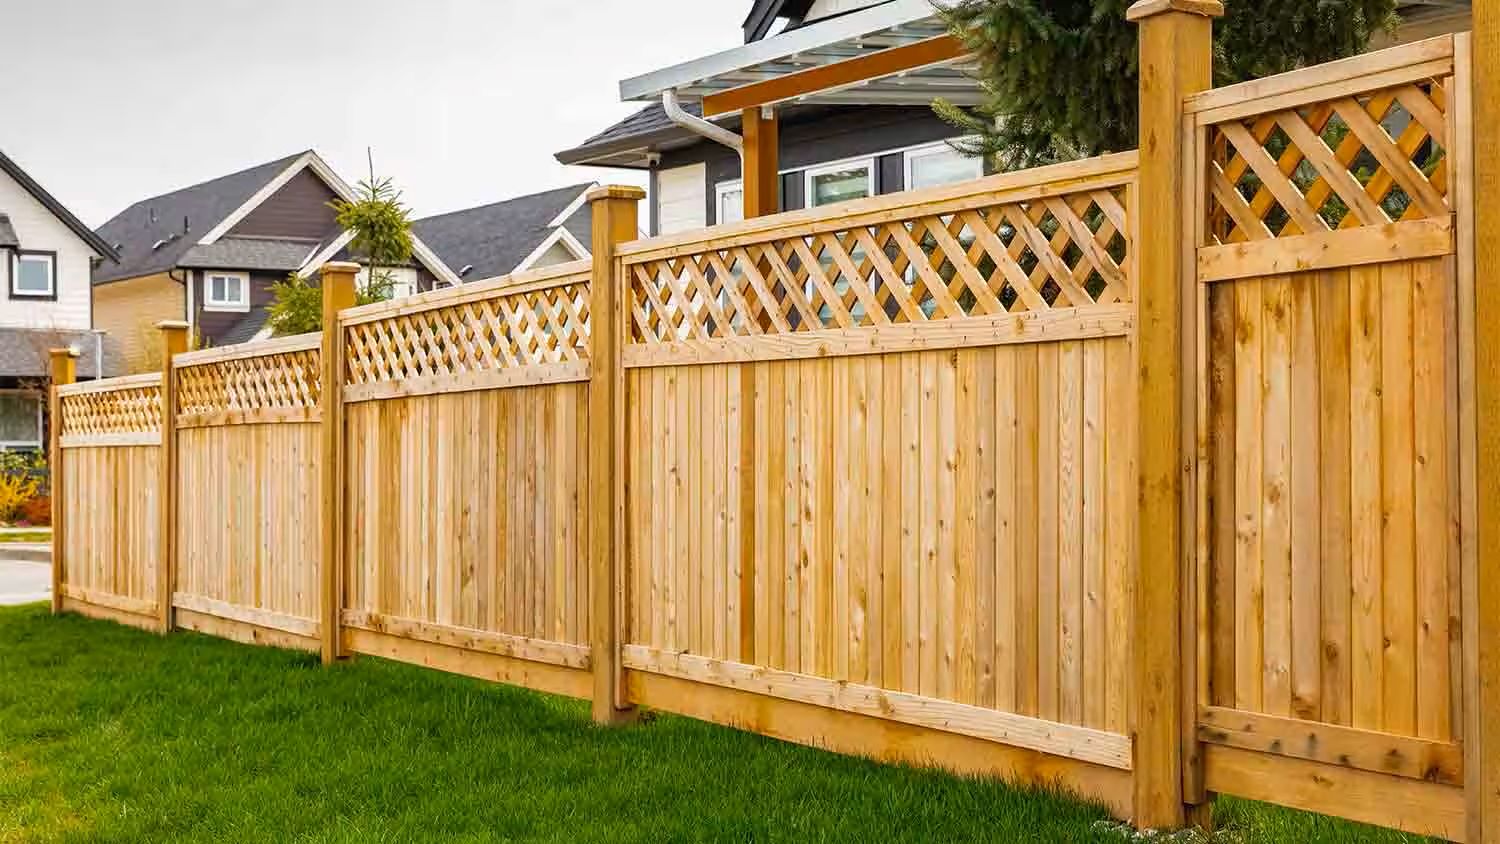
The type of wood you choose will greatly impact the overall look and feel of your wood floor panels. There are various options available, each with its own characteristics and pros and cons. Common choices include oak, maple, cherry, walnut, and bamboo. Consider the color, grain pattern, hardness, and maintenance requirements of each wood species before making your decision. It’s important to choose a wood that suits your personal style and complements the existing décor of your space.
Selecting the appropriate thickness and width:
The thickness and width of the wood panels will depend on several factors, including the structural requirements of your space and the overall design aesthetic. Thicker panels provide greater stability and durability, especially for high-traffic areas. The width of the panels can vary, with wider planks offering a more rustic and spacious feel, while narrower planks create a more traditional and refined look. Consider the size of the room and the desired visual effect when determining the width of your wood floor panels.
It’s also important to take into account your budget when selecting the wood for your panels. Different wood species have varying price points, so it’s important to find a balance between your desired aesthetic and your budget constraints.
Once you’ve chosen the right type of wood and determined the appropriate thickness and width, it’s time to move on to the next step: preparing the room and the wood for installation.
Read more: How To Carve Wood With Hand Tools
Preparation
Before you begin constructing and installing your wood floor panels, it’s important to properly prepare the room and the wood. Here are the key steps to take during the preparation phase:
Measuring the room:
The first step is to accurately measure the dimensions of the room where the wood floor panels will be installed. Use a measuring tape to determine the length and width of the space. Take into account any alcoves, closets, or irregular areas that may require special attention. It’s crucial to have precise measurements to ensure you purchase the correct amount of wood and create panels that fit perfectly within the room.
Calculating the number of panels needed:
Based on the measurements of the room, calculate the number of wood floor panels you’ll need. Remember to account for any gaps or wastage that may occur during the installation process. It’s a good idea to purchase slightly more panels than necessary to have some extra for any future repairs or replacements.
Acclimating the wood:
Wood is a natural material that can expand or contract based on the humidity and temperature of its surroundings. To prevent any issues with warping or buckling later on, it’s essential to acclimate the wood to the environment in which it will be installed. Place the wood panels in the room for a few days or as recommended by the manufacturer to allow the wood to adjust to the moisture levels of the space.
Read more: How To Install Wood Floor On Concrete
Removing old flooring:
If there is existing flooring in the room, you’ll need to remove it before installing the wood floor panels. This may involve pulling up carpets, detaching tiles, or lifting laminate flooring. Ensure that the subfloor is clean, dry, and free of any debris or obstacles that could affect the installation process.
By properly preparing the room and the wood, you’ll set the foundation for a successful installation of your wood floor panels. The next step is the construction of the panels themselves.
Panel Construction
Now that the room is prepared, it’s time to start constructing the wood floor panels. Follow these steps to create the panels using your hand tools:
Marking and cutting the panels:
Using a measuring tape and a pencil, mark the dimensions of each panel on the wood. Take into account any necessary allowances for gaps and expansion. Double-check the measurements to ensure accuracy before proceeding. Once marked, use a straight edge to draw a straight line across the wood as a cutting guideline.
Using the hand saw to cut the wood:
With the panel marked and a clear cutting guideline, it’s time to use your hand saw to cut the wood along the line. Take your time and make precise, steady cuts. Use a sawing motion to cut through the wood, keeping your hand saw aligned with the guideline. Take breaks if needed to ensure accuracy and avoid fatigue.
Read more: How To Cut Wood Channel With Hand Tools
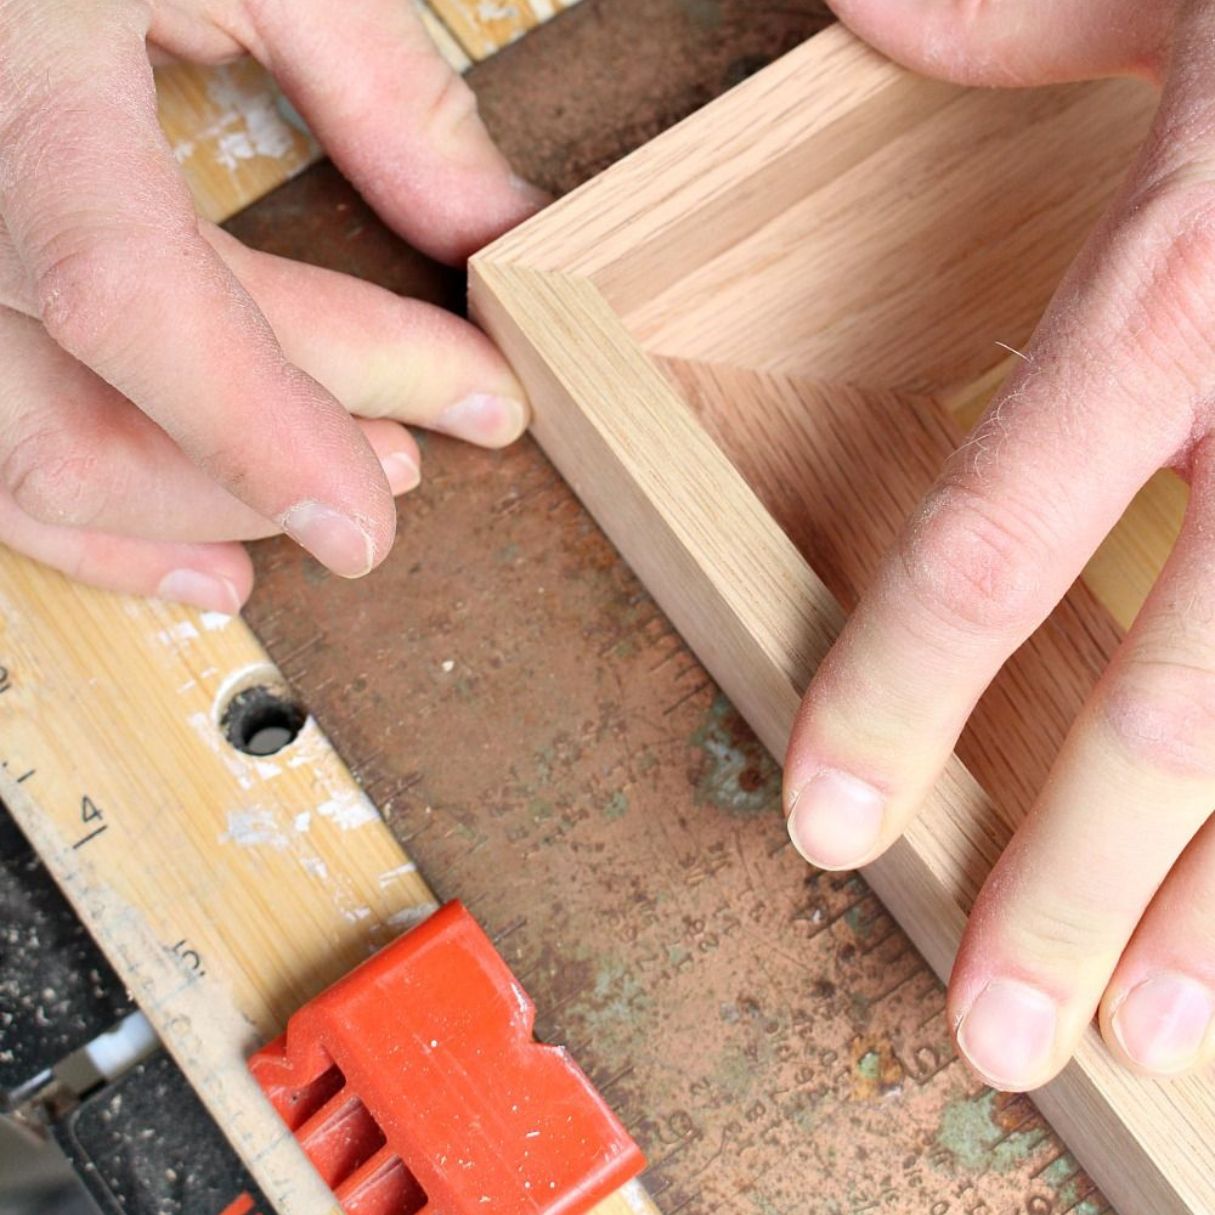
Smoothing the edges with a chisel:
After cutting the panels, the edges may be rough or uneven. To ensure a seamless fit, use a chisel to smooth the edges. Hold the chisel at a slight angle and use gentle pressure to remove any imperfections. Work your way around the entire panel, refining the edges and creating clean and straight lines.
Sanding the panels for a smooth finish:
Once the edges are smooth, it’s time to sand the panels for a polished and smooth finish. Start with a coarse-grit sandpaper and gradually work your way up to finer grits. Sand the surface of the panels in the direction of the wood grain, applying even pressure. This will help to remove any roughness and create a consistent and smooth texture. Remember to sand the edges as well to ensure they blend seamlessly with the rest of the panel.
By following these steps, you’ll be able to construct the wood floor panels with hand tools and achieve a professional and polished result. The next step is the installation of the panels in the room.
Panel Installation
Now that you’ve constructed the wood floor panels, it’s time to install them in the room. Follow these steps for a successful installation using hand tools:
Preparing the subfloor:
Before installing the panels, ensure that the subfloor is clean, dry, and level. Remove any debris or protrusions that could affect the installation process. If necessary, use a filler or leveling compound to smooth out any irregularities in the subfloor.
Read more: How To Use Hand Tools To Shape Hard Wood
Applying adhesive or glue:
If you’re working with a solid or engineered wood floor, you may need to apply adhesive or glue to the back of the panels. Follow the manufacturer’s instructions for the specific product you’re using. Apply the adhesive evenly on the back of the panel, using a trowel or a notched spreader to create ridges for better adhesion.
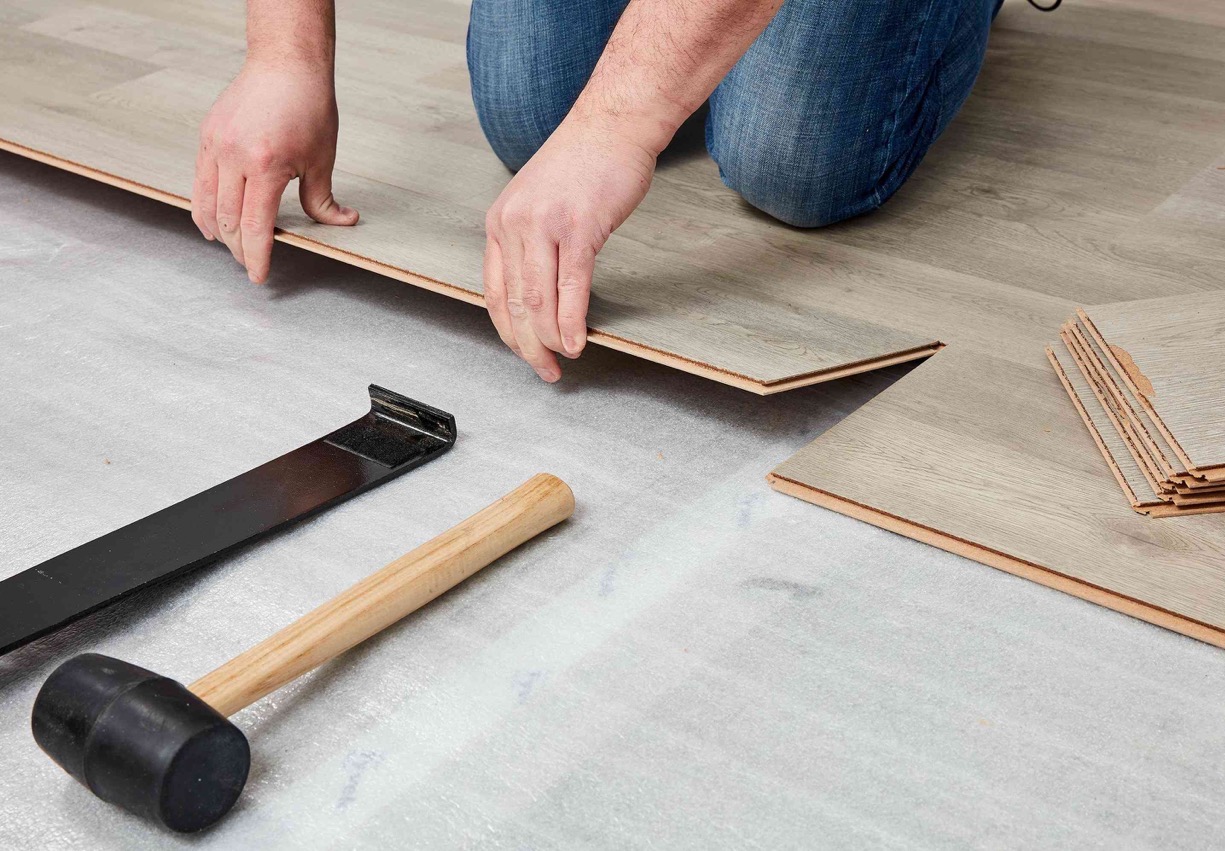
Placing the panels:
Starting from one corner of the room, place the first panel along the wall, leaving a small gap for expansion. Use spacers to maintain a consistent gap between the panels and the walls. Place the next panel, interlocking the edges using a tongue-and-groove system, if applicable. Continue this process, ensuring a snug fit between each panel.
Ensuring proper alignment:
As you place the panels, make sure they are properly aligned with each other. Use a straight edge to check for evenness and adjust as necessary. This will help create a seamless and visually appealing flooring surface.
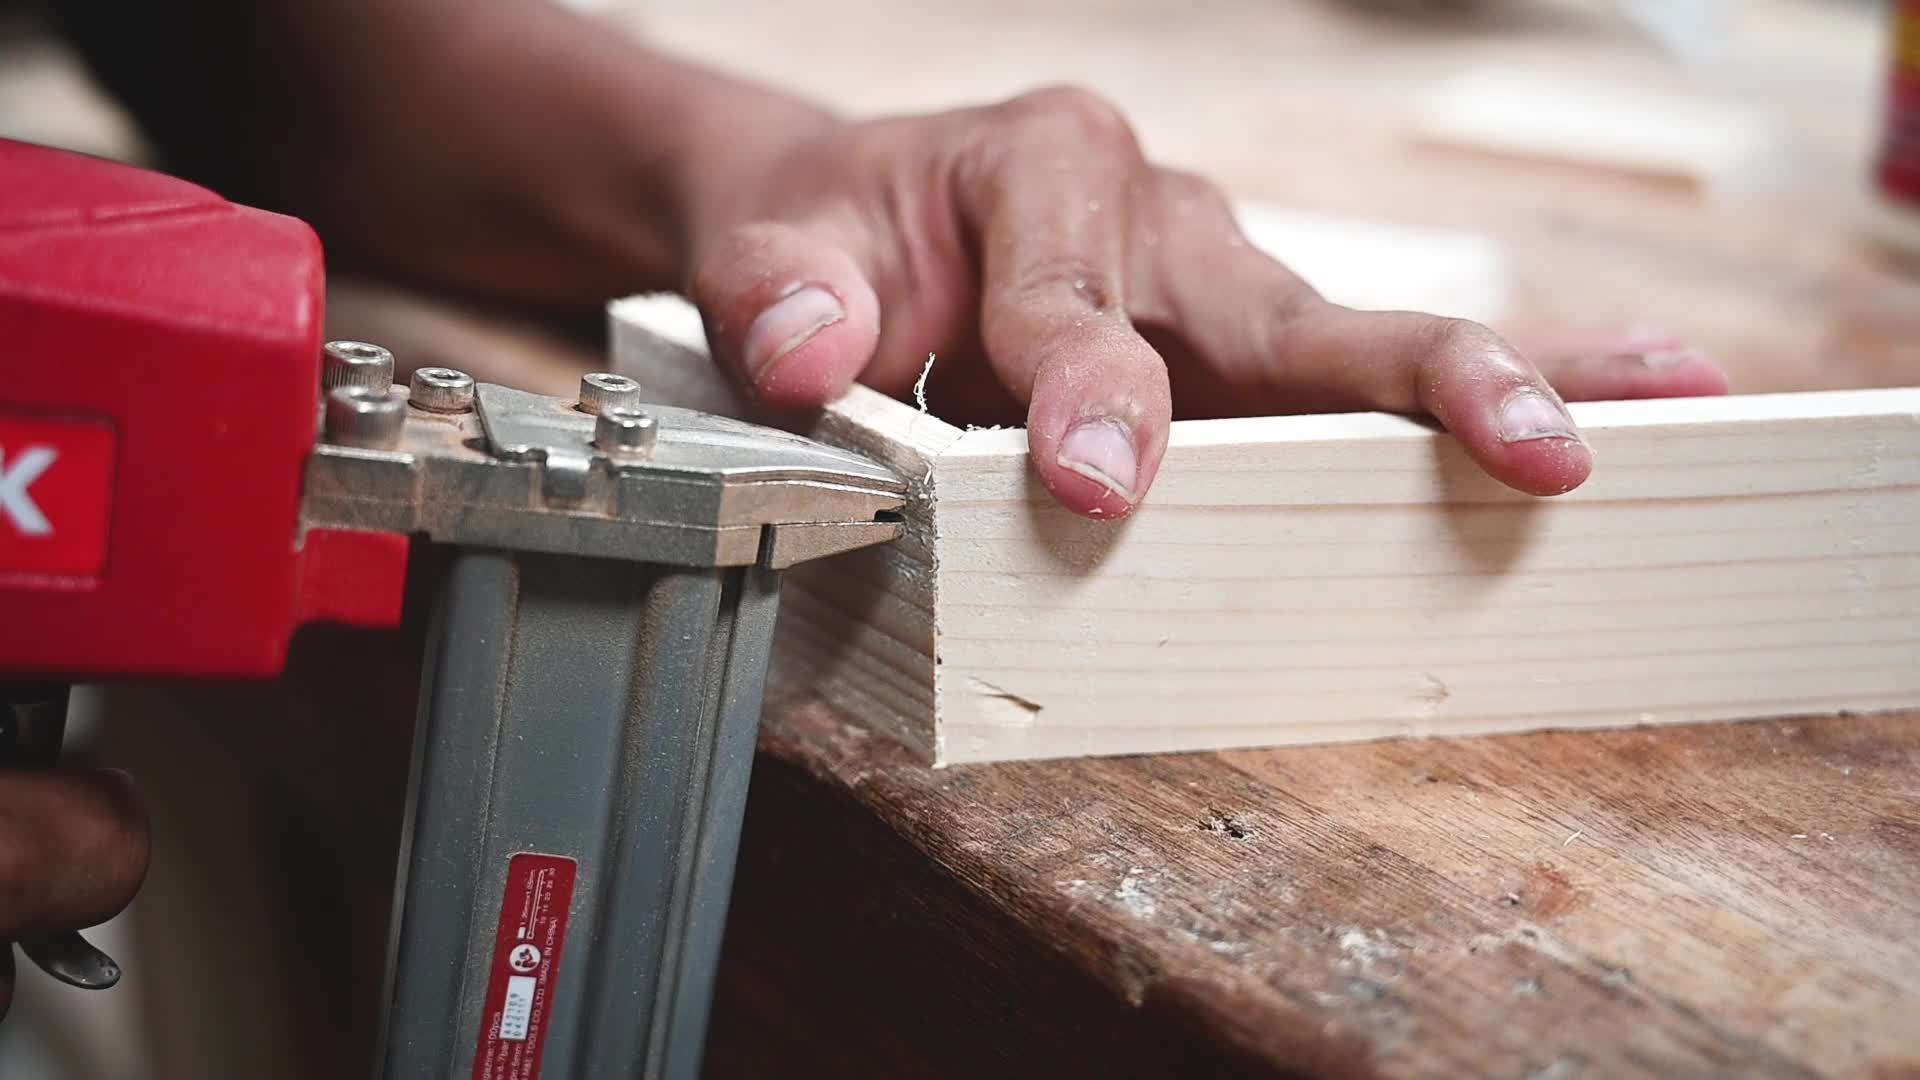
Nailing down the panels:
Using a hammer and nails, secure the wood floor panels to the subfloor. Place the nail at a slight angle, driving it through the tongue of the panel and into the subfloor. Repeat this process, placing nails at regular intervals along the length of the panel. Ensure that the nails are countersunk into the wood, so they don’t protrude and create an uneven surface.
Read more: How To Inlay Wood With Hand Tools
Edging and trimming:
Once all the panels are installed, you may need to trim and edge them to ensure a seamless and finished look. Use a hand saw or a chisel to cut the panels to fit around doorways, corners, or other obstacles. Take your time and make precise cuts to achieve a professional and polished result.
By following these steps, you’ll be able to successfully install the wood floor panels using hand tools. The next step is to add the finishing touches to your project.
Finishing Touches
Now that the wood floor panels are installed, it’s time to add the finishing touches to ensure a beautiful and long-lasting result. Follow these steps for the final steps of your project:
Filling gaps and cracks:
Inspect the floor for any gaps or cracks between the panels. Use a wood filler that matches the color of the wood to fill in these gaps. Apply the filler using a putty knife, making sure to smooth it out and remove any excess. Allow the filler to dry completely before continuing.
Sanding the floor:
To achieve a smooth and even surface, lightly sand the wood floor panels. Start with a medium-grit sandpaper and gradually move to a finer grit for a polished finish. Sand in the direction of the wood grain, using a hand sanding block or a sanding machine for larger areas. Be careful not to sand too aggressively, as it can damage the wood.
Read more: How To Square Up Wood With Hand Tools
Applying finish or sealant:
To protect the wood and enhance its beauty, apply a finish or sealant to the floor. There are various options available, including polyurethane, varnish, or natural oils. Follow the manufacturer’s instructions for the specific product you’re using. Apply the finish evenly and allow it to dry according to the recommended drying time. Apply multiple coats if necessary for added durability and protection.
Caring for the wood floor panels:
To keep your wood floor panels looking their best, it’s important to properly care for them. Here are some tips to maintain the beauty and longevity of your floor:
- Regularly sweep or vacuum the floor to remove dirt and debris.
- Use a damp mop or microfiber cloth for routine cleaning, avoiding excessive moisture that can damage the wood.
- Place protective felt pads under furniture legs to prevent scratches and damage.
- Avoid dragging heavy objects across the floor to prevent scratching.
- Wipe up spills immediately to prevent staining or warping of the wood.
- Periodically refinish the floor to refresh the appearance and maintain its protective layer.
By following these finishing touches and properly caring for your wood floor panels, you’ll ensure that they remain stunning and functional for years to come.
Congratulations on completing your wood floor panel project using hand tools! Enjoy the beauty and warmth that these handmade panels bring to your home.
Conclusion
Creating wood floor panels with hand tools is a rewarding and fulfilling project that allows you to incorporate your craftsmanship and personal touch into your space. By following the steps outlined in this guide, you can achieve beautiful and durable wood floor panels that will enhance the aesthetics of your home.
From selecting the right type of wood to preparing the room and constructing the panels, each step in the process contributes to the overall success of your project. By taking your time, using precise measurements, and utilizing the appropriate hand tools, you can create panels that fit seamlessly and add a touch of elegance to your space.
When it comes to installation, ensure that you properly prepare the subfloor and secure the panels using nails or adhesive. This will ensure a sturdy and long-lasting floor. Additionally, don’t forget the finishing touches such as filling gaps, sanding the floor, and applying a protective finish or sealant.
To maintain the beauty and longevity of your wood floor panels, it’s important to follow proper care and maintenance practices. Regular cleaning, protecting the floor from scratches, and addressing spills promptly will help preserve the wood and keep it looking its best for years to come.
Remember, creating wood floor panels with hand tools is a labor of love. It may take longer than using power tools, but the end result is a unique and personalized flooring solution that showcases your craftsmanship and attention to detail.
We hope that this comprehensive guide has provided you with the knowledge and confidence to embark on your wood floor panel project. Enjoy the process, embrace your creativity, and transform your space with the beauty and warmth of handmade wood floor panels.
Frequently Asked Questions about Tips On How Install Wood Floor Panels With Hand Tools
Was this page helpful?
At Storables.com, we guarantee accurate and reliable information. Our content, validated by Expert Board Contributors, is crafted following stringent Editorial Policies. We're committed to providing you with well-researched, expert-backed insights for all your informational needs.


0 thoughts on “Tips On How Install Wood Floor Panels With Hand Tools”