
Articles
How To Tie Back Curtains
Modified: February 24, 2024
Discover the best techniques and articles on how to tie back curtains. Achieve a stylish and functional look for your windows with our step-by-step guides and expert tips.
(Many of the links in this article redirect to a specific reviewed product. Your purchase of these products through affiliate links helps to generate commission for Storables.com, at no extra cost. Learn more)
Introduction
When it comes to home decor, curtains not only add style and elegance to a room, but they also serve a practical purpose by blocking out light and providing privacy. However, there may be times when you want to let more sunlight in or create a breezy, open look in your space. This is where tie-back curtains come in handy.
Tying back your curtains not only allows more natural light to filter into your room but also adds a decorative touch to your windows. Whether you want to achieve a casual, relaxed look or a more formal, tailored appearance, tying back your curtains can transform the entire ambiance of your living space.
But how do you go about tying back curtains in the most efficient and aesthetically pleasing way? In this article, we will take you through a step-by-step guide on how to tie back curtains effectively. Whether you are a complete beginner or have some experience, this guide will help you achieve the desired results.
So, let’s dive in and learn how to tie back curtains like a pro!
Key Takeaways:
- Transform the ambiance of your living space by learning how to tie back curtains like a pro. Enjoy added natural light and a stylish touch with these simple and effective techniques.
- Enhance the look of any room with practical and stylish tie-back curtains. Follow the comprehensive guide to achieve a cozy, inviting atmosphere or add a touch of sophistication to your space.
Read more: How To Make Tie Backs For Curtains
Step 1: Measure and Gather Materials
Before you can start tying back your curtains, it is important to measure the length and width of your windows to determine the amount of fabric you will need. Measure from the top of the window frame to the desired length where you want the curtains to fall. Also, measure the width of the window to determine the width of the curtain panels you will need.
Once you have the measurements, it’s time to gather the necessary materials. Here’s a list of what you’ll need:
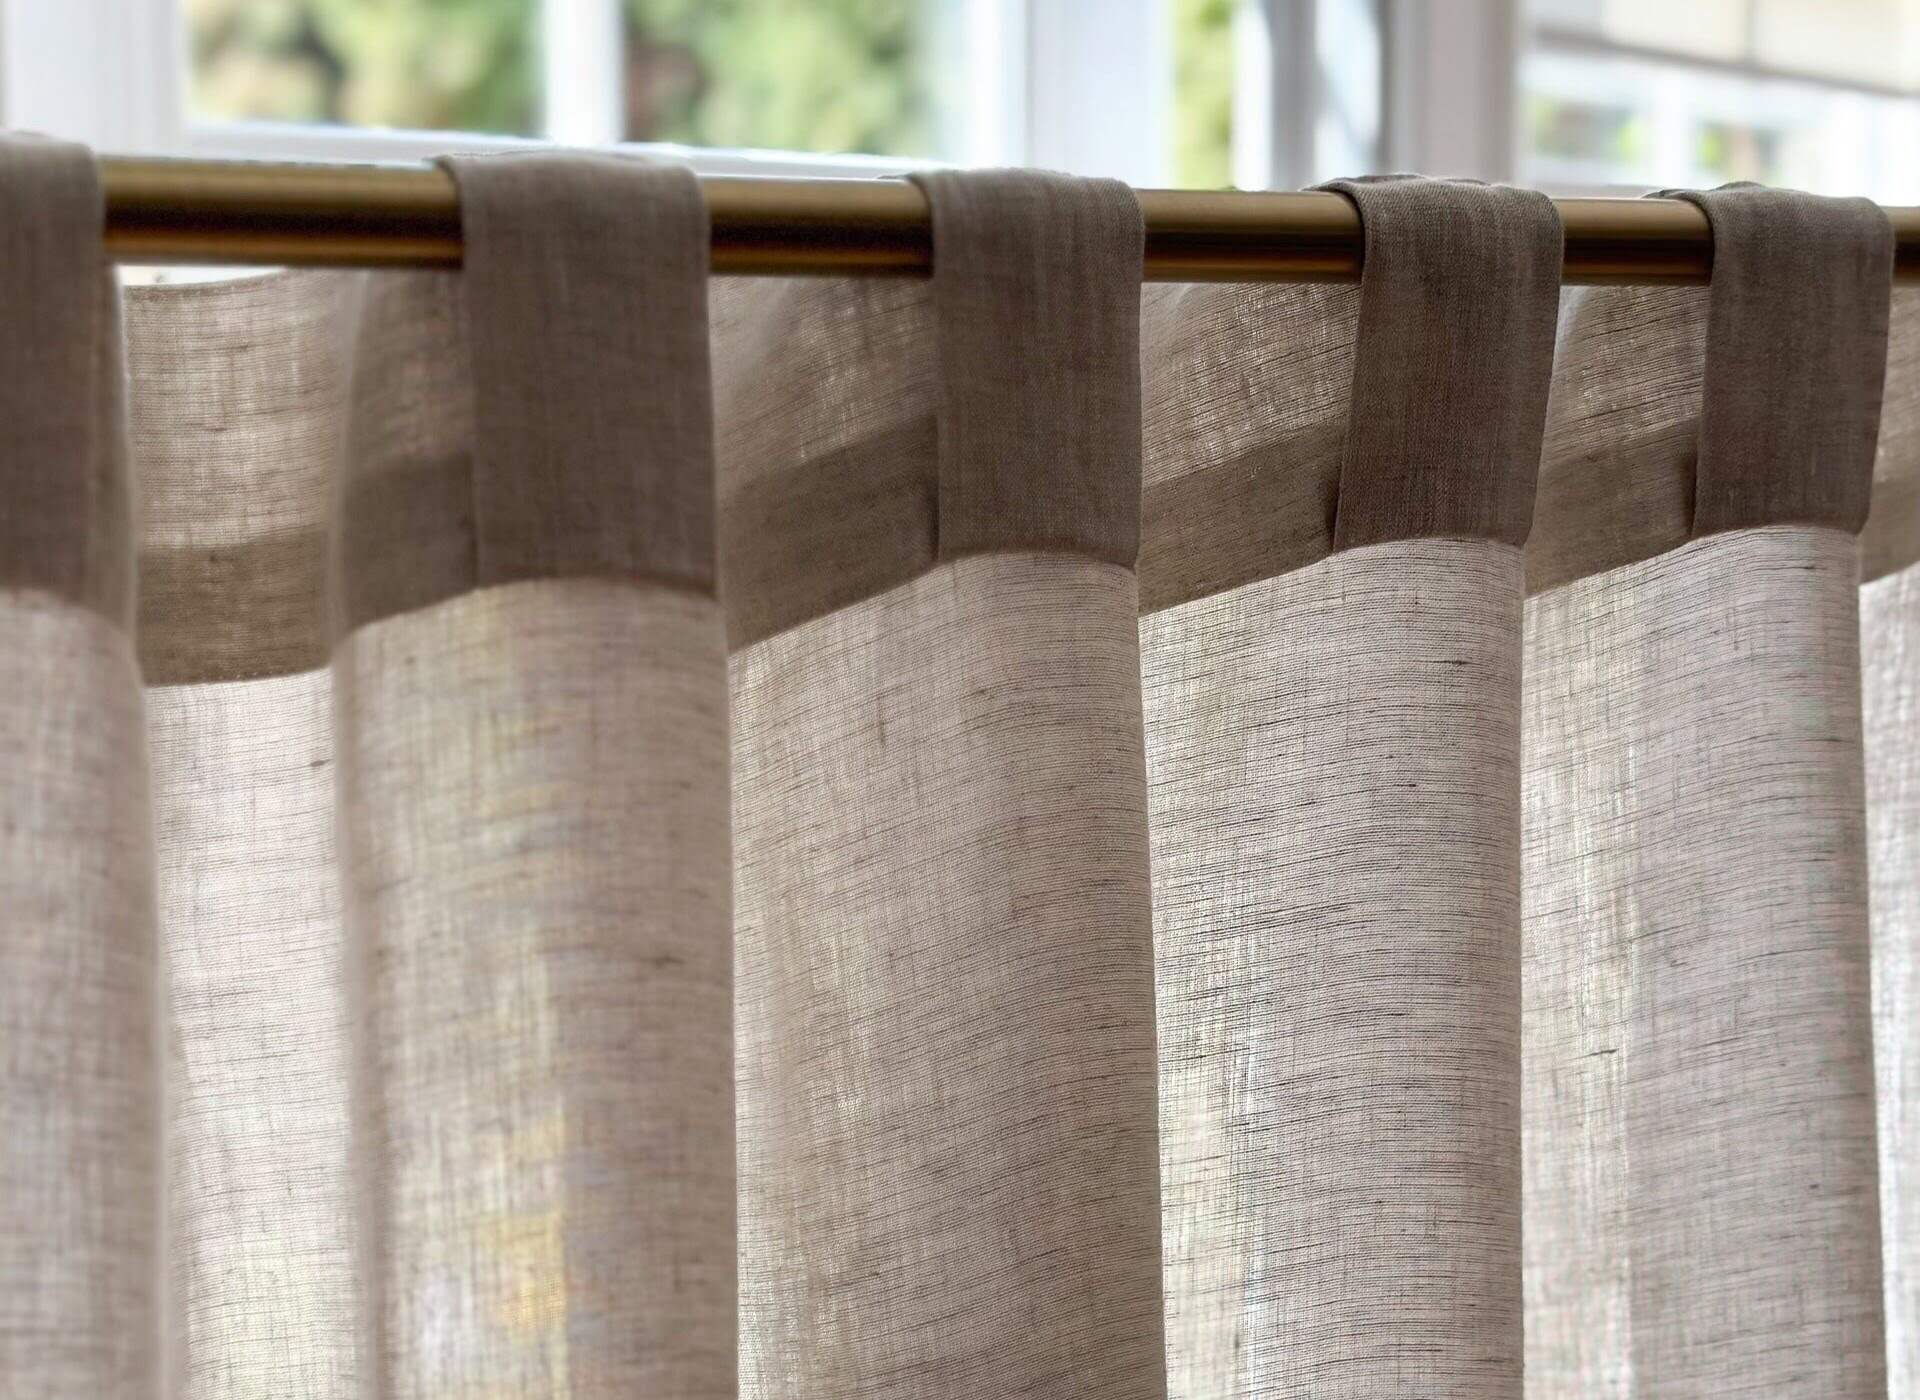
- Curtains: Choose curtains that complement your decor style and are made from a fabric that is suitable for tying back. Lightweight fabrics such as sheer or linen curtains work well for this purpose.
- Tie-back hooks or holders: These are the devices that will hold your curtains in place when tied back. They can be hooks, rings, or decorative holders that are attached to the wall or window frame.
- Drill and screws (if necessary): If your tie-back hooks or holders need to be installed, you will need a drill and screws to secure them in place.
- Optional: Decorative accents: To enhance the overall look of your tied-back curtains, you can add decorative accents such as tassels, ribbons, or rope ties.
Once you have gathered all the necessary materials, you are ready to move on to the next step: choosing the appropriate tie-back style.
Step 2: Choose the Appropriate Tie-Back Style
Choosing the right tie-back style for your curtains is essential in achieving the desired look for your space. There are various tie-back styles to choose from, each offering a unique aesthetic. Here are some popular options:
- Simple Fabric Tie-Back: This is the most common tie-back style and involves using a piece of fabric or ribbon to hold the curtains in place. It is a versatile option that works well with various curtain styles and fabrics. Simply wrap the fabric or ribbon around the gathered curtain and secure it in a knot or bow.
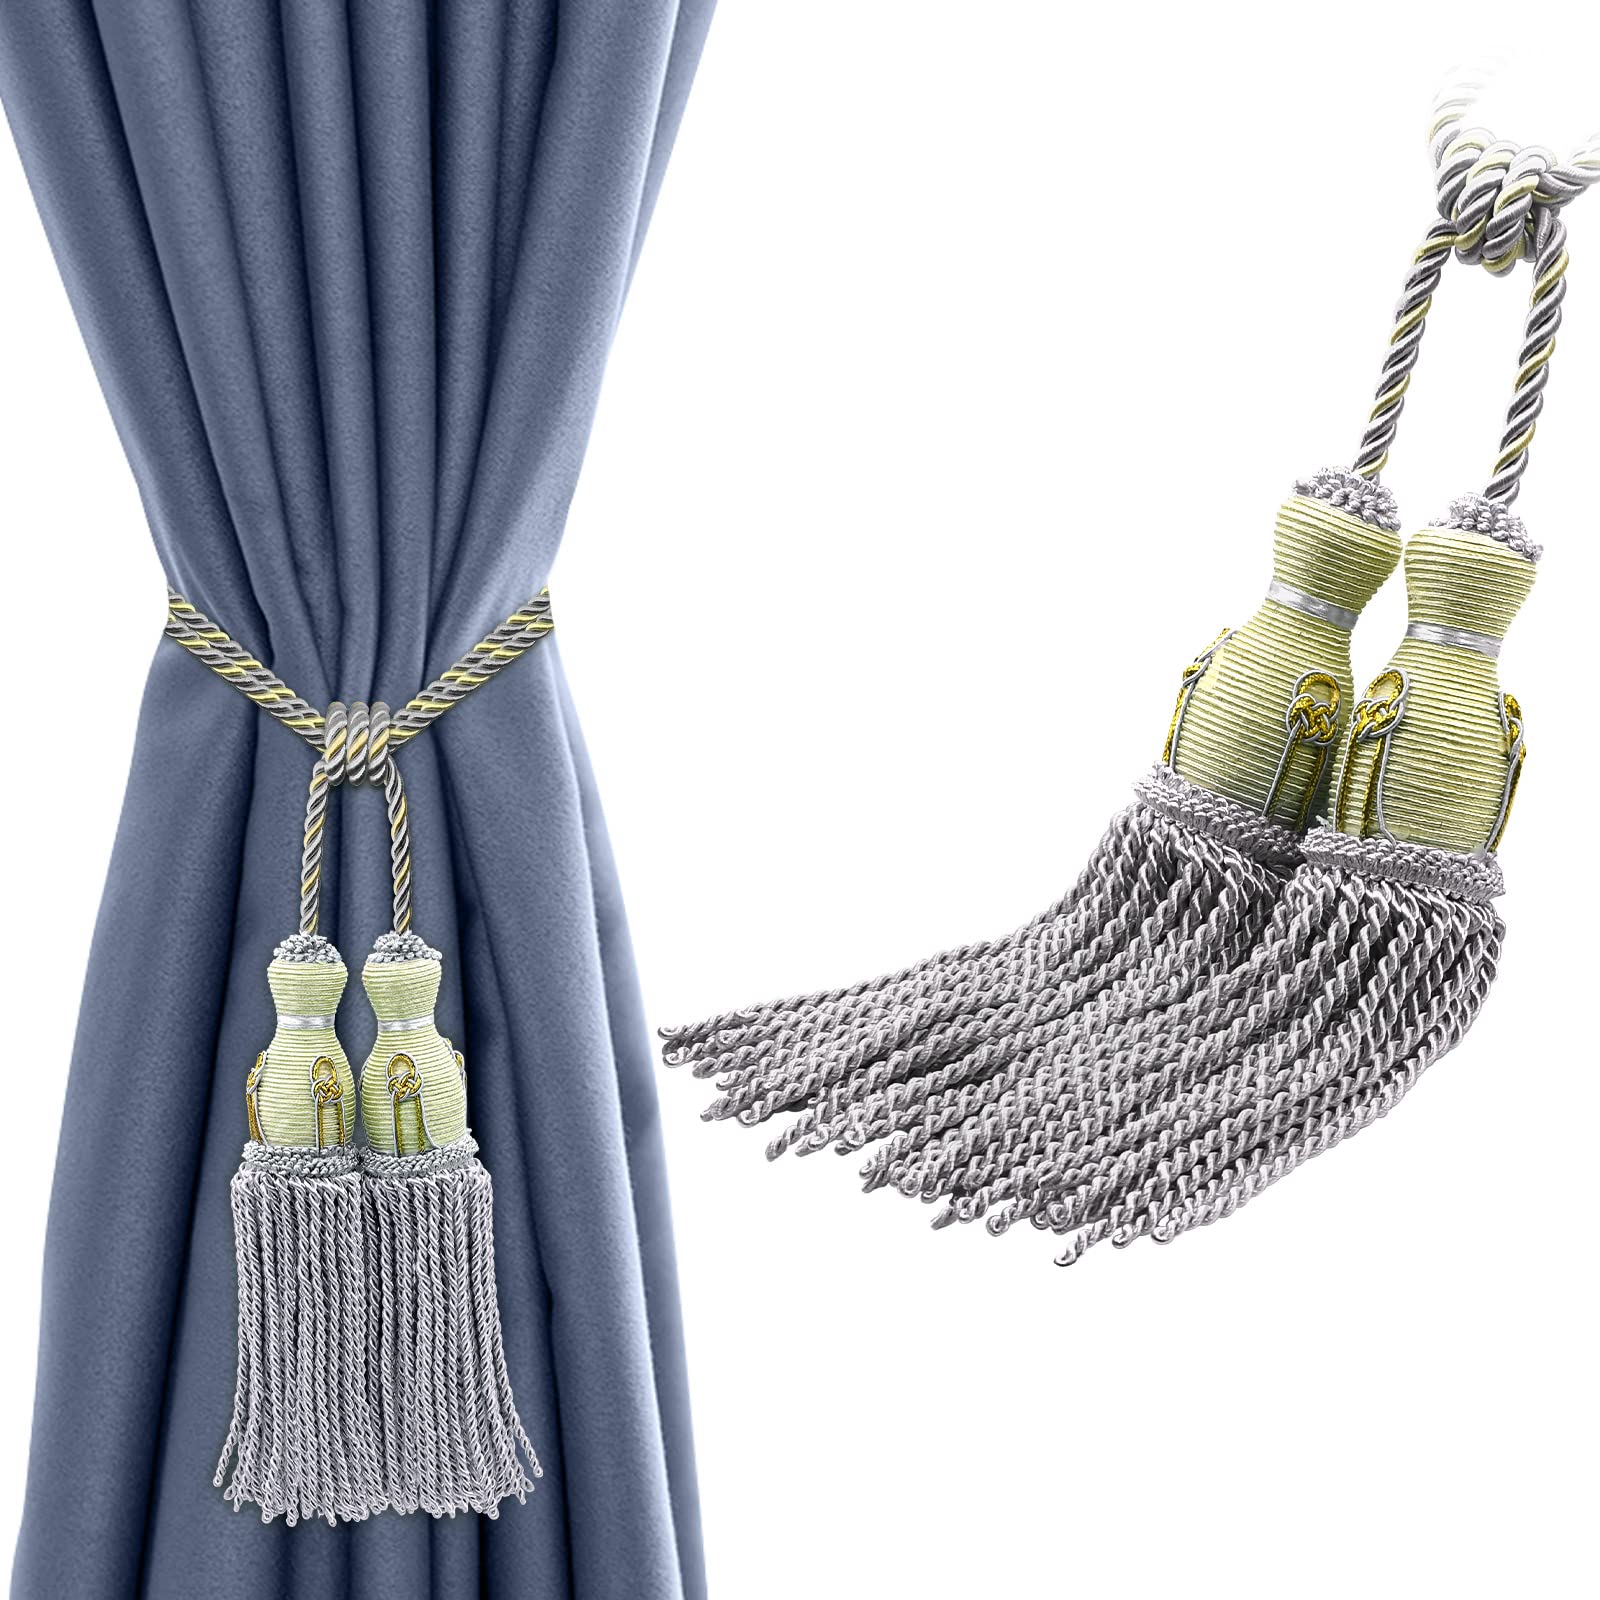
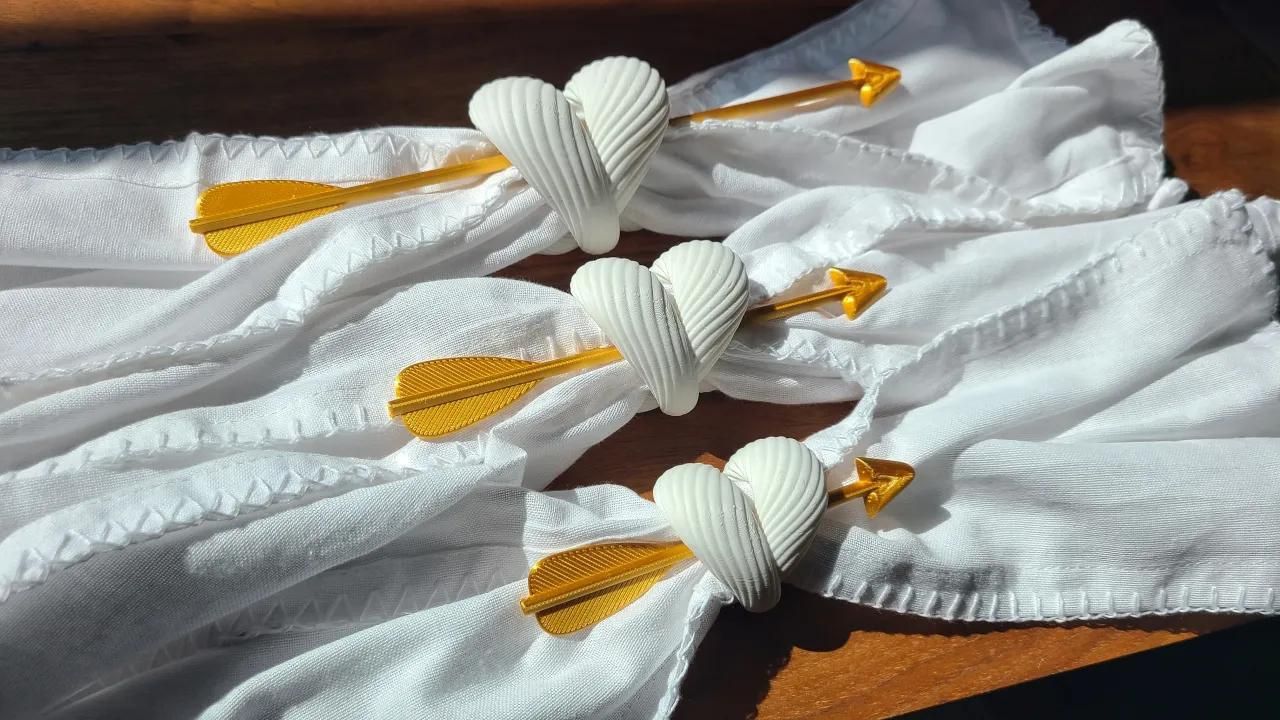
- Tassel Tie-Back: Tassel tie-backs add a touch of elegance and sophistication to your curtains. These decorative accents can be attached to a fabric tie-back or used on their own. Simply loop the tassel around the gathered curtain and secure it in place.
- Rope Tie-Back: Rope tie-backs are a popular choice for achieving a nautical or rustic look. They can be made from natural fibers like jute or synthetic materials like braided cord. Simply loop the rope around the gathered curtain and tie it in a knot or bow.
- Magnetic Tie-Back: Magnetic tie-backs offer a convenient and fuss-free option for tying back curtains. These tie-backs come with magnets that securely hold the curtain in place. Simply attach one magnet to the curtain and align the other magnet on the wall or window frame.
Consider the style of your curtains, the overall decor of your room, and your personal preference when choosing the appropriate tie-back style. It should complement the aesthetics of your space and enhance the overall look of your curtains.
Once you have selected the tie-back style, it’s time to move on to the next step: installing the tie-back hooks or holders.
Step 3: Install the Tie-Back Hooks or Holders
Installing tie-back hooks or holders is necessary to secure your curtains when they are tied back. The method of installation will depend on the type of tie-back hardware you have chosen. Here is a general guide:
- For Wall-Mounted Hooks: Start by deciding the placement of the hooks. Typically, they are installed at a height that allows the curtain to be tied back comfortably. Use a measuring tape to ensure equal distance on each side. Mark the positions for the hooks using a pencil.
- Using a drill, make pilot holes: For wall-mounted hooks, use an appropriate drill bit to make pilot holes at the marked positions. Make sure the drill bit size matches the size of the screws provided with the hooks.
- Attach the hooks: Insert the screws provided with the hooks into the pilot holes and tighten them securely. Make sure the hooks are level and correctly aligned.
- For Holders attached to the window frame: If you have chosen holders that attach directly to the window frame, follow the manufacturer’s instructions for installation. This may involve using adhesive strips or small screws.
Make sure the hooks or holders are installed firmly to provide proper support and prevent them from coming loose when the curtains are tied back. Double-check their alignment and adjust if needed.
Now that your tie-back hooks or holders are securely installed, you are ready to move on to the next step: folding and securing the curtains.
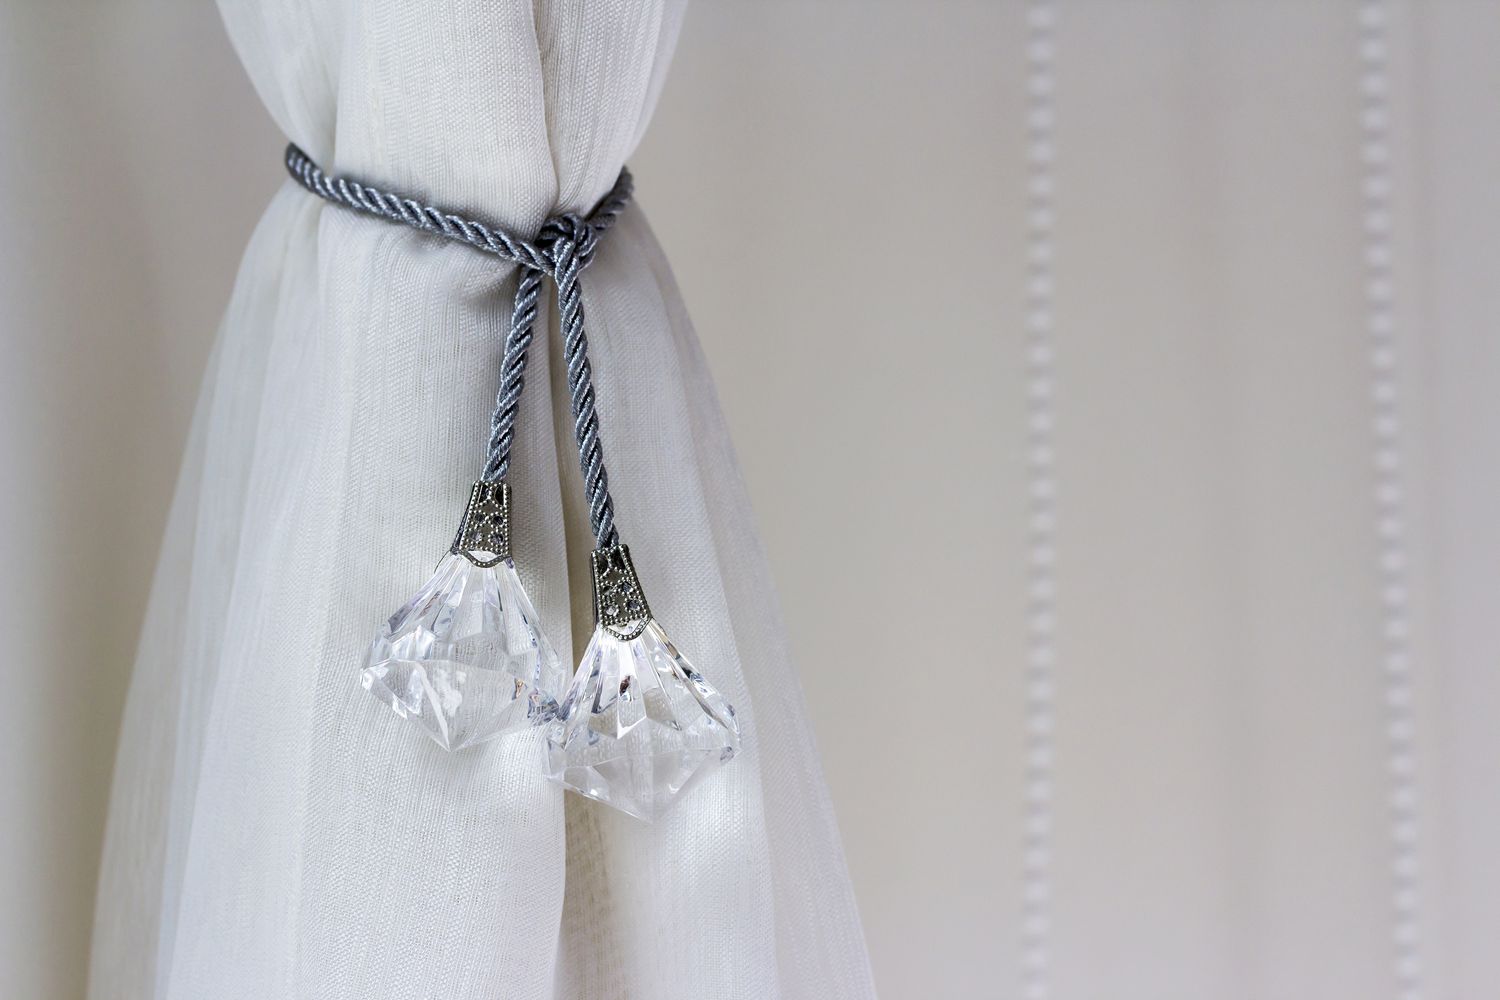
When tying back curtains, use a decorative rope or ribbon to add a stylish touch to the room. Loop the rope around the curtain and secure it with a simple knot for an elegant look.
Step 4: Fold and Secure the Curtains
Now that you have prepared the tie-back hardware, it’s time to fold and secure your curtains in preparation for tying them back. Follow these steps:
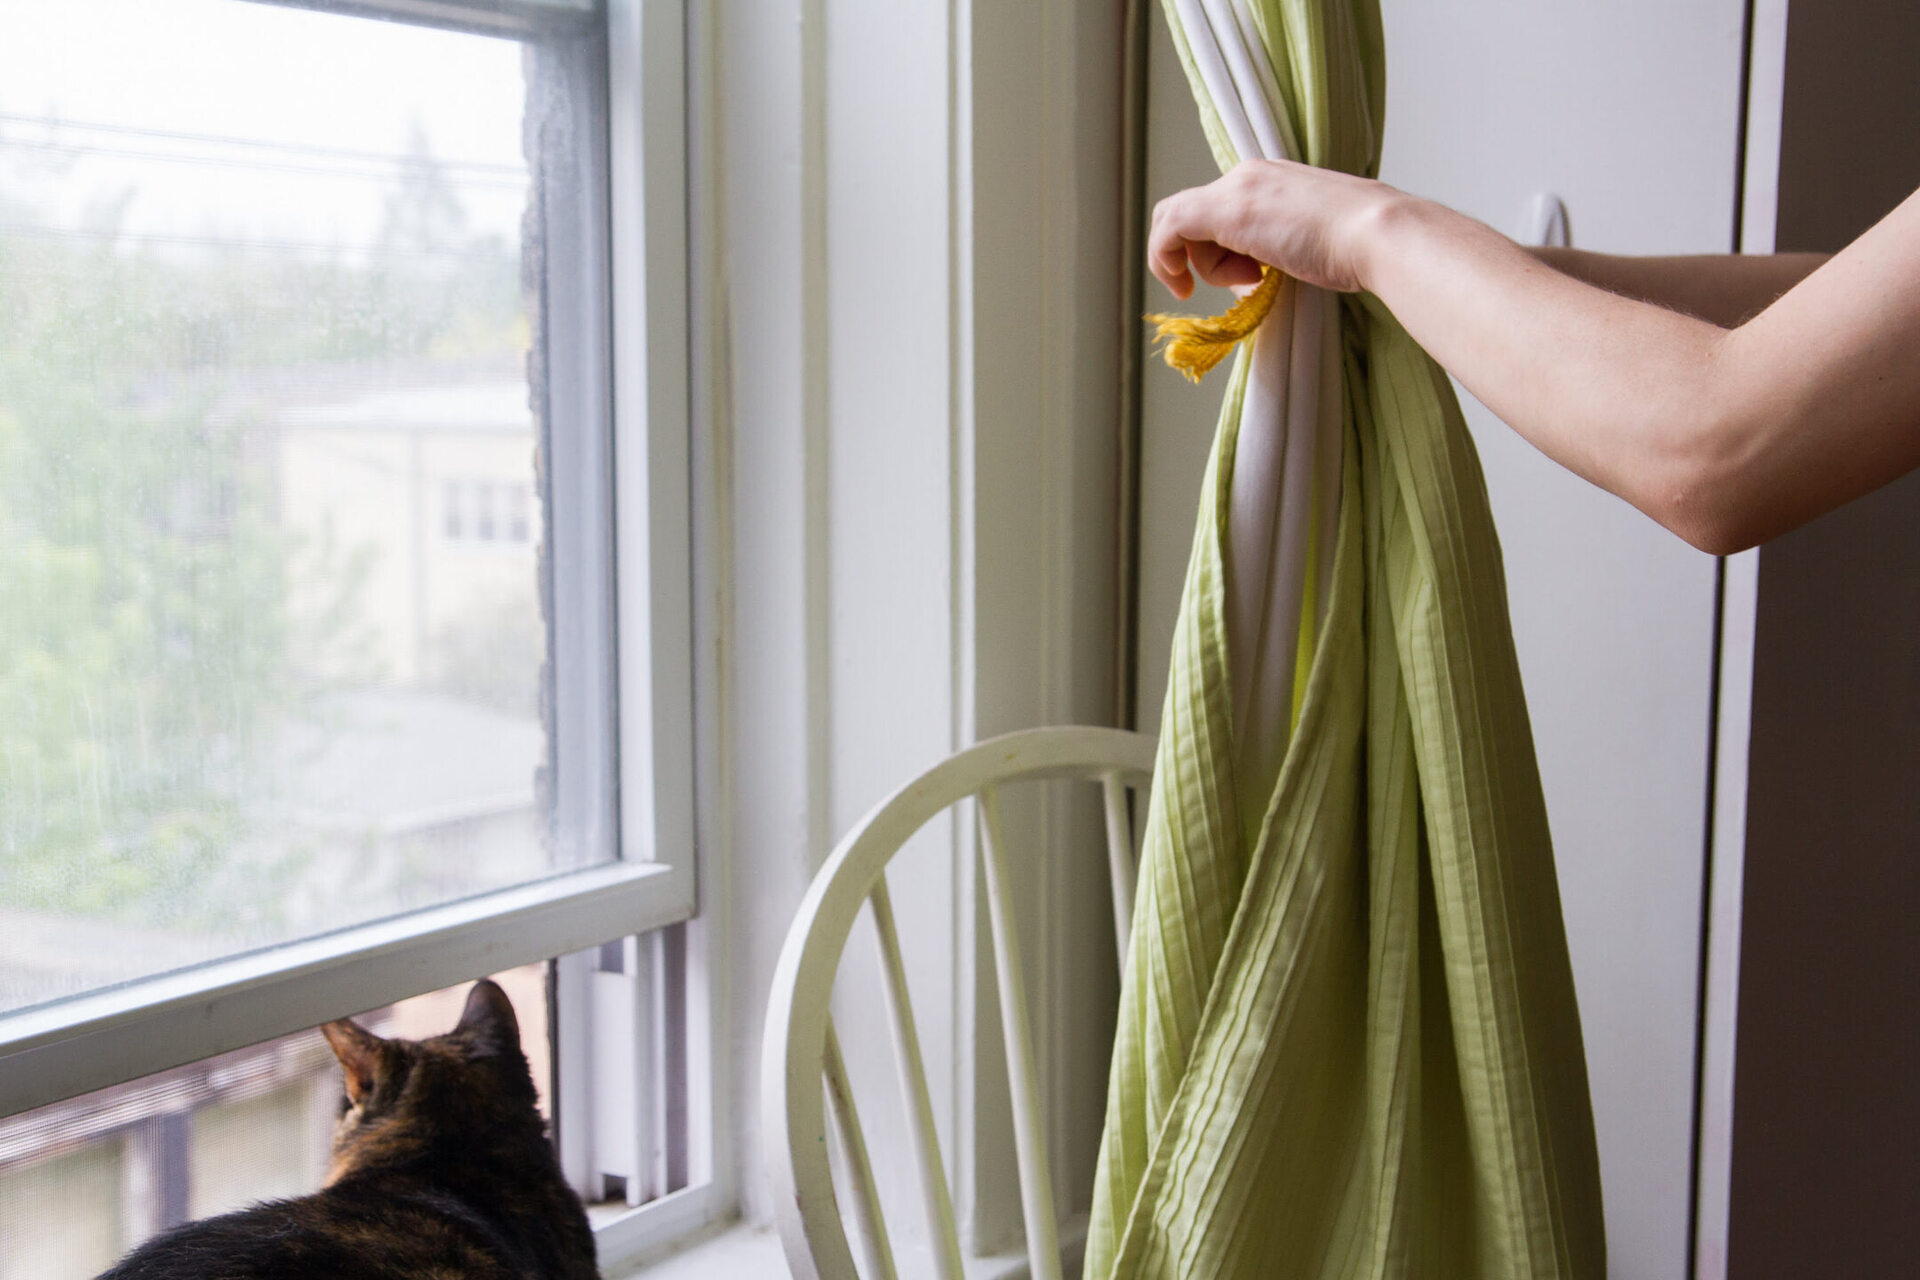
- Gather the curtains: Start by pulling both curtain panels to one side of the window. Hold the curtains from the center and gather them together in a neat bunch.
- Fold the curtains: Next, fold the gathered curtains evenly in a fan-like or accordion-style fold. The size of the fold will depend on the width of the tie-back hardware.
- Secure the fold: Once you’ve achieved the desired fold, use one hand to hold the fold in place while preparing to attach the tie-back.
- Wrap the tie-back: Take the tie-back, whether it’s a fabric strip, tassel, rope, or magnetic option, and wrap it around the folded curtain securely.
Ensure that the tie-back is wrapped tightly enough to hold the curtains in place but not too tight that it creates wrinkles or pulls the fabric excessively. The goal is to achieve a balanced and visually pleasing look.
Remember that the positioning of the tie-back will depend on your personal preference. You can choose to tie it high, in the middle, or low on the folded curtain, depending on the desired look and the amount of sunlight you want to let in.
Once the curtains are folded and the tie-back is attached, it’s time to move on to the next step: attaching the tie-backs to the hooks or holders.
Read more: Best DIY Curtain Tie Backs For Your Home
Step 5: Attach the Tie-Backs to the Hooks or Holders
With the curtains folded and the tie-backs securely wrapped around them, it’s time to attach the tie-backs to the hooks or holders. Follow these steps:
- Hold the tie-back: Take one end of the tie-back in each hand, ensuring that the wrapped portion of the curtains remains secure.
- Position the tie-back: While holding the tie-backs, stand in front of the window and position them to align with the hooks or holders installed on the wall or window frame. The tie-backs should be at the desired height and distance from the window.
- Attach the tie-backs: Depending on the type of tie-back hardware you have chosen, follow the specific instructions for attaching them. This may involve hooking the tie-back onto the hook, sliding it through a ring, or securing it to a decorative holder.
- Adjust the tie-backs: Once attached, step back and check the appearance of the tied-back curtains. Make any necessary adjustments to ensure that the folds are even and the curtains are secured neatly.
Keep in mind that the positioning of the tie-backs can affect the overall appearance of the curtains. Experiment with different heights and angles until you achieve the desired look that complements your room’s decor.
Now that the tie-backs are properly attached, you can move on to the final step: adjusting and arranging the curtains for your desired look.
Step 6: Adjust and Arrange the Curtains for Desired Look
Now that the tie-backs are in place, it’s time to make some final adjustments and arrange the curtains to achieve your desired look. Follow these steps:
- Smooth out the folds: Take a moment to gently smooth out any wrinkles or creases in the curtains. This will help create a clean and polished appearance.
- Fluff and arrange: If your curtains have any decorative elements, such as ruffles or pleats, take a moment to fluff them up and arrange them neatly. Make sure they are evenly distributed to create an aesthetically pleasing effect.
- Check the symmetry: Step back and assess the overall symmetry of the tied-back curtains. Ensure the tie-backs are at the same height and the folds of the curtains are symmetrically arranged on each side of the window.
- Experiment with the drape: Depending on the look you want to achieve, you can play around with the draping of the curtains. If you prefer a more casual and relaxed vibe, allow the curtains to have a slightly loose and billowy appearance. For a more formal and tailored look, adjust the folds to create a sleek and structured appearance.
Remember, achieving the desired look may require some trial and error. Take your time to adjust and arrange the curtains until you are satisfied with the overall aesthetic.
By following these steps, you have successfully tied back your curtains and transformed the ambiance of your space. Enjoy the added natural light and the stylish touch that tie-back curtains bring to your room!
Remember to periodically check the tie-backs and adjust them as needed to maintain the desired look and functionality.
There you have it – a comprehensive guide on how to tie back curtains. Whether you want to create a cozy and inviting atmosphere or add a touch of sophistication to your space, tying back curtains is a simple and effective way to achieve the desired look. So, get creative and have fun with your curtain arrangements!
Conclusion
Tying back curtains is a practical and stylish way to enhance the look of any room. Whether you want to let in more natural light, create a breezy atmosphere, or add a touch of elegance, learning how to properly tie back your curtains is essential. By following the steps outlined in this guide, you can achieve the desired look and transform the ambiance of your living space.
Remember to start by measuring your windows and gathering the necessary materials. Choose a tie-back style that complements your curtains and the overall decor of your room. Install the tie-back hooks or holders securely, making sure they are level and aligned. Fold and secure the curtains neatly, and attach the tie-backs to the hooks or holders.
Once the tie-backs are in place, take the time to adjust and arrange the curtains for your desired look. Smooth out any wrinkles, fluff up any decorative elements, and ensure symmetry. Experiment with the drape of the curtains to achieve the right balance of casual or formal style.
By following these steps and allowing your creativity to flourish, you can tie back your curtains like a pro. Enjoy the added beauty and functionality that tie-back curtains bring to your home, and take pride in the personalized touch you have added to your decor.
Now it’s time to sit back, relax, and enjoy the transformed ambiance of your space. Let the natural light filter in, and bask in the stylish and inviting atmosphere that your tied-back curtains have created.
So, go ahead and put these steps into practice. Start tying back your curtains and watch as your space comes to life with a whole new level of charm and sophistication!
Frequently Asked Questions about How To Tie Back Curtains
Was this page helpful?
At Storables.com, we guarantee accurate and reliable information. Our content, validated by Expert Board Contributors, is crafted following stringent Editorial Policies. We're committed to providing you with well-researched, expert-backed insights for all your informational needs.


0 thoughts on “How To Tie Back Curtains”