Articles
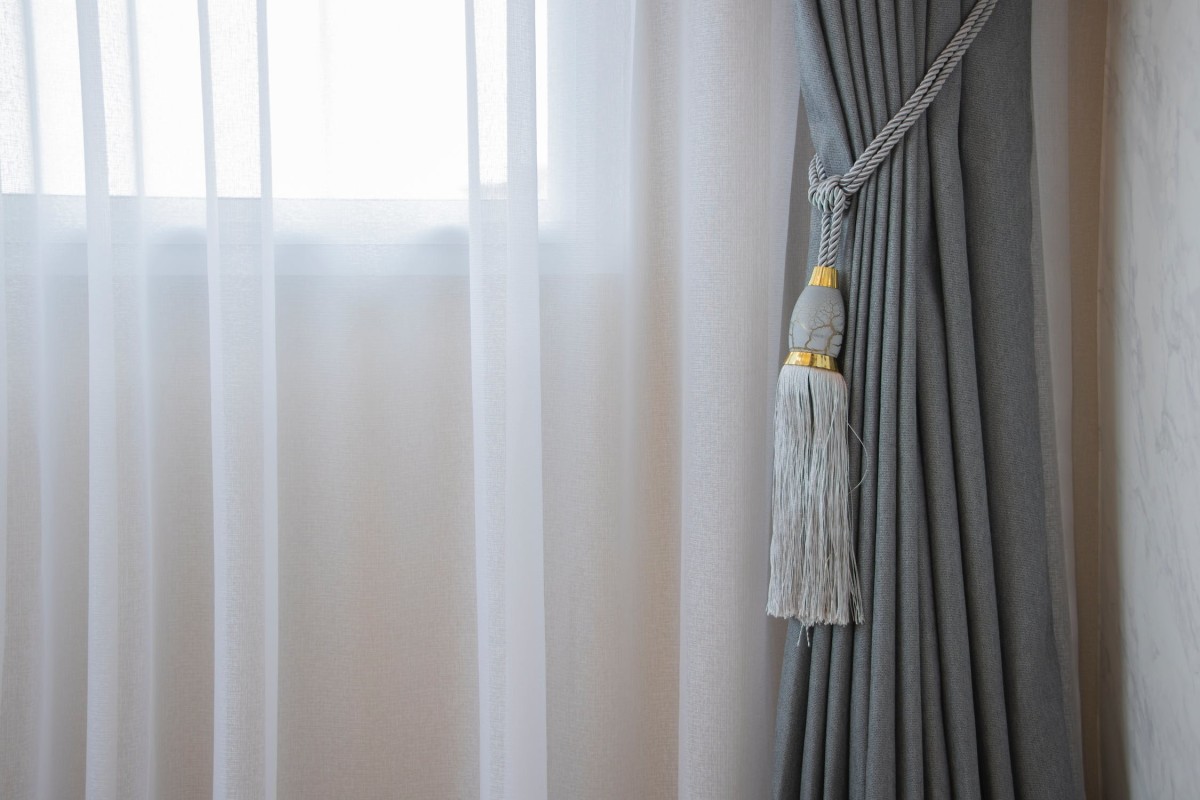
How To Make Tie Backs For Curtains
Modified: December 7, 2023
Learn how to make stunning tie backs for your curtains with our helpful articles. Get creative and add a touch of elegance to your home decor.
(Many of the links in this article redirect to a specific reviewed product. Your purchase of these products through affiliate links helps to generate commission for Storables.com, at no extra cost. Learn more)
Introduction
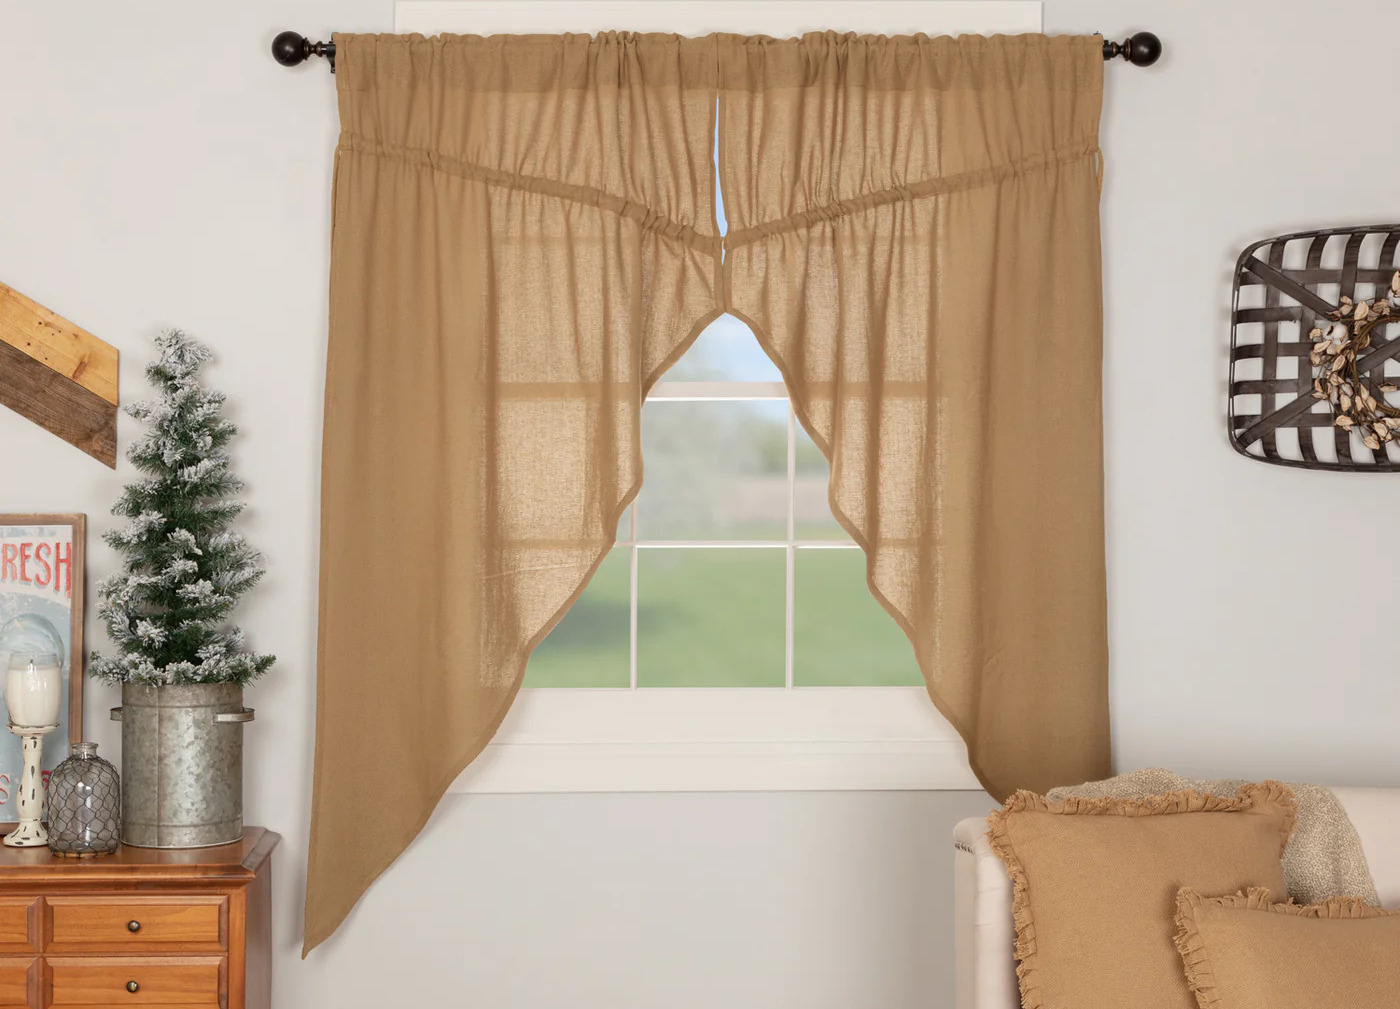
Welcome to our step-by-step guide on how to make tie backs for curtains. Tie backs are a wonderful addition to curtains, as they not only provide a functional way to keep your curtains open but also add a touch of elegance to your home decor. Making your own tie backs allows you to customize them to match your curtains and personal style, and it’s a fun and creative project to undertake.
In this article, we will walk you through the process of making your own tie backs for curtains. We will cover everything from choosing the fabric to adding embellishments, so you’ll have all the information you need to create beautiful tie backs that enhance the look of your curtains.
Before we dive into the steps, let’s take a look at the materials you’ll need for this project.
Key Takeaways:
- Elevate your curtains with personalized tie backs that add elegance and functionality to your home decor. Choose the perfect fabric, add embellishments, and enjoy the creative process of making your own unique tie backs.
- Embrace DIY creativity by crafting tie backs for your curtains. From fabric selection to adding embellishments, enjoy the freedom to customize and showcase your unique style while enhancing the beauty of your living space.
Read more: How To Tie Back Curtains
Materials Needed
Before you get started, it’s important to gather all the necessary materials for making tie backs for curtains. Here’s a list of what you’ll need:
- Fabric of your choice
- Scissors
- Measuring tape
- Sewing machine or needle and thread
- Pins
- Embellishments (optional)
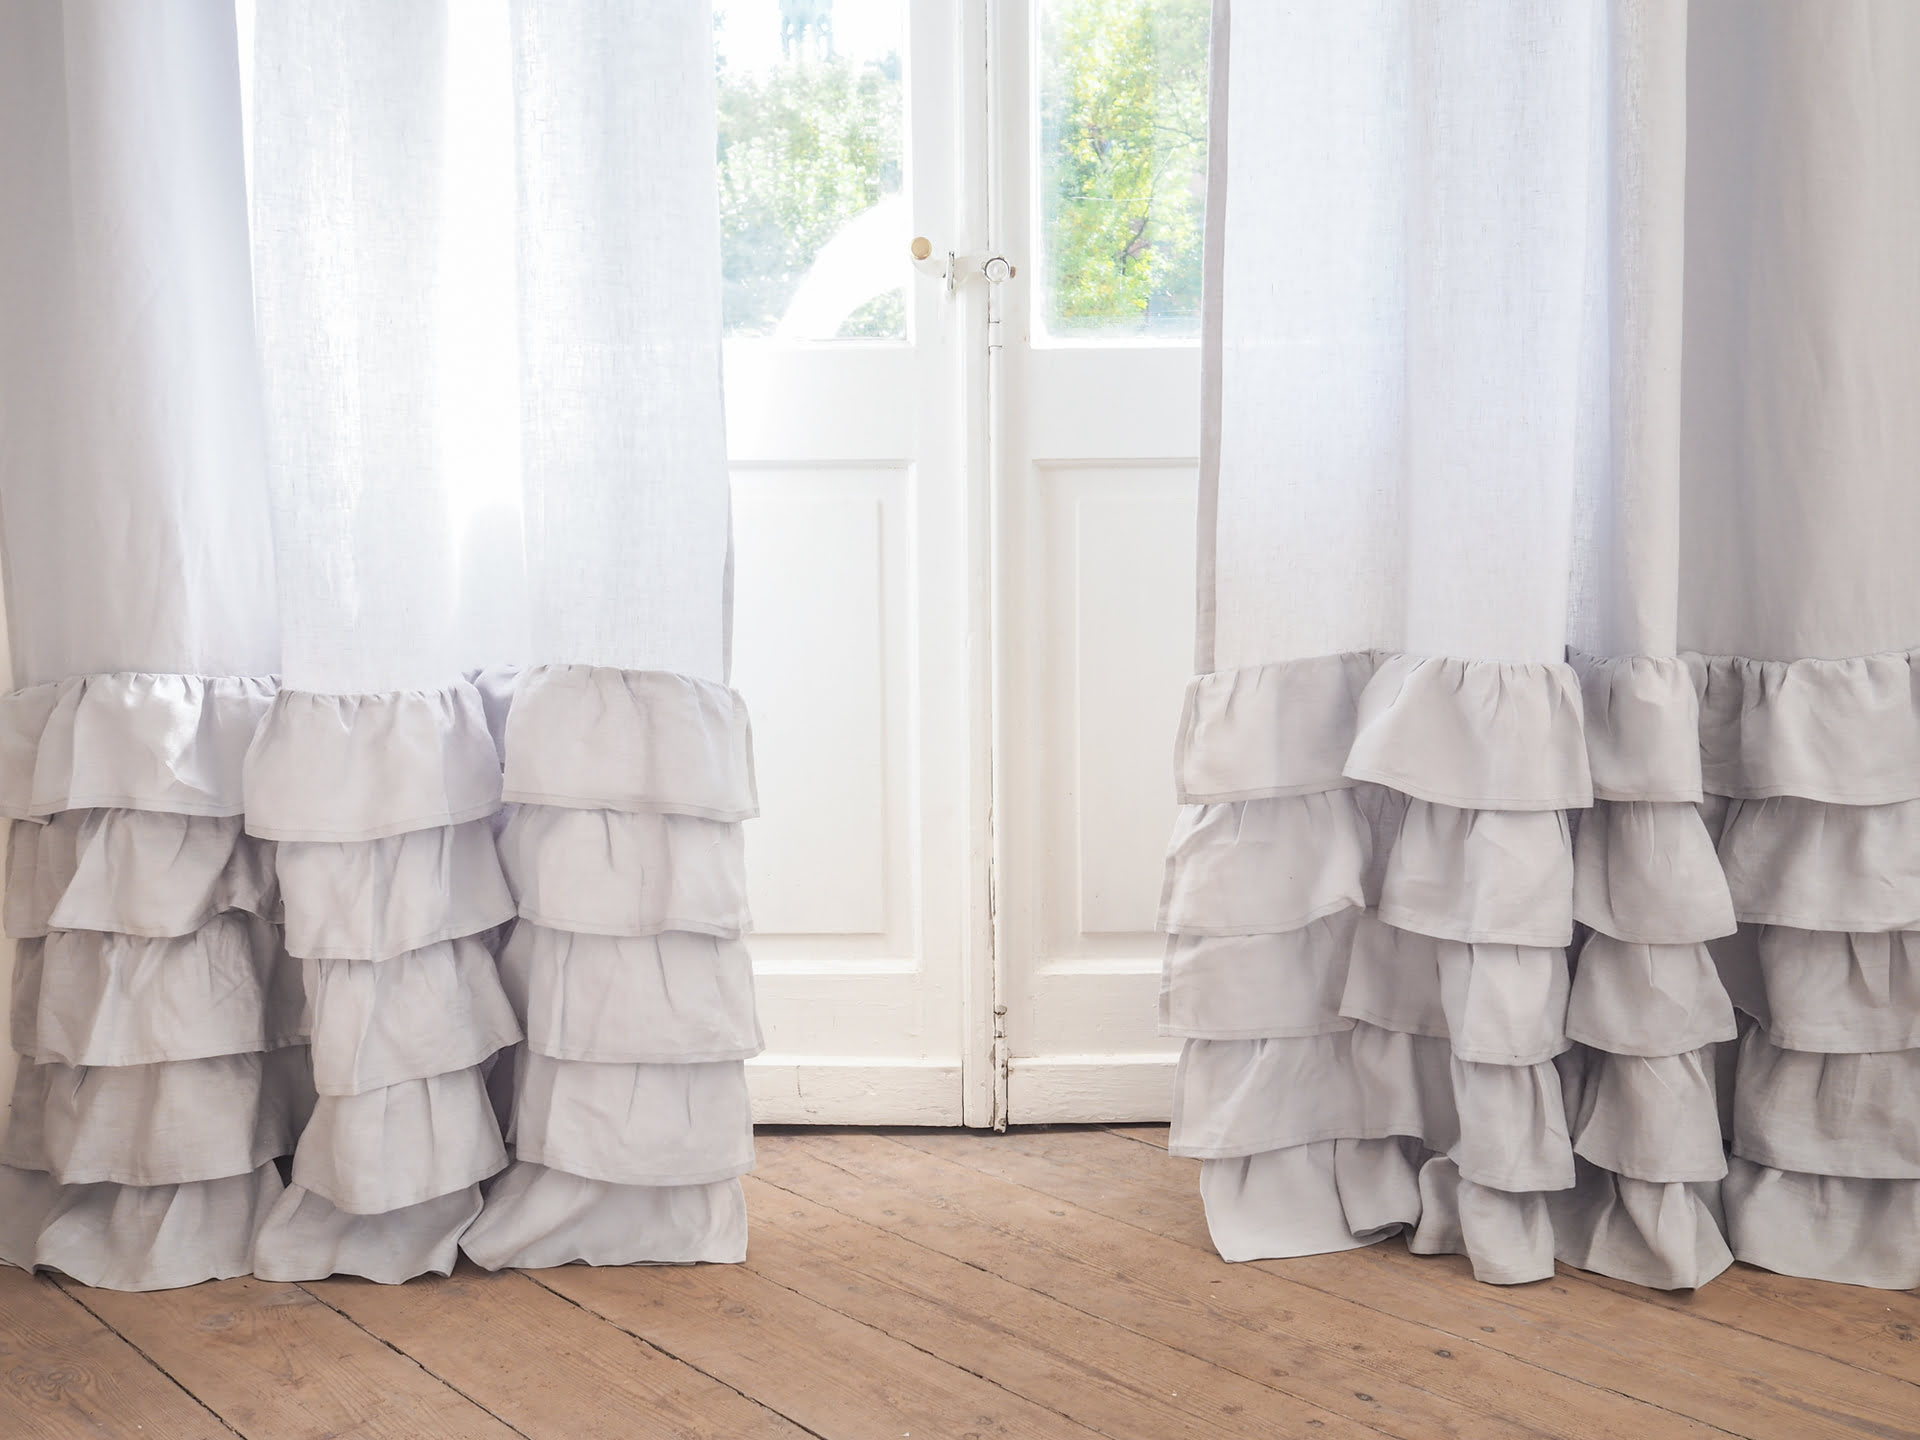
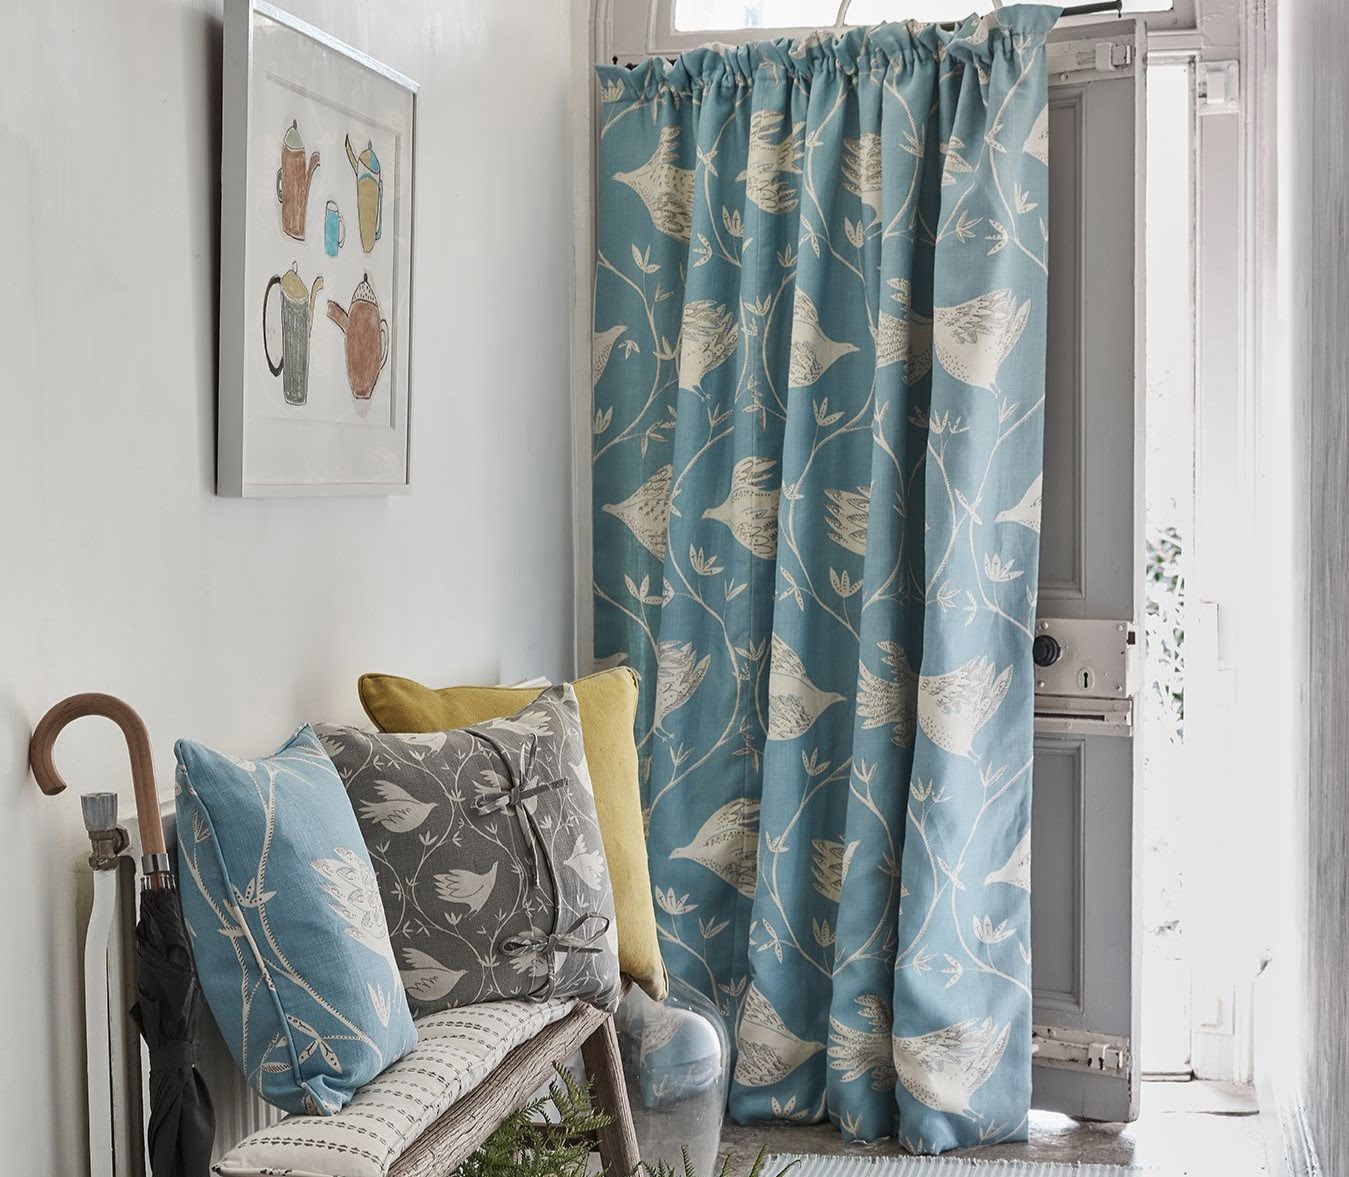
When it comes to choosing the fabric for your tie backs, there are a few things to consider. First, think about the weight and drape of the fabric. You’ll want something that is sturdy enough to hold the curtains back but still has a nice drape when tied. A lightweight cotton or linen fabric is a popular choice for tie backs, but you can also get creative and use patterned or textured fabrics to add visual interest.
Now that you have all your materials ready, let’s move on to the step-by-step process of making tie backs for curtains.
Step 1: Choosing the Fabric
The first step in making tie backs for curtains is choosing the fabric. As mentioned earlier, you’ll want to select a fabric that is both sturdy enough to hold the curtains back and has a nice drape when tied.
If you’re using the same fabric as your curtains, this step is easy. You can simply cut strips of fabric from the same material. However, if you want to add a contrasting color or pattern, consider using a complementary fabric that will complement your curtains.
When choosing the fabric, think about the overall look and feel you want to achieve. For a more formal and elegant look, consider using a satin or velvet fabric. If you prefer a casual and relaxed vibe, opt for a lightweight cotton or linen material.
Additionally, consider the width of the tie backs. The width will determine how much fabric you’ll need. A general rule of thumb is to measure two to three times the width of your curtain panel for the tie backs. This will ensure there’s enough fabric to create a nice bow or knot when tying them back.
Once you’ve chosen the fabric and determined the width, it’s time to move on to the next step: measuring and cutting the fabric.
Step 2: Measuring and Cutting
Now that you have selected the fabric for your tie backs, it’s time to measure and cut the fabric to the desired length and width.
Start by measuring the length of the tie backs. This will depend on how far you want the curtains to be held back. Measure from the desired tie back point on the curtain to the desired tie back point on the wall. Add a few extra inches to account for the tie loops and allowances for hemming.
Next, measure the width of the tie backs. As mentioned earlier, it is recommended to measure two to three times the width of your curtain panel. This will ensure you have enough fabric to create a nice bow or knot when tying them back.
Once you have your measurements, use a ruler or measuring tape to mark the dimensions on the fabric. Be sure to leave some allowance for hemming the edges later on.
After marking the fabric, use sharp scissors to carefully cut along the markings. Take your time and make sure the edges are straight and even.
Remember to cut two pieces of fabric for a pair of tie backs. This will allow you to have matching tie backs for both sides of the curtains.
Now that you have your fabric pieces cut to the desired length and width, it’s time to move on to the next step: hemming the edges.
Step 3: Hemming the Edges
With your fabric pieces cut to the desired length and width, it’s time to hem the edges. Hemming the edges will not only give your tie backs a polished and finished look but also prevent fraying and ensure longevity.
Start by folding over the raw edge of the fabric about ¼ inch (0.6 cm) towards the wrong side. Use your fingers or an iron to press the fold in place. This will create a clean edge.
Next, fold the fabric over again, this time about ¼ inch (0.6 cm) to ½ inch (1.3 cm), depending on the thickness and stiffness of your fabric. This will enclose the raw edge and create a double-fold hem.
Pin the folded fabric in place to keep it secure while sewing. Place the pins perpendicular to the fabric edge, with the points facing away from the edge. This will make it easier to remove the pins as you sew.
Once you have pinned the fabric, sew a straight stitch along the folded edge to secure the hem. Use a matching thread color or a contrasting color for a decorative touch.
Continue sewing along the entire length of the fabric, removing the pins as you go. Take your time and sew slowly to ensure a neat and even hem.
Repeat this process for the other fabric piece, if you are making a pair of tie backs.
With the edges hemmed, your fabric pieces are now ready for the next step: creating the tie loops.
When making tie backs for curtains, consider using a durable and complementary fabric that is at least 3 inches wide and 24 inches long. This will ensure a secure and stylish hold for your curtains.
Read more: Best DIY Curtain Tie Backs For Your Home
Step 4: Creating the Tie Loops
Creating the tie loops is an essential step in making tie backs for curtains. These loops will allow you to easily tie back your curtains and hold them in place.
Start by cutting a strip of fabric for the tie loops. The width of the strip depends on your preference, but a common width is around 1-2 inches (2.5-5 cm). The length of the strip should be twice the length of the desired tie loop, as the strip will be folded in half later on.
Take the fabric strip and fold it in half lengthwise, with the right sides facing each other. Use pins to secure the long edge and the end of the strip.
Next, sew a straight stitch along the raw edge of the strip, about ¼ inch (0.6 cm) from the edge. Start sewing from one end of the strip towards the pinned end, backstitching at the beginning and end to secure the stitches.
Once you’ve sewn the long edge, trim any excess fabric from the end of the strip.
Now, you’ll need to turn the fabric strip right side out to hide the raw edge. There are a few methods you can use to do this:
- Use a loop turner or a safety pin: Attach a loop turner or a safety pin to the sewn end of the fabric strip. Insert the loop turner or safety pin into the tube of fabric and gradually pull it through, turning the fabric right side out.
- Use a chopstick or a knitting needle: Insert a chopstick or a knitting needle into the sewn end of the fabric strip. Gradually push the fabric down the chopstick or knitting needle, turning it right side out as you go.
Whichever method you choose, take your time and be gentle to avoid tearing the fabric.
Once the fabric strip is turned right side out, use a pointed object, such as the tip of a pair of scissors, to push out the corners and ensure they are sharp and defined.
Lastly, press the fabric strip with an iron to give it a neat and crisp appearance. Ensure that the seam is aligned at the edge and press the strip flat.
Repeat these steps to create the desired number of tie loops for your tie backs.
Now that you have the tie loops ready, it’s time to move on to the next step: attaching the tie loops to the tie backs.
Step 5: Attaching the Tie Loops
Attaching the tie loops to the tie backs is a crucial step that will allow you to easily tie back your curtains. The placement of the tie loops will depend on your personal preference and the desired look of your tie backs. Here’s how you can attach the tie loops:
- Lay one fabric piece for the tie back flat on a work surface, with the right side facing up.
- Position the tie loops on the fabric piece. Place them evenly spaced along the top edge of the fabric piece or create a cluster of loops in the center, depending on your desired style. Make sure to leave enough space between the loops to allow for easy tying and untying of the curtains.
- Once you have arranged the tie loops, fold the fabric piece in half, bringing the bottom edge up to meet the top edge. The tie loops should now be sandwiched between the two layers of fabric.
- Use pins to secure the fabric layers together, ensuring that the tie loops stay in place.
- Sew a straight stitch along the sides of the fabric piece, leaving the top edge open. Sew close to the edge, about ¼ inch (0.6 cm) from the edge, to ensure that the tie loops are securely attached.
- Backstitch at the beginning and end of the stitching to reinforce the seams.
Repeat these steps for the other fabric piece, if you are making a pair of tie backs.
Once you have attached the tie loops, carefully trim any excess fabric and threads.
Now that the tie loops are securely attached to the tie backs, it’s time to move on to the next step: adding embellishments (optional).
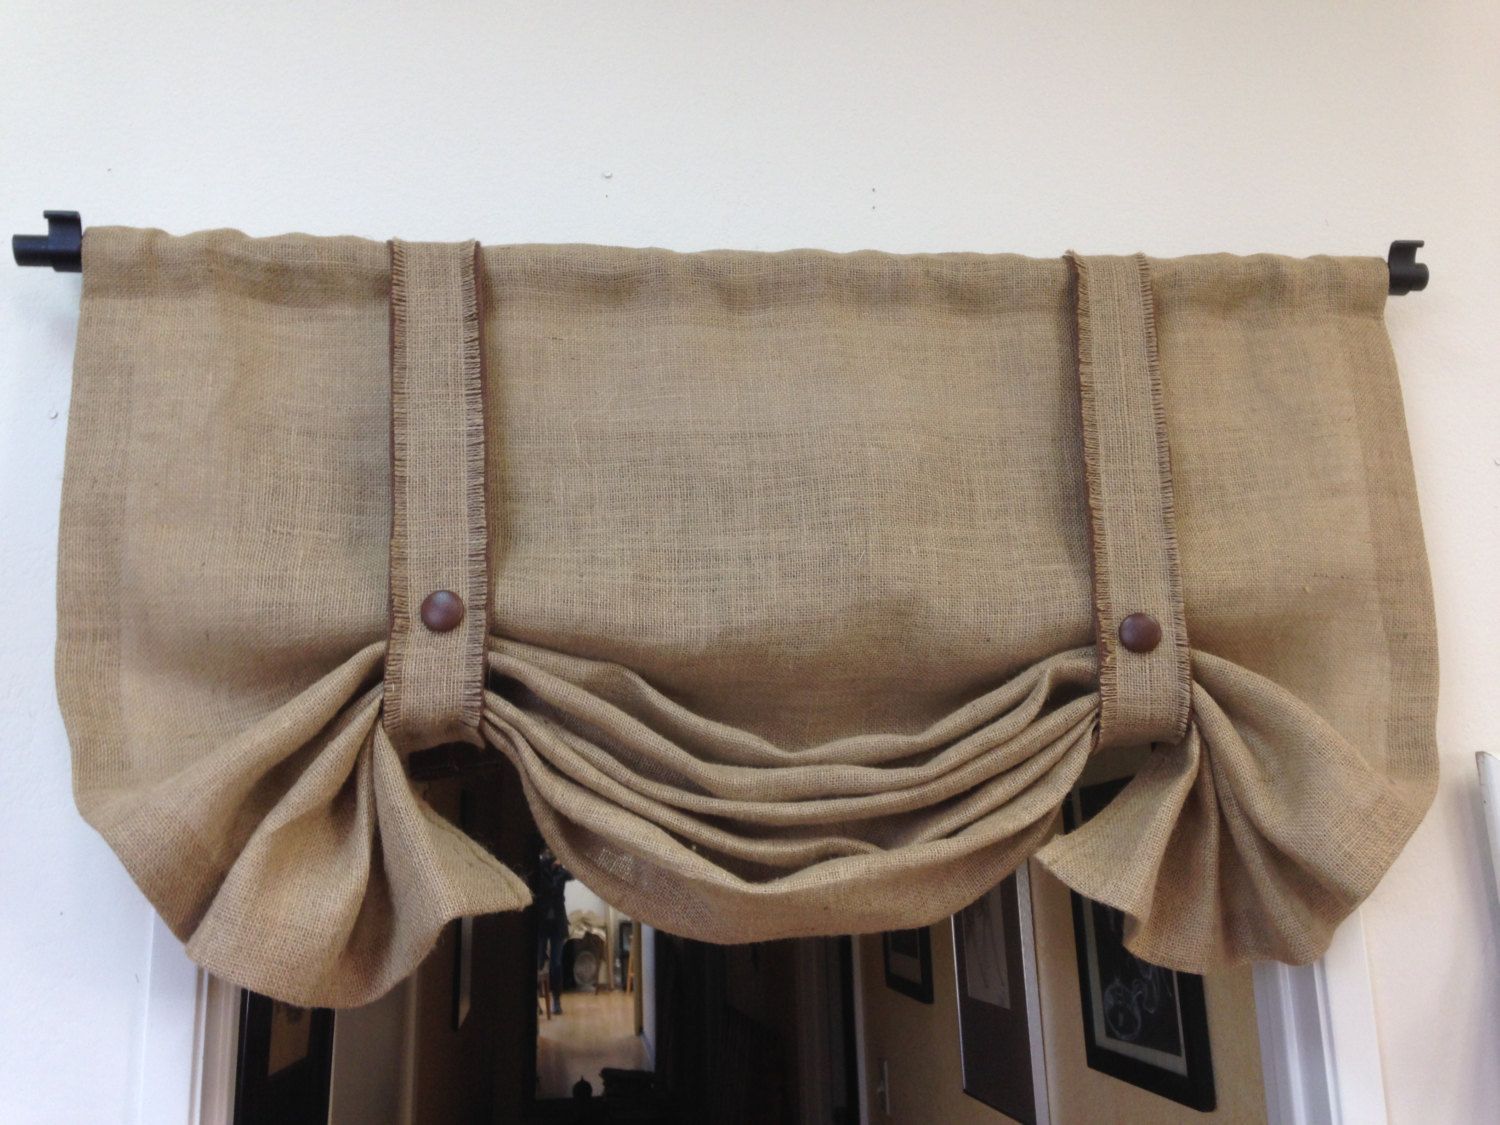
Step 6: Adding Embellishments (optional)
If you want to add a personal touch or some decorative flair to your tie backs, this is the step where you can get creative and add embellishments. Adding embellishments can elevate the look of your tie backs and make them truly unique. Here are a few ideas:
- Ribbon: Attach a beautiful ribbon to the top edge of the tie backs, either by sewing it directly onto the fabric or by using fabric glue or fusible tape. Choose a ribbon that complements the color and style of your curtains.
- Trim: Sew a decorative trim along the edges of the tie backs to add a touch of elegance. Consider using lace trim, pom-pom trim, or tassel trim for a visually appealing look.
- Buttons: Sew buttons onto the tie backs for a charming and vintage-inspired touch. You can choose buttons in coordinating or contrasting colors to create interest.
- Embroidery: Add personalized embroidery to the tie backs, such as initials, a monogram, or a small design. Embroidery can be done by hand or using a sewing machine with an embroidery function.
- Beads or sequins: Sew beads or sequins onto the tie backs for a touch of glamour. You can create a pattern or scatter them randomly for a whimsical effect.
When adding embellishments, take care to position them evenly and secure them firmly to the fabric. Use a needle and thread, fabric glue, or fusible tape, depending on the type of embellishment and the fabric you are working with.
Remember that embellishments should enhance the overall look of the tie backs and complement the style of your curtains. Exercise restraint and avoid overcrowding the design with too many elements.
With the embellishments added, your tie backs are almost complete. Just a few finishing touches, and you’ll be ready to showcase your handiwork!
Step 7: Finishing Touches
You’re almost done! It’s time to add the finishing touches to your tie backs for curtains. These final steps will ensure that your tie backs are polished and ready to be used. Here’s what you need to do:
- Remove any visible pins or basting stitches from the tie backs.
- Give the tie backs a final press with an iron to smooth out any wrinkles and create a crisp appearance. Take care not to iron over any delicate embellishments, if you have added them.
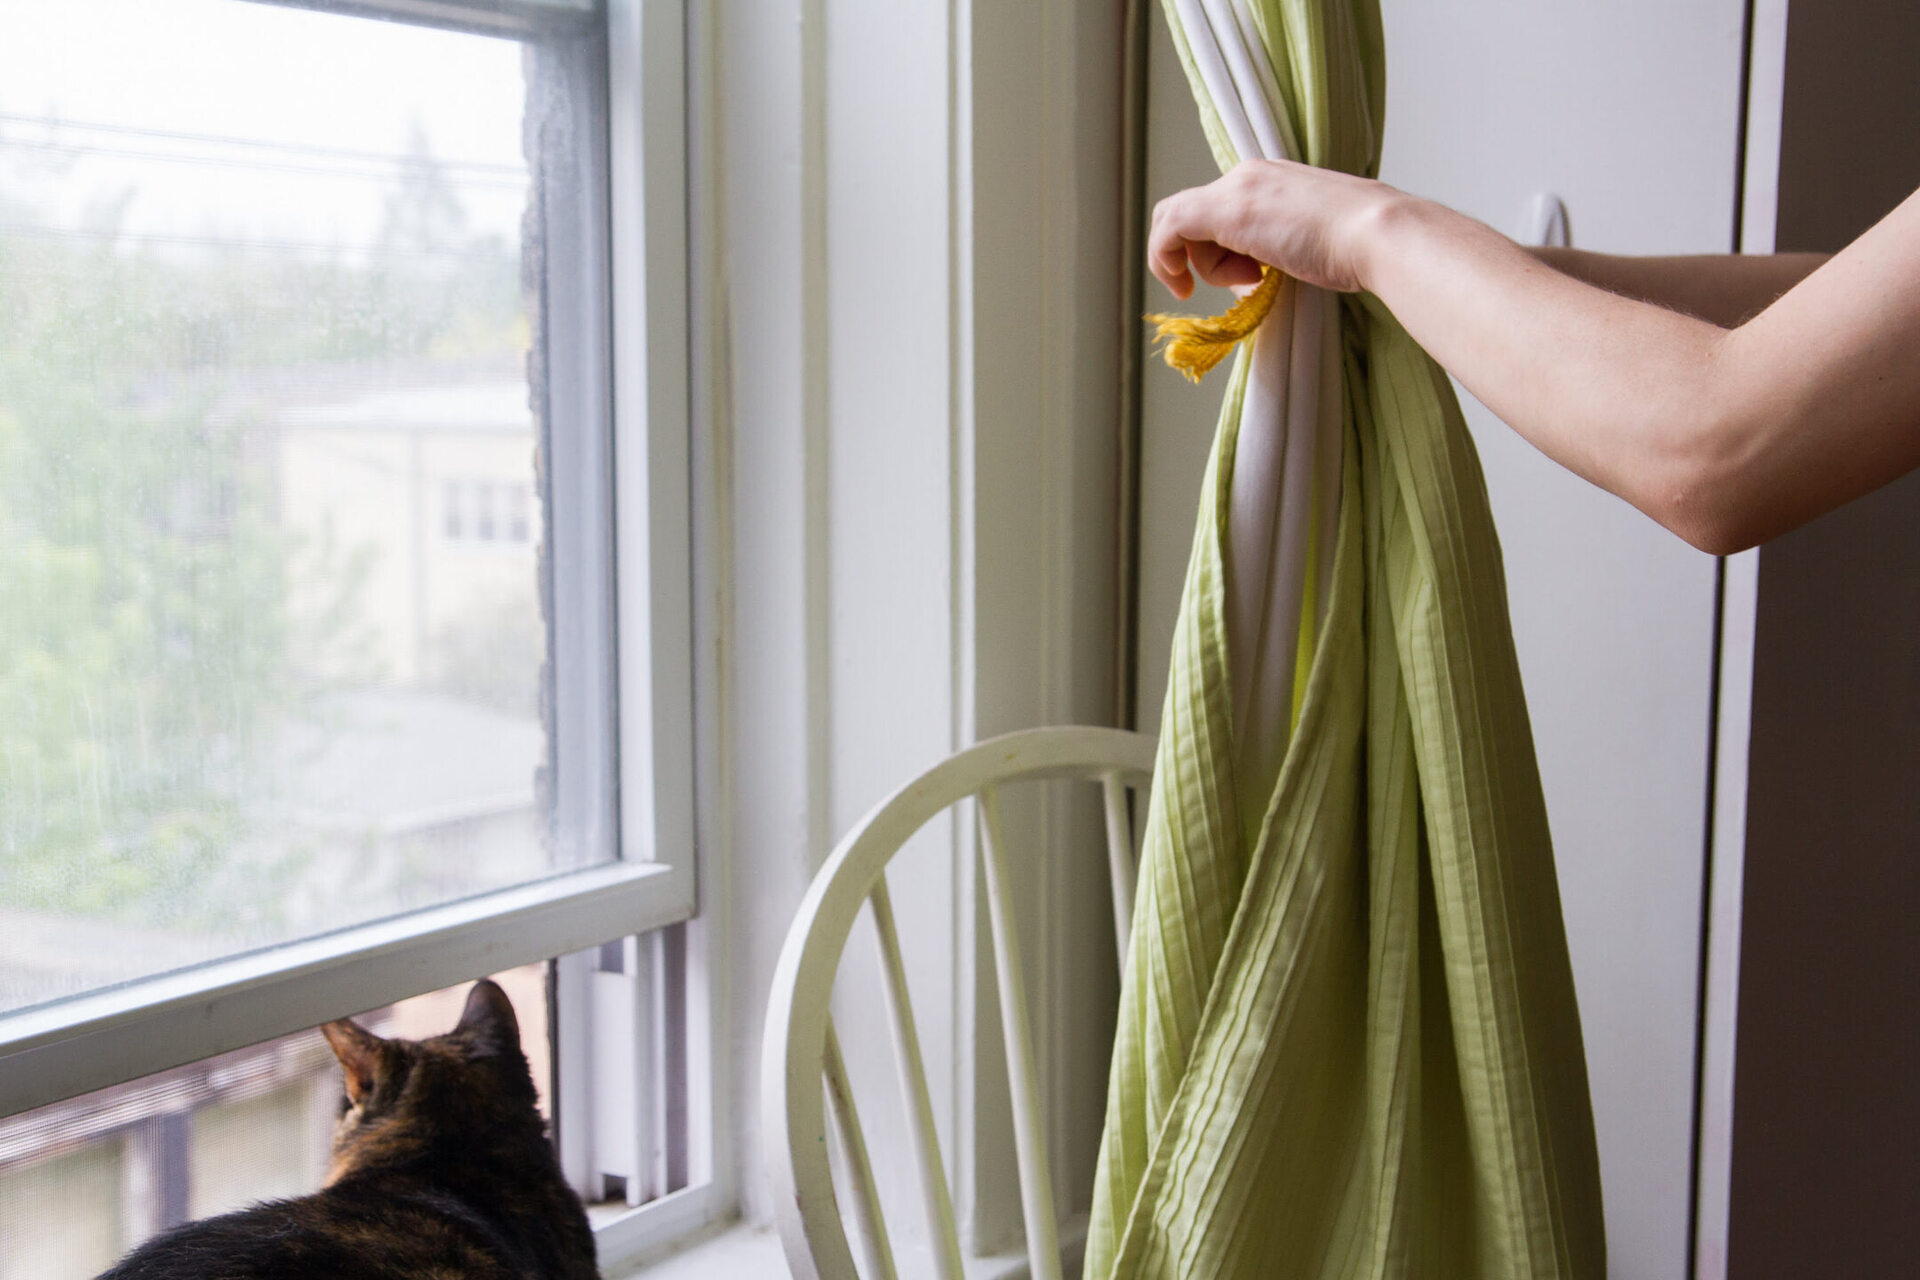
- Tie back your curtains using the newly created tie backs. Experiment with different tying techniques, such as a simple loop, a bow, or a knot, to find the style that you like best.
- Step back and admire your handiwork! Your curtains now have beautiful tie backs that enhance their appearance and add a touch of elegance to your space.
Remember to periodically clean and maintain your tie backs to keep them looking their best. This may involve spot cleaning or gentle hand washing, depending on the fabric and embellishments used.
Now that you’ve completed all the steps, you can enjoy the beauty and functionality of your handmade tie backs. They will not only hold your curtains back but also serve as a stylish accessory that complements your overall home decor.
Creating your own tie backs for curtains allows you to showcase your creativity and personalize your window treatments. So, go ahead and experiment with different fabrics, designs, and embellishments to make tie backs that truly reflect your unique style.
Congratulations on successfully making your tie backs for curtains! We hope you enjoy the fruits of your labor and have fun showcasing your DIY skills.
Happy decorating!
Conclusion
Congratulations on completing your journey to create beautiful and functional tie backs for your curtains! By following the steps outlined in this guide, you have learned how to choose the perfect fabric, measure and cut it to size, hem the edges, create tie loops, attach them to the tie backs, and even add embellishments to personalize your creations.
Handmade tie backs not only add a touch of elegance to your curtains but also give you the freedom to customize them to match your unique style and home decor. Whether you prefer a simple and minimalist look or something more eye-catching and elaborate, the possibilities are endless when it comes to designing your own tie backs.
Remember to carefully consider the fabric choice, making sure it has both the necessary strength to hold the curtains back and the desired drape for an aesthetically pleasing look. Take your time with measuring, cutting, and hemming to ensure precise and professional results. And don’t forget to have fun exploring different embellishments to add that special touch to your tie backs.
As you tie back your curtains with your handmade creations, take a moment to admire your handiwork and revel in the sense of accomplishment that comes from bringing your creative vision to life. Your tie backs will not only serve a practical purpose but also be a testament to your craftsmanship and creativity.
We hope this step-by-step guide has inspired you to embark on more DIY projects and explore the endless possibilities of home decor. Remember to share your creations with friends and family, and don’t hesitate to create unique gifts for loved ones as well.
Thank you for joining us on this journey to make tie backs for curtains. We wish you all the best in your creative endeavors and hope your newly adorned curtains bring joy and style to your living space.
Happy crafting!
Frequently Asked Questions about How To Make Tie Backs For Curtains
Was this page helpful?
At Storables.com, we guarantee accurate and reliable information. Our content, validated by Expert Board Contributors, is crafted following stringent Editorial Policies. We're committed to providing you with well-researched, expert-backed insights for all your informational needs.


0 thoughts on “How To Make Tie Backs For Curtains”