Articles
How To Make Roll Up Curtains
Modified: December 7, 2023
Learn how to make roll up curtains with our informative articles. Step-by-step guides and expert tips for creating stylish and functional window coverings.
(Many of the links in this article redirect to a specific reviewed product. Your purchase of these products through affiliate links helps to generate commission for Storables.com, at no extra cost. Learn more)
Introduction
Roll up curtains are a versatile and stylish window treatment option that can add a touch of elegance to any room. Whether you want to block out sunlight, create privacy, or simply enhance the décor of your space, roll up curtains are a practical and aesthetically pleasing choice.
In this article, we will guide you through the process of making your own roll up curtains. With just a few materials and some basic sewing skills, you can create custom curtains that perfectly fit your windows and reflect your personal style.
By following the steps outlined in this article, you will be able to measure, cut, and hem the fabric, create a rod pocket, attach it to the fabric, install the rod, and hang the curtains. Additionally, we will provide tips on how to roll up and secure the curtains for easy operation and maintenance.
So, let’s get started on this fun and rewarding DIY project to make your own roll up curtains!
Key Takeaways:
- Create custom roll up curtains to fit your windows and reflect your style. Follow precise measurements, neat sewing, and proper installation for high-quality, elegant results.
- Secure rolled-up curtains with decorative tie-backs, hook and loop fasteners, or curtain clips for both functionality and aesthetic appeal. Enjoy the beauty and practicality of your handmade curtains.
Materials Needed
Before you begin making your own roll up curtains, here is a list of the materials you will need:
- Fabric: Choose a fabric that suits your style and the desired functionality of the curtains. Consider factors such as light-blocking ability, privacy, and durability. Measure your windows to determine the amount of fabric needed.
- Thread: Select a thread color that matches or complements the fabric.
- Sewing machine: A sewing machine will make the process faster and more efficient, but you can also hand sew if you prefer.
- Scissors: Sharp fabric scissors will be essential for cutting the fabric accurately.
- Measuring tape: Use a measuring tape to measure the dimensions of your windows and fabric.
- Straight pins: These will help you hold the fabric in place while sewing.
- Rod: Choose a curtain rod that fits the style of your curtains and the dimensions of your windows.
- Wall brackets: You will need brackets to secure the curtain rod to the wall.
- Screwdriver: Depending on the type of brackets, you may need a screwdriver to attach them to the wall.
Ensure you have all these materials ready before starting the project. Taking the time to gather everything you need in advance will make the process smoother and more enjoyable.
Step 1: Measuring and Cutting the Fabric
The first step in making roll up curtains is to measure and cut the fabric to the desired size. Here’s how:
- Measure your window: Use a measuring tape to determine the width and length of your window. Add a few inches to each measurement to account for hems and allow for better coverage.
- Prepare the fabric: Lay the fabric flat on a clean and even surface. Ensure that it is free from wrinkles and any debris.
- Mark the measurements: Using a fabric pencil or chalk, mark the width and length measurements on the fabric with light, even lines.
- Cut the fabric: Carefully cut along the marked lines using sharp fabric scissors. Take your time and ensure that the edges are straight and even.
When cutting the fabric, it’s essential to be precise and accurate to achieve the desired fit for your roll up curtains. Double-check the measurements before making any cuts to avoid any mistakes.
Remember, it’s always better to cut the fabric slightly larger than necessary rather than cutting it too small. You can always trim any excess fabric later if needed.
Once you have measured and cut the fabric to the appropriate size, you are ready to move on to the next step: hemming the sides of the fabric.
Step 2: Hemming the Sides of the Fabric
After measuring and cutting the fabric for your roll up curtains, the next step is to hem the sides to prevent fraying and give the curtains a neat finish. Follow these steps to hem the sides of the fabric:
- Prepare your sewing machine: Set up your sewing machine with the appropriate thread color and ensure it is threaded correctly.
- Fold the fabric: Take one side of the fabric and fold it over about half an inch (1.27 cm) towards the wrong side of the fabric. Press it down gently with an iron to create a crease.
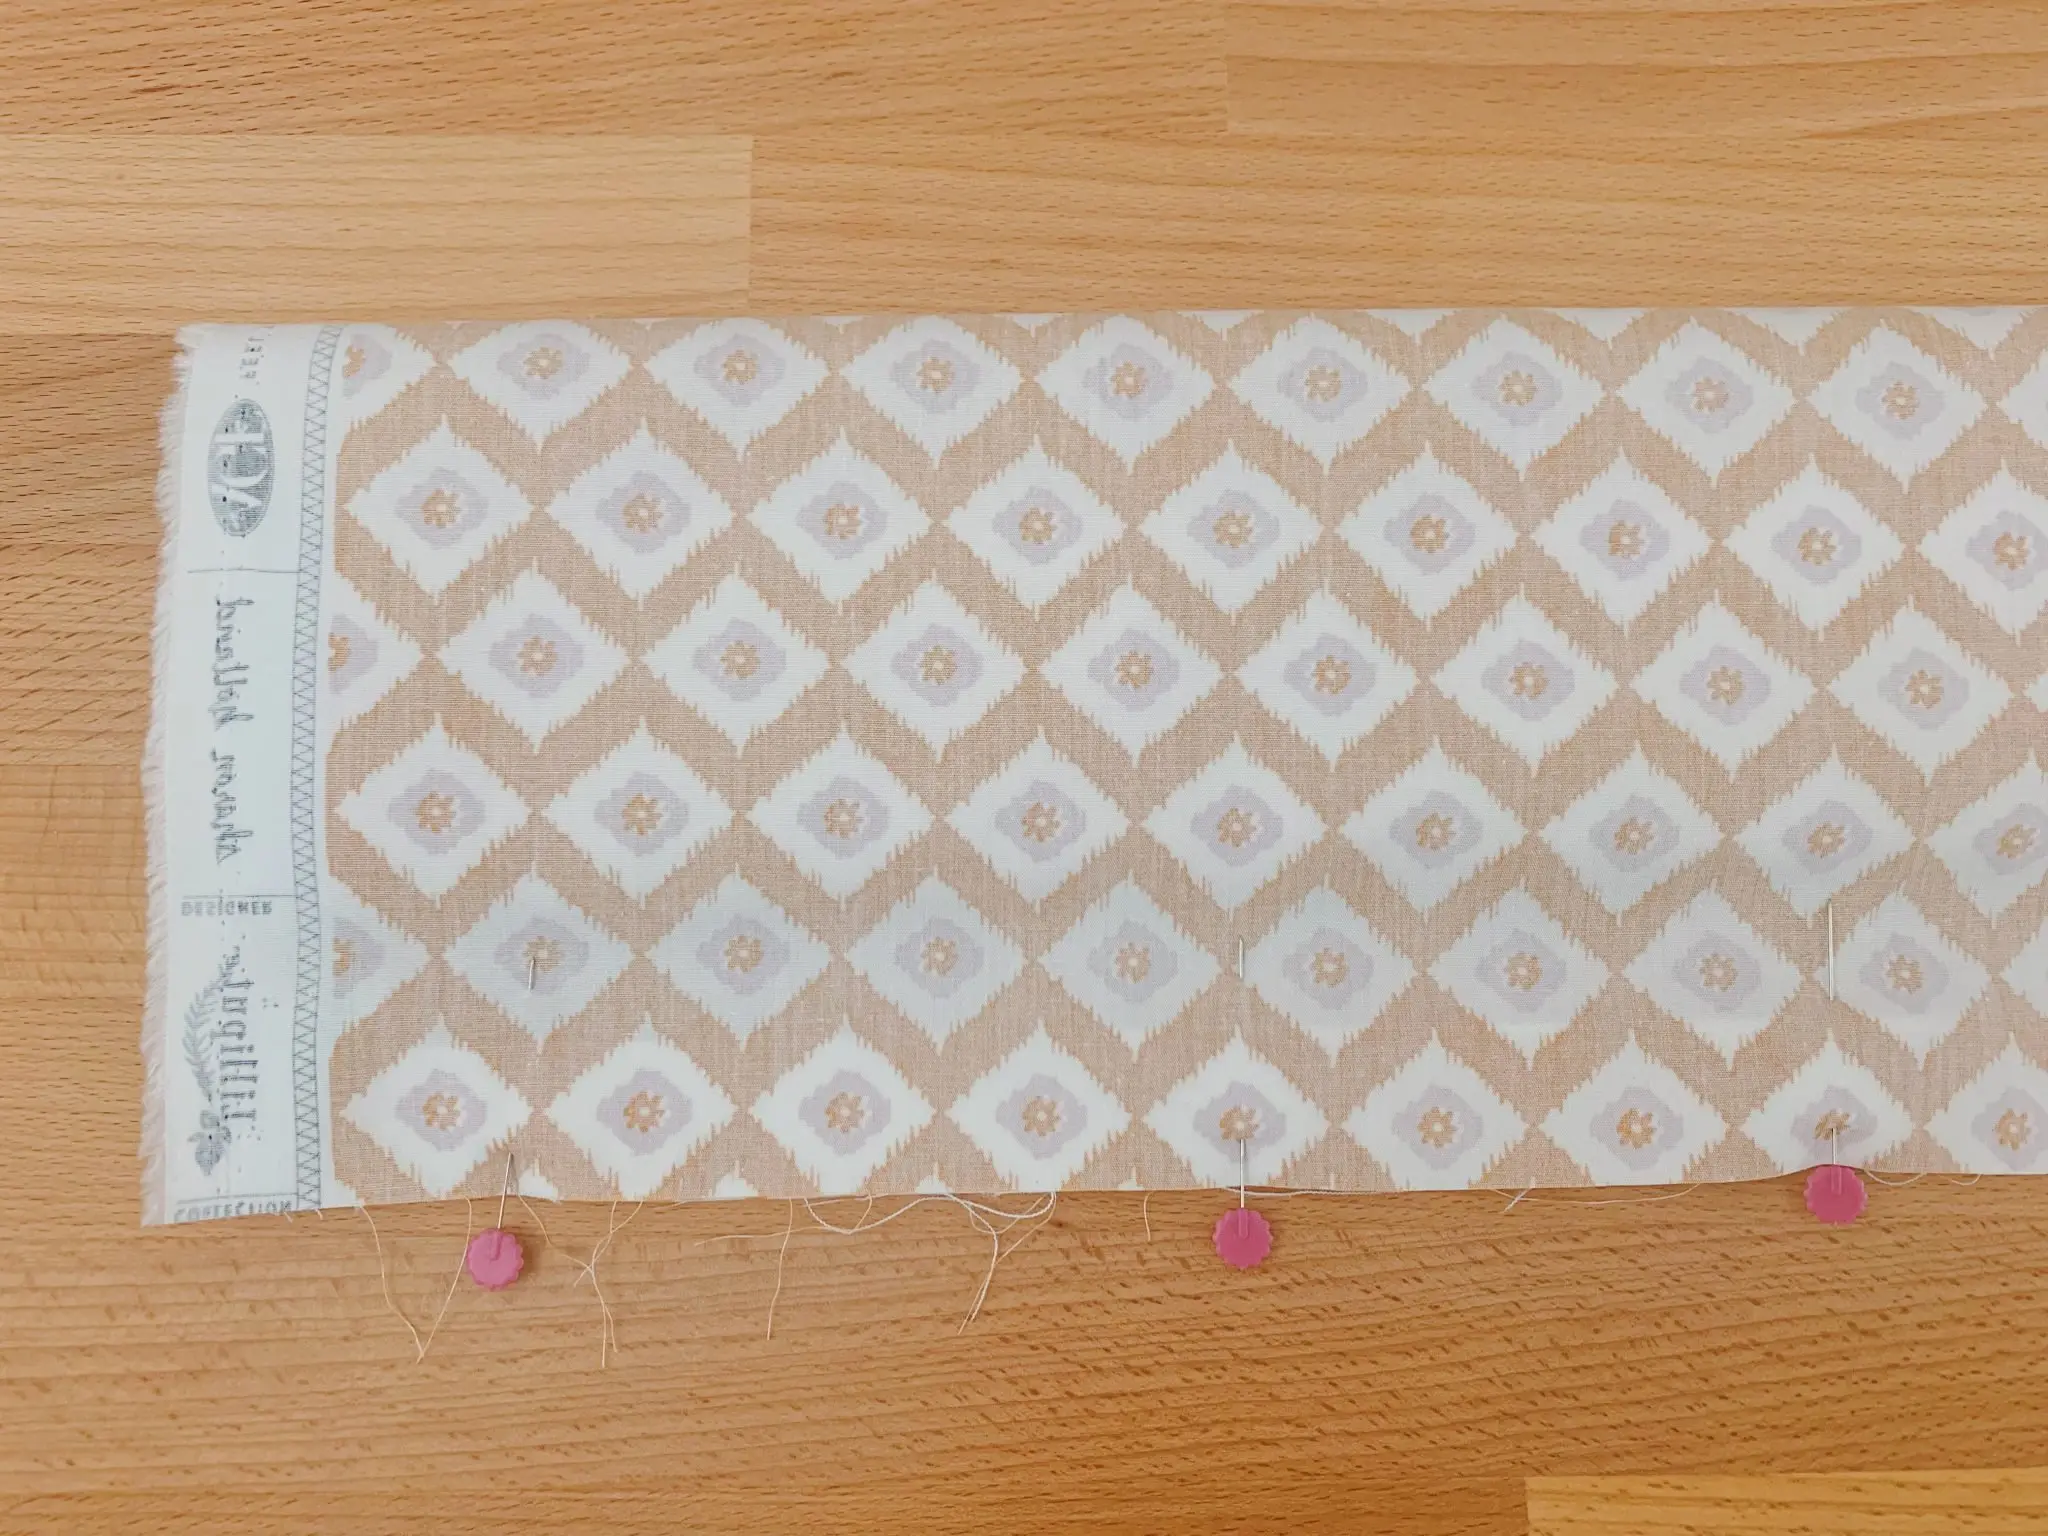
- Pin the fabric: Using straight pins, pin the folded edge of the fabric in place to secure it temporarily. Place the pins along the length of the fabric, spacing them about 2-3 inches (5-7.5 cm) apart.
- Repeat for the other side: Repeat the folding and pinning process for the opposite side of the fabric.
- Sew the hems: Using a straight stitch on your sewing machine, sew along the folded edge of each side of the fabric. Remove the pins as you go, ensuring the fabric stays aligned and does not shift.
- Trim any excess fabric: Once you have sewn both sides, trim any excess fabric close to the stitches.
By hemming the sides of the fabric, you not only prevent fraying but also give the curtains a polished and professional look. Take your time to sew each side carefully, ensuring the stitches are straight and secure.
Once you have hemmed the sides, you can proceed to the next step: creating the rod pocket.
Step 3: Creating the Rod Pocket
Now that you have hemmed the sides of the fabric for your roll up curtains, it’s time to create the rod pocket. The rod pocket is where the curtain rod will be inserted to hang the curtains. Follow these steps to create the rod pocket:
- Measure the size of the rod pocket: Determine the diameter of your curtain rod. For a standard curtain rod, a 2-inch (5 cm) rod pocket will provide a snug fit. However, measure your specific curtain rod to ensure an accurate fit.
- Calculate the rod pocket width: To calculate the width of the rod pocket, double the diameter of the curtain rod and add an additional half-inch (1.27 cm) for ease of insertion. For example, if your curtain rod has a 1-inch (2.54 cm) diameter, the rod pocket width will be 2.5 inches (6.35 cm).
- Mark the rod pocket position: On the top edge of the fabric, mark the rod pocket position using a fabric pencil or chalk. Measure the distance from the edge of the fabric equal to the rod pocket width calculated in the previous step.
- Fold and press the rod pocket: Fold the fabric over at the marked line to create the rod pocket. Press it down gently with an iron to create a crease. Ensure that the folded edge is straight and aligned with the top edge of the fabric.
Creating a proper and well-sized rod pocket is important for the smooth operation and appearance of your roll up curtains. Take the time to measure and fold the fabric accurately to ensure a perfect fit for your curtain rod.
With the rod pocket prepared, you can now move on to the next step: attaching the rod pocket to the fabric.
When making roll-up curtains, be sure to measure your window accurately to ensure the fabric will cover the entire area. This will help to prevent any gaps or unevenness in the finished product.
Read more: How To Roll Up A Carpet
Step 4: Attaching the Rod Pocket to the Fabric
With the rod pocket created, it’s time to secure it to the fabric for your roll up curtains. Follow these steps to attach the rod pocket:
- Prepare your sewing machine: Set up your sewing machine with the appropriate thread color and ensure it is threaded correctly.
- Pin the rod pocket: Along the bottom edge of the folded rod pocket, insert straight pins to temporarily secure it in place. Space the pins evenly, about 2-3 inches (5-7.5 cm) apart.
- Sew along the bottom edge: Using a straight stitch on your sewing machine, sew along the bottom edge of the rod pocket. Remove the pins as you go, ensuring the fabric stays aligned and doesn’t shift.
- Strengthen the ends: To prevent the ends of the rod pocket from unraveling, sew a few backstitches at each end.
- Optional reinforcement: As an additional reinforcement, you can sew a line of stitches along the top edge of the rod pocket, about ¼ inch (0.6 cm) from the fold. This will provide extra support for the weight of the curtain rod.
Attaching the rod pocket securely is crucial for the functionality and durability of your roll up curtains. Ensure the stitches are straight and tight, and reinforce the ends to prevent any unravelling.
Once you have attached the rod pocket to the fabric, it’s time to move on to the next step: installing the rod and hanging the curtain.
Step 5: Installing the Rod and Hanging the Curtain
After preparing the fabric and attaching the rod pocket, it’s time to install the curtain rod and hang the roll up curtain. Follow these steps to complete this process:
- Choose the placement: Decide where you want to install the curtain rod. Ensure it is level and centered over the window.
- Mark the position: Use a pencil or a level to mark the placement of the wall brackets. Make sure the marks are aligned and at the desired height.
- Install the wall brackets: Using a screwdriver and the appropriate hardware, install the wall brackets according to the manufacturer’s instructions. Make sure the brackets are securely attached to the wall.
- Insert the curtain rod: Place the curtain rod into the rod pocket, ensuring it is fully inserted and centered within the pocket.
- Hang the roll up curtain: Hold the roll up curtain by one end and insert the other end into one of the wall brackets. Then, insert the other end into the remaining wall bracket. Ensure that the curtain hangs straight and evenly.
Installing the curtain rod securely and hanging the roll up curtain properly is essential for its functionality and appearance. Take the time to measure and mark the correct position for the brackets and ensure the curtain hangs straight and level.
With the rod installed and the curtain securely hung, you’re ready to move on to the next step: rolling up and securing the curtain.
Step 6: Rolling Up and Securing the Curtain
Now that you have installed the curtain rod and hung the roll up curtain, it’s time to learn how to properly roll up and secure the curtain for easy operation and maintenance. Follow these steps:
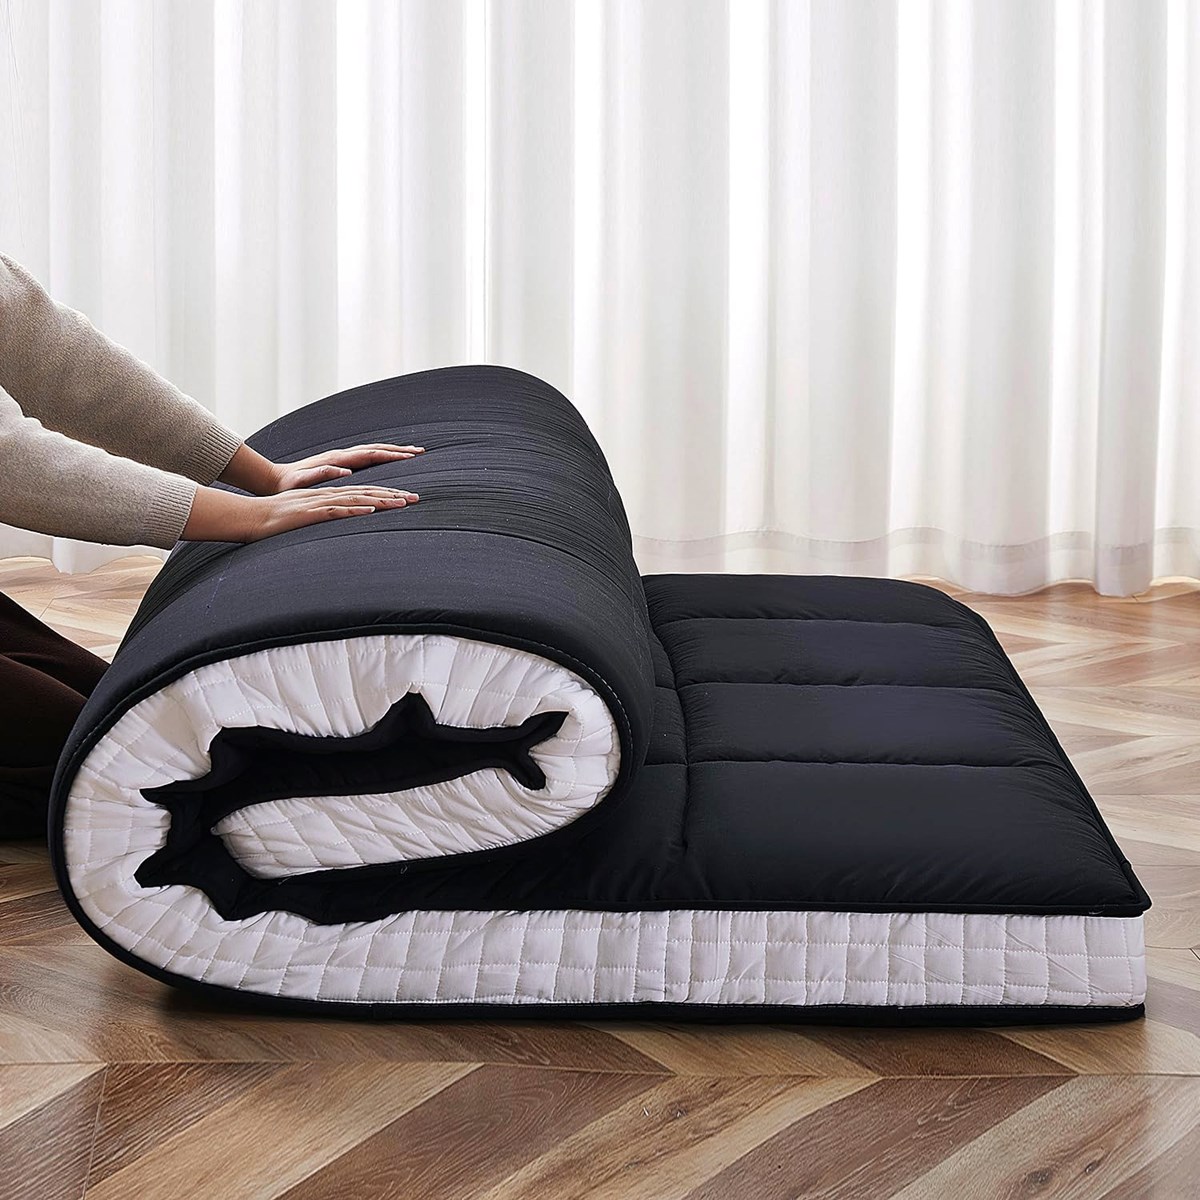
- Rolling up the curtain: Starting from the bottom, slowly roll up the curtain towards the top, making sure the fabric is tight and neatly rolled.
- Securing the rolled-up curtain: Once the curtain is rolled up, you can secure it in place using various methods. Here are a few options:
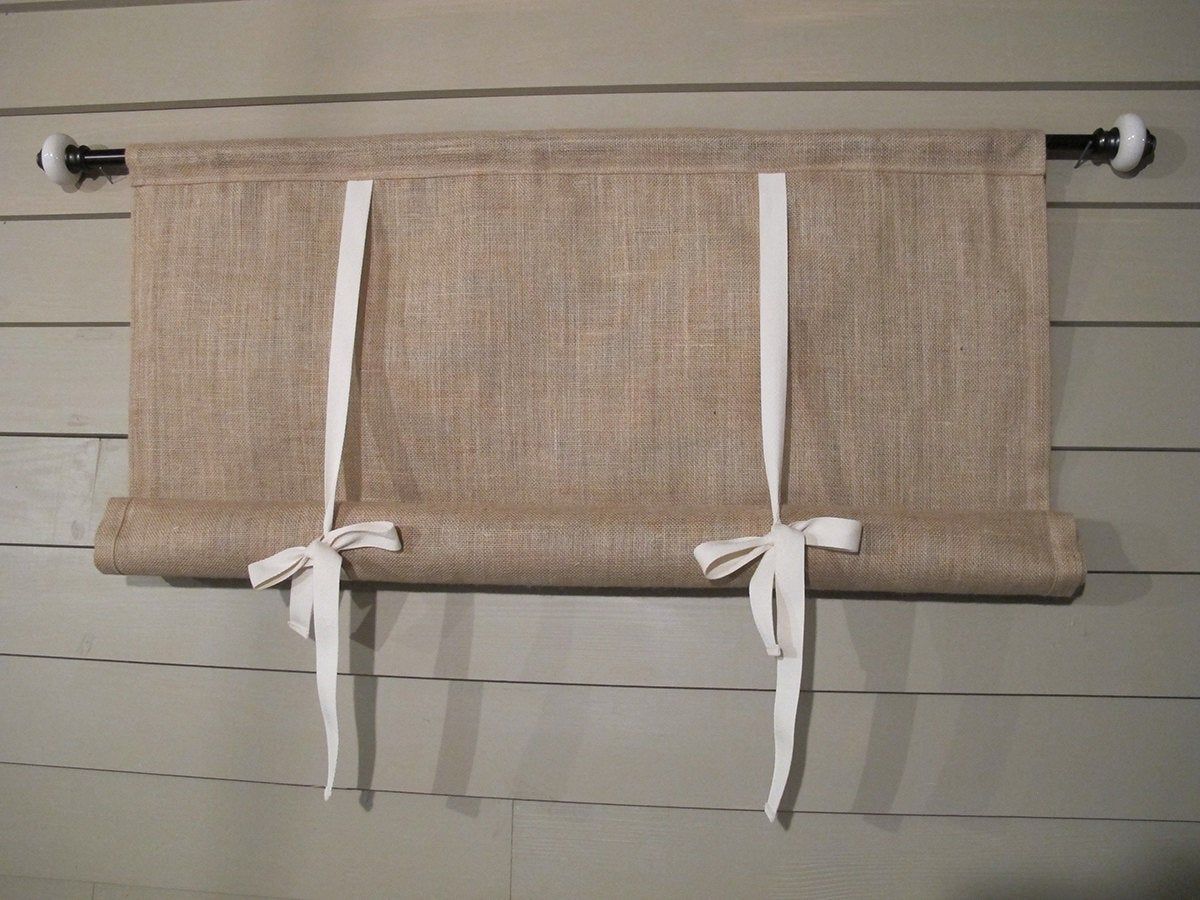
- Tie-backs or curtain holdbacks: Use decorative tie-backs or curtain holdbacks to gather the rolled-up curtain and secure it to the sides of the window frame. This method not only keeps the curtain in place but also adds a decorative touch.
- Hook and loop fasteners: Attach hook and loop fasteners, also known as Velcro, to the curtain and the wall or window frame. This will allow you to easily secure and release the rolled-up curtain whenever needed.
- Curtain clips or pins: Use curtain clips or pins to secure the rolled-up curtain at various points along the bottom edge. This method provides flexibility as you can adjust the tightness of the roll and easily release the curtain when desired.
Experiment with different methods and determine which one works best for your roll up curtain and personal preferences. Keep in mind that the chosen method should securely hold the curtain in place while still allowing for easy adjustment and release.
By rolling up and securing the curtain properly, you not only maintain a clean and organized look but also ensure the functionality and longevity of your roll up curtains.
With the curtain rolled up and secured, your DIY roll up curtains project is complete! Enjoy the aesthetic appeal and practicality of your custom-made curtains.
Conclusion
Congratulations! You have successfully learned how to make your own roll up curtains. By following the steps outlined in this article, you have created custom curtains that perfectly fit your windows and reflect your personal style. Not only do these curtains offer functionality by blocking out sunlight and providing privacy, but they also add a touch of elegance to your living space.
Throughout this DIY project, you have measured and cut the fabric, hemmed the sides, created a rod pocket, attached it to the fabric, installed the rod, and hung the curtains. You have also learned how to roll up and secure the curtain for easy operation and maintenance.
Remember, the key to successful roll up curtains lies in the accuracy of your measurements, the neatness of your sewing, and the proper installation of the curtain rod. Taking the time to gather all the necessary materials and executing each step meticulously will result in a high-quality finished product.
Whether you choose to use decorative tie-backs, hook and loop fasteners, or curtain clips, make sure to secure the rolled-up curtain in a way that combines functionality and aesthetics. This will enhance the overall look of your curtains and provide convenient access to sunlight when desired.
Now, sit back, relax, and enjoy the beauty and practicality of your handmade roll up curtains. Admire how they transform your space and add a personal touch to your home décor. You can also take pride in the fact that you have created something unique and tailored to your taste.
Thank you for joining us on this DIY journey. We hope you found this article informative and inspiring. Happy curtain-making!
Frequently Asked Questions about How To Make Roll Up Curtains
Was this page helpful?
At Storables.com, we guarantee accurate and reliable information. Our content, validated by Expert Board Contributors, is crafted following stringent Editorial Policies. We're committed to providing you with well-researched, expert-backed insights for all your informational needs.


0 thoughts on “How To Make Roll Up Curtains”