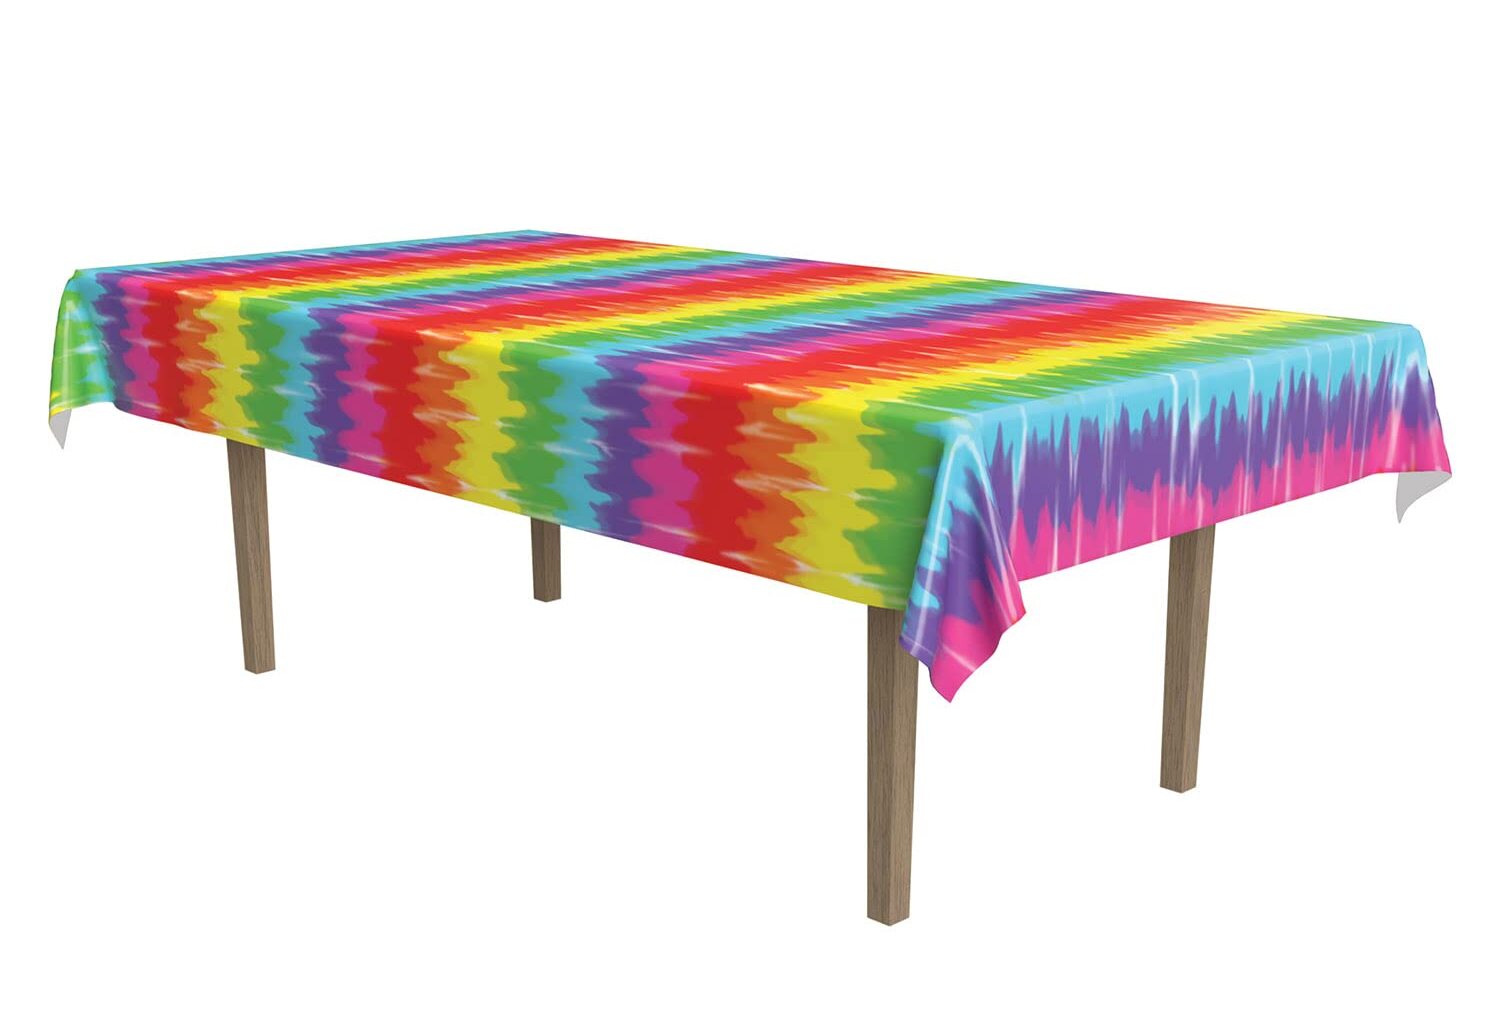
Tableware
How To Tie-Dye A Tablecloth
Modified: February 24, 2024
Learn how to tie-dye a tablecloth and transform your tableware with vibrant colors. Perfect for adding a unique and creative touch to your dining experience.
(Many of the links in this article redirect to a specific reviewed product. Your purchase of these products through affiliate links helps to generate commission for Storables.com, at no extra cost. Learn more)
Introduction
Welcome to the wonderful world of tie-dye! If you’re looking to add a burst of color and creativity to your tableware collection, tie-dyeing a tablecloth is a fantastic way to do it. Not only is tie-dyeing a fun and engaging activity, but it also allows you to customize your tablecloth with unique patterns and designs that reflect your personal style.
Whether you’re planning a casual outdoor gathering or a special occasion, a tie-dyed tablecloth can instantly elevate the ambiance of your event. Plus, tie-dyeing is a great way to repurpose an old or plain tablecloth, breathing new life into it and giving it a fresh and vibrant look.
In this article, we will guide you through the step-by-step process of tie-dyeing a tablecloth. We’ll cover everything from the materials you’ll need and how to prepare the tablecloth, to choosing tie-dye techniques and applying the dye. So, grab your creativity and let’s get started on this colorful journey!
Key Takeaways:
- Unleash your creativity and personalize your tableware with vibrant tie-dyed tablecloths. Follow the step-by-step guide to create unique designs that add whimsy and charm to any dining occasion.
- Embrace the colorful journey of tie-dyeing and elevate your tablecloth with eye-catching patterns. Experiment with techniques, share your creations, and let your artistic flair shine through!
Read more: How To Tie-Dye A Pillowcase
Materials Needed
Before we dive into the tie-dyeing process, let’s gather all the materials you’ll need. Having everything prepared in advance will make the process much smoother and more enjoyable. Here’s a list of items you’ll need:
- Tablecloth: Choose a plain, light-colored tablecloth made of 100% cotton or a cotton-blend fabric. Make sure it’s pre-washed to remove any sizing or chemicals.
- Tie-Dye Kit: Purchase a tie-dye kit from a craft store or online. These kits usually include powdered or liquid dyes, squeeze bottles, rubber bands, and gloves. Select a kit that offers a variety of colors and is suitable for fabric dyeing.
- Plastic Table Cover or Trash Bag: Cover your work surface with a plastic table cover or an old trash bag to protect it from any accidental dye spills.
- Plastic Gloves: Wear disposable plastic gloves to protect your hands from the dye and to avoid staining your skin.
- Plastic Squeeze Bottles or Spray Bottles: These will be used to apply the dye to the tablecloth. Squeeze bottles are ideal for creating specific patterns, while spray bottles allow for a more free-form application.
- Rubber Bands: Rubber bands will help create different tie-dye patterns by securing the fabric in specific areas.
- Plastic Wrap (Optional): You can use plastic wrap to cover the dyed tablecloth during the dyeing process. It helps intensify the color and prevents the dye from bleeding or drying out too quickly.
- Plastic Bags: Large resealable plastic bags are useful for wrapping the tablecloth after applying the dye. They will keep the fabric damp and allow the dye to set properly.
- Basin or Bucket: You’ll need a basin or bucket to mix the dye according to the instructions provided with the tie-dye kit.
- Water: You’ll need water for diluting the dye and rinsing the tablecloth.
Once you’ve gathered all the necessary materials, you’re ready to start preparing the tablecloth and dive into the exciting world of tie-dyeing!
Preparing the Tablecloth
Before you begin the tie-dyeing process, it’s important to properly prepare your tablecloth to ensure the best results. Follow these steps to prepare your tablecloth:
- Pre-Wash the Tablecloth: It’s essential to pre-wash your tablecloth before tie-dyeing. This helps to remove any sizing, chemicals, or dirt that may interfere with the dye absorption. Use mild detergent and warm water to wash the tablecloth. Avoid using fabric softeners or bleach, as they could affect the dyeing process.
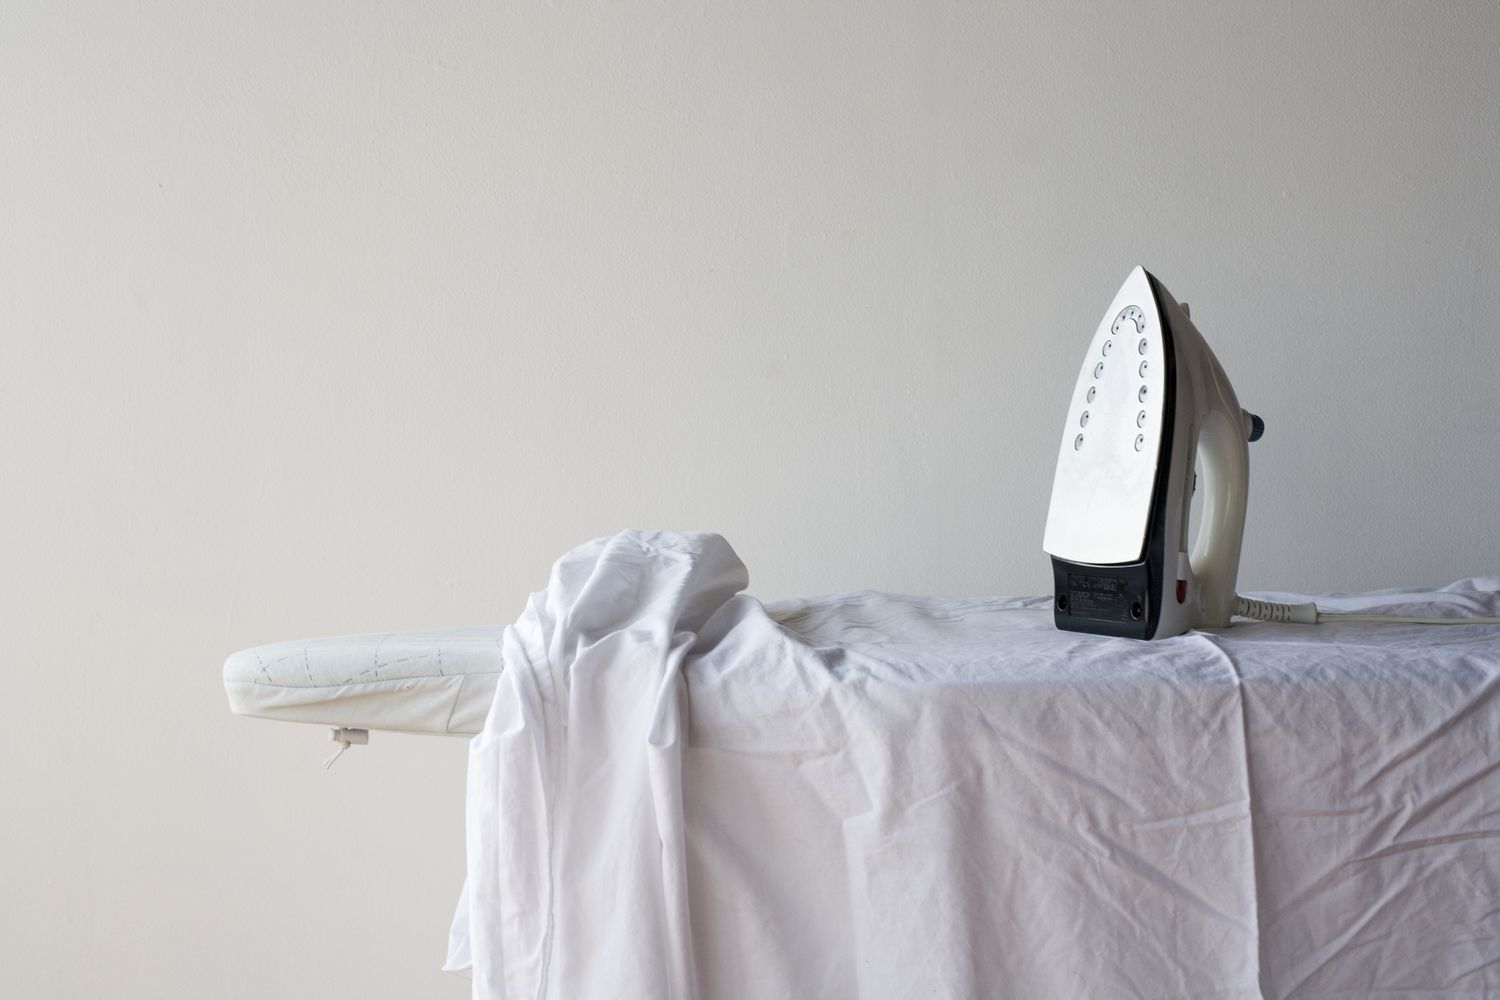
- Iron the Tablecloth: After washing, iron the tablecloth to remove any wrinkles. This will ensure a smooth surface for the tie-dye patterns and help the dye to distribute evenly.
- Prepare the Work Area: Cover your work surface with a plastic table cover or an old trash bag to protect it from dye stains. Ensure that you’re working in a well-ventilated area, as some tie-dye dyes can have a strong odor.
- Take Safety Precautions: Put on the plastic gloves provided in your tie-dye kit to protect your hands from the dye and prevent staining. You may also want to wear old clothes or an apron to protect your clothing from any accidental spills.
Pro tip: If you want to achieve a more vibrant color result, you can soak the tablecloth in a solution of one part white vinegar and four parts water for about 30 minutes before tie-dyeing. This helps to set the colors and makes them more vibrant.
By taking the time to properly prepare your tablecloth, you’ll ensure that the fabric is clean, smooth, and ready to absorb the vibrant tie-dye colors. Now that your tablecloth is ready, let’s move on to choosing the tie-dye technique that suits your style and taste!
Choosing the Tie-Dye Technique
One of the most exciting aspects of tie-dyeing is the wide variety of techniques you can choose from to create unique patterns and designs on your tablecloth. Each technique offers a different effect, allowing you to express your creativity and personal style. Here are some popular tie-dye techniques to consider:
- Spiral Technique: The spiral technique creates a mesmerizing spiral pattern on the tablecloth. To achieve this, lay the tablecloth flat and pinch the center, then twist it clockwise or counter-clockwise into a tight spiral shape. Secure the spiral with a few rubber bands, dividing the fabric into sections.
- Accordion Technique: The accordion technique creates horizontal or vertical folds on the tablecloth, resulting in a striped or zigzag pattern. Fold the tablecloth in an accordion-like manner by making 1 to 2-inch folds from one edge to the other. Secure the folded fabric with rubber bands at regular intervals.
- Crumple Technique: The crumple technique offers a randomized, textured pattern. Simply crumple the tablecloth into a ball-like shape, scrunching it up tightly. Secure the crumpled fabric with rubber bands in various places.
- Grid Technique: The grid technique creates a geometric pattern resembling a grid. Fold the tablecloth lengthwise, then crosswise to create a grid-like pattern. Secure the folded fabric with rubber bands at regular intervals.
- Heart Technique: The heart technique creates a lovely heart-shaped pattern on the tablecloth. Fold the tablecloth in half diagonally, then use rubber bands to secure the folded fabric in a heart shape.
These are just a few examples of tie-dye techniques, but the possibilities are endless. Feel free to experiment and try out different techniques to create your own unique designs. You can also combine different techniques or create your own variations for a truly one-of-a-kind tablecloth.
Pro tip: Before applying the dye, it’s a good practice to have a clear vision of the color combinations and patterns you want to achieve. You can sketch out your design or look for tie-dye inspiration online to help you visualize the end result.
Now that you’ve chosen your tie-dye technique, it’s time to move on to the exciting part: applying the dye to your tablecloth!
Applying the Dye
With your chosen tie-dye technique in mind, it’s time to start applying the dye to your tablecloth. Follow these steps for a successful dye application:
- Prepare the Dye: Mix the tie-dye colors according to the instructions provided in your tie-dye kit. Some kits require mixing the dye with water, while others may have pre-mixed dye solutions. Make sure to wear your plastic gloves during this process to avoid dye staining your hands.
- Apply the Dye: Depending on your desired design, use either the plastic squeeze bottles or spray bottles to apply the dye to the different sections of the tablecloth. Saturate the fabric completely with the dye, ensuring that all folds and crevices receive enough color. Experiment with different dye colors and application techniques to create unique patterns and effects.
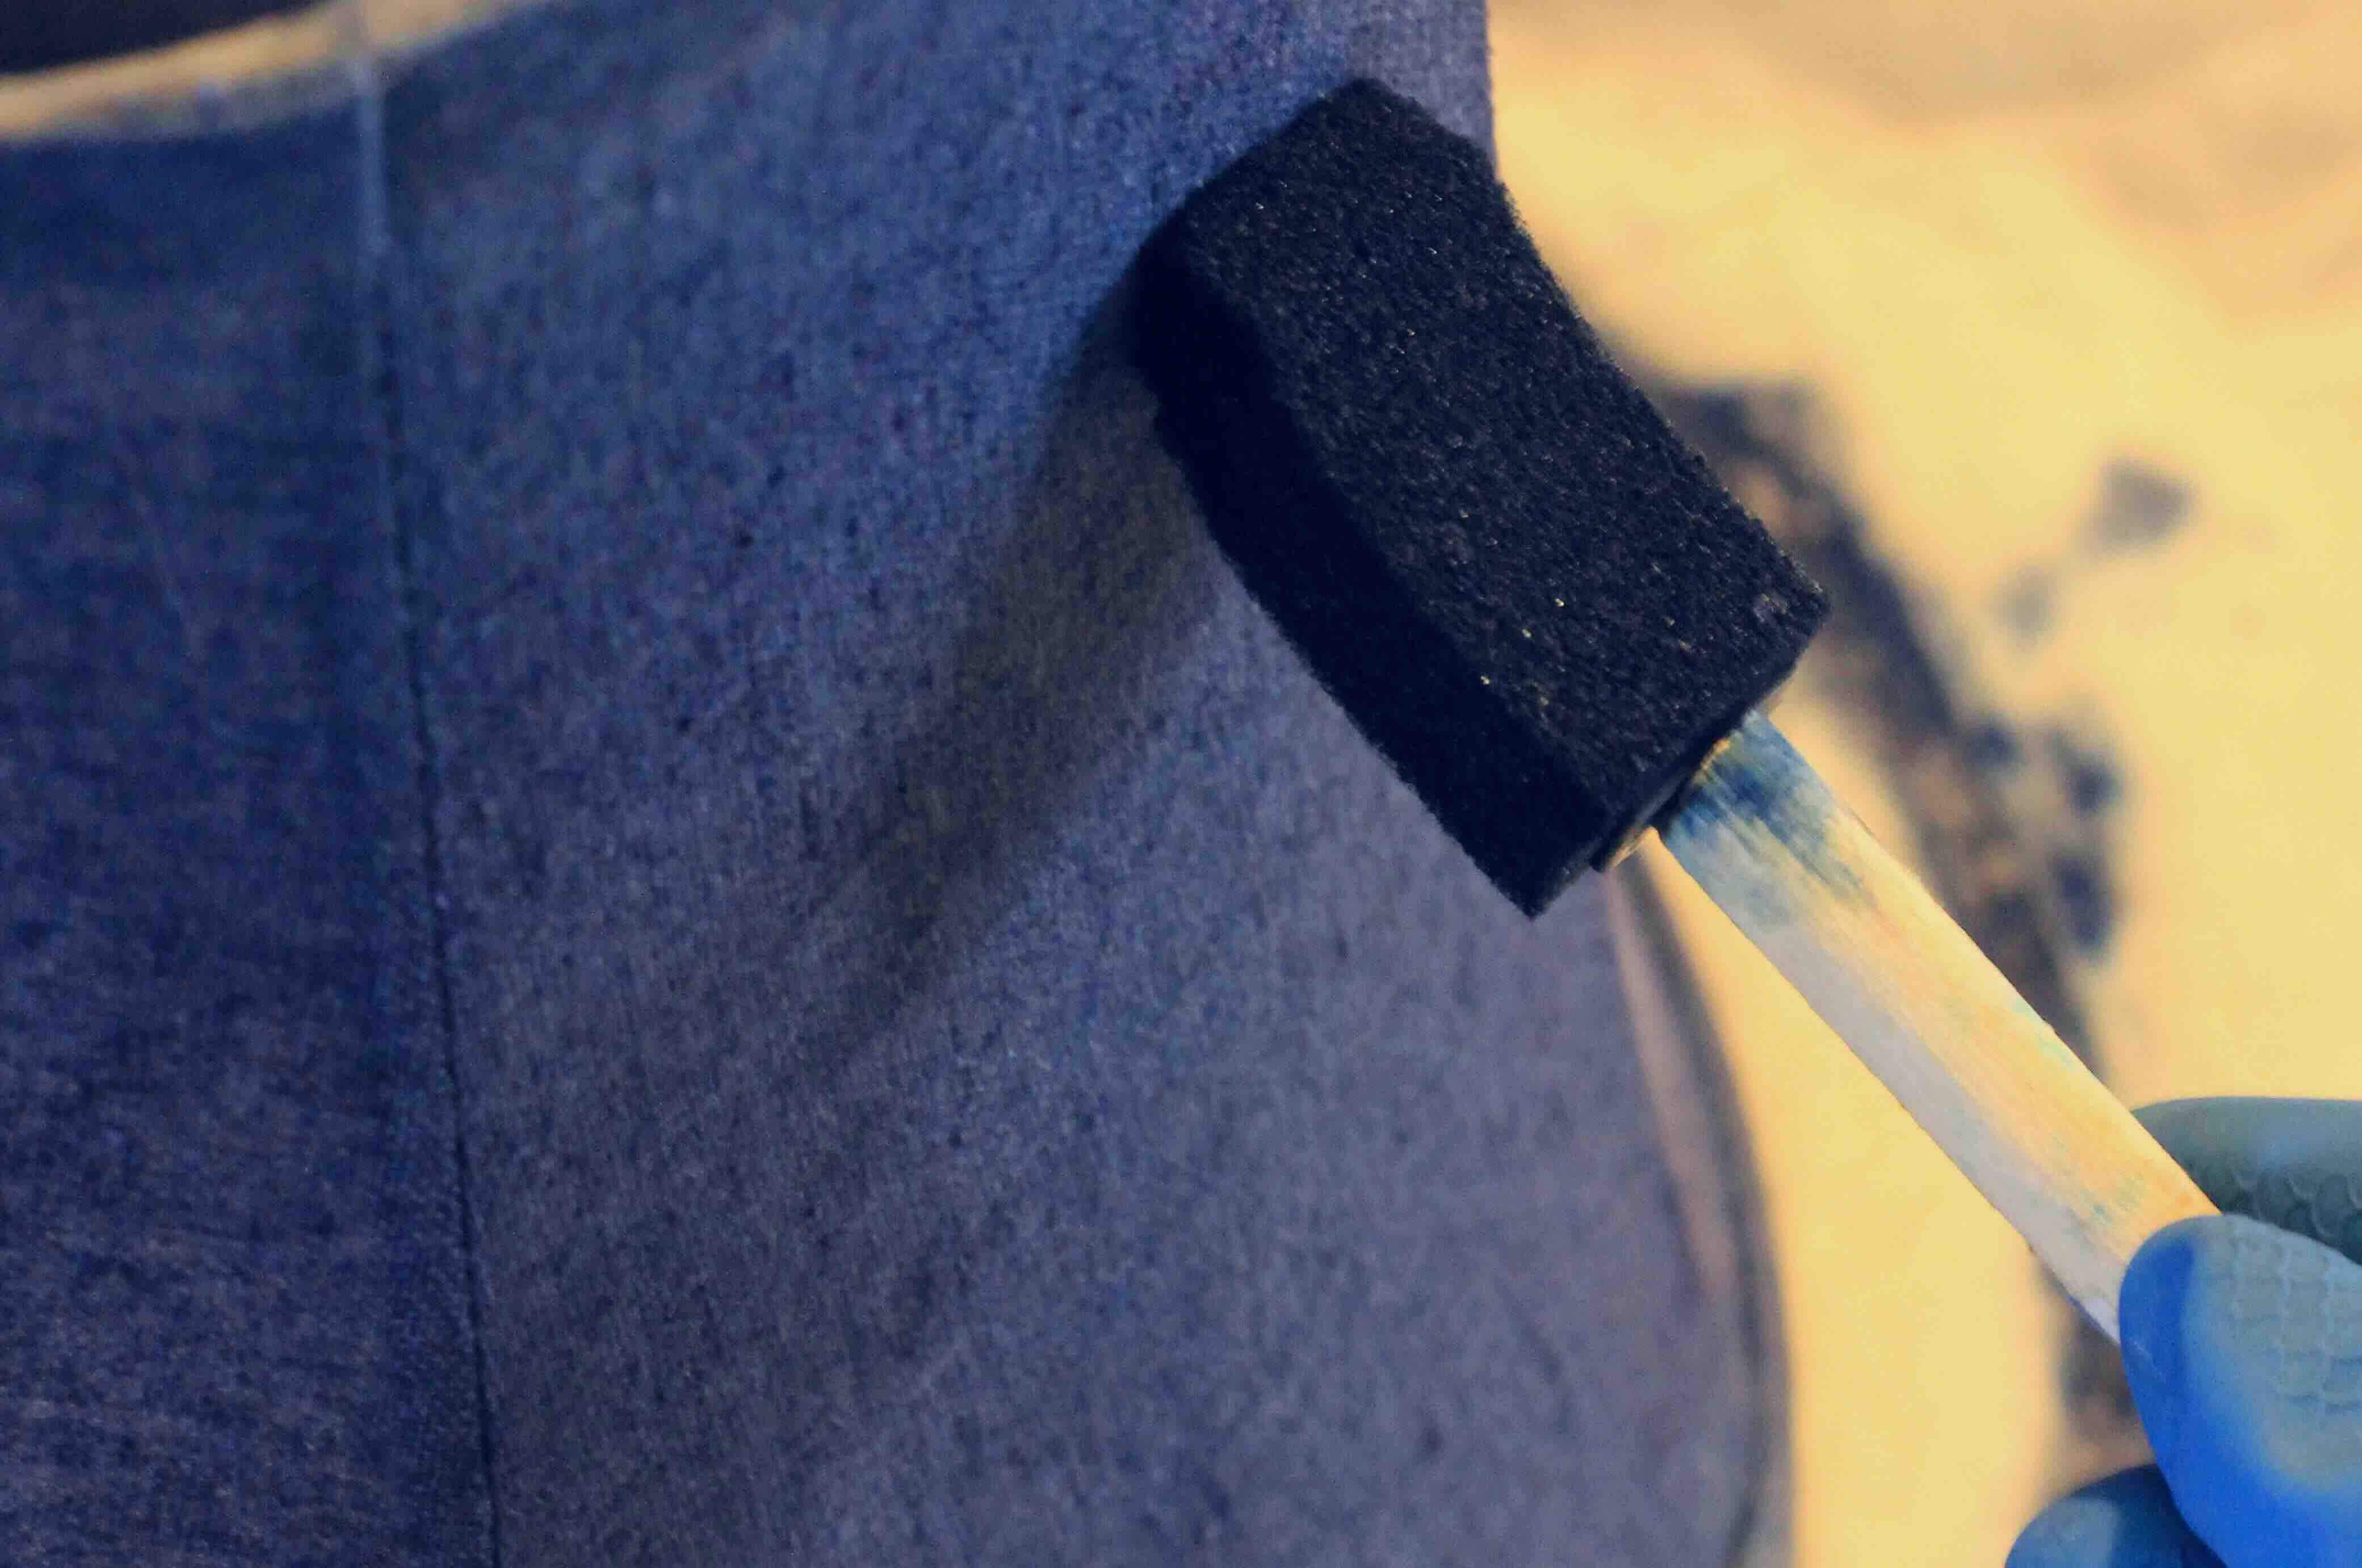
- Blend Colors (Optional): If you want to create beautiful color transitions or blend different hues together, you can slightly overlap the dye colors and use a paintbrush or sponge to blend them together while the fabric is still wet. This technique adds depth and dimension to your tie-dye design.
- Cover the Tablecloth (Optional): If you want to intensify the color and prevent the dye from drying out too quickly, you can cover the tablecloth with plastic wrap. This helps the dye penetrate the fabric and enhances the vibrancy of the final result.
- Let the Dye Set: Once you’ve applied the dye, let the tablecloth rest for the recommended time indicated in your tie-dye kit instructions. The duration may vary depending on the brand and type of dye used. Keeping the tablecloth moist during this time will help the dye set properly.
Pro tip: Consider using complementary or contrasting colors to create eye-catching patterns. Blues and greens work well together, as do yellows and oranges. Be bold and experiment with different color combinations to achieve the desired effect.
Remember to have fun and enjoy the creative process while applying the dye. Once you’re satisfied with the dye application, it’s time to move on to the next crucial step: the dyeing process itself!
After tying the tablecloth with rubber bands, apply dye in desired pattern. Let it sit for 6-8 hours, then rinse and wash according to dye instructions.
Read more: How To Tie-Dye A Blanket
The Dyeing Process
Now that you’ve applied the dye to your tablecloth, it’s time for the dyeing process. Follow these steps to ensure the best results:
- Wrap the Tablecloth: To prevent the dye from drying out and to allow the colors to meld and set, carefully wrap the tablecloth in plastic bags. Place the damp tablecloth in a large resealable plastic bag or wrap it with plastic wrap. This step helps to create a moist environment, allowing the dye to penetrate the fabric.
- Let it Rest: Allow the wrapped tablecloth to rest undisturbed for an extended period, typically around 6 to 8 hours, or as specified in your tie-dye kit instructions. You may also choose to let it sit overnight for optimal color saturation. The longer the tablecloth remains wrapped, the more vibrant the colors will become.
- Check for Color Intensity (Optional): If you’re eager to see the color density, you can carefully unwrap a small section of the tablecloth after a few hours to check the color intensity. If you’re satisfied with the results, proceed to the next step. If you desire a deeper color, rewrap the tablecloth and let it continue dyeing for a longer period.
During the dyeing process, you may notice some dye runoff. This is normal and indicates that the dye is penetrating the fabric. However, try to minimize movement or disturbance of the tablecloth to prevent the dye runoff from spreading and smudging the design.
Pro tip: For a more intense color result, consider adding a cup of white vinegar to the water when rinsing out the excess dye later in the process. This helps to set the color and prevent fading.
Now that the dyeing process is complete, it’s time to move on to setting the dye in the fabric to ensure long-lasting, vibrant colors.
Setting the Dye
After completing the dyeing process, it’s crucial to set the dye in the fabric to prevent color bleeding and fading. Follow these steps to set the dye in your tie-dyed tablecloth:
- Carefully unwrap the tablecloth: Once the desired dyeing time has passed, carefully remove the plastic wrap or bags from the tablecloth. Be cautious not to smudge or smear the dye while unwrapping.
- Rinse the tablecloth: Take the tablecloth to a sink or tub and rinse it under cold water until the water runs clear. This step helps to remove any excess dye from the fabric.
- Soak the tablecloth (Optional): For extra color protection, you can soak the rinse tablecloth in a solution of cold water and one cup of white vinegar for 15-30 minutes. The vinegar helps to set the dye and enhances colorfastness.
- Wash with mild detergent: After soaking or rinsing, wash the tablecloth in the washing machine using a mild detergent. Use cold water and the gentle cycle to keep the fabric from shrinking or fading.
- Dry the tablecloth: After washing, hang the tablecloth to dry outdoors or indoors. If you prefer, use a dryer on a low heat setting. Avoid direct sunlight, as it can cause the colors to fade over time.
Pro tip: To retain the brightness of the colors, avoid washing the tie-dyed tablecloth with other garments initially. The first few washes may lead to some color bleeding, so it’s best to wash the tablecloth separately or with similar colors until the excess dye is removed.
This process of rinsing, soaking (if desired), washing, and drying helps to set the dye in the fabric and ensures that your tie-dyed tablecloth retains its vibrant colors even after multiple washes.
Now that your tie-dyed tablecloth is clean and dry, it’s ready to be showcased on your table for any occasion. But before we finish, let’s explore some additional tips and ideas to help you get the most out of your tie-dyeing experience.
Washing and Drying the Tablecloth
After the dye has been set, it’s important to properly wash and dry your tie-dyed tablecloth to ensure its longevity and maintain its vibrant colors. Follow these steps for washing and drying:
- Separate from other garments: When washing your tie-dyed tablecloth for the first time, it’s best to wash it separately or with similar colors. This helps prevent any potential color bleeding onto other garments.
- Use a gentle cycle: Set your washing machine to a gentle or delicate cycle to protect the fabric and prevent excessive wear.
- Choose cold water: Wash the tablecloth in cold water to minimize color fading. Cold water helps retain the vibrancy and integrity of the tie-dye design.
- Mild detergent: Use a mild, color-safe detergent to clean the tablecloth. Harsh chemicals or bleaching agents can affect the colors and cause them to fade or distort.
- Avoid fabric softener: Refrain from using fabric softener, as it can leave a residue on the fabric and impact the absorption of future dyes.
- Hang or line dry: After washing, hang the tablecloth to dry. This method helps to preserve the shape and colors. If you have a clothesline or drying rack, lay the tablecloth flat to minimize wrinkles.
- Avoid direct sunlight: When drying the tablecloth outdoors, avoid direct sunlight, as prolonged exposure to sunlight can cause the colors to fade over time.
- Iron if necessary: If the tablecloth is wrinkled after drying, use a low heat setting on your iron to gently remove the wrinkles. Be cautious not to iron directly over the tie-dye design to avoid smudging or flattening the raised areas.
Pro tip: To maintain the vibrancy of the colors in your tie-dyed tablecloth, consider washing it inside out. This helps protect the design from friction and fading during the washing process.
By following these washing and drying guidelines, you can keep your tie-dyed tablecloth looking vibrant and beautiful for years to come. So go ahead and proudly display your unique creation on your table, adding a pop of color and creativity to any occasion!
Before we conclude, let’s explore a few additional tips and ideas to enhance your tie-dyeing experience even further.
Additional Tips and Ideas
Tie-dyeing is a creative and enjoyable process that offers endless possibilities. Here are some additional tips and ideas to help you make the most out of your tie-dyeing experience:
- Experiment with different dye color combinations: Don’t be afraid to mix and match different dye colors to create unique and eye-catching designs. Try contrasting or complementary colors for added visual impact.
- Add texture with fabric manipulation: Explore various fabric manipulation techniques to add texture to your tie-dye design. Consider pleating, folding, or scrunching the fabric in different ways to create interesting patterns and effects.
- Try different dye application methods: In addition to using squeeze bottles or spray bottles, consider using brushes, sponges, or even your hands to apply the dye. Each method provides a different texture and application style.
- Personalize with stencils or stamps: Take your tie-dye tablecloth to the next level by incorporating stencils or stamps. You can create custom designs, monograms, or even patterns with a personal touch.
- Embrace imperfections: Tie-dyeing is an art form that celebrates the beauty of imperfections. Embrace the unpredictability of the dyeing process and appreciate the uniqueness of each tie-dye creation.
- Host a tie-dye party: Get your friends and family involved in the tie-dyeing fun by hosting a tie-dye party. Provide different colors and techniques for everyone to try, and enjoy the creative process together.
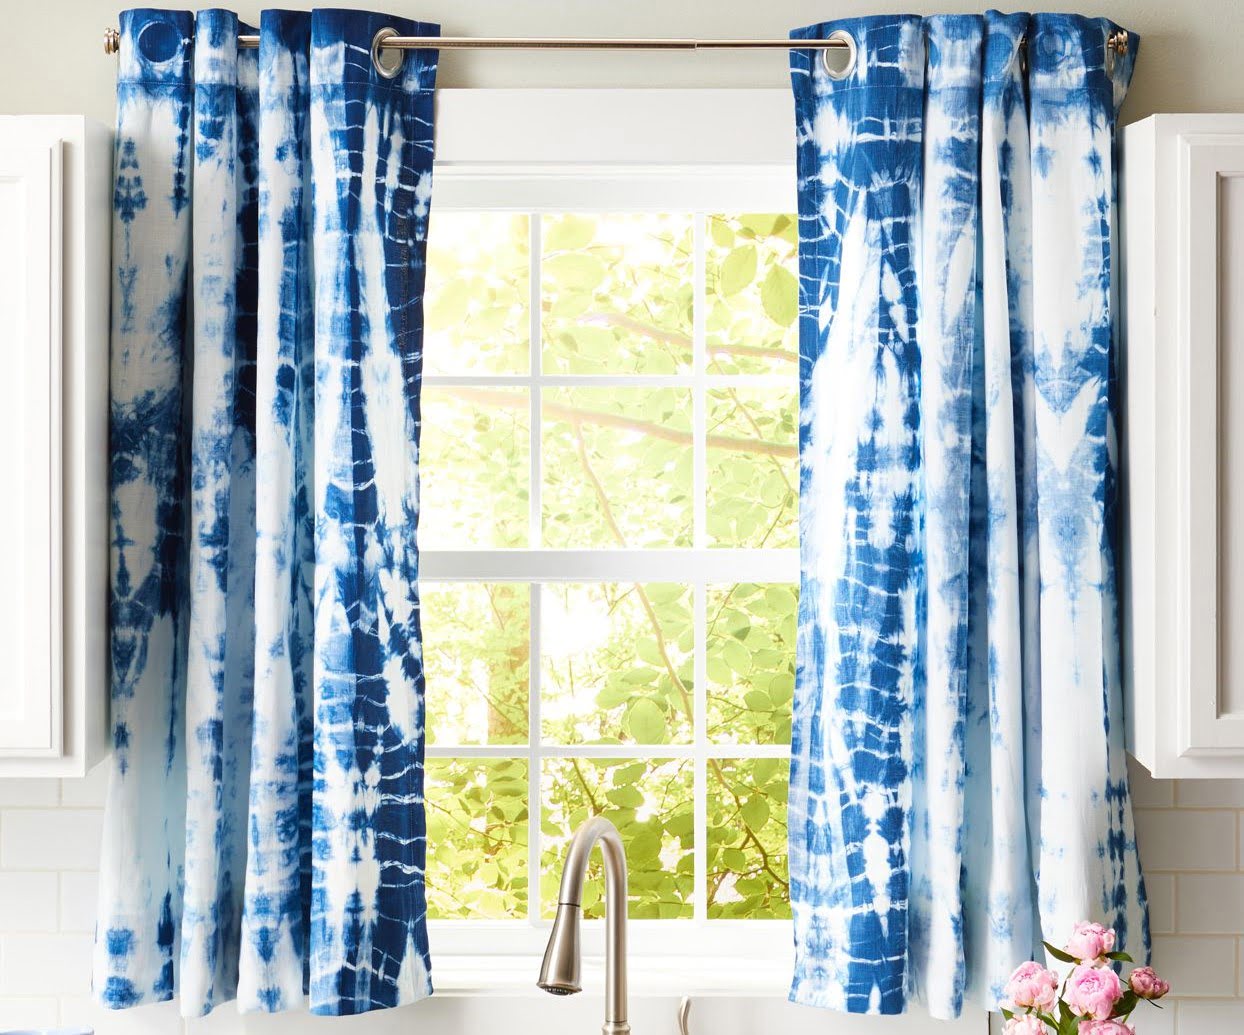
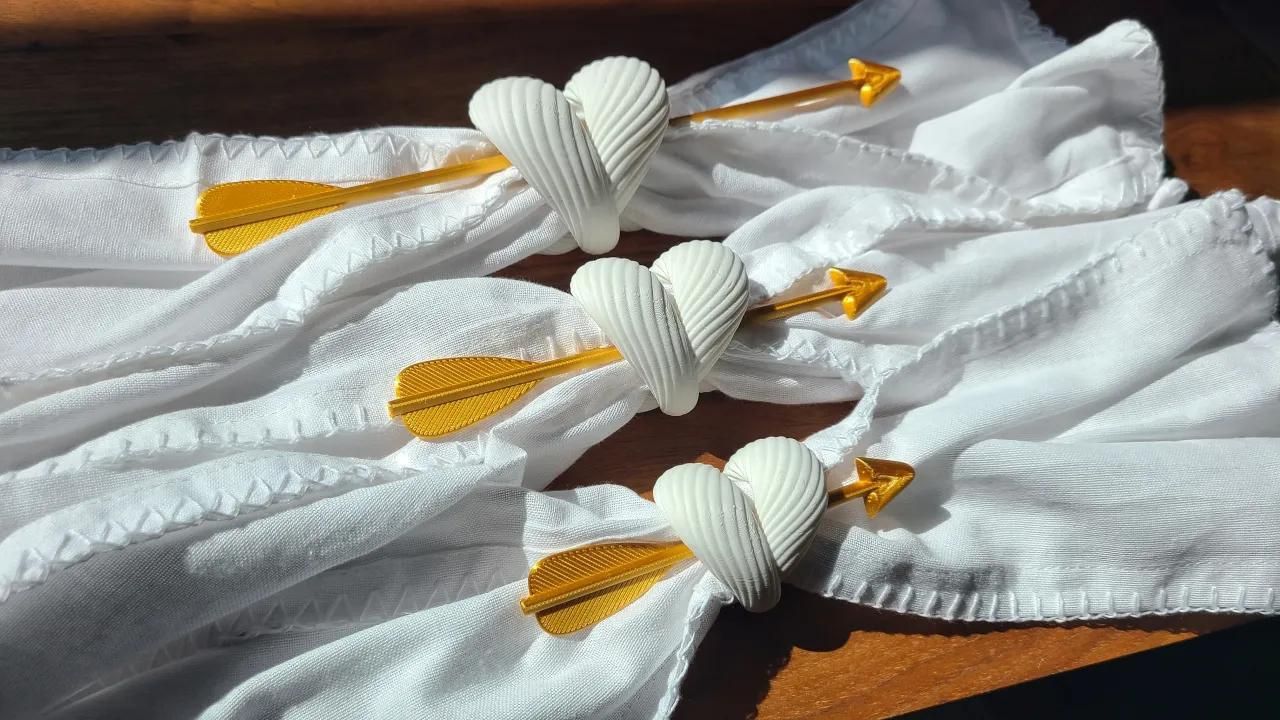
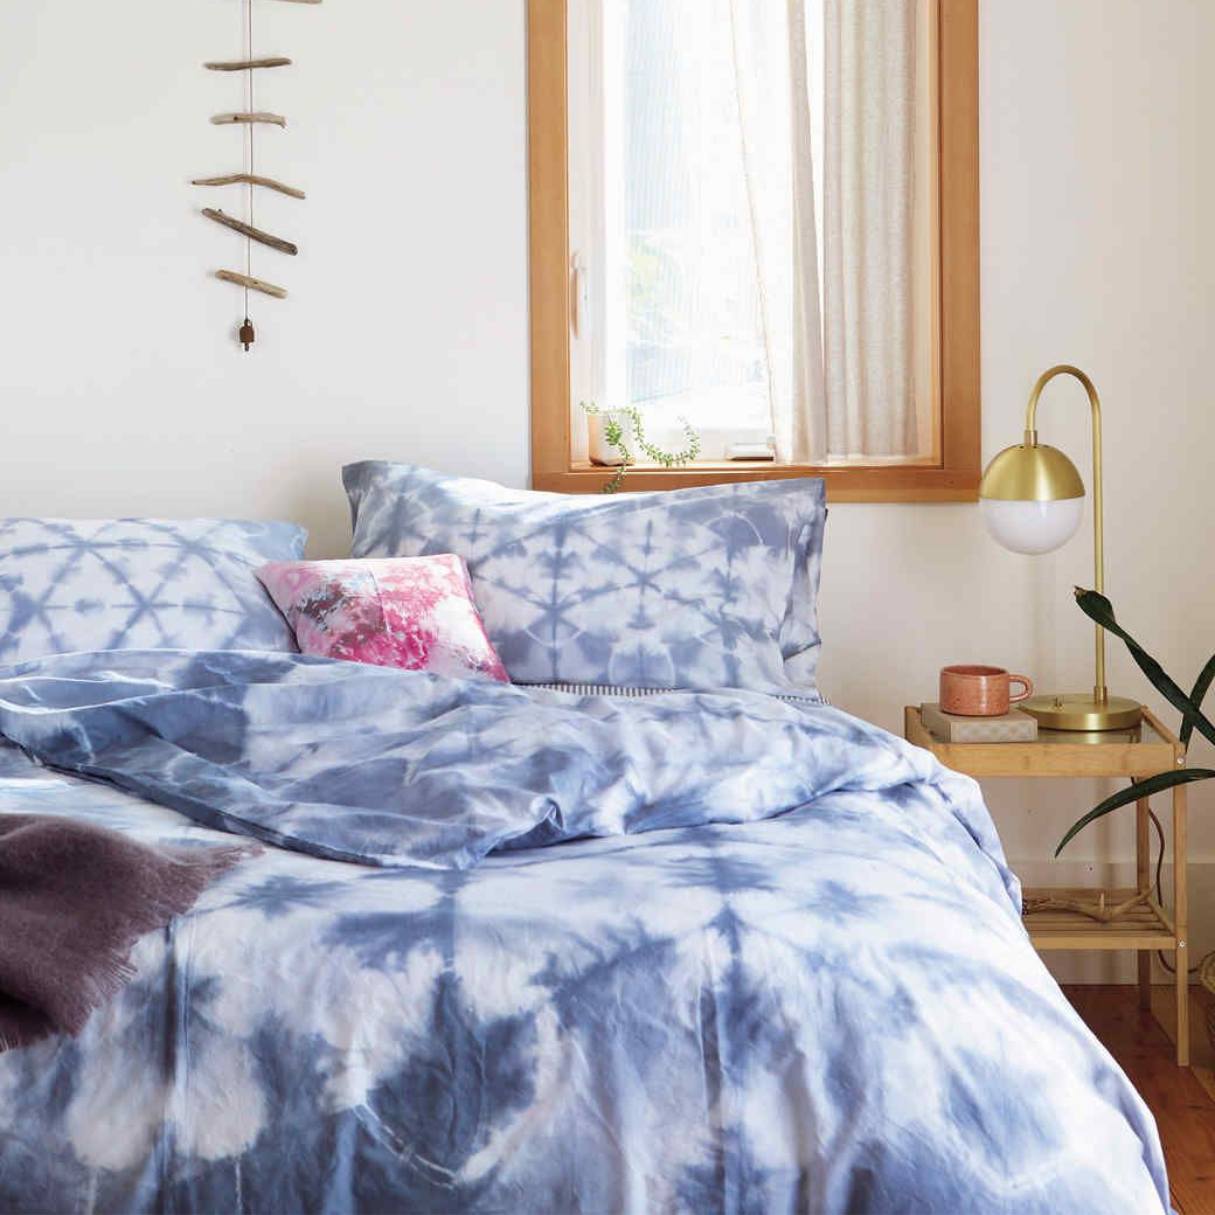
- Repurpose old clothing: Don’t limit yourself to just tablecloths. You can apply tie-dye techniques to various other fabric items, such as napkins, pillowcases, t-shirts, or even curtains. Give old items a fresh and vibrant look.
- Share your creations: Show off your tie-dye creations on social media or share them with friends and family. Inspire others to embrace their artistic side and try tie-dyeing for themselves.
Remember, tie-dyeing is all about creativity, self-expression, and having fun. Don’t be afraid to think outside the box and let your imagination run wild. Enjoy the process of tie-dyeing, and let your vibrant tablecloth become a centerpiece that adds joy and color to your dining experiences.
Now that you have all the tips and ideas, it’s time to unleash your creativity and start tie-dyeing your very own tablecloth. Have a blast and enjoy the colorful journey!
Hope these tips and ideas were helpful. If you have any other questions or need further guidance, feel free to ask. Happy tie-dyeing!
Read more: How To Set Tie Dye In The Washing Machine
Conclusion
Congratulations! You have now embarked on a colorful journey into the world of tie-dyeing tablecloths. By following the step-by-step process outlined in this article, you have learned how to create unique and vibrant designs that will surely make a statement on your dining table.
Tie-dyeing allows you to unleash your creativity and personalize your tableware in a fun and engaging way. Whether you’re hosting a casual backyard gathering or a formal dinner party, a tie-dyed tablecloth adds a touch of whimsy and charm to any occasion.
Remember to gather all the necessary materials, prepare your tablecloth properly, choose your tie-dye technique wisely, and apply the dye with creativity and care. Don’t forget to set the dye and wash the tablecloth using the recommended steps to ensure that the colors remain vivid and long-lasting.
As you delve into the tie-dyeing process, don’t be afraid to experiment, try new techniques, and embrace the unique characteristics and imperfections of each tie-dye creation. Every masterpiece is a reflection of your artistic flair and individuality.
Whether you choose bold and vibrant colors or prefer a softer and more subtle palette, tie-dyeing offers endless possibilities for creating captivating and eye-catching designs. Remember to share your creations, inspire others, and continue to explore your artistic side.
Now that you have the knowledge and inspiration, it’s time to gather your materials, roll up your sleeves, and let your imagination soar. Start tie-dyeing your tablecloth today, and watch as your dining experience transforms into a colorful and delightful affair!
Enjoy the process, express your creativity, and have fun tie-dyeing your tablecloth!
Frequently Asked Questions about How To Tie-Dye A Tablecloth
Was this page helpful?
At Storables.com, we guarantee accurate and reliable information. Our content, validated by Expert Board Contributors, is crafted following stringent Editorial Policies. We're committed to providing you with well-researched, expert-backed insights for all your informational needs.

0 thoughts on “How To Tie-Dye A Tablecloth”