Tableware
How To Tie A Napkin Knot
Modified: October 18, 2024
Learn how to tie a stylish napkin knot with our simple step-by-step guide. Elevate your tableware game and impress your guests!
(Many of the links in this article redirect to a specific reviewed product. Your purchase of these products through affiliate links helps to generate commission for Storables.com, at no extra cost. Learn more)
Introduction
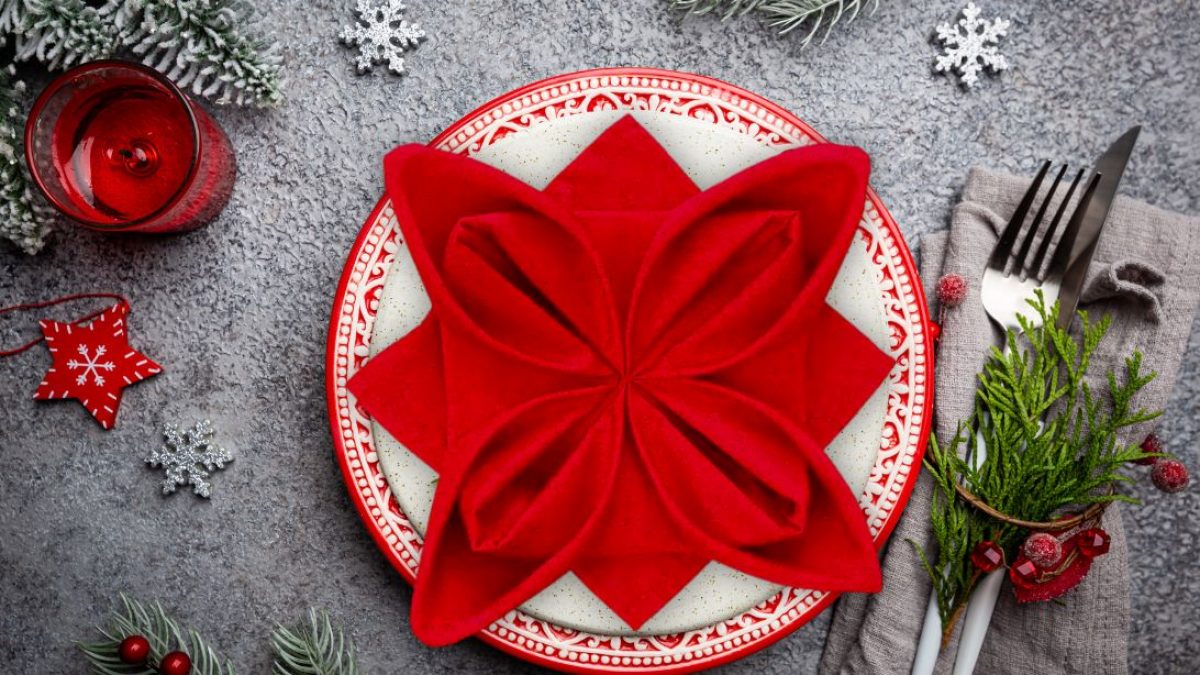
Have you ever hosted a dinner party or a special event and wanted to add an elegant touch to your table setting? One simple way to achieve that is by tying a beautiful napkin knot. It not only adds a stylish element to your table but also enhances the overall dining experience for your guests.
Tying a napkin knot might seem like a daunting task, but with a little practice and the right technique, you can quickly master it. Whether you’re hosting a formal dinner or a casual gathering, this skill can impress your guests and elevate the ambiance of your event.
In this article, we will guide you through the steps to tie a napkin knot like a pro. With a few basic supplies and a bit of creativity, you can wow your guests and make your table setting truly unforgettable.
Key Takeaways:
- Elevate your table setting and impress guests by mastering the art of tying a napkin knot. With a few simple folds and adjustments, you can create a stylish and elegant look that adds sophistication to any occasion.
- Don’t be afraid to get creative and experiment with different folding techniques or decorative elements. A well-structured napkin knot complements your table setting and adds a touch of elegance to your dining experience.
Read more: How To Tie A Non-Slip Loop Knot With Rope
Supplies Needed
Before we begin, let’s gather the supplies you’ll need to tie a napkin knot:
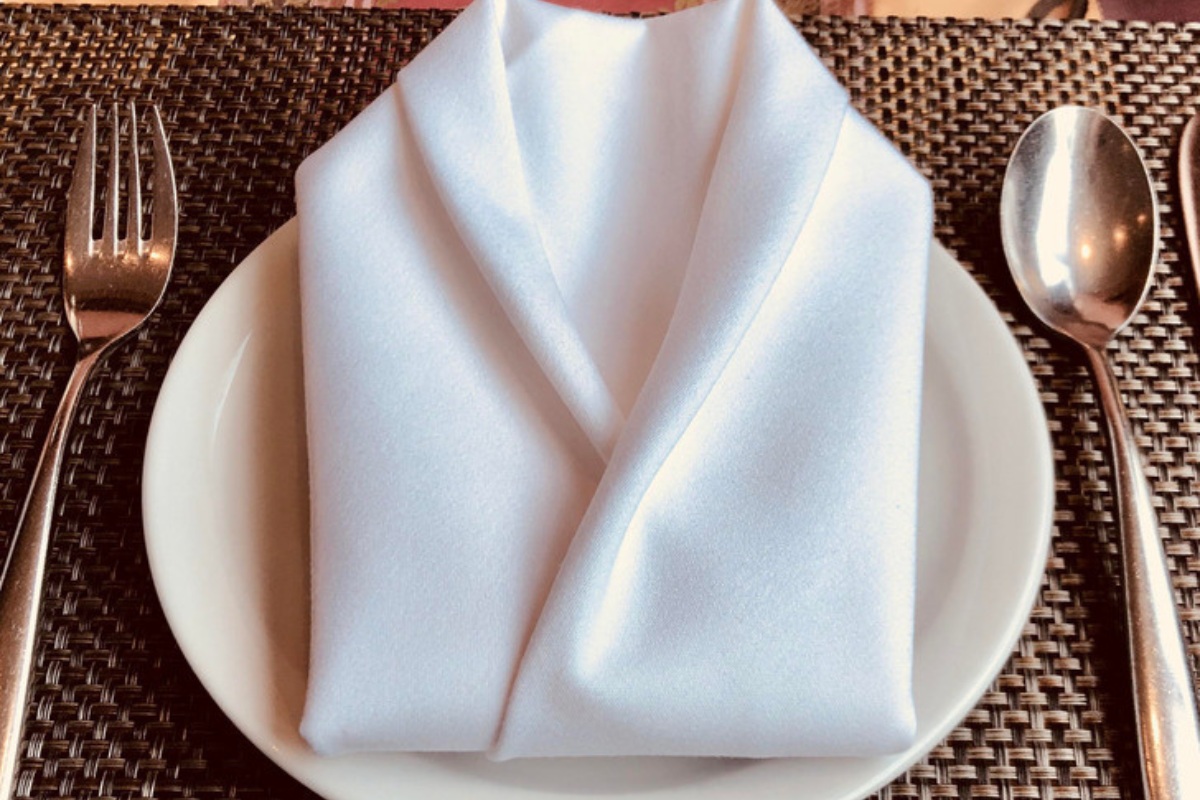
- A cloth napkin: Choose a napkin that is large enough to maneuver easily and has a soft texture for better folding and knotting.
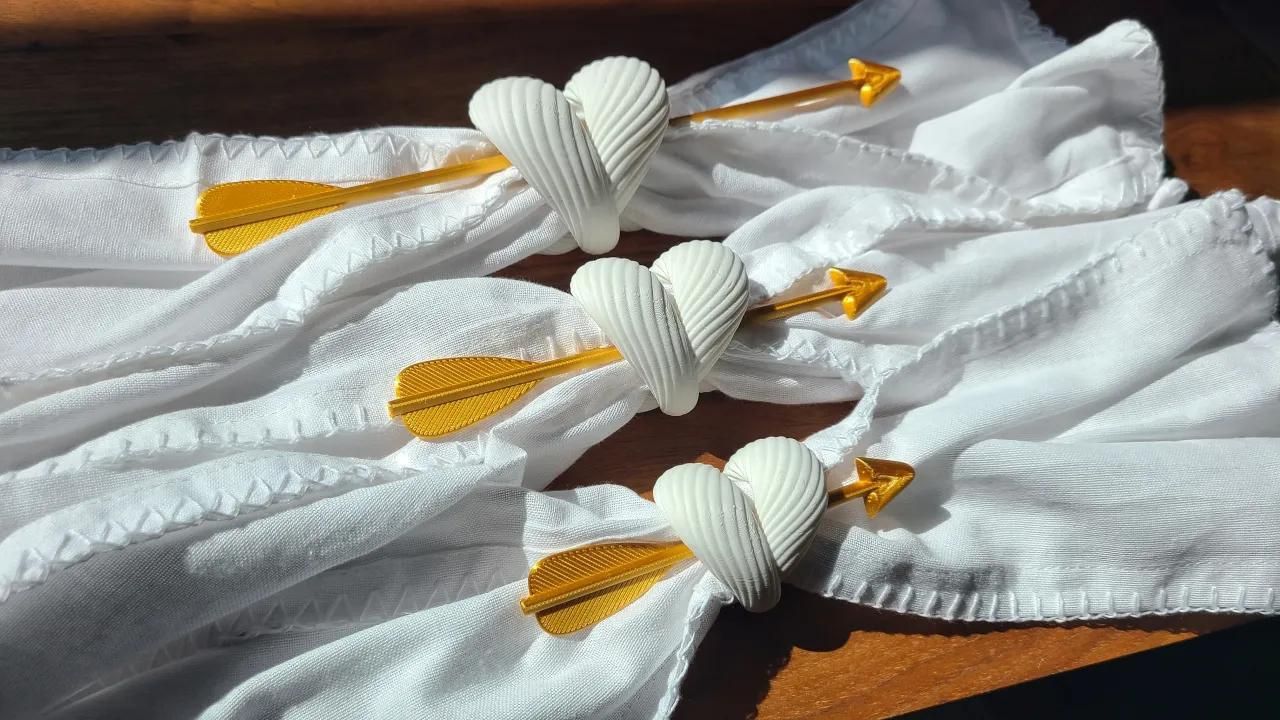
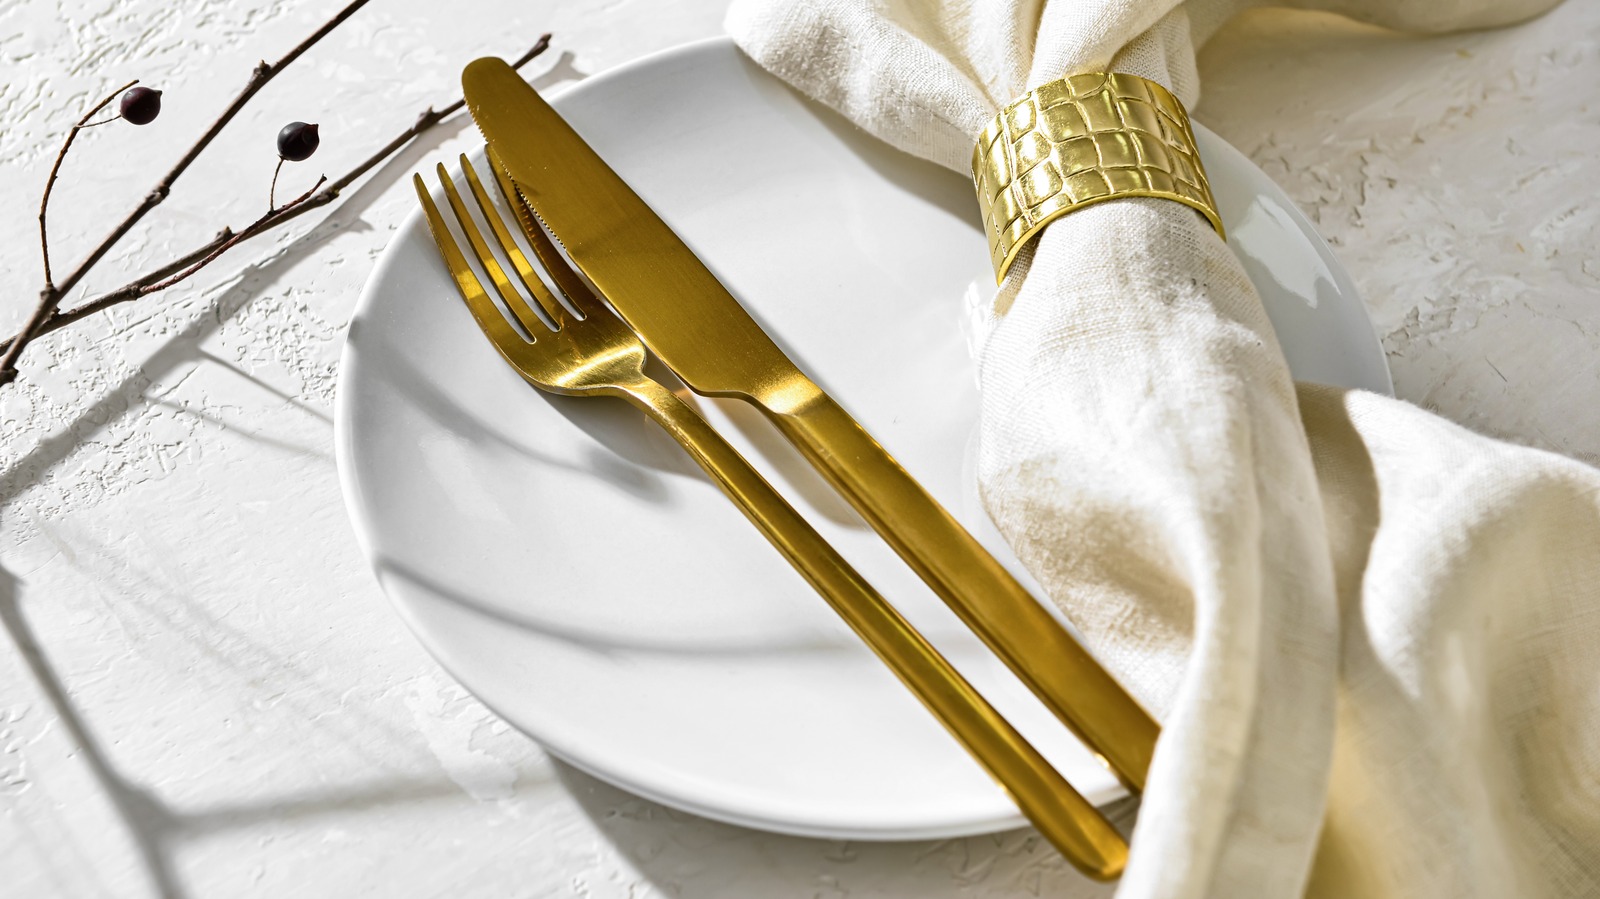
- Napkin ring (optional): While not necessary, a napkin ring can add an extra touch of elegance and help keep the knot secure.
- A flat surface: Find a clean and flat surface, such as a table or countertop, to work on.
Once you have these supplies ready, you’re all set to start tying your napkin knot.
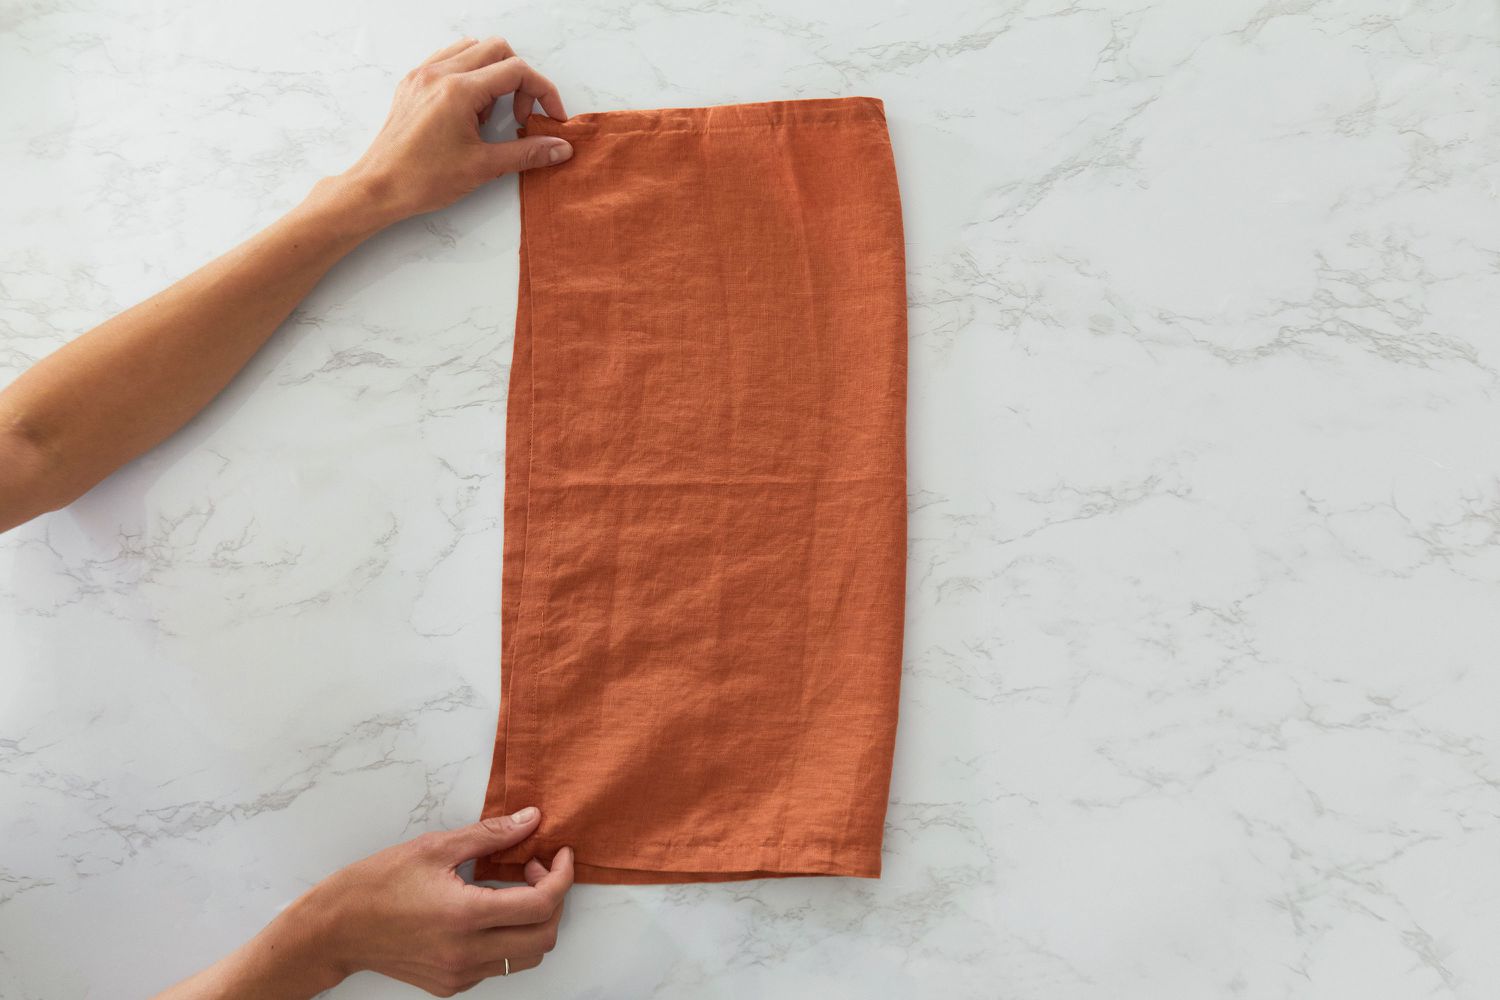
Step 1: Folding the Napkin
The first step in tying a napkin knot is to fold the napkin into a square shape. Follow these simple steps:
- Lay the napkin flat on a clean and flat surface.
- Take the top right corner of the napkin and fold it diagonally to meet the bottom left corner. This will create a triangle shape.
- Smooth out any wrinkles and ensure the edges align neatly.
- Next, take the bottom left corner of the triangle and fold it towards the center, creating a smaller triangle shape.
- Repeat the previous step by folding the bottom right corner towards the center.
- Smooth out any wrinkles and ensure all corners are aligned.
By folding the napkin into a square shape, you create a solid base for the napkin knot and make it easier to manipulate during the tying process.
Step 2: Creating the Initial Loop
Now that you have a folded square napkin, it’s time to create the initial loop. Follow these steps:
- Hold the folded napkin with one hand, making sure the folded edges are facing towards you.
- With your free hand, about one-third of the way from the top, gently pinch the napkin to form a small loop.
- Bring the pinched section of the napkin towards the center, crossing it over the rest of the napkin.
- Insert the loose end of the folded napkin through the loop you created. This will form a loose knot-like shape.
- Gently tighten the loop by pulling the loose end and adjusting it to your desired tightness.
At this stage, you have created the initial loop, which serves as the foundation for the napkin knot. Make sure the loop is secure but not too tight, as you will need to adjust and manipulate it in the next step.
When tying a napkin knot, make sure to use a large, square napkin for the best results. This will give you enough fabric to create a secure and visually appealing knot.
Step 3: Forming the Knot
Now that you have the initial loop in place, it’s time to form the knot. Follow these steps:
- With one hand, hold onto the loop to keep it secure.
- With your free hand, take the loose end of the folded napkin and pull it through the loop from the front to the back.
- Hold onto the loose end and gently pull it all the way through the loop.
- Tighten the knot by pulling both ends of the folded napkin in opposite directions.
As you tighten the knot, ensure that the folds of the napkin are aligned and neat. Adjust the tightness of the knot according to your preference – not too loose, but not too tight either.
Step 3 is crucial in achieving a well-formed and visually appealing napkin knot. Take your time to adjust and position the folds to create a balanced and stylish look.
Read more: How To Fold A Napkin With A Napkin Ring
Step 4: Adjusting and Styling the Knot
Now that you have formed the knot, it’s time to give it a final touch by adjusting and styling it. Follow these steps:
- Hold onto the base of the knot with one hand to keep it secure.
- With your free hand, gently pull and adjust the folds of the napkin to ensure they are evenly spread and visually pleasing.
- Tug on the corners of the napkin to create a more voluminous and elegant appearance.
- Take a step back and assess the knot from different angles to make any necessary adjustments.
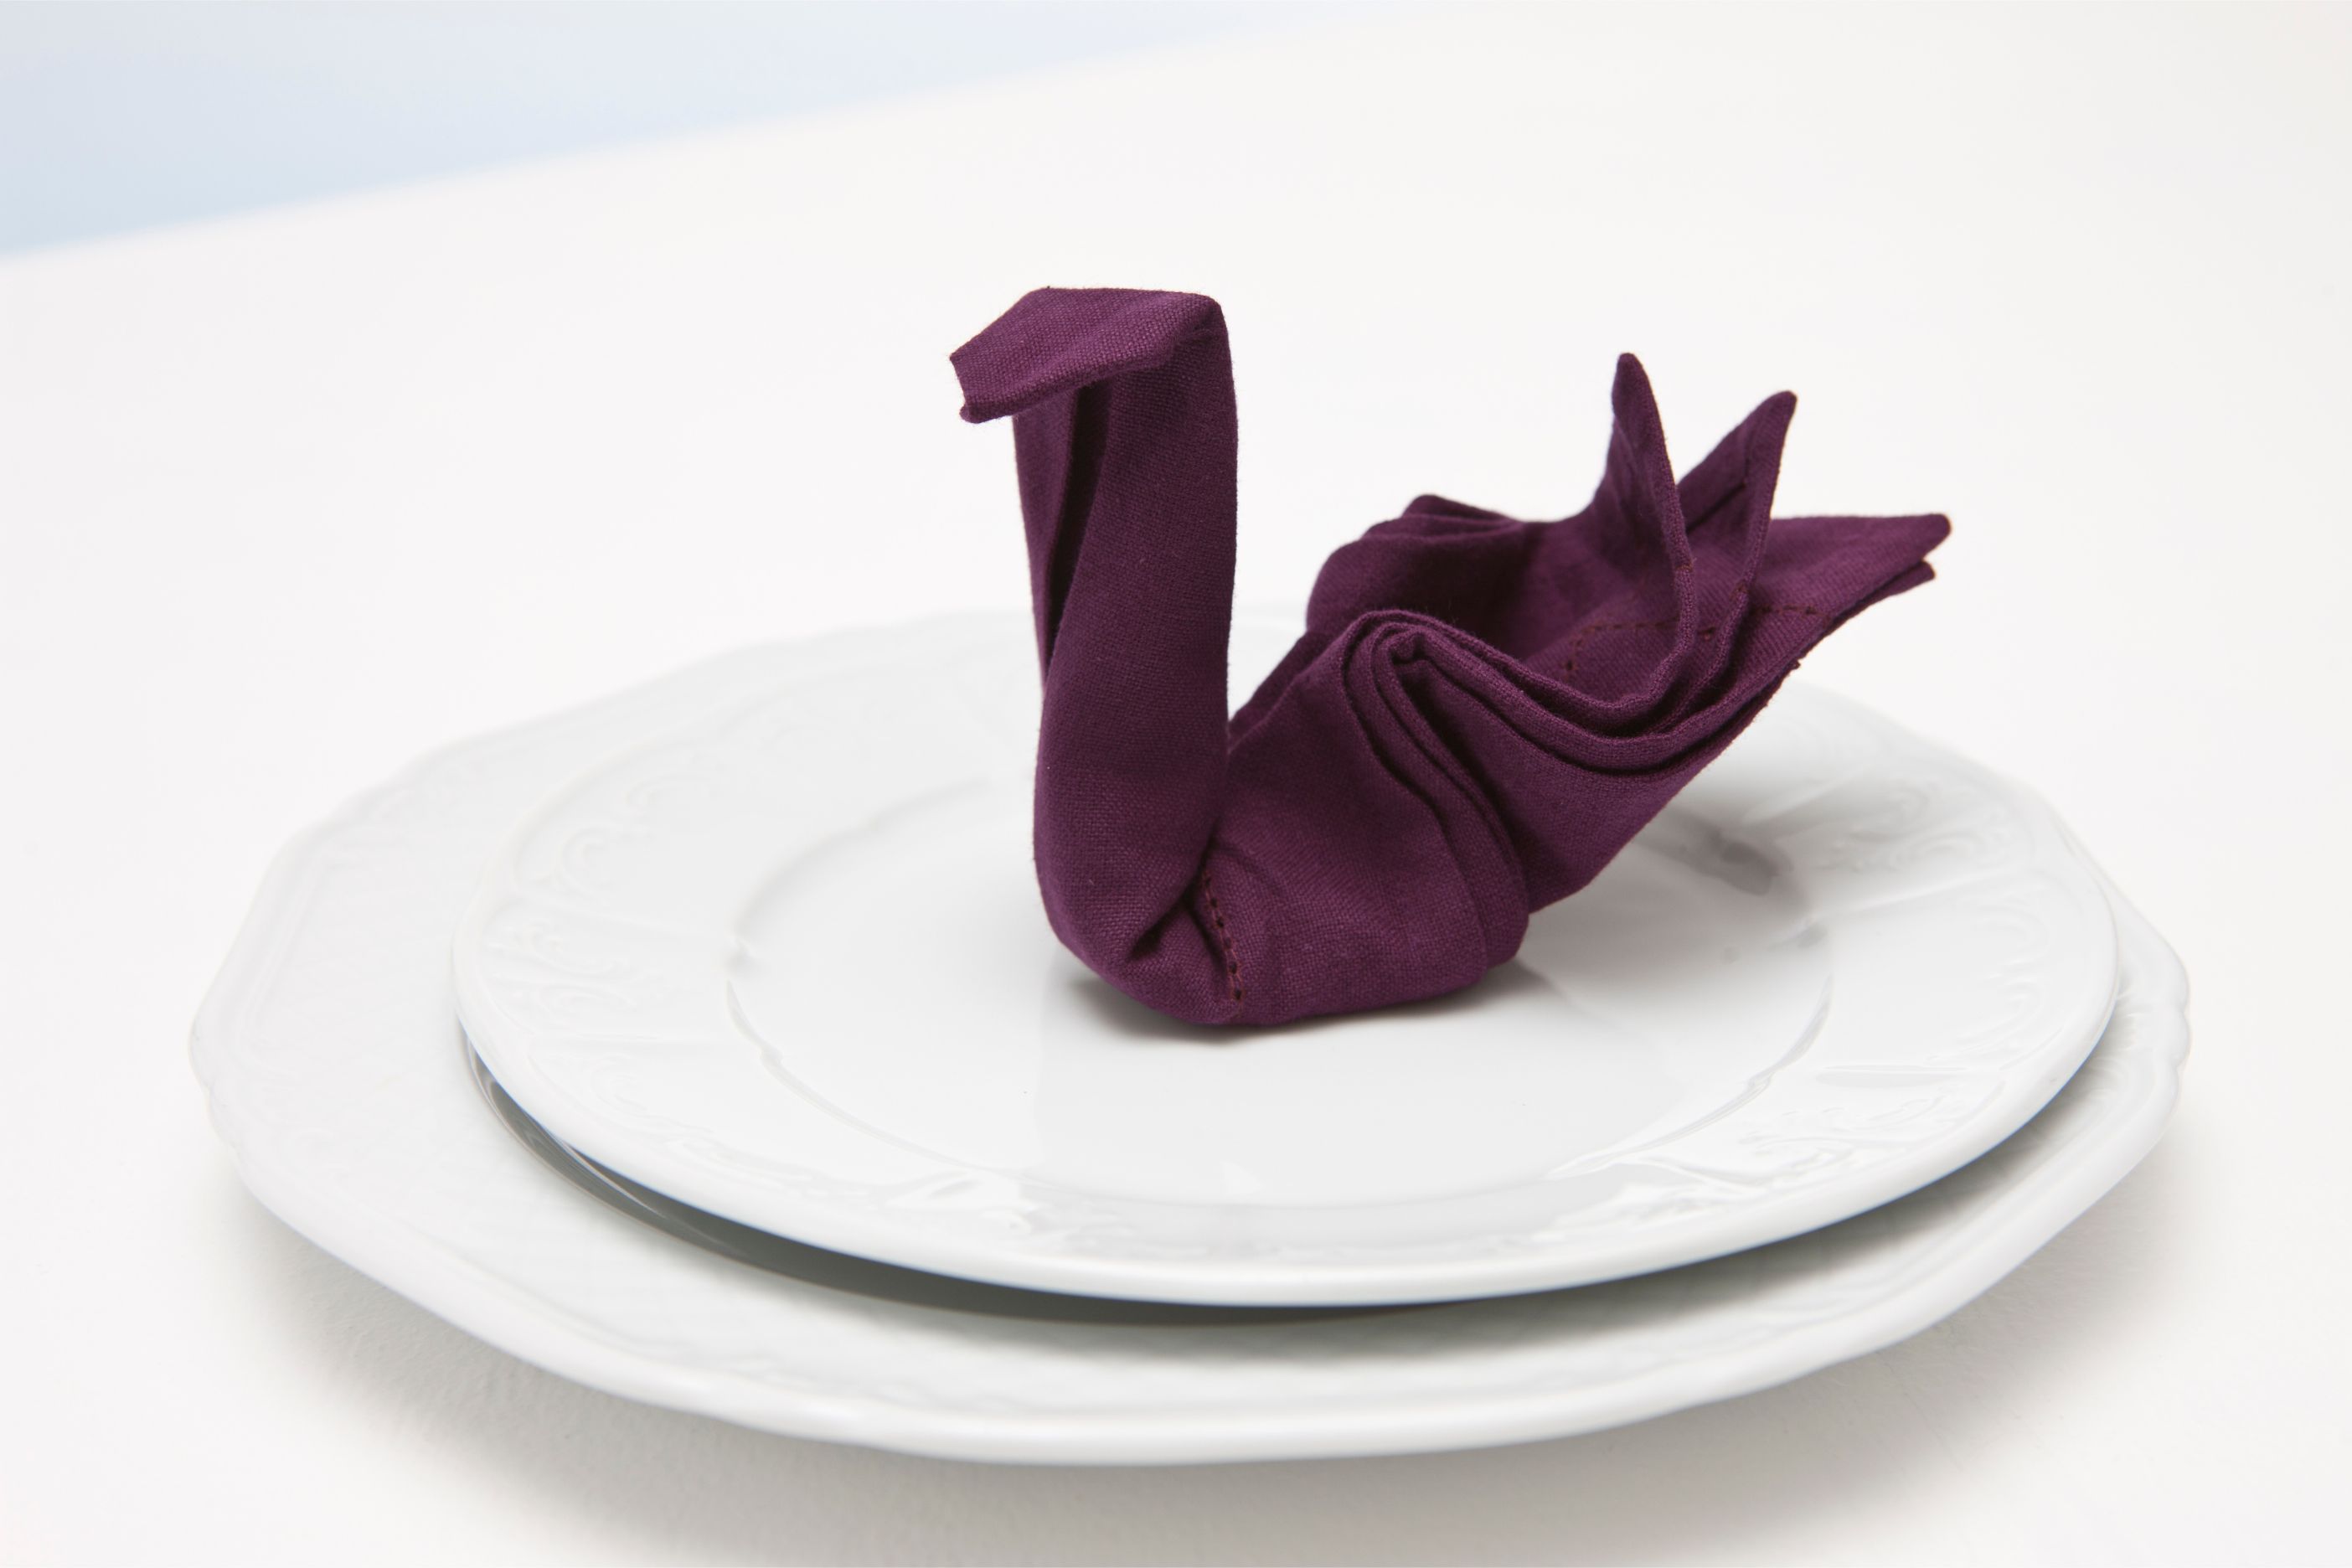
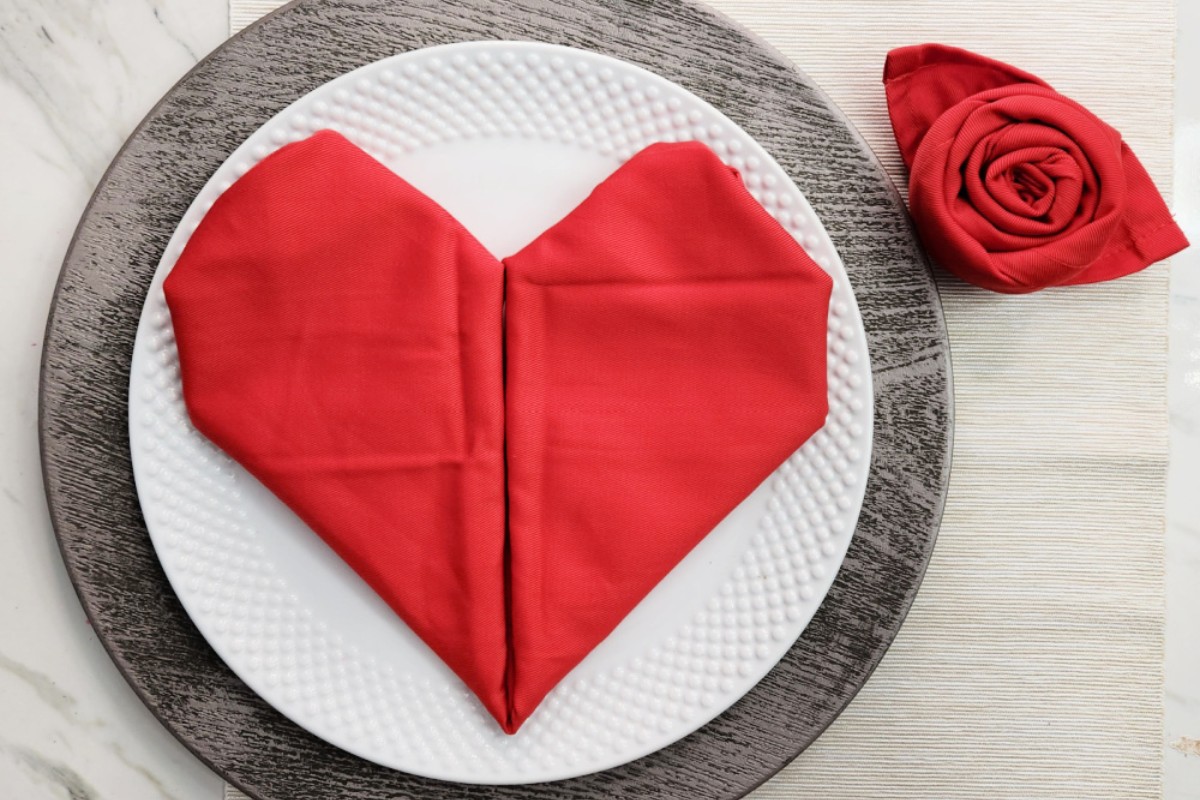
Don’t be afraid to get creative and experiment with different folding techniques or variations of the knot. You can add a decorative element, such as a flower or a sprig of herbs, to further enhance the knot’s aesthetic appeal.
Remember, the goal is to create a visually appealing and well-structured napkin knot that complements your table setting and adds a touch of elegance to your dining experience.
Conclusion
Tying a napkin knot is a simple yet effective way to elevate your table setting and impress your guests. With just a few folds and adjustments, you can create a stylish and elegant look that adds a touch of sophistication to any occasion.
By following the step-by-step guide outlined in this article, you’ll be able to confidently tie a napkin knot like a pro. Remember to choose a high-quality cloth napkin, gather the necessary supplies, and take the time to fold and adjust the knot with care.
Don’t be afraid to experiment and add your own personal flair to the knot. You can customize it with different patterns, colors, or even incorporate decorative elements to reflect the theme or style of your event.
Next time you host a dinner party or a special gathering, surprise your guests with a beautifully tied napkin knot. It’s the little details that make a big difference, and a well-dressed table can enhance the overall dining experience.
So go ahead, practice your napkin knotting skills, and impress your guests with your artistic touch and attention to detail. Happy knotting!
Frequently Asked Questions about How To Tie A Napkin Knot
Was this page helpful?
At Storables.com, we guarantee accurate and reliable information. Our content, validated by Expert Board Contributors, is crafted following stringent Editorial Policies. We're committed to providing you with well-researched, expert-backed insights for all your informational needs.


0 thoughts on “How To Tie A Napkin Knot”