Articles
How To Tie-Dye A Blanket
Modified: December 7, 2023
Learn how to tie-dye a blanket with our step-by-step articles. Create your own unique designs and add a pop of color to your home!
(Many of the links in this article redirect to a specific reviewed product. Your purchase of these products through affiliate links helps to generate commission for Storables.com, at no extra cost. Learn more)
Introduction
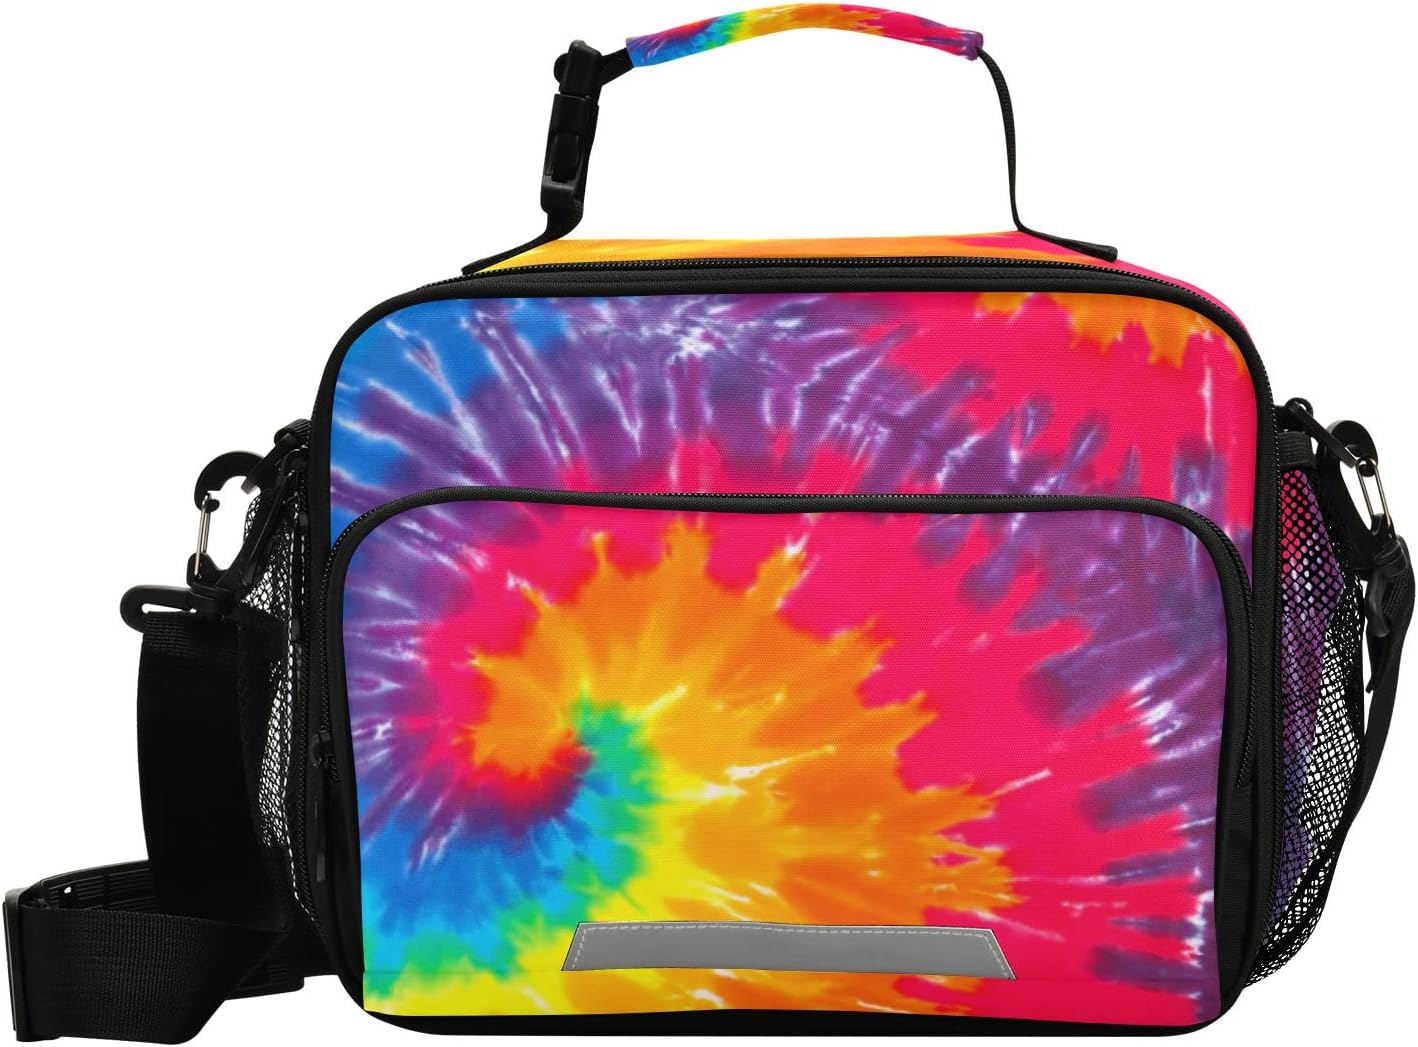
Tie-dyeing has become a popular trend in recent years, particularly when it comes to creating unique and colorful designs on various fabrics. One item that is perfect for tie-dyeing is a blanket. Whether you want to spruce up an old blanket or create a personalized gift for someone, tie-dyeing offers endless creative possibilities.
In this article, we will guide you through the step-by-step process of tie-dyeing a blanket. We will cover everything from the materials you’ll need to the techniques for creating stunning tie-dye patterns. So grab your favorite blanket and let’s get started on this vibrant and exciting DIY project!
Please note that tie-dyeing involves the use of dyes, which can be messy and may stain surfaces and clothing. Make sure to protect your work area and wear old clothing or an apron to avoid accidental stains.
Before we begin, here’s a list of materials you’ll need:
Key Takeaways:
- Tie-dyeing a blanket is a vibrant and creative DIY project that allows you to transform a plain blanket into a personalized masterpiece. With the right materials and techniques, you can achieve stunning, long-lasting tie-dye patterns that reflect your unique style and artistic expression.
- From preparing the blanket to creating intricate tie-dye patterns and letting the colors set, this step-by-step guide provides the essential tips for achieving vibrant and eye-catching results. With proper washing and drying techniques, you can preserve the colors and proudly showcase your one-of-a-kind tie-dye creation.
Read more: How To Tie-Dye A Tablecloth
Materials Needed
- A plain white or light-colored blanket
- Tie-dye kit or fabric dye in various colors
- Rubber bands
- Plastic squeeze bottles for dye application
- Plastic gloves
- Plastic table cover or garbage bags to protect your work surface
- Plastic or metal tub for soaking the blanket
- Plastic wrap or plastic bags to cover the tie-dyed blanket while the dye sets
- Water
- Mild detergent
- Optional: spray bottle filled with water for blending colors
Once you have gathered all the necessary materials, you can move on to preparing the blanket for tie-dyeing.
Preparing the Blanket
Before you begin the tie-dyeing process, it is important to prepare your blanket to ensure the best results. Follow these steps to prepare your blanket:
- Start by washing the blanket. This will remove any dirt, substances, or chemicals that may interfere with the dye’s absorption. Use mild detergent and follow the care instructions specific to your blanket.
- Once the blanket is clean, dampen it with water. This will help the dye spread more evenly and saturate the fabric.
- Smooth out any wrinkles or folds in the blanket to create a flat surface for the tie-dye design.
Once you have prepared your blanket, it’s time to move on to creating the tie-dye patterns.
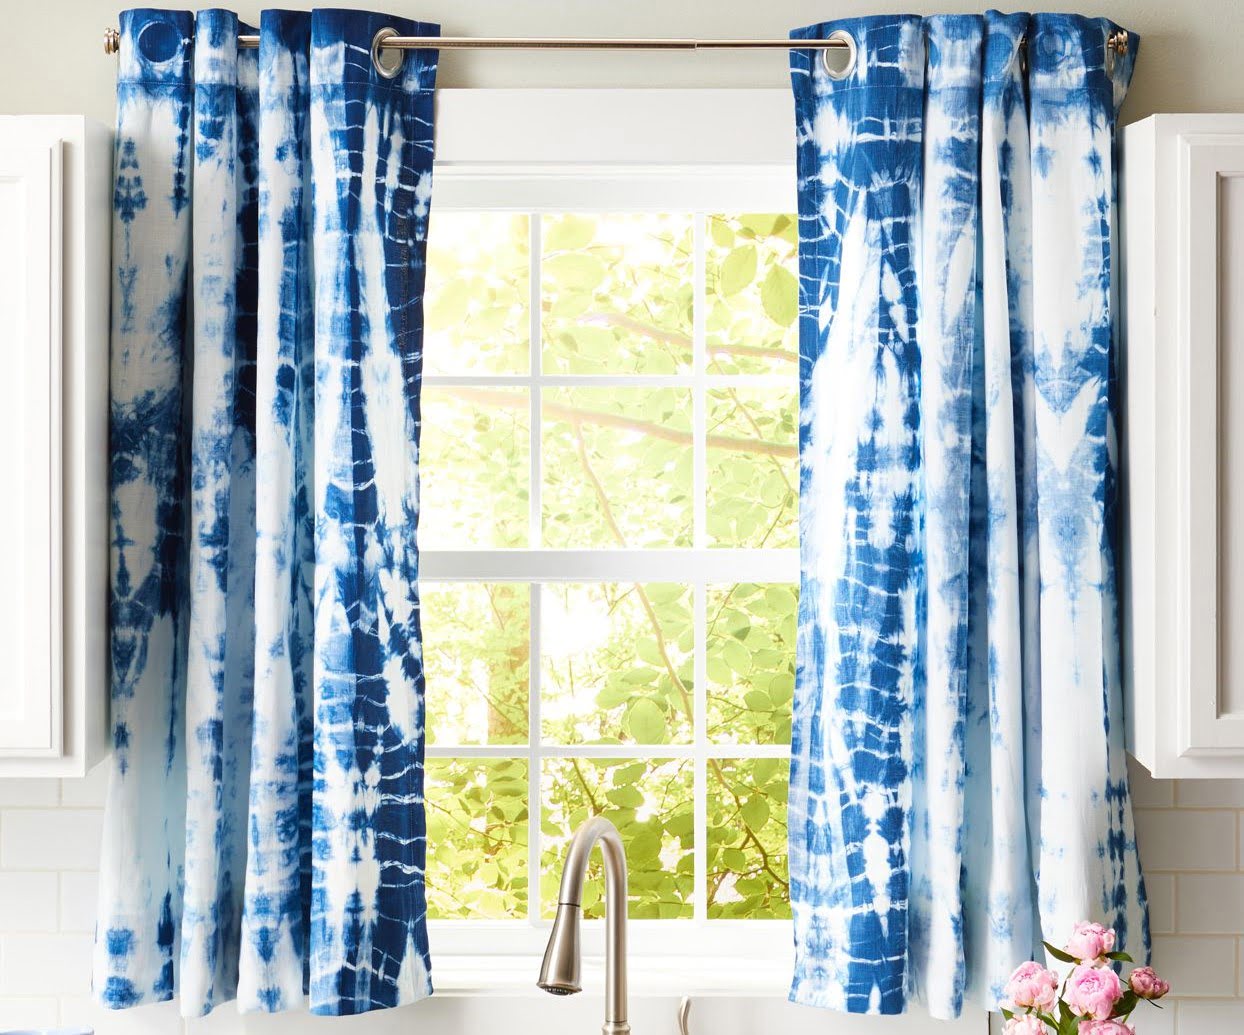
Creating the Tie-Dye Patterns
The beauty of tie-dyeing lies in the endless possibilities of patterns you can create. Here are a few classic tie-dye techniques that you can try on your blanket:
- Spiral Pattern: Lay the blanket flat and pinch the center. Twist the fabric in a spiral motion until it resembles a cinnamon roll. Use rubber bands to secure the twisted blanket, creating pie-shaped sections.
- Bullseye Pattern: Pinch the fabric in the center and pull up to create a mound. Secure with rubber bands at various intervals to create concentric circles.
- Stripes Pattern: Fold the blanket accordion-style, creating long sections. Secure the folded blanket with rubber bands at evenly spaced intervals to create stripes.
- Crinkle Pattern: Gather sections of the blanket randomly and secure with rubber bands. This creates a crinkled effect when the dye is applied.
Feel free to get creative and experiment with your own patterns as well. Once you have chosen a pattern, it’s time to move on to applying the dye!
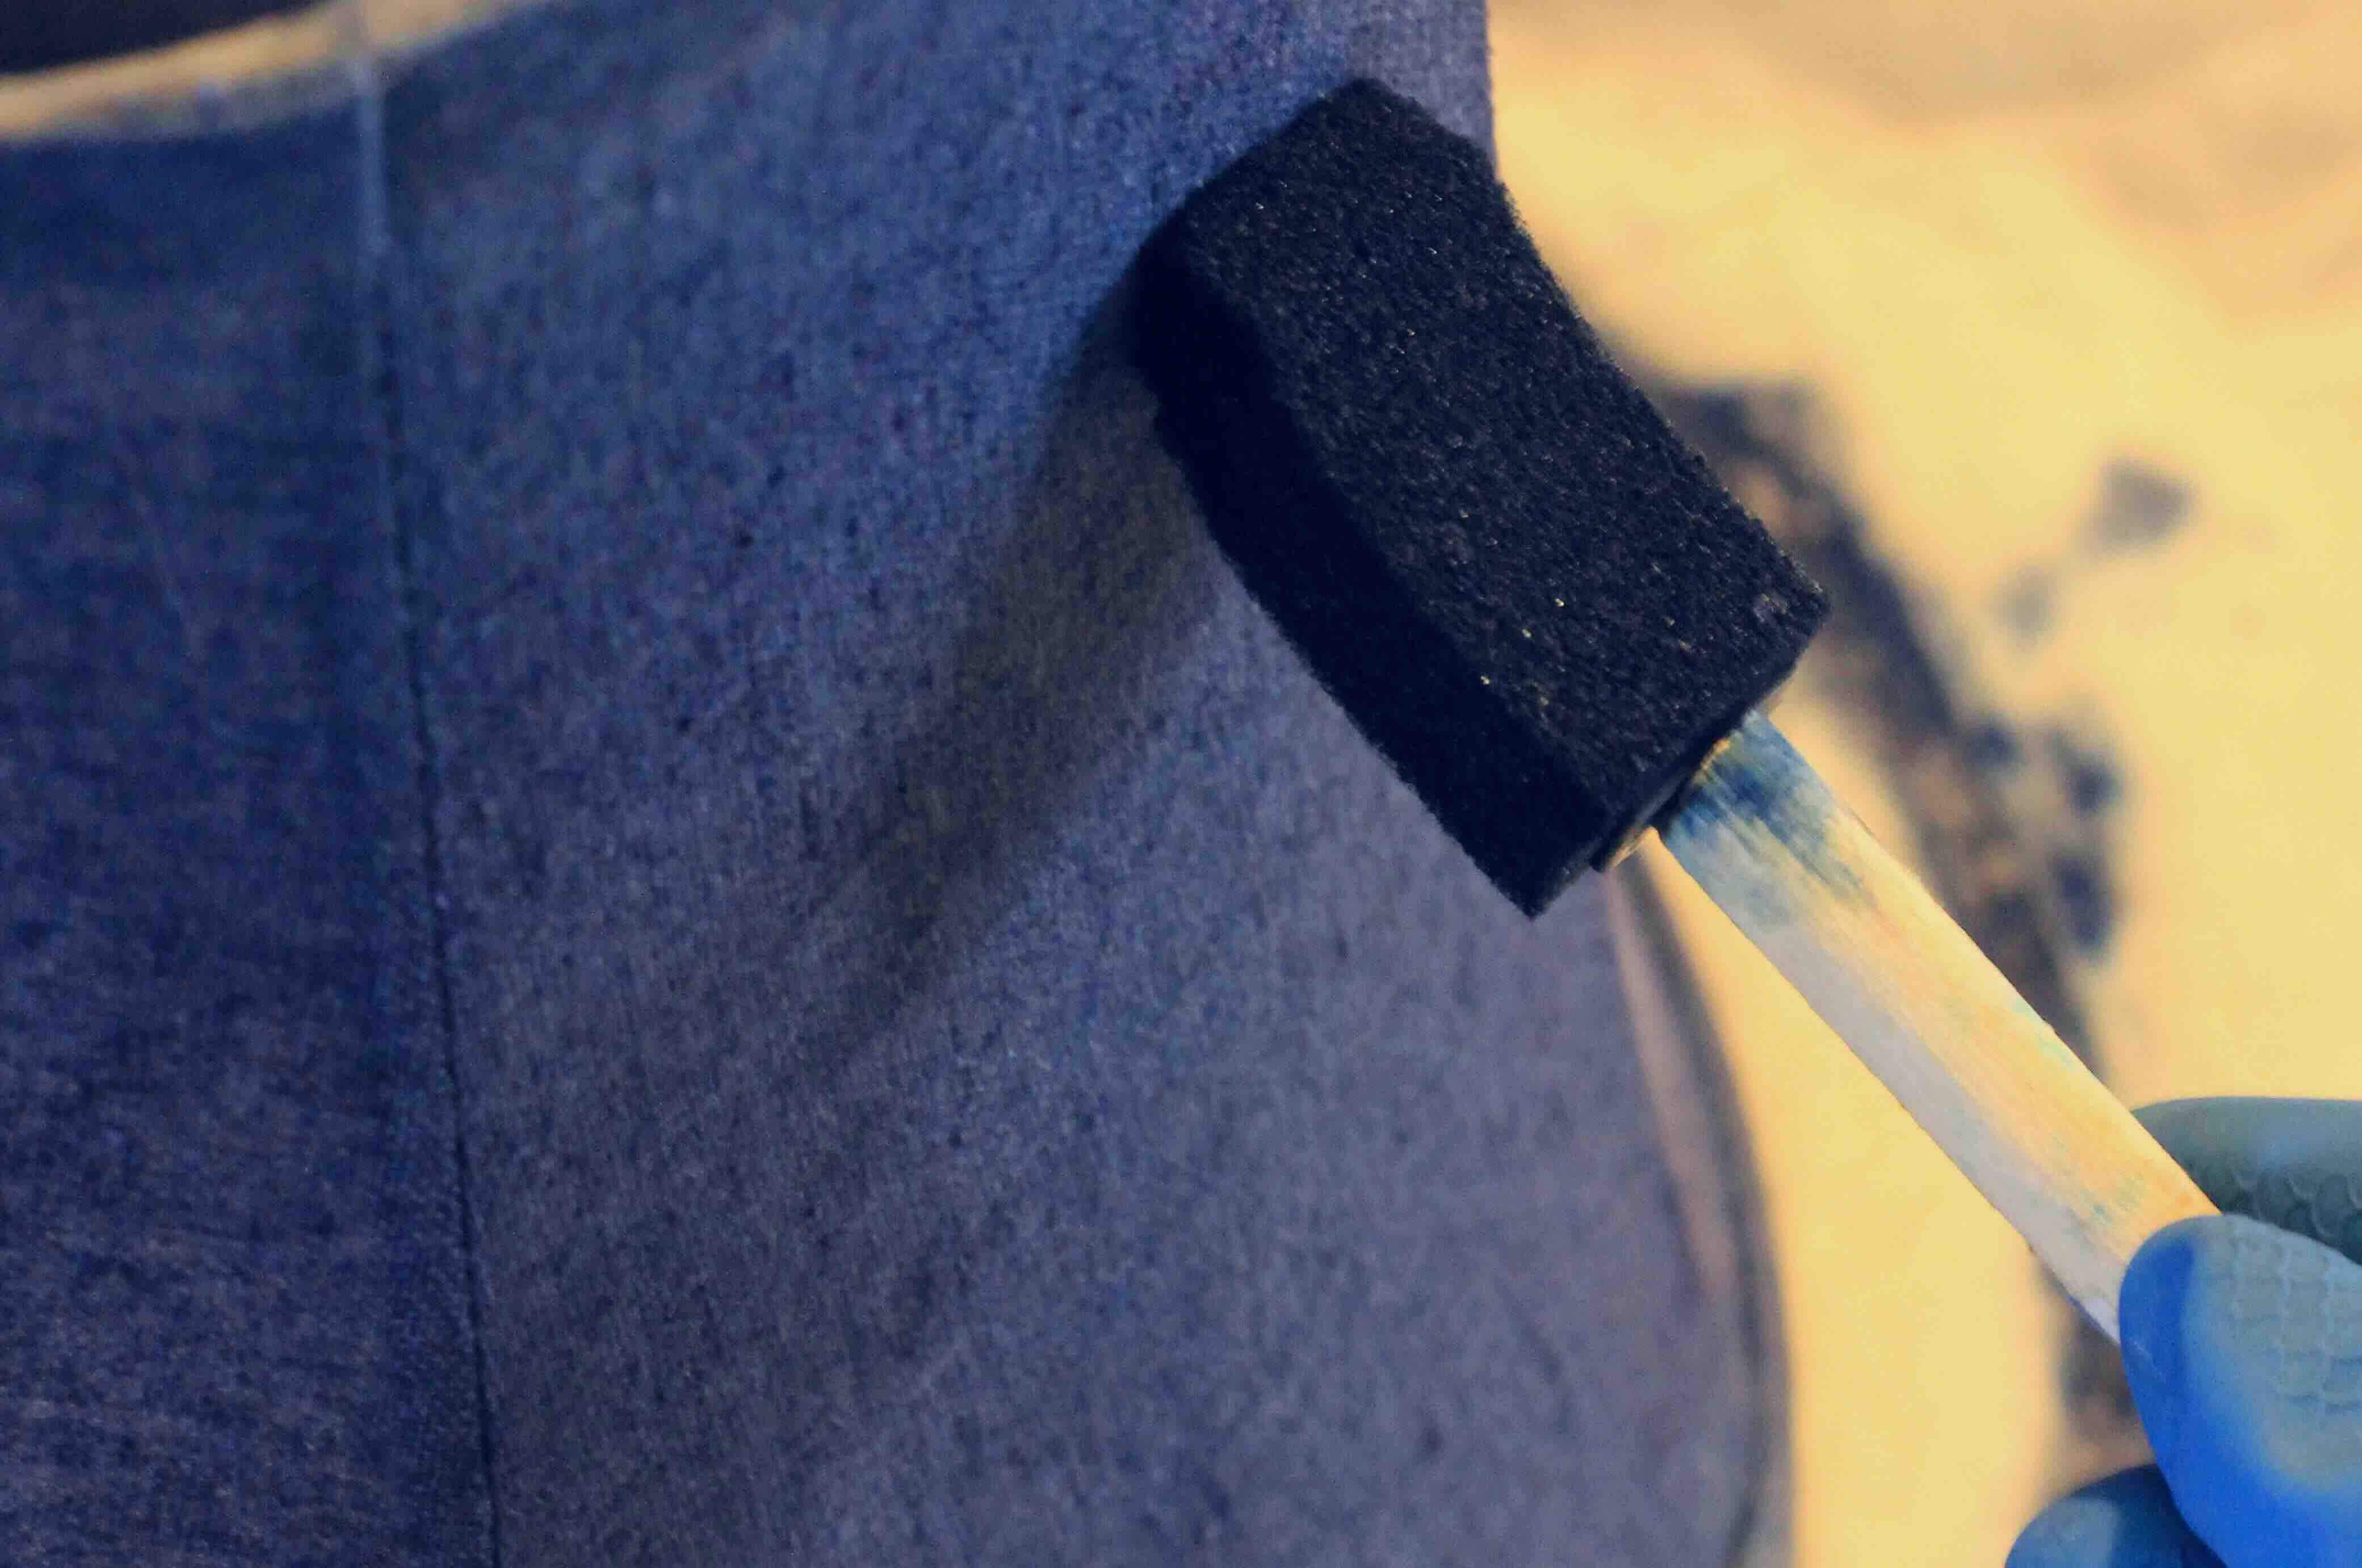
Applying the Dye
Now that you have your desired tie-dye patterns on the blanket, it’s time to add color to your creation. Follow these steps to apply the dye:
- Put on your plastic gloves to protect your hands from staining.
- Prepare the dye according to the instructions on the tie-dye kit or fabric dye you are using. If using a tie-dye kit, fill the plastic squeeze bottles with the prepared dye.
- Start applying the dye to the sections of the blanket, using the colors of your choice. Squeeze the dye onto the fabric, ensuring it saturates both sides of the folds and reaches the inner layers of the folded sections.
- If you want to blend colors or create an ombre effect, use a spray bottle filled with water to mist the fabric before applying the dye.
- Continue applying the dye to all sections of the blanket until you have covered the entire surface.
Remember to be generous with the dye to achieve vibrant and saturated colors. Once the dye is applied, it’s time to let it set!
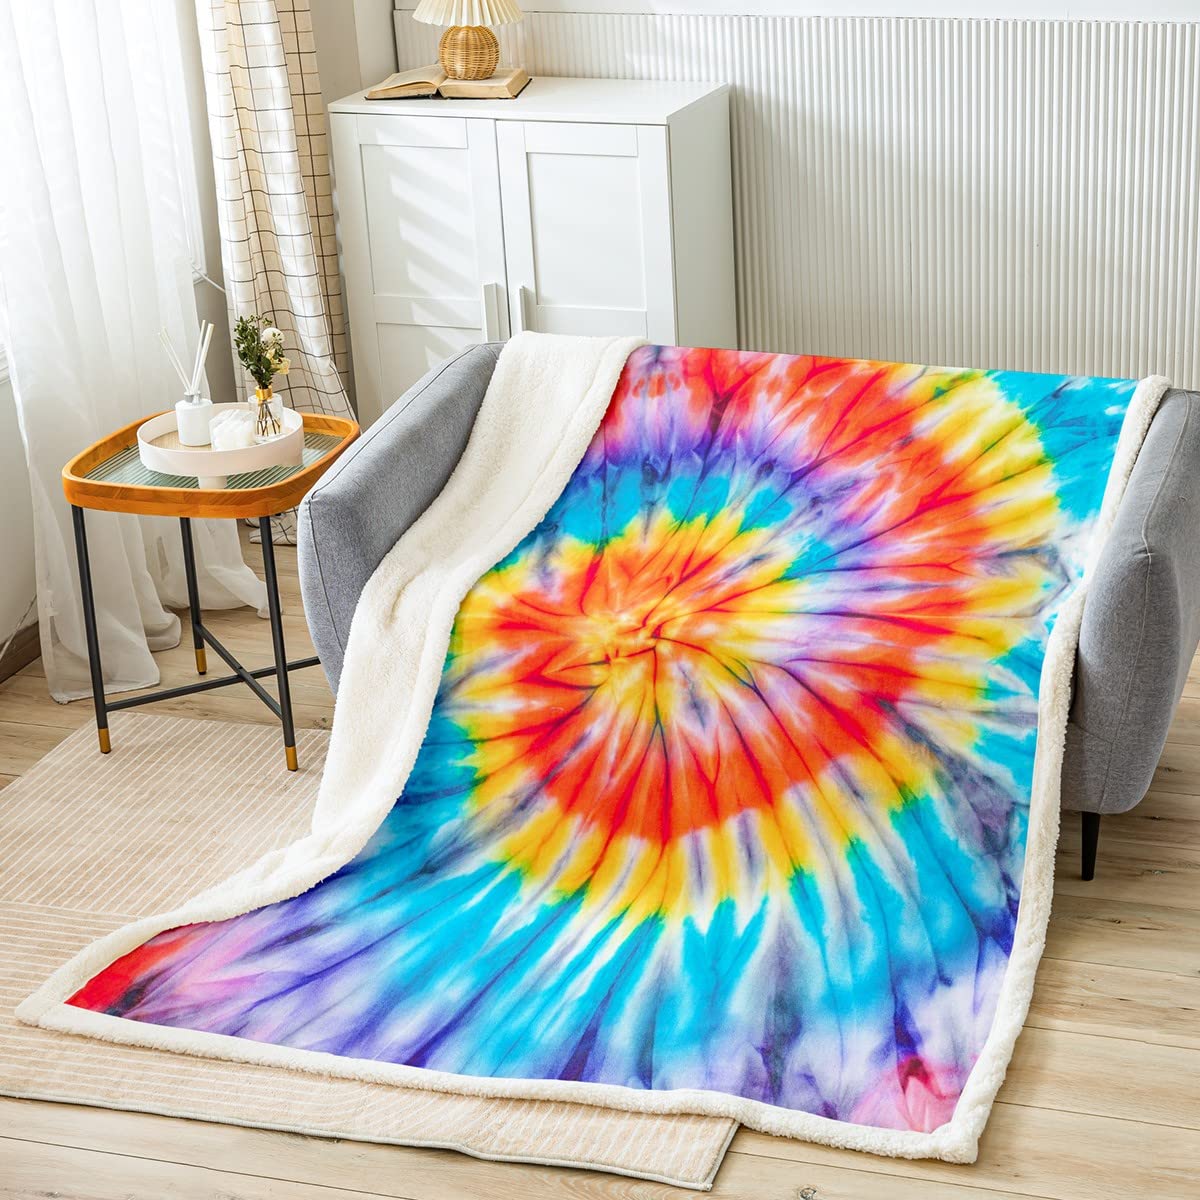
After tying the blanket with rubber bands, apply dye in sections for a vibrant and unique pattern. Use complementary colors for a visually appealing result.
Read more: How To Tie-Dye A Pillowcase
Letting the Dye Set
After applying the dye to your tie-dye blanket, it is important to let the colors set to ensure their longevity. Follow these steps to let the dye set:
- Cover the tie-dyed blanket with plastic wrap or place it in a plastic bag. This step helps to retain moisture and prevents the dye from drying out too quickly.
- Leave the covered blanket undisturbed for the recommended setting time specified on the dye instructions. This time generally ranges from a few hours to overnight.
- The setting process allows the dye to penetrate the fabric fibers and achieve vibrant, long-lasting colors. The longer you let the dye set, the more intense the colors will be.
While waiting, make sure to keep the tie-dyed blanket in a warm and dry area. Avoid exposing it to direct sunlight, as this can cause fading.
Once the dye has set, it’s time to move on to the final steps of washing and drying!
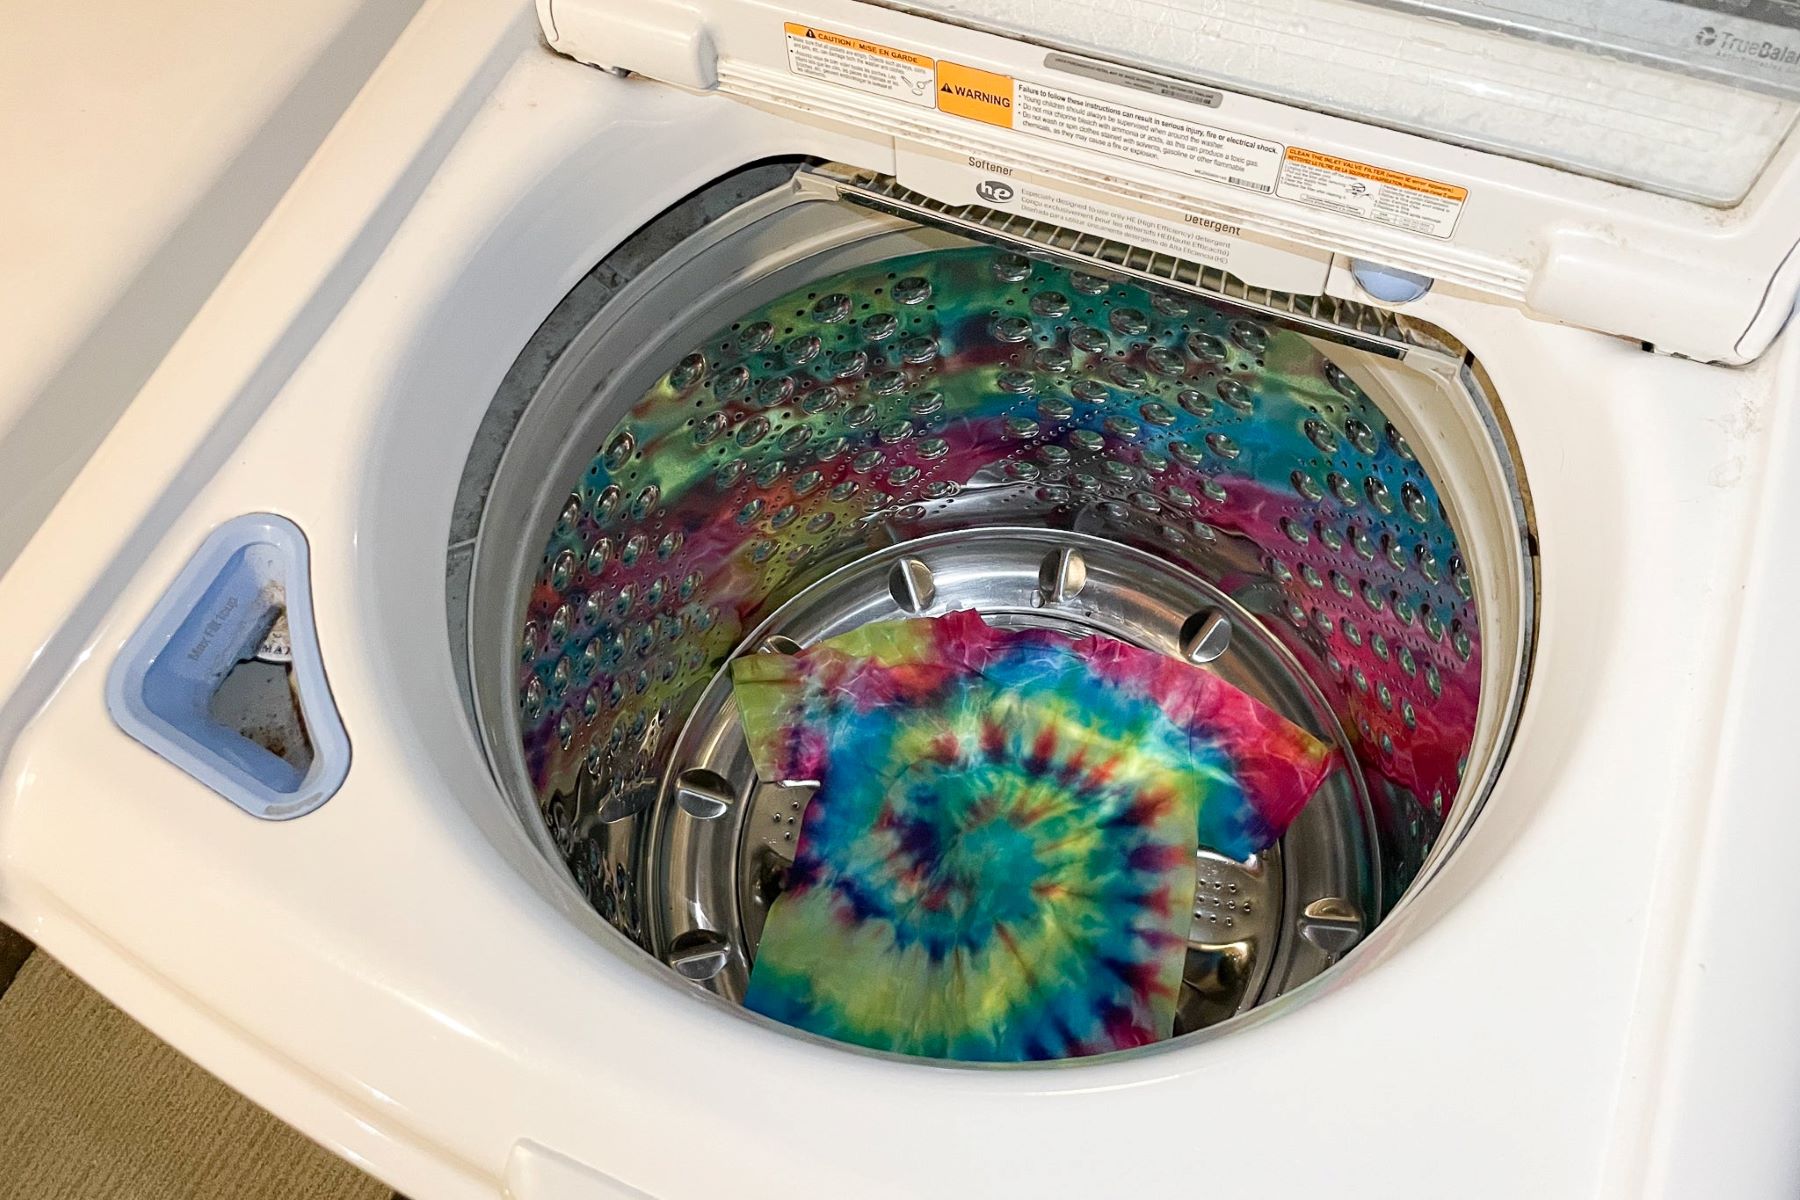
Washing and Drying the Tie-Dyed Blanket
When it comes to tie-dyeing, proper washing and drying techniques are crucial to preserve the vibrancy and longevity of your design. Follow these steps to wash and dry your tie-dyed blanket:
- Remove the plastic wrap or bag from the tie-dyed blanket.
- Rinse the blanket under cold water until the water runs clear. This helps to remove excess dye and prevent color bleeding.
- Fill a sink or tub with cool water and add a small amount of mild detergent. Gently swirl the blanket in the soapy water, ensuring all areas are thoroughly cleaned.
- After washing, rinse the blanket again under cold water to remove any remaining detergent.
- Squeeze out the excess water from the blanket, being careful not to wring or twist the fabric to avoid distorting the tie-dye patterns.
- Hang the blanket to air dry, preferably in a shaded area or indoors away from direct sunlight. This helps to prevent fading and preserves the colors.
- If you prefer using a dryer, set it to a low heat or air-dry setting. Avoid high heat, as it can cause shrinkage or damage to the fabric.
Once the blanket is completely dry, you can proudly showcase your vibrant tie-dye creation!
Final Thoughts
Tie-dyeing a blanket is a fun and creative way to add a personal touch to your home decor or create a unique gift for someone special. With the right materials, techniques, and a little bit of creativity, you can transform a plain blanket into a colorful and eye-catching masterpiece.
Remember to have fun and experiment with different patterns and color combinations. Each tie-dyed blanket will be one-of-a-kind, reflecting your individual style and artistic expression.
So gather your materials and get ready to embark on a tie-dyeing adventure. Grab that plain blanket and let your imagination run wild with vibrant colors and mesmerizing designs!
Final Thoughts
Tie-dyeing a blanket is not only a creative and enjoyable activity but also a way to add a personalized touch to your home or create a unique gift for someone special. By following the step-by-step process outlined in this article, you can create stunning tie-dye patterns and achieve vibrant, long-lasting colors on your blanket.
Remember to gather all the necessary materials, protect your work area, and wear gloves to avoid accidental staining. Preparing the blanket by washing and dampening it beforehand helps to ensure proper dye absorption.
When creating tie-dye patterns, the possibilities are endless. You can try classic techniques like spirals, bullseyes, stripes, or experiment with your own unique designs. Be generous when applying the dye to achieve vibrant and saturated colors.
After applying the dye, it is crucial to let it set by covering the blanket with plastic wrap or a plastic bag. The recommended setting time allows the dye to penetrate the fabric fibers and achieve long-lasting colors.
When it comes to washing and drying your tie-dyed blanket, rinse it under cold water to remove excess dye, then gently wash and rinse it with mild detergent. Air drying is the best option to preserve the colors, but if using a dryer, opt for a low heat or air-dry setting to avoid shrinkage or damage.
Now that you have completed the tie-dyeing process, you can proudly display your vibrant blanket or gift it to someone special. Each tie-dye creation is unique and reflects your individuality and artistic expression.
So, gather your materials, let your imagination run wild, and enjoy the colorful and mesmerizing world of tie-dyeing!
Frequently Asked Questions about How To Tie-Dye A Blanket
Was this page helpful?
At Storables.com, we guarantee accurate and reliable information. Our content, validated by Expert Board Contributors, is crafted following stringent Editorial Policies. We're committed to providing you with well-researched, expert-backed insights for all your informational needs.