Home>Articles>How To Treat A Plywood Subfloor For Urine Before New Carpet
Articles
How To Treat A Plywood Subfloor For Urine Before New Carpet
Modified: October 20, 2024
Learn how to effectively treat a plywood subfloor for urine odors before installing new carpet with our informative articles.
(Many of the links in this article redirect to a specific reviewed product. Your purchase of these products through affiliate links helps to generate commission for Storables.com, at no extra cost. Learn more)
Introduction
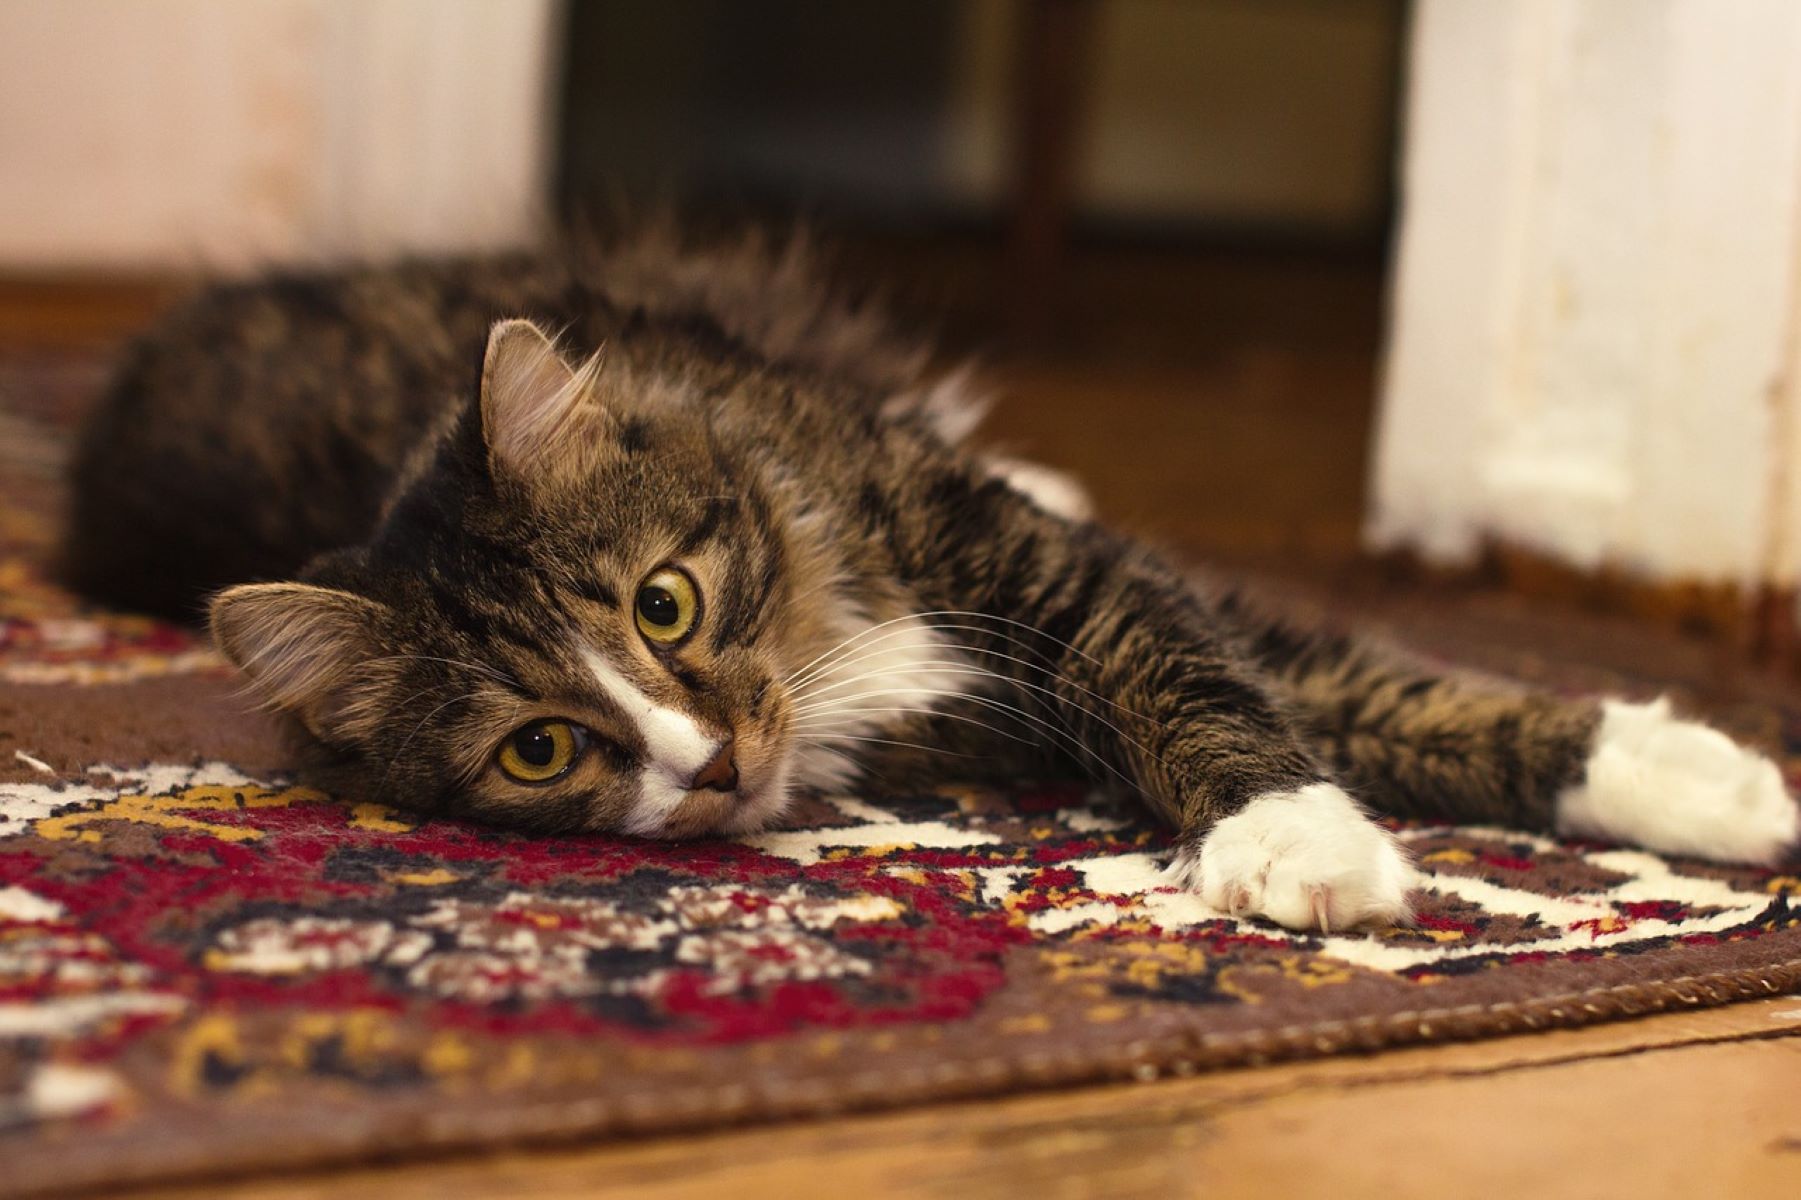
When it comes to preparing your plywood subfloor for new carpet, there are several important steps that need to be taken. One particular challenge that many homeowners face is dealing with urine stains and odors that have permeated the subfloor. Whether you are dealing with pet accidents or previous tenants who didn’t properly maintain the cleanliness of the flooring, it is crucial to address this issue before installing new carpet.
In this guide, we will walk you through the process of treating a plywood subfloor that has been affected by urine. By following these steps, you can effectively eliminate the odor and ensure that your new carpet installation is not compromised.
It is important to note that if the urine stains and odors have penetrated deeply into the subfloor or there is extensive damage, it may be necessary to replace the affected sections of the subfloor. However, in many cases, thorough cleaning and treatment can effectively remove the odor and prepare the subfloor for new carpet.
Before we dive into the step-by-step process, it is essential to gather the necessary materials. You will need protective gloves, a face mask, a scraper or putty knife, a bucket, a scrub brush or sponge, white vinegar, water, a clean cloth or mop, and a quality primer specifically designed for sealing plywood subfloors.
Now that you are prepared, let’s begin the process of treating your plywood subfloor for urine stains and odor.
Key Takeaways:
- Properly identifying and treating urine stains on a plywood subfloor is crucial before installing new carpet. Thorough cleaning, vinegar solution application, and sealing with primer are essential steps for odor elimination.
- Removing existing carpet, cleaning the subfloor, and allowing thorough drying are vital for successful treatment. Applying a vinegar solution, rinsing with clean water, and installing new carpet complete the process for a fresh and comfortable living space.
Read more: How To Treat Dog Urine In Lawns
Step 1: Identify the affected areas
The first step in treating a plywood subfloor for urine stains and odor is to identify the areas that have been affected. This may be evident through visible staining or a strong lingering odor.
Start by visually inspecting the subfloor for any dark spots or discoloration. Use a flashlight if necessary to thoroughly examine the surface. Pay close attention to areas near corners, walls, or where your pets or previous occupants may have had accidents.
If you notice any staining on the subfloor, mark those areas with a chalk or tape to make them easily distinguishable during the cleaning process. Additionally, use your sense of smell to detect any urine odors. Sometimes, the odor may be more noticeable than the actual staining.
Remember that urine can seep into the subfloor, so it is important to identify not only the surface staining but also any potential areas where the urine may have penetrated deeper. This will ensure that you treat all affected areas thoroughly.
It is also essential to consider the extent of the damage. If the urine has soaked through multiple layers of flooring or the subfloor, it may require more extensive measures, such as replacing sections of the subfloor or seeking professional assistance.
By properly identifying the affected areas, you will be able to focus your cleaning and treatment efforts where they are most needed, saving you time and ensuring the best possible outcome for your plywood subfloor.
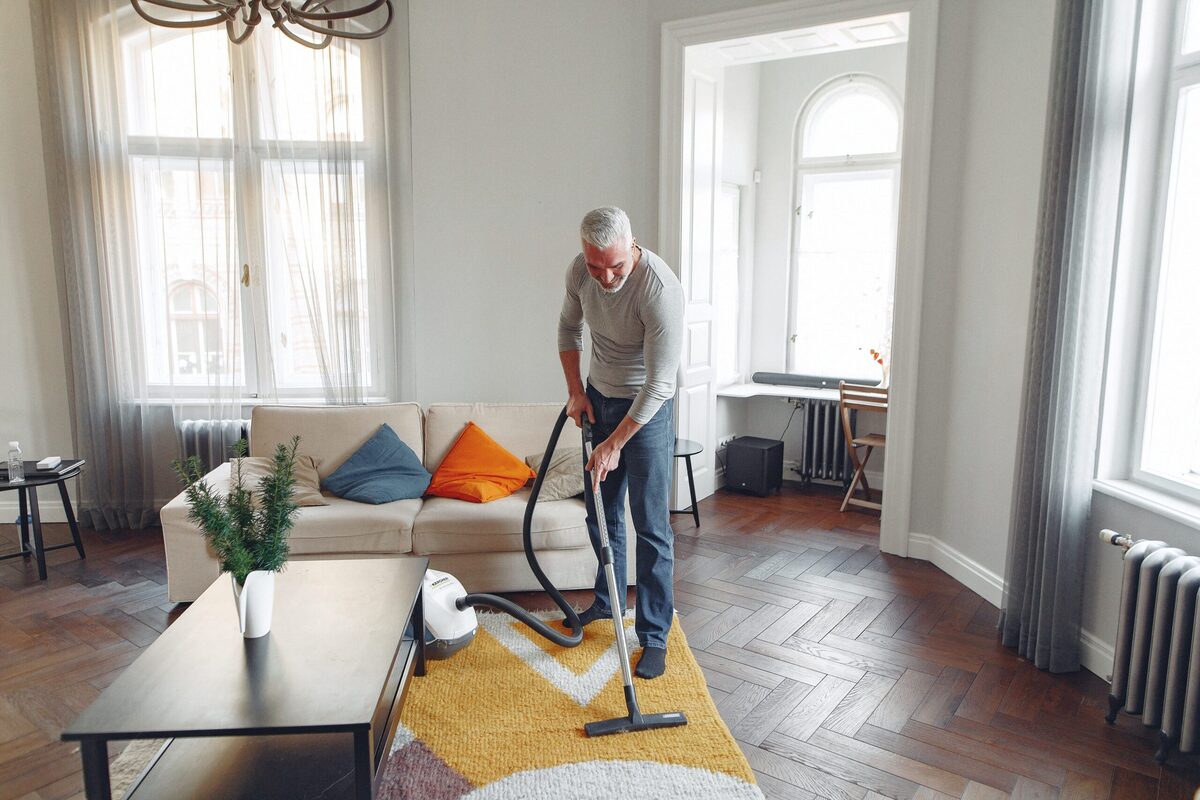
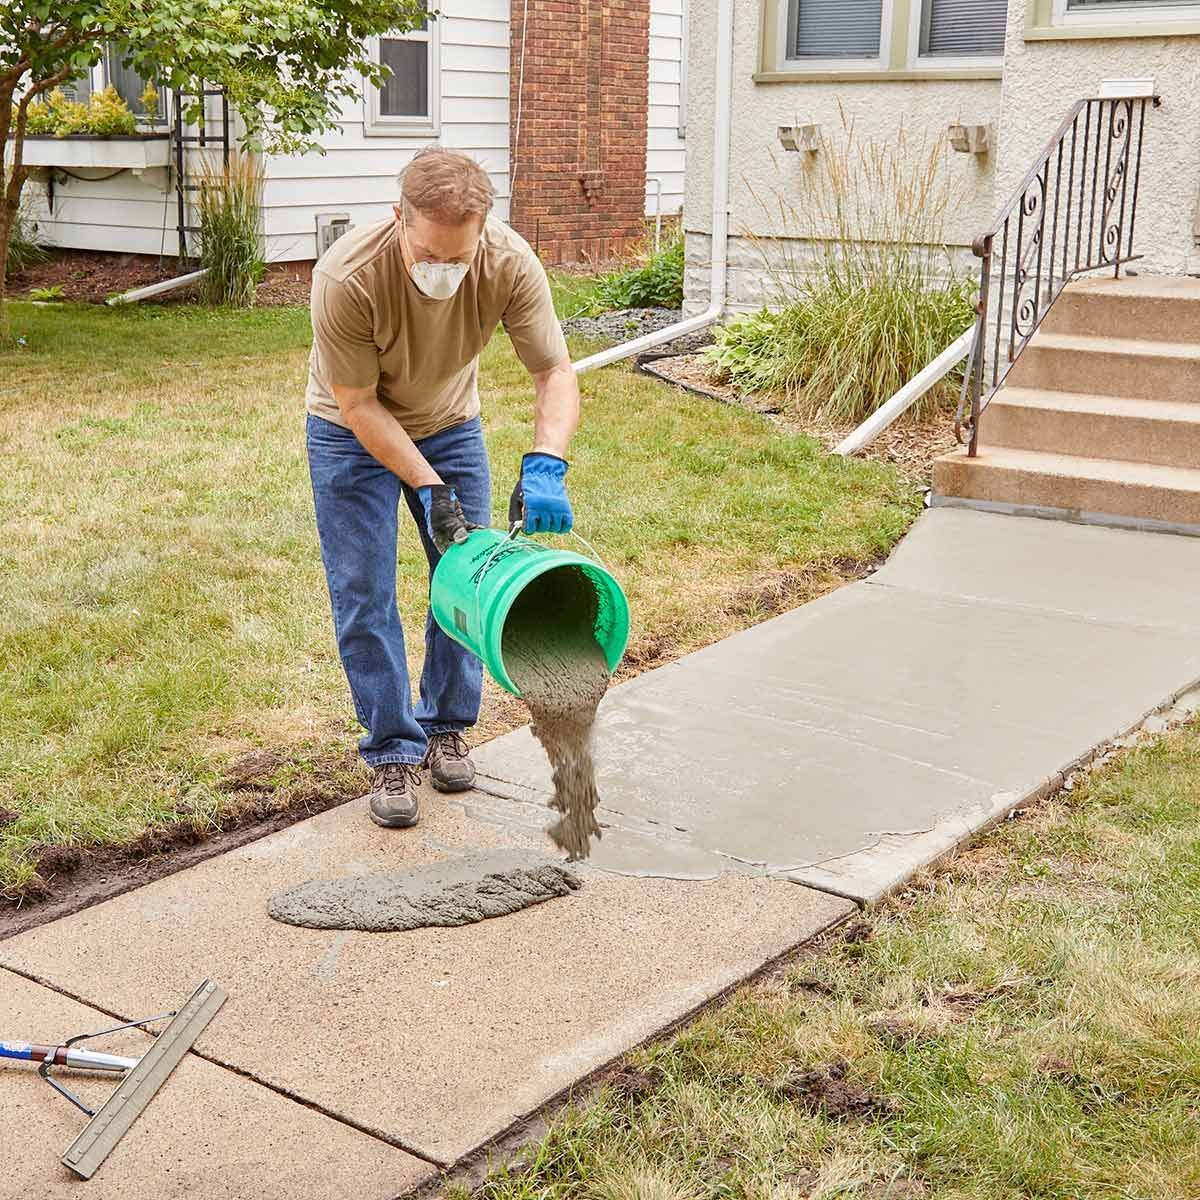
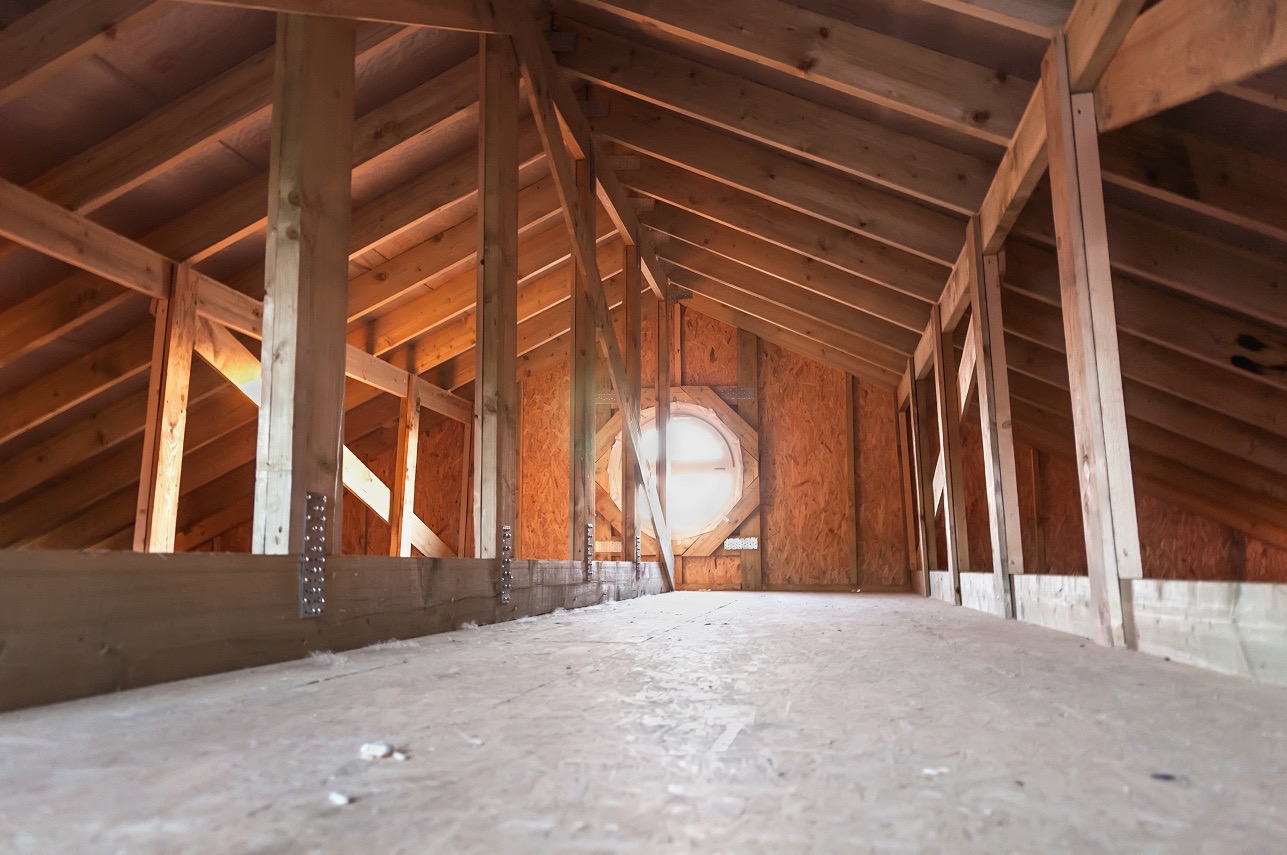
Step 2: Remove any existing carpet or flooring
Before you can effectively treat the plywood subfloor for urine stains and odor, it is crucial to remove any existing carpet or flooring. This step is essential to access and thoroughly clean the subfloor.
Start by clearing the room of any furniture or obstacles that may hinder the removal process. Carefully lift and roll back the carpet or any other flooring material, exposing the plywood subfloor underneath.
If the carpet is firmly attached to the subfloor, you may need to use a carpet knife or utility knife to cut it into smaller sections for easier removal. Be careful not to damage the subfloor while cutting or pulling up the carpet.
Once the carpet or flooring is removed, take a moment to assess the condition of the subfloor. Look for any visible stains, discoloration, or damage caused by the presence of urine. This will help you determine the extent of the treatment required.
It is advisable to wear protective gloves and a face mask during this process to avoid direct contact with any potential allergens or harmful substances. Additionally, keep in mind that the urine odor may become more pronounced as you remove the carpet or flooring, so proper ventilation is recommended.
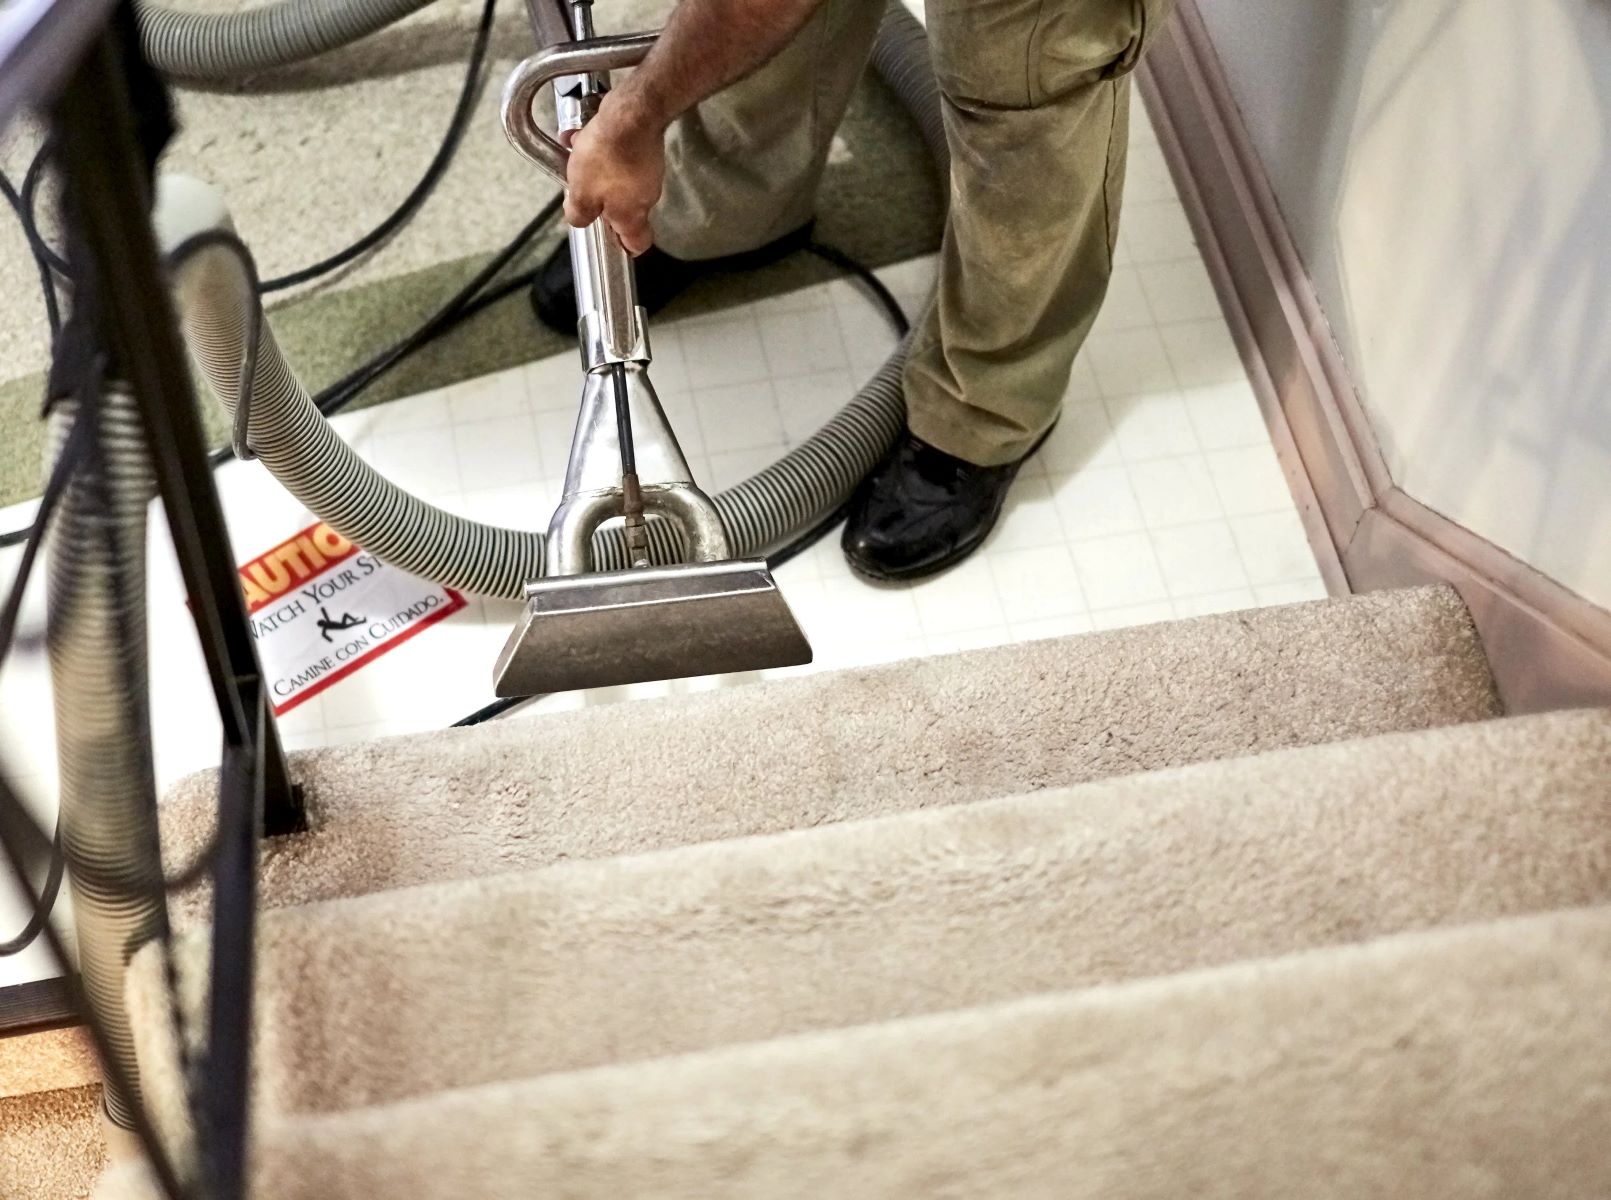
After the carpet or flooring is removed, set it aside for proper disposal or professional cleaning if salvageable. Keep in mind that even if the carpet appears clean on the surface, there may still be urine residue or odor trapped within it, so it is best to consult a professional cleaner for thorough treatment.
By removing any existing carpet or flooring, you create a clean slate and ensure that the subfloor is adequately exposed for the next steps in treating the urine stains and odor.
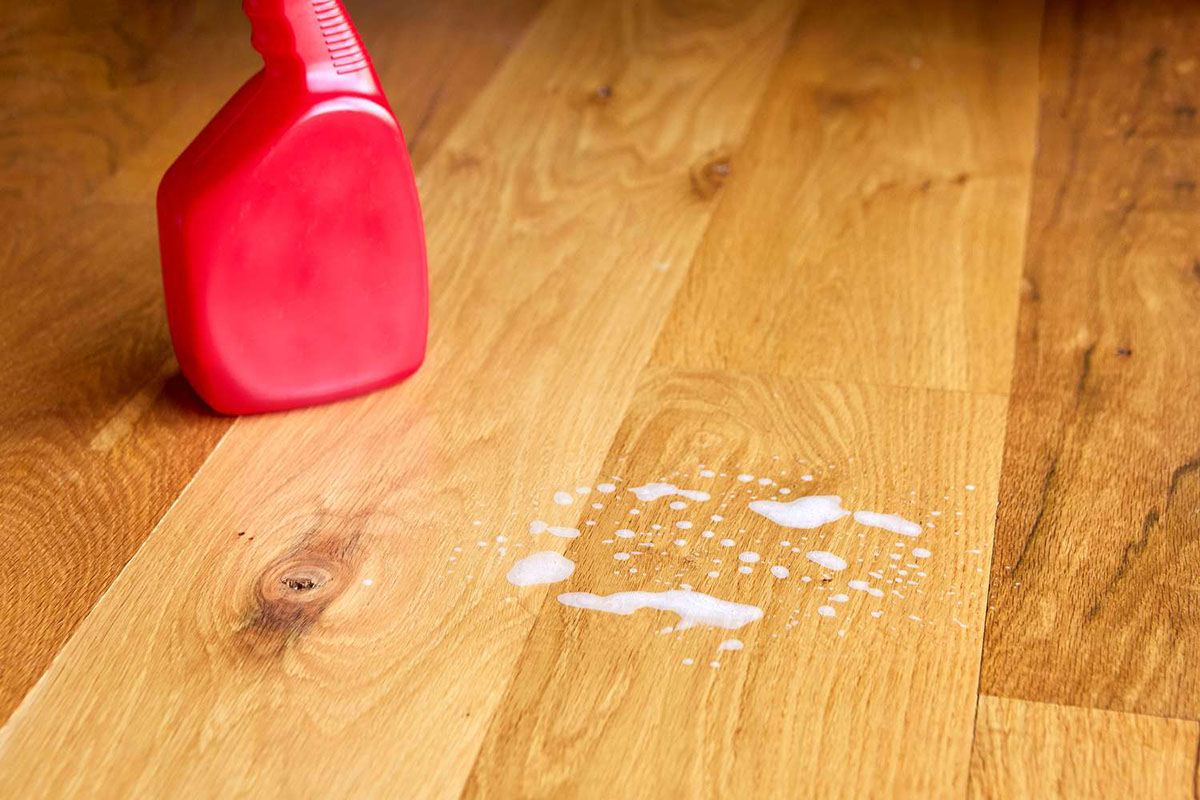
Step 3: Clean the plywood subfloor
Now that you have removed the existing carpet or flooring, it’s time to clean the plywood subfloor. This step is crucial to remove any dirt, debris, or residue that may be present on the surface.
Start by using a scraper or putty knife to gently scrape away any loose particles or flooring adhesive on the subfloor. Be careful not to apply too much pressure, as you don’t want to damage the plywood. Remove as much debris as possible to ensure a clean surface for the next steps.
Next, prepare a cleaning solution by mixing warm water with a mild detergent. You can use a bucket or a spray bottle for this. Make sure to follow the recommended dilution instructions for the detergent you are using. Avoid using harsh chemicals or abrasive cleaners, as they can damage the plywood.
Using a sponge or scrub brush, dip it into the cleaning solution and scrub the entire surface of the plywood subfloor. Pay special attention to the areas where urine stains or odors were previously identified. Use a circular motion and apply gentle pressure to ensure thorough cleaning.
As you clean, periodically rinse the sponge or scrub brush in the cleaning solution to prevent spreading dirt or urine residue. You may need to change the cleaning solution if it becomes excessively dirty.
Once you have cleaned the entire subfloor, rinse it with clean water to remove any remaining detergent residue. You can use a clean cloth or mop to apply the water and wipe away any excess moisture. Avoid saturating the plywood, as excessive moisture can lead to warping or damage.
After rinsing, allow the subfloor to air dry completely. This may take several hours or even overnight, depending on the humidity level in the room. Ensure that the subfloor is completely dry before proceeding to the next steps to prevent any moisture-related issues.
By thoroughly cleaning the plywood subfloor, you remove any dirt, debris, or surface contaminants that can hinder the effectiveness of the treatment process. This sets the foundation for successfully treating the urine stains and odor.
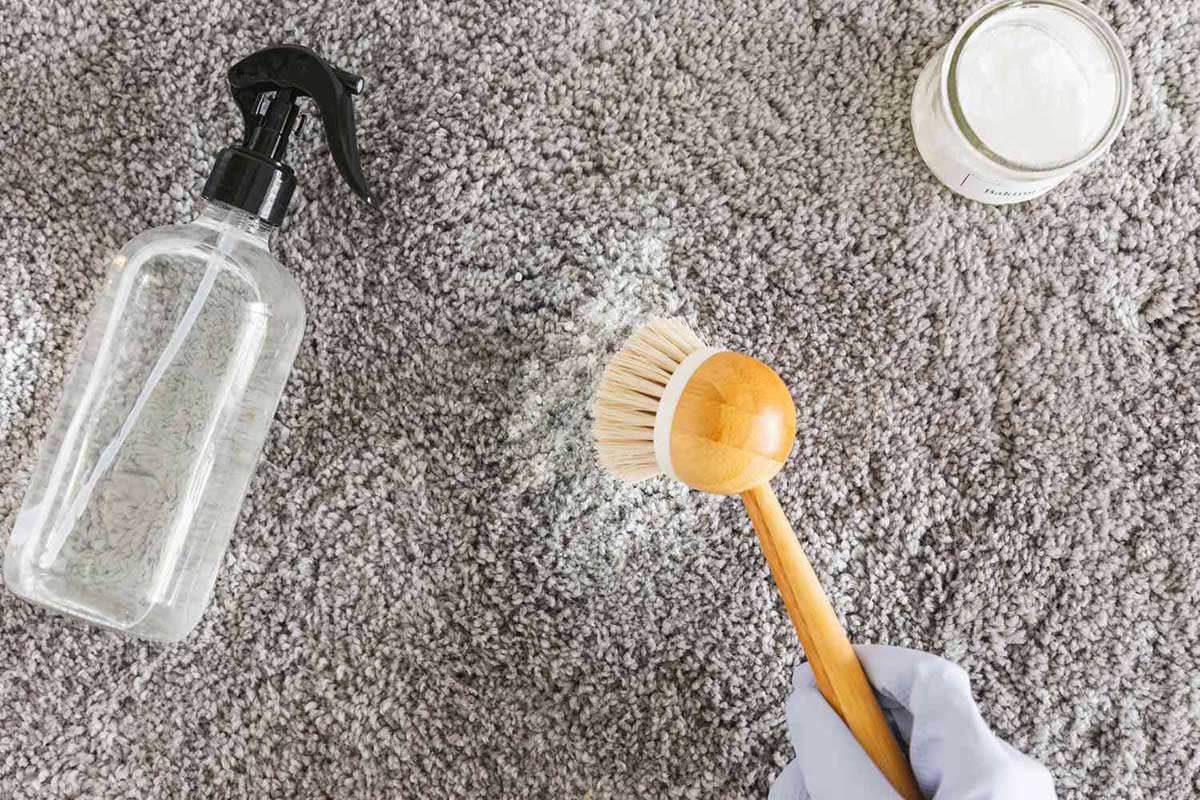
Step 4: Prepare a vinegar solution
Before you can effectively treat the plywood subfloor for urine stains and odor, you will need to prepare a vinegar solution. Vinegar is a natural and effective cleaning agent that can help neutralize the odor and eliminate bacteria.
To create the vinegar solution, you will need distilled white vinegar and water. The recommended ratio is 1 part vinegar to 1 part water. Depending on the size of the affected areas, you can adjust the quantity of the solution accordingly.
Start by filling a bucket or spray bottle with equal parts vinegar and water. Mix the solution well to ensure proper dilution. The acid in the vinegar helps break down the urine compounds and eliminate the odor.
It is important to note that vinegar has a strong smell that can linger temporarily. However, this odor will dissipate as the subfloor dries. If the smell becomes overwhelming, you can add a few drops of essential oil, such as lavender or lemon, to the vinegar solution for a more pleasant scent.
Alternatively, you can use a commercial enzymatic cleaner specifically designed to neutralize urine odors. These products contain enzymes that break down the urine compounds effectively. Follow the instructions on the product packaging for proper use.
By preparing a vinegar solution or using a commercial enzymatic cleaner, you are setting the stage for the next step in treating the urine stains and odor on the plywood subfloor.
Read more: How To Attach A Carpet To A Plywood
Step 5: Apply the vinegar solution to the affected areas
Now that you have prepared the vinegar solution, it’s time to apply it to the plywood subfloor’s affected areas. This step will help penetrate and neutralize the urine stains and odors.
Using a sponge, mop, or spray bottle, apply the vinegar solution directly to the areas where urine stains were previously identified. It’s important to fully saturate the affected areas to ensure that the vinegar can reach deep into the plywood and effectively neutralize the odor.
If you are using a spray bottle, adjust the nozzle to create a fine mist that evenly disperses the vinegar solution. This will help ensure that the solution is evenly distributed across the affected areas.
Allow the vinegar solution to sit on the plywood subfloor for at least 10-15 minutes. This gives the vinegar enough time to break down the urine compounds and neutralize the odor.
While waiting, you may notice some bubbling or foaming as the vinegar reacts with the urine stains. This is a normal reaction and indicates that the vinegar is actively working to eliminate the odor-causing bacteria.
For stubborn or more severe urine stains and odors, you can gently scrub the affected areas with a soft brush or sponge to help agitate the vinegar solution and promote better penetration.
After the vinegar solution has had sufficient time to sit, move on to the next step to further treat the plywood subfloor and ensure thorough odor elimination.
Before installing new carpet on a plywood subfloor that has been affected by urine, thoroughly clean the subfloor with a mixture of white vinegar and water to neutralize the odor. Allow the subfloor to dry completely before laying down the new carpet.
Step 6: Allow the vinegar solution to sit and neutralize the odor
After applying the vinegar solution to the affected areas of the plywood subfloor, it’s important to allow it ample time to sit and neutralize the urine odor. This step is crucial for eliminating the lingering smell and ensuring a fresh and odor-free subfloor.
Let the vinegar solution sit on the subfloor for at least 30 minutes or longer if the odor is particularly strong. During this time, the vinegar will work to break down the urine compounds and neutralize the odor-causing bacteria.
You may notice a temporary increase in the vinegar smell as it interacts with the urine stains. However, don’t worry, as this odor will dissipate as the vinegar dries. Proper ventilation in the room can help accelerate the drying process and aid in the odor elimination.
If possible, it’s best to close off the treated room during this step to minimize foot traffic and prevent any accidental spills or disturbances to the vinegar solution. This will allow the solution to work undisturbed and maximize its effectiveness.
While the vinegar solution is sitting, you can use this time to clean the tools and equipment you used in the previous steps. Rinse the sponge, mop, or spray bottle thoroughly to remove any vinegar residue and prevent cross-contamination
After the necessary time has elapsed, proceed to the next step to rinse the subfloor and remove any remaining vinegar solution.
By allowing the vinegar solution to sit on the plywood subfloor, you are giving it the opportunity to neutralize the odor and ensure a fresh and clean surface.
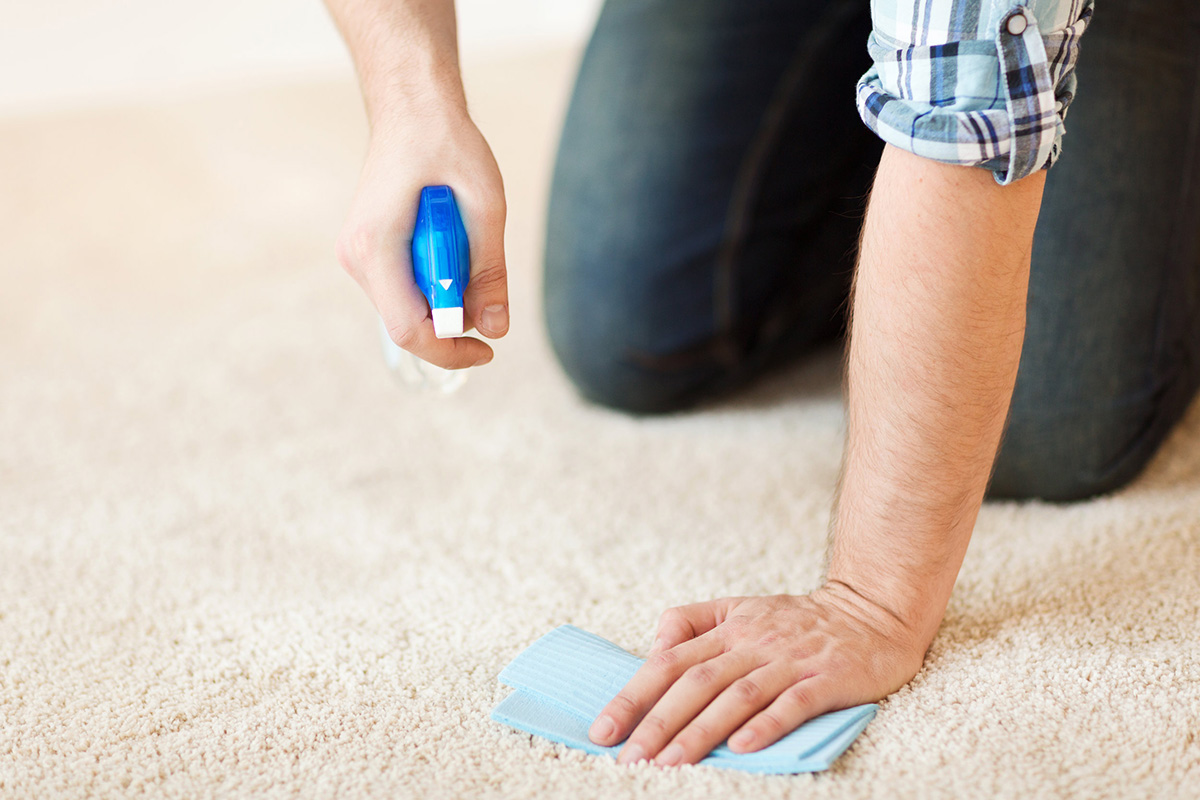
Step 7: Rinse the subfloor with clean water
After the vinegar solution has had sufficient time to sit and neutralize the urine odor, it’s time to rinse the plywood subfloor with clean water. This step is crucial in removing any remaining vinegar residue and ensuring a thorough cleaning.
Start by filling a bucket or using a clean mop with fresh, clean water. You want to make sure the water is free of any cleaning agents or contaminants that could potentially affect the final result.
Dampen a clean cloth or mop with the water and gently wipe down the affected areas of the plywood subfloor. Use gentle strokes and make sure to cover the entire treated area.
It’s important to be thorough in the rinsing process to remove any traces of the vinegar solution. Pay extra attention to corners, edges, and any hard-to-reach areas where residue can easily accumulate.
When rinsing, it’s best to avoid using excessive water that can saturate the plywood subfloor. Excessive moisture can lead to warping or damage, so ensure you’re using a damp cloth or mop rather than soaking it.
As you rinse, periodically rinse the cloth or mop in clean water to avoid spreading any vinegar residue. This will ensure that you’re effectively removing all traces of the vinegar solution.
After thoroughly rinsing the subfloor, allow it to air dry completely. Proper ventilation in the room will help expedite the drying process. Ensure that the subfloor is completely dry before proceeding to the next steps.
By rinsing the plywood subfloor with clean water, you remove any lingering vinegar residue and ensure that the surface is clean and ready for further treatment.
Step 8: Allow the subfloor to dry thoroughly
Once you have rinsed the plywood subfloor, it’s crucial to allow it sufficient time to dry thoroughly. This step is important to ensure that the subfloor is completely moisture-free before proceeding with the next steps.
Ensure proper ventilation in the room by opening windows or using fans to circulate air. This will help expedite the drying process and prevent any residual moisture from causing issues such as mold or mildew.
Depending on the humidity level in the room, it may take several hours or even overnight for the subfloor to dry completely. Avoid walking on the wet subfloor during this period to prevent any accidental damage or footprints.
To verify if the subfloor is dry, you can use a moisture meter, which is a handy device that measures the moisture content of different surfaces. Simply place the moisture meter on various areas of the subfloor to ensure that the reading indicates a moisture level within a safe range.
If you don’t have a moisture meter, you can perform a simple touch test. Lightly press your hand against different parts of the subfloor. If your hand comes away dry with no signs of moisture, then it is likely that the subfloor is adequately dried.
Ensure that the subfloor is completely dry before proceeding to the next steps, as any residual moisture can compromise the effectiveness of the treatment and the installation of new carpet.
By allowing the plywood subfloor to dry thoroughly, you ensure that it is moisture-free and ready for the final steps in preparing it for new carpet installation.
Read more: How To Clean Urine Out Of A Carpet
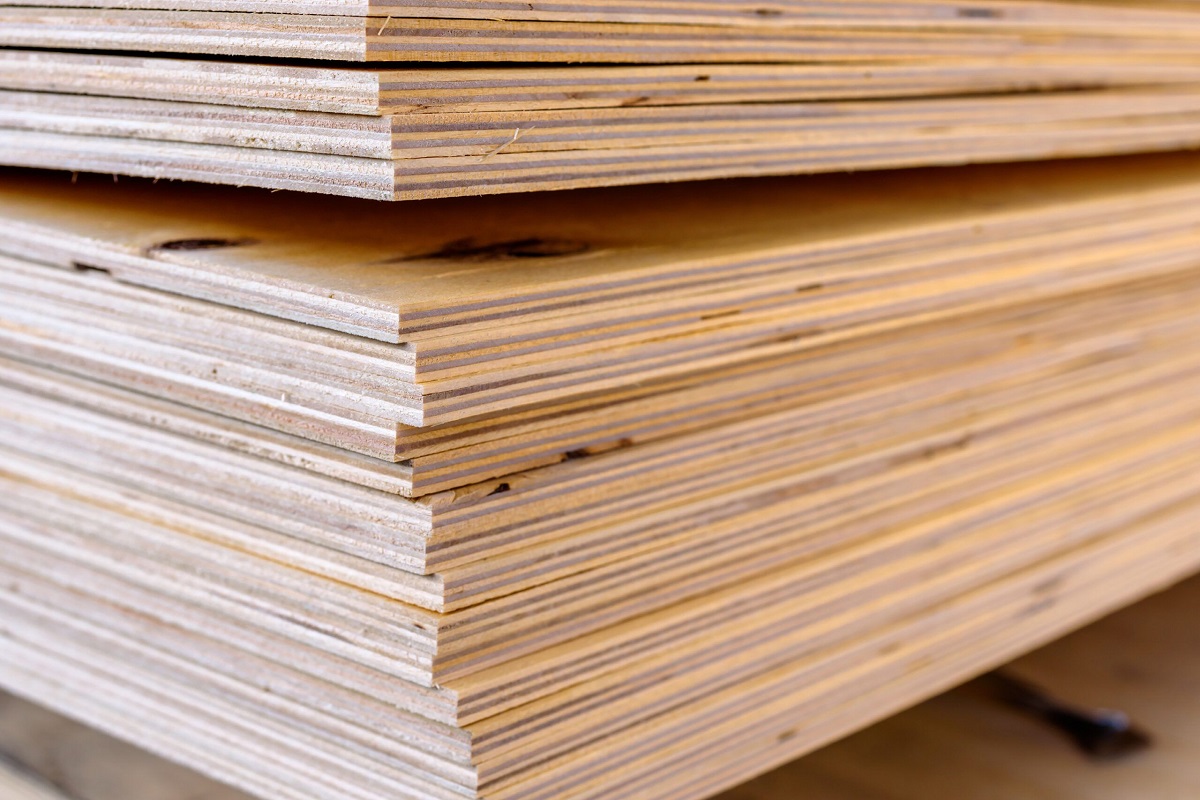
Step 9: Seal the plywood subfloor with a primer
After the plywood subfloor has dried completely, it is essential to seal it with a primer. The primer acts as a protective barrier, preventing any residual odors or stains from seeping through and ensuring a clean and durable surface for your new carpet installation.
Choose a high-quality primer that is specifically designed for sealing plywood subfloors. Look for a product that is odor-blocking and stain-resistant to provide optimal protection.
Before applying the primer, make sure the subfloor is clean and free from any dust, debris, or cobwebs. Use a broom or vacuum cleaner to thoroughly remove any loose particles from the surface.
Next, carefully read and follow the instructions on the primer product. Typically, you will need a paintbrush or a roller to apply the primer evenly across the entire plywood subfloor. Ensure that you cover all the treated areas as well as the surrounding sections.
Apply the primer in smooth and even strokes, working in one direction to achieve a consistent finish. Pay extra attention to corners, edges, and areas that are prone to moisture or potential stains.
Allow the primer to dry completely according to the manufacturer’s instructions. It may take a few hours for the primer to dry, depending on the product and environmental conditions.
Once the primer has dried, inspect the subfloor to ensure that the entire surface is evenly covered and that there are no missed spots or areas that require additional coating.
Sealing the plywood subfloor with a primer provides an extra layer of protection, preventing any residual odor or stains from affecting the new carpet and ensuring a clean and long-lasting foundation for your flooring.
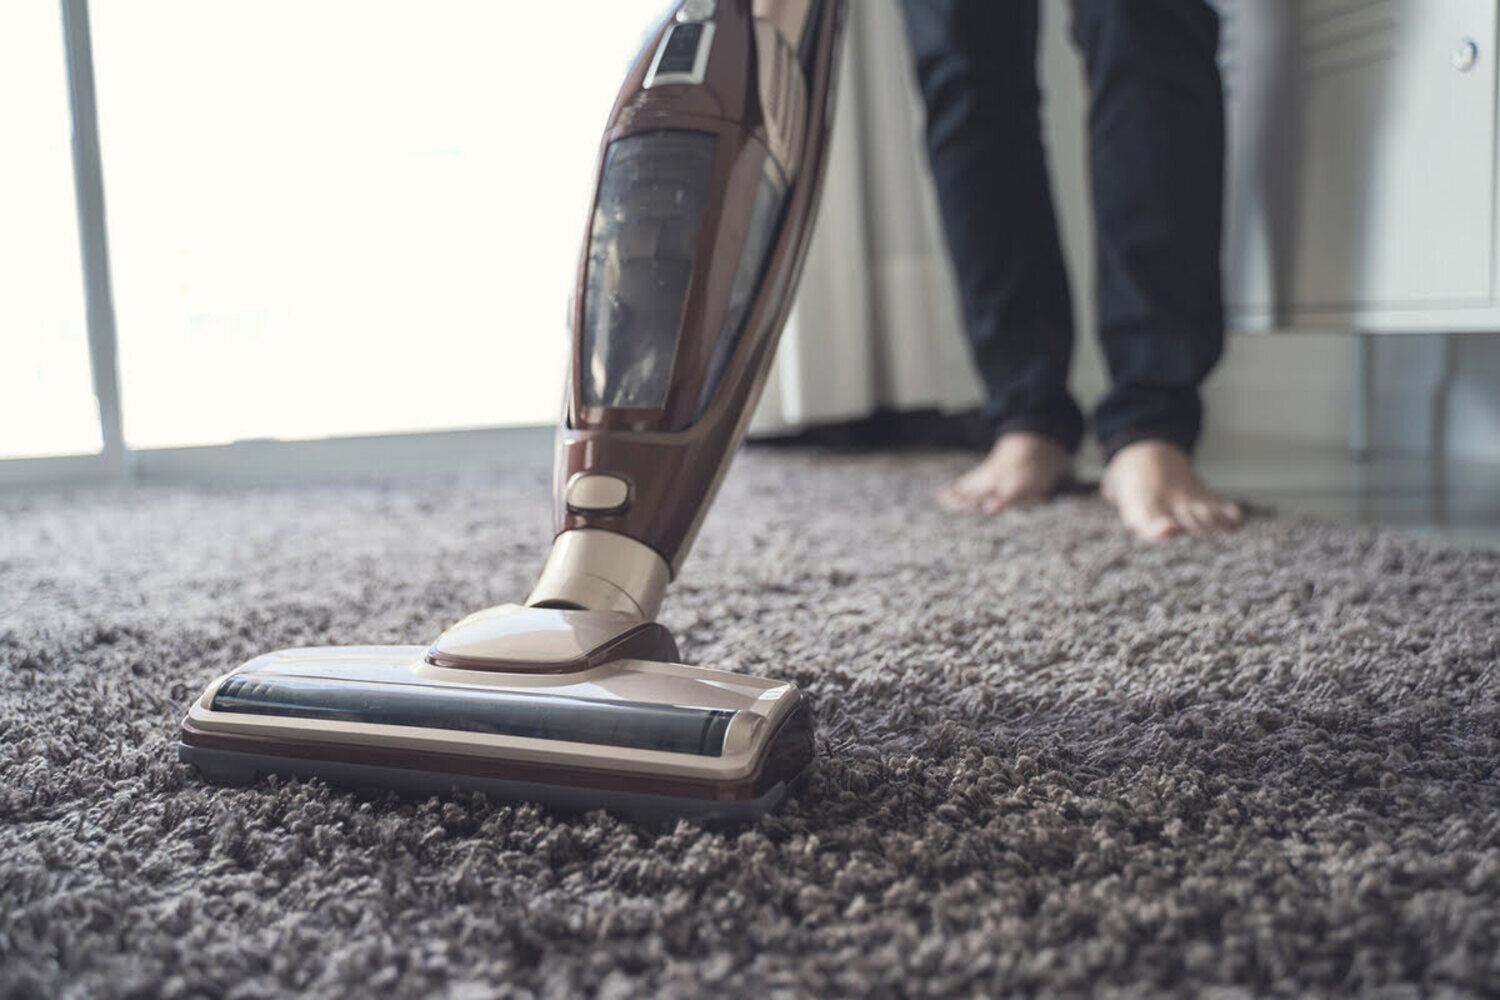
Step 10: Install new carpet on the treated subfloor
After successfully treating and preparing the plywood subfloor for urine stains and odors, it’s time to proceed with the installation of new carpet. This final step will give your room a fresh look and ensure a comfortable and clean flooring surface.
Before proceeding with the carpet installation, ensure that you have chosen a carpet that suits your preferences and fits the dimensions of the room. Measure the area accurately to determine the amount of carpet needed.
Start by laying a carpet pad or underlay on the treated subfloor. This padding provides cushioning, insulation, and helps extend the life of your carpet. Make sure the padding is evenly distributed throughout the room, with no gaps or overlaps.
Once the padding is in place, carefully roll out the new carpet over the subfloor. Make sure the carpet is properly aligned with the walls and there is enough excess material to accommodate any adjustments or trimming.
Use a carpet knife or utility knife to trim the carpet to fit the room’s dimensions. Take your time and make precise cuts to ensure a clean and neat finish. Trim any excess material along the edges, leaving a small allowance for tucking under baseboards or molding.
After trimming, use a knee kicker or a carpet stretcher to ensure a tight and secure fit. This tool helps stretch the carpet across the room, eliminating any wrinkles or loose areas. Work methodically from one side of the room to the other, making adjustments as necessary.
Once the carpet is properly stretched and in place, use a carpet tucker or a putty knife to securely tuck the edges of the carpet under the baseboards or molding. This will give the carpet a clean and finished appearance.
Finally, run a carpet roller over the entire surface to ensure a tight bond between the carpet and the padding. This step helps eliminate any air pockets and ensures a smooth and seamless look.
By successfully installing new carpet on the treated subfloor, you have transformed the space into a fresh and comfortable environment. Enjoy your newly carpeted room with the confidence that your plywood subfloor has been effectively treated and prepared for years of use.
Conclusion
Treating a plywood subfloor for urine stains and odor before installing new carpet is a crucial step in ensuring a clean and fresh living environment. By following the steps outlined in this guide, you can effectively eliminate urine stains, neutralize odors, and create a solid foundation for your new carpet.
Starting with identifying the affected areas and removing any existing carpet or flooring, you can gain a clear understanding of the extent of the damage and prepare the subfloor for the treatment process. Cleaning the plywood subfloor thoroughly is essential to remove any dirt or debris that may hinder the effectiveness of the treatment.
Preparing a vinegar solution or using a commercial enzymatic cleaner helps break down the urine compounds and neutralize the odor-causing bacteria. Applying the solution to the affected areas and allowing it to sit ensures thorough penetration and maximum odor elimination.
Rinsing the subfloor with clean water removes any vinegar residue and prepares the surface for the final steps. Allowing the subfloor to dry completely is crucial to prevent any moisture-related issues and ensure the effectiveness of the treatment.
Sealing the plywood subfloor with a primer provides an extra layer of protection, preventing any residual odor or stains from affecting the new carpet. Finally, installing new carpet on the treated subfloor completes the process, giving your room a fresh and comfortable look.
Remember, if the urine stains and odors have deeply penetrated or there is extensive damage to the subfloor, it may be necessary to consult professionals or consider replacing sections of the subfloor.
With these steps, you can successfully treat a plywood subfloor for urine before installing new carpet. By addressing the issue at its source, you can create a clean and odor-free environment, ensuring a comfortable and inviting space for years to come.
Frequently Asked Questions about How To Treat A Plywood Subfloor For Urine Before New Carpet
Was this page helpful?
At Storables.com, we guarantee accurate and reliable information. Our content, validated by Expert Board Contributors, is crafted following stringent Editorial Policies. We're committed to providing you with well-researched, expert-backed insights for all your informational needs.