Articles
How To Stretch A Carpet
Modified: October 20, 2024
Learn the best techniques and tools to stretch a carpet in this helpful guide. Follow these step-by-step articles and transform your space with ease.
(Many of the links in this article redirect to a specific reviewed product. Your purchase of these products through affiliate links helps to generate commission for Storables.com, at no extra cost. Learn more)
Introduction
Welcome to our comprehensive guide on how to stretch a carpet. Over time, carpets can become loose and develop unsightly wrinkles or bumps. Not only do these imperfections affect the aesthetics of your space, but they can also pose a tripping hazard. Stretching a carpet is a straightforward process that can help restore its appearance and prevent further damage.
In this guide, we will walk you through the step-by-step process of stretching a carpet. From removing furniture to securing the carpet in place, we will cover everything you need to know to achieve professional results.
Before we begin, it’s important to gather the necessary tools and materials. Having the right equipment on hand will make the process more efficient and ensure a successful outcome.
Key Takeaways:
- Proper preparation, precise measurements, and careful stretching are essential for achieving a professionally stretched carpet. Take your time, use the right tools, and enjoy the revitalized look of your space.
- Trimming, securing, and adding finishing touches are crucial for a polished carpet stretching project. Pay attention to details, replace furniture thoughtfully, and savor the long-lasting beauty of your newly stretched carpet.
Read more: How To Stretch Carpet In A Room
Tools and Materials Needed
Before you start stretching your carpet, make sure you have the following tools and materials ready:
- Knee Kicker: This essential tool is used to apply pressure to the carpet and stretch it into place. Look for a knee kicker with adjustable pins for different carpet thicknesses.
- Power Stretcher: For larger areas or carpets with significant wrinkles, a power stretcher is recommended. This tool uses leverage and force to stretch the carpet effectively.
- Carpet Stretcher Tubes: These are attachments that come with the power stretcher and allow you to adjust the stretching force based on the area and carpet type.
- Carpet Knife: A sharp utility knife will come in handy for cutting and trimming the carpet during the stretching process.
- Mallet or Hammer: You might need a mallet or hammer to secure tack strips and transition thresholds in place.
- Measuring Tape: Accurate measurements are crucial for cutting the carpet to the right size. Make sure you have a measuring tape on hand.
- Staple Gun: If the carpet requires reattaching to the tack strips or needs to be secured to the subfloor, a staple gun will be necessary.
- Screwdriver: You may need a screwdriver to remove any furniture or objects obstructing the stretching process.
- Dust Mask and Gloves: As you may encounter dust, particles, or adhesives during the process, it’s essential to wear a dust mask and gloves for your safety.
- Carpenter’s Level: A level will help ensure that the subfloor is even and ready for stretching.
- Vacuum Cleaner: Before stretching the carpet, give it a thorough vacuuming to remove any dirt or debris that might hinder the stretching process.
Having these tools and materials at your disposal will make the carpet stretching process more efficient and save you a lot of time and effort.
Preparing the Room
Before you can start stretching the carpet, it’s important to prepare the room properly. Preparing the room ensures that you have a clear space to work in and minimizes the risk of damaging any furniture or belongings. Here are the steps to follow:
- Remove Furniture: Clear the room by removing all furniture and objects from the area where the carpet is to be stretched. This includes chairs, tables, bookshelves, and any other items that may get in the way. Be sure to place them in a safe and designated area.
- Disconnect Electronics: If there are any electronic devices or appliances in the room, disconnect them from the power source. This will ensure their safety during the stretching process.
- Secure Valuables: If you have any valuable or delicate items in the room, it’s best to move them to a safe location. This will prevent any accidents or damage that may occur during the carpet stretching process.
- Remove Floor Coverings: Take out any floor coverings like rugs or mats that are on top of the carpet. This will make it easier to access the carpet and prevent tripping hazards.
- Open Windows or Doors: For ventilation purposes, open windows or doors in the room to allow fresh air to circulate. This can help eliminate any odors or fumes that may be present during the carpet stretching process.
- Clear Obstructions: Check the room for any obstacles or obstructions, such as loose cords, nails, or staples sticking out from the floor. Remove or secure them to prevent accidents or damage to the carpet.
By taking the time to properly prepare the room, you’ll create a safe and efficient environment for stretching your carpet. It will also ensure that the process goes smoothly without any unnecessary interruptions.
Removing Furniture and Existing Carpet
Once the room is prepared, the next step in stretching a carpet is to remove any furniture and the existing carpet. This process requires careful handling to prevent damage to both the furniture and the carpet. Follow these steps:
- Start with Small Furniture: Begin by removing smaller furniture items, such as chairs, side tables, and lamps. Clear these items from the room to create a more open space for working.
- Empty Shelves and Cabinets: If there are shelves or cabinets in the room, remove any items stored on them. Clearing these surfaces will make it easier to move them later if necessary.
- Move Larger Furniture: Gather a team of people to help you move larger furniture pieces, such as sofas, beds, and heavy cabinets. Lift each item and carefully relocate it outside of the room or into a designated storage area.
- Roll Up the Existing Carpet: Once the furniture is out of the way, begin removing the existing carpet. Starting at one corner of the room, carefully roll up the carpet, section by section. Use a carpet knife to cut through any seams or adhesive if necessary.
- Dispose of the Old Carpet: Once the carpet is completely rolled up, secure it with tape or rope to keep it neat. Depending on the condition of the old carpet, you may choose to dispose of it or consider recycling options.
- Clean the Subfloor: With the old carpet removed, take the time to clean the subfloor. Sweep or vacuum away any debris, and remove any adhesive residue or loose nails. Ensure that the subfloor is smooth and free of any obstructions that could interfere with the carpet stretching process.
Removing furniture and the existing carpet sets the stage for properly stretching the new carpet. Take your time and be cautious to prevent any damage to furniture or the subfloor. With a clean and clear workspace, you are now ready to move on to the next steps.
Cleaning and Repairing Subfloor
Before installing the new carpet, it’s essential to ensure that the subfloor is clean and in good condition. This step will help to optimize the results of the carpet stretching process and prolong the lifespan of the new carpet. Follow these steps to clean and repair the subfloor:
- Sweep or Vacuum: Start by removing any dirt, dust, or debris from the subfloor. Use a broom or vacuum cleaner to thoroughly clean the surface. Pay attention to corners and edges that are often neglected.
- Inspect for Damage: Carefully examine the subfloor for any signs of damage, such as rot, water stains, or cracks. If you come across any issues, address them before proceeding with the carpet stretching process. Repair or replace damaged sections as needed.
- Fill and Level: If there are any uneven areas or indentations on the subfloor, fill them with a suitable floor filler or leveling compound. Follow the manufacturer’s instructions for proper application and drying time. Ensure that the subfloor is level and smooth before moving forward.
- Remove Adhesive Residue: If there are remnants of old adhesive or glue on the subfloor, use an adhesive remover or scraper to remove them. It’s important to have a clean and adhesive-free surface for optimal carpet stretching and installation.
- Check for Moisture: Check the subfloor for any signs of moisture or dampness. Moisture can lead to mold or mildew growth and damage the new carpet. If you notice any moisture issues, address the underlying cause and allow the subfloor to dry completely before proceeding.
- Sand or Smooth Rough Areas: If there are rough or uneven spots on the subfloor, sand them down or use a floor sander to create a smooth surface. This will prevent any irregularities from affecting the carpet stretching process.
- Prime the Subfloor: Before installing the new carpet, consider applying a primer to the subfloor. A primer will create a barrier between the subfloor and carpet, providing additional protection and improving the adhesive bond between the carpet and the subfloor.
By cleaning and repairing the subfloor, you are setting the foundation for a successful carpet stretching project. A clean and level subfloor will not only ensure a smooth and seamless installation but also contribute to the longevity and durability of the new carpet.
Measuring and Cutting Carpet
Accurate measurements and precise cutting are crucial for a professionally stretched carpet. Taking the time to measure and cut the carpet correctly will ensure a proper fit and reduce waste. Follow these steps to measure and cut the carpet:
- Measure the Room: Start by measuring the dimensions of the room where the carpet will be installed. Use a measuring tape to measure the length and width of the room. Take note of any alcoves, closets, or irregularly shaped areas that require separate measurements.
- Add Extra Length: To account for any adjustments during the stretching process, add about 2-3 inches to the length and width measurements. This extra length will allow for trimming and securing the carpet properly.
- Roll Out the Carpet: Roll out the carpet in a suitable area, ensuring that the backing side is facing up. Align the edges of the carpet using a straight edge or chalk line to make sure it is straight and square with the room’s dimensions.
- Mark the Measurements: Using a marker or chalk, mark the measurements directly on the back of the carpet. Double-check the measurements to ensure accuracy.
- Cutting the Carpet: Using a sharp carpet knife or utility knife, carefully cut along the measured lines. Apply even pressure and use a straight edge as a guide to ensure clean and precise cuts.
- Create Seams: If the room requires multiple pieces of carpet, plan the seams strategically. Overlap the edges of the carpet by about 4-6 inches and use a straight edge and carpet knife to cut through both layers, creating a clean seam.
- Trim Excess Carpet: Once the carpet is cut to size, trim any excess material along the edges. Pay attention to corners and baseboards, ensuring a neat and seamless appearance.
Remember to double-check your measurements and take your time when cutting the carpet. Precision is key to achieving a polished and professional look. With the carpet properly measured and cut, you are now ready to proceed with the stretching process.
When stretching a carpet, make sure to use a power stretcher to ensure a tight and even stretch across the entire surface. This will prevent wrinkles and prolong the life of the carpet.
Preparing the Carpet
Before you can begin stretching the carpet, it’s important to properly prepare it to ensure a smooth and successful installation. Preparing the carpet involves a few crucial steps that will optimize the stretching process. Follow these guidelines to prepare the carpet:
- Lay the Carpet Flat: If the carpet has been rolled or folded, unroll it and allow it to lie flat for a few hours. This will help remove any wrinkles or creases that may have formed during storage.
- Trim Excess Pile: Inspect the carpet for any loose or long fibers that may affect the installation process. Use scissors to trim any excess pile or threads for a neater appearance.
- Inspect for Defects: Carefully examine the carpet for any defects, such as tears, holes, or discoloration. If you notice any issues, it’s best to address them before proceeding with the installation. This will help ensure a quality result.
- Roll Out in the Room: Roll out the carpet in the room where it will be installed. Make sure the carpet covers the entire floor area and aligns properly with the room’s dimensions. Allow the carpet to acclimate to the room’s temperature and humidity for at least 24 hours. This will prevent any potential issues with expansion or contraction later on.
- Apply Carpet Adhesive (If Required): Depending on the type of carpet and the subfloor, you may need to apply carpet adhesive for a secure installation. Follow the manufacturer’s instructions and apply the adhesive evenly, using a recommended adhesive applicator. Allow sufficient drying time before proceeding with stretching.
- Trim Excess Carpet: Using a sharp carpet knife or utility knife, trim any excess carpet along the edges of the room. Ensure a clean and straight cut, leaving enough material to tuck it under the baseboard or secure it to the tack strip.
By properly preparing the carpet, you set the stage for a successful stretching process. Taking the time to address any defects or issues upfront will contribute to a visually appealing and long-lasting carpet installation.
Starting the Stretching Process
Once the room and carpet are properly prepared, it’s time to begin the stretching process. This stage requires the use of specialized tools and careful technique to ensure a tight and wrinkle-free carpet. Follow these steps to start stretching the carpet:
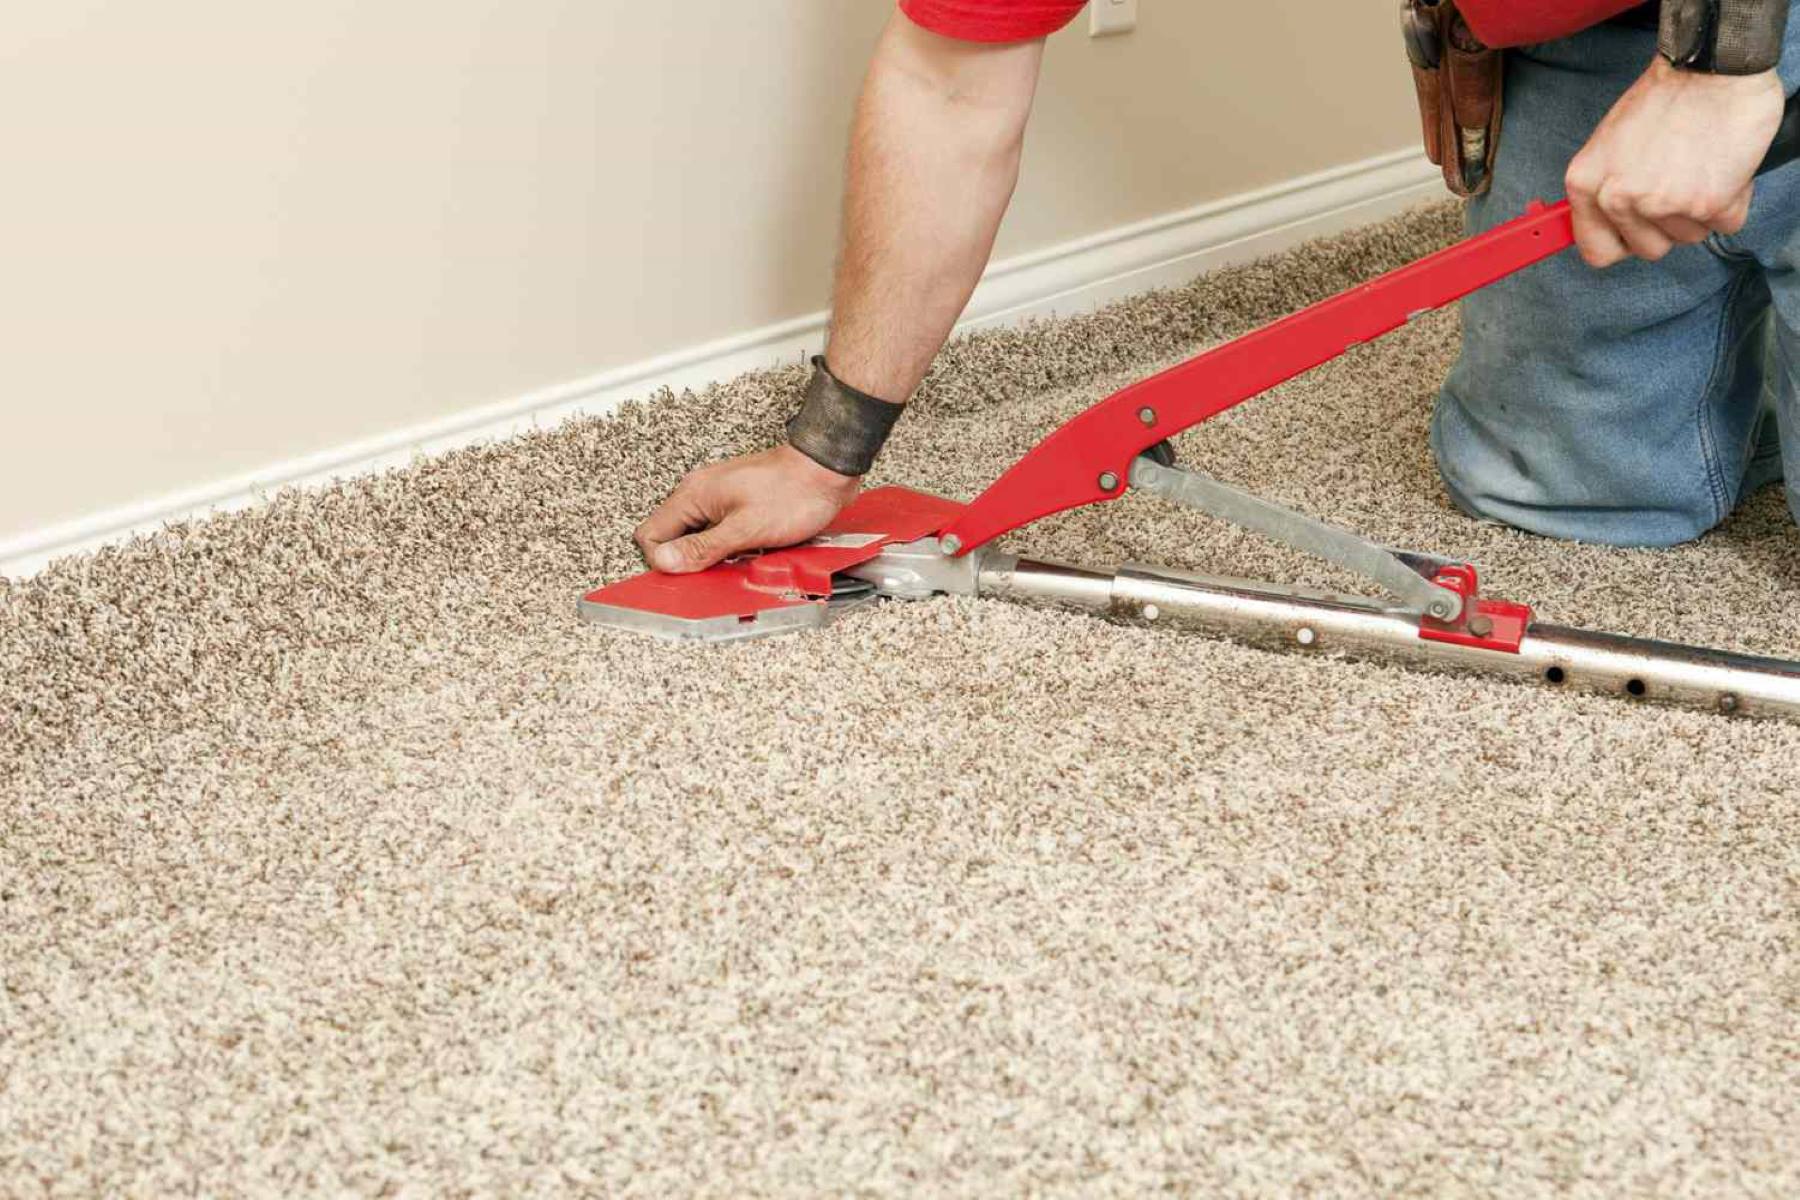
- Position the Knee Kicker: Begin in a corner of the room and position the knee kicker a few inches away from the wall. Ensure that the pins on the knee kicker are set to the appropriate depth for the carpet thickness.
- Kick the Carpet: Using your knee and the padded end of the knee kicker, apply force to the carpet against the wall in short, sharp kicks. This action stretches the carpet towards the opposite wall.
- Align and Adjust: As you kick the carpet, simultaneously use a carpet stretcher to hook onto the carpet edge. This tool allows you to adjust and fine-tune the tension. Align the carpet with the opposite wall and continue stretching.
- Work from the Center: Once one side of the room is stretched, move to the center and repeat the process on the adjacent side. Work your way out towards the remaining walls, stretching and adjusting the carpet as you go.
- Use a Power Stretcher (If Needed): For larger or heavily wrinkled areas, a power stretcher may be necessary. Attach the power stretcher head to the carpet edges and activate it to apply consistent and controlled stretching force.
- Prevent Overstretching: Be cautious not to overstretch the carpet, as this can lead to damage or a loose fit. Use your judgment and regularly check the tension and appearance of the carpet as you stretch.
- Smooth Out Wrinkles: As you stretch the carpet, smooth out any wrinkles or bulges that may appear. Use your hand or a carpet smoothing tool to gently push the carpet towards the walls, ensuring a tight and smooth finish.
Take your time and work methodically, gradually stretching and adjusting the carpet to achieve an even and wrinkle-free result. Remember to maintain proper tension throughout the stretching process to ensure a professional installation.
Stretching the Carpet
The stretching stage is the most critical part of the carpet installation process. Properly stretching the carpet ensures a tight and secure fit, eliminating wrinkles and bubbles. Follow these steps to stretch the carpet effectively:
- Position the Power Stretcher: Begin in a corner of the room and place the head of the power stretcher about 6 inches away from the wall.
- Engage the Power Stretcher: Activate the power stretcher to extend the head, pushing against the carpet. This force will start stretching the carpet towards the opposite wall.
- Secure the Carpet: As you stretch the carpet, use a carpet kicker to hook onto the carpet edge and hold it in place. This prevents the carpet from slipping back during the stretching process.
- Work Along the Wall: Move along the wall, gradually extending the power stretcher and stretching the carpet. Engage the power stretcher intermittently to maintain tension and continue stretching.
- Create Smooth Transitions: Pay attention to areas where two sections of carpet meet, such as doorways or room transitions. Ensure the carpet aligns properly and stretches evenly for a seamless transition.
- Trim Excess Carpet: Once the carpet is fully stretched and secured, use a carpet knife to trim any excess material along the edges. Leave enough carpet to tuck it under the baseboard or secure it to the tack strip.
- Smooth and Flatten the Carpet: Use a carpet smoothing tool or your hand to smooth out any remaining wrinkles or bumps. Gently push the carpet towards the walls to create a smooth and even surface.
Throughout the stretching process, periodically check the tension of the carpet and adjust as needed. Take your time and work methodically to ensure a proper and secure stretch. With the carpet properly stretched, you are now ready to move on to the next steps in the installation process.
Read more: How To Stretch Artificial Grass
Trimming and Securing the Carpet
Trimming and securing the carpet is the final step in the stretching process and ensures a polished and professional finish. This step involves cutting off excess carpet, securing it to the edges, and ensuring a neat appearance throughout the room. Follow these steps to trim and secure the carpet:
- Trim Excess Carpet: Using a sharp carpet knife or utility knife, carefully trim any excess carpet along the edges of the room. Make clean and straight cuts, leaving enough material to tuck it under the baseboard or secure it to the tack strip.
- Tuck Carpet Under Baseboard: For rooms with baseboards, use a putty knife or a carpet tucking tool to push the trimmed edge of the carpet under the baseboard. This creates a clean and seamless appearance along the walls.
- Secure Carpet to Tack Strip: Along the edges of the room, use a knee kicker or carpet stretcher to stretch the carpet towards the tack strip that is positioned against the walls. Use a carpet awl or a stair tool to press the carpet firmly onto the tack strip, securing it in place.
- Trim Carpet Around Obstacles: If there are any obstacles in the room, such as vents, fixtures, or floor registers, carefully cut the carpet to fit around them. Use a template or measurements to ensure accurate cuts and achieve a professional finish.
- Secure Transition Thresholds: If there are transition thresholds between different types of flooring, secure the carpet under the threshold using a staple gun or nails. Make sure the carpet is smooth and tightly fitted against the threshold to prevent tripping hazards.
- Inspect and Adjust: After trimming and securing the carpet, take a step back and inspect the room for any visible wrinkles, bubbles, or uneven areas. If necessary, use a knee kicker or carpet stretcher to make any adjustments and ensure a smooth and even appearance.
Trimming and securing the carpet is a crucial step in completing the installation process. Taking the time to achieve clean cuts and secure edges will contribute to the overall durability and visual appeal of the carpet. With the carpet now properly trimmed and secured, you’re ready to move on to the final steps in the carpet stretching process.
Finishing Touches and Replacing Furniture
With the carpet properly stretched, trimmed, and secured, it’s time to add the finishing touches and prepare the room for furniture placement. These final steps ensure a clean and polished appearance for your newly stretched carpet. Follow these guidelines to complete the installation process:
- Vacuum the Carpet: Give the newly stretched carpet a thorough vacuuming. This will remove any loose fibers, dirt, or debris that may have accumulated during the installation process.
- Inspect for Loose Edges: Walk along the edges of the room and check for any loose carpet edges. If you notice any areas where the carpet is starting to lift, use a carpet trimmer or sharp utility knife to trim and secure the edges to the tack strip.
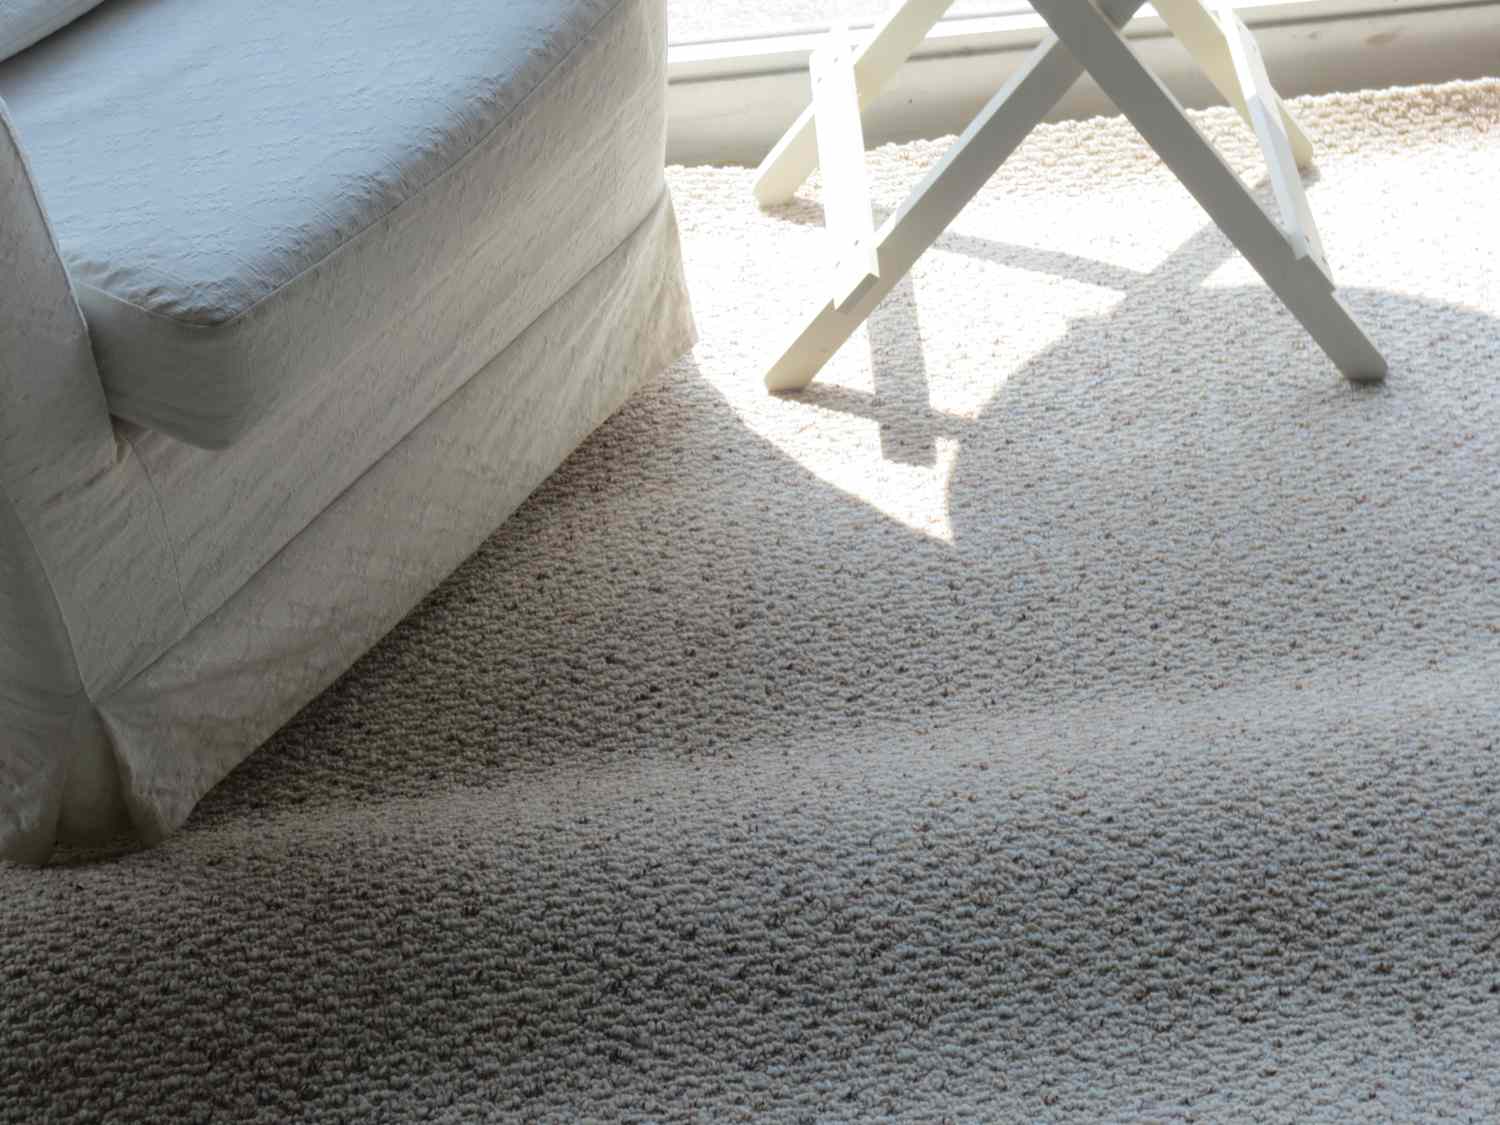
- Replace Furniture: Carefully place the furniture back into the room, ensuring that it is positioned correctly on the newly stretched carpet. Use furniture pads or sliders to prevent indentations or damage to the carpet fibers.
- Arrange Rugs and Decor: If you plan to use area rugs or decorative elements in the room, now is the time to arrange them. Place them on top of the carpet to add extra style and protection to your newly stretched carpet.
- Touch Up Baseboards and Trim: Check the condition of the baseboards and trim in the room. If necessary, touch up any paint or repair any damages to ensure a clean and finished look.
- Clean Up: Dispose of any remnants of the old carpet, packaging materials, or debris that may have accumulated during the installation process. Sweep or vacuum the room once again to ensure it is tidy and free of any loose fibers or particles.
- Enjoy Your Newly Stretched Carpet: Take a moment to appreciate your hard work and enjoy the fresh, revitalized look of your room. The properly stretched carpet not only enhances the visual appeal but also provides a safer and more comfortable space.
By completing these finishing touches, your carpet stretching project is now complete. You can now relax and enjoy the long-lasting beauty and comfort of your newly stretched carpet.
Conclusion
Congratulations on successfully completing the carpet stretching process! By following the step-by-step guide, you have learned how to stretch a carpet and achieve professional results. Stretching a carpet not only improves its appearance but also enhances the safety and longevity of the flooring in your space.
Throughout this guide, we covered essential steps such as preparing the room, removing furniture and existing carpet, cleaning and repairing the subfloor, measuring and cutting the carpet, preparing the carpet, starting the stretching process, stretching the carpet, trimming and securing the carpet, and adding the finishing touches.
Remember, proper preparation is key to a successful carpet stretching project. Taking the time to gather the necessary tools, prepare the room, and clean and repair the subfloor will set the foundation for a smooth installation process.
During the stretching process, be mindful of maintaining proper tension and checking for any wrinkles or bumps. Trim excess carpet carefully, secure it to the edges and tack strip, and ensure a neat and finished appearance throughout the room.
With the carpet properly stretched and secured, it’s time to add the finishing touches and replace furniture. Take care when rearranging furniture to protect the newly stretched carpet, and consider using area rugs or decorative elements to further enhance the aesthetics of the room.
We hope this guide has provided you with valuable insights and guidance on how to stretch a carpet. By following the steps outlined here, you can confidently achieve a professionally stretched carpet that is not only visually appealing but also durable and long-lasting.
Now that you have completed the carpet stretching process, take a moment to admire your hard work and enjoy the fresh, revitalized look of your room. Sit back, relax, and relish in the comfort of your newly stretched carpet!
Frequently Asked Questions about How To Stretch A Carpet
Was this page helpful?
At Storables.com, we guarantee accurate and reliable information. Our content, validated by Expert Board Contributors, is crafted following stringent Editorial Policies. We're committed to providing you with well-researched, expert-backed insights for all your informational needs.