Articles
How To Lay Plywood In Attic
Modified: December 7, 2023
Learn how to properly lay plywood in your attic with our informative articles. Make your attic more functional and efficient with our expert tips and advice.
(Many of the links in this article redirect to a specific reviewed product. Your purchase of these products through affiliate links helps to generate commission for Storables.com, at no extra cost. Learn more)
Introduction
Welcome to the ultimate guide on how to lay plywood in the attic! If you’re looking to maximize your attic space for storage or create a sturdy platform for easy access, this article is for you. Adding plywood to your attic not only provides a stable surface but also protects the ceiling below from potential damage. Whether you’re a DIY enthusiast or a homeowner seeking expert advice, we’ve got you covered. In this comprehensive step-by-step guide, we’ll walk you through the process of laying plywood in your attic, ensuring a safe and functional space for all your storage needs.
Before we dive into the nitty-gritty details, it’s important to mention that each attic space may have its unique characteristics and requirements. The guidelines provided in this article are general recommendations, and it’s crucial to assess your attic’s condition and consult any local building codes or regulations before proceeding with any projects.
Now that we’ve covered the basics, let’s get started on transforming your attic space into a practical and organized area!
Key Takeaways:
- Transform your attic into a functional storage space by following our step-by-step guide to laying plywood. Maximize your home’s potential while protecting the ceiling below.
- Prioritize safety, stability, and longevity when installing attic plywood. Assess, prepare, measure, lay, secure, and finish for a durable and organized attic space.
Read more: How To Lay Astro Turf On Plywood
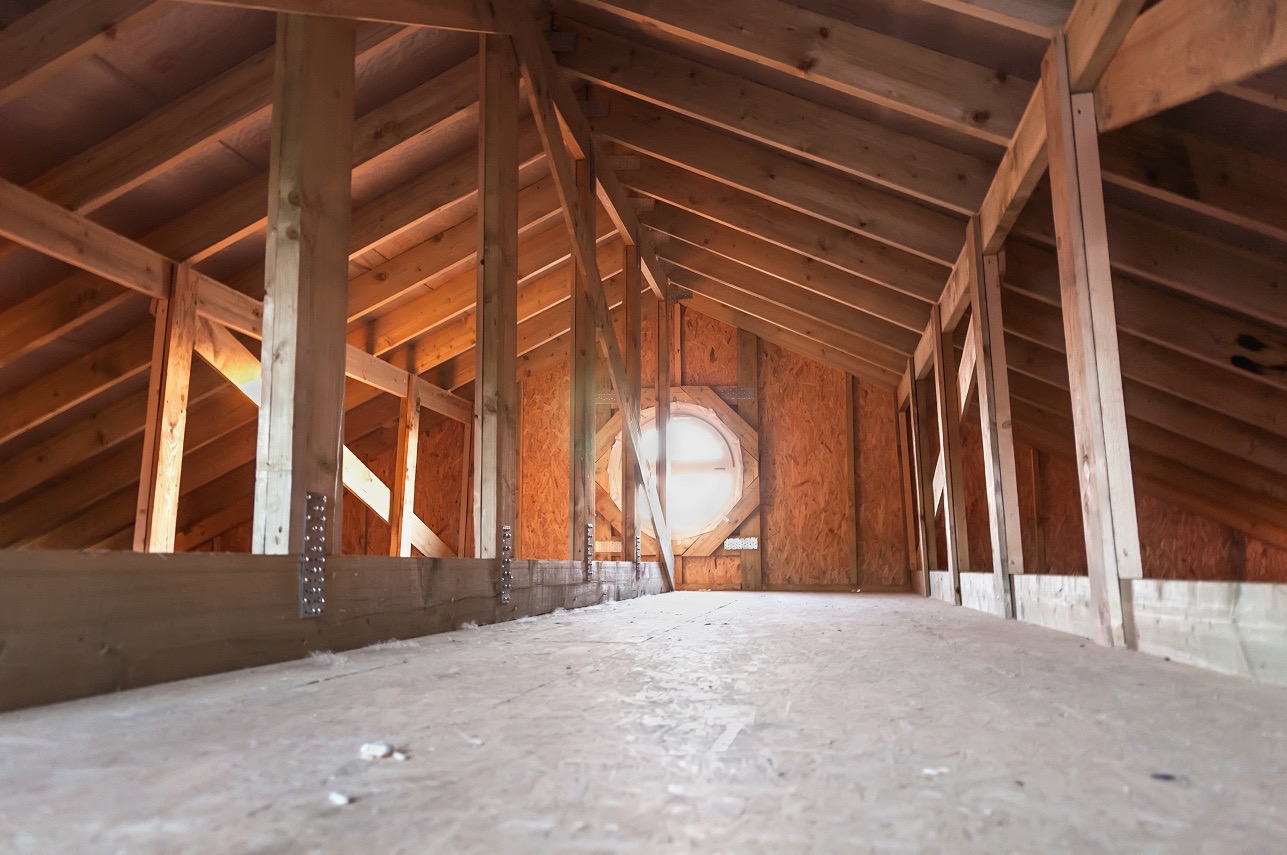
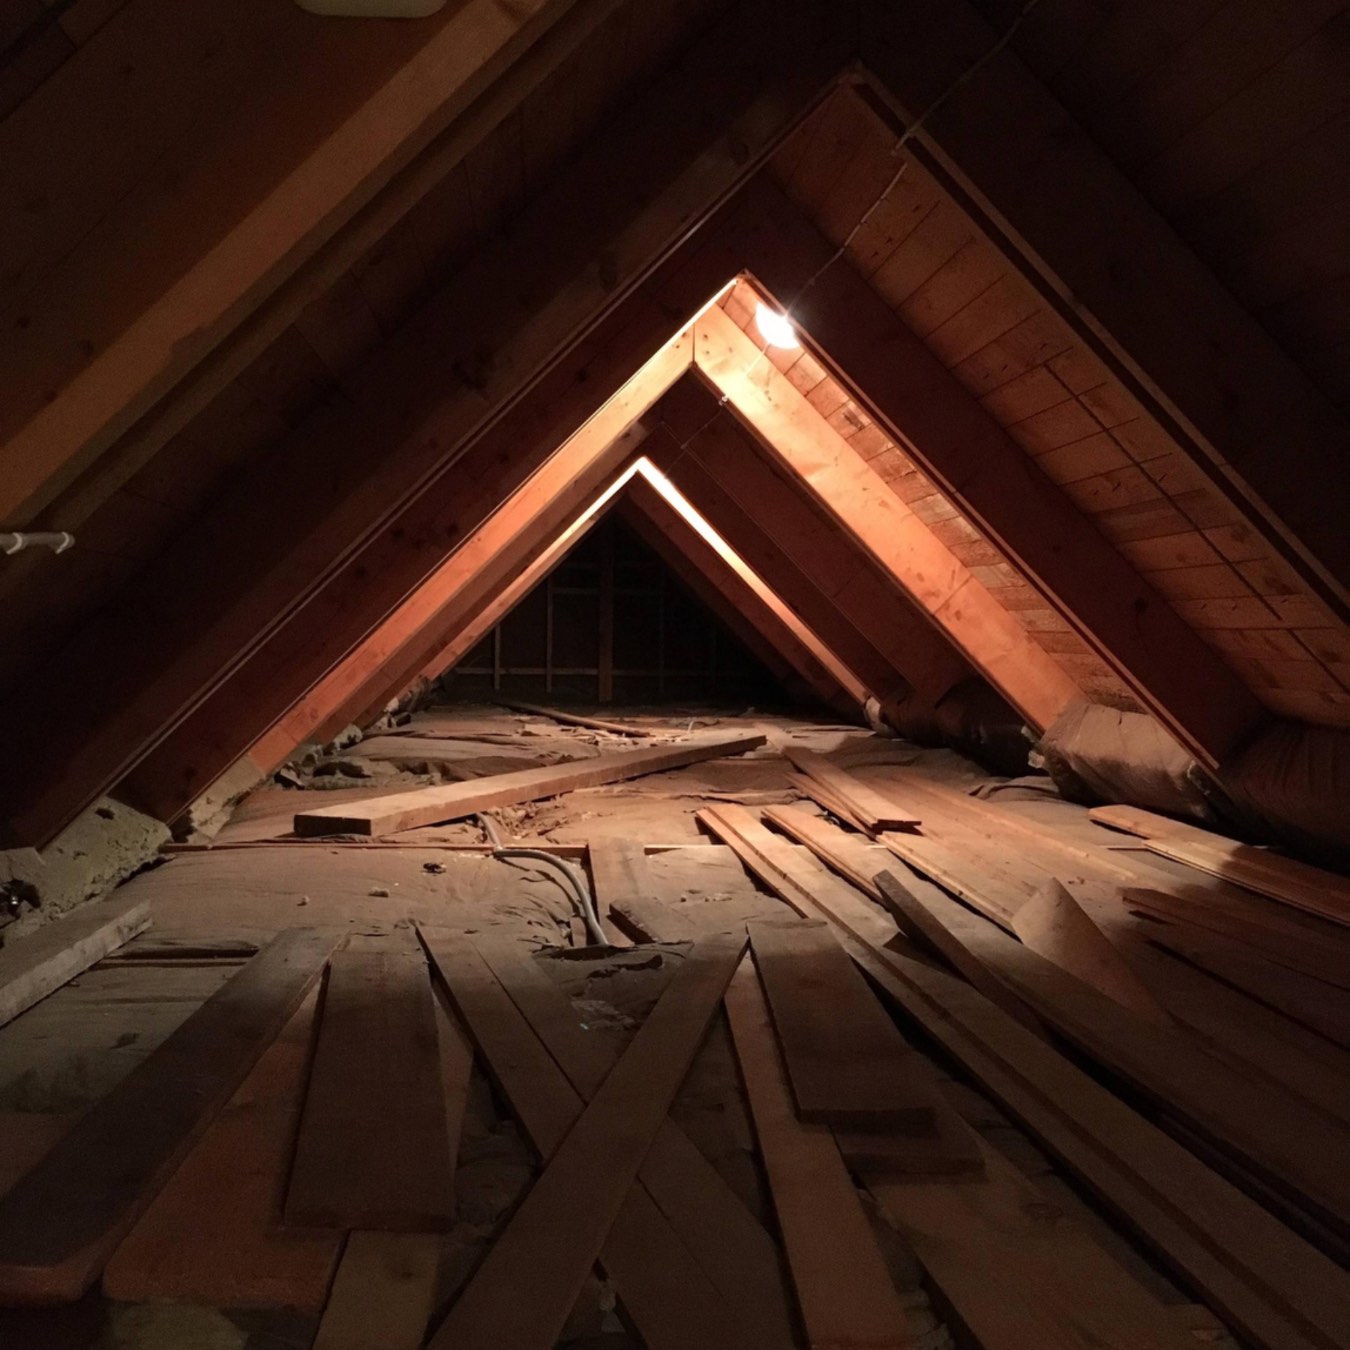
Step 1: Assessing the Attic
Before beginning your attic plywood installation project, it’s essential to assess the condition and suitability of your attic space. This step will help you determine if any preparation work is required and ensure that the plywood installation process goes smoothly. Here are some important factors to consider:
- Structural Integrity: Examine the attic’s structural components, such as the beams and joists, to ensure they are in good condition and capable of supporting the weight of the plywood. Look for any signs of rot, damage, or sagging.
- Access Points: Identify the entry points into the attic and consider how you will transport the plywood sheets into the space. Make sure there’s enough clearance and maneuverability.
- Insulation: Take note of the insulation in your attic. If it is loose-fill insulation, be cautious not to compress it excessively when laying the plywood.
- Obstacles: Check for any obstructions like electrical wires, HVAC ducts, or plumbing pipes that may hinder the installation process or require extra planning. Ensure you have a clear understanding of the layout and positioning of these obstacles.
- Lighting and Ventilation: Assess the existing lighting and ventilation in the attic. Consider whether you need to install additional lighting fixtures or improve the ventilation system to optimize the attic space.
Once you have assessed the above factors and addressed any necessary preparations such as repairs or modifications, you’re ready to proceed to the next step: preparing the attic space.
Step 2: Preparing the Attic Space
Preparing the attic space is a crucial step before laying the plywood. It involves cleaning the area, clearing any debris, and ensuring a safe and stable environment for the installation. Here’s a breakdown of what you need to do:
- Clean the Area: Remove any items or clutter that may be present in the attic. Sweep or vacuum the floor to remove dust and debris. A clean, clear space will make the installation process easier and safer.
- Inspect for Pests: Check for any signs of pests, such as rodents or insects, before laying the plywood. If you spot any infestation, address it accordingly before proceeding with the installation.
- Address Moisture Issues: Ensure that there are no signs of water leaks or moisture problems in the attic. Moisture can cause damage to the plywood over time. If you notice any issues, address them before proceeding.
- Level the Floor: Inspect the attic floor for any uneven or sloping areas. If you identify any significant discrepancies, you may need to level the floor using shims or other appropriate methods. A level floor will help prevent any rocking or movement of the plywood panels.
- Install Vapor Barrier: Consider installing a vapor barrier between the plywood and the attic floor. This will help prevent any moisture from seeping into the wood and causing damage. Consult local building codes and regulations to determine if a vapor barrier is necessary in your area.
- Plan for Access Points: Take note of any access points or hatches in the attic floor. Make sure they are easily accessible and can be opened without disturbing the plywood once it’s installed.
By thoroughly preparing the attic space, you’ll create a solid foundation for the plywood installation. This step will help ensure the longevity and stability of the plywood platform. Once you’ve completed the preparation process, you’re ready to move on to the next step: measuring and cutting the plywood.
Step 3: Measuring and Cutting Plywood
Once you have prepared the attic space, it’s time to measure and cut the plywood sheets to fit the area. Accurate measurements and precise cuts are crucial for a seamless and secure installation. Here’s how you can proceed:
- Measure the Attic: Begin by measuring the dimensions of the attic space where you plan to lay the plywood. Take accurate measurements of the width, length, and any irregularities in the shape of the area. This will help you determine the number and size of plywood sheets you’ll need.
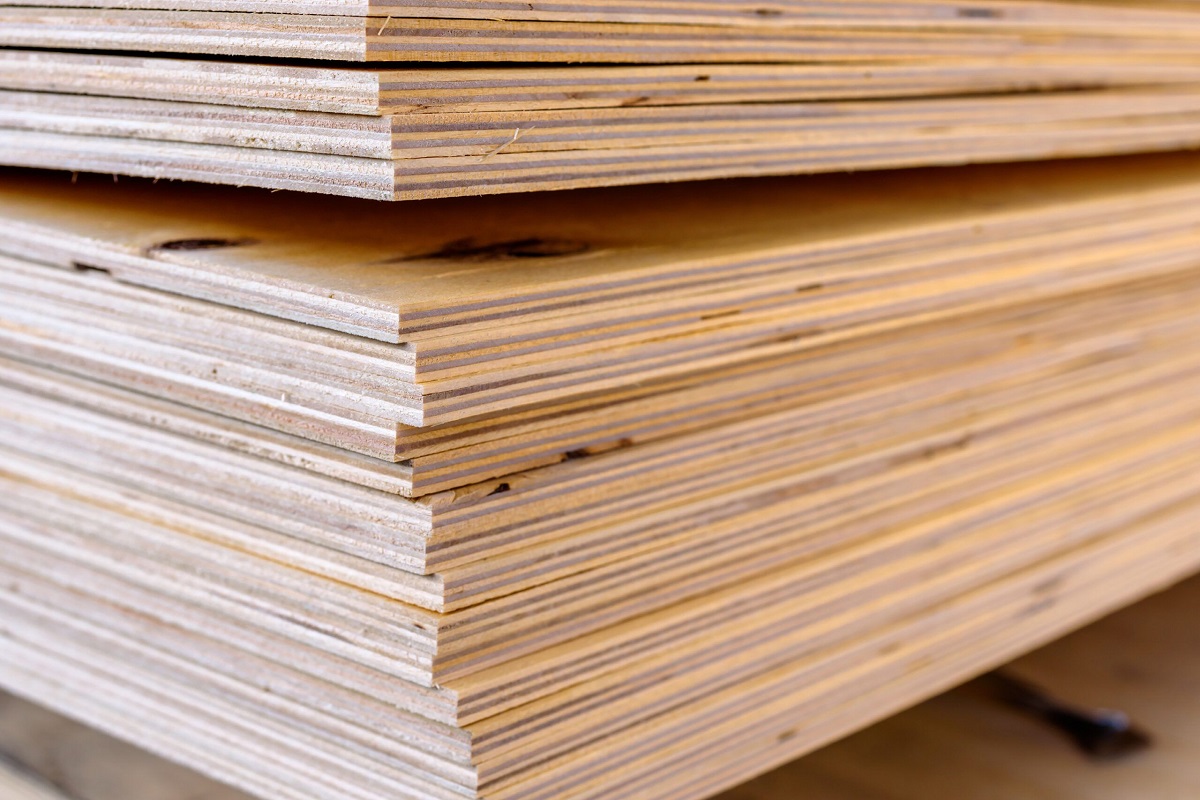
- Select the Plywood: Choose the appropriate type and thickness of plywood for your attic flooring. Typically, 3/4-inch thick plywood is recommended for better strength and durability. Ensure that the plywood is suitable for load-bearing purposes and meets any local building codes or regulations.
- Cut the Plywood: Using the measurements you obtained earlier, mark the dimensions on the plywood sheets. Use a straight edge or a square to ensure accurate cuts. If you don’t have the necessary tools, you can have the plywood sheets cut to size at a local home improvement store.
- Safety Precautions: When cutting plywood, always prioritize safety. Wear protective goggles, gloves, and a dust mask to prevent any injuries or inhalation of dust particles.
- Label the Pieces: As you cut the plywood sheets, label each piece accordingly to keep track of their placement in the attic. This will make the installation process easier and more efficient.
- Consider Gaps: When planning the placement of plywood sheets, leave a small gap of about 1/8 inch between each panel. This allows for any expansion and contraction of the wood due to temperature and humidity changes.
By taking precise measurements and making accurate cuts, you’ll ensure a perfect fit for your attic plywood installation. Once you have the plywood sheets ready, it’s time to move on to the next step: laying the plywood.
When laying plywood in the attic, make sure to measure and cut the plywood to fit around any obstacles such as vents or wiring. This will ensure a smooth and secure installation.
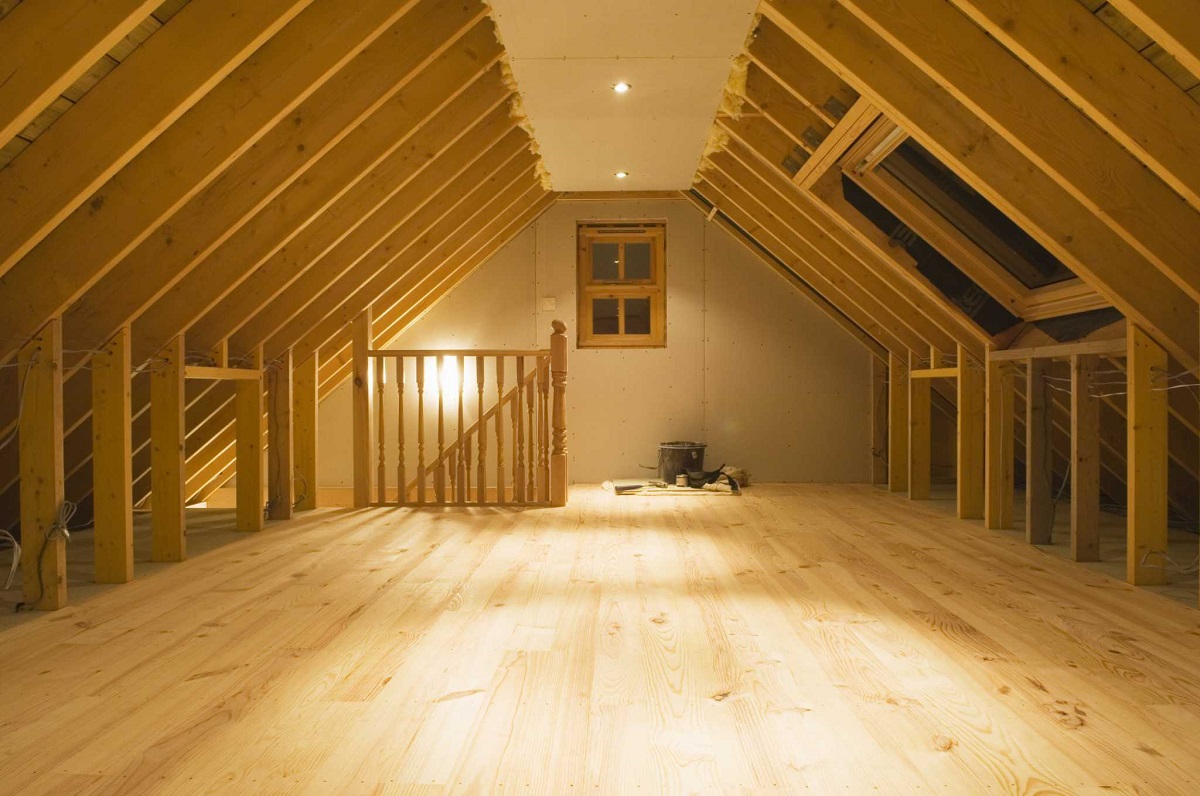
Step 4: Laying the Plywood
Now that you have measured and cut the plywood sheets, it’s time to start laying them in your attic. This step involves careful positioning and alignment to create a sturdy and even plywood platform. Follow these steps for a successful installation:
- Start at One Corner: Begin laying the plywood sheets in one corner of the attic. It’s best to start at a corner that is closest to the access point for easier transportation and maneuverability.
- Align the Edges: Ensure that the edges of the first plywood sheet are flush with the walls or other boundaries of the attic. Use shims if needed to create an even surface.
- Continue Installing: Lay the subsequent plywood sheets in a staggered pattern. This will provide better stability and distribute the weight evenly across the attic floor. Make sure the edges of each sheet are tightly aligned and there are no gaps between them.
- Check for Levelness: Periodically check the levelness of the plywood installation as you progress. Adjust as necessary by adding shims or sanding down high spots to ensure a flat and even surface.
- Leave Space around Obstacles: If there are any obstacles in the attic, such as pipes or vents, cut out appropriate openings in the plywood to accommodate them. Leave a small gap around these obstacles to prevent any pressure or damage to the plywood.
- Work from Top to Bottom: If you’re installing multiple layers of plywood, work from top to bottom. Secure the first layer before adding subsequent layers. Use screws or nails to fasten the plywood layers together for added stability.
Remember to take your time during the installation process and ensure that each plywood sheet is properly aligned and securely positioned. A well-laid plywood floor will provide a solid foundation for any storage items or future projects in your attic.
With the plywood laid, it’s time to move on to the next step: securing the plywood in place.
Read more: What Type Of Plywood For Attic Floor
Step 5: Securing the Plywood
Securing the plywood in your attic is crucial to ensure its stability and prevent any shifting or movement over time. By following these steps, you’ll create a secure and reliable plywood platform:
- Mark Fastening Points: Before securing the plywood, mark the locations where the fasteners will go. Space out the fasteners evenly along the edges and through the center of each plywood sheet. This will help distribute the weight and provide better support.
- Choose the Right Fasteners: Select the appropriate fasteners based on the type of plywood you’re using. For most applications, screws are recommended over nails for better holding power. Make sure the fasteners are long enough to penetrate through the plywood and into the underlying joists.
- Pre-drill Holes: To prevent the plywood from splitting, pre-drill holes slightly smaller than the diameter of the fasteners. This will make screwing or nailing easier and reduce the risk of damaging the plywood.
- Attach the Plywood: Starting at one corner, secure the plywood to the underlying joists using the pre-drilled holes and the appropriate fasteners. Drive the screws or nails in a straight and perpendicular manner to ensure a strong connection. Repeat this process for each sheet of plywood, working your way across the attic.
- Checkerboard Pattern: For added stability, consider using a checkerboard pattern when fastening the plywood. This means alternating the fastener placement on adjacent sheets. This pattern helps distribute loads more evenly and reduces the risk of warping or uneven settling.
- Avoid Over-Tightening: When fastening the plywood, be careful not to over-tighten the screws or nails. Over-tightening can lead to warping or damage to the plywood. Fasten the screws or nails snugly, but not excessively.
By securely fastening the plywood to the underlying joists, you’ll ensure a stable and reliable attic floor. This step is crucial for the longevity and safety of the attic space. Once you have secured the plywood, you can move on to the final step: sealing and adding finishing touches.
Step 6: Sealing and Finishing Touches
The final step in laying plywood in the attic is to seal the surface and add any finishing touches that will enhance its durability and appearance. Follow these steps to complete the project:
- Fill Holes: Inspect the plywood surface for any noticeable gaps or holes left from fasteners. Use wood filler or putty to fill these holes, ensuring a smooth and even surface.
- Sand the Surface: If necessary, lightly sand the plywood surface to remove any rough spots or imperfections. This step will create a uniform and attractive finish.
- Apply Sealant: To protect the plywood from moisture and prolong its lifespan, apply a coat of sealant or polyurethane. Use a brush or roller to evenly spread the sealant over the entire surface, following the manufacturer’s instructions.
- Add a Finish: If desired, you can further enhance the appearance of the plywood by applying a stain, paint, or varnish. Choose a finish that complements the overall aesthetic of your attic and follows any personal preferences.
- Install Trim: Consider installing trim or molding along the edges of the plywood to give it a finished look and provide added protection against potential damage. Measure and cut the trim pieces to fit, then use finishing nails or adhesive to secure them in place.
- Apply Non-Slip Surface: If you’re using the attic as a storage space or frequently accessing it, consider adding a non-slip surface on top of the plywood. This will reduce the risk of accidents and make it safer to walk on. Options include adhesive non-slip mats, rubberized paint, or traction tape.
By sealing the plywood and adding finishing touches, you’ll enhance its longevity and create a polished and functional attic space. Take your time during this step to ensure that each detail is attended to, resulting in a well-protected and visually appealing floor.
With the sealing and finishing touches complete, your attic plywood installation project is finished! You now have a sturdy, accessible, and organized space that can accommodate your storage needs or serve as a versatile area for your future projects.
Remember, maintaining the attic and periodically inspecting the plywood for any signs of wear or damage is important to ensure its longevity and safety. Enjoy your newly transformed attic space!
Conclusion
Congratulations on completing the installation of plywood in your attic! By following the step-by-step guide outlined in this article, you have transformed your attic space into a functional and organized area for storage or other purposes. Laying plywood in the attic provides a stable and durable platform, protecting the ceiling below and maximizing your home’s storage potential.
Throughout the process, we emphasized the importance of assessing the attic, preparing the space, measuring and cutting the plywood, laying it out properly, securing it firmly, and adding the finishing touches. Each step contributes to the overall strength, stability, and aesthetic appeal of your attic floor.
Remember, safety should always be a priority when working in the attic. Take necessary precautions, such as wearing protective gear and using proper tools. Additionally, make sure to adhere to any local building codes or regulations specific to your area.
Maintaining your attic plywood is also crucial for its longevity. Regularly inspect the plywood for any signs of wear, moisture damage, or pest infestation. Promptly address any issues that arise to prevent further damage and ensure the safety of your attic space.
We hope this comprehensive guide has provided you with the knowledge and confidence to lay plywood in your attic successfully. Enjoy the additional storage space or newfound versatility that your attic now offers! If you have any questions or need further assistance, don’t hesitate to seek professional advice or consult with a local contractor.
Thank you for trusting us as your resource for attic plywood installation. Happy DIY-ing!
Frequently Asked Questions about How To Lay Plywood In Attic
Was this page helpful?
At Storables.com, we guarantee accurate and reliable information. Our content, validated by Expert Board Contributors, is crafted following stringent Editorial Policies. We're committed to providing you with well-researched, expert-backed insights for all your informational needs.


0 thoughts on “How To Lay Plywood In Attic”