Articles
How To Lay A Carpet Pad
Modified: October 20, 2024
Learn how to lay a carpet pad with our informative articles. Discover the best techniques and tips for ensuring a professional and efficient installation.
(Many of the links in this article redirect to a specific reviewed product. Your purchase of these products through affiliate links helps to generate commission for Storables.com, at no extra cost. Learn more)
Introduction
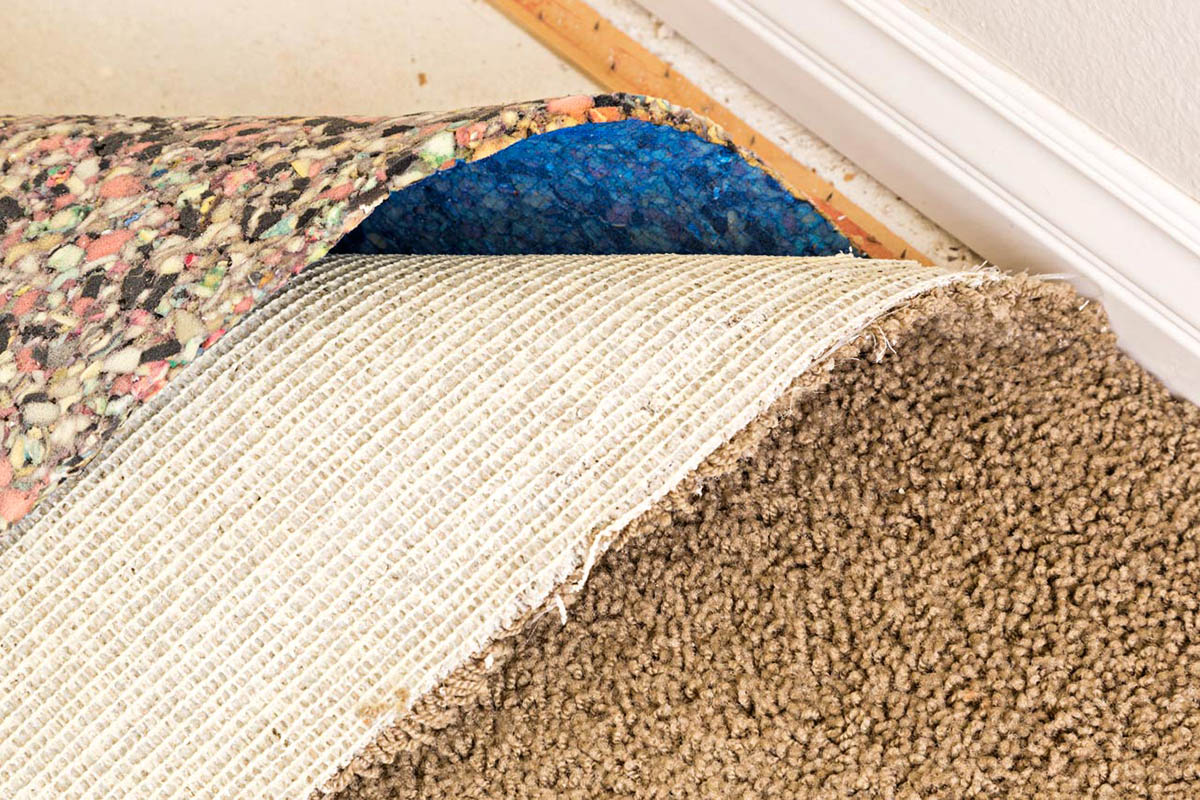
When it comes to installing a carpet, one crucial step that shouldn’t be overlooked is laying the carpet pad. The carpet pad, also known as underlay, serves as a cushioning layer between the carpet and the floor. Not only does it provide comfort underfoot, but it also helps prolong the lifespan of your carpet by reducing wear and tear. Additionally, a quality carpet pad can improve the overall insulation and soundproofing of your space.
In this comprehensive guide, we will walk you through the step-by-step process of laying a carpet pad. Whether you’re a seasoned DIY enthusiast or a beginner tackling your first flooring project, we’ve got you covered. By following these instructions and using the right tools, you’ll be able to achieve a professional-looking result and ensure the durability and longevity of your carpet.
Before diving into the details, it’s important to note that choosing the right carpet padding is essential. Different types of carpet pads offer varying levels of cushioning, moisture resistance, and noise reduction. The suitability of each type depends on factors such as the type of carpet, the subfloor material, and the level of foot traffic in the area.
Now that we’ve set the stage, let’s dive into the nitty-gritty of how to lay a carpet pad.
Key Takeaways:
- Choose the right carpet padding: Consider material, density, thickness, and moisture resistance when selecting a carpet pad. Consult professionals for tailored advice to ensure optimal comfort and longevity.
- Prepare, secure, and lay with care: Properly prepare the floor, secure the carpet pad, and lay the carpet with precision. Inspect and adjust for a flawless, durable, and comfortable carpet installation.
Read more: How To Lay Down Carpet
Choosing the Right Carpet Padding
When it comes to choosing the right carpet padding, there are a few factors to consider. The type and quality of the padding you select can greatly impact the comfort, durability, and longevity of your carpet. Here are some key aspects to keep in mind:
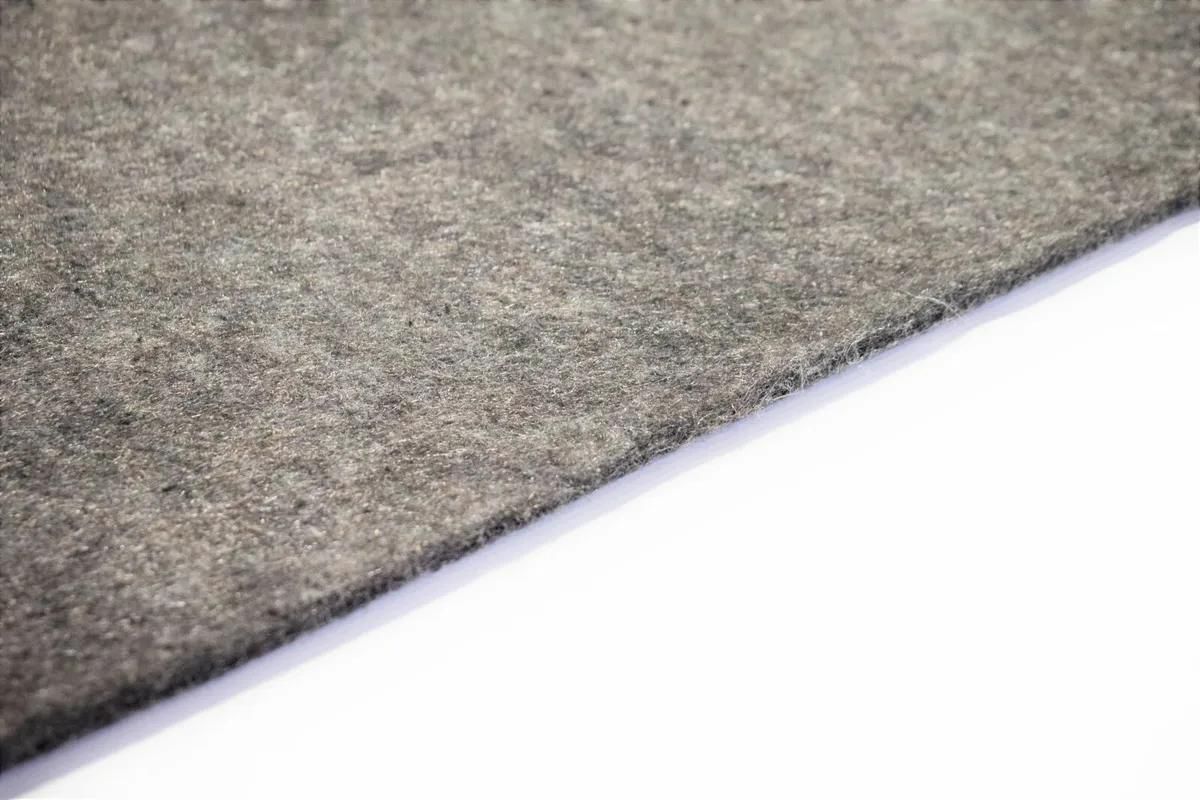
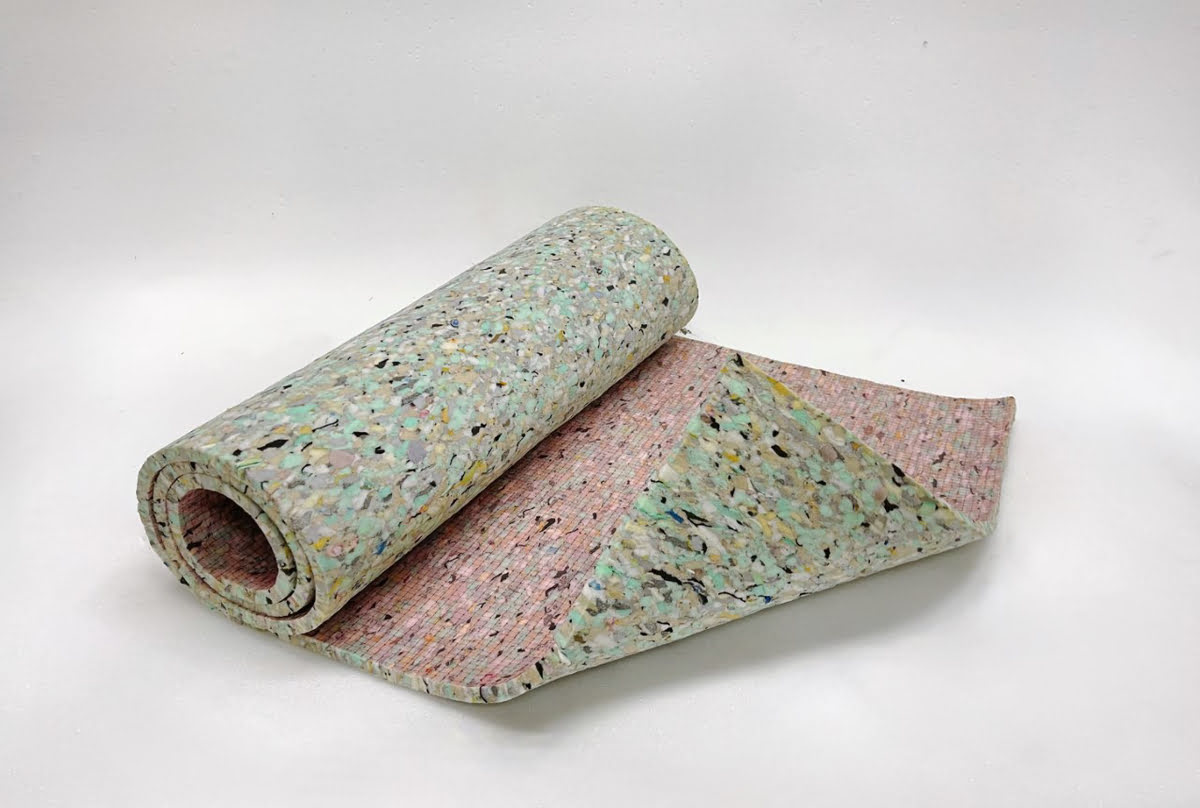
- Material: Carpet padding is typically made from materials such as foam, rubber, or fiber. Foam padding is the most common choice due to its excellent cushioning properties and affordability. Rubber padding offers superior durability and sound insulation, making it ideal for high-traffic areas or rooms that require noise reduction. Fiber padding, made from natural or synthetic materials, offers good thermal insulation but may not provide as much cushioning as foam or rubber.
- Density: The density of the carpet padding refers to the amount of material used per cubic foot. Higher density padding provides better support and cushioning. Look for padding with a density of at least 6 pounds per cubic foot for residential applications and 8-10 pounds per cubic foot for commercial use.
- Thickness: The thickness of the carpet padding can impact the comfort and appearance of your carpet. Thicker padding provides a softer feel underfoot but may not be suitable for all carpet styles and installations. It’s important to consult with the carpet manufacturer or retailer to determine the recommended thickness for your specific carpet type.
- Moisture Resistance: If you’re installing carpet in an area prone to moisture or potential spills, selecting a moisture-resistant padding is crucial. Moisture-resistant padding helps prevent mold and mildew growth and protects your carpet from water damage.
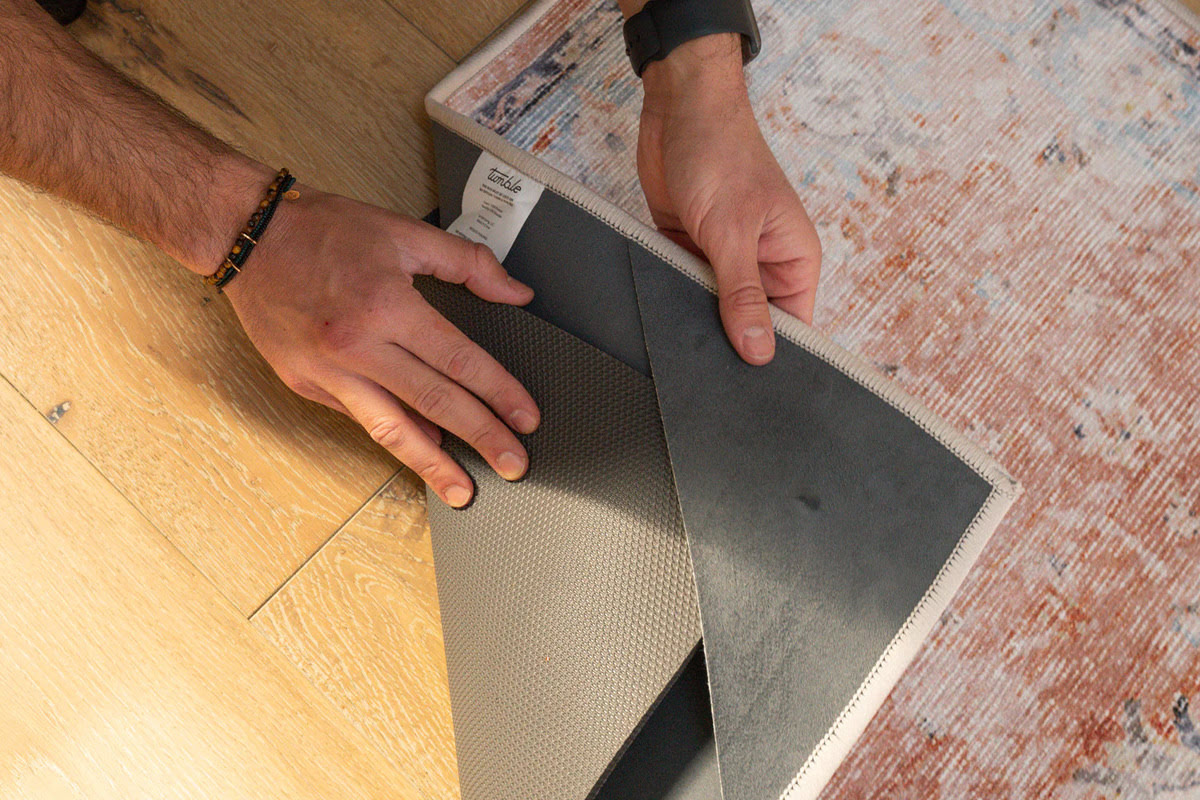
- Installation Method: Some carpet padding comes with built-in adhesive strips or coatings for easy installation. These can be particularly useful if you’re doing a DIY installation. Alternatively, you can opt for padding that requires separate adhesives or staples for securing it to the floor.
It’s important to consult with a flooring professional or carpet retailer to determine the most suitable carpet padding for your specific needs. They can offer valuable insights based on factors such as the type of carpet, the subfloor, and the intended use of the space. By selecting the right carpet padding, you can ensure optimal comfort, longevity, and performance for your carpet.
Gathering the Necessary Tools and Materials
Before you begin the process of laying the carpet pad, it’s essential to gather all the necessary tools and materials. Having everything you need within reach will help streamline the installation process and prevent any delays. Here are the key tools and materials you’ll need:
- Carpet pad: Choose the appropriate carpet pad based on the recommendations from the manufacturer or retailer. Measure the area to determine the amount of carpet padding you’ll need.
- Utility knife: A sharp utility knife with a retractable blade is essential for cutting the carpet pad to the correct size.
- Straightedge: A straightedge, such as a ruler or a straight piece of lumber, will help you make accurate cuts on the carpet padding.
- Tape measure: Use a tape measure to accurately measure the dimensions of the room and calculate the amount of carpet pad required.
- Staple gun: If necessary, you may need a staple gun to secure the carpet pad to the floor. Check the installation instructions or consult with a professional to determine if stapling is required.
- Adhesive or double-sided tape: Depending on the type of carpet padding, you may need adhesive or double-sided tape to secure the padding to the floor. Ensure that you have the appropriate adhesive for the specific type of carpet pad you’re using.
- Safety equipment: To ensure your safety during the installation process, have gloves, kneepads, and safety glasses on hand.
- Vacuum cleaner: Before laying the carpet pad, ensure the floor is clean and free of debris by thoroughly vacuuming the surface.
By gathering all the necessary tools and materials beforehand, you’ll be well-prepared for the carpet pad installation process. It’s important to have everything within easy reach to avoid interruptions and ensure a smooth and efficient installation. Now that you have everything in place, it’s time to prepare the floor for the carpet pad.
Preparing the Floor
Before laying the carpet pad, it’s essential to properly prepare the floor to ensure a smooth and stable base for your carpet. Here are the steps to follow:
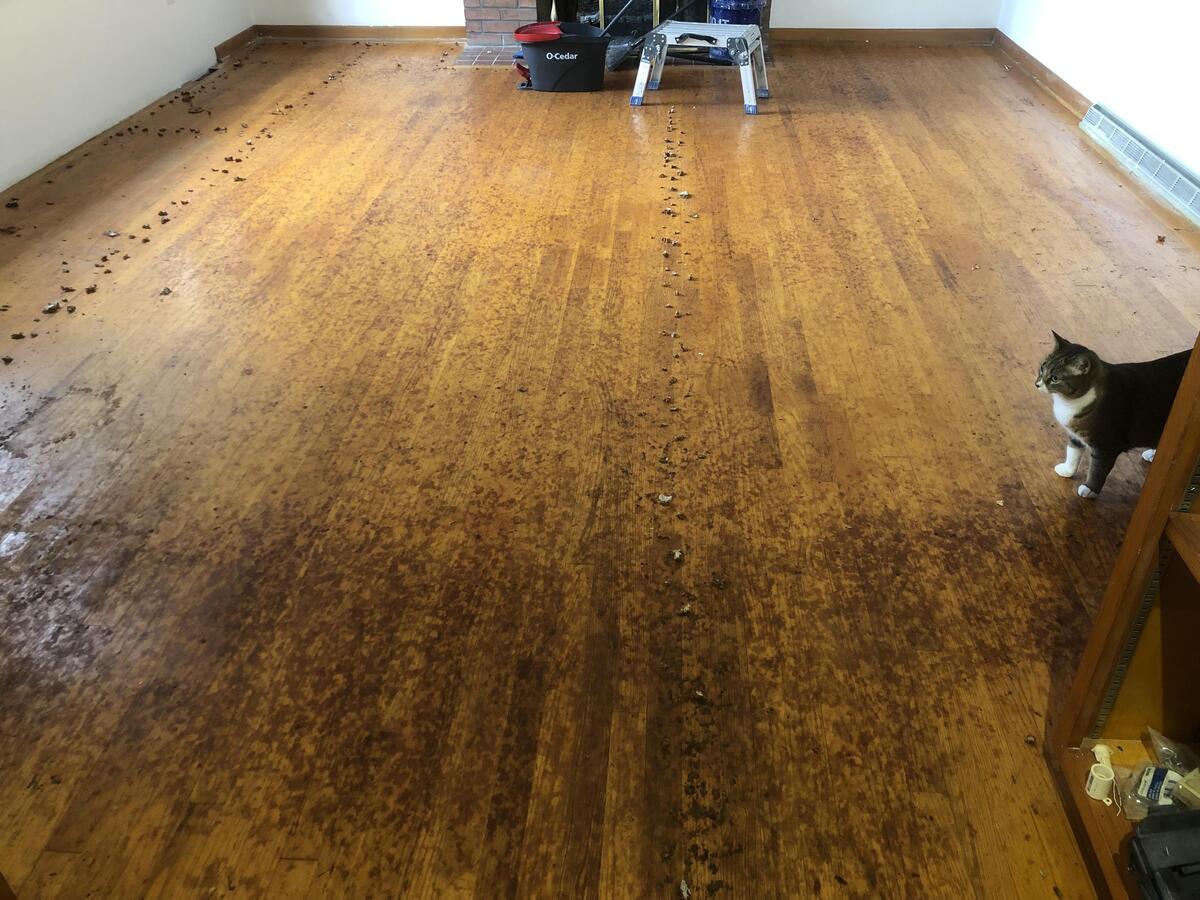
- Clean the floor: Thoroughly clean the floor by removing any dust, dirt, or debris. Use a vacuum cleaner or broom to ensure the surface is clean and free from any loose particles that could affect the installation process.
- Repair any damage: Inspect the floor for any damage, such as cracks or uneven surfaces. Repair any existing damage to ensure a level and solid foundation for the carpet pad. Fill in any cracks or holes with appropriate floor patching compound and allow it to dry completely.
- Smooth out uneven areas: If there are any uneven areas on the floor, such as bumps or dips, use a floor leveling compound or self-leveling underlayment to create a smooth and level surface. Follow the manufacturer’s instructions for mixing and applying the leveling compound and allow it to dry thoroughly.
- Check for moisture: If you’re installing the carpet pad in a basement or an area that is prone to moisture, it’s essential to check for excessive moisture. Use a moisture meter to test the moisture levels in the subfloor. If the moisture levels are too high, address the moisture issue before proceeding with the carpet pad installation. This may involve using a moisture barrier or installing a dehumidifier.
- Remove baseboards: In some cases, it may be necessary to remove the baseboards before laying the carpet pad. This allows for a cleaner and more precise installation. Carefully remove the baseboards using a pry bar, taking care not to damage them. Set the baseboards aside in a safe place to reinstall later.
By properly preparing the floor, you’ll ensure that the carpet pad is installed on a solid and stable surface. This not only enhances the comfort and durability of your carpet but also helps prevent any uneven wear or damage. Once the floor is prepared, you’re ready to proceed with cutting and fitting the carpet pad.
When laying a carpet pad, make sure to use a good quality pad that is appropriate for the type of carpet you are installing. The pad should be cut slightly smaller than the carpet to allow for a snug fit.
Cutting and Fitting the Carpet Pad
Now that you have prepared the floor, it’s time to cut and fit the carpet pad. This step is crucial for ensuring a proper installation and achieving a smooth and comfortable carpet surface. Follow these steps:
- Measure the room: Use a tape measure to measure the dimensions of the room and determine the size of the carpet pad needed. It’s recommended to leave a slight overlap of the carpet pad along the walls to ensure complete coverage.
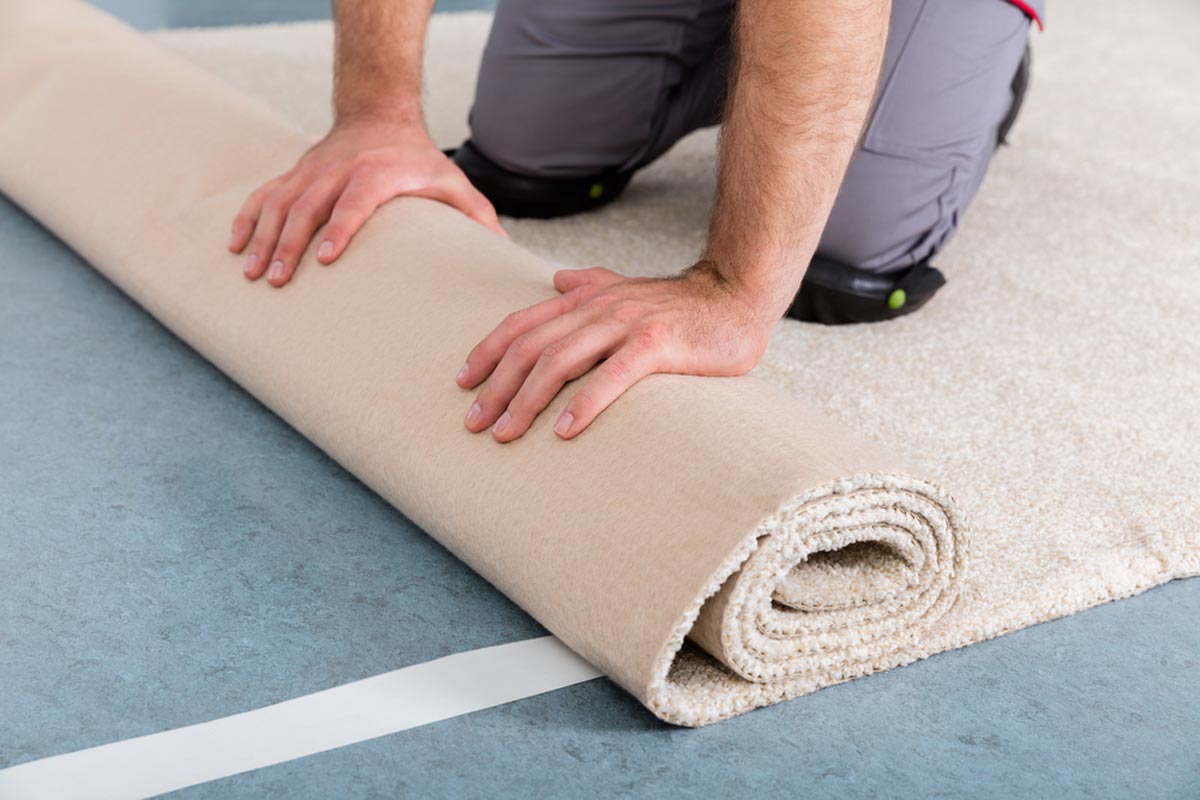
- Roll out the carpet pad: Roll out the carpet pad across the room, positioning it so that it covers the entire floor area. Adjust the position as needed to ensure that the edges of the carpet pad align with the walls.
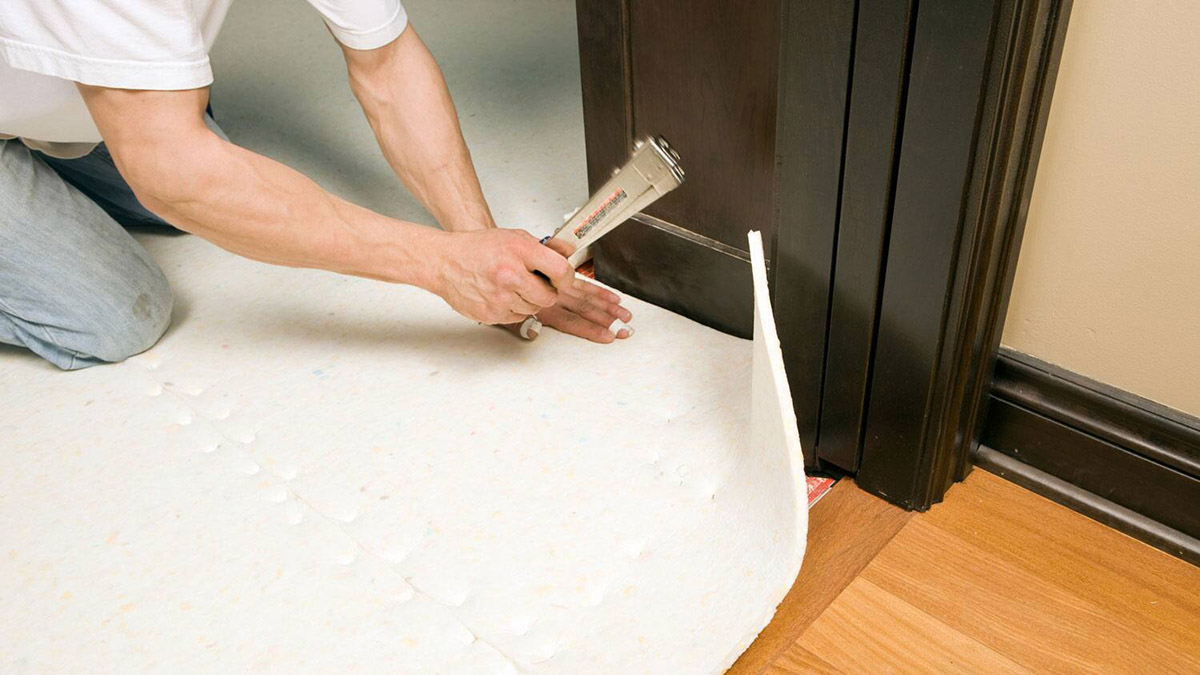
- Secure the carpet pad: If using a stapler, use a staple gun to attach the carpet pad to the floor at regular intervals along the edges and seams. Make sure the staples are secure but not too tight, as this can affect the cushioning properties of the pad. If using adhesive or double-sided tape, follow the manufacturer’s instructions to secure the carpet pad to the floor.
- Cut the carpet pad: Using a sharp utility knife and a straightedge, carefully cut the carpet pad along the walls, following the room’s dimensions. Make precise and clean cuts to ensure a seamless look.
- Trim excess padding: If there is any excess padding along the edges or seams, trim it off using the utility knife. This will ensure a neat and tidy appearance.
It’s important to take your time when cutting and fitting the carpet pad to ensure accuracy and precision. Make sure the carpet pad is snug against the walls and that the seams are securely fastened. This will provide a solid foundation for your carpet and prevent any shifting or movement over time.
Once the carpet pad is cut and fitted, you’re ready to move on to the next step – securing the carpet pad to the floor.
Read more: How To Lay Indoor Outdoor Carpet
Securing the Carpet Pad
Now that you have cut and fitted the carpet pad, the next step is to secure it to the floor. Properly securing the carpet pad is crucial for ensuring stability and preventing any movement or shifting, which can lead to uneven carpeting. Follow these steps to secure the carpet pad:
- Stapling: If you are using a stapler, start by folding back one edge of the carpet pad. Use a staple gun to place staples approximately 6-8 inches apart along the folded edge, securing it to the floor. Repeat this process for all edges of the carpet pad. It’s important not to stretch the carpet pad too tightly when stapling, as this can affect its cushioning properties.
- Adhesive or double-sided tape: If you are using adhesive or double-sided tape, follow the manufacturer’s instructions for application. Apply the adhesive or tape along the edges and seams of the carpet pad, ensuring that it is evenly distributed. Press down firmly to ensure a secure bond between the carpet pad and the floor.
- Inspect the padding: After securing the carpet pad, inspect the area for any loose sections or areas that may require additional stapling or adhesive. Make any necessary adjustments to ensure that the carpet pad is securely fastened to the floor.
Properly securing the carpet pad is essential for creating a stable and comfortable base for your carpet. It helps prevent any movement or shifting, ensuring a smooth and even carpet surface. Take your time during this step to ensure that the carpet pad is securely fastened and free from any loose areas.
With the carpet pad now secured, you’re ready to move on to the final step – laying the carpet pad.
Laying the Carpet Pad
With the carpet pad properly secured to the floor, it’s time to move on to the final step – laying the carpet pad. Follow these steps to ensure a smooth and successful installation:
- Roll out the carpet: Start by rolling out the carpet over the carpet pad. Make sure the carpet is positioned correctly and aligns with the edges of the room. Allow the carpet to overlap the walls slightly.
- Tuck the edges: Carefully tuck the edges of the carpet into the space between the walls and the floor. Use a putty knife or a carpet tucker to push the carpet down firmly, ensuring a tight fit along the walls.
- Stretch the carpet: If necessary, use a carpet stretcher to stretch the carpet across the room. This helps remove any wrinkles or lumps and ensures a smooth and even surface. Follow the manufacturer’s instructions for using the carpet stretcher.
- Trim excess carpet: Using a carpet knife, trim any excess carpet along the edges of the room. Make clean and precise cuts to achieve a neat and professional look. Be careful not to trim too much, as you want the carpet to have a slight overlap against the walls.
- Secure the carpet: If required, use a knee kicker or a power stretcher to stretch and secure the carpet along the edges and seams. This ensures a tight and secure fit with no loose areas. Use a carpet trimmer or a carpet edge trimmer to finish the edges neatly.
Take your time when laying the carpet pad to ensure that the carpet is properly positioned and aligned. Make sure to stretch the carpet evenly to avoid any wrinkles or lumps. Trim any excess carpet carefully to achieve a clean and seamless finish.
Once the carpet pad is laid, take a moment to inspect the entire carpeted area. Check for any loose edges or areas that require further stretching or trimming. Make any necessary adjustments to ensure a flawless and secure carpet installation.
Congratulations! You have successfully laid the carpet pad and are now ready to enjoy a comfortable and aesthetically pleasing carpeted space.
Wrapping Up
Congratulations! You have successfully completed the process of laying a carpet pad. By following the steps outlined in this guide, you have ensured a solid and comfortable foundation for your carpet. Now, let’s recap the key points and provide some final tips:
- Choose the right carpet padding: Consider factors such as material, density, thickness, moisture resistance, and installation method when selecting the appropriate carpet pad for your specific needs.
- Gather the necessary tools and materials: Before starting the installation process, ensure you have all the required tools and materials within reach to keep the project running smoothly.
- Prepare the floor: Clean the floor, repair any damage, level out uneven areas, and check for moisture to create a stable base for the carpet pad.
- Cut and fit the carpet pad: Measure the room, roll out the carpet pad, secure it to the floor, cut it to size, and trim any excess padding.
- Secure the carpet pad: Use stapling, adhesive, or double-sided tape to ensure that the carpet pad is firmly fixed to the floor, preventing any shifting or movement.
- Lay the carpet: Roll out the carpet over the carpet pad, tuck the edges, stretch if necessary, trim the excess, and secure the carpet along the edges and seams.
- Inspect and adjust: Take the time to inspect the entire carpeted area, checking for loose edges or areas that require further stretching or trimming. Make any necessary adjustments to achieve a flawless result.
Remember to consult the manufacturer’s instructions and seek professional advice if needed. Additionally, prioritize safety throughout the process by wearing appropriate protective gear and following best practices.
By laying a carpet pad, you have not only enhanced the comfort and longevity of your carpet but also improved the insulation and soundproofing of your space. Enjoy your newly laid carpet, and take pride in a job well done!
Frequently Asked Questions about How To Lay A Carpet Pad
Was this page helpful?
At Storables.com, we guarantee accurate and reliable information. Our content, validated by Expert Board Contributors, is crafted following stringent Editorial Policies. We're committed to providing you with well-researched, expert-backed insights for all your informational needs.