Articles
How To Attach A Carpet To A Plywood
Modified: October 20, 2024
Learn how to attach a carpet to plywood with these informative articles. Find step-by-step guides and expert tips for a seamless installation.
(Many of the links in this article redirect to a specific reviewed product. Your purchase of these products through affiliate links helps to generate commission for Storables.com, at no extra cost. Learn more)
Introduction
Attaching a carpet to a plywood can be a challenging task, but with the right tools and techniques, you can achieve a professional-looking result. Whether you’re looking to install a carpet for a new flooring project or replacing an existing one, this comprehensive guide will walk you through the step-by-step process of attaching a carpet to a plywood.
Before we start, it’s important to gather all the necessary tools and materials. This will ensure that you have everything you need at hand, making the installation process smoother and more efficient.
Key Takeaways:
- Proper preparation of the plywood surface is crucial for a successful carpet installation. From cleaning and repairing to applying adhesive and securing the edges, attention to detail ensures a professional and durable result.
- Attaching a carpet to plywood requires precision and care, from measuring and cutting the carpet to securing the edges and performing final touches. Following the step-by-step process and using the right tools leads to a visually appealing and long-lasting installation.
Tools and Materials Required
Before you begin attaching the carpet to the plywood, make sure you have the following tools and materials:
- Utility knife or carpet knife
- Measuring tape
- Straight edge or ruler
- Adhesive suitable for carpet installation
- Carpet padding (optional, but recommended for added comfort and insulation)
- Tackless strips or carpet grippers
- Hammer
- Staple gun or heavy-duty staples
- Seam tape (if needed for joining multiple pieces of carpet)
- Carpet trim or transition strips
- Vacuum cleaner
- Broom
- Dustpan
- Protective goggles and gloves
Having these tools and materials ready will ensure that you can complete the carpet installation efficiently and effectively.
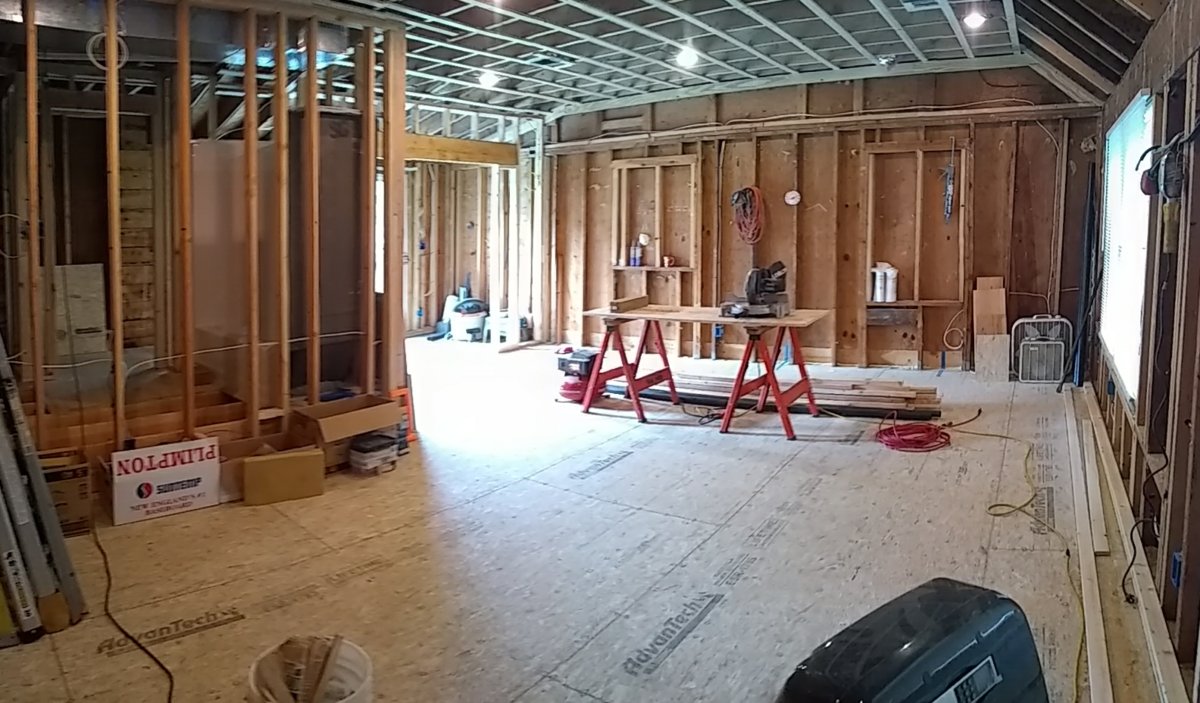
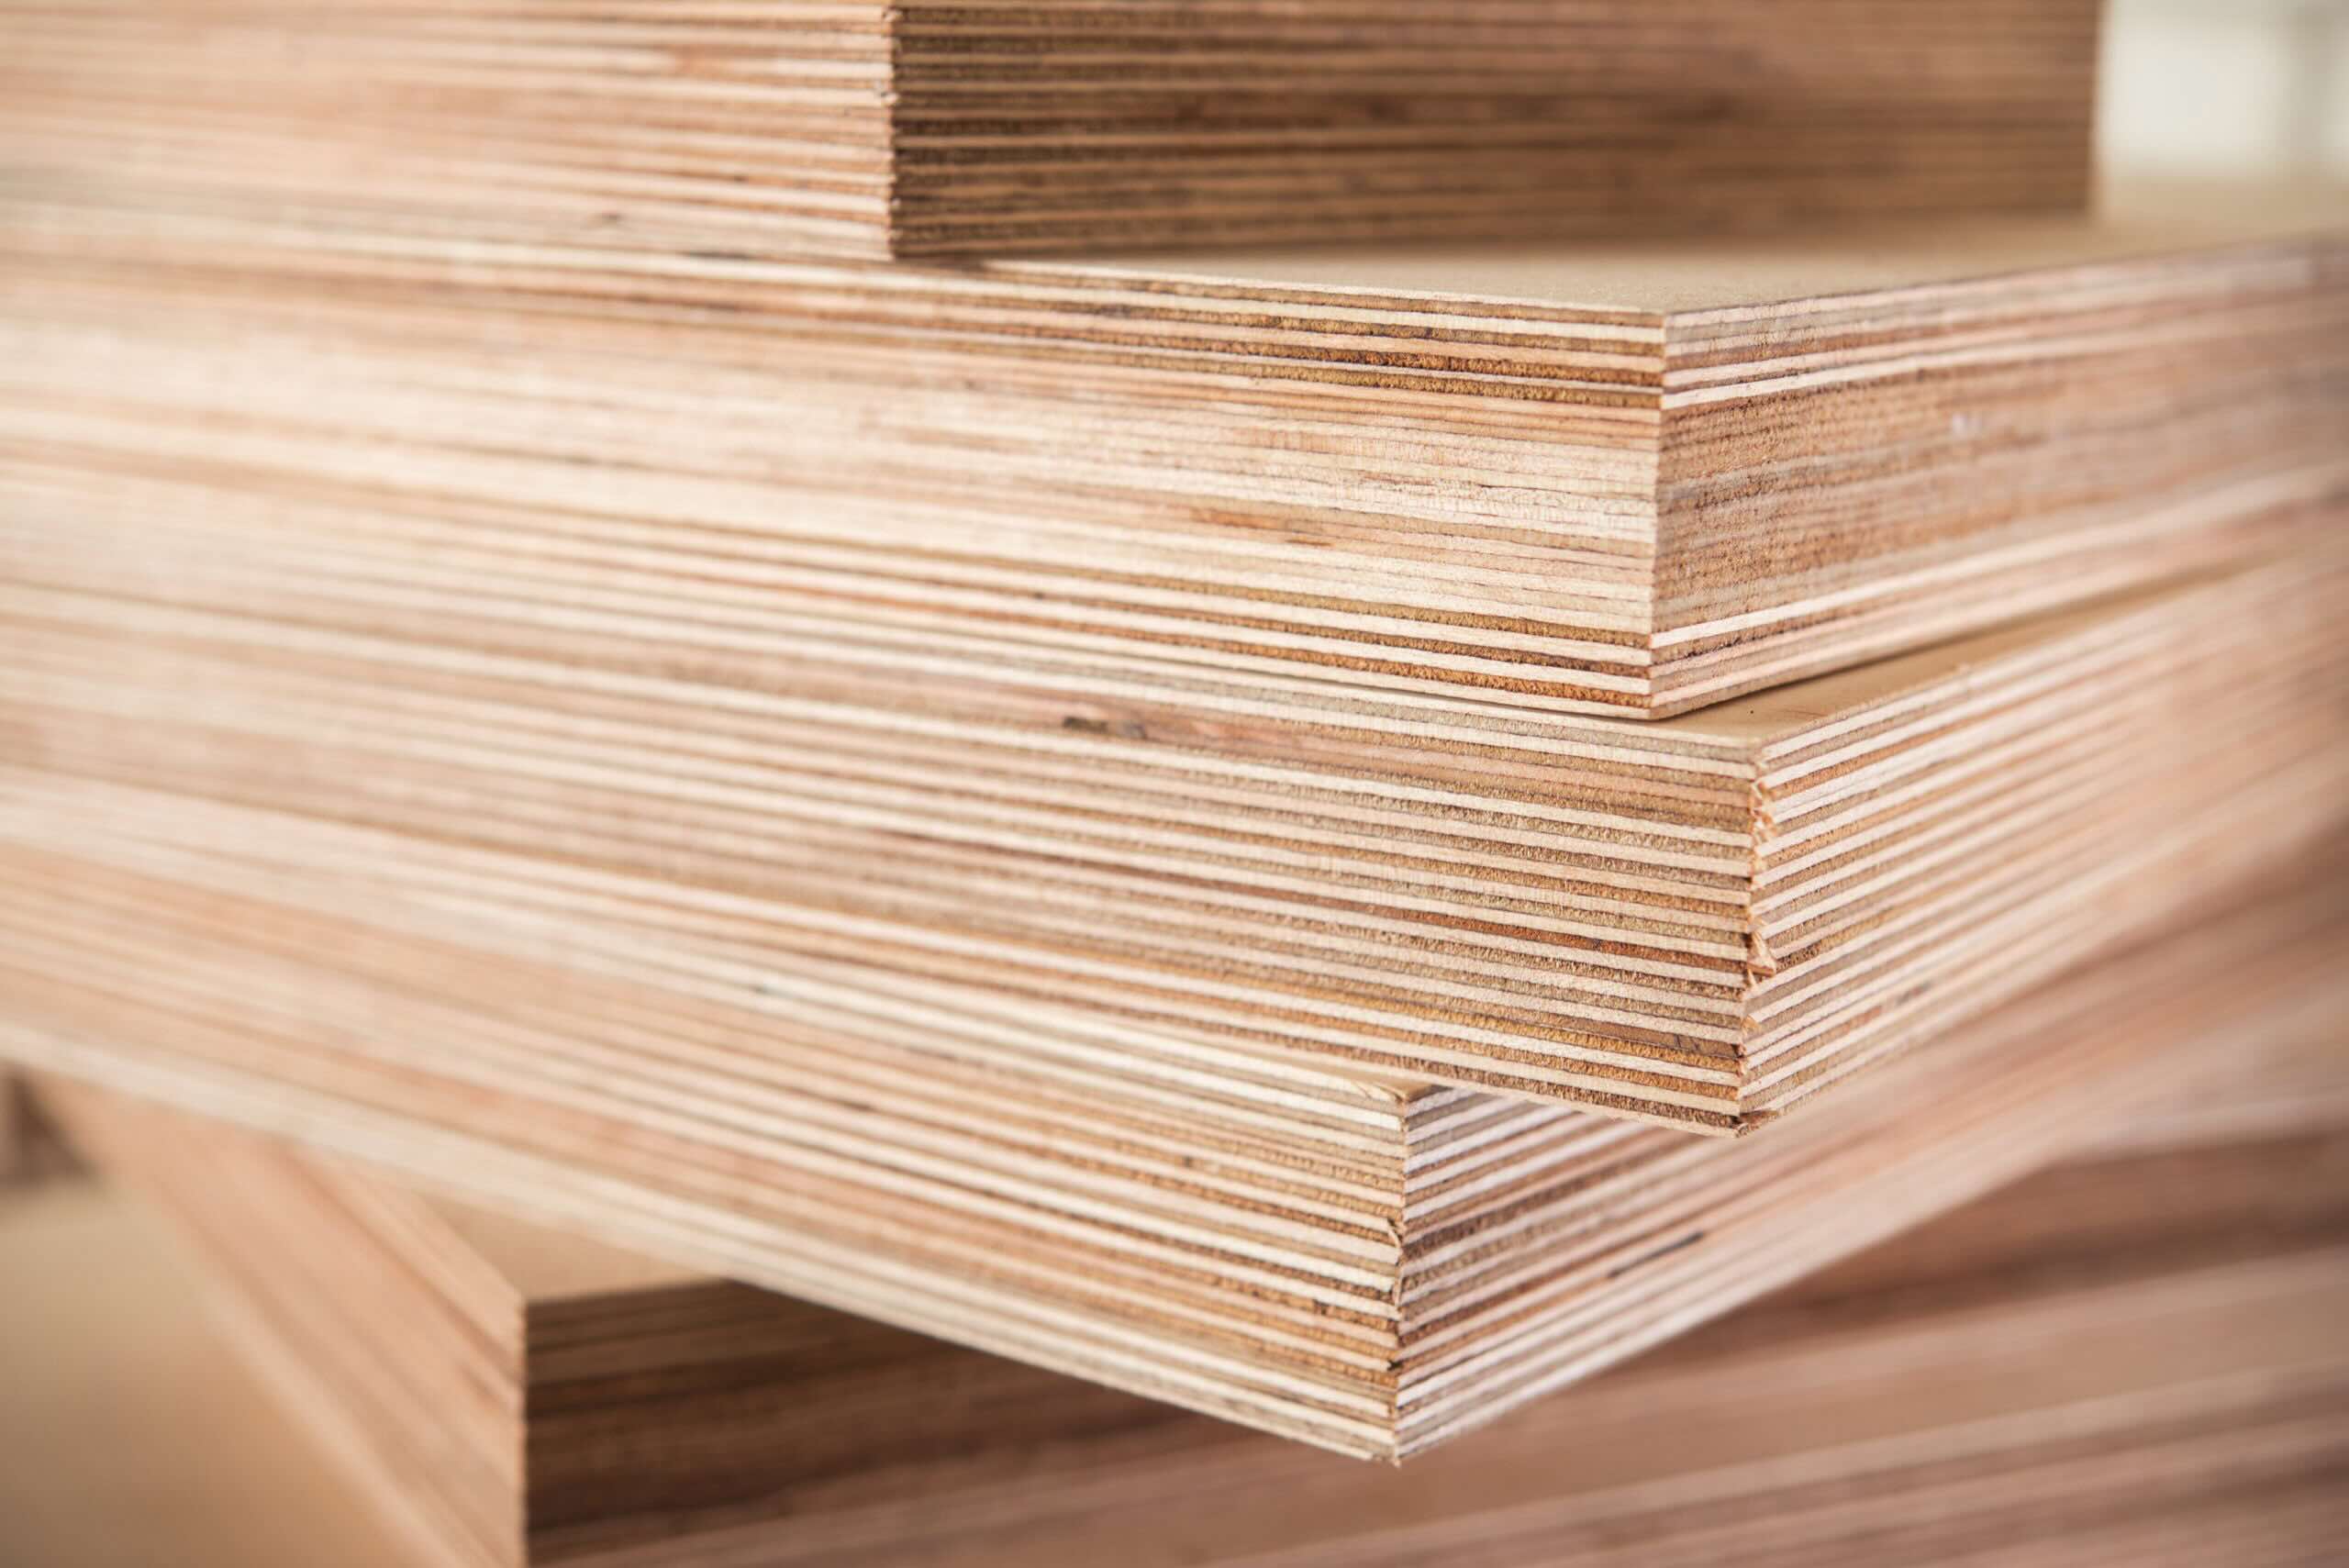
Step 1: Preparing the Plywood
The first step in attaching a carpet to a plywood is to prepare the plywood surface to ensure it is clean, smooth, and free from any debris. Follow these steps:
- Clean the plywood: Start by sweeping or vacuuming the plywood to remove any dirt, dust, or loose particles. Use a broom or vacuum cleaner to ensure the surface is clean.
- Repair any damage: Inspect the plywood for any cracks, holes, or damaged areas. If you come across any, use a wood filler to fill in the gaps and allow it to dry completely. Sand the filled areas to create a smooth surface.
- Sand the plywood: Use sandpaper or a sanding block to lightly sand the entire plywood surface. This helps remove any rough edges or imperfections, resulting in a smoother surface for the carpet installation.
- Remove any protrusions: Check for any nails, staples, or screws sticking out from the plywood. Use a hammer or pliers to carefully remove them, ensuring that the surface is even and free from any obstructions.
By preparing the plywood properly, you create an ideal foundation for the carpet installation, ensuring a smoother and more durable end result.
Step 2: Measuring and Cutting the Carpet
Once you have prepared the plywood surface, the next step is to measure and cut the carpet to fit the dimensions of the area you will be covering. Follow these steps:
- Measure the area: Use a measuring tape to accurately measure the length and width of the plywood surface. Make sure to take into account any corners or protrusions that may require additional measurements.
- Add extra for trimming: It’s a good practice to add a few inches to the measured dimensions to allow for trimming and securing of the carpet. This ensures that you have enough material to work with during the installation process.
- Mark the carpet: Transfer the measurements onto the backside of the carpet using a straight edge or ruler. Use a utility knife or carpet knife to make precise cuts along the marked lines. Take your time to ensure clean and straight cuts.
- Check the fit: After cutting the carpet, place it over the plywood surface to check if it fits properly. Make any necessary adjustments or trims until the carpet aligns neatly with the edges of the plywood.
It’s important to take accurate measurements and make clean cuts to ensure a proper fit and professional-looking finish. Pay attention to details and make small adjustments as needed to achieve the desired result.
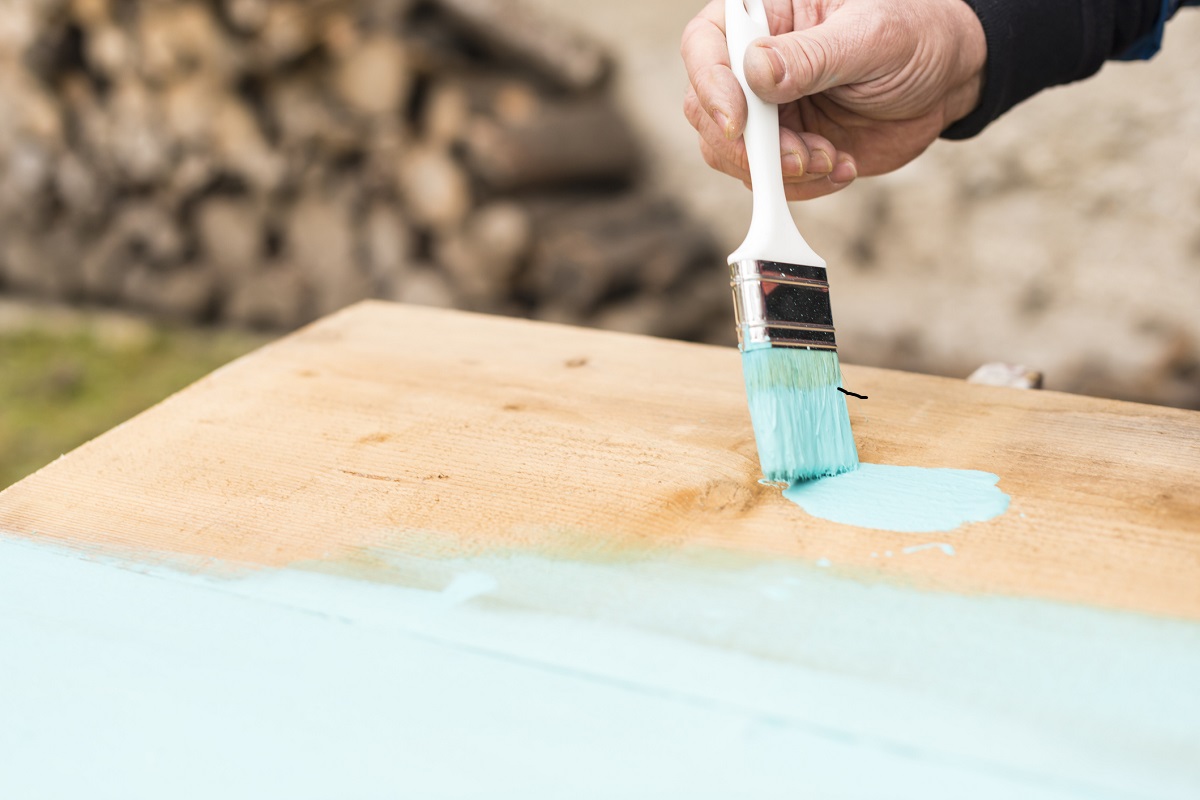
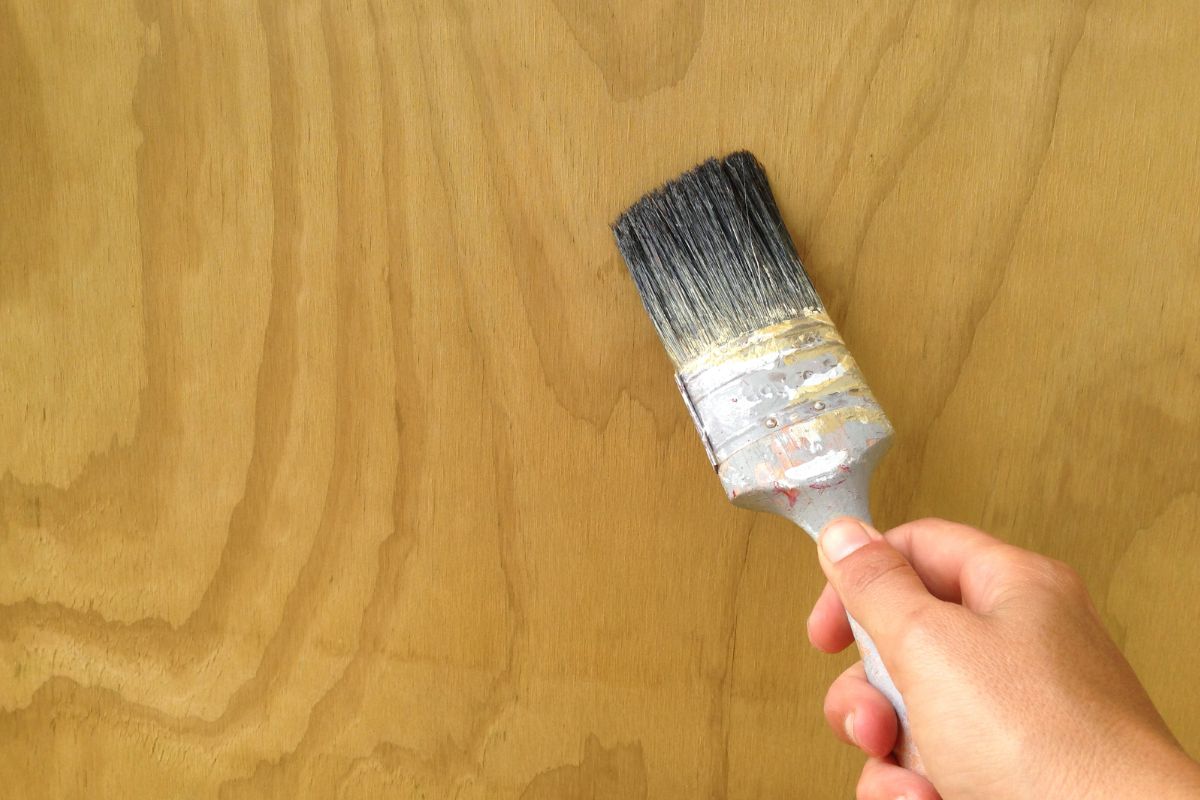
Step 3: Applying Adhesive to the Plywood
Once you have the carpet cut to the desired size, it’s time to apply adhesive to the plywood surface. This will ensure that the carpet stays firmly in place and prevents any wrinkles or movement. Follow these steps:
- Choose the right adhesive: Select an adhesive that is specifically designed for carpet installation on plywood. Check the manufacturer’s instructions for the recommended adhesive type and application method.
- Prepare the adhesive: Follow the instructions on the adhesive label to prepare it for application. This may involve mixing or diluting the adhesive, depending on the specific product requirements.
- Apply the adhesive: Starting at one end of the plywood, use a notched trowel or a foam roller to spread a thin, even layer of adhesive. Work in small sections to ensure that the adhesive remains tacky during the installation process.
- Smooth out the adhesive: Using the flat side of the trowel or a clean rag, lightly smooth out the applied adhesive. This helps to create an even surface and remove any excess adhesive that may ooze out.
It’s crucial to follow the manufacturer’s instructions for the adhesive application and drying time. Allow the adhesive to fully dry and reach its tackiness before proceeding to the next steps of attaching the carpet.
Use a heavy-duty carpet adhesive to attach the carpet to the plywood. Apply the adhesive evenly and press the carpet firmly into place, making sure to smooth out any wrinkles or bubbles. Allow the adhesive to dry completely before walking on the carpet.
Step 4: Attaching the Carpet to the Plywood
With the adhesive applied and dry, it’s time to attach the carpet to the plywood. This step involves carefully positioning the carpet and ensuring that it is secured in place. Follow these steps:
- Starting point: Begin at one corner of the plywood. Align the edge of the carpet with the corresponding edge of the plywood. Ensure that there is a slight excess of carpet extending beyond the plywood edge.
- Press down: Working from the starting point, press the carpet firmly onto the adhesive. Smooth out any wrinkles or air bubbles by using your hands or a carpet roller. Make sure the carpet adheres evenly and securely to the plywood.
- Continue the process: Move along the length or width of the plywood, gradually pressing down the carpet and smoothing it out as you go. Take your time to ensure an even and tight fit on the plywood surface.
- Avoid stretching: Be cautious not to stretch the carpet excessively as you attach it to the plywood. This can cause ripples or distortions in the carpet’s appearance. Allow the carpet to lay naturally and smoothly without any unnecessary tension.
- Trim excess: As you attach the carpet, trim any excess material that extends beyond the edges of the plywood. Use a utility knife or carpet knife to make precise cuts, following the shape of the plywood.
By following these steps, you can ensure a secure and professional installation of the carpet onto the plywood. Take your time and pay attention to detail to achieve the best result.
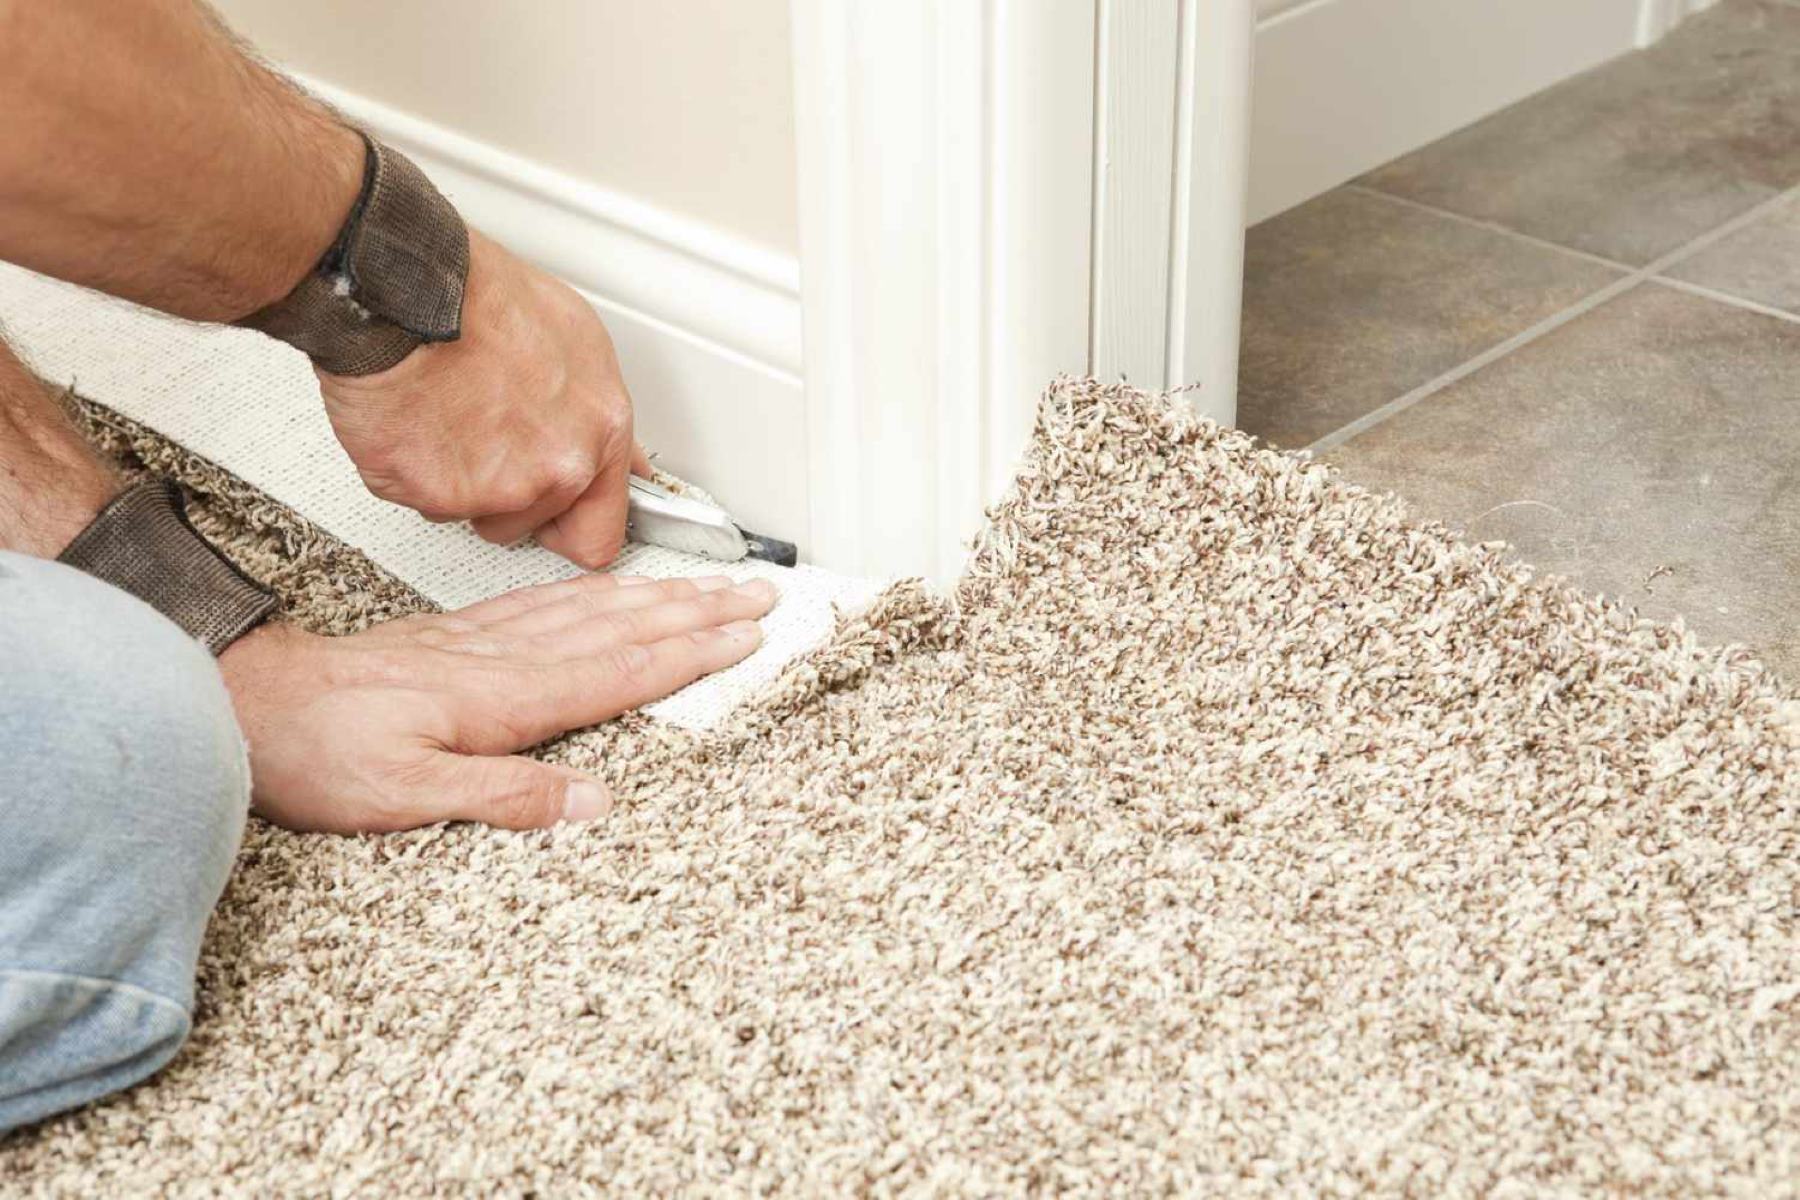
Step 5: Trimming Excess Carpet
After attaching the carpet to the plywood, there may be some excess material that extends beyond the edges. Trimming this excess ensures a neat and finished appearance. Follow these steps to trim the excess carpet:
- Mark the cut line: Use a straight edge or ruler to mark a cut line along the edge of the plywood where you want to trim the excess carpet. Make sure the line is straight and aligned with the edge.
- Cut the carpet: Using a utility knife or carpet knife, carefully cut along the marked line. Apply gentle, even pressure to ensure a clean and precise cut. Take your time and follow the line closely.
- Remove the excess: Once you have made the cut, carefully lift and remove the excess carpet from the plywood. Dispose of the trimmings properly.
- Check for any uneven edges: After trimming, inspect the cut edges of the carpet to ensure they are smooth and even. If necessary, use the utility knife to make small adjustments or trim any jagged edges.
Trimming the excess carpet gives your installation a polished and professional look. By paying attention to detail during this step, you can achieve clean and precise edges that blend seamlessly with the plywood surface.
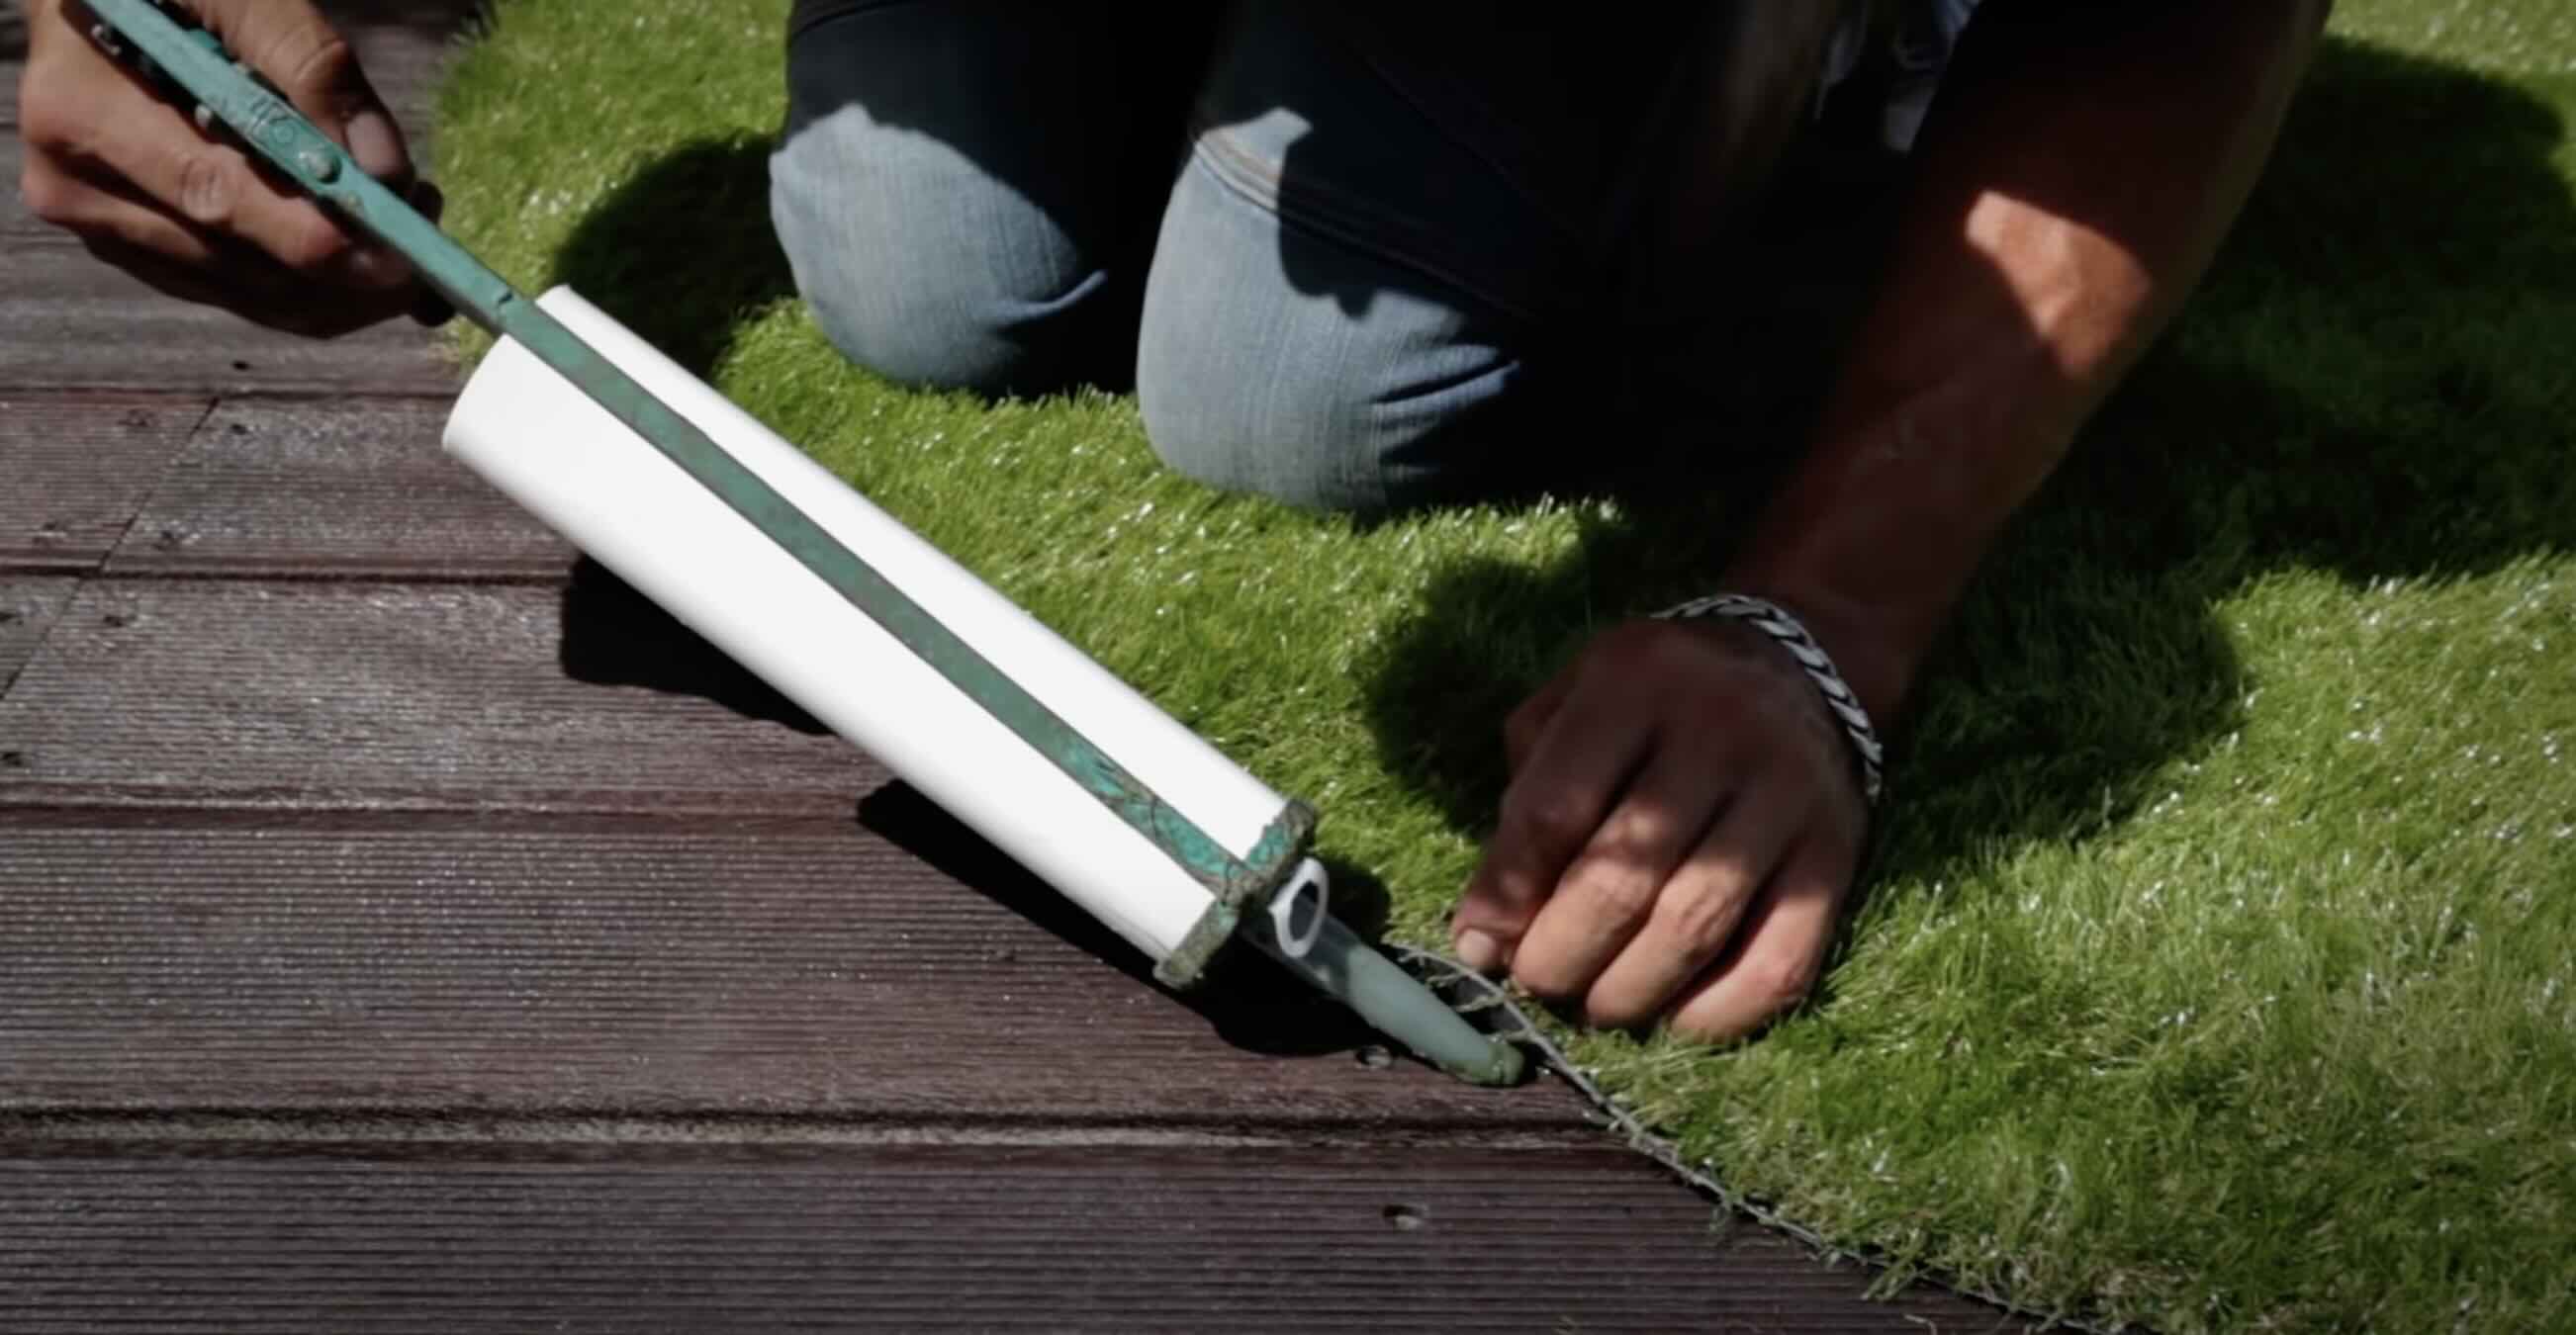
Step 6: Securing the Edges
Securing the edges of the carpet is an essential step to ensure that it remains in place and doesn’t unravel or become loose over time. Follow these steps to securely fasten the carpet edges:
- Install tackless strips or carpet grippers: Along the edges of the plywood, install tackless strips or carpet grippers. These are thin strips with sharp tacks or teeth that grip onto the carpet and keep it in place. Make sure to leave a small gap between the edge of the carpet and the strip for a snug fit.
- Press down onto the tackless strips: Starting at one corner, press the edge of the carpet down firmly onto the tackless strip. Use a carpet knee kicker or a blunt object to push the carpet into the teeth or tacks, ensuring a secure grip.
- Repeat for all edges: Move along the perimeter of the carpet, pressing down and securing each edge onto the tackless strips or carpet grippers. Use a knee kicker or a carpet stair tool to help position and stretch the carpet for a tight fit.
- Check for any loose areas: After securing the edges, carefully walk or crawl on the carpet to ensure it is properly attached and doesn’t have any loose or flappy areas. If you come across any, reposition and reattach them using the aforementioned steps.
- Trim excess carpet: Trim any excess carpet that extends beyond the tackless strips or carpet grippers. Use a utility knife or carpet knife to make clean cuts, following the contour of the edge.
Securing the edges of the carpet is vital for its stability and longevity. By properly attaching the edges to the tackless strips or carpet grippers, you ensure a secure and professional finish to your carpet installation.
Step 7: Final Touches and Cleaning Up
With the carpet securely attached to the plywood and the edges properly secured, it’s time to focus on the final touches and cleaning up the work area. Follow these steps to complete the carpet installation process:
- Trim and secure any loose threads: Use a pair of sharp scissors to carefully trim any loose threads or fibers on the carpet surface. This will give the carpet a neat and polished appearance.
- Install carpet trim or transition strips: If you have any exposed edges or transitions between the carpet and other types of flooring, install carpet trim or transition strips. These will provide a seamless and professional transition between different flooring materials.
- Vacuum the carpet: Use a vacuum cleaner to thoroughly clean the installed carpet. This will remove any debris, dust, or loose fibers, leaving your carpet looking fresh and clean.
- Clean up the work area: Gather and dispose of any carpet trimmings, packaging materials, or debris from the installation process. Use a broom and dustpan to sweep up any remaining dirt or debris on the plywood surface.
- Inspect the installation: Take a final look at the carpet installation to ensure that everything looks as desired. Check for any loose areas, uneven seams, or imperfections. Make any necessary adjustments or repairs as needed.
Completing the final touches and cleaning up the work area not only enhances the visual appeal of the carpet installation but also ensures that the area is tidy and ready for use.
With the completion of these steps, you have successfully attached a carpet to a plywood surface. The result is a professionally installed carpet that adds warmth, comfort, and style to your space. Enjoy your newly carpeted floor!
Read more: How To Store Plywood
Conclusion
Attaching a carpet to a plywood can be a rewarding and satisfying project that adds beauty and comfort to any space. By following the step-by-step process outlined in this guide, you can achieve a professional-looking carpet installation that will stand the test of time.
From preparing the plywood surface to accurately measuring and cutting the carpet, applying adhesive, and securely attaching the carpet edges and making the necessary trims, each step plays a crucial role in ensuring a successful installation. By paying attention to detail and using the right tools and materials, you can create a seamless and visually appealing carpeted floor.
Remember to take your time, follow the manufacturer’s instructions for the adhesive, and make any necessary adjustments along the way. A well-installed carpet not only enhances the aesthetics of a room but also provides added comfort, insulation, and soundproofing.
Once your carpet is installed, don’t forget to perform regular maintenance, including vacuuming and spot cleaning, to keep it looking and feeling its best. With proper care, your carpeted plywood floor will continue to bring comfort and style to your space for years to come.
So, what are you waiting for? Get your tools ready, follow the steps outlined in this guide, and enjoy the satisfaction of a successful carpet installation on your plywood surface!
Frequently Asked Questions about How To Attach A Carpet To A Plywood
Was this page helpful?
At Storables.com, we guarantee accurate and reliable information. Our content, validated by Expert Board Contributors, is crafted following stringent Editorial Policies. We're committed to providing you with well-researched, expert-backed insights for all your informational needs.