Articles
How To Turn On Kitchenaid Induction Stove Top
Modified: December 7, 2023
Discover the step-by-step guide on how to turn on your Kitchenaid induction stove top! Read more articles for helpful tips and tricks.
(Many of the links in this article redirect to a specific reviewed product. Your purchase of these products through affiliate links helps to generate commission for Storables.com, at no extra cost. Learn more)
Introduction
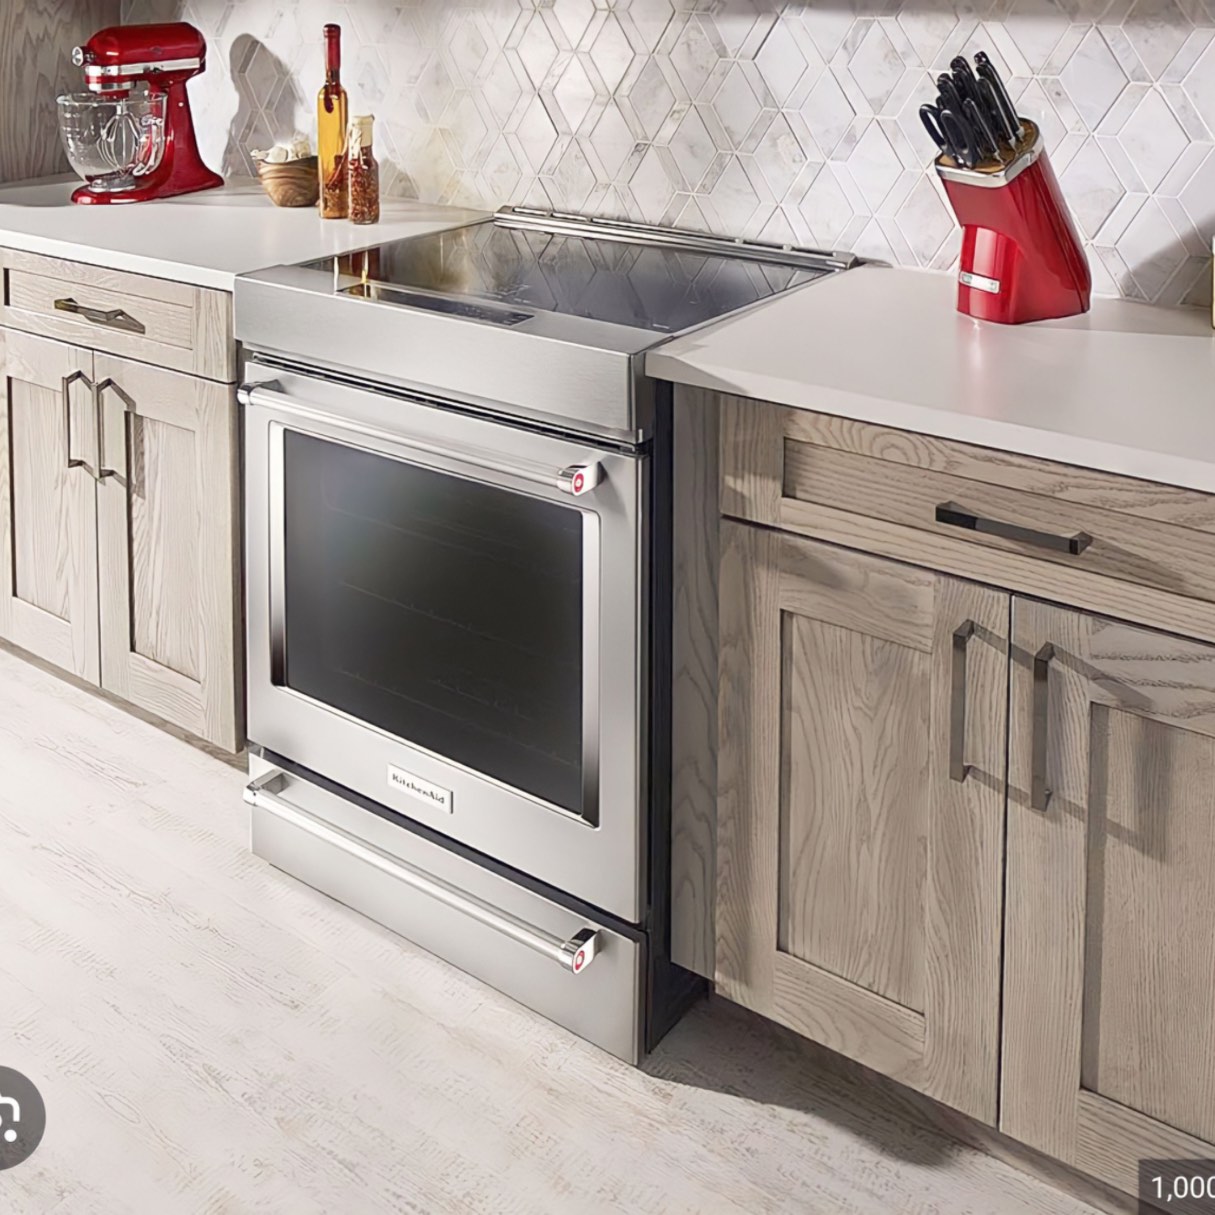
Welcome to the world of Kitchenaid induction stove tops! Cooking with induction technology offers a fast, precise, and efficient way to prepare your favorite meals. Whether you’re a seasoned chef or a beginner in the kitchen, this comprehensive guide will walk you through the process of turning on your Kitchenaid induction stove top and getting it ready for cooking.
Before we dive into the steps, it’s important to note that safety should always be your top priority. Please read and follow the safety precautions provided by Kitchenaid to ensure a safe and enjoyable cooking experience. Now, let’s get started!
Key Takeaways:
- Safety first! Before using your Kitchenaid induction stove top, familiarize yourself with the safety precautions, power connection, and control panel. Enjoy the benefits of induction cooking while ensuring a secure and enjoyable cooking environment.
- Master the art of induction cooking by learning how to activate the stove, select cooking zones, adjust heat settings, program the timer, and explore special features. Unleash your culinary creativity and savor the delicious results!
Read more: How To Turn On Empava Stove Top
Safety Precautions
Before operating your Kitchenaid induction stove top, it’s essential to take the necessary safety precautions to prevent any accidents. Here are some important guidelines to keep in mind:
- Read the user manual: Familiarize yourself with the specific safety instructions provided by Kitchenaid. This will help you understand the appliance’s features, functions, and potential hazards.
- Keep the area clear: Ensure that there are no flammable materials, such as paper or plastic, near the cooktop. This reduces the risk of fire hazards.
- Use appropriate cookware: Only use cookware that is compatible with induction cooking. Look for the induction symbol on the bottom of the pots and pans. Avoid using cookware made of materials that are not suitable for induction, such as aluminum or copper.
- Check for damages: Before using the stove top, inspect the cooktop surface for any cracks, chips, or other damages. If you notice any, do not use the appliance and contact Kitchenaid for assistance.
- Keep children and pets away: Always create a safe distance between the stove top and any young children or pets. The surface can heat up quickly, and accidental contact can lead to burns.
- Never leave the stove unattended: While cooking, it’s important to remain in the kitchen and closely monitor the stove. This ensures that you can quickly address any issues and prevent accidents.
- Unplug when not in use: When you’re finished cooking, make sure to unplug the stove top to prevent any accidental operation or potential electrical hazards.
By following these safety precautions, you can enjoy the benefits of your Kitchenaid induction stove top and have peace of mind while cooking.
Step 1: Familiarize Yourself with the Stove
Before you start using your Kitchenaid induction stove top, it’s important to familiarize yourself with its components and functions. This will help you navigate the controls and settings with ease. Here’s a breakdown of the key features:
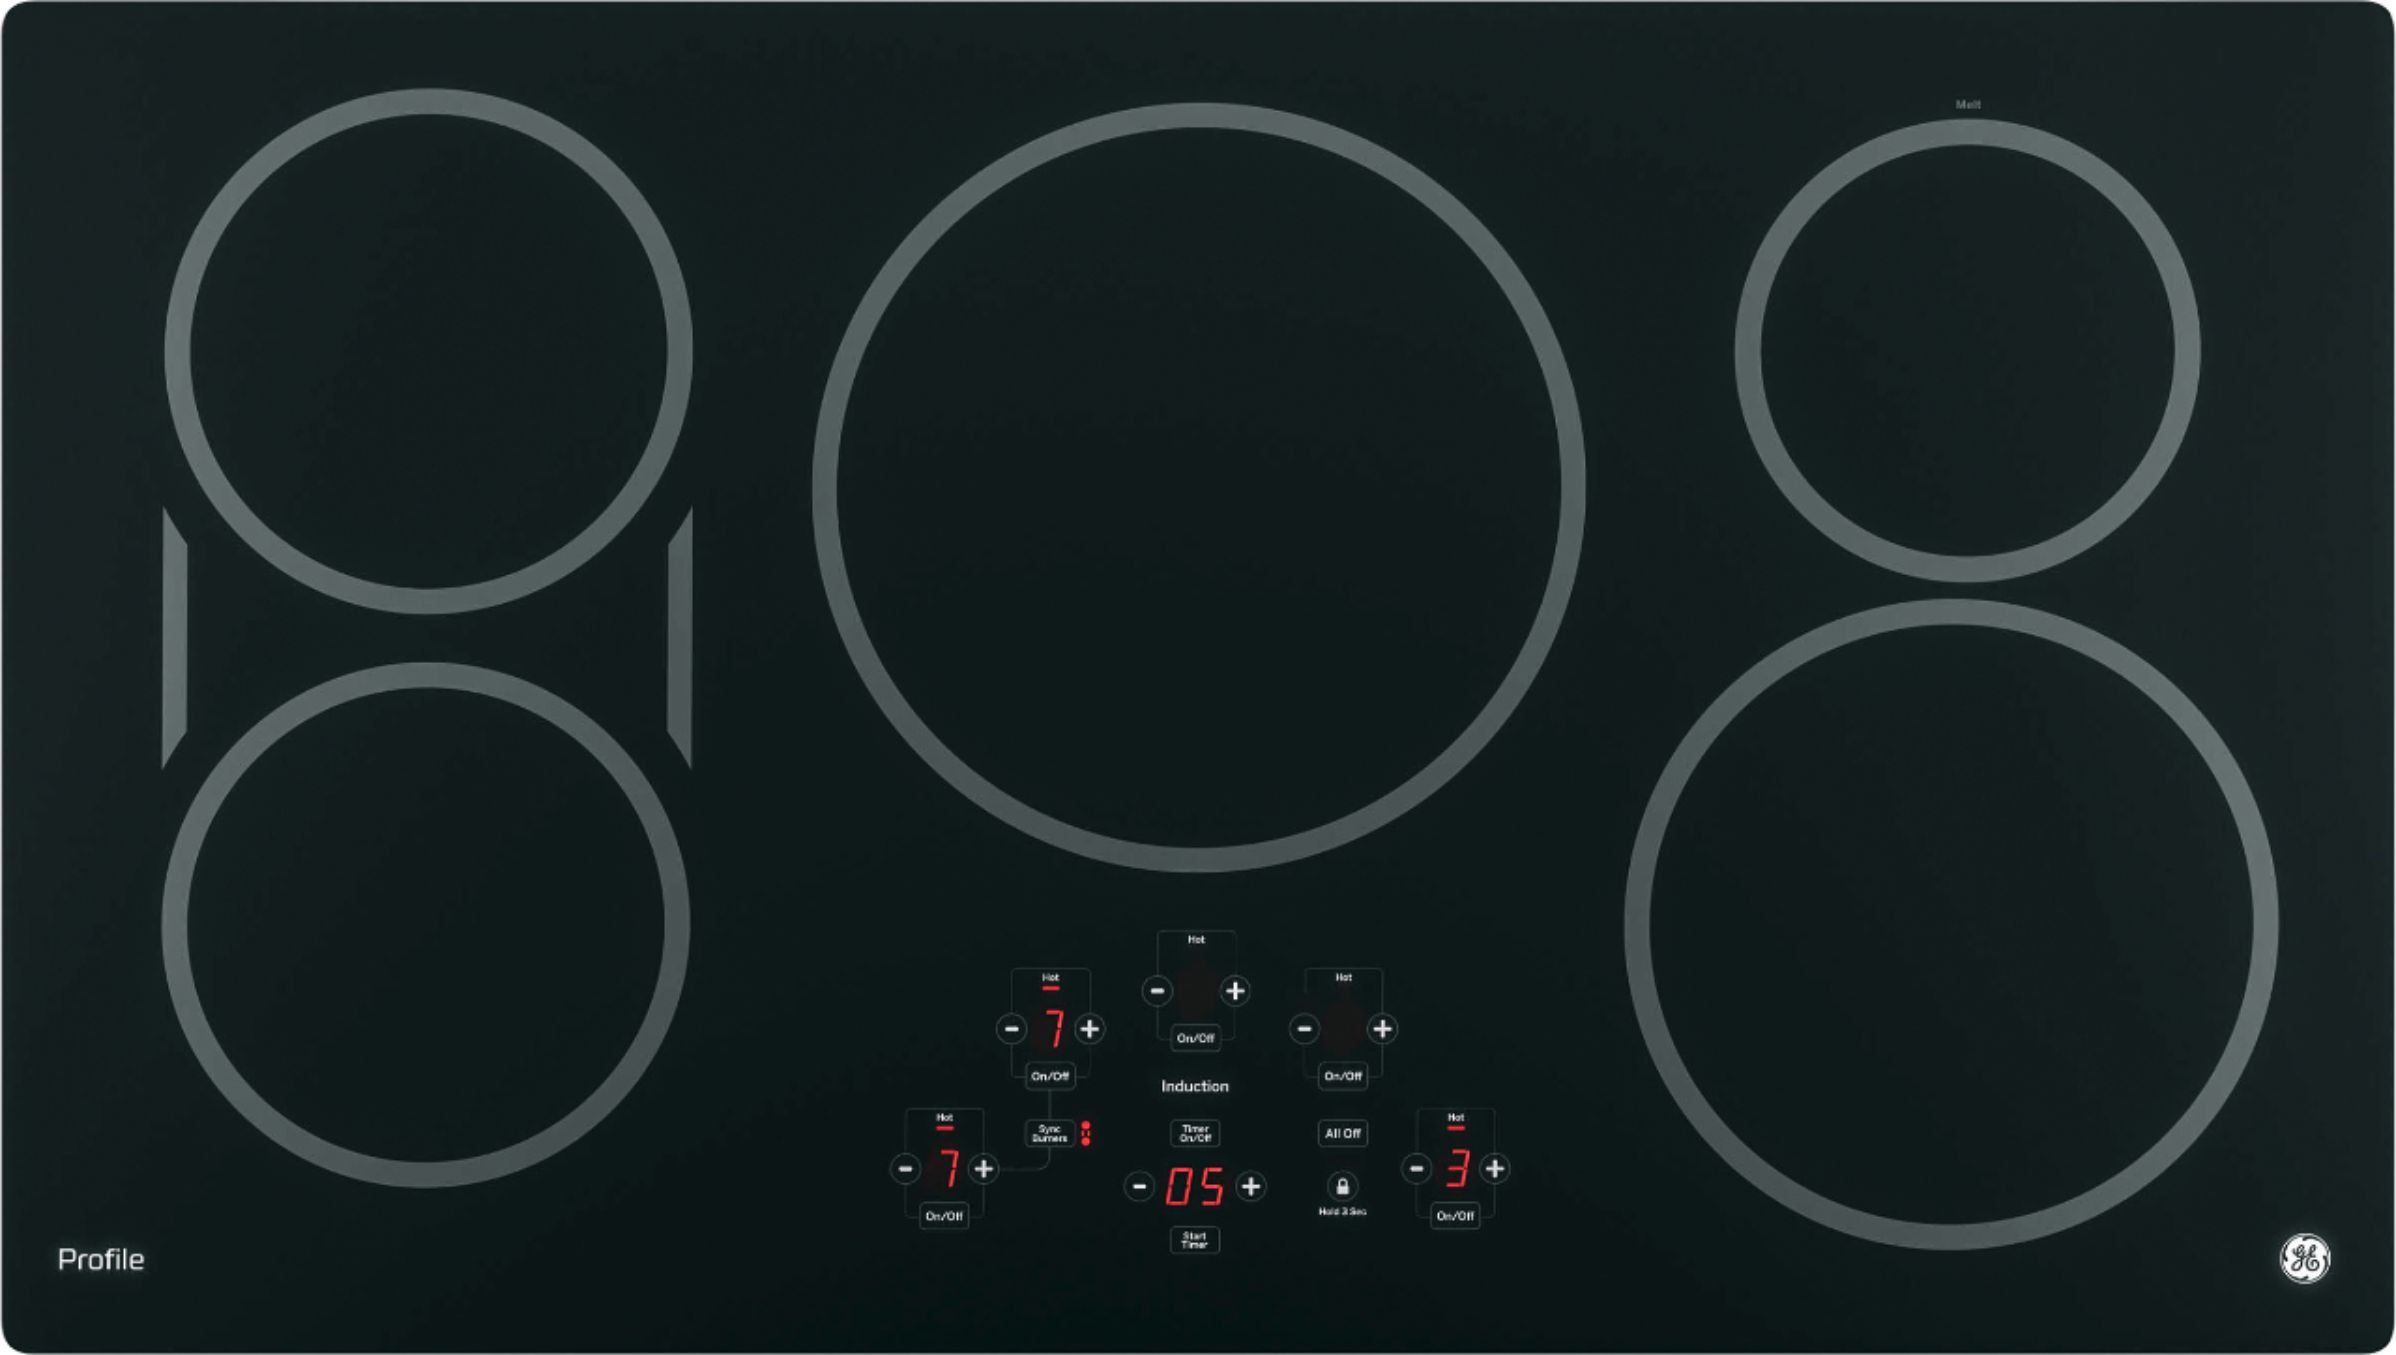
Control Panel: The control panel is where you’ll find the various buttons and knobs to control the stove top. Familiarize yourself with the layout and labeling of the controls. This will make it easier for you to navigate the settings.
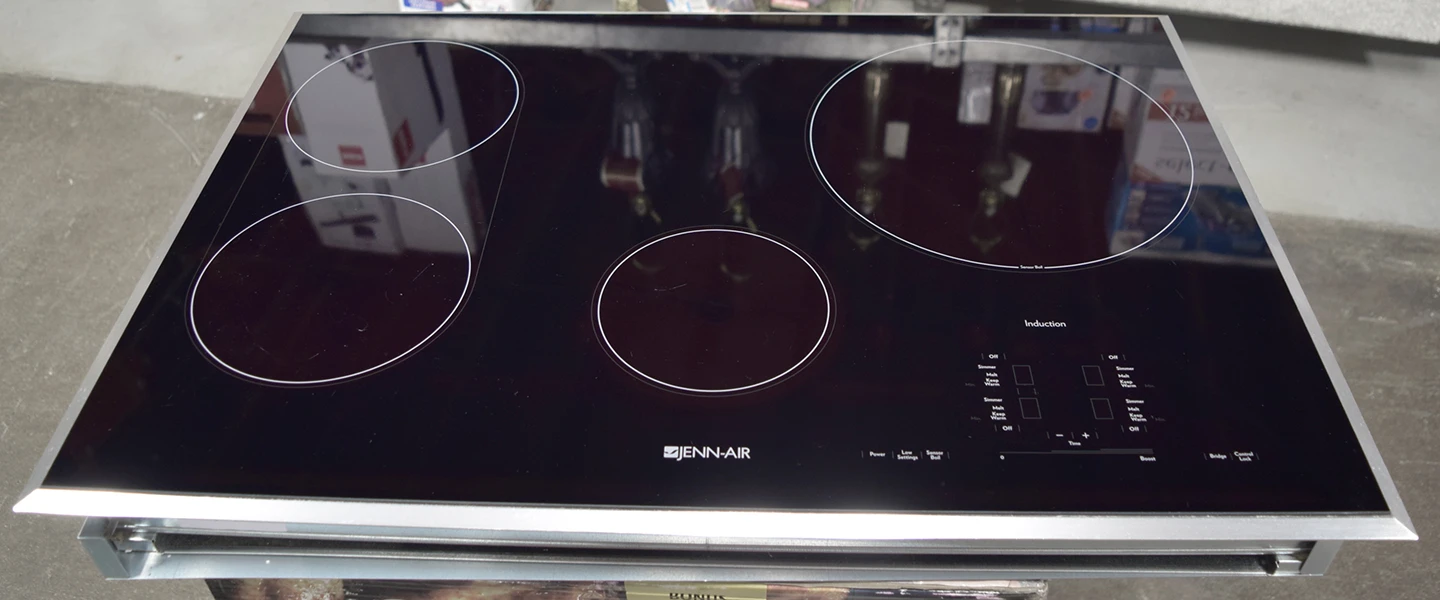
Cooking Zones: Induction stove tops typically have multiple cooking zones that allow you to cook on different portions of the surface simultaneously. These zones are marked with outlines or symbols on the cooktop. Take note of the location and size of each cooking zone.
Power Button: Look for the power button on the control panel. This button turns the stove top on and off. It is usually represented by a simple power symbol. Press the button to turn on the stove top.
Display Panel: The display panel shows the current settings, such as heat levels, cooking time, and special features. It provides you with real-time feedback on the stove top’s status.
Heat Settings: Induction stove tops offer precise heat control. Familiarize yourself with the heat settings available on your stove top. These settings are usually indicated by numbers or temperature markings.
Timer: Many induction stove tops come with a built-in timer feature. This allows you to program the cooking time for each cooking zone. Take note of how to set and adjust the timer function.
Special Features: Some Kitchenaid induction stove tops have additional features, such as a boost function for faster heat-up, a simmer function for low-heat cooking, and a keep warm function to maintain the temperature of cooked food. Learn about these special features and how to utilize them.
By familiarizing yourself with these components and features, you will feel more confident in operating your Kitchenaid induction stove top. Once you’re comfortable with the stove, you can move on to the next step: connecting the power.
Step 2: Power Connection
Before you can start using your Kitchenaid induction stove top, you need to ensure that it is properly connected to a power source. Follow these steps to connect the power:
- Locate the power cord: The power cord is usually located at the back of the stove top. It may be attached to the stove itself or come separately. Ensure that the power cord is in good condition and free from any damages.
- Locate a suitable power outlet: Position your Kitchenaid induction stove top close to a power outlet. Make sure that the outlet is easily accessible and within reach of the power cord.
- Plug in the power cord: Insert the plug of the power cord into the power outlet. Ensure that it is securely connected.
- Power on the stove: Once the power cord is plugged in, locate the power button on the control panel. Press the power button to turn on the Kitchenaid induction stove top.
- Verify the power indicator: Check the display panel to ensure that the stove top has been successfully powered on. Look for the power indicator or any other visual cue that indicates the stove is ready for use.
It’s important to note that for safety reasons, it is recommended to have a qualified electrician perform the power connection. They will ensure that the electrical wiring and power supply meet the necessary requirements.
Once the power connection is established and the stove top is powered on, you can proceed to the next step: turning on the induction stove top.
Step 3: Turning on the Induction Stove Top
Now that your Kitchenaid induction stove top is properly connected to the power source, it’s time to turn it on. Follow these steps to activate the stove top:
- Ensure the power is on: Confirm that the stove top is powered on by checking the display panel. Look for the power indicator or any other visual cue that signifies the stove is ready for use.
- Locate the power control button: On the control panel, locate the power control button. This button is generally represented by a power symbol. Press it once to activate the stove top.
- Observe the standby mode: After pressing the power control button, the stove top will enter the standby mode. In this mode, the cooking zones will be inactive, and the display panel will show the default settings or a blank screen.
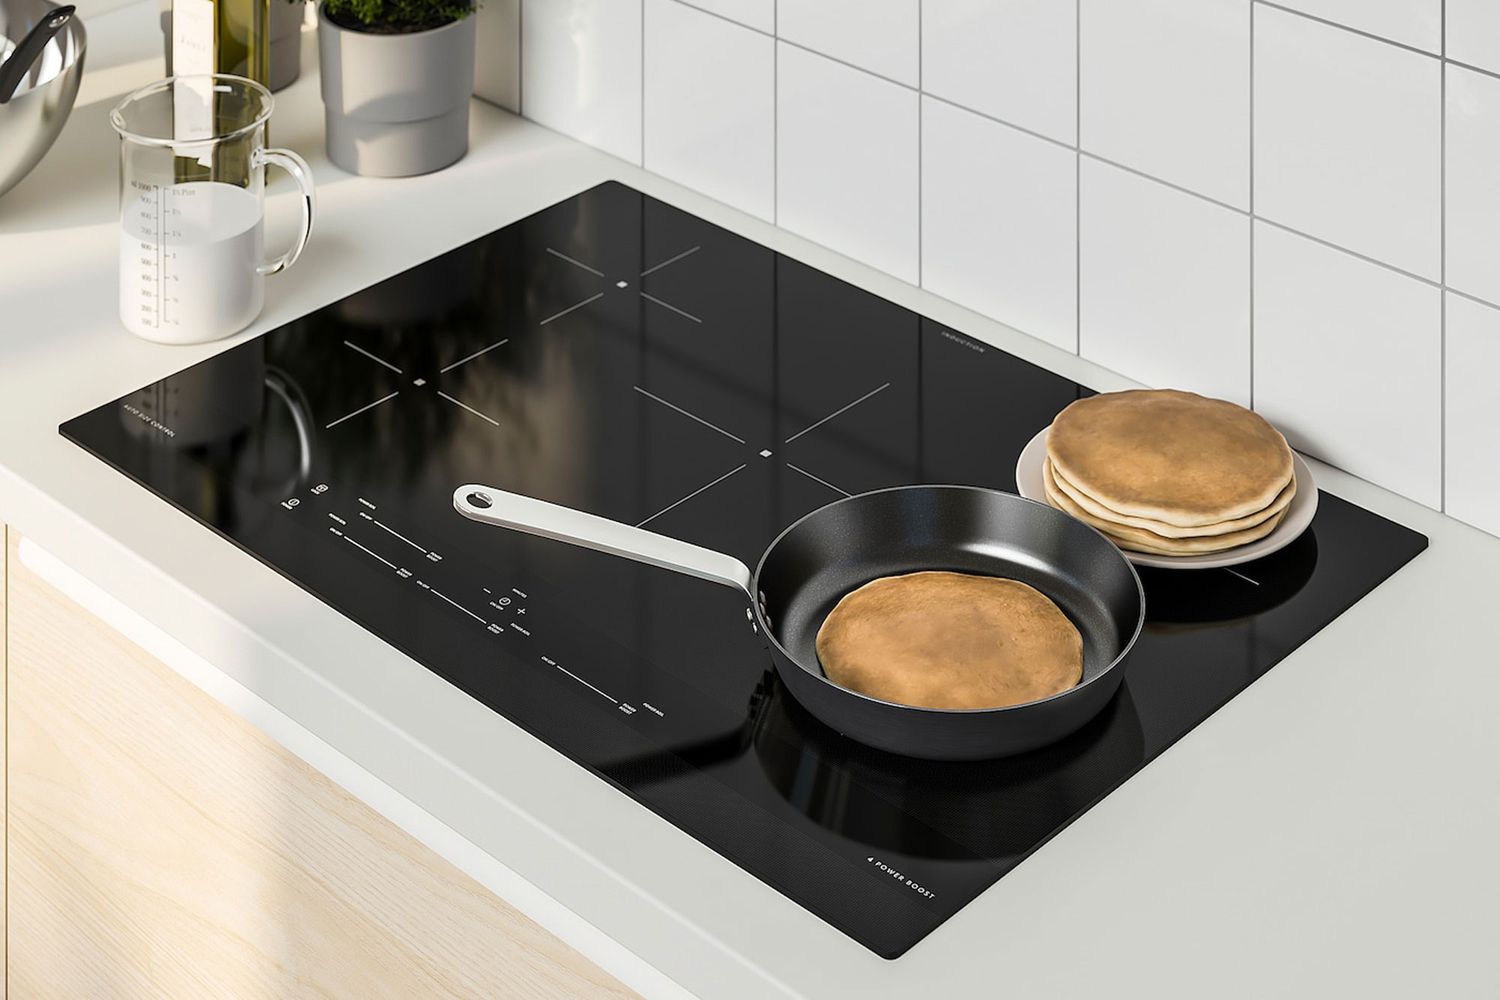
- Select a cooking zone: Choose the cooking zone you wish to use. Most induction stove tops have multiple cooking zones, each with its own controls. Identify the cooking zone that aligns with the size and location of your cookware.
- Activate the cooking zone: To activate the chosen cooking zone, touch the corresponding control area on the control panel. This area is usually marked with indicators or labels that match the outlines or symbols on the cooktop.
- Monitor the zone activation: After activating the cooking zone, the display panel will indicate that it is ready for use. You may see the default heat setting, such as “H” or “0”.
Once you have successfully turned on the induction stove top and activated the desired cooking zone, you are ready to proceed to the next step: selecting the heat settings.
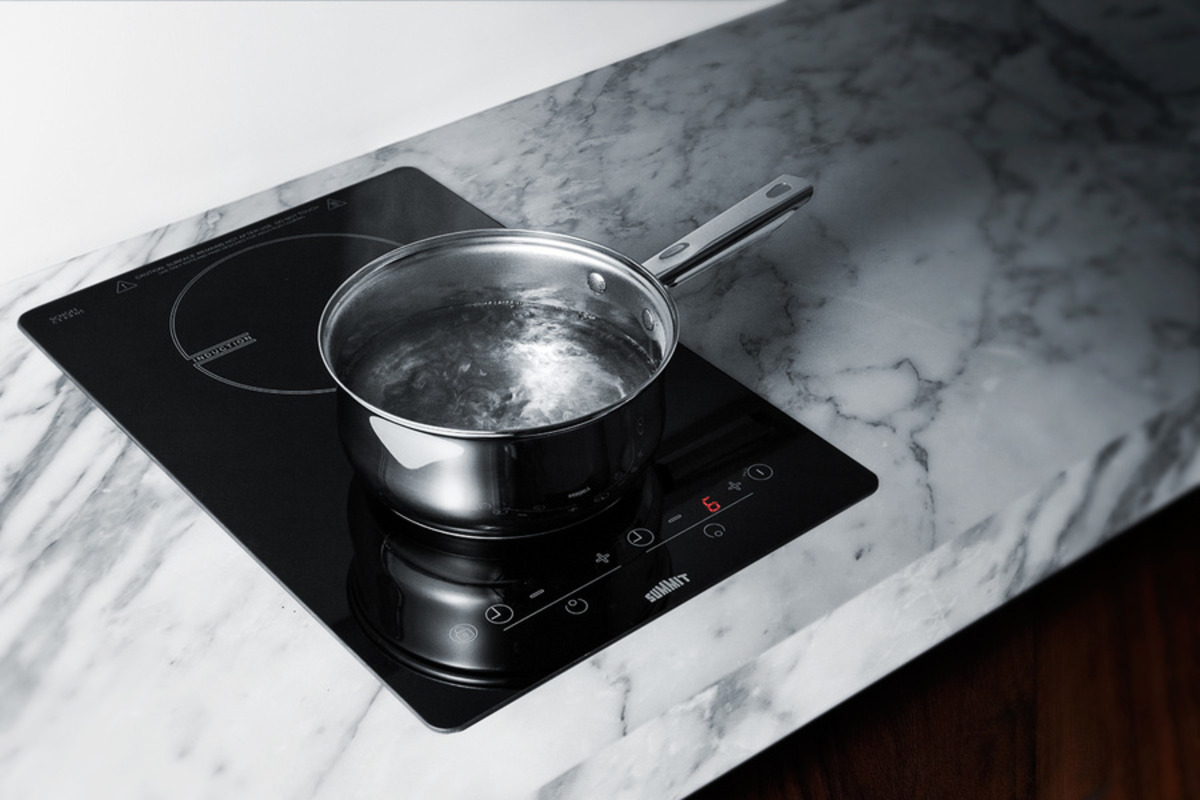
Make sure the induction-compatible cookware is placed on the cooking zone. Press the power button, then select the desired cooking zone and adjust the heat level using the “+” and “-” buttons.
Read more: How To Use Kitchenaid Induction Cooktop
Step 4: Selecting the Desired Cooking Zone
With your Kitchenaid induction stove top turned on, it’s time to select the desired cooking zone for your culinary masterpiece. Follow these steps to choose the appropriate cooking zone:
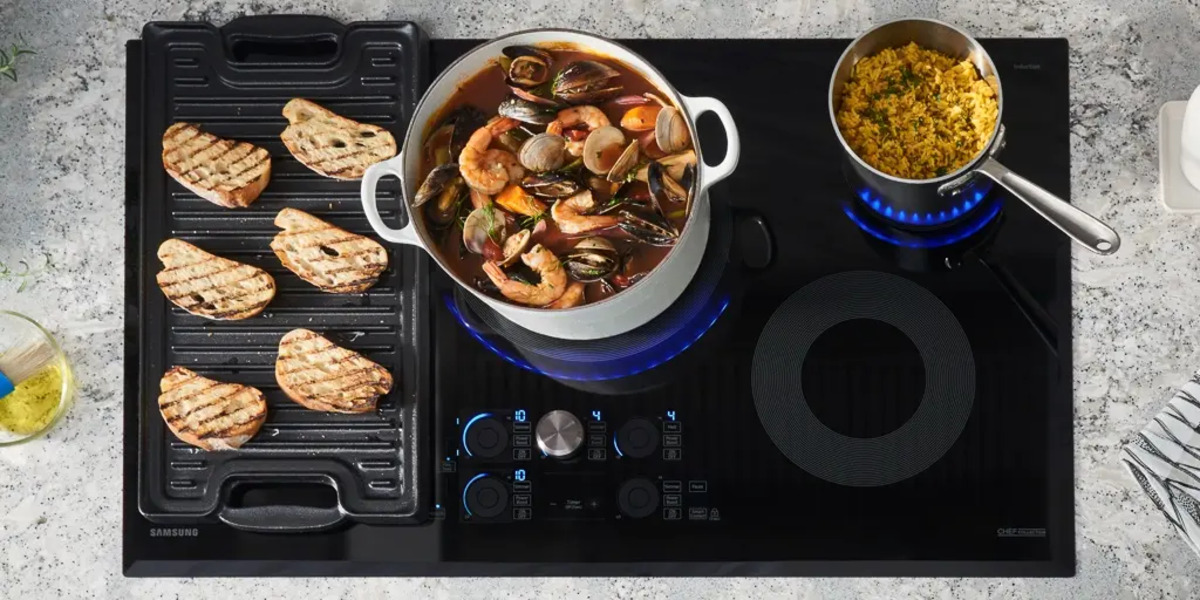
- Identify the cooking zones: Take a moment to identify the different cooking zones on your induction stove top. They are usually marked with outlines or symbols on the cooktop surface.
- Match the cookware size: Consider the size of your cookware and match it with the appropriate cooking zone. It’s important to use a cooking zone that accommodates the base diameter of your pot or pan for efficient and even heat distribution.
- Tap the control area: Once you’ve identified the suitable cooking zone, tap the corresponding control area on the control panel. This control area is usually labeled or indicated with the same outline or symbol as the cooking zone on the cooktop surface.
- Confirm the zone selection: Check the display panel to confirm that the selected cooking zone is active. The display panel will typically show the default heat setting for the zone, such as “H” or “0”.
- Adjust the zone selection: If you realize that you’ve chosen the wrong cooking zone, you can change your selection by tapping a different control area on the control panel.
- Recheck the zone activation: After selecting the desired cooking zone, double-check that it’s properly activated by observing the display panel. It should show the default heat setting or the setting that was last used on that particular zone.
By following these steps, you can easily select the appropriate cooking zone for your specific cooking needs. Once the cooking zone is selected, you can move on to the next step: adjusting the heat settings.
Step 5: Adjusting the Heat Settings
After selecting the desired cooking zone on your Kitchenaid induction stove top, it’s time to adjust the heat settings to achieve the perfect cooking temperature. Here’s how you can do it:
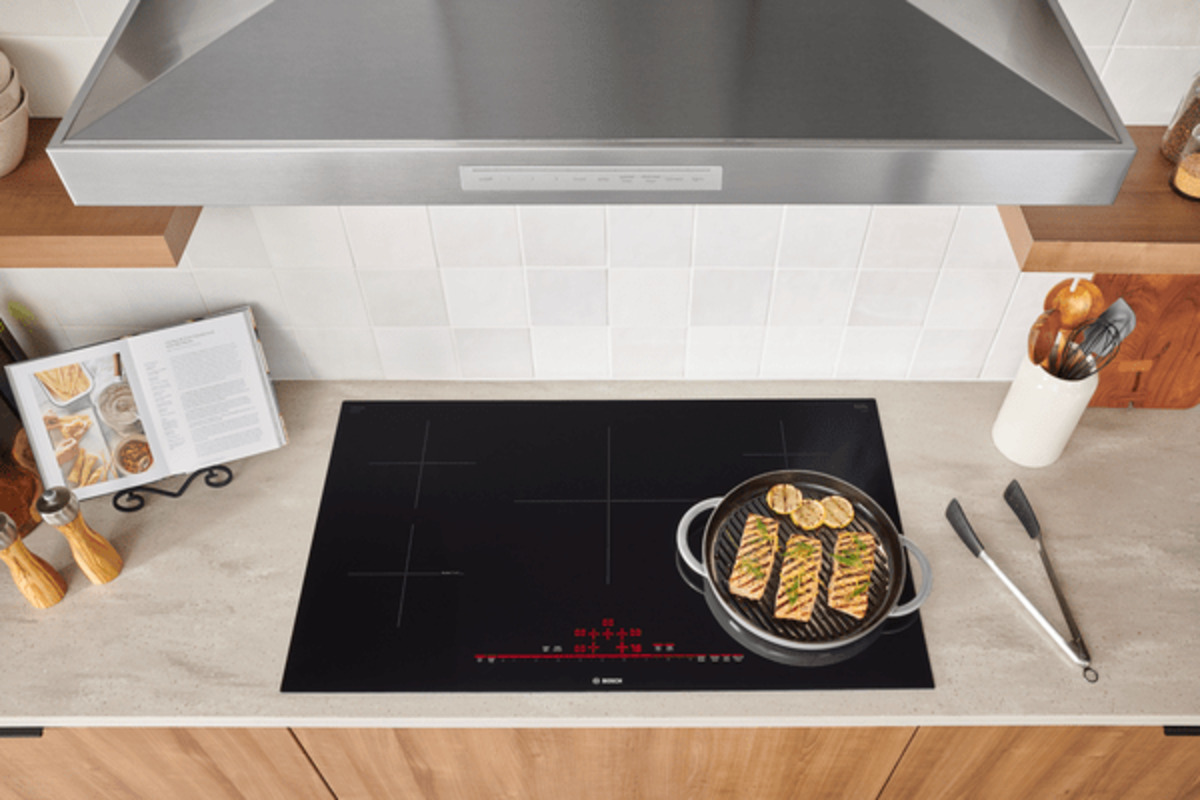
- Locate the heat control buttons or knobs: On the control panel, you will find buttons or knobs that allow you to adjust the heat settings for each cooking zone. They are usually labeled with numbers or temperature indicators.
- Understand the heat levels: Take a moment to familiarize yourself with the range of heat levels available on your induction stove top. The numbers or temperature indicators represent different levels of heat, with higher numbers indicating higher heat.
- Start at a lower heat setting: To start, it’s generally recommended to set the heat to a lower level and gradually increase it as needed. This allows for better control over the cooking process.
- Adjust the heat setting: Use the buttons or knobs to adjust the heat setting. Some stovetops have buttons that allow you to increase or decrease the heat level, while others have knobs that you can turn to adjust the heat.
- Monitor the display panel: As you adjust the heat settings, the display panel will show the corresponding heat level for the selected cooking zone. This allows you to keep track of the temperature and make any necessary adjustments.
- Experiment with different heat levels: Different recipes and cooking techniques require different heat levels. Feel free to experiment with the heat settings to find the perfect temperature for your specific dish.
- Keep an eye on the cooking progress: While the stove top heats up, keep an eye on the cookware and the food inside it. Make any necessary adjustments to the heat settings to ensure even and controlled cooking.
By adjusting the heat settings according to your cooking needs, you can achieve optimal results and better control over the cooking process. Once you’re satisfied with the heat level, you can move on to the next step: programming the timer and using special features, if applicable.
Step 6: Programming Timer and Special Features
Once you have adjusted the heat settings on your Kitchenaid induction stove top, it’s time to explore additional functionalities such as programming the timer and utilizing any special features available. Follow these steps to make the most of these functions:
- Locate the timer button: On the control panel, locate the timer button. It is typically labeled as “Timer” or indicated by a clock symbol.
- Press the timer button: Press the timer button to activate the timer function. The display panel should now show the timer settings.
- Set the desired cooking time: Use the buttons or knobs associated with the timer function to set the desired cooking time. This will allow you to program the stove top to automatically turn off after a specific duration.
- Monitor the timer countdown: Once the timer is set, the display panel will show the remaining time. You can keep an eye on this countdown to stay informed about the cooking progress.
- Explore special features: Some Kitchenaid induction stove tops come equipped with special features. These may include boost functions for quick heat-ups, simmer functions for low-heat cooking, and keep warm functions for maintaining the temperature of cooked food. Read the user manual to understand how to activate and use these features.
- Adjust as needed: Throughout the cooking process, you can make adjustments to the timer or special features if required. Use the timer buttons or feature-specific buttons/knobs to make any necessary changes.
- Enjoy your meal: Once the timer goes off, or when you’re satisfied with the cooking, carefully remove your cookware from the stove top and serve your delicious meal!
By utilizing the timer function and exploring any special features available, you can enhance your cooking experience and enjoy added convenience and precision in your culinary endeavors.
With Step 6 completed, you’ve successfully programmed the timer and made use of any special features. Now you can conclude your cooking session and savor the delicious results you’ve achieved with your Kitchenaid induction stove top.
Remember, proper care and cleaning of your induction stove top is essential for its longevity and optimal performance. Always refer to the user manual for specific instructions on how to clean and maintain your appliance.
Conclusion
Congratulations! You have successfully learned how to turn on your Kitchenaid induction stove top and explored its various features and functions. By following the steps outlined in this comprehensive guide, you can now confidently navigate the controls, adjust the heat settings, program the timer, and utilize any special features to enhance your cooking experience.
It’s important to remember that safety should always be a priority when using any kitchen appliance. Familiarize yourself with the safety precautions provided by Kitchenaid and follow them diligently to ensure a secure and enjoyable cooking environment.
Induction cooking offers numerous benefits, including faster heat-up times, precise temperature control, and energy efficiency. By using induction technology, you can unleash your culinary creativity and prepare delicious meals with ease.
Now that you are equipped with the knowledge and understanding of how to use your Kitchenaid induction stove top, it’s time to put your skills into practice. Experiment with different recipes, try various heat settings, and explore the special features to discover new culinary delights.
Remember to consult your user manual for specific instructions and recommendations tailored to your model of Kitchenaid induction stove top. This will ensure that you get the most out of your appliance and maintain its performance for years to come.
Happy cooking and bon appétit!
Frequently Asked Questions about How To Turn On Kitchenaid Induction Stove Top
Was this page helpful?
At Storables.com, we guarantee accurate and reliable information. Our content, validated by Expert Board Contributors, is crafted following stringent Editorial Policies. We're committed to providing you with well-researched, expert-backed insights for all your informational needs.

0 thoughts on “How To Turn On Kitchenaid Induction Stove Top”