Articles
How To Turn On A Kitchenaid Mixer
Modified: August 26, 2024
Learn how to turn on a KitchenAid mixer with our helpful articles. Find step-by-step instructions and tips for properly operating your mixer.
(Many of the links in this article redirect to a specific reviewed product. Your purchase of these products through affiliate links helps to generate commission for Storables.com, at no extra cost. Learn more)
Introduction
Welcome to this comprehensive guide on how to turn on a KitchenAid mixer. If you’ve recently purchased this versatile kitchen appliance or if you’re unsure of the steps to power it up, fear not! In this article, we will walk you through the process step by step, ensuring that you have a smooth experience using your KitchenAid mixer.
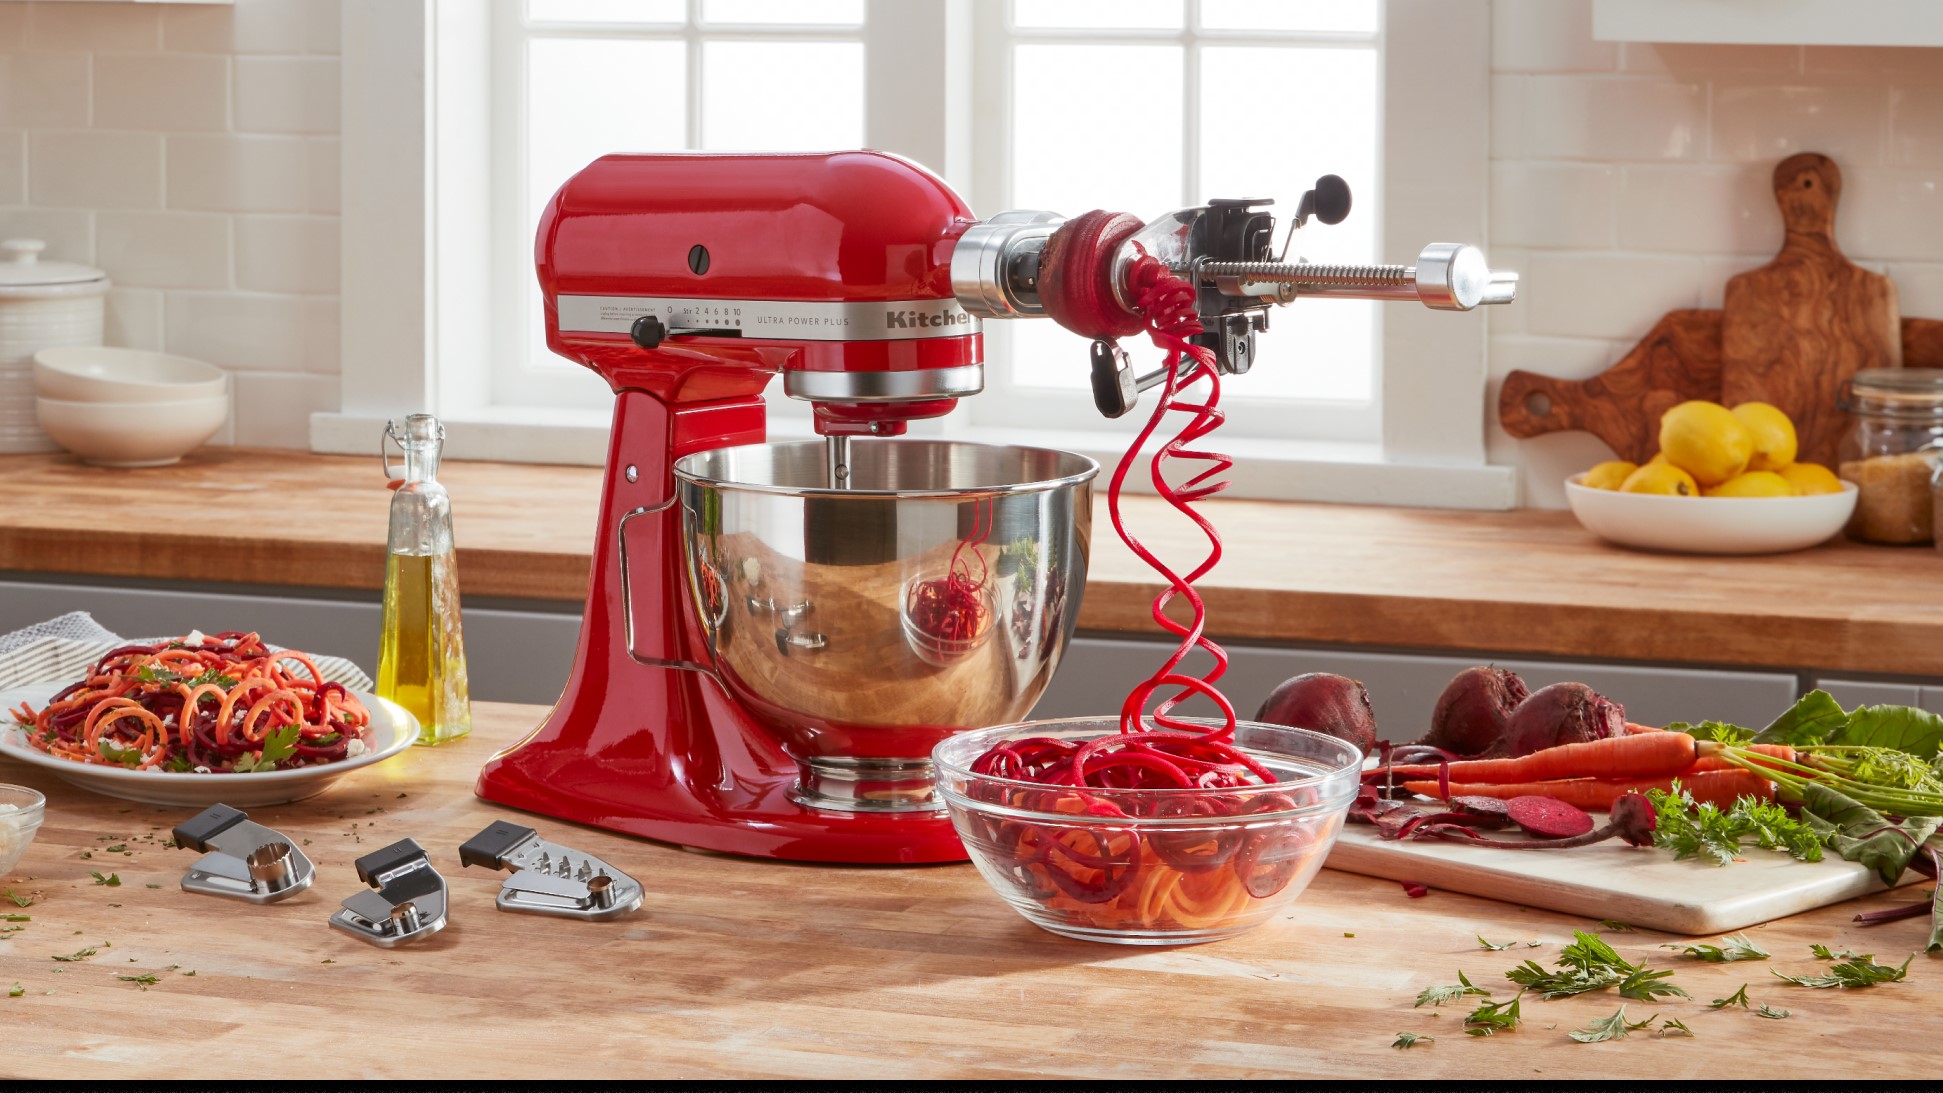
One of the most iconic and trusted brands in the culinary world, KitchenAid mixers have been a staple in many households for generations. With their powerful motors and wide array of attachments, they have revolutionized the process of baking and cooking.
Before we dive into the specifics, it’s important to ensure that you have all the necessary supplies on hand. This includes the KitchenAid mixer itself, the appropriate attachment for your desired task, and a power source. Once you have everything ready, we can begin!
Key Takeaways:
- Master the art of turning on and operating your KitchenAid mixer with ease. Gather supplies, plug in, attach the desired tool, adjust speed, and enjoy seamless mixing for delicious culinary creations.
- Unleash your creativity in the kitchen with your KitchenAid mixer. Follow the step-by-step process, monitor and operate with precision, and enjoy the convenience and versatility it brings to your cooking adventures.
Read more: How To Clean Kitchenaid Mixer
Step 1: Gather your supplies
Before you can turn on your KitchenAid mixer, it’s essential to gather all the necessary supplies. This will ensure that you have everything you need to operate the appliance smoothly. Here’s a checklist of what you’ll need:
- KitchenAid mixer
- Power cord
- Bowl
- Attachment(s) for your desired task (such as the flat beater, wire whip, or dough hook)
- Ingredients or mixture you’ll be working with
Make sure that you have all these supplies within reach before you begin. Having everything prepared will save you time and ensure a seamless mixing experience.
Once you’ve gathered your supplies, ensure that the mixer is placed on a stable surface, such as a countertop. This will provide stability and prevent any accidents while operating the appliance.
With your supplies ready, it’s time to move on to the next step: plugging in your KitchenAid mixer.
Step 2: Plug in the mixer
Now that you’ve gathered all the necessary supplies, it’s time to plug in your KitchenAid mixer. Follow these steps:
- Locate the power cord attached to your KitchenAid mixer. The power cord should be long enough to reach a power outlet conveniently.
- Identify a nearby power outlet that is compatible with the voltage requirements of your KitchenAid mixer. Typically, KitchenAid mixers require a standard 120-volt outlet.
- Hold the power plug firmly and insert it into the power outlet. Ensure that the plug is fully inserted and fits securely in the outlet. If the outlet feels loose or there is any resistance, do not force the plug into the outlet. Instead, find another suitable outlet.
- Once the power cord is securely plugged in, you should see a small indicator light illuminate on the mixer. This light confirms that the mixer is receiving power.
It’s important to note that the specific location of the power cord and the design of the indicator light may vary slightly depending on the model of your KitchenAid mixer. However, the general process of plugging in the mixer remains the same.
With your KitchenAid mixer now plugged in, you’re ready to move on to the next step: attaching the desired attachment.
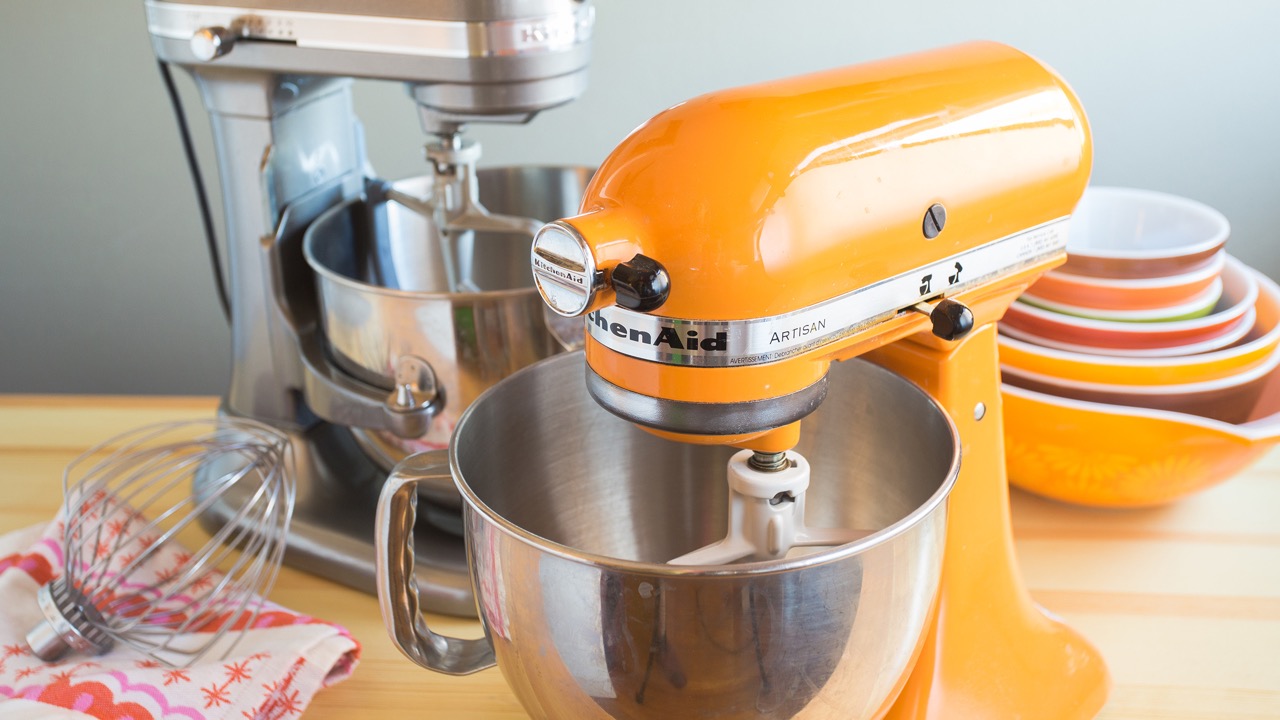
Step 3: Attach the desired attachment
With your KitchenAid mixer plugged in and ready to go, it’s time to attach the desired attachment for your specific task. Whether you’re mixing batter for a cake, kneading dough for bread, or whipping cream for a dessert, KitchenAid offers a variety of attachments to help you achieve your culinary goals.
Follow these steps to attach the desired attachment to your KitchenAid mixer:
- Locate the attachment hub on the front of the mixer. This hub is specifically designed to accommodate the various attachments.
- Depending on the model of your KitchenAid mixer, you may need to twist or lift a cover to access the attachment hub.
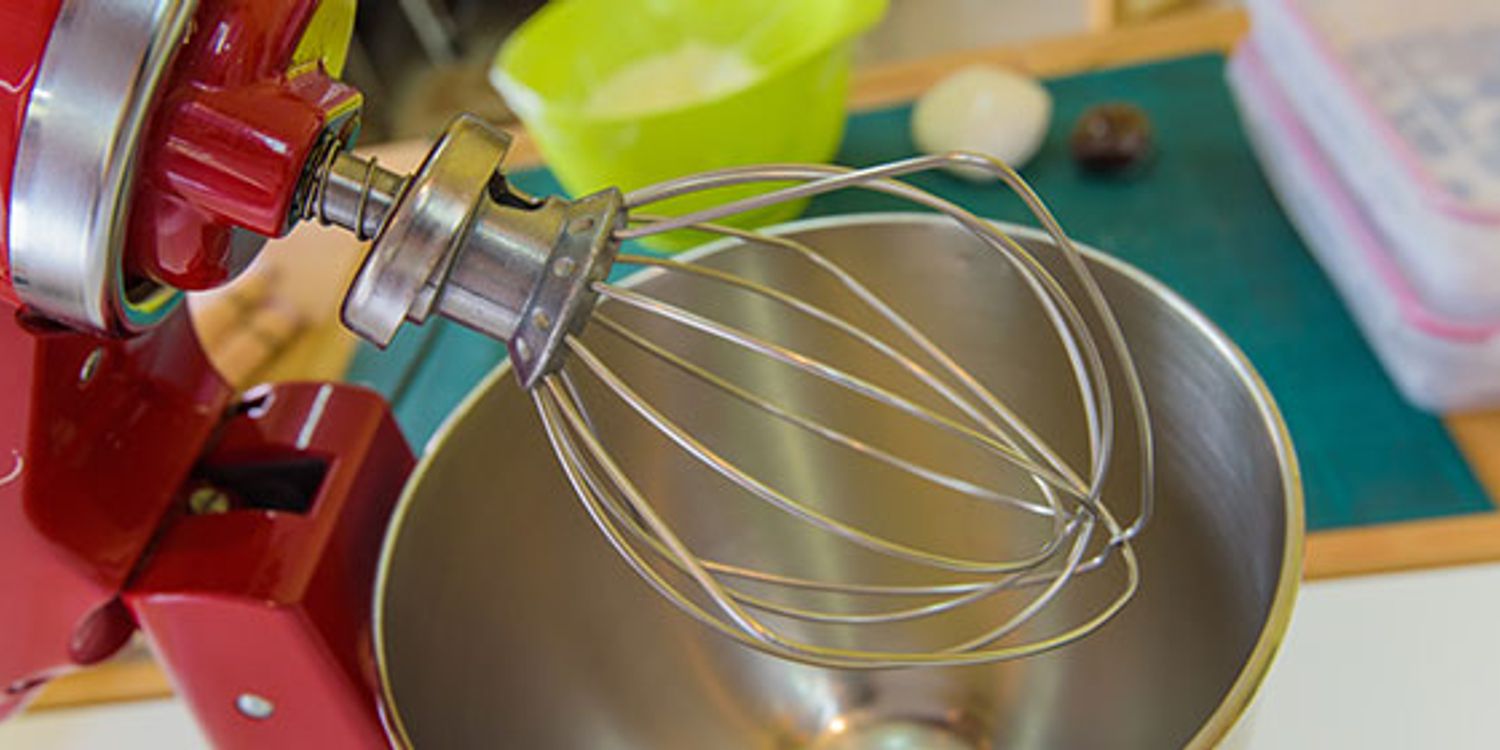
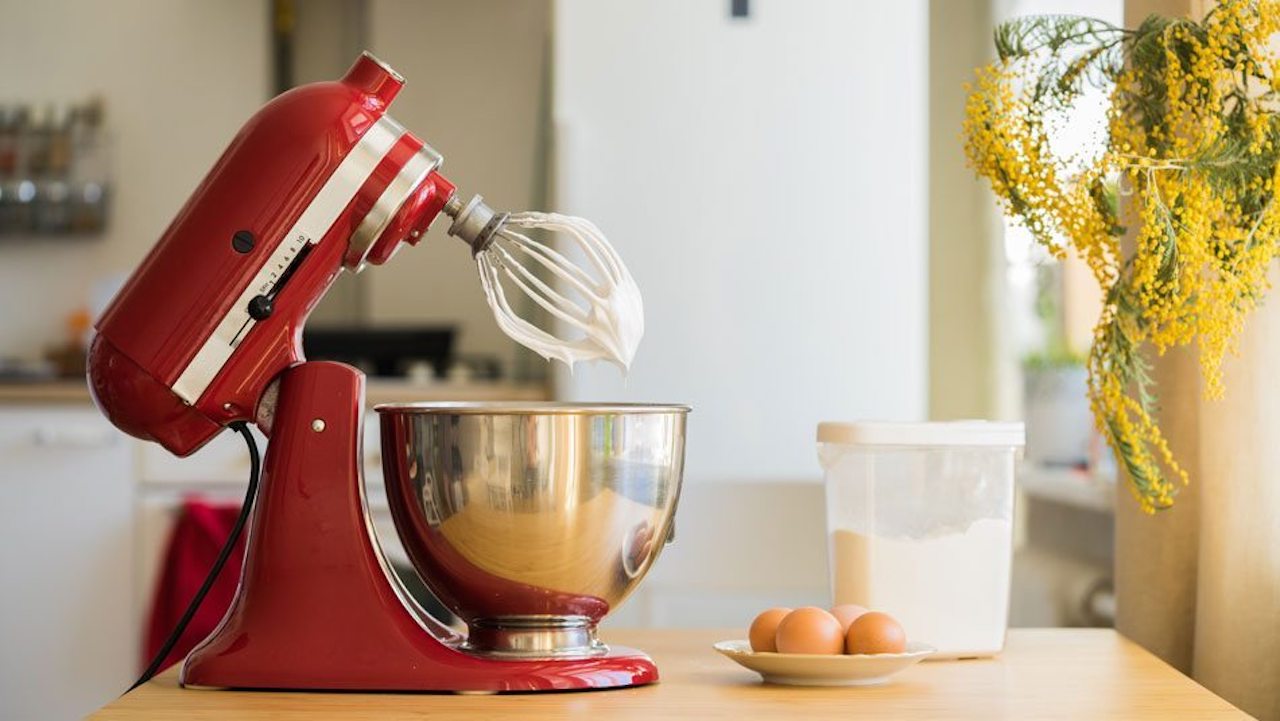
- Select the appropriate attachment for your task, such as the flat beater, wire whip, or dough hook. These attachments are typically included with your mixer at the time of purchase.
- Align the attachment’s shaft with the attachment hub on the mixer.
- Gently insert the attachment into the attachment hub. It should fit into place snugly.
- Rotate the attachment clockwise until you feel it lock into position. The attachment should not rotate or wobble when properly attached.
It’s important to ensure that the attachment is securely attached to the mixer before proceeding. A loose attachment can affect the performance of the mixer and may even come loose during operation.
Once you have successfully attached the desired attachment, you’re ready to move on to the next step: adjusting the speed control lever.
Make sure the speed control lever is set to 0 before plugging in the mixer. Then, gradually increase the speed to your desired setting.
Step 4: Adjust the speed control lever
Now that you have attached the desired attachment to your KitchenAid mixer, it’s time to adjust the speed control lever. This lever allows you to control the speed at which the mixer operates, giving you the flexibility to achieve the desired consistency for your mixture.
Follow these steps to adjust the speed control lever on your KitchenAid mixer:
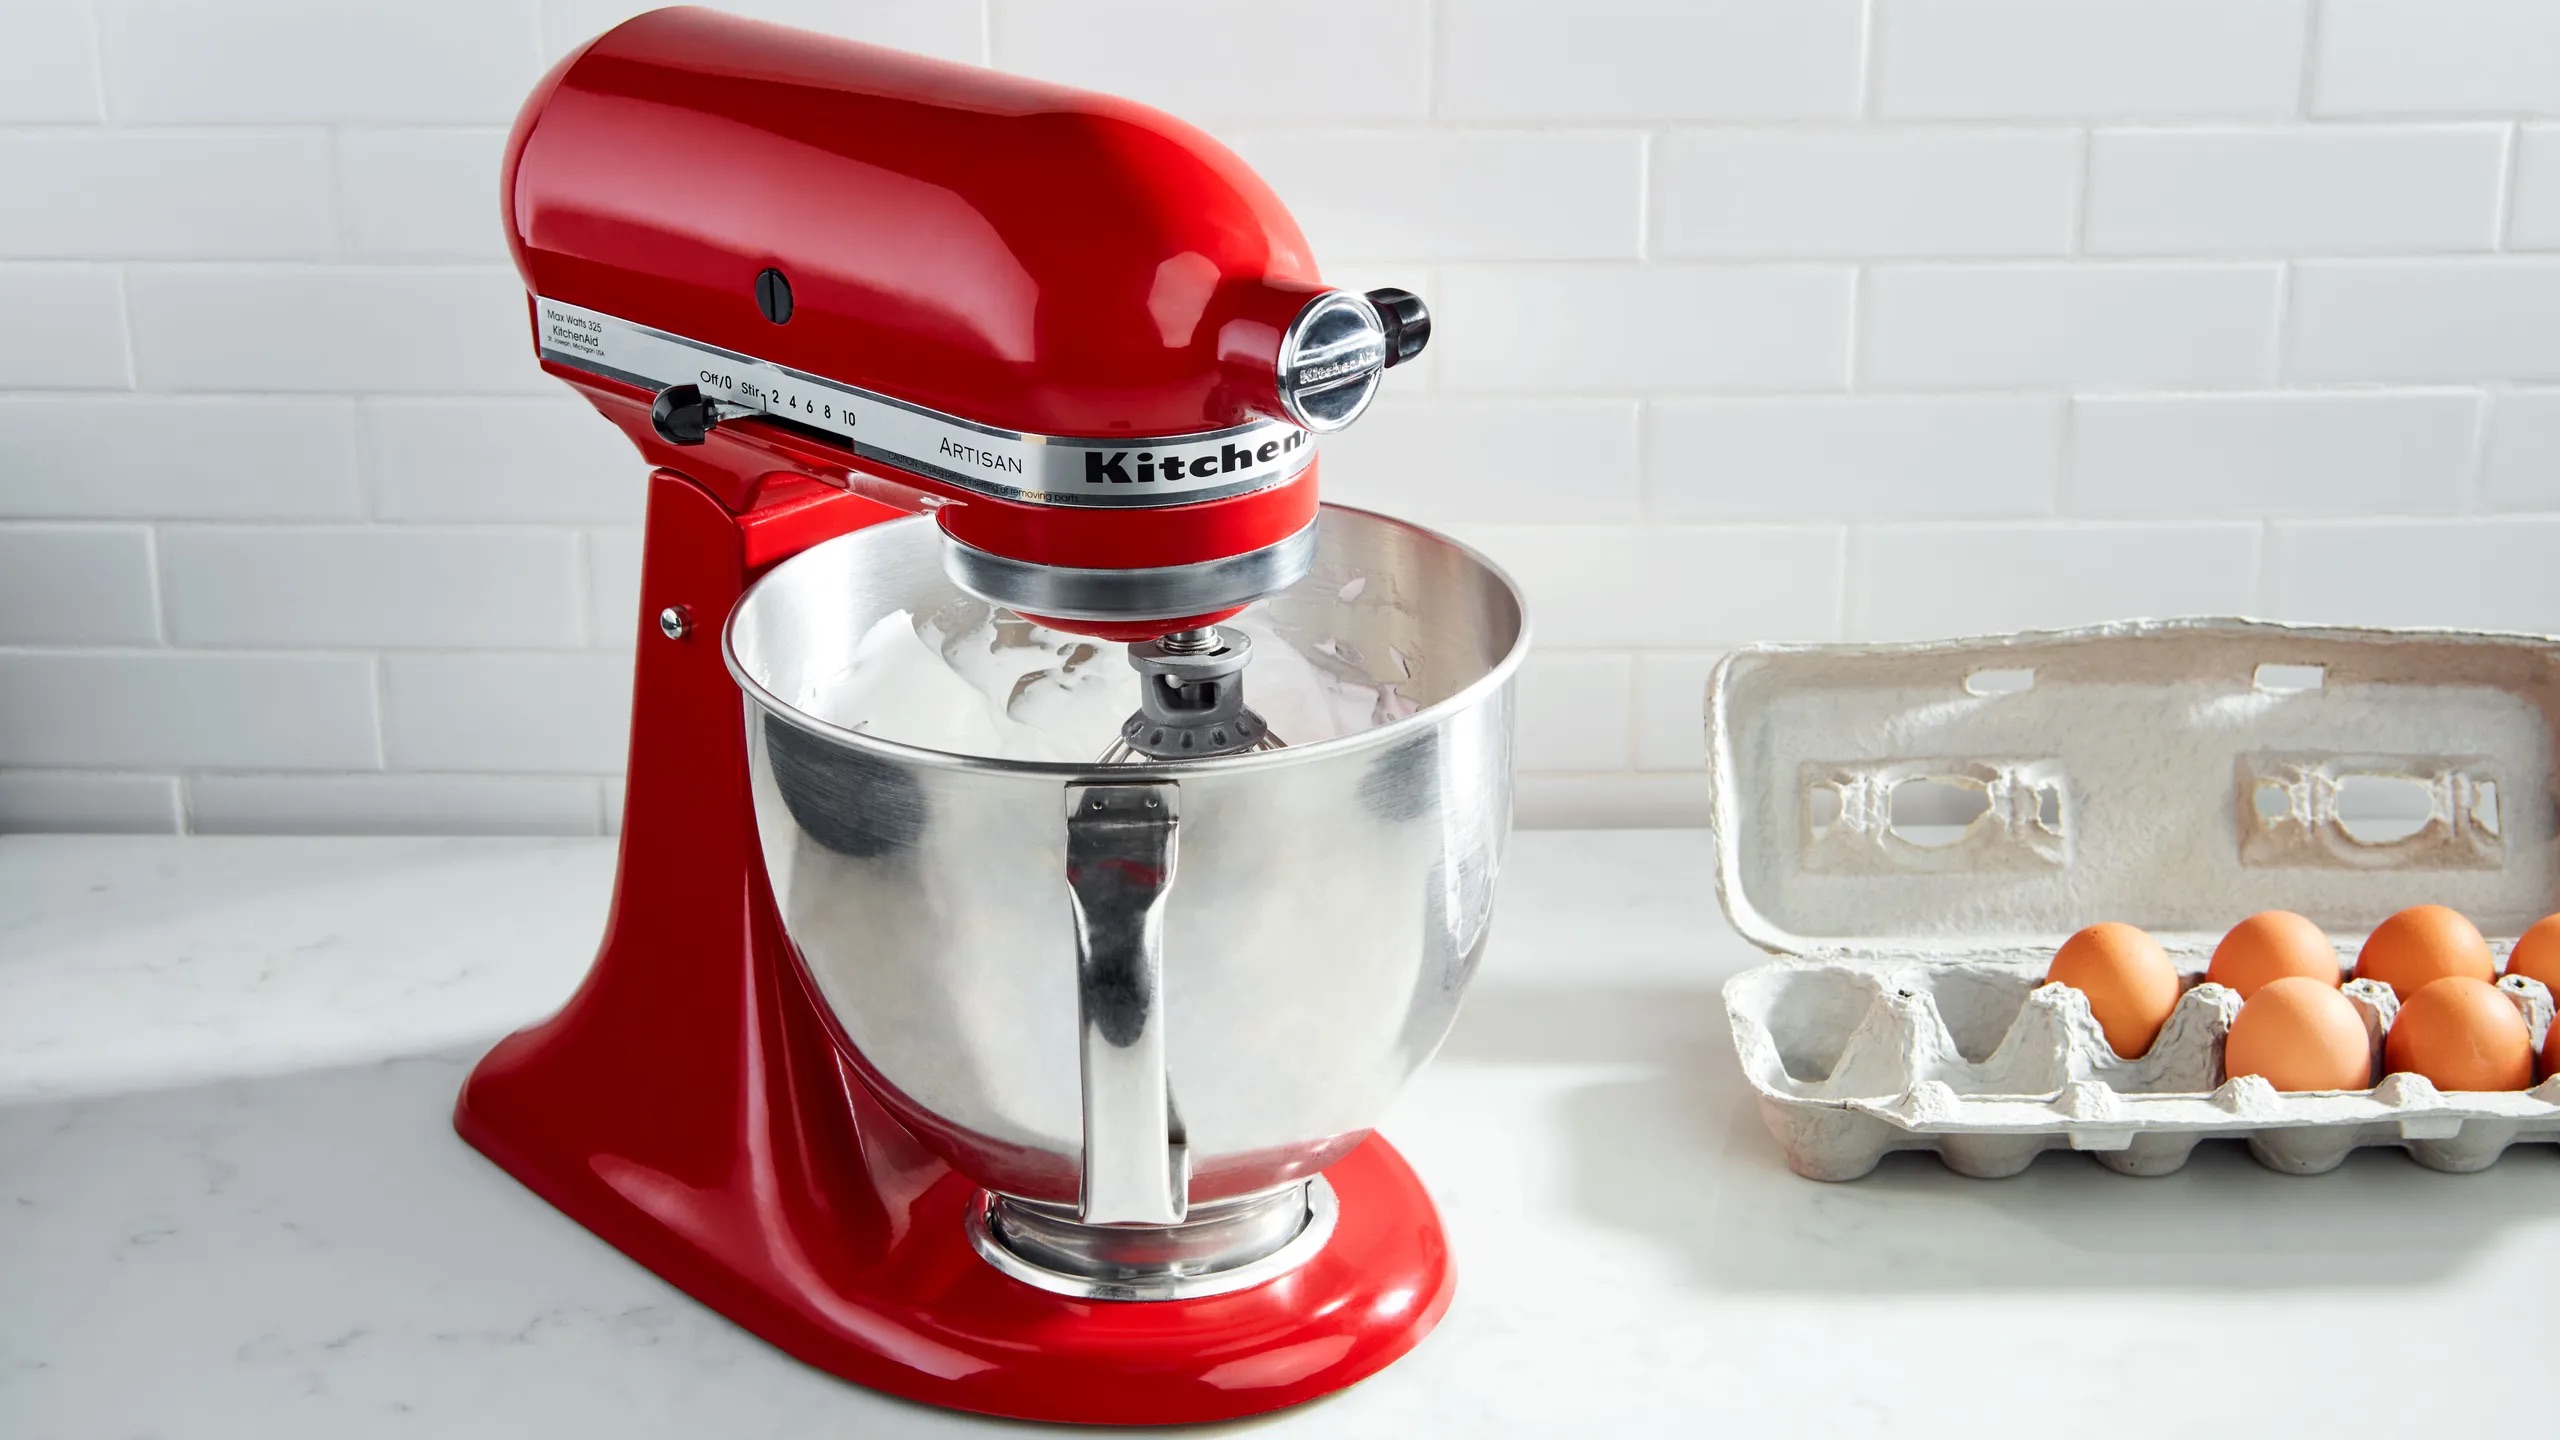
- Locate the speed control lever on the side of your KitchenAid mixer. The lever is typically marked with numerical settings or symbols that represent different speeds.
- Move the lever to the “Off” position before making any adjustments. This ensures that the mixer starts at the lowest speed setting.
- Gradually move the lever to the desired speed setting, depending on your recipe’s instructions or your personal preference. For gentle mixing, start with a low speed setting. For more vigorous mixing or kneading, choose a higher speed setting.
- As you adjust the speed control lever, you may hear a clicking or locking sound, indicating that the lever has securely locked into position.
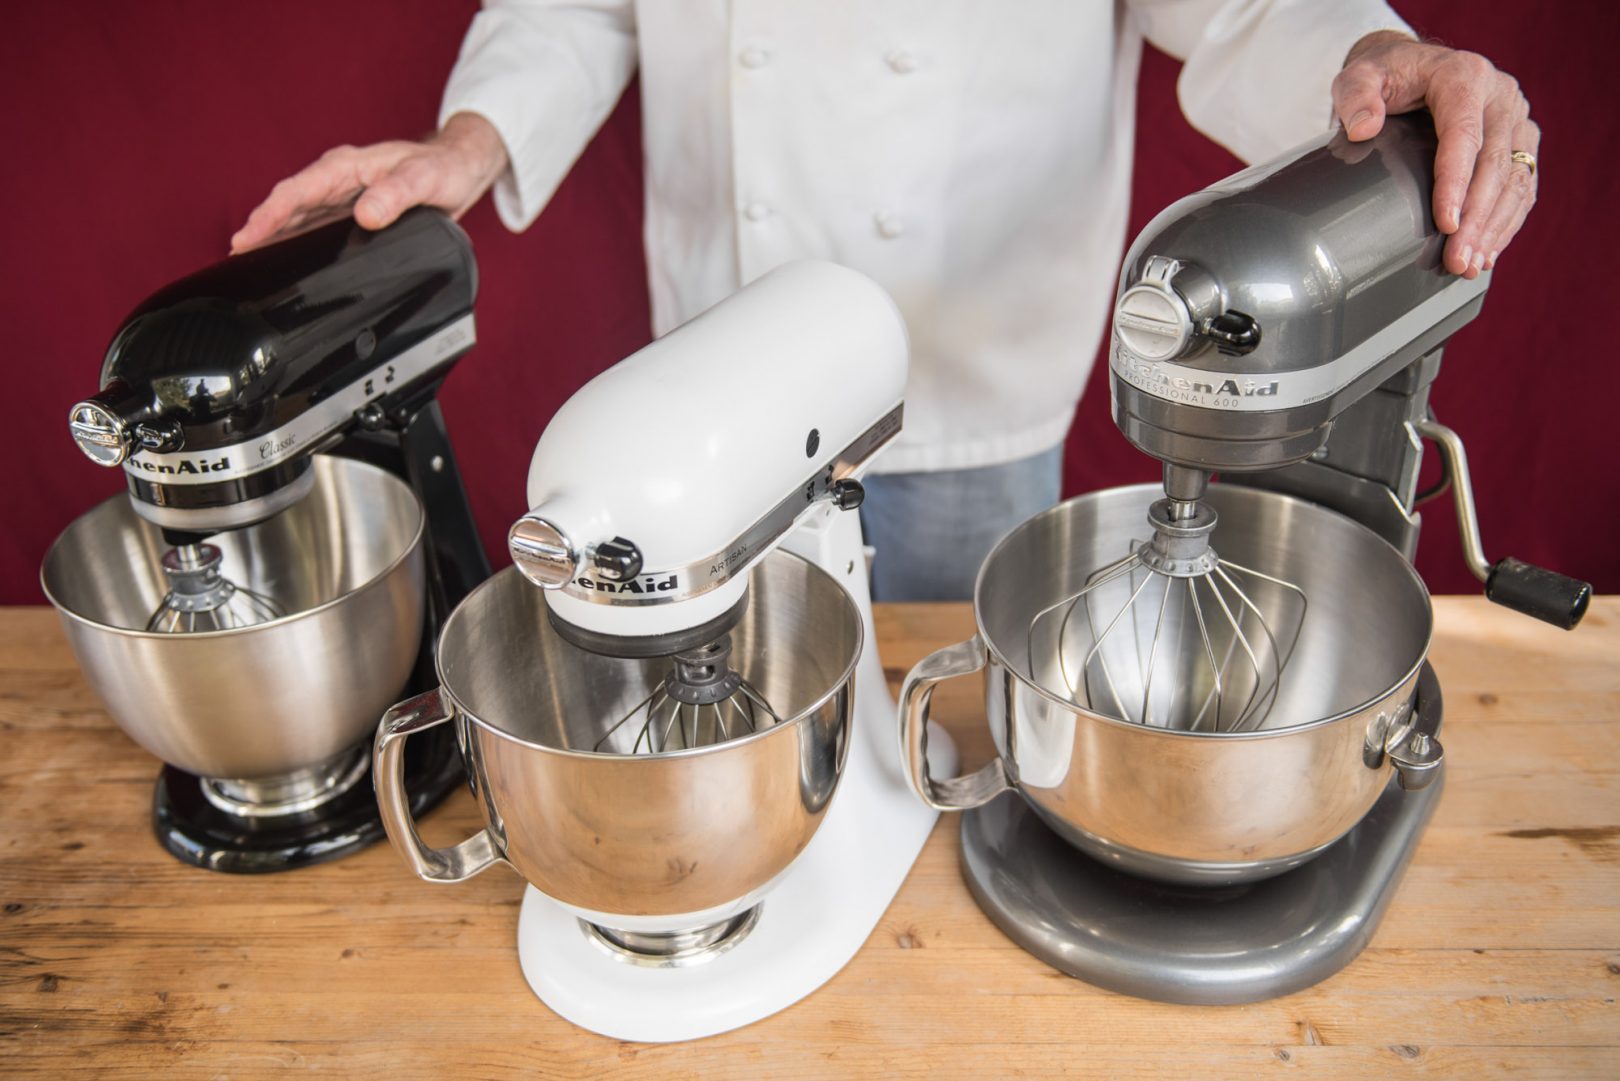
It’s important to note that the speed control lever on different models of KitchenAid mixers may vary slightly in appearance and operation. However, the basic concept of adjusting the speed remains the same across models.
With the speed control lever set to your desired speed, you’re now ready to move on to the next step: turning on the KitchenAid mixer.
Read more: What Kitchenaid Mixer To Buy
Step 5: Turn on the KitchenAid mixer
Now that you have attached the desired attachment to your KitchenAid mixer and adjusted the speed control lever, it’s time to turn on the mixer. Follow these steps to power up your KitchenAid mixer:
- Ensure that the mixer’s power cord is plugged into a working power outlet.
- With the speed control lever set to your desired speed, locate the mixer’s power switch. This switch is usually located on the side or front of the mixer, easily accessible with your hand.
- Using your finger or thumb, flip the power switch to the “On” position. You may hear a slight click or see the indicator light illuminate, indicating that the mixer is powered on.
Once the mixer is turned on, you will notice the attachment start to rotate or move, depending on the speed setting you have selected. The mixer’s powerful motor will activate, allowing you to mix, knead, or whisk your ingredients effortlessly.
It’s important to exercise caution when turning on the KitchenAid mixer. Make sure your hands are clear of the attachment and the mixer’s moving parts to avoid any accidents or injuries.
With your KitchenAid mixer now in operation, you’re ready to move on to the final step: monitoring and operating as needed.
Step 6: Monitor and operate as needed
With your KitchenAid mixer turned on and in operation, it’s important to monitor its performance and make any necessary adjustments as you continue your mixing or kneading process. Here are some tips to consider:
- Stay attentive: Keep a close eye on your mixture and the mixer’s operation. This will allow you to make any necessary adjustments if the mixture is not blending evenly or if the mixer is struggling to handle the task.
- Scrape the sides: Occasionally, stop the mixer and use a spatula to scrape down the sides of the bowl. This will ensure that all the ingredients are thoroughly combined, preventing uneven mixing.
- Adjust the speed: If the mixture appears to be splashing or if you need more control over the blending process, you can adjust the speed control lever up or down as needed. Higher speeds are suitable for whipping cream or kneading tough dough, while lower speeds are ideal for gently mixing delicate ingredients.
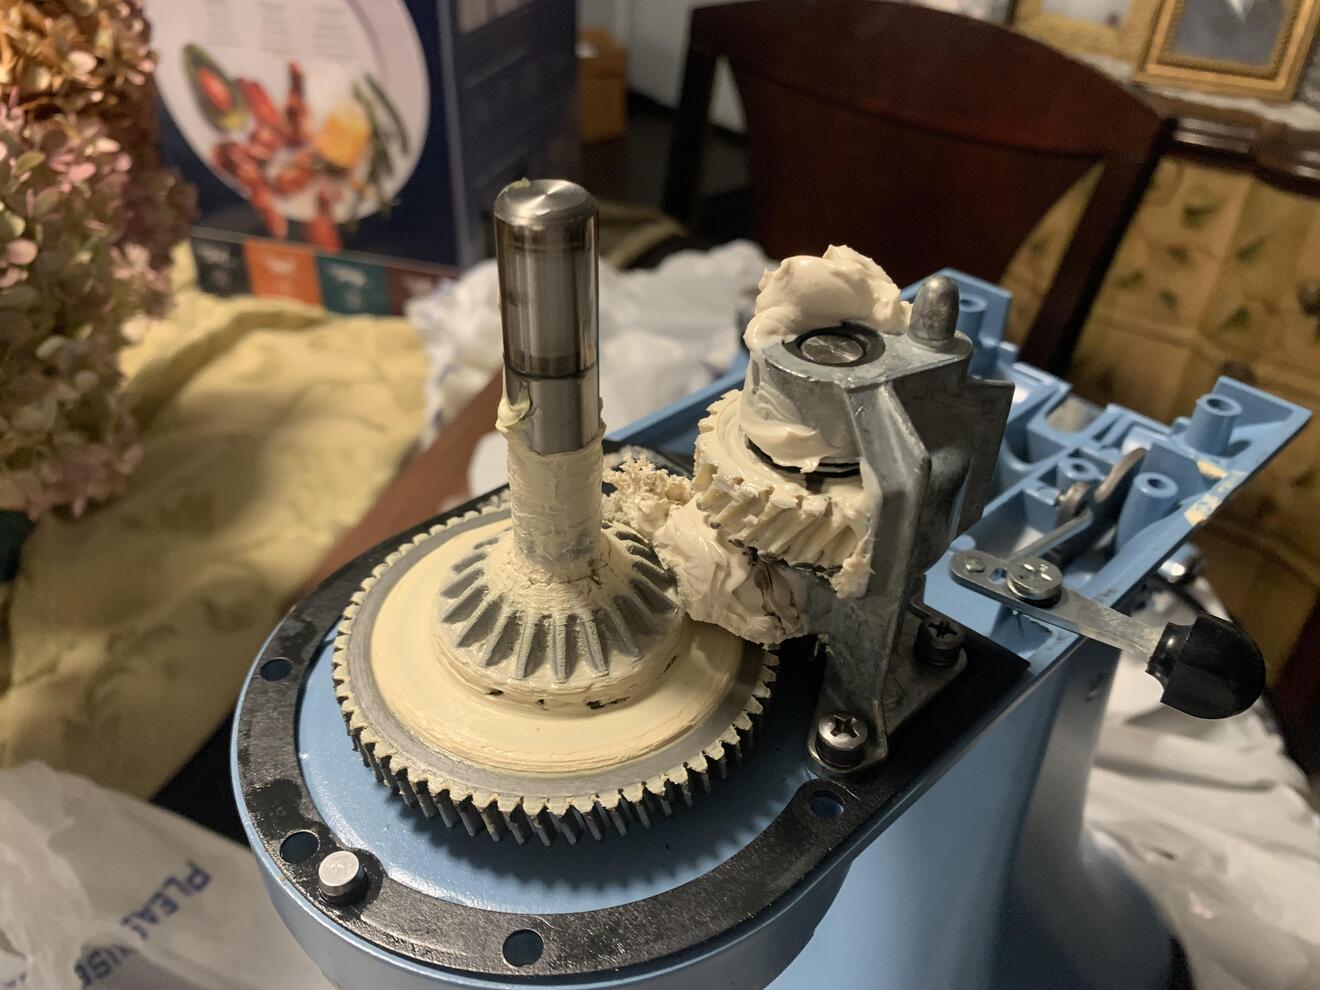
- Monitor the motor: It’s perfectly normal for the mixer’s motor to emit a low hum during operation. However, if you notice any unusual sounds, burning smells, or excessive vibrations, it’s important to stop the mixer immediately. These may be signs of a problem that requires further inspection or repairs.
- Follow recipe instructions: Always adhere to the instructions provided in your recipe for mixing or kneading times. Overmixing or undermixing can affect the texture and consistency of your final product.
Remember, each KitchenAid mixer model may have its own set of features and functionalities. Familiarize yourself with the specific instructions and precautions outlined in the user manual provided by KitchenAid to ensure proper handling and operation of your particular mixer.
By following these monitoring and operating guidelines, you can ensure that your KitchenAid mixer performs optimally and delivers fantastic results for all your culinary creations.
Congratulations! You have successfully learned how to turn on and operate your KitchenAid mixer. Enjoy the countless possibilities that this versatile kitchen appliance offers, and happy mixing!
Conclusion
Congratulations! You have now become familiar with the step-by-step process of turning on and operating your KitchenAid mixer. By following these instructions, you can confidently use this powerful kitchen appliance to create an array of delicious recipes.
Remember, before starting the mixing process, gather all the necessary supplies, plug in the mixer, attach the desired attachment, adjust the speed control lever, and finally, turn on the KitchenAid mixer. As you monitor and operate the mixer, be sure to stay attentive, scrape down the sides of the bowl, adjust the speed as needed, and follow recipe instructions.
KitchenAid mixers are known for their reliability, durability, and versatility in the kitchen. They are trusted by home cooks and professional chefs alike for their exceptional performance. Whether you’re making cakes, bread dough, whipped cream, or any other culinary creation, your KitchenAid mixer will assist you in achieving the desired results.
Always refer to your mixer’s user manual for detailed instructions specific to your model. This will ensure that you handle and operate your KitchenAid mixer safely and efficiently.
Now that you’ve mastered the process of turning on and using the KitchenAid mixer, it’s time to unleash your creativity in the kitchen. Experiment with different recipes, try out new attachments, and enjoy the convenience and precision that this appliance brings to your culinary endeavors.
So go ahead, plug in your KitchenAid mixer, attach the perfect attachment, set the speed, and let the magic begin! Happy mixing!
Frequently Asked Questions about How To Turn On A Kitchenaid Mixer
Was this page helpful?
At Storables.com, we guarantee accurate and reliable information. Our content, validated by Expert Board Contributors, is crafted following stringent Editorial Policies. We're committed to providing you with well-researched, expert-backed insights for all your informational needs.


0 thoughts on “How To Turn On A Kitchenaid Mixer”