
Articles
How To Make Wooden Stairs
Modified: May 6, 2024
Learn how to make wooden stairs with our informative articles. Step-by-step guides and expert tips for creating beautiful and durable stairs.
(Many of the links in this article redirect to a specific reviewed product. Your purchase of these products through affiliate links helps to generate commission for Storables.com, at no extra cost. Learn more)
Introduction
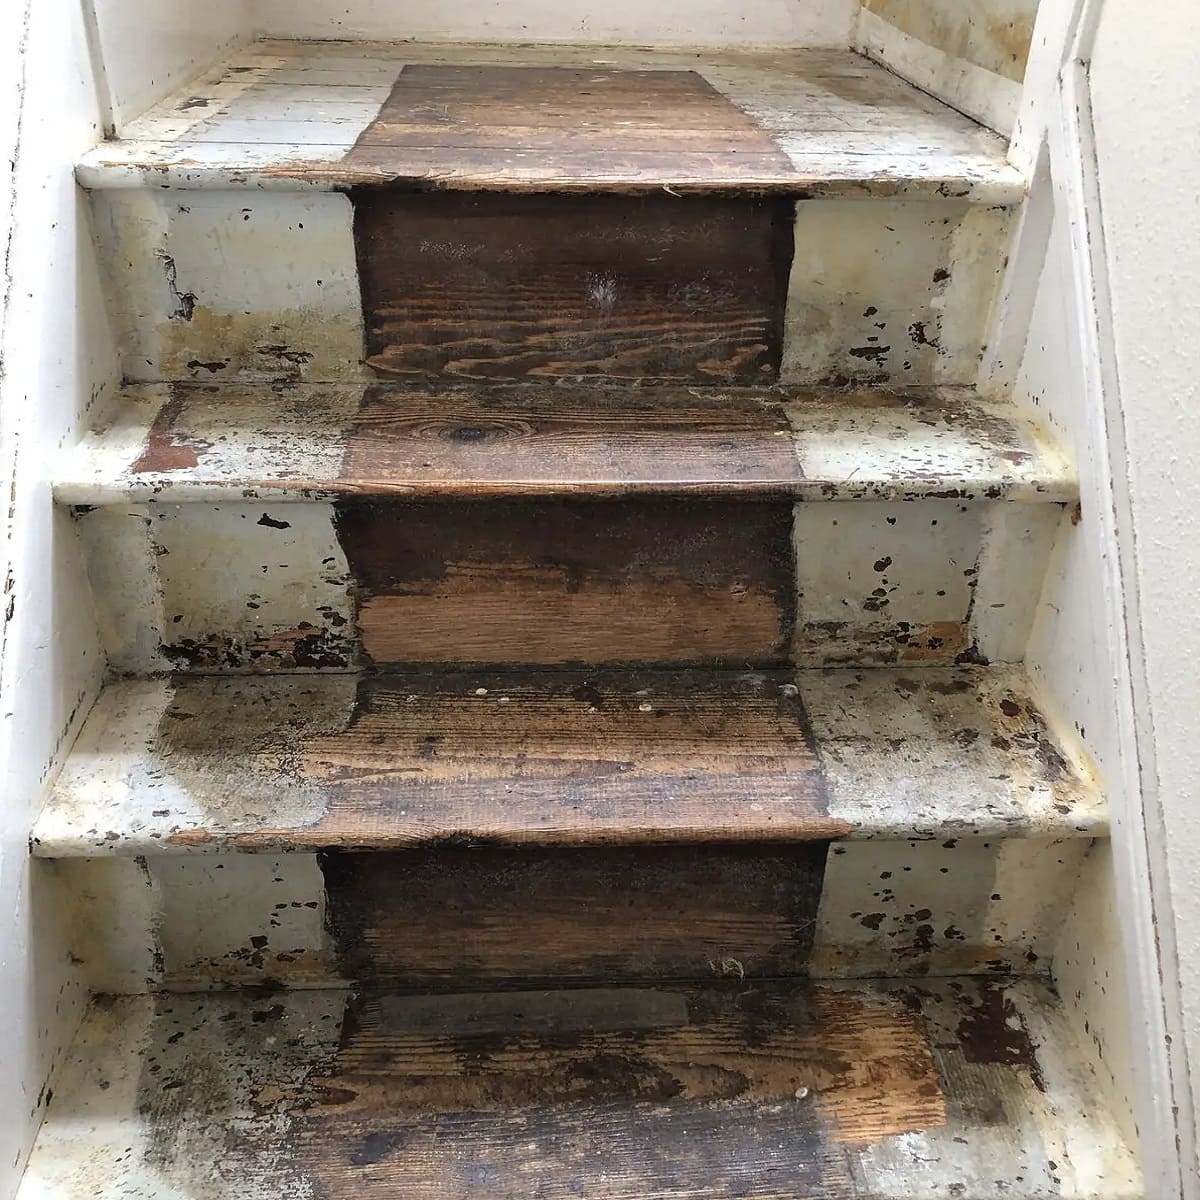
Wooden stairs add an elegant and timeless touch to any home or building. Whether you’re looking to replace an old staircase or build a brand new set of stairs, this comprehensive guide will walk you through the step-by-step process.
Building wooden stairs may seem like a daunting task, but with careful planning and the right tools, it can be a rewarding DIY project. Not only will you have a functional staircase, but you’ll also have a beautiful addition to your space.
Before you embark on this project, it’s important to note that building codes and regulations may vary depending on your location. It’s always a good idea to consult with a professional or local authorities to ensure that your stairs meet the necessary safety standards.
In this guide, we’ll cover each stage of the process, from measuring and planning to installing handrails and finishing touches. So, let’s dive in and learn how to make wooden stairs!
Key Takeaways:
- Building wooden stairs requires precise measurement, careful planning, and attention to detail. From cutting the stringers to installing handrails, this comprehensive guide provides step-by-step instructions for a rewarding DIY project.
- Maintenance is crucial for preserving the beauty and functionality of wooden stairs. Regular cleaning, inspections, and protective finishes will ensure the longevity of your staircase, adding value and elegance to your space.
Read more: How To Protect Wooden Stairs
Step 1: Measure and Plan
The first step in building wooden stairs is to accurately measure and plan your staircase. This is crucial to ensure that the stairs fit properly and meet all safety requirements.
Start by determining the height of the stairs. Measure the vertical distance from the finished floor to the desired landing or upper floor level. This measurement will help you determine the number of risers needed for your staircase.
Next, measure the horizontal distance from the edge of the upper landing or floor to where the staircase will start. This will give you the total run, or the length of the stairs. Divide the total run by the desired width of each tread to determine the number of treads.
It’s important to note that building codes often specify the maximum riser height and minimum tread depth. Check your local building codes to ensure that your planned stair dimensions meet these requirements.
Once you have the measurements, sketch out a rough diagram of your staircase. Include details such as the number of risers and treads, the overall dimensions, and any landings or turns in the design.
With your plan in hand, you can now proceed to the next step of gathering materials and tools.
Step 2: Gather Materials and Tools
Before you start building your wooden stairs, it’s essential to gather all the necessary materials and tools. Having everything on hand will make the construction process much smoother and more efficient.
Here is a list of the materials you’ll need:
- Pressure-treated lumber for the stringers
- Lumber for the treads and risers
- Wood screws or nails
- Construction adhesive
- Handrails
- Balustrades or spindles
- Sandpaper
- Wood finish or paint
Additionally, here are the tools you’ll need to complete the project:
- Tape measure
- Pencil
- Circular saw or hand saw
- Chisel
- Power drill or hammer
- Screwdriver or hammer
- Straightedge or level
- Sanding block or electric sander
- Paintbrush or roller
Make sure to choose the appropriate size and type of lumber for your specific staircase design. Pressure-treated lumber is recommended for the stringers as it offers better resistance to moisture and decay.
It’s always a good idea to double-check your materials and tools list before starting the construction to avoid any unnecessary delays.
Now that you have all the necessary materials and tools, you’re ready to move on to the next step: cutting the stringers.
Step 3: Cut the Stringers
The stringers are the diagonal support structures that hold the treads and risers in place. They form the main framework of the staircase and must be cut accurately to ensure stability and safety.
To cut the stringers, you will first need to determine the number of stringers required for your staircase design. This typically depends on the width of your stairs and the local building codes. In most cases, two stringers are sufficient for residential staircases.
Start by measuring and marking the height of the risers on the stringer board. The riser height should be consistent throughout your staircase to ensure a smooth and comfortable climb. Remember to subtract the thickness of the treads from the total riser height when making your marks.
Next, measure and mark the depth of the treads on the stringer board. The tread depth should also be consistent to provide a stable and secure footing. Ensure that the combined depth of the tread and riser measurements matches the total run of your stairs.
Using a circular saw or hand saw, carefully cut along the marked lines to create the notches for the treads and risers. Take your time to make clean and precise cuts, as any inaccuracies can affect the stability of the staircase.
Once you have cut one stringer, use it as a template to mark and cut the remaining stringers. This will help ensure uniformity and consistency in your staircase construction.
Remember to take proper safety precautions when cutting the stringers, such as wearing protective eyewear and gloves.
With the stringers cut, you’re now ready to move on to the next step: cutting the treads and risers.
Step 4: Cut the Treads and Risers
Once you have the stringers cut and prepared, the next step in building your wooden stairs is to cut the treads and risers. These are the horizontal surfaces you step on (treads) and the vertical surfaces between each tread (risers).
Start by measuring and marking the desired width and depth for each tread and riser on the appropriate pieces of lumber. The width of the treads should be slightly smaller than the width of the stringer notches.
Using a circular saw or hand saw, carefully cut along the marked lines to create the individual treads and risers. Take your time to ensure clean and straight cuts, as this will contribute to the overall appearance of your staircase.
Once all the treads and risers are cut, dry-fit them onto the stringers to ensure a proper fit. Make any necessary adjustments and double-check the alignment.
Before permanently attaching the treads and risers, it’s a good idea to apply a coat of wood preservative or primer to protect the wood from moisture and decay. Allow it to dry completely according to the manufacturer’s instructions.
When securing the treads and risers to the stringers, you can use wood screws or nails. Make sure to countersink the screws or drive the nails slightly below the surface to create a smooth and even finish.
For added stability, you might consider using construction adhesive at the junction between the treads, risers, and stringers. This will help to minimize any potential squeaking and ensure a solid connection.
With the treads and risers securely attached, you’re now ready to move on to the next step: installing the stringers.
Read more: How To Refinish Wooden Stairs
Step 5: Install the Stringers
With the treads and risers in place, it’s time to install the stringers onto which the steps will be attached. The stringers provide the structural support for the staircase and hold everything together.
Start by positioning the stringers in their proper location. Make sure they are aligned with the marks on the walls or the supporting structure. Use a level to ensure that the stringers are perfectly plumb and level, as this will ensure a stable and safe staircase.
Once the stringers are in position, secure them to the floor or supporting structure using wood screws or nails. Drive them through the stringers and into the floor or structure at regular intervals, making sure to create a strong and secure connection.
If you’re installing the stringers on a concrete surface, you may need to use concrete anchors or adhesive specifically designed for this purpose.
It’s important to note that if your stairs have a landing or require a mid-span support, you’ll need to install additional stringers and secure them according to your design and local building codes.
After installing the stringers, double-check their alignment and stability. Make any necessary adjustments or reinforcements to ensure the stairs are secure.
With the stringers securely in place, you’re now ready to move on to the next step: attaching the treads and risers.
When building wooden stairs, make sure to use pressure-treated lumber for outdoor stairs to prevent rot and decay. This will ensure the longevity and durability of your stairs.
Step 6: Attach the Treads and Risers
Now that the stringers are in place, it’s time to attach the treads and risers to create the steps of your wooden staircase. This step involves securing the individual pieces onto the stringers to form a solid and durable structure.
Start by applying a thin bead of construction adhesive on the top surface of each stringer where the treads will be placed. This will help create a strong bond between the stringers and the treads.
Next, place the treads onto the adhesive, aligning them with the marks previously made on the stringers. Press down firmly to ensure proper adhesion. Use a level to ensure that the treads are level and adjust as needed.
Once the treads are in place, it’s time to attach the risers. Apply a bead of adhesive on the back edge of each tread where the riser will be placed. Position the risers so that they align flush with the tread above and press them firmly into place.
For added stability, you can secure the treads and risers to the stringers with wood screws or nails. Drive them through the treads and risers into the stringers, making sure to countersink them for a clean finish.
Continue this process for each step, ensuring that the treads and risers are securely attached and aligned correctly.
Once all the treads and risers are in place, check the entire staircase for any loose or squeaky steps. If necessary, reinforce any areas that need additional support.
With the treads and risers securely attached, you’re now ready to move on to the next step: installing handrails and balustrades.
Step 7: Install Handrails and Balustrades
Installing handrails and balustrades is an important step in completing your wooden staircase. Handrails provide support and safety while balustrades add a decorative element to enhance the overall appearance of the stairs.
Start by measuring and marking the desired height for your handrail. This will depend on local building codes, but it is typically around 34-38 inches from the nosing of the treads.
Determine the number of handrail posts needed based on the length of your staircase. Place the posts at regular intervals along the stringers, ensuring they are securely attached to provide stability.
Next, install the handrail by attaching it to the posts. Use wood screws or brackets to secure the handrail in place. Make sure it is level and properly aligned along the entire length of the stairs.
For the balustrades, measure the distance between the handrail and the treads. This will determine the length of the balusters or spindles. Place the balusters at regular intervals, ensuring they are evenly spaced and securely attached.
Depending on the design, you may need to install a bottom rail or a base shoe to secure the balusters. Use a level to ensure that the balustrades are plumb and aligned with the handrail.
Once all the handrails and balustrades are installed, give them a thorough inspection to ensure they are secure and meet safety regulations. Make any adjustments or reinforcements as needed.
With the handrails and balustrades in place, your wooden staircase is taking shape. Next, we’ll move on to step 8: sanding and finishing the stairs to achieve a smooth and polished look.
Step 8: Sand and Finish the Wooden Stairs
Now that the structure of your wooden stairs is complete, it’s time to give them a smooth and polished finish. This step involves sanding the surfaces and applying a protective coating to enhance their appearance and durability.
Start by sanding the treads, risers, and handrails using a medium-grit sandpaper. This will help remove any rough edges, imperfections, or splinters. Sand in the direction of the wood grain to achieve a consistent and even finish.
Once the surfaces are smooth, switch to a fine-grit sandpaper to further refine the wood. This will help create a polished and professional look. Be sure to sand all visible surfaces, including the edges and corners.
After sanding, use a damp cloth or vacuum cleaner to remove any dust or debris from the staircase. A clean surface is essential for optimal adhesion of the protective finish.
Now it’s time to apply a protective coating to the wooden stairs. This can include paint, stain, or varnish, depending on your personal preference and the desired final look.
If you choose to paint the stairs, use a high-quality paint designed for wood surfaces. Apply multiple coats for improved durability and an even finish. Allow each coat to dry completely before applying the next.
If you prefer the natural look of the wood, apply a wood stain to enhance the grain and color. Ensure that the stain is compatible with the type of wood you’re working with. Apply multiple coats as needed to achieve the desired depth and richness.
If you opt for a clear protective finish, such as varnish or polyurethane, apply it using a brush or roller. Follow the manufacturer’s instructions for application and drying times. Multiple coats may be necessary for optimal protection.
Once the protective finish has dried, give your wooden stairs a final inspection. Touch up any areas that may need additional attention.
With the sanding and finishing complete, your wooden stairs are now beautifully transformed. The final step is to add some finishing touches and ensure regular maintenance to keep them looking their best.
Read more: How To Cover Wooden Stairs
Step 9: Final Touches and Maintenance
Congratulations! You’ve successfully built and finished your wooden stairs. Now it’s time to add some final touches and establish a maintenance routine to keep them in great condition for years to come.
To enhance the overall appearance of your staircase, consider adding decorative elements such as stair nosing, trim, or molding. These finishing touches can add a touch of elegance and style to your wooden stairs.
Additionally, you might want to install stair runners or carpeting to provide additional traction and protection for the treads. This can also help reduce noise and add warmth to the staircase.
Regular maintenance is important to preserve the beauty and functionality of your wooden stairs. Here are some maintenance tips to keep in mind:
- Clean up any spills or stains immediately to prevent damage to the wood.
- Dust and sweep the stairs regularly to remove dirt or debris that can scratch the surface.
- Periodically inspect the stairs for any signs of wear or damage. Repair or replace any damaged treads, risers, or handrails promptly.
- Consider applying a fresh coat of protective finish every few years to maintain the appearance and durability of the wood.
- Avoid dragging heavy objects or wearing shoes with sharp heels on the stairs to prevent scratches or dents.
- Place mats or rugs on the landing or entryways to minimize tracked-in dirt and debris.
By following these maintenance guidelines, you can ensure that your wooden stairs remain safe, attractive, and functional for a long time.
Remember, building wooden stairs is a significant undertaking that requires careful planning, precise execution, and attention to detail. If you’re unsure about any aspect of the construction process, it’s always a good idea to consult with a professional to ensure optimal results.
Now that you’ve completed all the steps, take a moment to admire your handiwork. Your new wooden stairs will not only serve as a functional element but also add a touch of beauty and sophistication to your space.
Enjoy your beautifully crafted wooden stairs and the sense of accomplishment that comes with building something with your own hands!
Conclusion
Building wooden stairs can be a challenging yet rewarding project that adds both functionality and aesthetic appeal to your home or building. By following the step-by-step guide outlined in this article, you have learned how to measure, plan, cut, and install wooden stairs with precision and care.
Throughout the process, you’ve gathered the necessary materials and tools, cut the stringers, treads, and risers, installed the stringers, attached the treads and risers, and installed handrails and balustrades. Finally, you sanded and finished the stairs to achieve a polished and beautiful result.
Remember that safety is of utmost importance when building stairs. Always consult local building codes and regulations to ensure that your stairs meet the required standards. It’s also essential to take proper safety precautions when handling tools and materials.
Maintaining your wooden stairs is key to keeping them in excellent condition. Regular cleaning, inspections, and touch-ups will help preserve their appearance and durability for years to come. Follow the maintenance tips provided in this guide to ensure the longevity of your stairs.
Building wooden stairs is a significant accomplishment, showcasing your DIY skills and adding value to your space. The finished product not only serves a practical purpose but also becomes an attractive focal point, enhancing the overall ambiance of your home or building.
So, take pride in your achievement, and enjoy the beauty and functionality of your newly constructed wooden stairs. They will undoubtedly leave a lasting impression on everyone who ascends their steps.
Now that you have the knowledge and confidence to embark on this project, why not start planning and building your own wooden stairs? Happy building!
After mastering wooden stair construction, why not broaden your skills with more woodworking projects? Our article on the best woodworking techniques offers exciting ideas and advice essential for any enthusiast keen to enhance their craft. On another note, if home projects are your jam, our guide on DIY home improvement provides practical steps to transform your space efficiently and creatively. Each piece is packed with insights sure to inspire your next big project!
Frequently Asked Questions about How To Make Wooden Stairs
Was this page helpful?
At Storables.com, we guarantee accurate and reliable information. Our content, validated by Expert Board Contributors, is crafted following stringent Editorial Policies. We're committed to providing you with well-researched, expert-backed insights for all your informational needs.


It is an insightful article with well-researched. :)