
Articles
How To Unclog A Toilet With Poop Still In It
Modified: October 19, 2024
Learn how to effectively unclog a toilet with articles that provide step-by-step instructions and helpful tips, even when there's still poop in it.
(Many of the links in this article redirect to a specific reviewed product. Your purchase of these products through affiliate links helps to generate commission for Storables.com, at no extra cost. Learn more)
Introduction
Dealing with a clogged toilet is never a pleasant experience, especially when there is still waste present. It can be quite frustrating and messy, but don’t worry, you’re not alone in this predicament. Many people have faced the same challenge and successfully resolved it. In this article, we will guide you through the process of unclogging a toilet with poop still in it.
Before we begin, it’s important to note that if the clog seems severe or persists despite your efforts, you may need to consider calling a professional plumber. However, in most cases, a clogged toilet can be resolved with a few simple steps and some basic tools.
So, roll up your sleeves and let’s get started on unclogging that toilet!
Key Takeaways:
- Don’t panic when faced with a clogged toilet – follow these steps to unclog it effectively. Assess, gather tools, plunge, use cleaner, and be patient for a successful outcome.
- Preparing the area, using a plunger, applying toilet cleaner, and being persistent are key to unclogging a toilet with poop still in it. Clean up thoroughly for a hygienic bathroom.
Read more: How To Unclog Toilet With Snake
Materials Needed
Before you start unclogging a toilet with poop still in it, you’ll need to gather a few materials. Here’s what you’ll need:
- A Plunger: This is the most essential tool for unclogging a toilet. Make sure you have a toilet plunger, which has a flange on the end to create a better seal.
- Rubber Gloves: To protect your hands from any potential mess, it’s recommended to wear rubber gloves.
- Bucket: A bucket will come in handy for various purposes, such as removing excess water from the toilet bowl.
- Toilet Cleaner: Having a toilet cleaner on hand is crucial for disinfecting and removing any lingering odors.
- Old Towels or Rags: These will be useful for cleaning up any spills or water splashes.
Once you have these materials ready, you’re all set to tackle the clog and get your toilet back in working order.
Step 1: Assess the Situation
Before you jump into unclogging the toilet, it’s important to assess the situation first. Take a moment to determine the severity of the clog and whether there are any visible blockages.
Start by inspecting the water level in the toilet bowl. If the water is dangerously close to overflowing, it’s essential to stop the flow immediately. Locate the shut-off valve near the base of the toilet and turn it clockwise to shut off the water supply.
Next, take a peek into the toilet bowl. If you can visibly see any foreign objects causing the clog, such as excessive toilet paper or an item accidentally dropped into the bowl, carefully remove them using gloves or a disposable tool.
Assessing the situation helps you understand the extent of the clog and prepare for the unclogging process accordingly.
Step 2: Gather Necessary Tools
Now that you’ve assessed the situation, it’s time to gather the necessary tools before starting the unclogging process. Here’s a list of essential tools:
- Toilet Plunger: Ensure you have a toilet plunger with a flange, as it provides a better seal and helps generate more suction.
- Rubber Gloves: Put on a pair of rubber gloves to protect your hands from any potential mess.
- Bucket: Keep a bucket nearby to collect excess water and prevent any spills during the unclogging process.
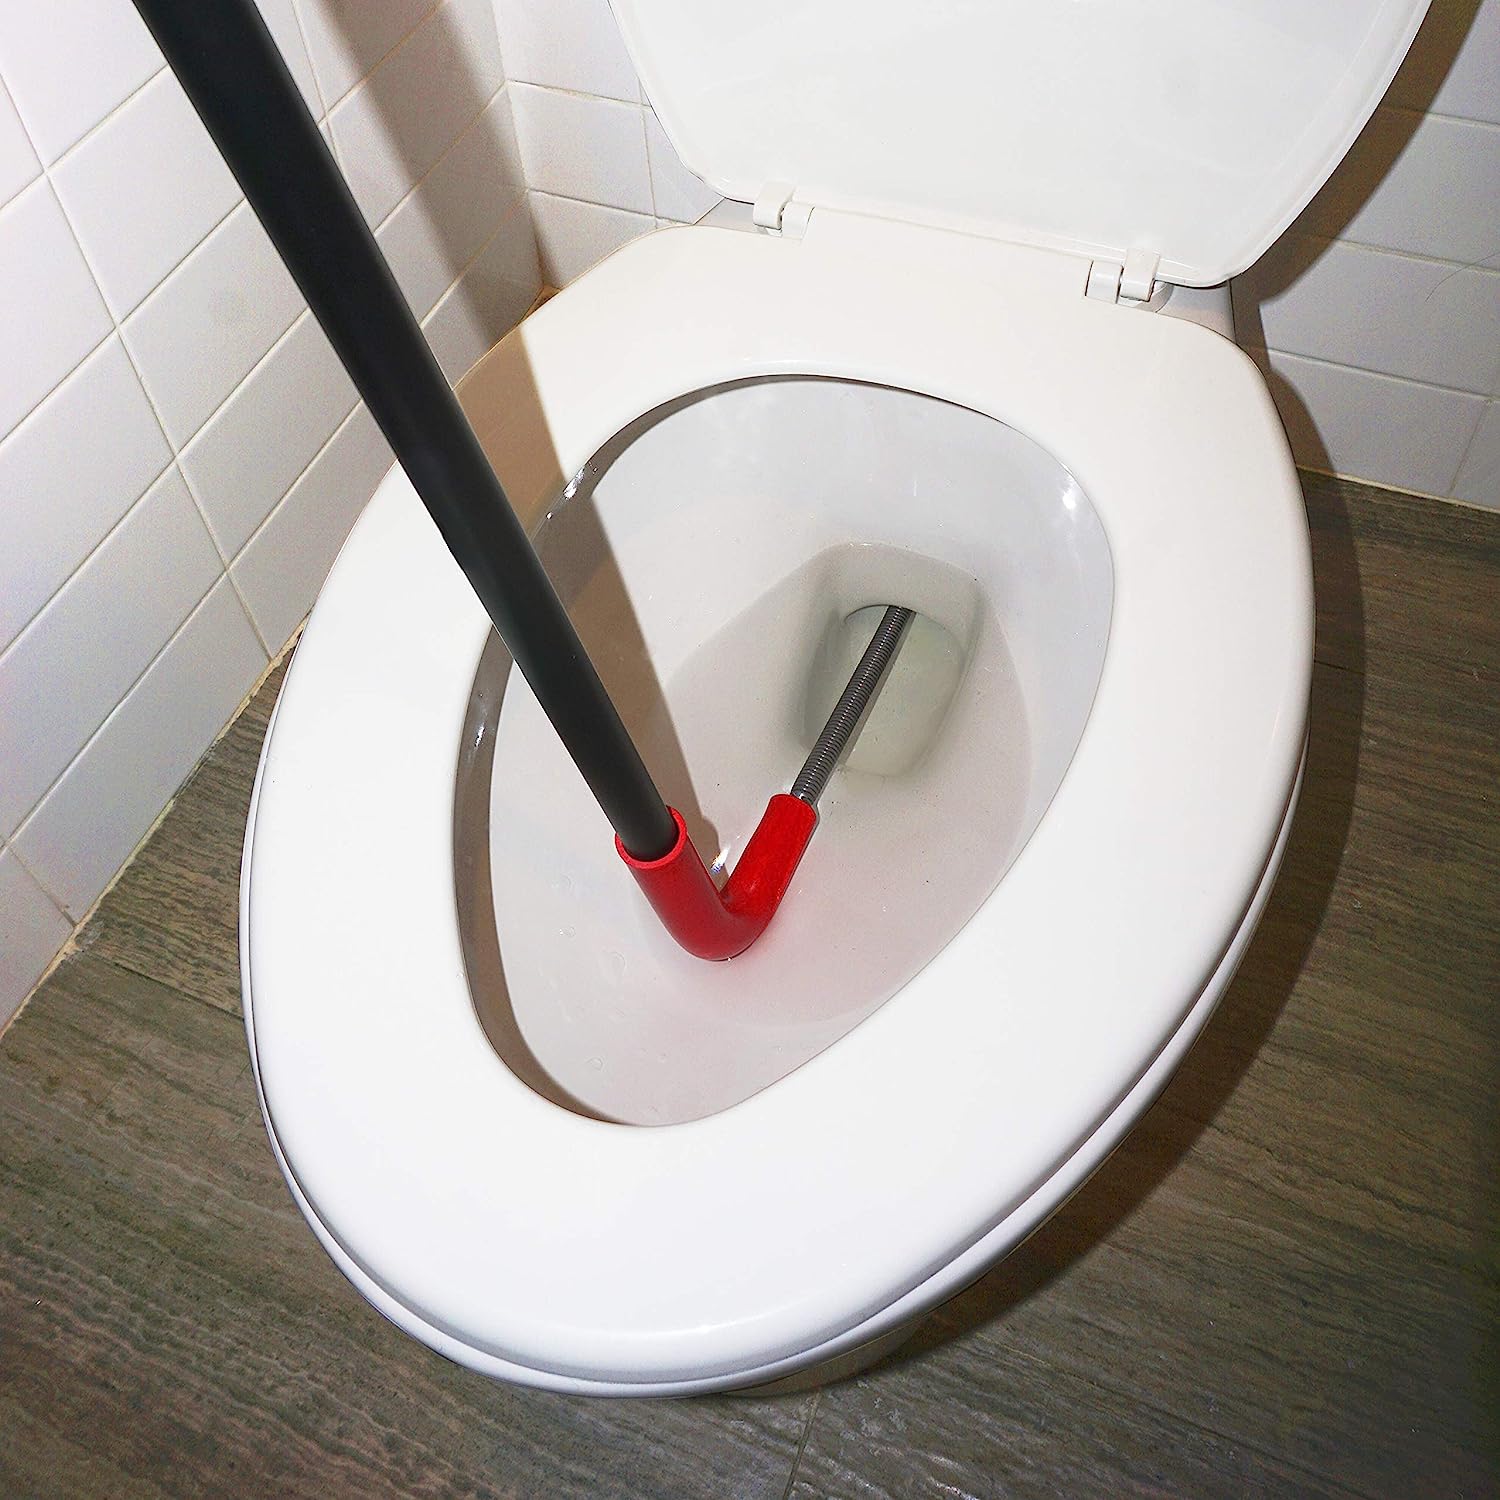
- Toilet Snake or Auger (optional): If the clog doesn’t seem to budge with a plunger, a toilet snake or auger can be useful in breaking up more stubborn blockages.
- Old Towels or Rags: Have some old towels or rags on hand to clean up any spills or splashes that may occur during the unclogging process.
- Toilet Cleaner: It’s a good idea to have toilet cleaner available to sanitize the toilet after successfully unclogging it.
By having these tools ready, you’ll be well-prepared to tackle the clog efficiently and effectively.
Step 3: Prep the Area
Before you start plunging, it’s important to properly prep the area around the toilet to avoid any additional mess or damage. Follow these steps to ensure a clean and organized workspace:
- Clear the Surrounding Area: Remove any items, such as mats or rugs, from around the toilet to create a clear space for maneuvering.
- Lay Down Protective Sheets: Place old towels or rags on the floor around the toilet to catch any splashes or spills that may occur during the unclogging process.
- Position the Bucket: Position a bucket nearby to collect excess water and debris when necessary.
- Open a Window or Use Ventilation: If possible, open a window or turn on the ventilation in the bathroom to help dissipate any odors that may arise during the unclogging process.
Taking these preparatory measures will help you work confidently and minimize any potential mess or damage to the surrounding area.
Read more: How To Unclog A Toilet Without A Plunger
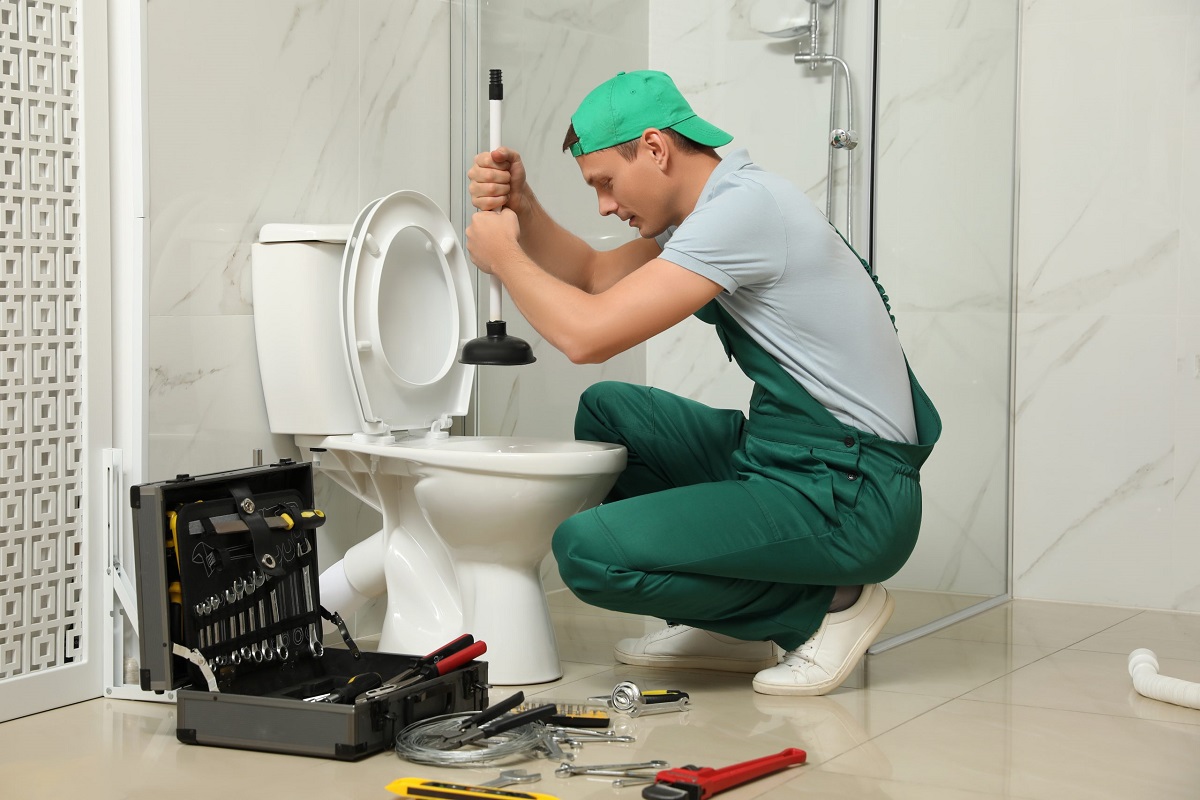
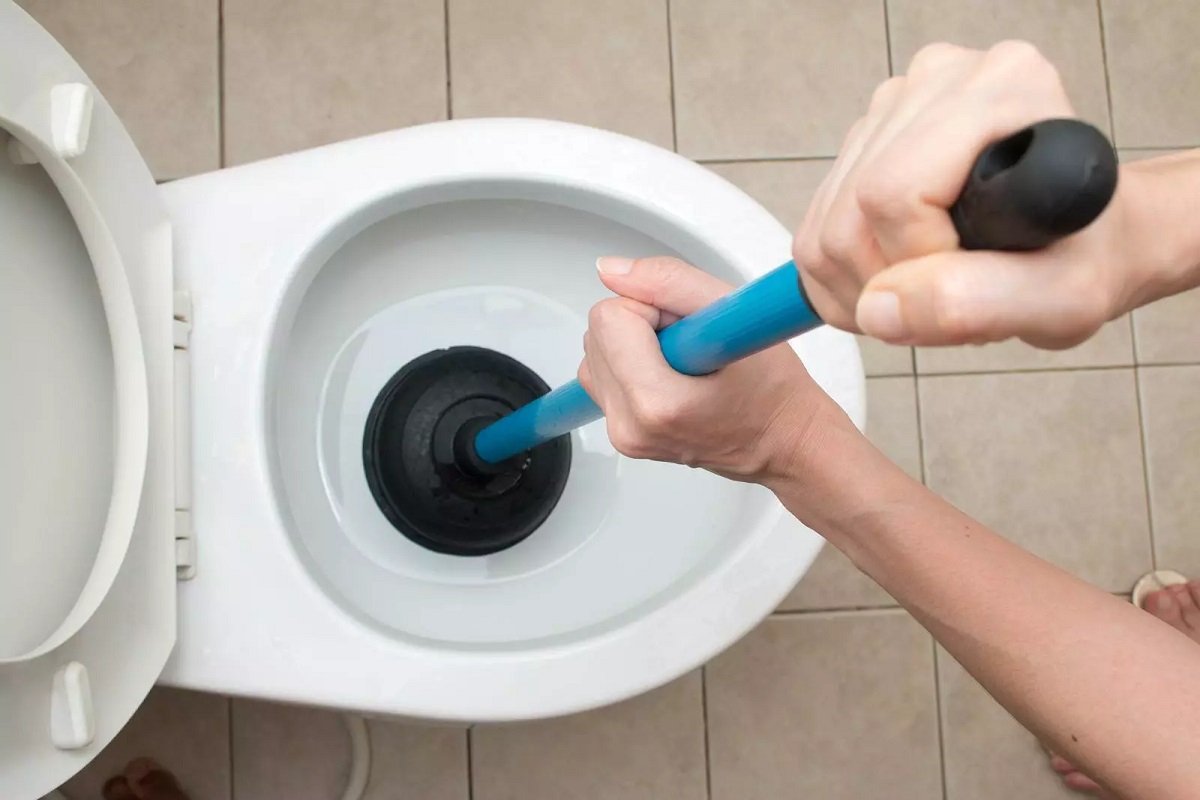
Step 4: Use a Plunger
Now that you’ve prepped the area, it’s time to use the plunger to unclog the toilet. Follow these steps:
- Position the Plunger: Place the plunger over the toilet drain, ensuring that it covers the hole completely.
- Create a Seal: Press the plunger firmly against the drain to create a tight seal. This will help generate suction when plunging.
- Apply Pressure: Push down on the plunger with a steady, vigorous motion. This will force air and water in and out of the drain, creating pressure to dislodge the clog.
- Continue Plunging: Repeat the plunging motion several times, maintaining a constant rhythm. Avoid removing the plunger completely from the drain between each plunge, as this will break the seal.
- Check for Drainage: After plunging vigorously for a few minutes, check if the water starts to drain. If it does, the clog is likely clearing. If not, continue to the next step.
Remember, the key to successful plunging is to create a strong seal and apply consistent pressure. This motion helps to loosen the clog and allow it to pass through the drain.
If the water starts to drain, flush the toilet to remove any remaining debris. If the water doesn’t drain or drains slowly, continue to the next steps.
Use a plunger to create a seal over the toilet drain and push and pull to dislodge the clog. If the plunger doesn’t work, try using a toilet auger to break up the blockage. Always wear gloves and be prepared for some mess.
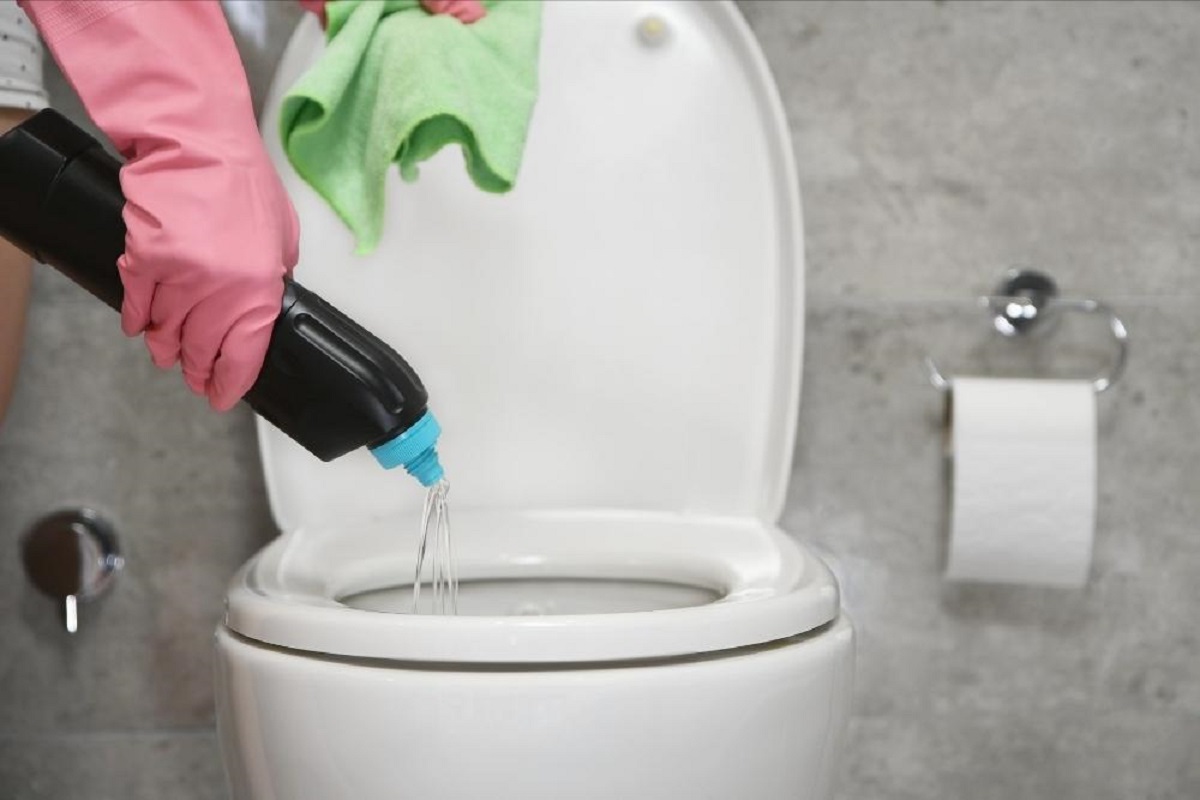
Step 5: Apply Toilet Cleaner
If the plunging alone doesn’t fully unclog the toilet, it’s time to apply some toilet cleaner to help break down any remaining debris. Follow these steps:
- Choose a Toilet Cleaner: Select a toilet cleaner specifically designed to break down tough clogs and sanitize the toilet bowl.
- Read the Instructions: Carefully read and follow the instructions on the toilet cleaner packaging. Some cleaners may require you to let it sit for a specific amount of time to dissolve the clog.
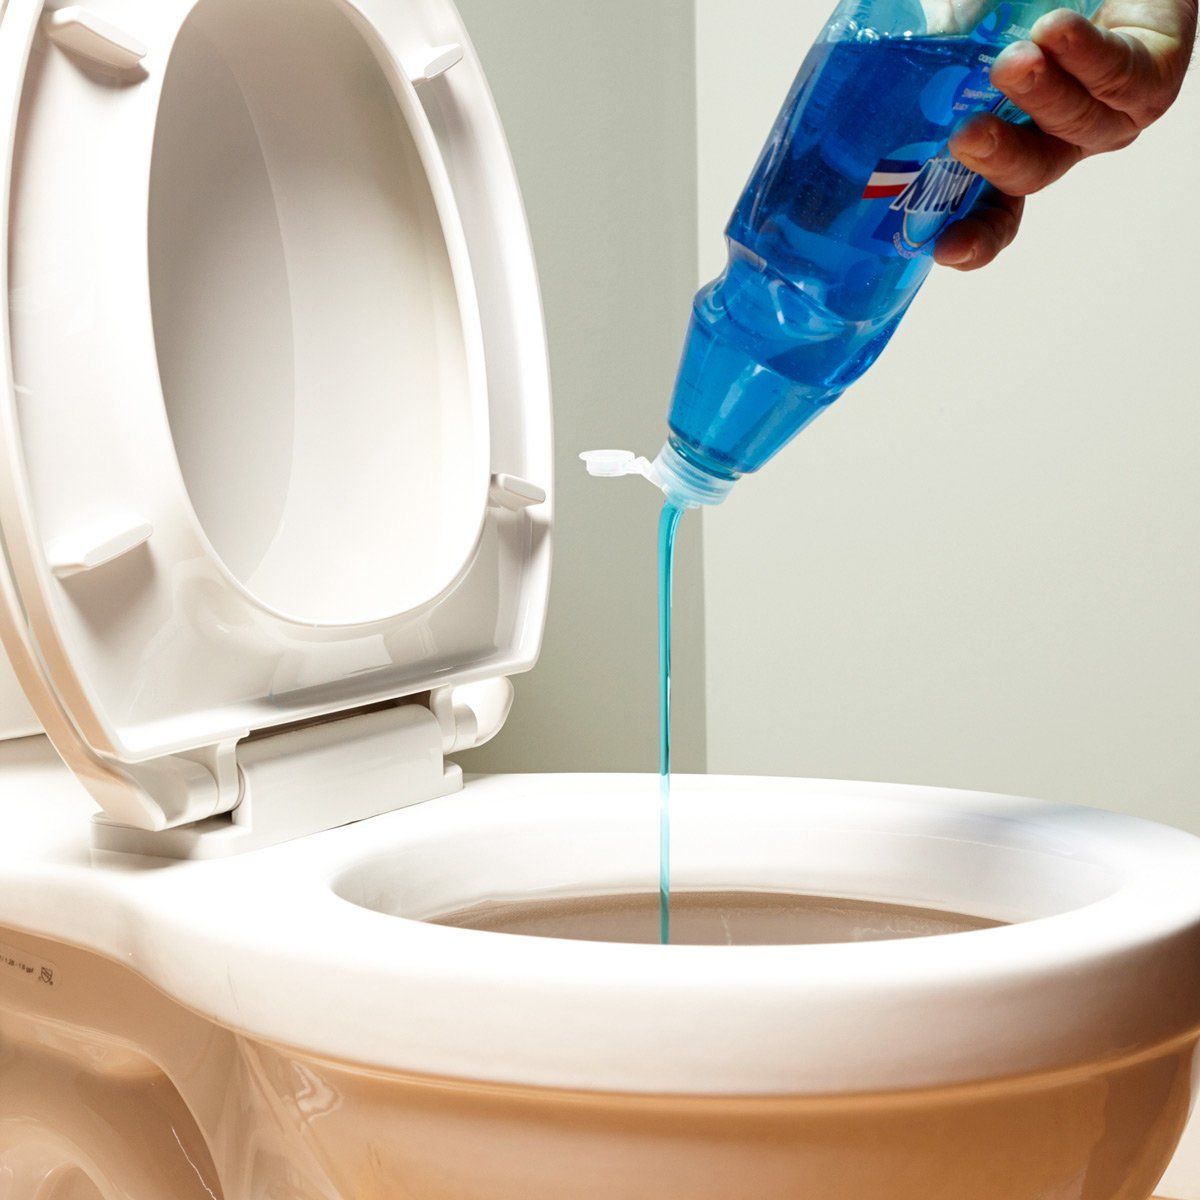
- Apply the Cleaner: Squeeze or pour the appropriate amount of toilet cleaner into the bowl, ensuring it reaches the drain. Be careful not to overflow the bowl.
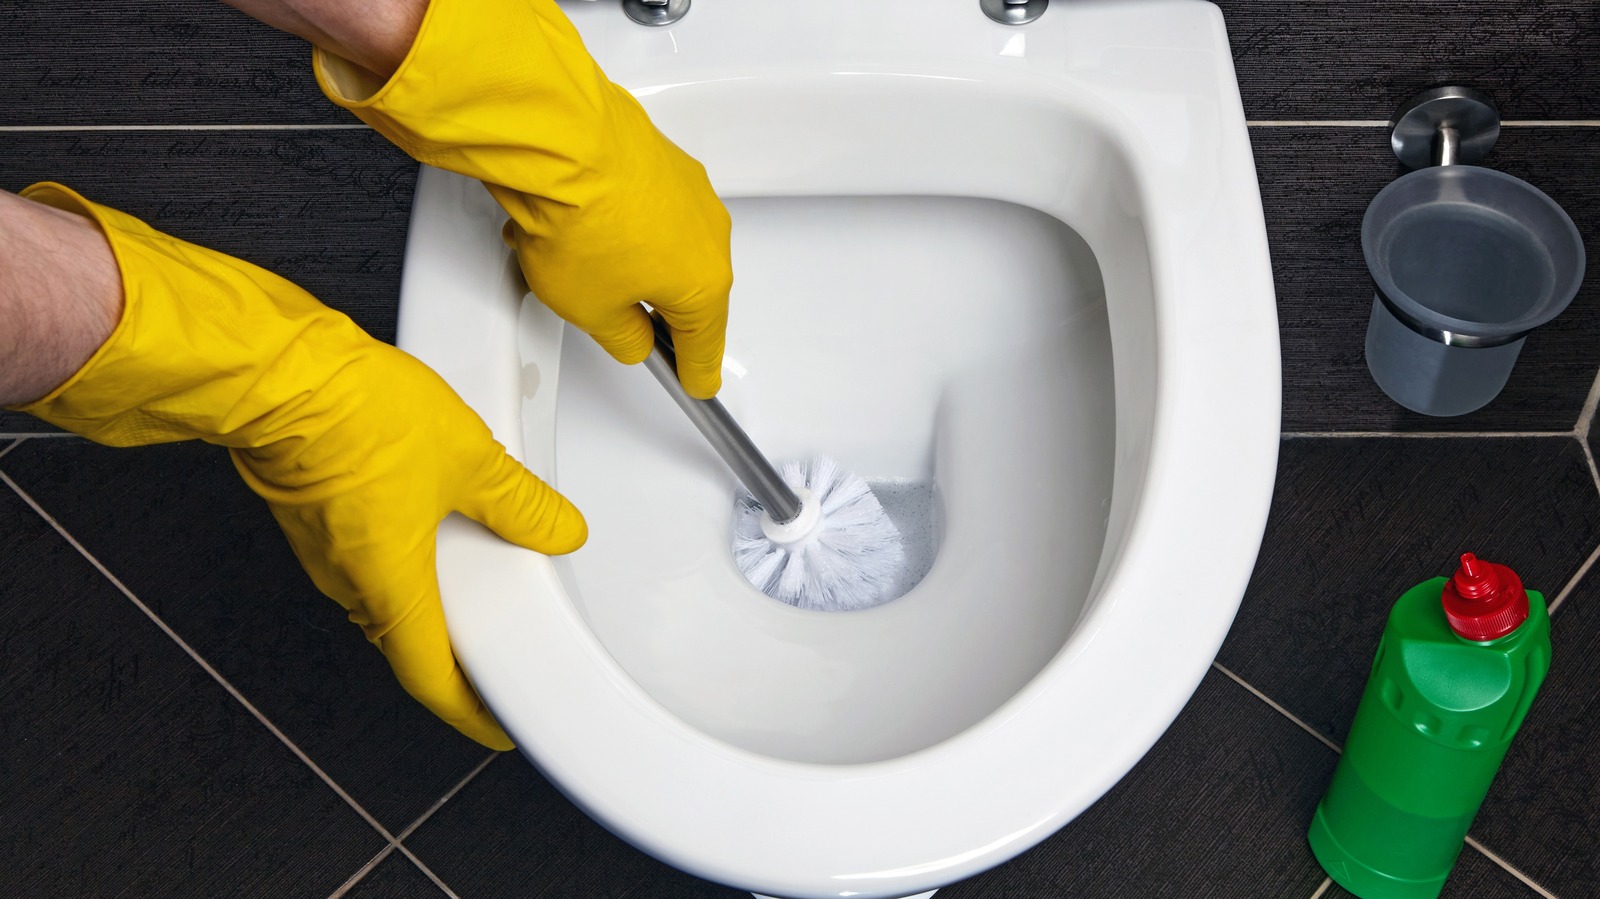
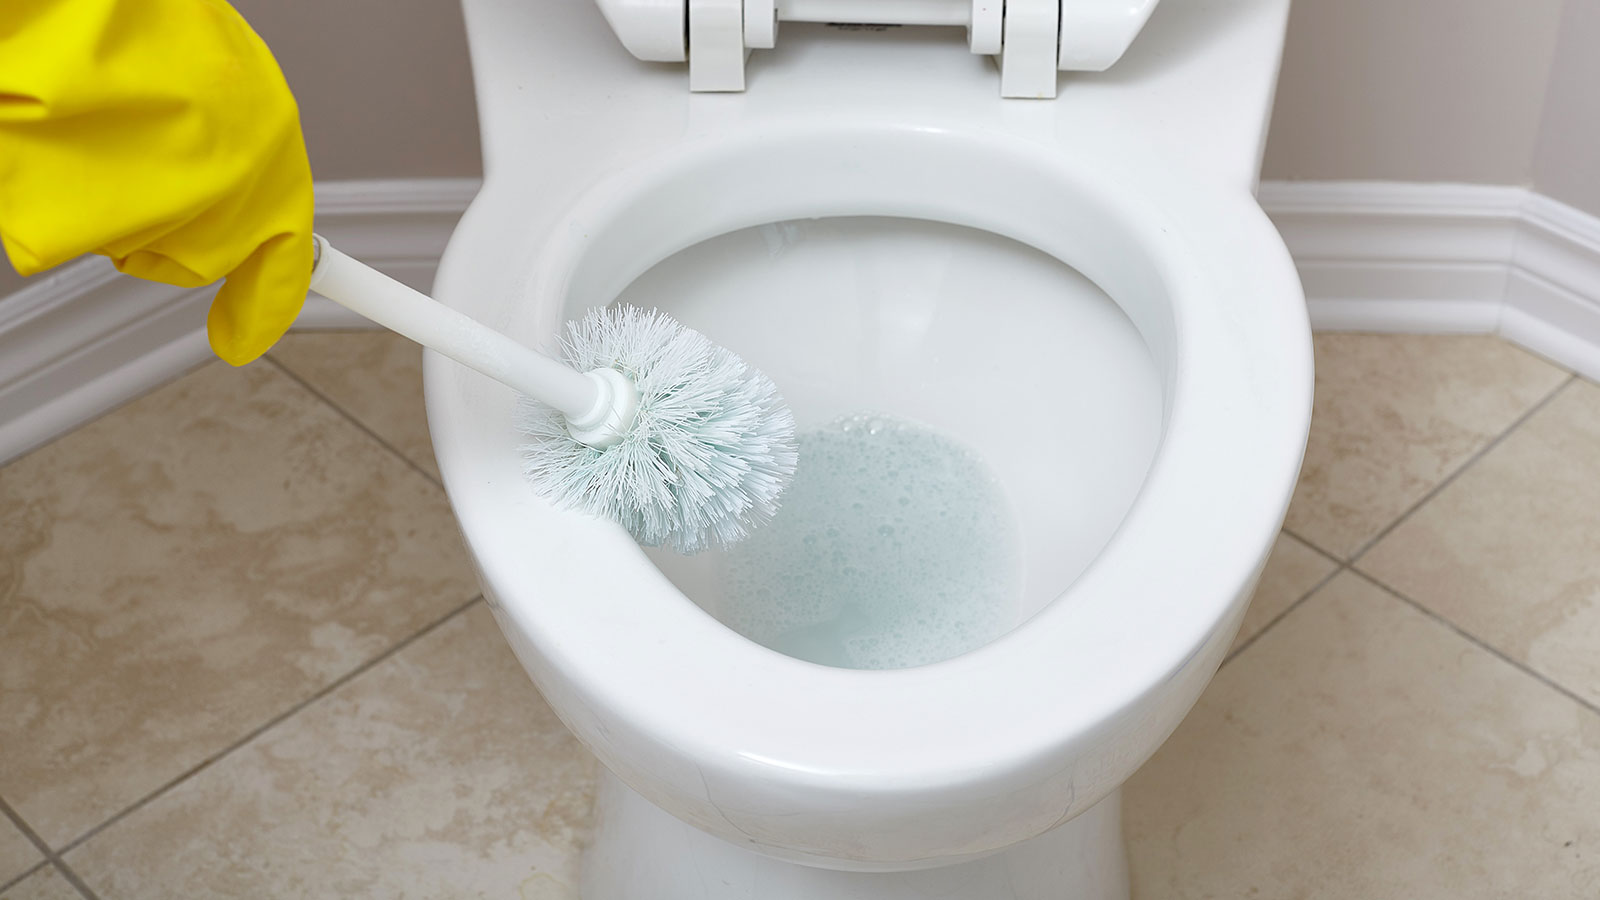
- Distribute the Cleaner: Use a toilet brush to spread the cleaner around the bowl, ensuring it covers the walls and reaches the drain.
- Let it Sit: Follow the instructions on the cleaner and allow it to sit for the recommended duration. This gives the cleaner time to break down the clog.
While you’re waiting, you can take this opportunity to clean the toilet seat, handle, and other surfaces with a disinfectant wipe or cleaner.
After the designated time, proceed to the next step to flush the toilet and assess if the clog has cleared.
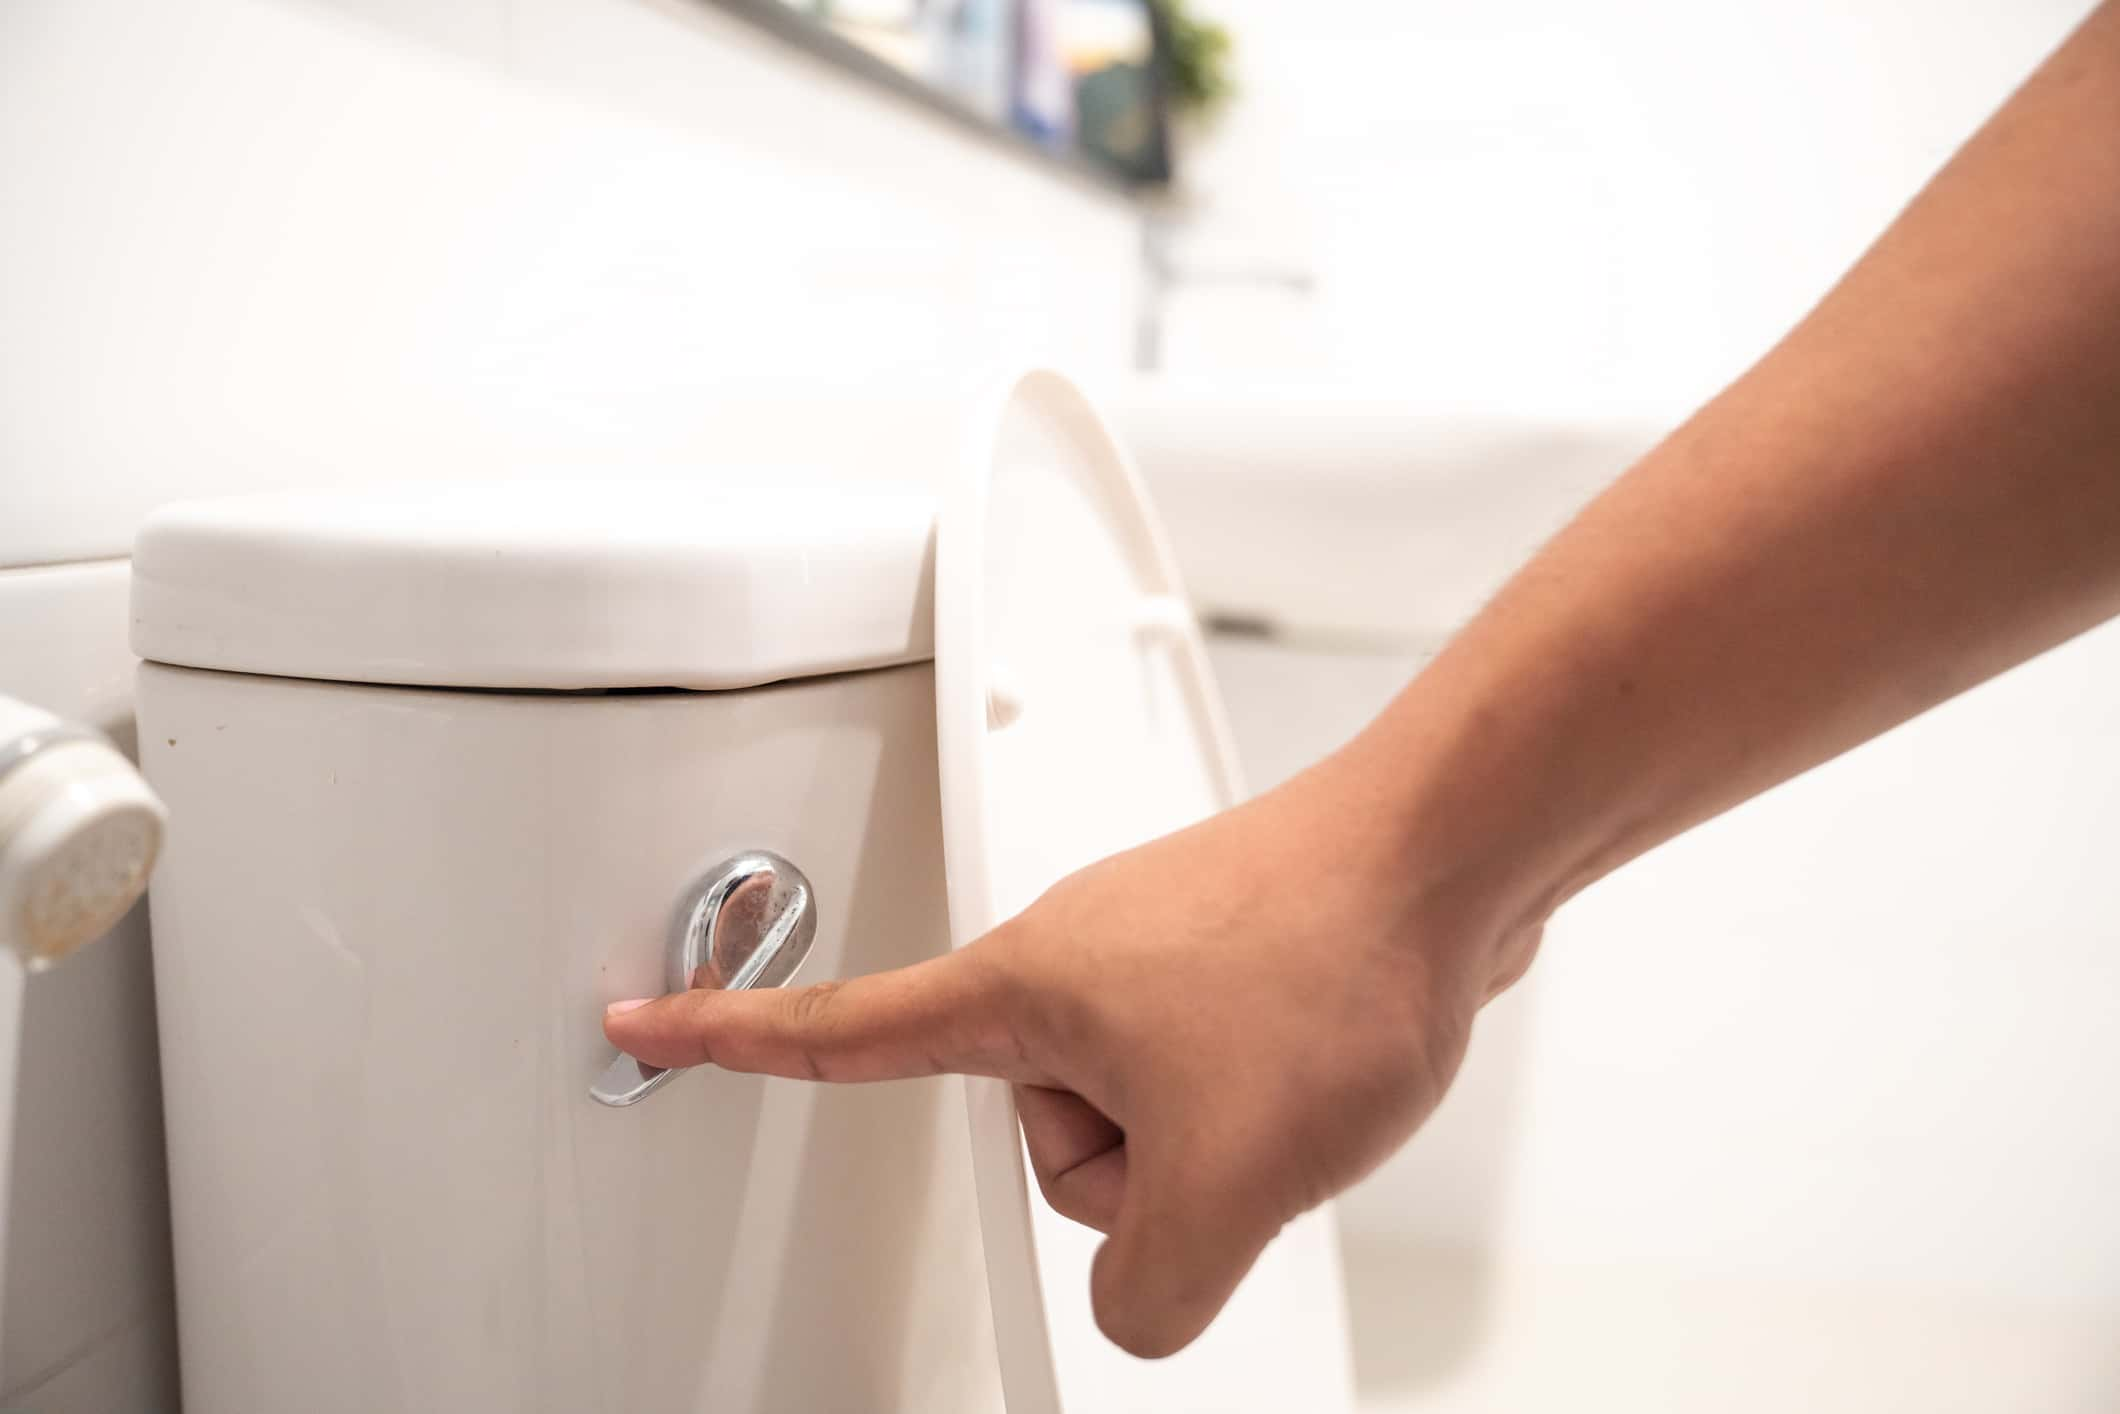
Step 6: Wait and Flush
After applying the toilet cleaner, it’s crucial to allow it time to work its magic before attempting to flush the toilet. Here’s what you should do:
- Wait for the Recommended Time: Check the instructions on the toilet cleaner to determine how long you should wait before flushing. This waiting period allows the cleaner to break down the remaining debris and loosen the clog.
- Inspect the Toilet Bowl: Take a moment to inspect the toilet bowl. Look for any signs of the clog loosening, such as water level decreasing or movement in the drain.
- Flush the Toilet: If the recommended time has passed and you notice improvements in the toilet bowl, it’s time to flush. Use the regular flushing method and observe whether the water drains properly.
If the toilet flushes smoothly and there are no signs of a clog, congratulations! You have successfully unclogged the toilet. However, if the clog still persists or the water doesn’t drain as expected, you may need to repeat the plunging or move on to the next step.
Remember, patience is key during this step. Allowing enough time for the cleaner to work its magic can greatly improve the effectiveness of the unclogging process.
Step 7: Repeat if Necessary
If the toilet still appears to be clogged after the initial plunging and application of toilet cleaner, don’t worry – there are still a few more steps you can try. Follow these instructions to further unclog the toilet:
- Reposition the Plunger: Place the plunger back over the toilet drain and create a seal, just as you did in Step 4.
- Plunge Vigorously: Repeat the plunging motion with force and determination. Make sure to maintain a consistent rhythm and generate enough suction to dislodge the clog.
- Check for Drainage: After plunging for a few minutes, check if the water starts to drain. If it does, proceed to flush the toilet and ensure that it flushes properly.
- Apply More Toilet Cleaner: If the plunging alone doesn’t seem to be effective, apply more toilet cleaner following the steps outlined in Step 5. Allow the cleaner to sit for the recommended time.
- Plunge Again: After the cleaner has had time to work, plunge the toilet vigorously once more. This action, combined with the cleaner, can help break down the clog.
- Repeat as Necessary: If the clog still persists, continue alternating between plunging and using toilet cleaner until the toilet flushes properly and drains without any issues.
Remember, stubborn clogs may require a bit more persistence and effort. By repeating these steps, you increase your chances of successfully clearing the clog and restoring normal flow to your toilet.
Read more: Why Wont My Toilet Unclog
Step 8: Clean Up
Once you’ve successfully unclogged the toilet, it’s important to properly clean up the area to ensure it’s hygienic and free from any lingering mess. Here’s what you need to do:
- Flush and Test: Flush the toilet one final time to ensure that the water flows freely and there are no signs of a clog. This step helps confirm that the unclogging process was successful.
- Remove Protective Sheets: Carefully remove any old towels or rags that you placed around the toilet to catch spills. Be cautious not to spread any potential residue while doing so.
- Wash and Disinfect: Thoroughly wash your hands with soap and water. Use disinfectant wipes or cleaner to sanitize the toilet seat, handle, and any surfaces that might have been exposed during the unclogging process.
- Dispose of Waste Properly: Dispose of any used gloves, cleaning materials, or other waste in a proper trash bin. Ensure that you seal any waste bags securely to prevent any potential odors or mess.
- Restore the Bathroom: Once everything is clean and tidy, put back any items that you removed from the area before starting the unclogging process. Return mats, rugs, and other accessories to their original positions.
Cleaning up after unclogging a toilet is essential to maintain a clean and hygienic bathroom environment. By following these steps, you can ensure that the area is left spotless and ready for use.
Conclusion
Clogging a toilet with poop still in it can be a messy and frustrating situation, but with the right approach, it can be resolved. By following the steps outlined in this guide, you can effectively unclog your toilet and restore it to proper working order.
Remember, before you begin the unclogging process, assess the severity of the clog and gather the necessary tools. Prepping the area and creating a clean workspace will make the process more manageable. Utilizing a plunger and applying toilet cleaner are the primary steps to break down the clog and clear the drain.
If the initial attempts are not successful, don’t lose hope. You may need to repeat the plunging and cleaning steps as necessary, and in some cases, consider using a toilet snake or auger for more stubborn clogs. Persistence and patience are key to achieving a successful outcome.
Once the clog is cleared, be sure to clean up the area thoroughly, disinfecting surfaces, and disposing of waste properly. This will leave your bathroom clean and sanitary.
If all else fails or if you’re uncomfortable tackling the clog yourself, it’s always a good idea to contact a professional plumber who can provide expert assistance.
Remember, unclogging a toilet with poop still in it is a common issue that can be resolved with the right tools and techniques. With a little perseverance and know-how, you’ll have your toilet working smoothly again in no time!
Now that you've mastered unclogging toilets even when they're at their messiest, why stop there? For those eager to dive deeper into bathroom maintenance, our next guide on toilet repair offers invaluable insights. Packed with practical fixes and the latest innovations for 2024, this article will equip you with the skills to tackle any toilet troubles with confidence. Don't let a faulty flush ruin your day—learn how to keep your throne in top condition!
Frequently Asked Questions about How To Unclog A Toilet With Poop Still In It
Was this page helpful?
At Storables.com, we guarantee accurate and reliable information. Our content, validated by Expert Board Contributors, is crafted following stringent Editorial Policies. We're committed to providing you with well-researched, expert-backed insights for all your informational needs.


0 thoughts on “How To Unclog A Toilet With Poop Still In It”