Home>Interior Design>How To Unclog A Toilet Without A Plunger
Interior Design
How To Unclog A Toilet Without A Plunger
Modified: October 19, 2024
Learn how to unclog a toilet without a plunger with these simple interior design tips. Save time and money with our easy-to-follow instructions.
(Many of the links in this article redirect to a specific reviewed product. Your purchase of these products through affiliate links helps to generate commission for Storables.com, at no extra cost. Learn more)
Introduction
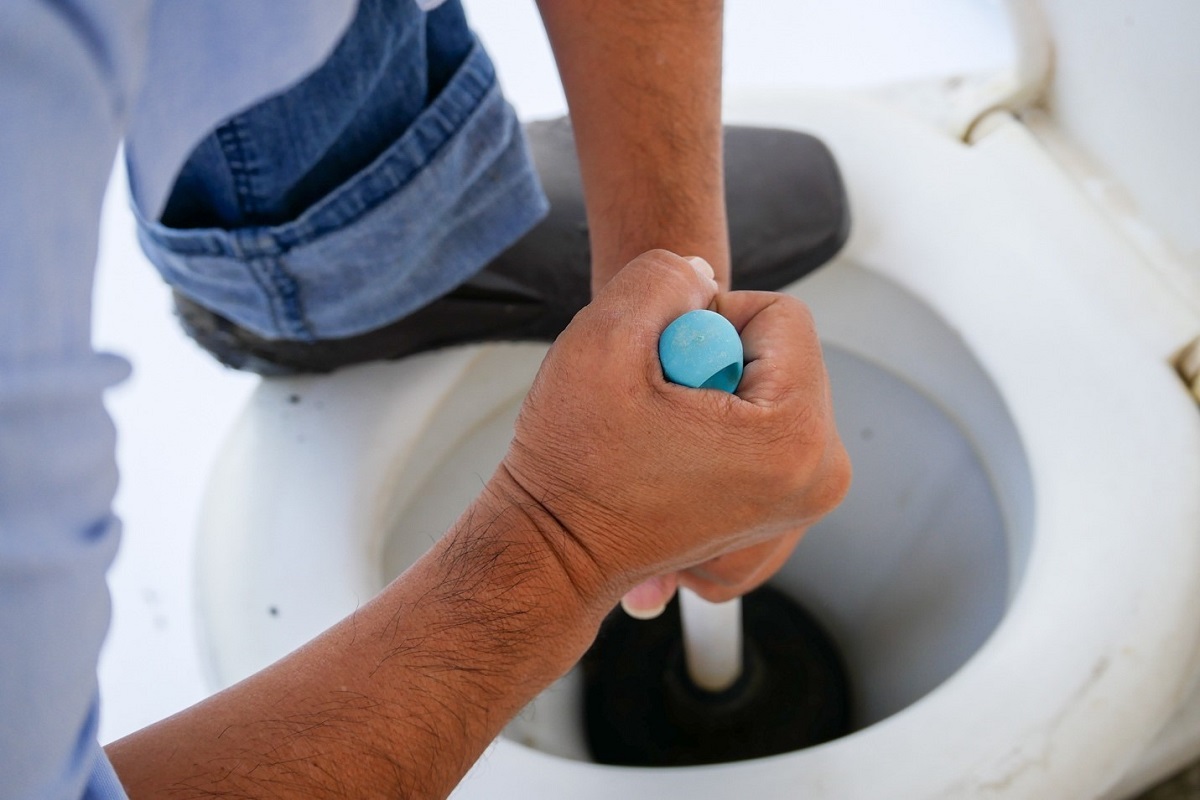
Having a clogged toilet can be a frustrating and inconvenient problem to deal with. While a plunger is often the go-to tool to unclog a toilet, there may come a time when you find yourself without one. But fear not! There are several alternative methods you can try to unclog your toilet without a plunger.
In this article, we will explore various DIY methods that you can use to effectively unclog your toilet without the need for a plunger. These methods are easy to implement and use household items that you probably already have on hand. So, let’s dive in and learn how to tackle that stubborn clog!
Key Takeaways:
- DIY methods like hot water and dish soap, baking soda and vinegar, and even a wire hanger can effectively unclog a toilet without a plunger. Get resourceful and tackle those pesky toilet clogs with ease!
- Exercise caution and only attempt DIY unclogging methods if you feel comfortable. If the clog persists or if you’re unsure, seek professional help from a plumber to avoid potential damage to your plumbing system.
Read more: How To Unclog A Bathtub Without A Plunger
Method 1: Hot Water and Dish Soap
This method involves using a combination of hot water and dish soap to dissolve the clog. Here’s how you can do it:
- Turn off the water supply: Before you begin, locate the water shut-off valve behind the toilet and turn it off to prevent any overflow.
- Heat the water: Boil a large pot of water on the stove or heat water in the microwave until it’s hot but not boiling.
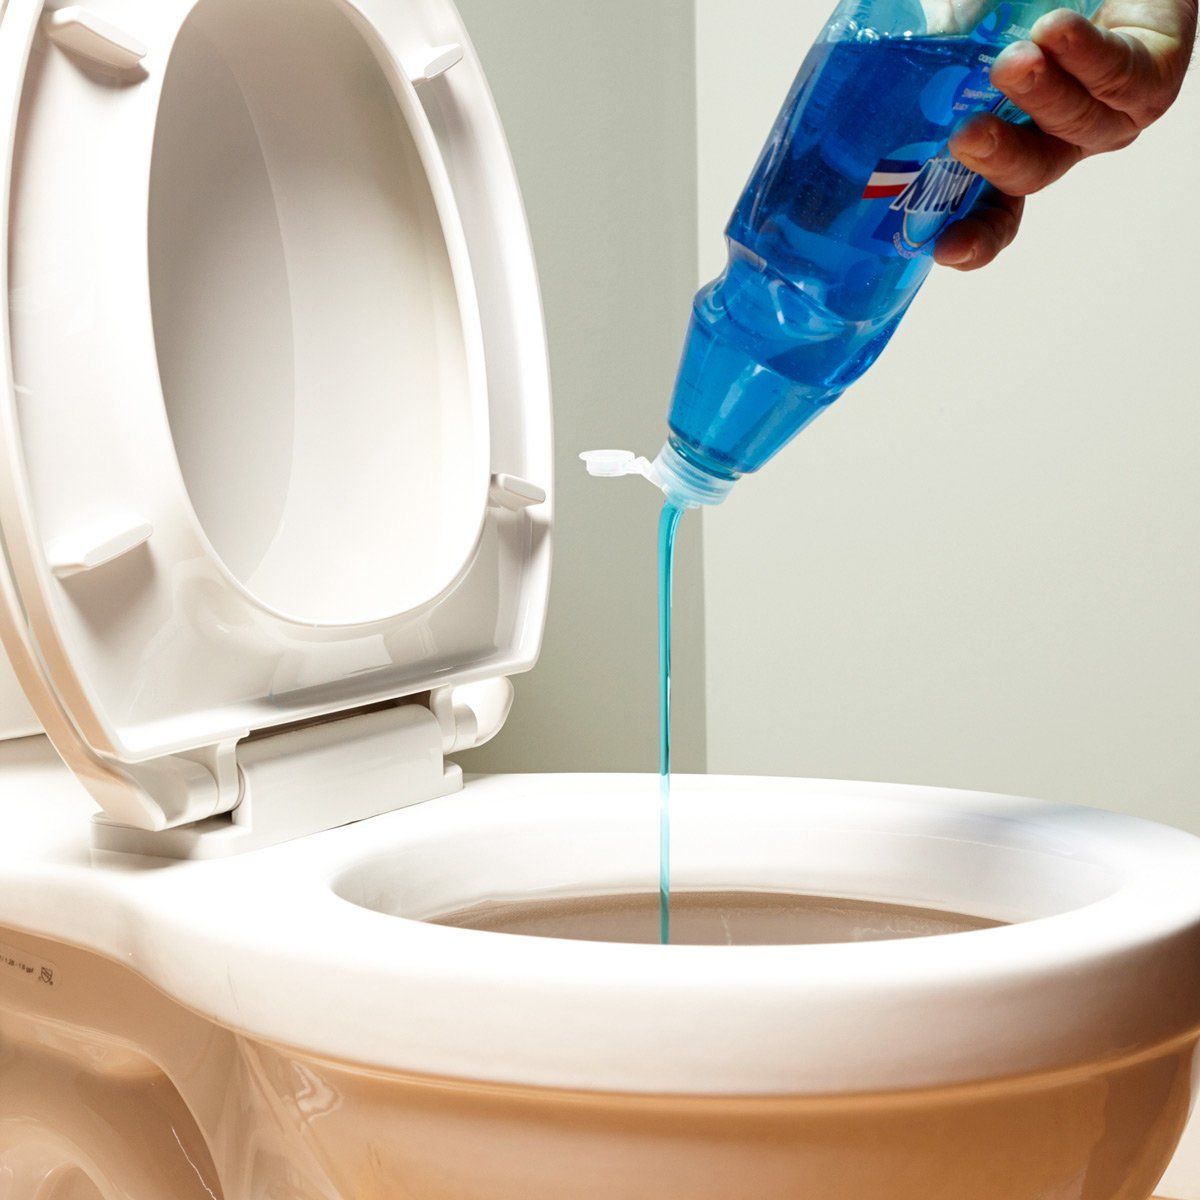
- Add dish soap: Squeeze a generous amount of liquid dish soap into the toilet bowl. The soap acts as a lubricant and helps to break down the clog.
- Pour the hot water: Slowly pour the hot water into the toilet bowl from a height of about waist level. The force of the water and the heat will help to dislodge and dissolve the clog.
- Wait and flush: Allow the hot water and dish soap mixture to sit in the toilet bowl for about 10 minutes. Then, flush the toilet to see if the clog has cleared. Repeat the process if necessary.
This method is effective for minor clogs caused by toilet paper or organic waste. The hot water softens the clog, while the dish soap helps to break it down and lubricate the pipes. However, it may not be as effective for more stubborn or solid blockages.
Remember, always exercise caution when handling hot water to avoid burns, and make sure to turn on the water supply after successfully unclogging the toilet.
Method 2: Baking Soda and Vinegar
If you don’t have a plunger, another effective method for unclogging a toilet is by using baking soda and vinegar. The chemical reaction between these two ingredients can help break down the clog and clear the pipes. Here’s how to do it:
- Add baking soda: Start by pouring about one cup of baking soda into the toilet bowl. Make sure to distribute it evenly around the bowl.
- Pour vinegar: Next, pour one to two cups of vinegar into the toilet bowl. You will notice a fizzing reaction as the vinegar reacts with the baking soda.
- Let it sit: Allow the mixture to sit in the toilet bowl for about 30 minutes. This gives the solution enough time to work its magic and break down the clog.
- Flush the toilet: After the allotted time, flush the toilet. The effervescent reaction between the baking soda and vinegar should help dislodge the clog and clear the pipes.
This method is particularly effective for clogs caused by organic materials or built-up residue. The foaming action created by the baking soda and vinegar helps to loosen and break apart the clog. However, it may not be as effective for solid or stubborn blockages.
Remember to use caution when handling vinegar, as it can cause skin and eye irritation. Additionally, avoid mixing vinegar with other cleaning agents, as it can produce harmful fumes.
If the clog persists after attempting this method, you may need to try a different method or seek the assistance of a professional plumber.
Method 3: Epsom Salt and Boiling Water
Another alternative method to unclog a toilet without a plunger is by using Epsom salt and boiling water. Epsom salt, also known as magnesium sulfate, can help to break down the clog and facilitate its removal. Here’s how you can use this method:
- Add Epsom salt: Start by pouring about 1 cup of Epsom salt into the toilet bowl. Make sure to distribute it evenly around the bowl.
- Pour boiling water: Boil a pot of water, then carefully pour it into the toilet bowl. The hot water combined with the Epsom salt will create a solution that can effectively dissolve the clog.
- Let it sit: Allow the mixture of Epsom salt and boiling water to sit in the toilet bowl for at least 10 minutes. This will give the solution enough time to break down the clog.
- Flush the toilet: After the allotted time, flush the toilet to see if the clog has cleared. If the water level starts to recede, it indicates that the clog is loosening. Repeat the process if necessary.
This method is particularly effective for unclogging toilets that are clogged due to mineral deposits or hardened residue. The Epsom salt helps to soften and dissolve these deposits, while the hot water aids in breaking them apart. However, it may not be as effective for more solid blockages.
Keep in mind that Epsom salt should not be used as a regular method for unclogging toilets, as it can be abrasive to the toilet bowl and pipes over time. It is best reserved for occasional use when other methods are unavailable.
If the clog persists after attempting this method, it is recommended to seek the help of a professional plumber to prevent further damage to your plumbing system.
Method 4: Wire Hanger
If you’re looking for a simple and readily available tool to unclog a toilet without a plunger, a wire hanger can come in handy. Here’s how you can use a wire hanger to tackle the clog:
- Unwind the hanger: Take a wire hanger and unwind it until you have a long, straight piece of wire. Make sure to remove any plastic or coating from the hanger.
- Create a hook: At one end of the wire, create a small hook by bending it into a 90-degree angle. This hook will be used to grab hold of the clog and pull it out.
- Insert the wire: Carefully insert the hooked end of the wire into the toilet drain. Gently push it in and maneuver it around to locate and hook onto the clog.
- Remove the clog: Once you have hooked onto the clog, slowly and gently pull the wire hanger upward, aiming to dislodge the clog and pull it out. Be careful not to apply excessive force that could potentially damage the toilet bowl or the pipes.
- Flush the toilet: After successfully removing the clog, flush the toilet to ensure that the water flows freely and the clog is completely cleared.
A wire hanger is a handy tool for dealing with small and easily accessible clogs. It can effectively grab hold of debris such as toilet paper or other obstructions that may be causing the blockage. However, it may not be suitable for more stubborn or difficult-to-reach clogs.
Remember to dispose of the wire hanger properly after use and avoid flushing it down the toilet, as it can cause further clogs or damage to the plumbing system.
If the wire hanger method doesn’t work or if you encounter a persistent clog, it is recommended to seek professional assistance to avoid any potential damage to the toilet or plumbing system.
Pour a bucket of hot water into the toilet bowl from waist height. The force of the water should help to dislodge the clog.
Read more: How To Unclog A Sink Without A Plunger
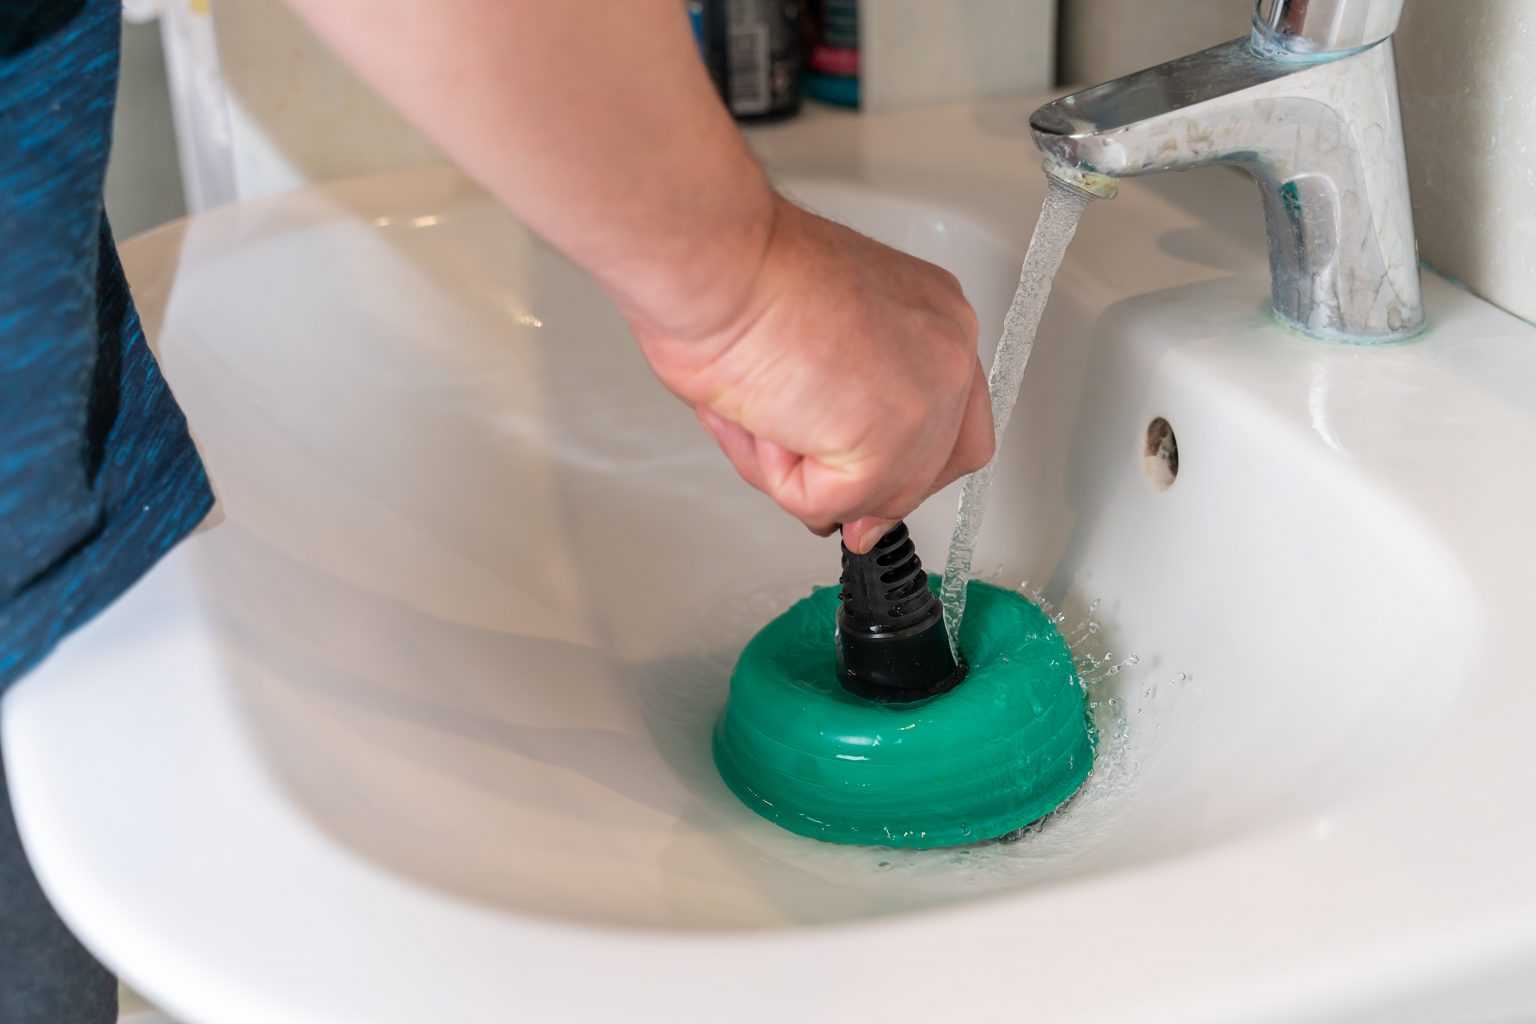
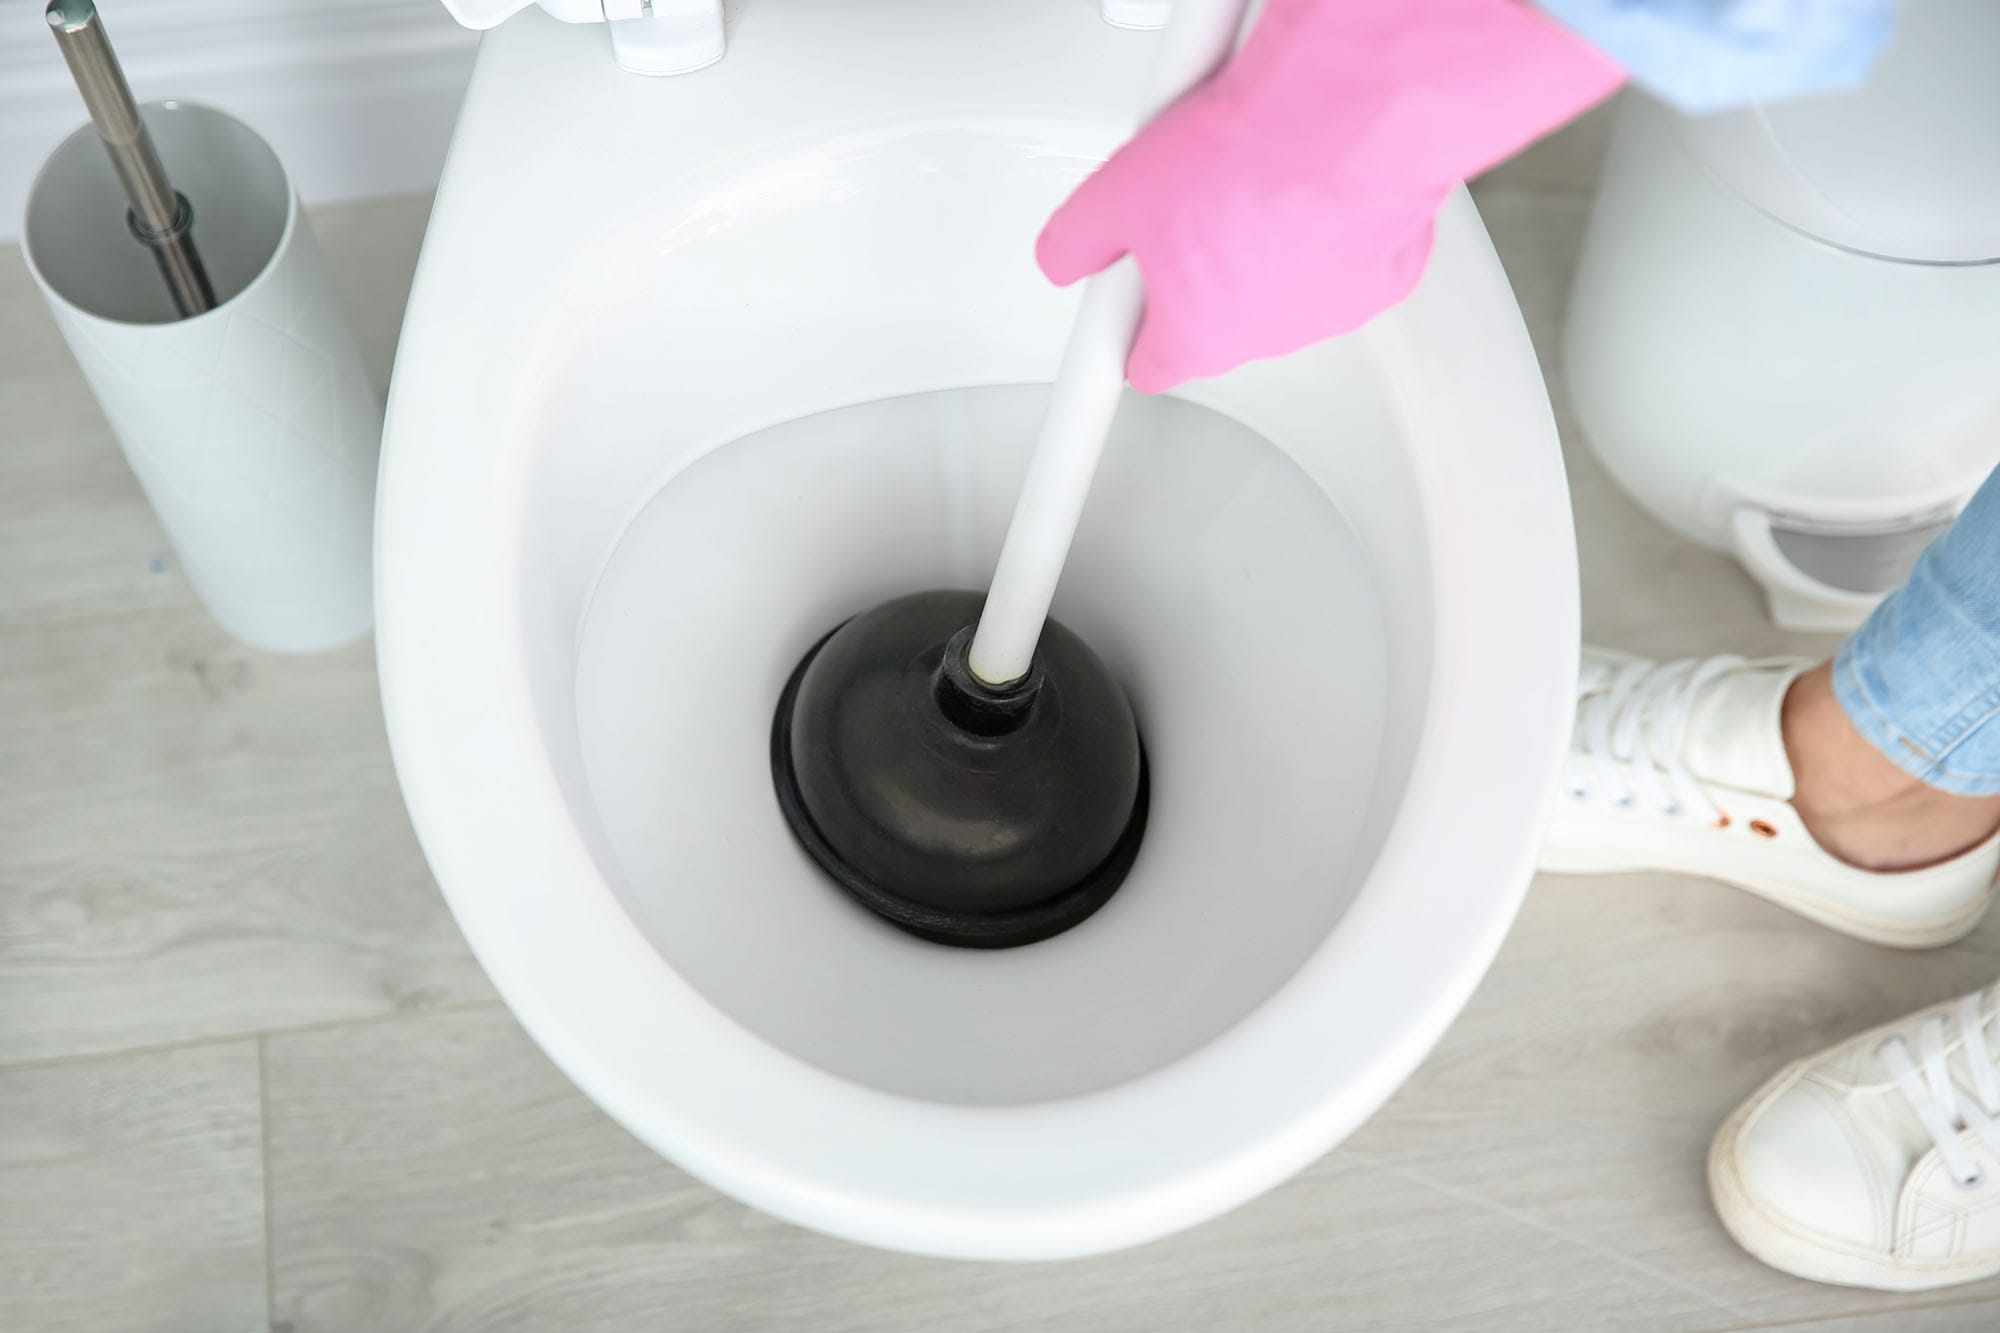
Method 5: Toilet Brush
If you’re in a bind and don’t have a plunger available, another alternative method to unclog a toilet is by using a toilet brush. While its primary purpose is for cleaning the toilet bowl, a toilet brush can also be used to dislodge a clog. Here’s how you can use a toilet brush to unclog a toilet:
- Add hot water: Boil a pot of water or use hot water from the sink. Pour the hot water into the toilet bowl, aiming to cover the base of the obstruction.
- Give it time: Allow the hot water to sit in the toilet bowl for a few minutes. The heat helps to soften the clog and make it more responsive to the next step.
- Use the toilet brush: Take the toilet brush and insert it into the toilet bowl. Use a plunging motion, vigorously pushing and pulling the brush up and down. This action creates suction and pressure to dislodge the clog.
- Continue plunging: Repeat the plunging motion several times, keeping the brush submerged in the water as you push and pull. Be sure to maintain a firm grip on the brush handle to prevent it from accidentally entering the drain.
- Flush the toilet: Once you feel that the clog has been loosened, flush the toilet to see if the water flows freely. If the water level starts to recede, it indicates that the clog is breaking apart and clearing.
A toilet brush can be an effective makeshift tool for unclogging a toilet. The combination of hot water and the plunging motion created by the brush can help dislodge the blockage. However, be cautious not to use excessive force, as it may damage the toilet bowl or the plumbing system.
After using the toilet brush for unclogging, it’s essential to thoroughly clean and sanitize it before returning it to its intended function of cleaning the toilet bowl.
If the toilet brush method doesn’t resolve the clog or if you encounter a persistent blockage, it’s recommended to reach out to a professional plumber for further assistance.
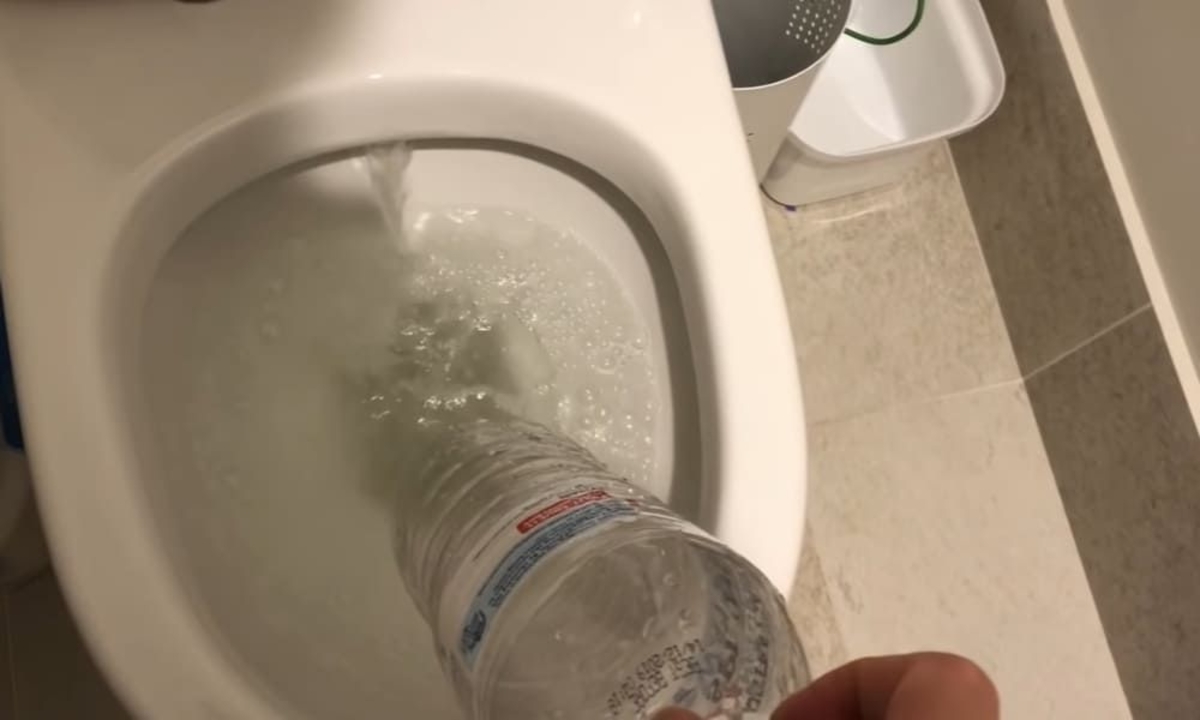
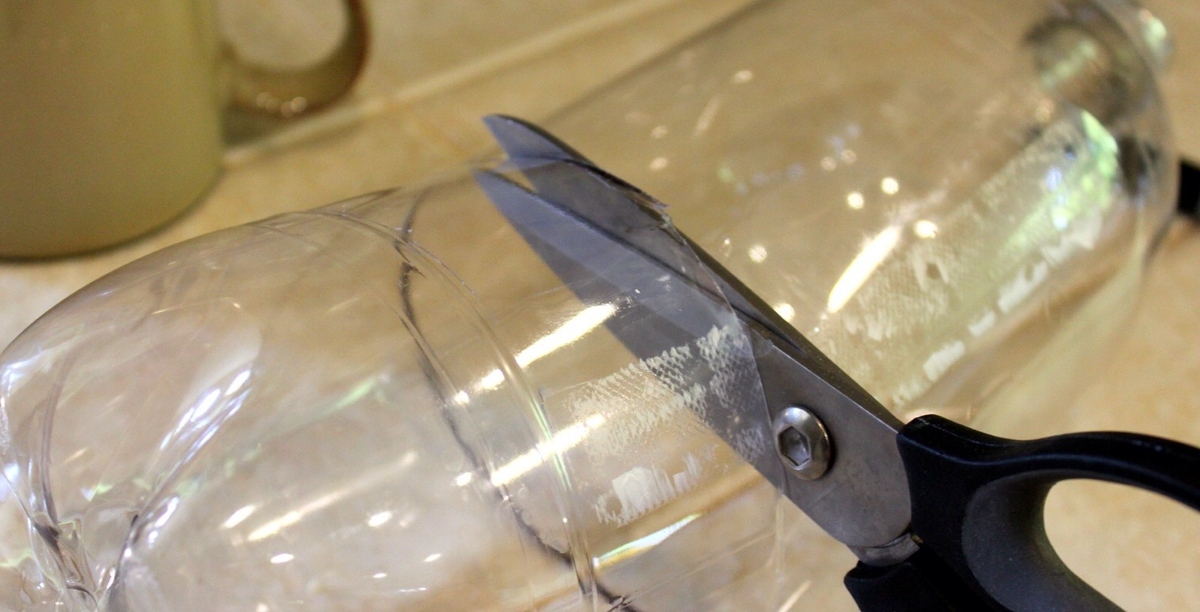
Method 6: Plastic Bottle
When faced with a clogged toilet and without a plunger, you can use a plastic bottle as an alternative tool to help unclog it. This method utilizes pressure created by compressing the bottle to dislodge the obstruction. Here’s how to unclog a toilet using a plastic bottle:
- Gather necessary materials: Find a disposable plastic bottle with a squeeze-type top. Make sure the bottle is empty and clean.
- Add hot water: Boil a pot of water or use hot water from the tap. Pour the hot water into the toilet bowl until it reaches a halfway point.
- Prepare the bottle: Squeeze out any remaining air from the plastic bottle and close the squeeze-type top to create pressure.
- Position the bottle: Hold the squeezed bottle horizontally with the opening facing downward. Insert the bottle into the drain opening, aiming to create a seal.
- Apply pressure: Quickly squeeze the bottle, forcefully releasing the water into the drain. The pressure created by the sudden release of water can help dislodge the clog.
- Repeat if necessary: Repeat the process several times, squeezing the bottle and releasing the water into the drain. This can help break down the obstruction and clear the pipes.
- Flush the toilet: Once you feel that the clog has been sufficiently loosened, flush the toilet to see if the water now flows freely.
This method can be effective for minor clogs caused by soft obstructions. The pressure generated by the squeezed bottle helps to create a forceful flow of water that can push the clog through the drain. However, it may not be as effective for larger or more solid blockages.
Remember to dispose of the plastic bottle properly after use and avoid flushing it down the toilet to prevent further clogs or damage to the plumbing system.
If the plastic bottle method does not resolve the clog, consider trying other methods or seeking assistance from a professional plumber.
Method 7: Wet/Dry Vacuum
If you have a wet/dry vacuum at your disposal, you can use it as an effective tool to unclog a toilet without a plunger. The powerful suction of the vacuum can help remove the obstruction from the drain. Here’s how you can use a wet/dry vacuum to unclog a toilet:
- Prepare the vacuum: Ensure that the wet/dry vacuum is set to the appropriate mode for liquids. If necessary, attach the appropriate hose or nozzle for toilet use.
- Position the vacuum hose: Insert the vacuum hose into the toilet drain. You may need to create a seal by holding the hose firmly against the drain opening.
- Turn on the vacuum: Once the hose is securely positioned, turn on the wet/dry vacuum. The suction power will pull the clog toward the vacuum, effectively removing it from the drain.
- Move the hose: Gently move the vacuum hose back and forth while maintaining a seal with the drain. This movement can help dislodge the clog and facilitate its removal.
- Check the progress: Periodically check the vacuum to see if it has successfully suctioned the clog. You may need to empty the vacuum canister if it becomes full during the process.
- Flush the toilet: Once you feel that the clog has been cleared, flush the toilet to ensure that the water flows freely and the drain is fully unclogged.
Using a wet/dry vacuum can be an efficient method for unclogging toilets, especially for more stubborn or solid blockages. However, it’s important to exercise caution and ensure that the vacuum is properly configured for liquid use to avoid damage or malfunction.
If a wet/dry vacuum is not available or if the clog persists, consider trying other methods or contacting a professional plumber for further assistance.
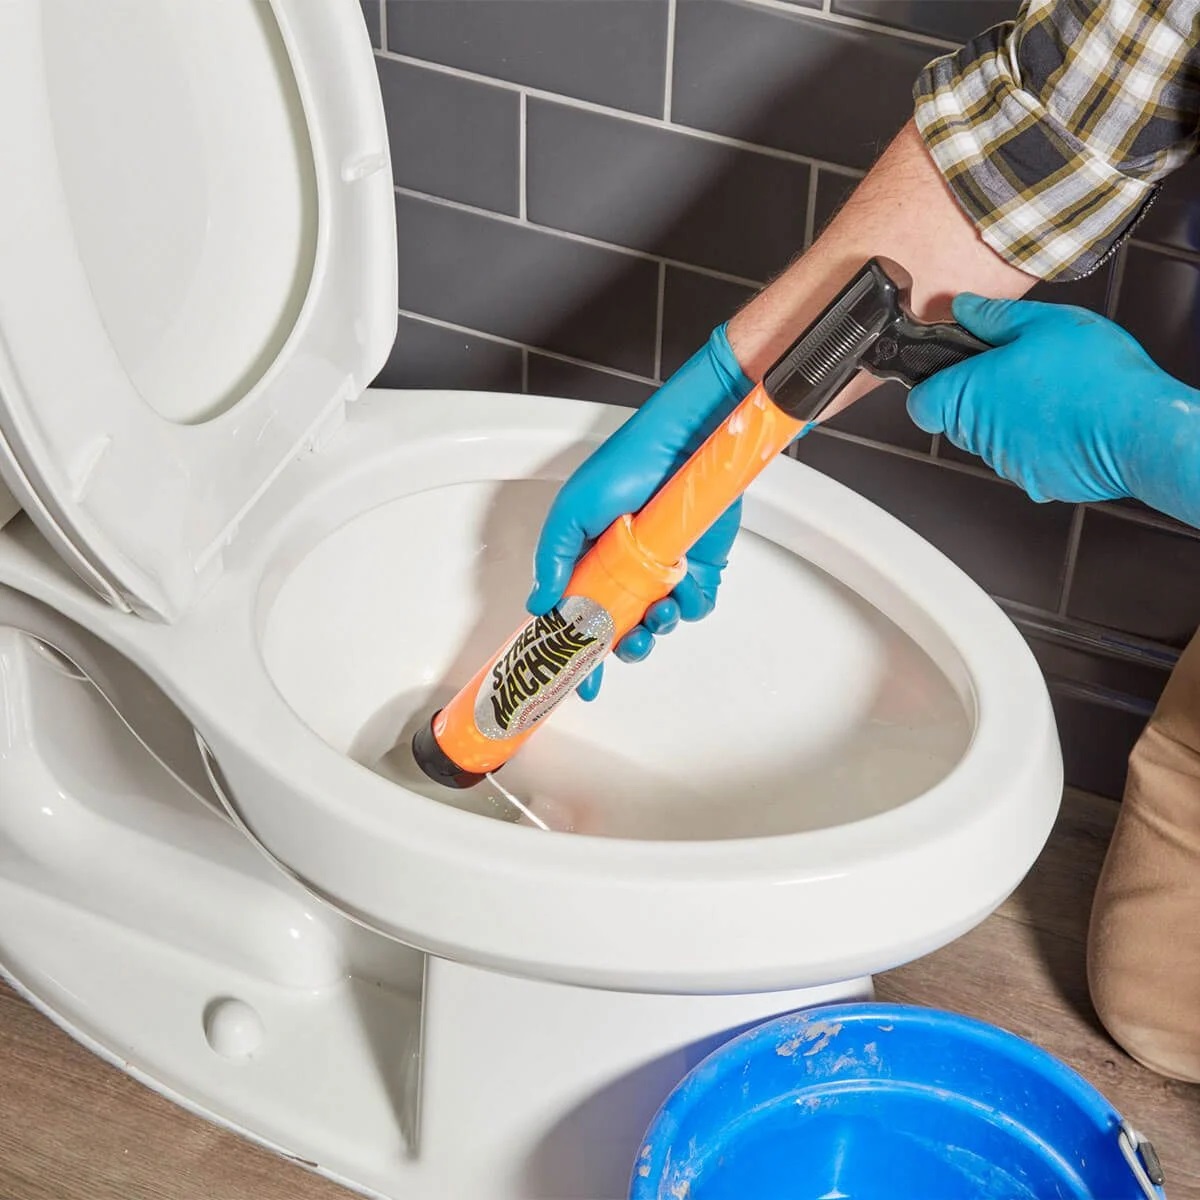
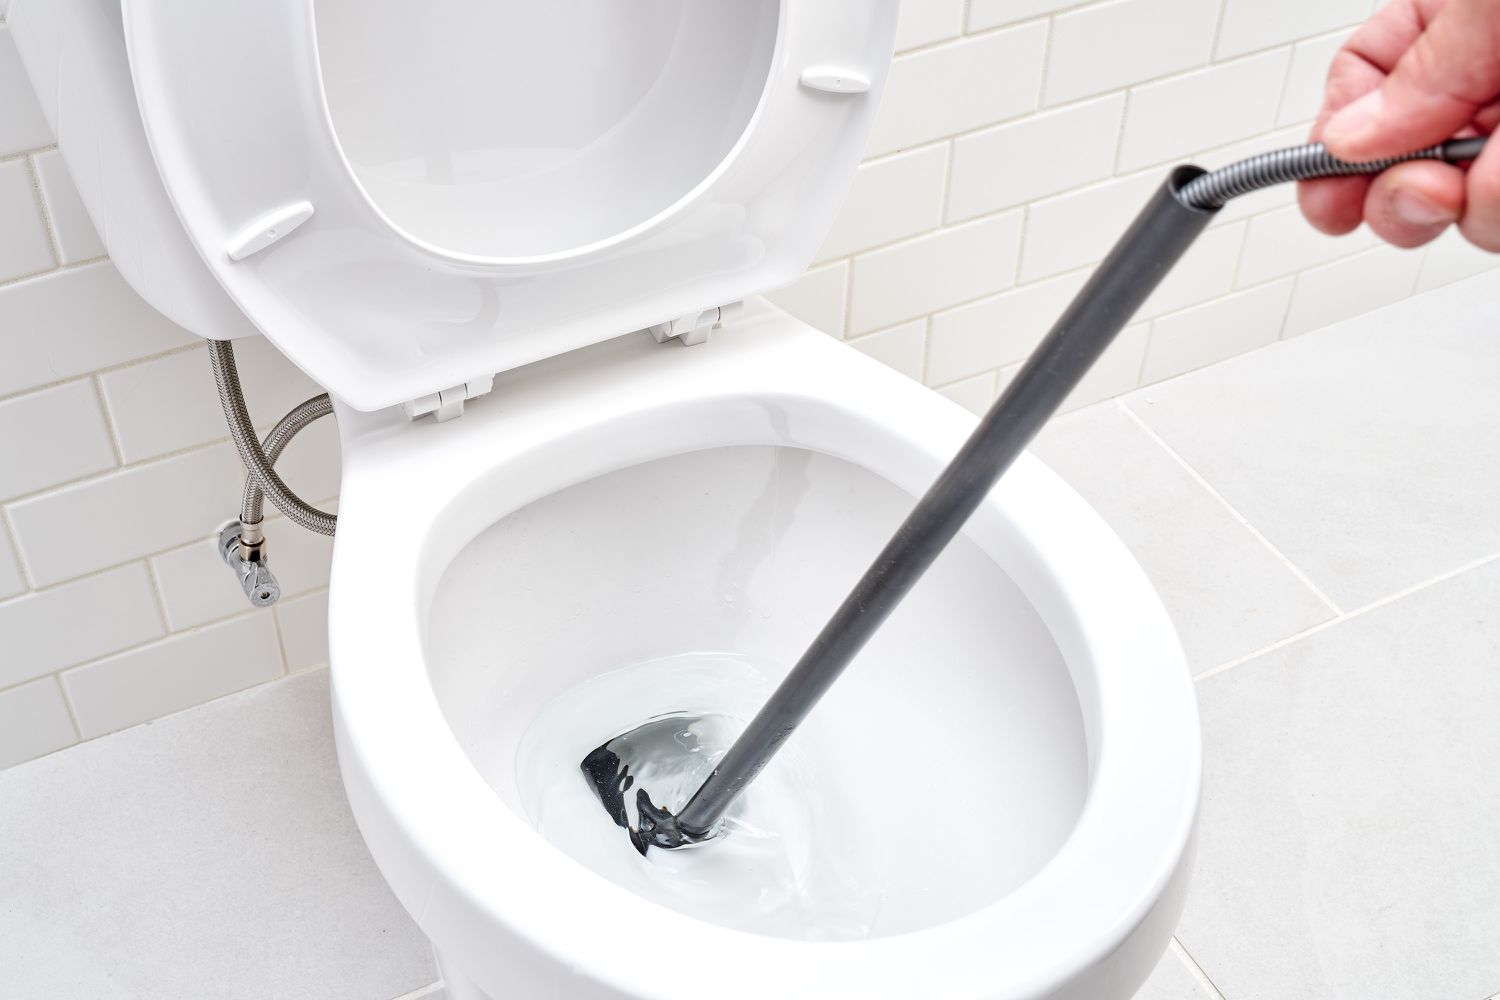
Method 8: Toilet Auger or Snake
When faced with a stubborn clog that other methods can’t seem to resolve, a toilet auger or snake can be your best bet for unclogging a toilet. A toilet auger is a long, flexible tool specifically designed to break up and remove clogs deep within the toilet drain. Here’s how you can use a toilet auger or snake:
- Position the auger: Extend the auger cable by turning the handle. Carefully insert the end of the auger into the toilet drain, slowly feeding it further until you encounter resistance.
- Rotate the auger: Once the auger is inserted, slowly rotate the handle in a clockwise direction. This motion will allow the auger to catch onto the clog and break it apart.
- Apply steady pressure: As you rotate the auger, apply gentle but steady pressure to push it through the clog. Avoid using excessive force, as it may damage the toilet bowl or the pipes.
- Continue feeding and rotating: If necessary, continue feeding the auger cable and rotating the handle until you have fully penetrated and dislodged the clog. This might take a few attempts and may require some patience.
- Retract the auger: Once you have successfully broken up the clog, slowly retract the auger cable while continuing to rotate the handle. This action helps to remove any debris or residue attached to the cable.
- Flush the toilet: After retracting the auger, flush the toilet to ensure that the water flows freely and the clog has been completely cleared.
A toilet auger or snake is a specialized tool designed specifically for unclogging toilets. Its long and flexible cable can reach deep into the drain, allowing you to effectively tackle stubborn blockages. However, it’s important to use the toilet auger correctly and follow the manufacturer’s instructions to avoid any mishaps.
If using a toilet auger doesn’t resolve the clog or if you don’t feel comfortable using the tool, it’s best to seek professional assistance from a plumber who has the experience and knowledge to handle more challenging toilet clogs.
Conclusion
Dealing with a clogged toilet can be a hassle, but with the right methods and a little ingenuity, you can unclog your toilet without a plunger. From using hot water and dish soap to employing a wire hanger or a toilet brush, there are several effective DIY methods you can try.
Hot water and dish soap work well for minor clogs, as the heat softens the blockage and the soap helps break it down. Baking soda and vinegar create a chemical reaction that can dislodge organic materials and built-up residue. Epsom salt and boiling water are particularly effective for removing mineral deposits and hardened residue.
For more hands-on approaches, using a wire hanger allows you to physically maneuver and remove the clog. A plastic bottle can be used to create pressure and forcefully dislodge the obstruction. A wet/dry vacuum can provide powerful suction to remove stubborn clogs. Finally, a toilet auger or snake is a specialized tool designed for tackling deep and stubborn clogs.
Remember to exercise caution when attempting these methods and to only use them if you feel comfortable doing so. If the clog persists or if you’re unsure about what to do, it’s always best to seek professional help from a plumber.
By familiarizing yourself with these alternative methods and having a basic understanding of their effectiveness, you can tackle a clogged toilet even when a plunger is not readily available. Get resourceful, take the necessary precautions, and bid farewell to those pesky toilet clogs!
Frequently Asked Questions about How To Unclog A Toilet Without A Plunger
Was this page helpful?
At Storables.com, we guarantee accurate and reliable information. Our content, validated by Expert Board Contributors, is crafted following stringent Editorial Policies. We're committed to providing you with well-researched, expert-backed insights for all your informational needs.

0 thoughts on “How To Unclog A Toilet Without A Plunger”