Home>Furniture & Design>Bathroom Accessories>How To Unclog A Toilet With A Plunger
Bathroom Accessories
How To Unclog A Toilet With A Plunger
Modified: February 27, 2024
Learn how to unclog a toilet with a plunger and keep your bathroom accessories in top condition with our step-by-step guide. Say goodbye to clogged toilets!
(Many of the links in this article redirect to a specific reviewed product. Your purchase of these products through affiliate links helps to generate commission for Storables.com, at no extra cost. Learn more)
Introduction
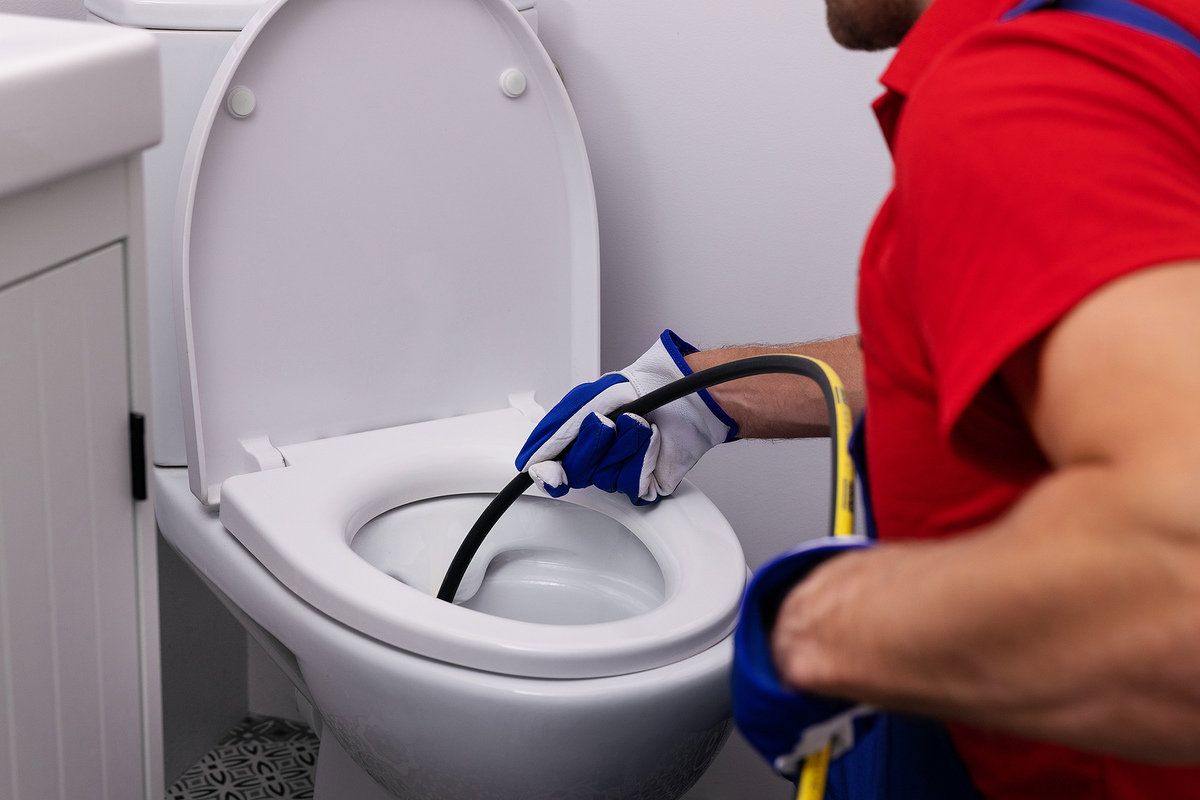
Dealing with a clogged toilet can be a frustrating and unpleasant experience. Whether it's due to excessive toilet paper usage or an object accidentally finding its way into the drain, a clogged toilet can disrupt the flow of your day and cause unnecessary stress. However, with the right tools and techniques, you can quickly and effectively address this common household issue. One of the most essential tools for unclogging a toilet is a plunger. This simple yet effective device can help restore your toilet's functionality without the need for professional assistance.
In this comprehensive guide, we will walk you through the step-by-step process of using a plunger to unclog a toilet. By following these instructions, you can tackle the issue with confidence and efficiency, saving both time and money. Whether you're a seasoned homeowner or facing this challenge for the first time, this guide will equip you with the knowledge and skills needed to handle the situation like a pro.
So, if you're currently facing a clogged toilet or simply want to be prepared for any future mishaps, read on to discover the simple yet powerful method of using a plunger to unclog a toilet. With a positive attitude and a willingness to get your hands dirty (figuratively, of course), you'll be well on your way to resolving this common household inconvenience. Let's dive into the step-by-step process and empower you to become a master of toilet unclogging!
Key Takeaways:
- Don’t fear the clog! With a clean plunger and steady plunging, you can conquer toilet blockages and restore peace to your bathroom. Embrace the power of the plunger and tackle clogs with confidence.
- Persistence pays off! If the clog persists, repeat the plunging process with patience and adaptability. Each plunge brings you closer to a smoothly flowing toilet. Don’t give up, keep plunging!
Read more: How To Unclog A Toilet With Plunger
Step 1: Prepare the Plunger
Before diving into the unclogging process, it's crucial to ensure that your plunger is properly prepared for the task at hand. This involves a few simple yet essential steps that can significantly impact the effectiveness of the unclogging process.
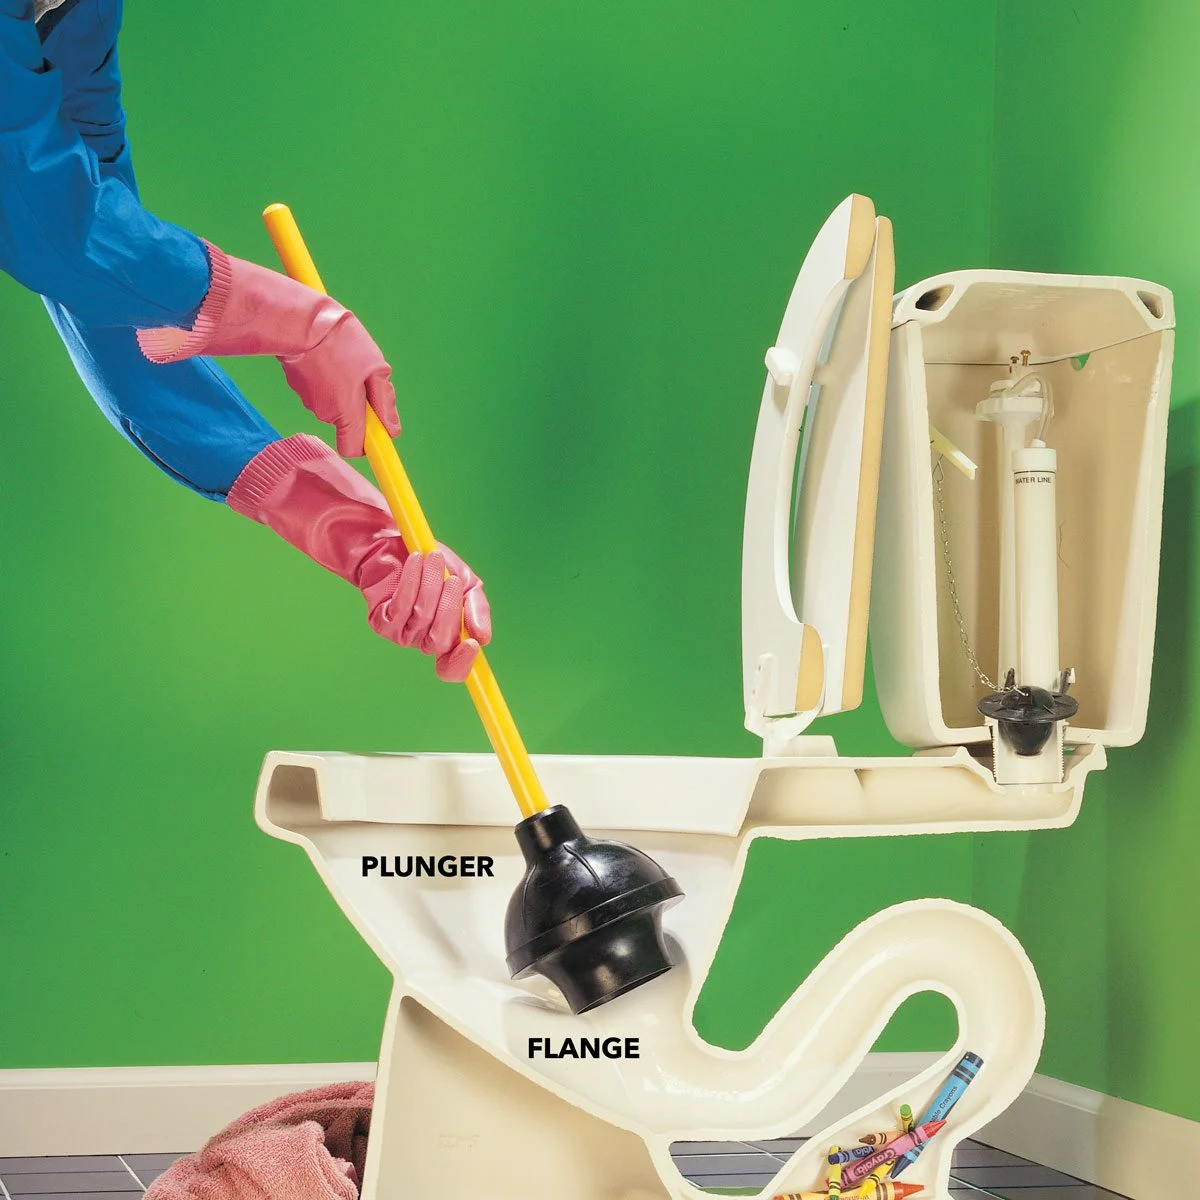
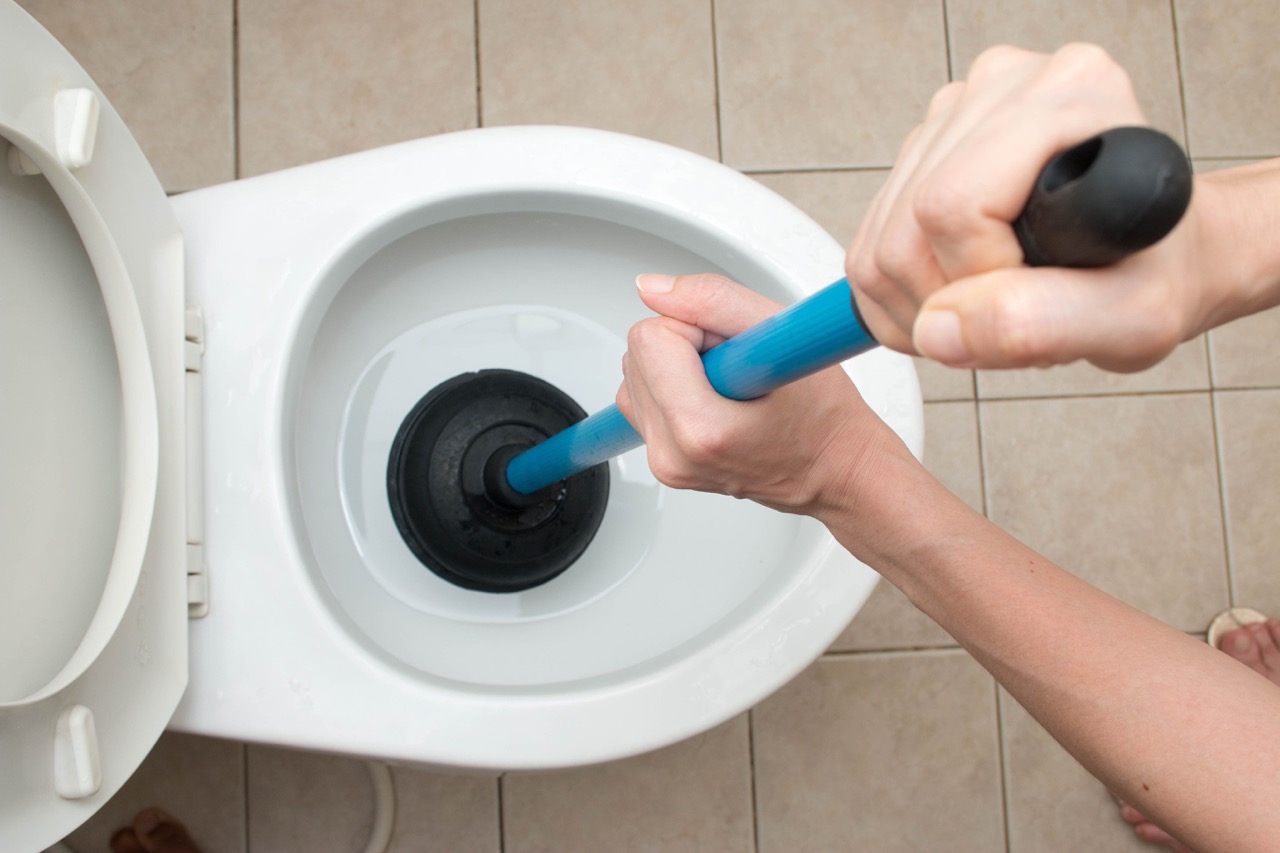
First and foremost, it's important to select the right type of plunger for the job. A standard cup plunger, also known as a "sink plunger," is the most suitable option for unclogging a toilet. This type of plunger features a rubber cup that can create a strong seal around the toilet drain, allowing for efficient suction and pressure application.
Once you have the appropriate plunger in hand, it's time to inspect it for any signs of damage or wear. Check the rubber cup for cracks, tears, or deformities that could compromise its sealing ability. Additionally, ensure that the handle is firmly attached to the cup and free from any structural issues. A well-maintained plunger is essential for achieving optimal results during the unclogging process.
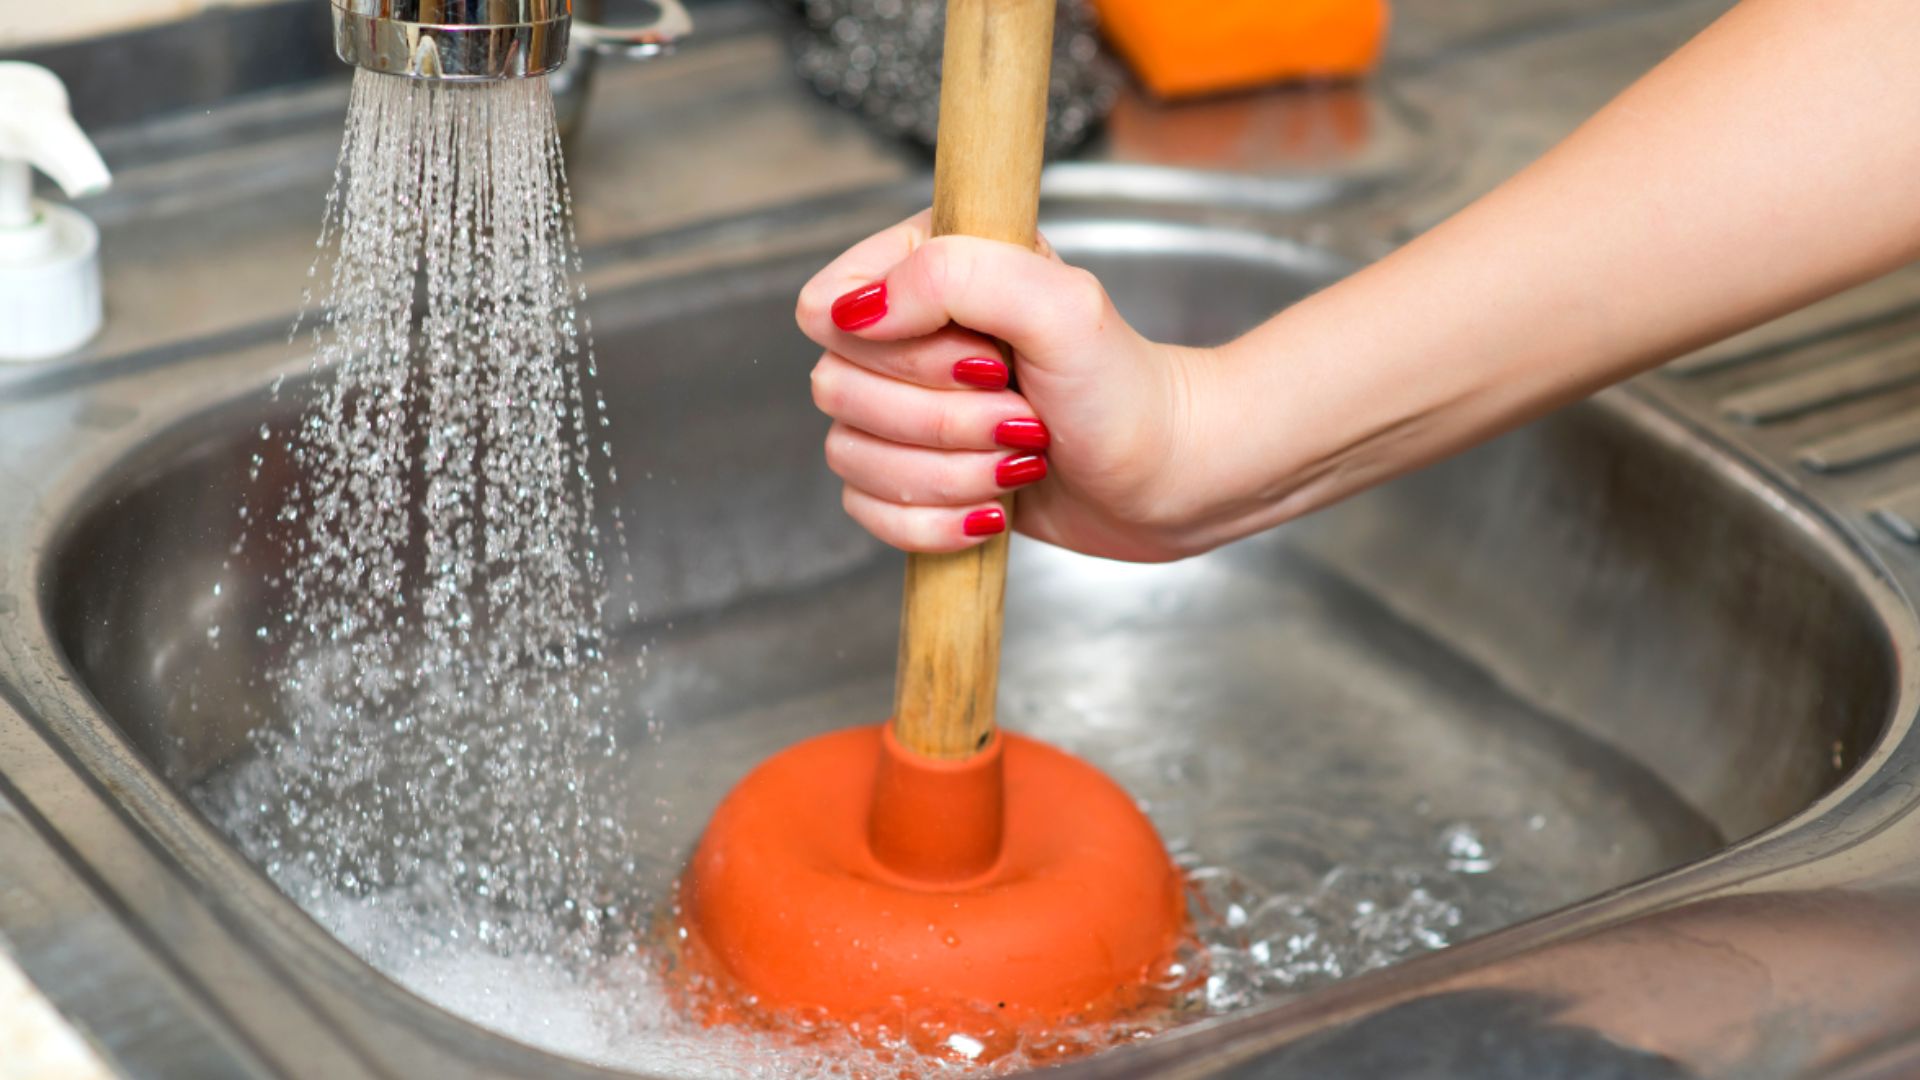
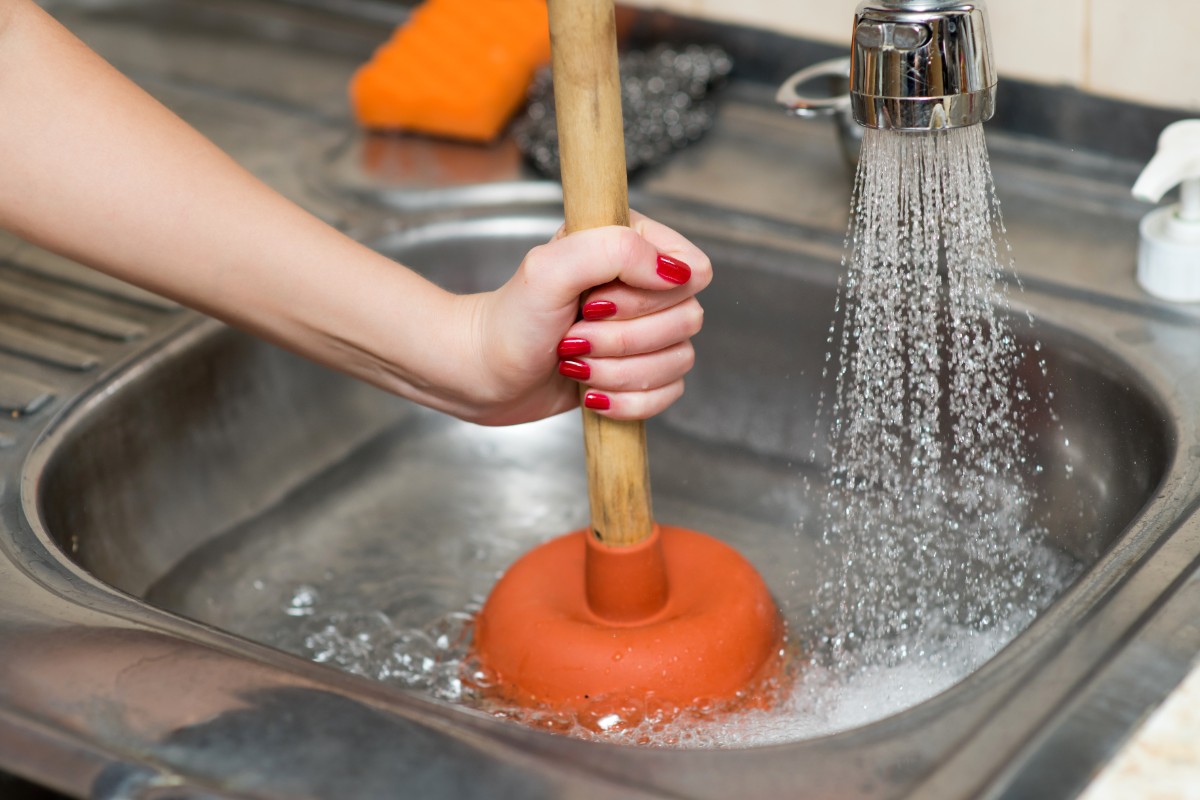
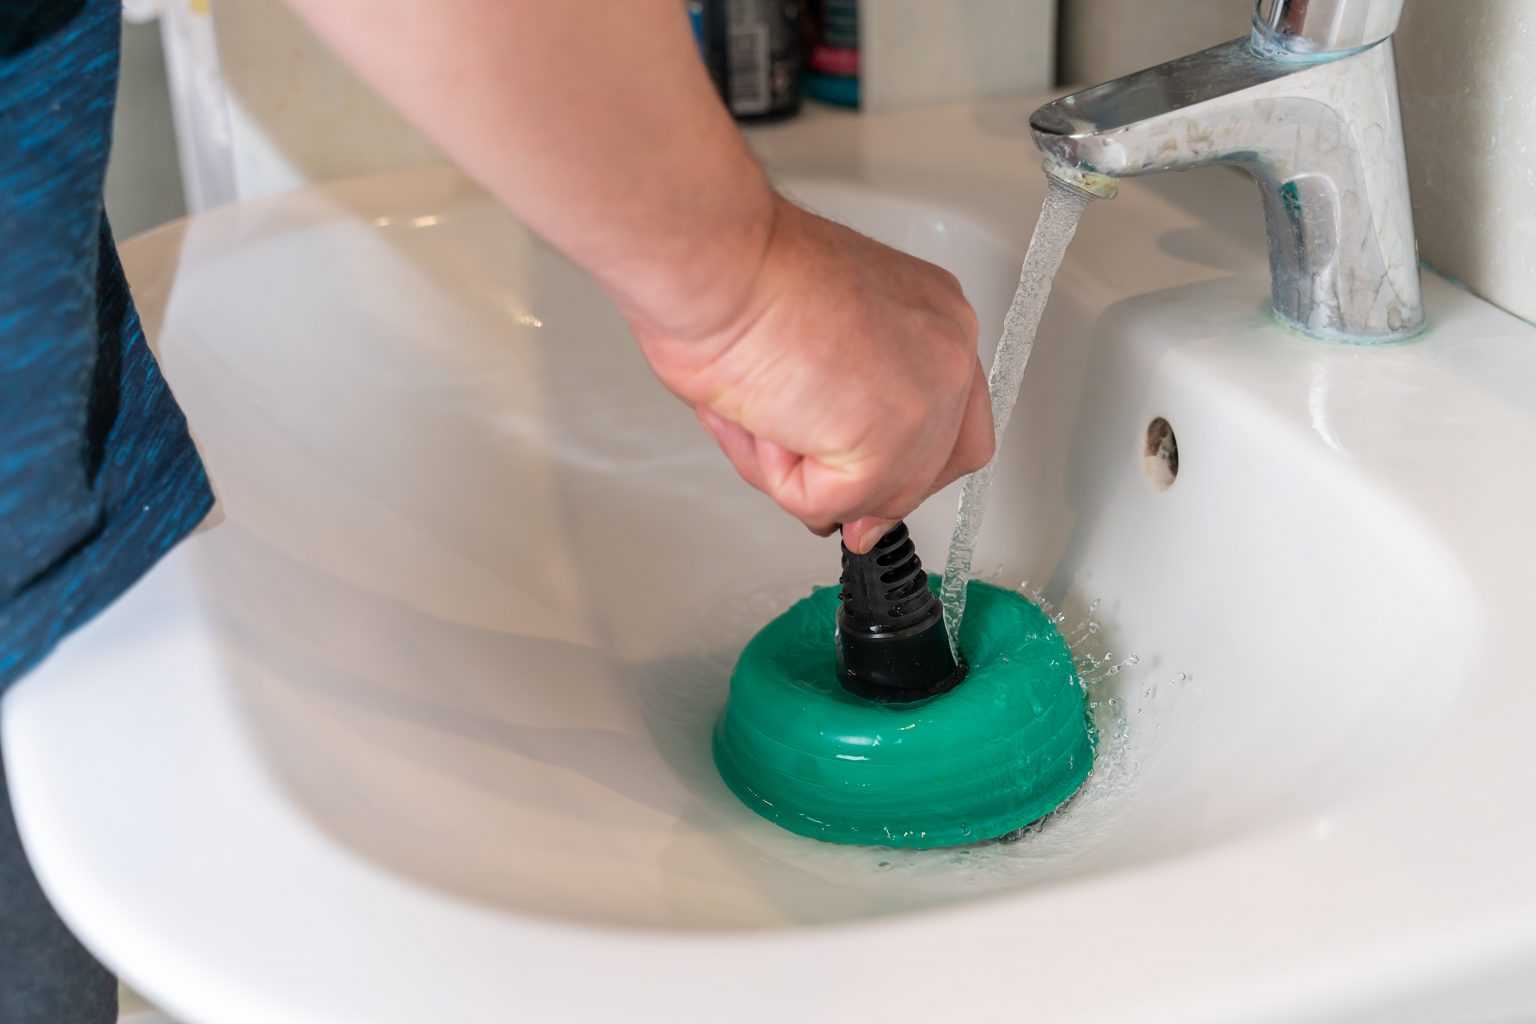
Next, it's advisable to clean the plunger before use. Rinse it thoroughly with hot water to remove any dust, debris, or lingering odors. This simple step not only promotes hygiene but also helps create a clean and sanitary environment for the unclogging procedure.
After cleaning the plunger, it's beneficial to perform a quick visual inspection of the toilet bowl and drain. Look for any visible obstructions or foreign objects that may impede the unclogging process. If there are any large items or solid obstructions present, such as excessive toilet paper or foreign objects, consider removing them manually before using the plunger.
Finally, ensure that the water level in the toilet bowl is sufficient to cover the rubber cup of the plunger. If the water level is low, add enough water to submerge the cup and create a proper seal. Adequate water coverage is essential for generating the necessary suction and pressure during the plunging motion.
By taking these preparatory steps, you can set the stage for a successful unclogging experience. With a well-maintained, clean, and properly positioned plunger, you'll be ready to move on to the next step and tackle the clog with confidence and precision.
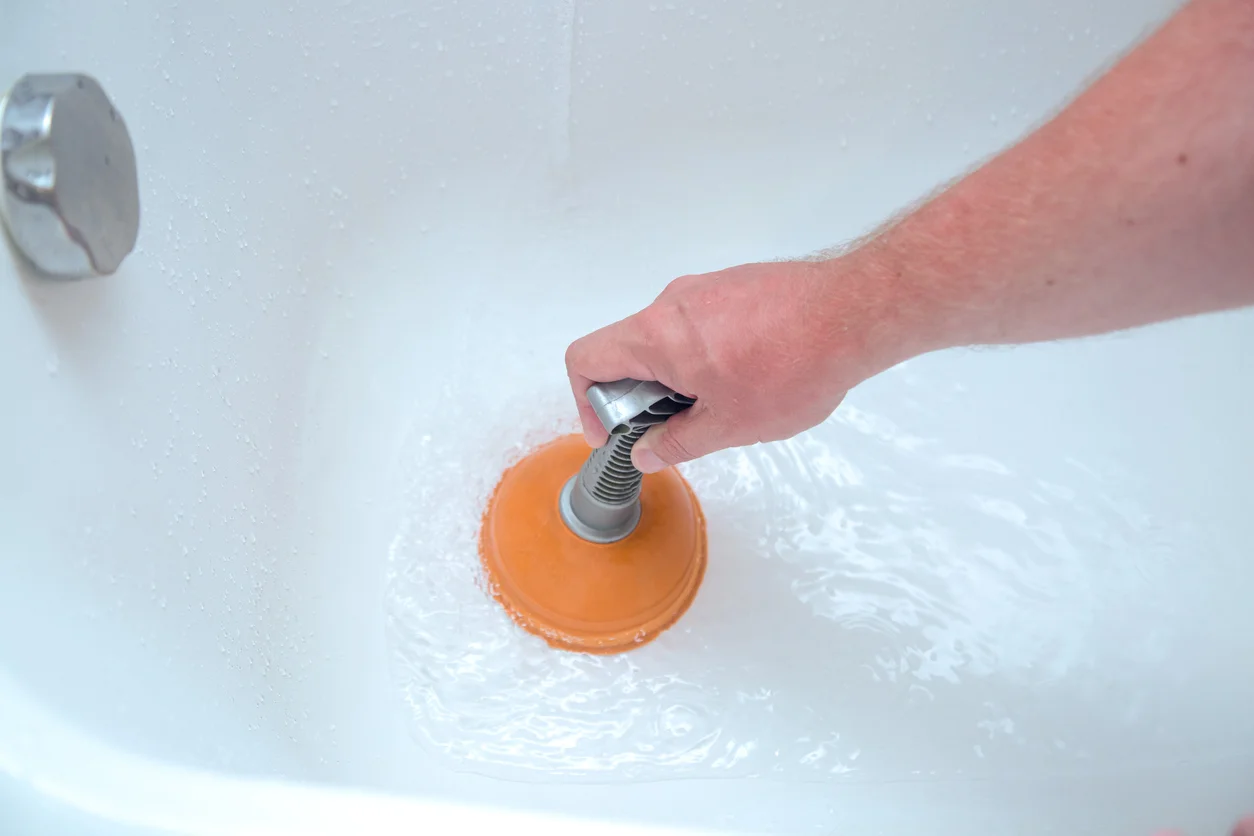
Step 2: Position the Plunger
Proper positioning of the plunger is a critical aspect of the unclogging process, as it directly influences the effectiveness of the plunging action. By positioning the plunger correctly, you can create a strong seal and generate the necessary suction and pressure to dislodge the clog. Here's a detailed look at the essential steps for positioning the plunger:
-
Align the Plunger: Begin by positioning the plunger directly over the toilet drain, ensuring that it is centered and aligned for optimal contact with the opening. The rubber cup of the plunger should form a tight seal around the drain to facilitate efficient suction.
-
Angle and Depth: Angle the plunger slightly to allow for better water displacement and air expulsion during the plunging motion. The rubber cup should be submerged in the water to create a seal, and the plunger handle should be held at a comfortable depth to enable a full range of motion without causing strain.
-
Firm Grip: Maintain a firm grip on the plunger handle to ensure stability and control during the plunging process. A secure grip helps prevent slippage and allows you to exert consistent pressure with each plunge.
-
Seal Verification: Once the plunger is positioned, verify the seal by gently pressing down on the rubber cup. If the seal is effective, you should feel resistance and observe water displacement around the edges of the cup. A strong seal is essential for creating the necessary vacuum and pressure to dislodge the clog.
-
Stability: Ensure that the plunger is stable and securely positioned over the drain. Avoid excessive lateral movement or tilting that could compromise the seal and hinder the effectiveness of the plunging action.
By following these steps and positioning the plunger with precision and care, you can maximize its effectiveness in dislodging the clog. A well-aligned and securely positioned plunger sets the stage for successful unclogging, laying the foundation for the next crucial step in the process.
Make sure the plunger is fully submerged in water before using it. Use a firm, up-and-down motion to create suction and dislodge the clog. Repeat as needed.
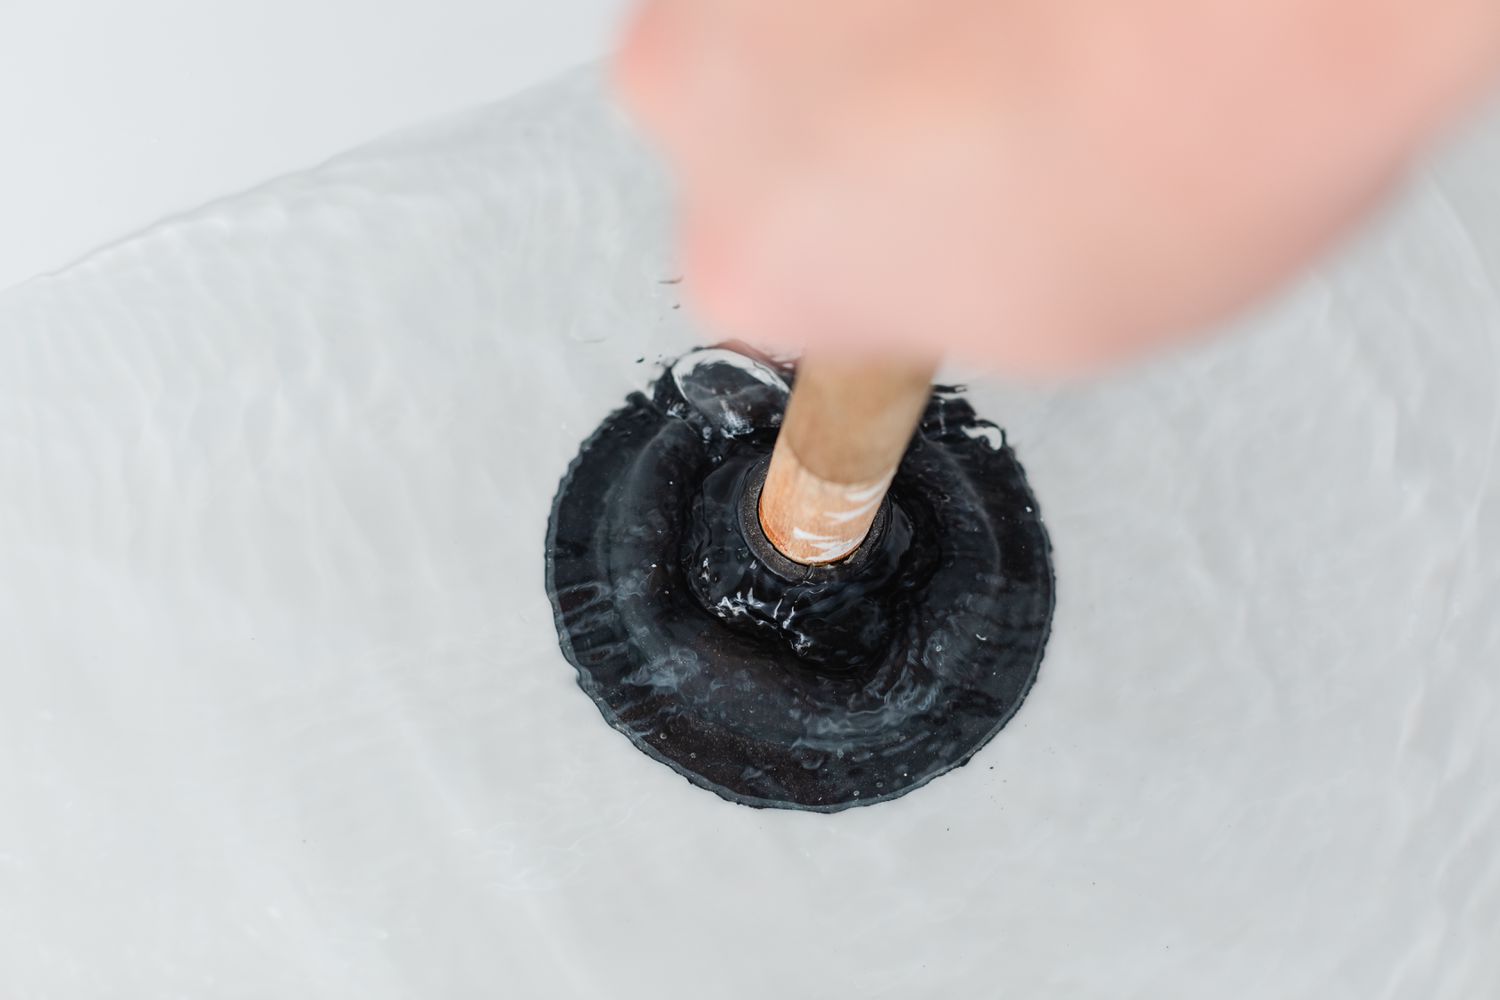
Step 3: Plunge the Toilet
With the plunger properly prepared and positioned, it's time to initiate the plunging action to dislodge the stubborn clog. Plunging is a dynamic and rhythmic process that involves creating suction and pressure to break apart and push the obstruction through the drain. Here's a detailed walkthrough of the plunging process:
-
Initial Plunge: Begin by applying downward pressure on the plunger handle while maintaining a secure seal around the toilet drain. Use controlled and deliberate movements to initiate the plunging action. The goal is to create a strong vacuum and pressure differential that can dislodge the clog.
-
Upward Pull: After the initial plunge, release the pressure and gently pull the plunger upward to allow water to flow back into the toilet bowl. This motion helps reset the position of the plunger and readies it for the next plunge. It's essential to maintain the seal during the upward pull to prevent air from entering the drain.
-
Repeat Plunging: Continue the plunging process with a consistent and rhythmic motion, alternating between downward pressure and upward pulls. Aim for a steady and controlled pace to maintain the seal and maximize the effectiveness of each plunge. The repetitive action helps create hydraulic force that can dislodge and push the clog through the drain.
-
Observe Water Movement: Pay attention to the movement of water in the toilet bowl during the plunging process. If you notice the water level decreasing or hear gurgling sounds, it indicates that the plunging action is affecting the clog. These visual and auditory cues can provide valuable feedback on the progress of the unclogging process.
-
Persistence and Patience: In some cases, unclogging a toilet with a plunger may require persistence and patience. It's not uncommon for stubborn clogs to require multiple rounds of plunging to achieve success. Stay focused and maintain a steady rhythm to exert consistent pressure and suction on the clog.
-
Assess Progress: Periodically assess the progress of the unclogging process by checking for signs of improvement. If the water begins to drain or the flushing action improves, it indicates that the plunging efforts are making headway. However, if the clog remains resistant, continue the plunging process with determination.
By following these detailed steps and maintaining a methodical approach, you can effectively plunge the toilet to address the clog. The plunging process leverages the principles of hydraulic pressure and suction to dislodge the obstruction, offering a practical and accessible solution to a common household inconvenience. With persistence and precision, you can harness the power of the plunger to restore your toilet's functionality and reclaim peace of mind.
Step 4: Repeat if Necessary
In some instances, a single round of plunging may not completely dislodge the stubborn clog in the toilet. When faced with persistent blockages, it's essential to remain patient and persistent, as repeating the plunging process can often lead to success. The "repeat if necessary" step acknowledges the possibility of encountering resilient clogs that require additional attention and effort to fully resolve.
If the initial plunging attempts do not result in noticeable improvements, it's time to regroup and prepare for another round of plunging. Here's a detailed look at the steps involved in repeating the plunging process:
-
Assess the Situation: Before proceeding with the repeat plunging, take a moment to assess the current state of the toilet and the effectiveness of the initial plunging efforts. Pay attention to any changes in water level, drainage, or the presence of gurgling sounds, as these indicators can inform your approach for the next round of plunging.
-
Reposition the Plunger: If necessary, reposition the plunger over the toilet drain to ensure a secure and effective seal. Proper alignment and positioning are crucial for generating the necessary suction and pressure during the plunging motion. Take care to maintain stability and a firm grip on the plunger handle.
-
Adjust Plunging Technique: Consider adjusting your plunging technique for the repeat attempts. Experiment with variations in the rhythm, depth, and angle of the plunging motion to optimize the pressure and suction applied to the clog. A strategic approach to plunging can help target the obstruction from different angles and dislodge it more effectively.
-
Maintain Consistency: Stay consistent and persistent in your plunging efforts, aiming for a steady and controlled rhythm. The repeat plunging should build upon the progress made during the initial attempts, leveraging the cumulative effect of sustained pressure and suction on the clog.
-
Observe Changes: As you engage in the repeat plunging, observe any changes in the toilet bowl's water movement and drainage. Look for signs of improvement, such as reduced water level or smoother flushing action. These visual and auditory cues can provide valuable feedback on the impact of the repeat plunging efforts.
-
Exercise Patience: Recognize that addressing a stubborn clog may require time and patience. Avoid rushing the process and maintain a determined yet composed approach to the repeat plunging. Persistence and resilience are key attributes when dealing with challenging clogs.
By following these steps and remaining committed to the unclogging process, you can increase the likelihood of successfully dislodging the persistent clog. The "repeat if necessary" step underscores the importance of adaptability and perseverance when facing challenging toilet blockages. With a strategic and persistent approach, you can harness the power of the plunger to overcome resilient clogs and restore your toilet's functionality.
Read more: How To Unclog A Toilet Without A Plunger
Conclusion
In conclusion, the process of unclogging a toilet with a plunger is a practical and accessible solution to a common household inconvenience. By following the step-by-step guide outlined in this comprehensive article, you can equip yourself with the knowledge and skills needed to address toilet blockages with confidence and efficiency.
The journey begins with the essential preparation of the plunger, ensuring that it is well-maintained, clean, and properly positioned for optimal effectiveness. The careful alignment and positioning of the plunger over the toilet drain set the stage for the dynamic plunging action that follows. Through controlled and rhythmic plunging, leveraging the principles of hydraulic pressure and suction, you can dislodge stubborn clogs and restore the flow of your toilet.
The "repeat if necessary" step underscores the importance of patience and persistence when faced with resilient clogs. By remaining adaptable and committed to the unclogging process, you can increase the likelihood of achieving success, even in the face of persistent blockages.
Ultimately, the process of unclogging a toilet with a plunger is a testament to the power of practical problem-solving and resourcefulness. It empowers individuals to take charge of common household challenges and find effective solutions without the need for professional assistance. By mastering the art of plunging, you can confidently tackle clogs and maintain the functionality of your toilet, promoting a sense of self-reliance and capability.
As you embark on your journey to unclog a toilet with a plunger, remember that each plunge is a step toward reclaiming the comfort and convenience of a fully functional toilet. With patience, precision, and a positive attitude, you can navigate through the challenges of toilet blockages and emerge victorious, armed with the knowledge and skills to handle similar situations in the future.
In the end, the humble plunger stands as a symbol of empowerment, offering a simple yet effective tool for addressing a common household inconvenience. So, the next time you encounter a clogged toilet, remember the power of the plunger and the confidence it can instill in your ability to overcome challenges with resourcefulness and determination.
Frequently Asked Questions about How To Unclog A Toilet With A Plunger
Was this page helpful?
At Storables.com, we guarantee accurate and reliable information. Our content, validated by Expert Board Contributors, is crafted following stringent Editorial Policies. We're committed to providing you with well-researched, expert-backed insights for all your informational needs.

0 thoughts on “How To Unclog A Toilet With A Plunger”