Articles
How To Clean A Toilet Drain
Modified: October 20, 2024
Learn effective methods and essential tips on cleaning a toilet drain in this comprehensive article. Say goodbye to clogged drains with our step-by-step guide.
(Many of the links in this article redirect to a specific reviewed product. Your purchase of these products through affiliate links helps to generate commission for Storables.com, at no extra cost. Learn more)
Introduction
Cleaning a toilet drain may not be the most glamorous task, but it is an essential part of maintaining a clean and hygienic bathroom. Over time, toilet drains can become clogged with debris, hair, and other substances, leading to unpleasant odors and potentially causing water backup. By regularly cleaning your toilet drain, you can prevent these issues and ensure that your toilet functions properly.
In this article, we will guide you through the step-by-step process of cleaning a toilet drain effectively. We will provide you with detailed instructions and tips to help you successfully unclog and maintain your toilet drain. So, get your cleaning supplies ready, roll up your sleeves, and let’s dive in!
Key Takeaways:
- Regularly cleaning your toilet drain with the right supplies and techniques can prevent clogs, odors, and drainage issues, ensuring a clean and functional bathroom.
- Incorporating regular cleaning into your household routine helps maintain a hygienic and efficient toilet drain, preventing buildup and ensuring proper drainage.
Read more: How To Clean An Outdoor Drain
Step 1: Gather the necessary supplies
Before you begin cleaning your toilet drain, it’s important to gather all the necessary supplies. Having everything you need on hand will make the process much smoother and more efficient. Here are the supplies you will need:
- Rubber gloves: Protect your hands from bacteria and harsh chemicals.
- Toilet brush: Use a dedicated brush for cleaning the drain to avoid cross-contamination.
- Bucket: You may need a bucket to collect water or debris.
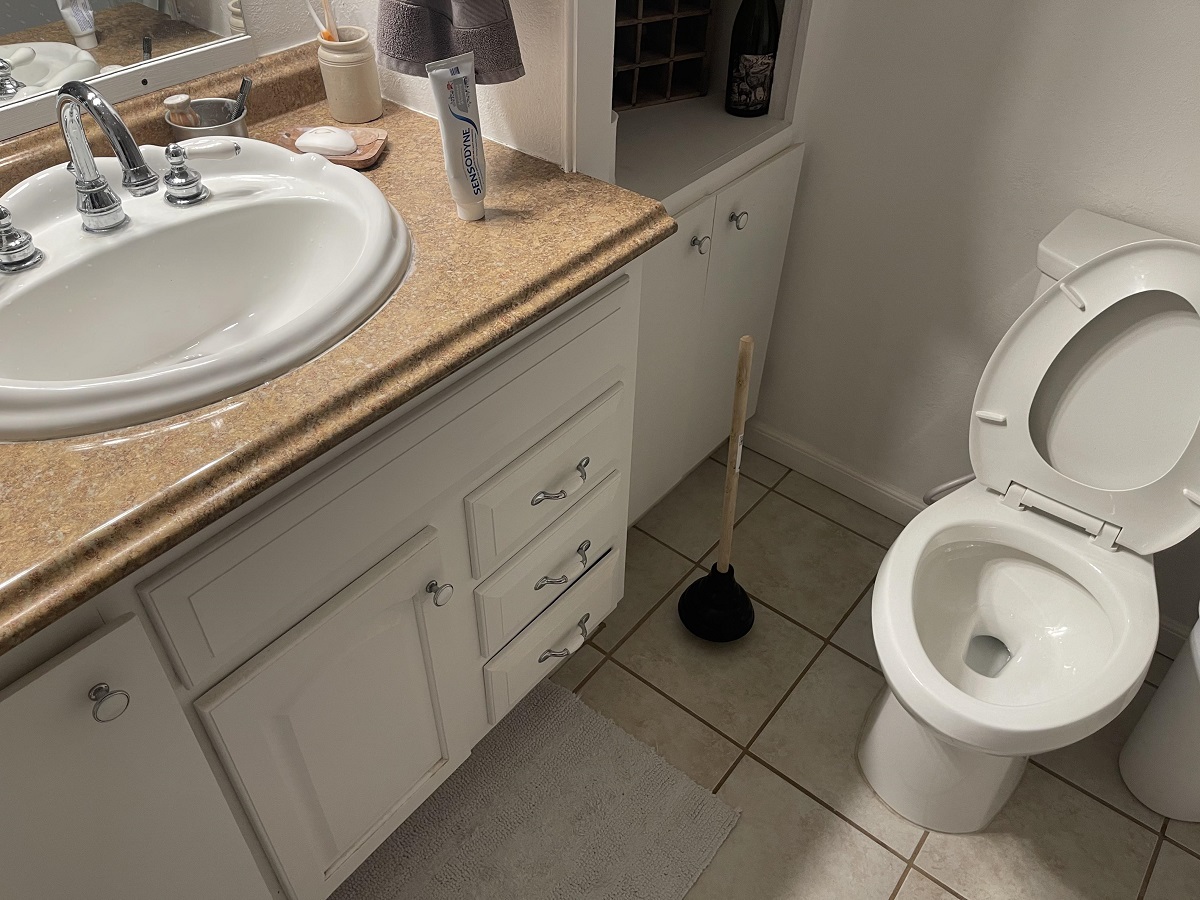
- Plunger: This will come in handy if there is a severe clog that needs additional force to remove.
- Old towels or rags: These can be used to clean up any spills or drips.
- Cleaning solution: Choose a toilet cleaner that is specifically formulated to break down stains and eliminate odors.
- Hot water: This will be used for rinsing the drain.
- Snake or auger: If the clog is stubborn, you may need a drain snake or auger to dislodge it.
Once you have gathered all the necessary supplies, you’ll be fully equipped to tackle the task at hand. It’s always better to be prepared and have everything readily available before you start the cleaning process.
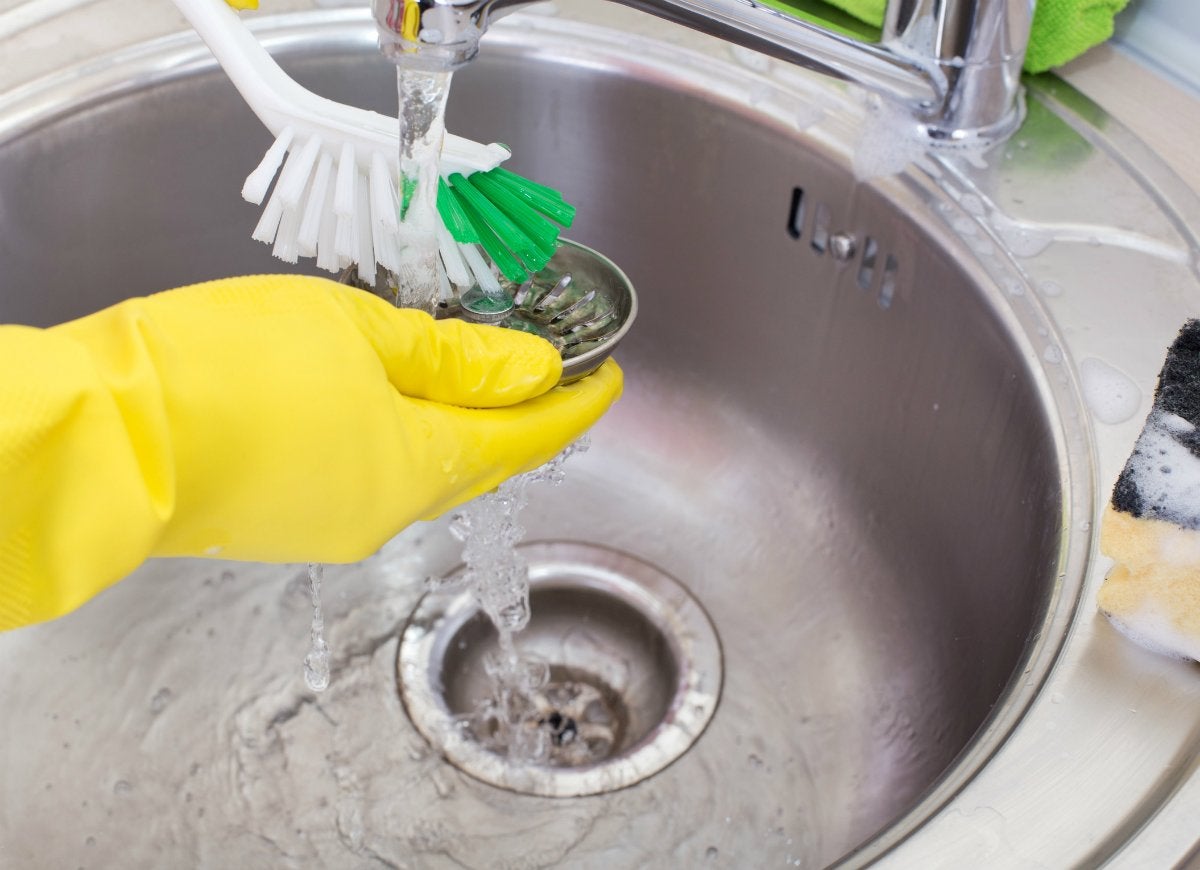
Step 2: Remove any visible debris
Before you can effectively clean the toilet drain, it’s important to remove any visible debris that may be obstructing the flow of water. Here’s how you can do this:
- Put on your rubber gloves to protect your hands from any dirt or bacteria.
- Take your toilet brush and use it to gently scrape off any visible debris or residue from the inner walls of the drain.
- As you remove the debris, place it in a bucket or garbage bag for disposal.
- If you encounter a stubborn or hard-to-reach piece of debris, you can use an old towel or rag to grab and remove it.
- Continue removing any visible debris until the drain appears clean and clear.
Removing visible debris is an important first step as it allows for better access to the drain and prepares it for the deeper cleaning process. By eliminating any obstructions, you’ll be ensuring a more effective cleaning and unclogging process.
Step 3: Prepare a cleaning solution
Now that you have cleared the visible debris from the toilet drain, it’s time to prepare a cleaning solution that will help dissolve any remaining grime, stains, and odors. Here’s how you can do it:
- Start by filling a bucket or large container with warm water.
- Add a generous amount of your chosen toilet cleaner to the water.
- Follow the instructions on the cleaner’s packaging regarding the recommended amount.
- Some cleaners may require you to let the solution sit for a certain period of time. If that’s the case, make sure to leave it undisturbed for the specified duration.
It’s important to note that you should only use cleaners that are specifically designed for toilet bowls. These cleaners are formulated to break down stains, kill bacteria, and eliminate odors effectively.
If you prefer a more natural approach, you can create a cleaning solution using ingredients such as vinegar and baking soda. Simply mix equal parts white vinegar and water in a spray bottle, and spray the solution onto the inside of the toilet drain.
Preparing a cleaning solution ensures that you have a powerful and effective tool to tackle tough stains and bacteria within the toilet drain. Once you have the solution ready, it’s time to move on to the next step.
Step 4: Pour the cleaning solution into the toilet drain
With your cleaning solution prepared, it’s time to apply it to the toilet drain. Follow these steps:
- Put on your rubber gloves to protect your hands during the cleaning process.
- Carefully pour the cleaning solution into the toilet bowl, aiming for the drain opening.
- Make sure to cover the entire surface of the drain with the solution.
- Be generous with the amount of solution you pour, especially if the drain is particularly dirty or stained.
As you pour the cleaning solution, it will start to work its magic by breaking down bacteria, stains, and odors inside the drain. It’s important to let the solution sit for the recommended amount of time as specified on the cleaner’s packaging. This will give it enough time to effectively dissolve and loosen any stubborn residue.
If you’re using a natural cleaning solution, such as vinegar and water, spray it onto the inside of the toilet drain, ensuring that the entire surface is covered. Vinegar is known for its natural cleaning properties and can help remove stains and kill bacteria.
Remember, different cleaning solutions may have varying instructions, so it’s essential to read and follow the directions provided with the specific product you’re using. Let the cleaning solution work its magic, and move on to the next step.
Read more: How To Clean AC Drain Pipe
Step 5: Use a toilet brush to scrub the drain
Once the cleaning solution has had time to work its magic on the toilet drain, it’s time to grab your trusty toilet brush and start scrubbing. Follow these steps:
- Pull out your toilet brush and ensure that it is clean and in good condition.
- Using the brush, scrub the inside of the drain thoroughly, focusing on the walls and bottom of the drain.
- Apply gentle pressure and make sure to reach all areas of the drain, including hard-to-reach corners and grooves.
- Pay extra attention to any visible stains or buildup, spending more time scrubbing those areas.
- Ensure that the entire inside surface of the drain is thoroughly scrubbed and cleaned.
During the scrubbing process, the combination of the cleaning solution and the physical action of the brush will help loosen and remove any remaining grime, residue, and bacteria. This step is crucial in achieving a deep and thorough cleaning of the toilet drain.
After you’ve finished scrubbing, take a moment to inspect the drain. If there are any stubborn stains or areas that still appear dirty, you may need to repeat the scrubbing process or move on to the next step for further cleaning.
Remember to rinse the toilet brush thoroughly after use and clean it before storing it away. Keeping your toilet brush clean and hygienic is essential for future use.
Use a toilet brush to scrub the inside of the drain and remove any visible debris. Then pour a mixture of hot water and vinegar down the drain to help break up any clogs. Repeat as needed.
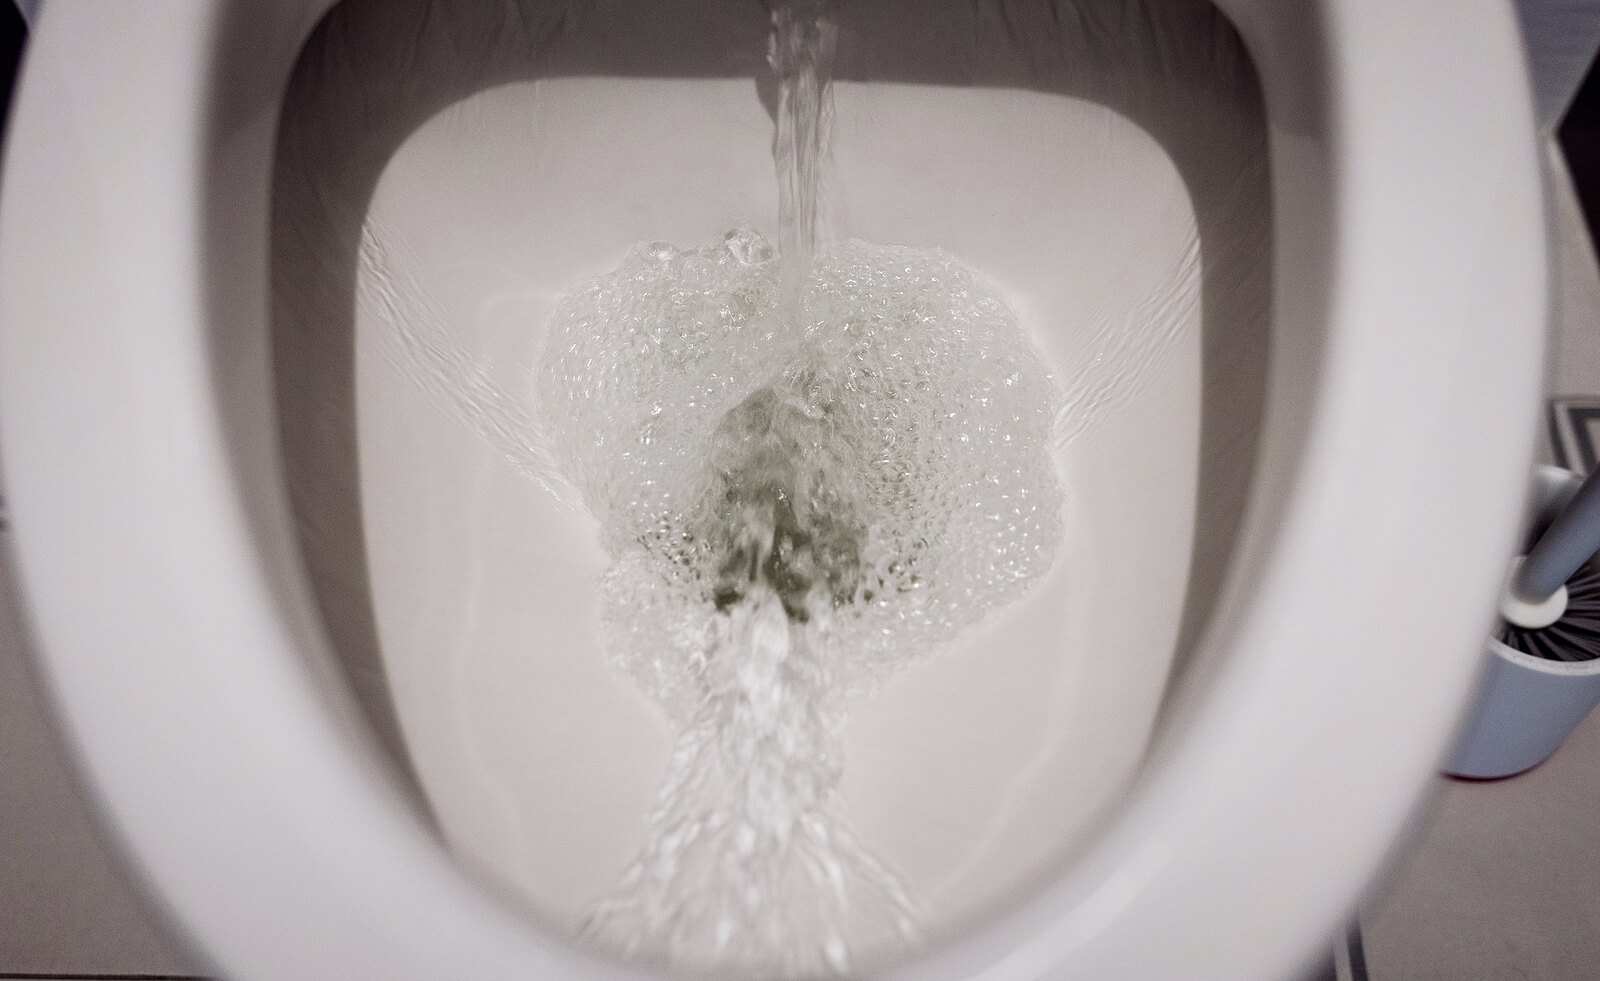
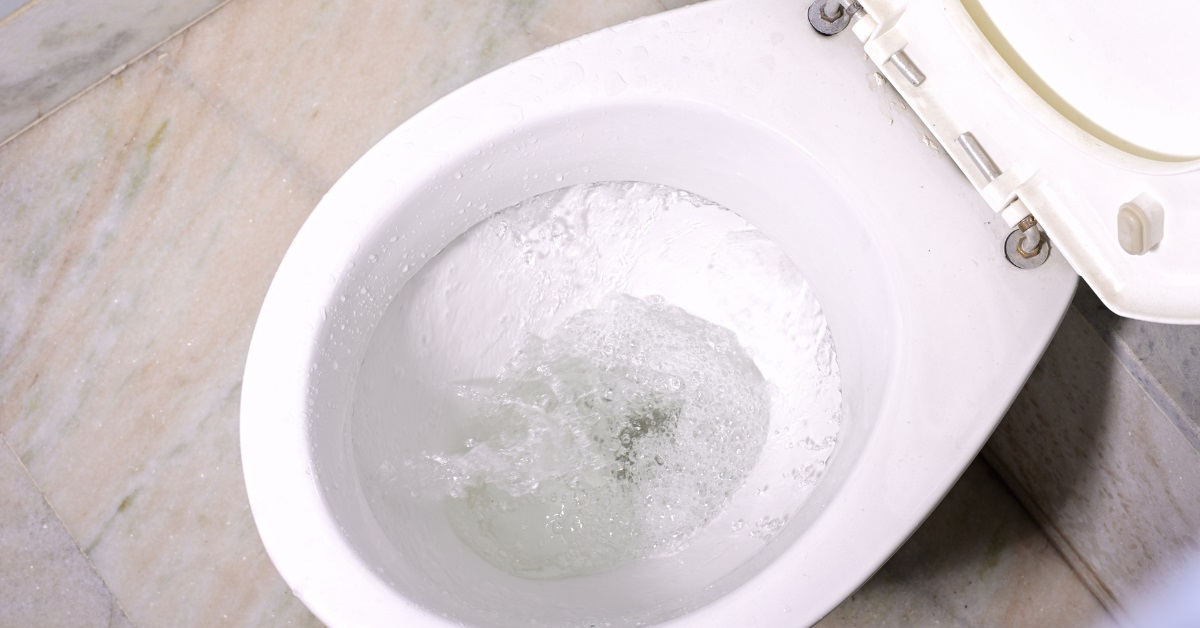
Step 6: Flush the toilet to rinse the drain
After you have completed scrubbing the toilet drain, it’s time to rinse away the cleaning solution and any loosened debris. Follow these steps:
- Press the flush lever or button to initiate a flush of the toilet.
- Allow the water to flow through the drain, effectively rinsing away the cleaning solution and any debris.
- Observe the water as it flows down the drain to ensure that it is flowing smoothly and without any signs of blockages.
- If the water does not flow freely or backs up, there may still be a clog present, requiring further action.
As the toilet flushes, the force of the water will help remove any remaining residue, bacteria, and loose debris that was dislodged during the cleaning process. This step will help ensure that the drain is thoroughly cleaned and ready for use.
If you notice that the water is not flowing as it should or if there are signs of a blockage, such as slow drainage or gurgling sounds, it may indicate a stubborn clog. In such cases, you may need to move on to the next step to address the issue.
Remember to flush the toilet a few times to ensure that the drain is adequately rinsed. Once you are satisfied with the flushing and drainage, move on to the next step to address any persistent clogs.
Step 7: Use a plunger if necessary
If you encountered signs of a stubborn clog during the previous step or if the water is not draining properly, it’s time to bring out the plunger. Here’s how you can use a plunger to address the issue:
- Make sure the toilet bowl has enough water to cover the rubber part of the plunger.
- Place the plunger over the drain opening, making sure it forms a tight seal.
- Gently push the plunger down and then pull it up rapidly, creating a suction force.
- Repeat this plunging motion several times, gradually increasing the force of each push and pull.
- After a few plunges, check if the water starts to drain properly. If it does, the clog is likely dislodged.
- Continue plunging until the water flows smoothly and the drain is clear.
A plunger can help create pressure and suction, which can loosen and remove stubborn clogs. It’s important to use proper plunging techniques to achieve the desired results. Remember to maintain a firm seal between the plunger and the drain to maximize the effectiveness of the plunging action.
If you continue to face difficulty in clearing the clog or if the plunger method does not work, it may be necessary to move on to the next step for more aggressive unclogging techniques.
Keep in mind that using a plunger can be messy, so be prepared to clean up any water spills or messes that may occur during the process.
Step 8: Use a drain snake for stubborn clogs
If the plunger method does not successfully clear the stubborn clog in your toilet drain, it’s time to bring out the big guns – a drain snake. Follow these steps to safely and effectively use a drain snake:
- Acquire a drain snake or auger specifically designed for toilets. These tools are available at most hardware stores or can be rented from a plumbing supply store.
- Insert the end of the drain snake into the toilet drain, slowly pushing it in while rotating the handle clockwise.
- Continue pushing the snake forward until you encounter resistance. This resistance may indicate the location of the clog.
- Once you’ve reached the clog, twist and turn the snake to break up or dislodge the obstruction.
- Slowly retract the snake, taking care not to pull it out too quickly, as this can leave debris behind.
- Repeat the process if necessary, until the drain is clear and the snake comes out clean.
A drain snake, also known as an auger, is a flexible tool that can navigate through pipes and help break up clogs that a plunger may have difficulty clearing. The twisting and turning action of the snake helps to dislodge the blockage and restore proper water flow.
When using a drain snake, it’s important to be patient and gentle to avoid damaging the toilet or the plumbing system. If you’re unsure about using a drain snake, it’s best to consult a professional plumber for assistance.
Remember to clean the drain snake thoroughly after use and dispose of any debris in a proper manner.
Read more: How To Clean A Stinky Sink Drain
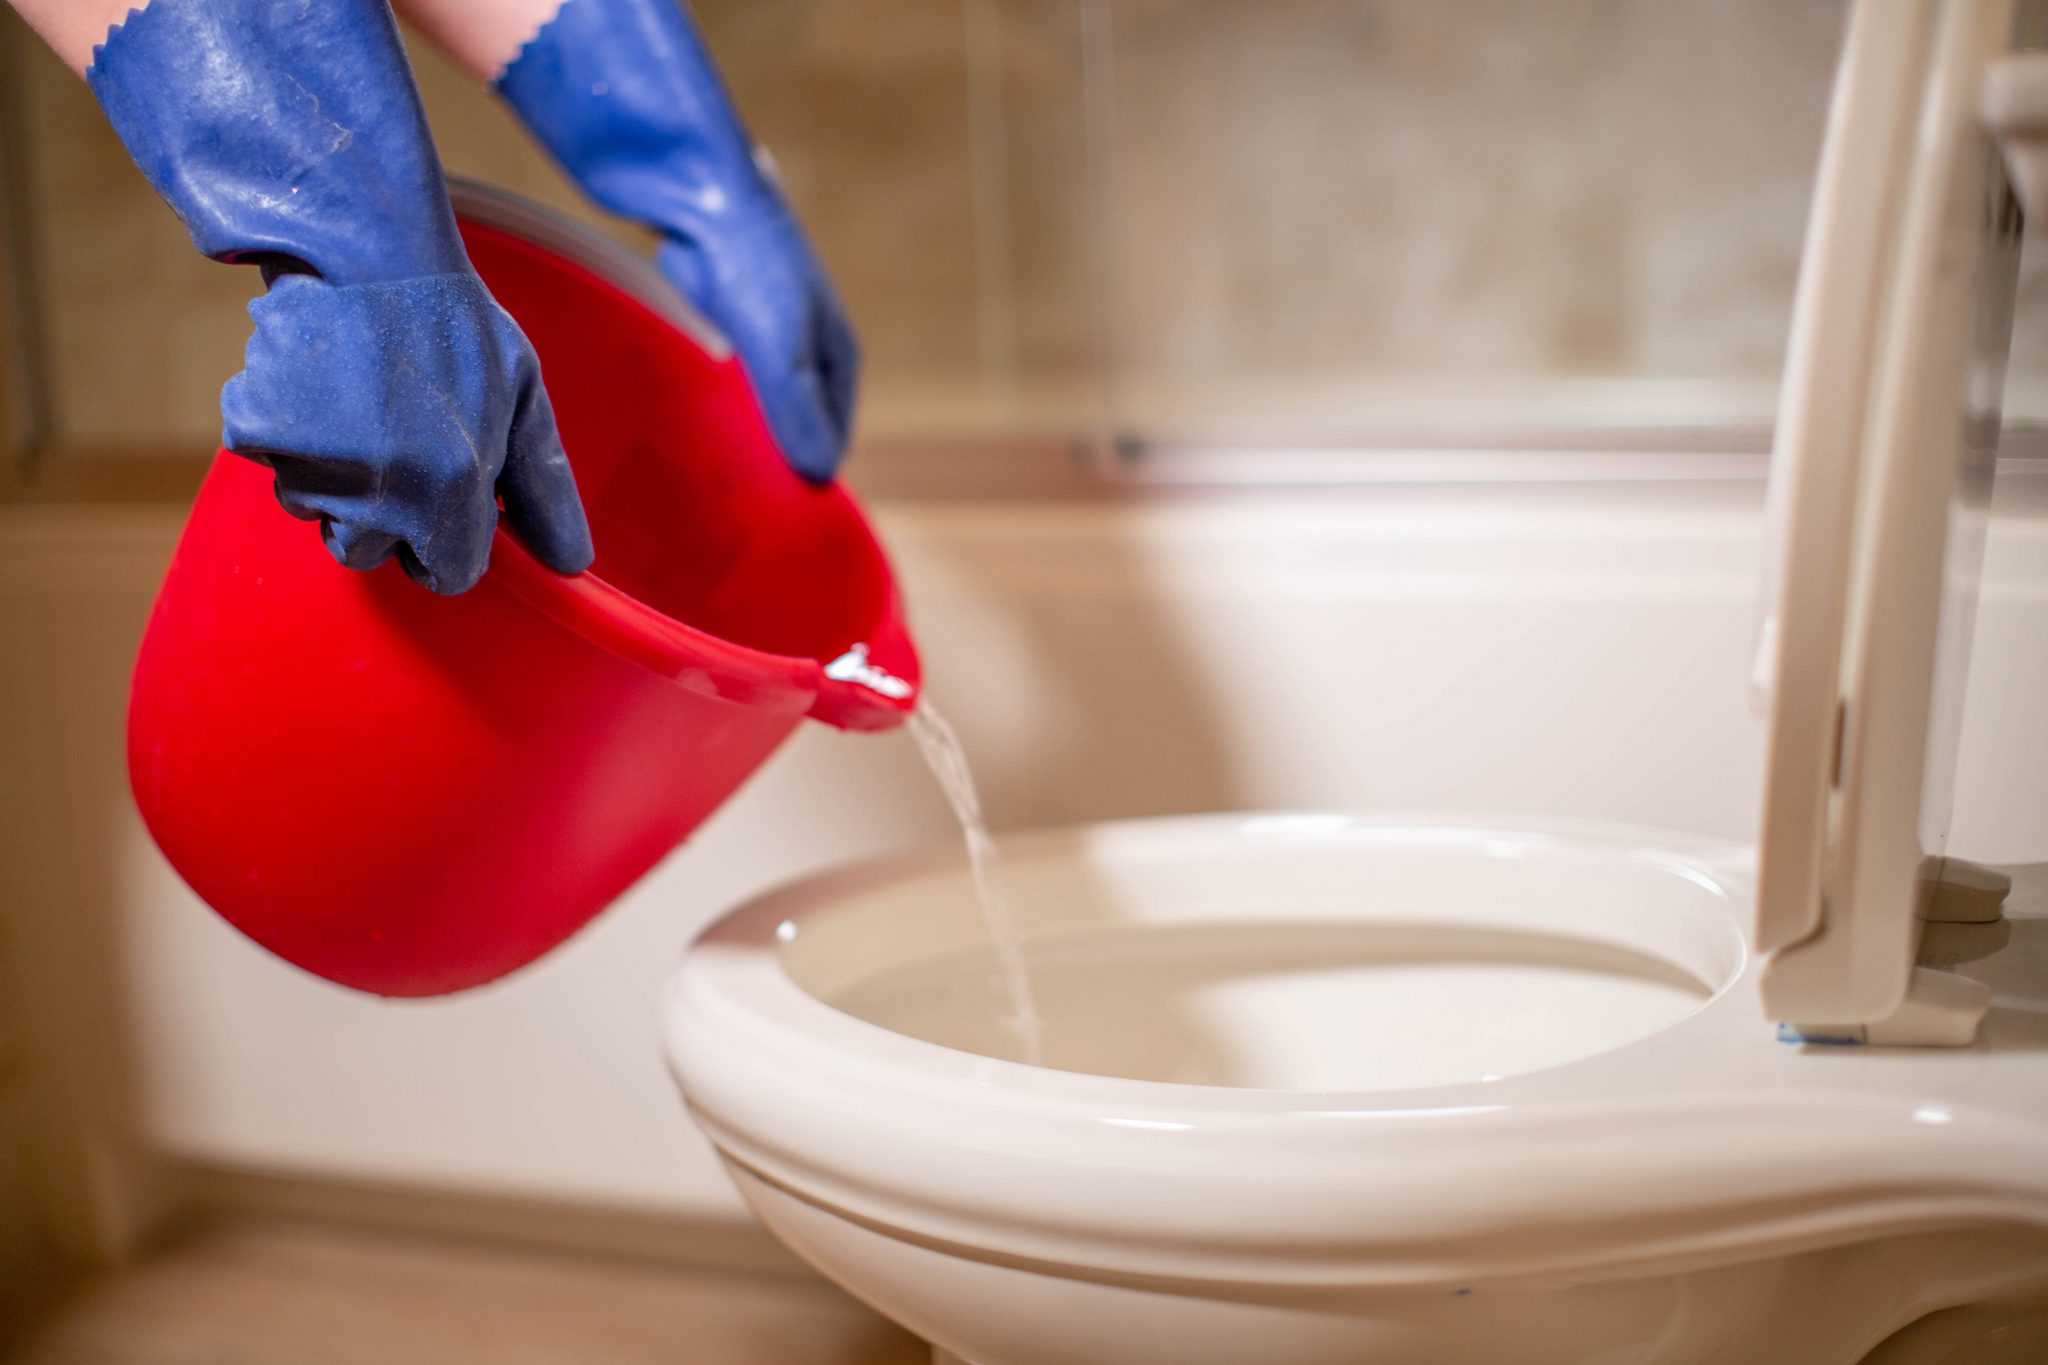
Step 9: Rinse the drain with hot water
After successfully clearing the clog using either the plunger or the drain snake, it’s crucial to give the toilet drain a thorough rinse to ensure that any remaining debris and cleaning solution are flushed away. Here’s how you can rinse the drain using hot water:
- Ensure that the toilet bowl is empty of water before proceeding.
- Boil a kettle or pot of water until it reaches boiling point.
- Carefully pour the hot water directly into the drain opening.
- Allow the hot water to flow through the drain, effectively rinsing away any remaining residue and debris.
- Repeat the process a few times to ensure a thorough rinse.
The hot water will help dissolve and flush away any remaining bacteria, grime, and odor-causing substances in the drain. This step is particularly important to ensure that the drain is clean and free of any lingering particles.
When handling hot water, make sure to exercise caution to prevent any burns or accidents. Pour the water slowly and steadily to avoid splashing or spills, and keep a safe distance from the steam.
Once you’ve completed the hot water rinse and are satisfied with the cleanliness of the drain, move on to the final step to maintain the cleanliness of your toilet drain.
Step 10: Repeat the cleaning process regularly
Cleaning your toilet drain is not a one-time task. To maintain a clean and efficient drain, it’s important to incorporate regular cleaning into your bathroom maintenance routine. Here’s why and how to repeat the cleaning process:
1. Prevent buildup: Regular cleaning prevents the accumulation of debris, hair, and other substances that can lead to clogs and unpleasant odors.
2. Maintain proper drainage: Regular cleaning ensures that water can flow freely through the drain, reducing the risk of backups or slow drainage.
3. Eliminate bacteria and odor: By cleaning regularly, you can eliminate bacteria and prevent the growth of odor-causing substances, ensuring a fresh-smelling bathroom.
To repeat the cleaning process:
- Follow Steps 2-9 outlined in this article.
- Make it a habit to clean the toilet drain on a regular basis, such as once a month or as needed depending on usage.
- Adjust the frequency based on the specific needs of your household.
By incorporating regular cleaning into your household routine, you’ll ensure that your toilet drain remains clean and free of clogs. It’s a small task that can make a big difference in maintaining a hygienic and functional bathroom.
Remember, prevention is key. Avoid flushing items down the toilet that can easily cause clogs, such as sanitary products, wipes, and excessive amounts of toilet paper. It’s also helpful to use a drain cover or strainer to catch any hair or debris before it enters the drain.
By following these steps and incorporating regular cleaning into your maintenance routine, you’ll be able to keep your toilet drain in optimal condition and enjoy a clean and hassle-free bathroom experience.
Conclusion
Cleaning a toilet drain may not be the most glamorous task, but it is an essential part of maintaining a clean and functional bathroom. By following the step-by-step process outlined in this article, you can effectively clean your toilet drain and prevent clogs, odors, and drainage issues.
Remember to gather all the necessary supplies, remove visible debris, prepare a cleaning solution, pour it into the drain, and use a toilet brush to scrub the inside. Afterward, flush the toilet to rinse the drain, and if necessary, use a plunger or a drain snake to tackle stubborn clogs. Finish by rinsing the drain with hot water and then repeat the cleaning process regularly to prevent future buildup.
Regular maintenance is key to keeping your toilet drain in optimal condition. By incorporating these cleaning steps into your bathroom cleaning routine, you’ll be able to maintain a hygienic and functional toilet drain.
Lastly, remember to exercise caution when handling cleaning solutions, hot water, and plumbing tools. If you encounter severe or persistent clogs, it’s advisable to seek assistance from a professional plumber.
Taking care of your toilet drain will not only promote cleanliness and hygiene but also extend the lifespan of your plumbing system. So, roll up your sleeves, gather your supplies, and give your toilet drain the cleaning it deserves!
Frequently Asked Questions about How To Clean A Toilet Drain
Was this page helpful?
At Storables.com, we guarantee accurate and reliable information. Our content, validated by Expert Board Contributors, is crafted following stringent Editorial Policies. We're committed to providing you with well-researched, expert-backed insights for all your informational needs.
0 thoughts on “How To Clean A Toilet Drain”