Home>Furniture & Design>Bathroom Accessories>How To Use A Plunger?
Bathroom Accessories
How To Use A Plunger?
Modified: February 18, 2024
Learn the proper technique for using a plunger to unclog your bathroom accessories. Follow these simple steps for effective results.
(Many of the links in this article redirect to a specific reviewed product. Your purchase of these products through affiliate links helps to generate commission for Storables.com, at no extra cost. Learn more)
Introduction
When it comes to dealing with clogged drains, a plunger is a simple yet effective tool that can come to the rescue. Whether it's a stubborn toilet clog or a blocked sink, having the know-how to use a plunger can save you from the inconvenience and frustration of a plumbing mishap. Understanding the proper technique for using a plunger is essential for achieving successful results and avoiding potential messes.
In this comprehensive guide, we will walk you through the step-by-step process of using a plunger to clear a clog effectively. From selecting the right type of plunger to mastering the plunging technique, we will cover everything you need to know to tackle common household drain blockages with confidence. By following these instructions, you can become adept at using a plunger to resolve minor plumbing issues without the need for professional assistance.
So, if you're ready to take charge of your home's plumbing maintenance and handle clogs like a pro, let's dive into the details of how to use a plunger effectively. Whether you're a first-time plunger user or looking to refine your plunging skills, this guide will equip you with the knowledge and expertise to tackle drain blockages with ease.
Key Takeaways:
- Choose the right plunger: Cup plungers for sinks, flange plungers for toilets. Ensure a tight seal and good condition for effective unclogging.
- Master the plunging technique: Apply controlled pressure, maintain a consistent rhythm, and be patient. Repeat if necessary for stubborn clogs.
Read more: How To Use The Plunger In The Toilet
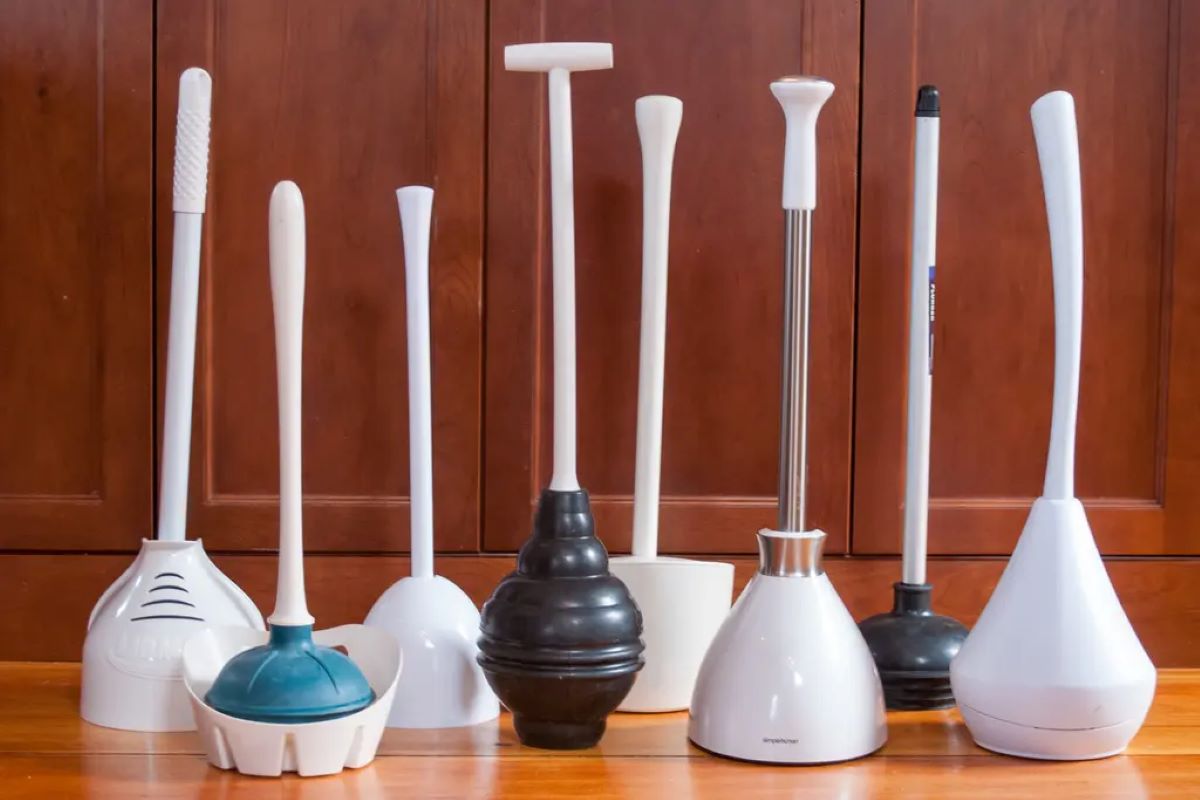
Step 1: Choose the Right Plunger
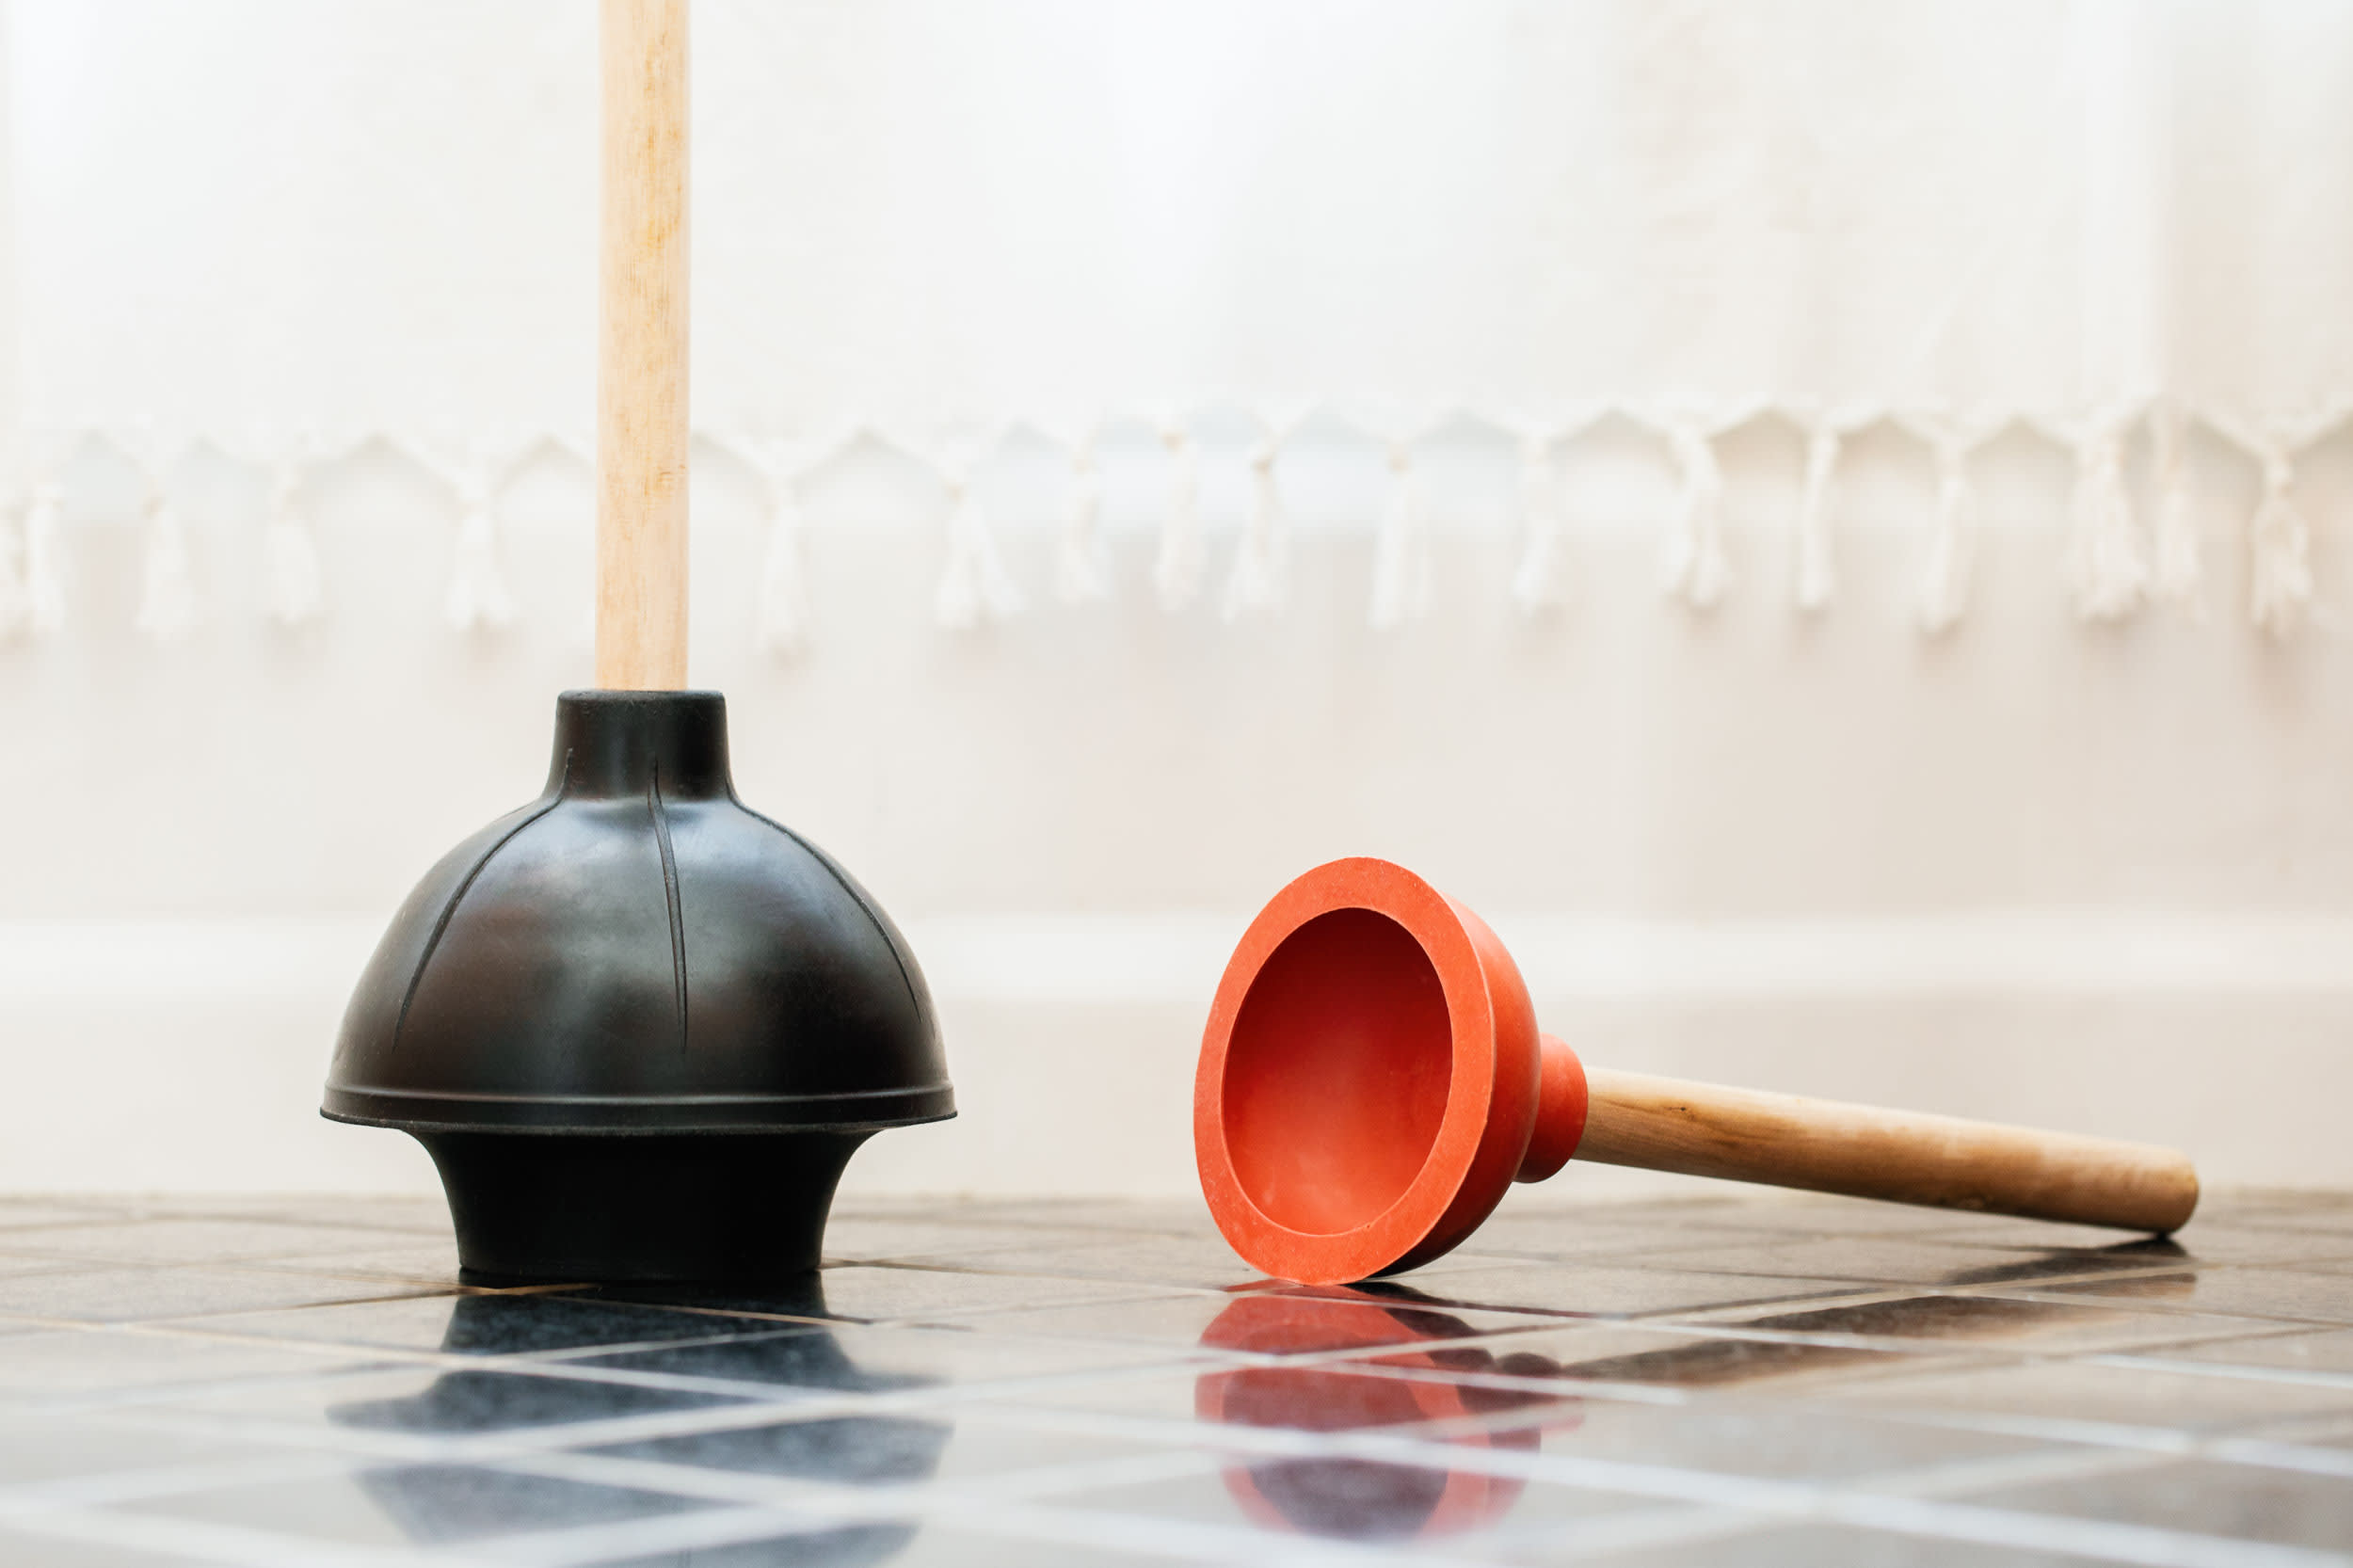
Selecting the right plunger is the first crucial step in effectively clearing a drain blockage. There are two primary types of plungers commonly used for different purposes: the cup plunger and the flange plunger.
-
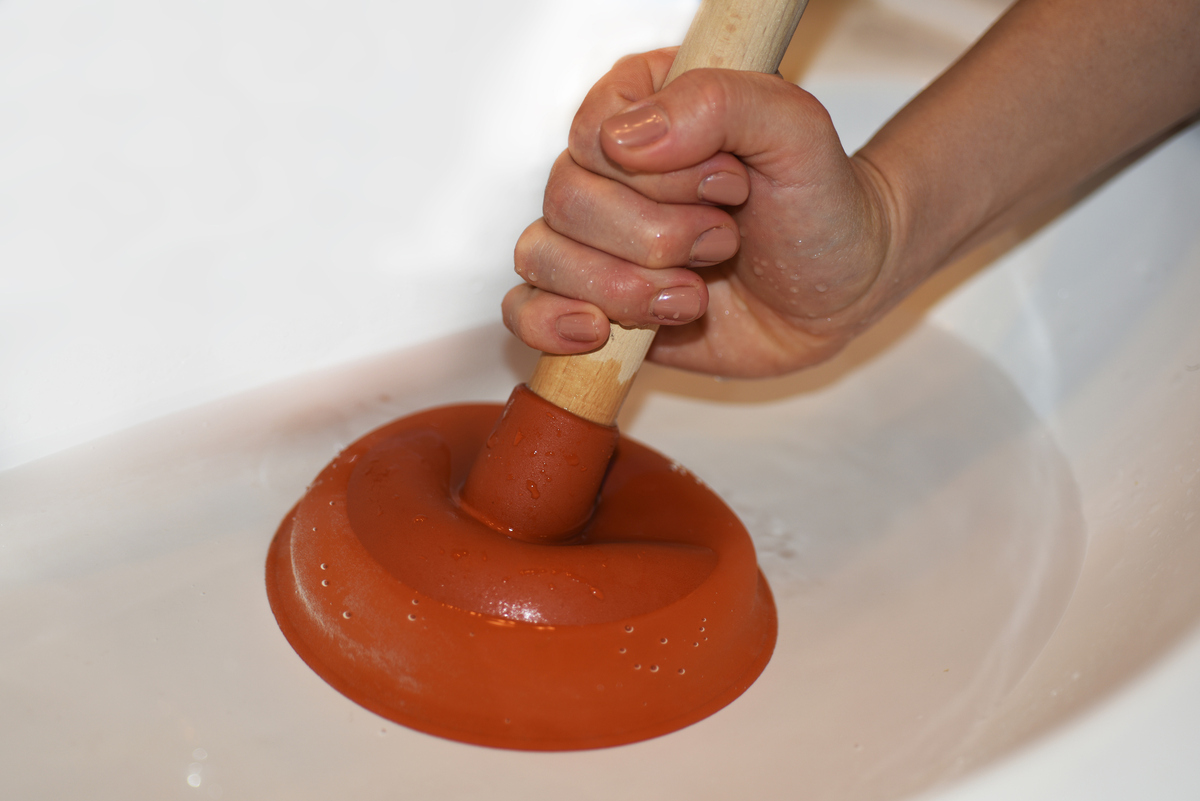
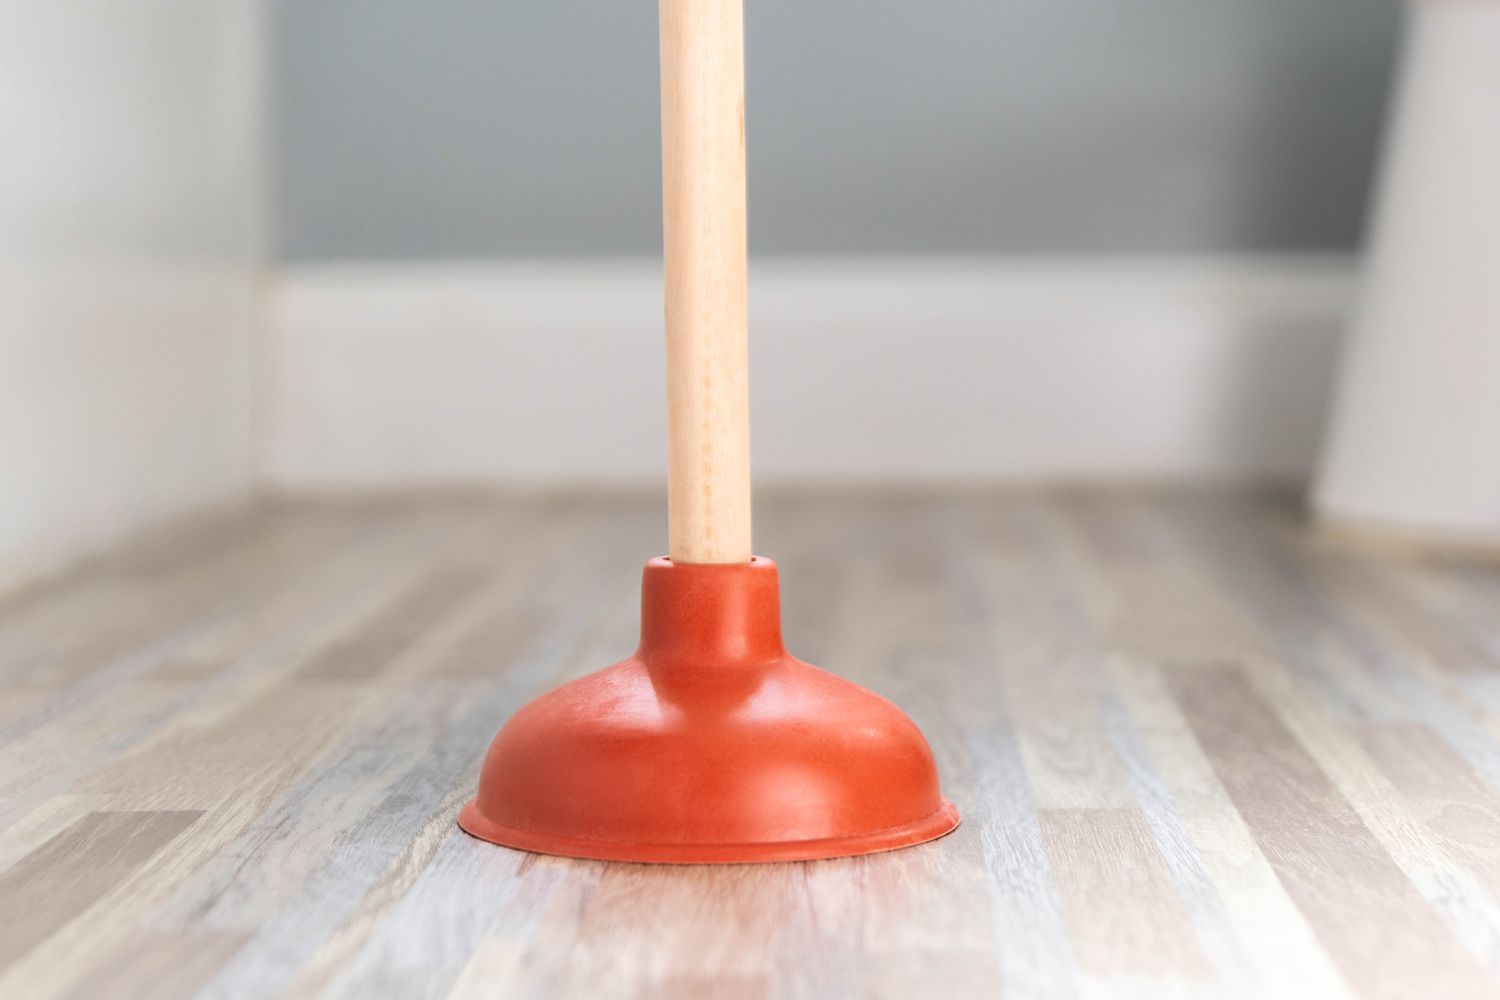
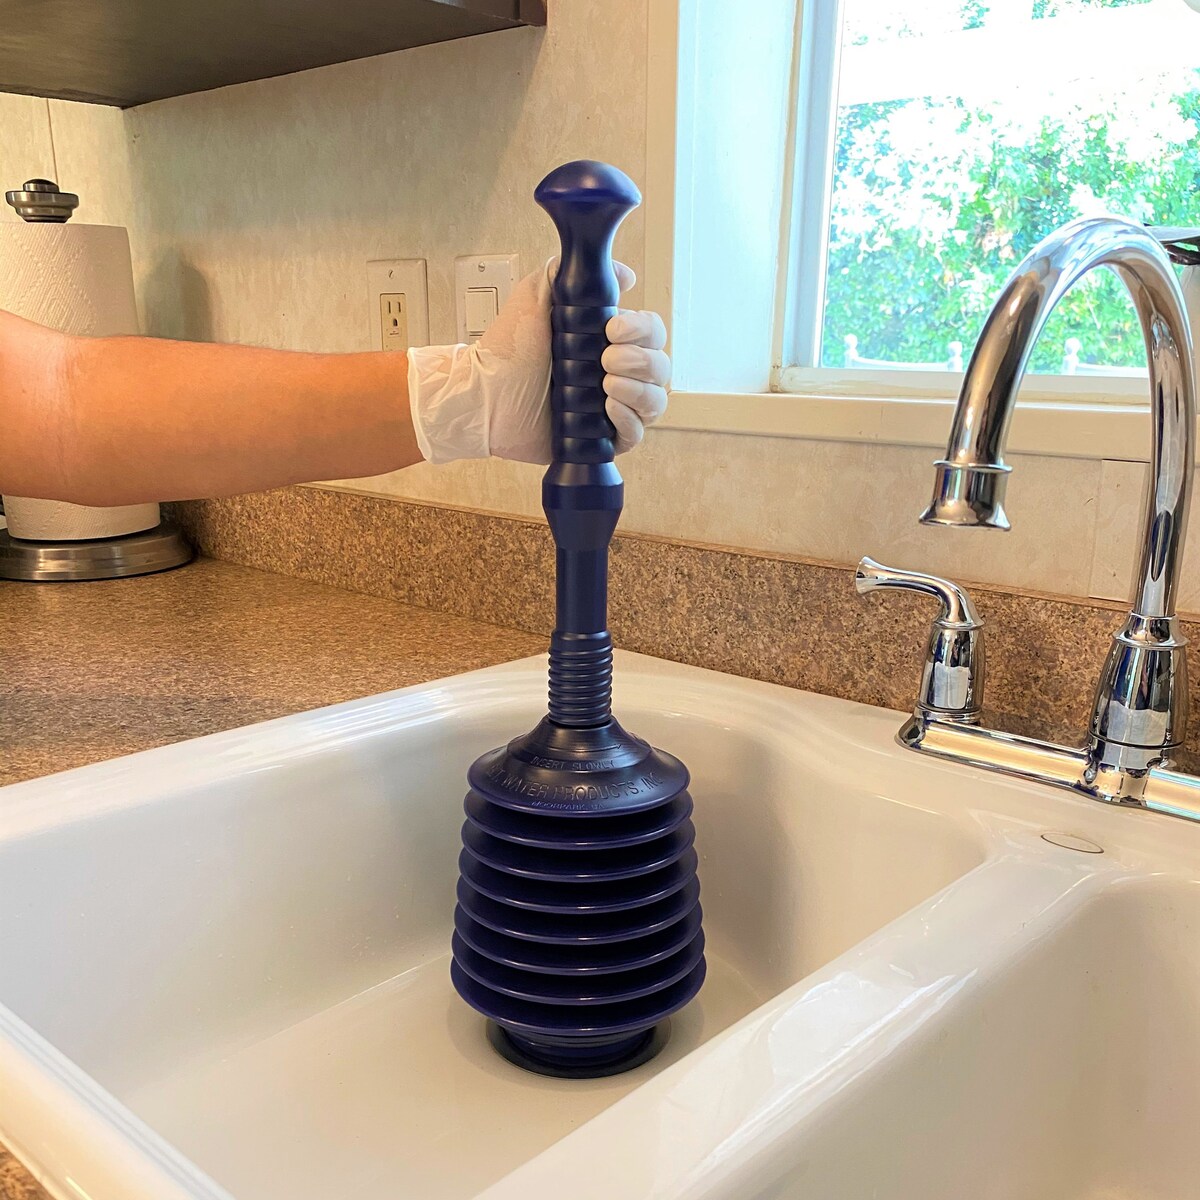
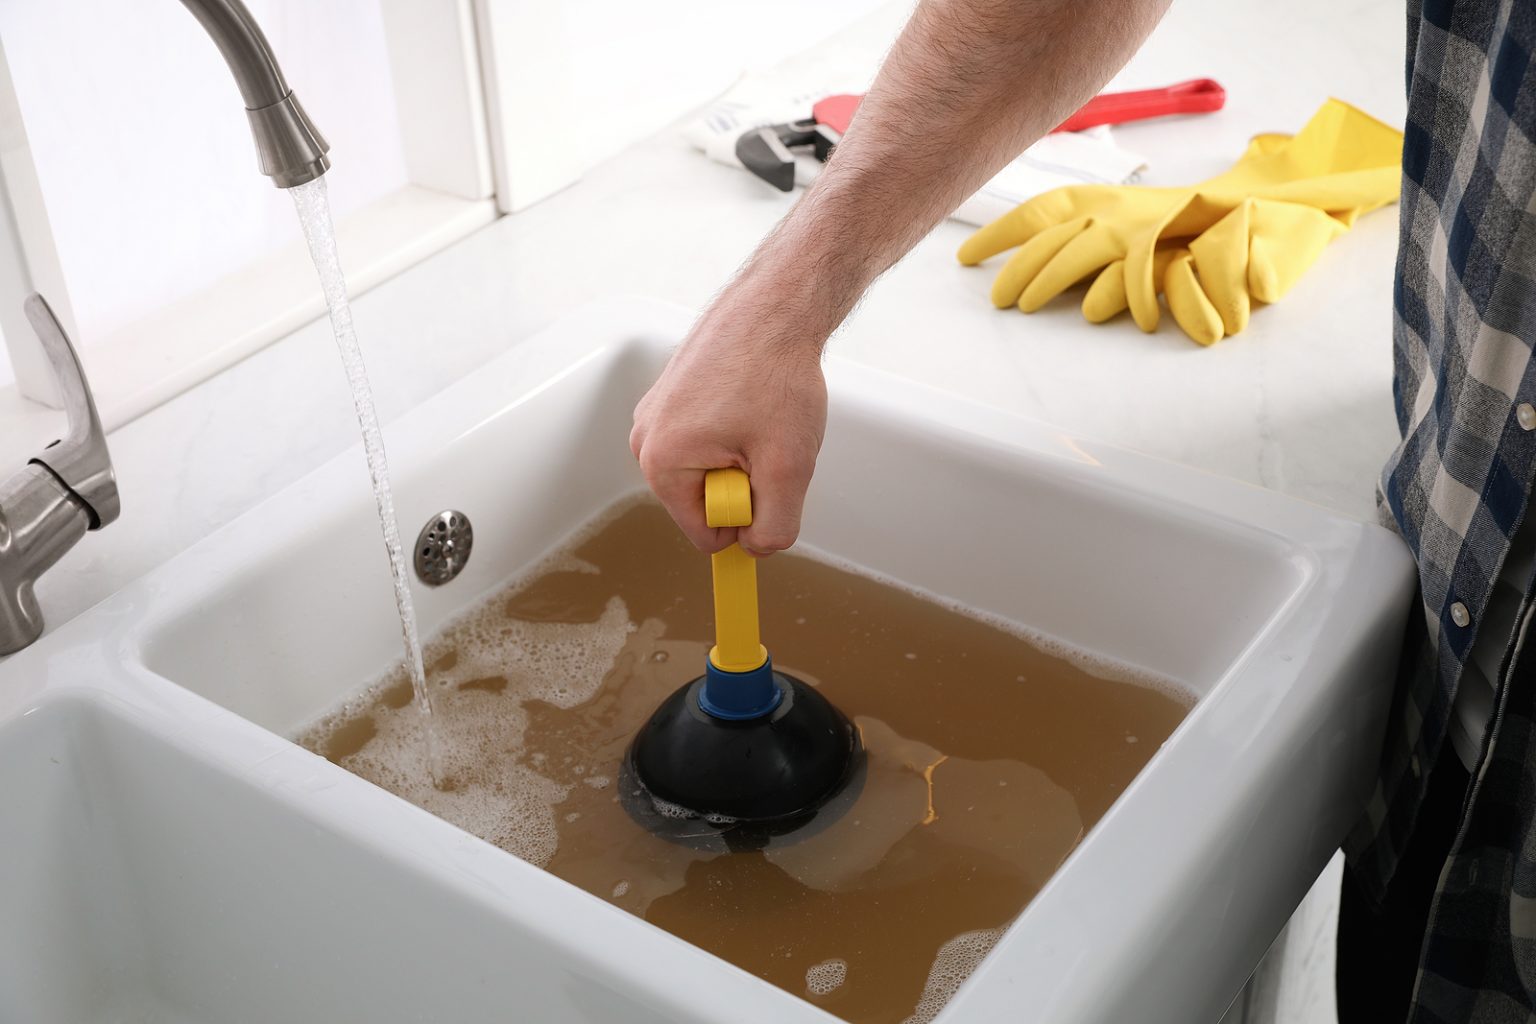
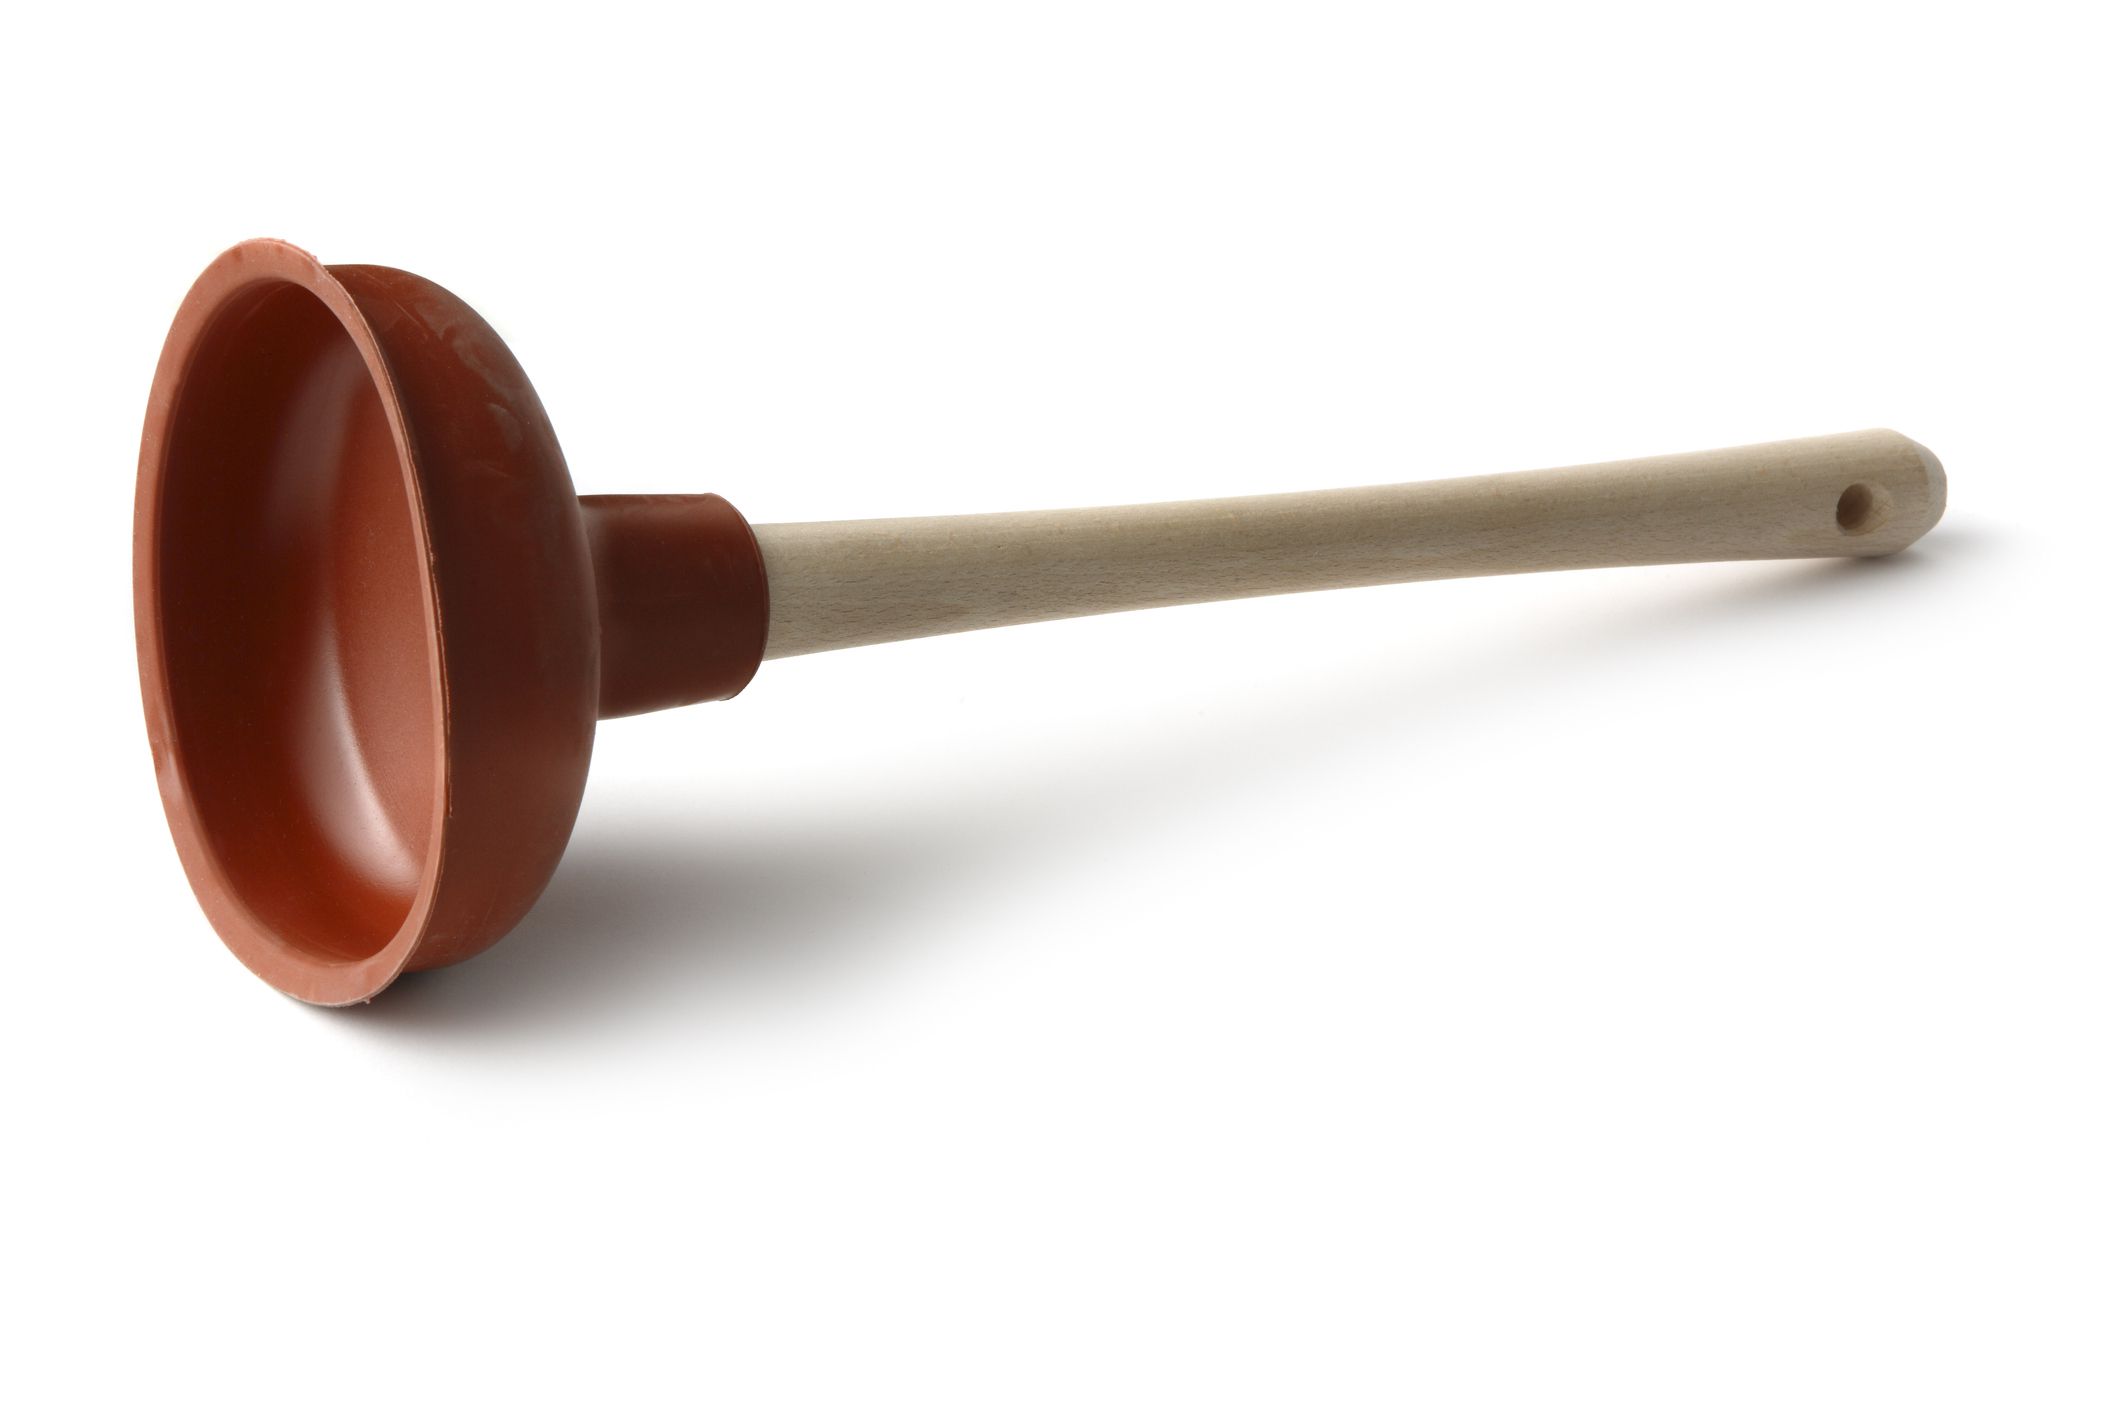
Cup Plunger: This type of plunger, also known as a sink plunger, features a simple rubber cup that is ideal for use on flat surfaces. It is best suited for clearing clogs in sinks, bathtubs, and other flat-surface drains. The cup plunger forms a tight seal around the drain opening, allowing for effective suction and pressure to dislodge the blockage.
-
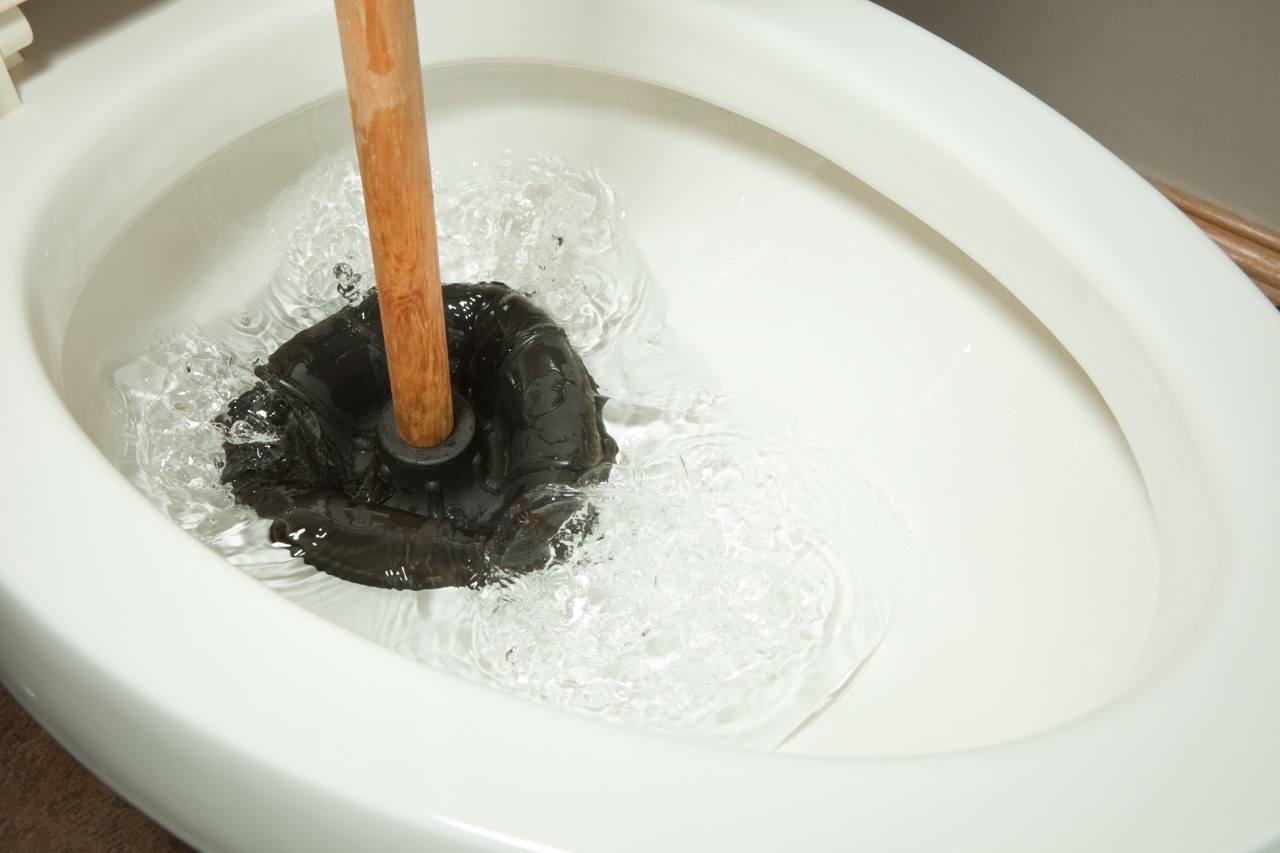
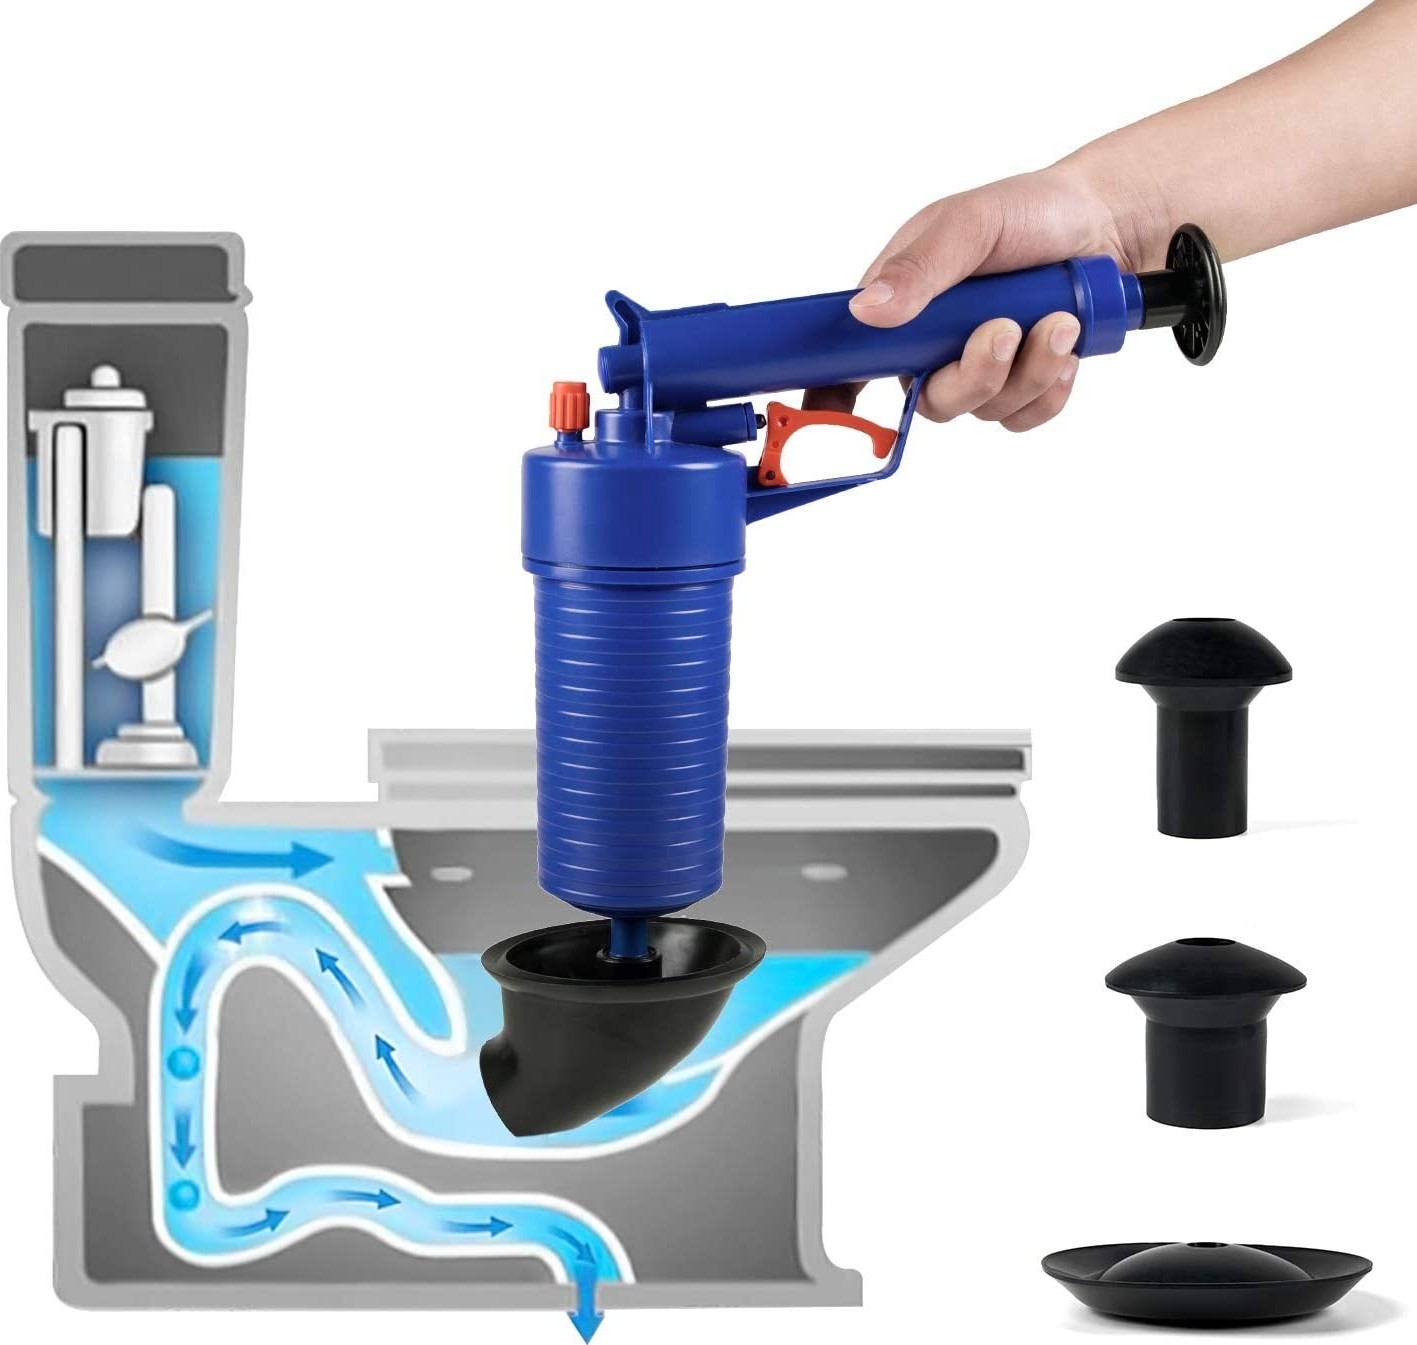
Flange Plunger: Unlike the cup plunger, the flange plunger, also known as a toilet plunger, is designed with an additional flange or collar extending from the rubber cup. This unique feature makes it specifically suitable for unclogging toilets. The flange helps create a better seal in the curved toilet drain, enabling the plunger to generate the necessary force to dislodge the obstruction.
When choosing a plunger, it is essential to consider the type of drain you intend to clear. If you are dealing with a clogged sink or bathtub, opt for a cup plunger. Conversely, if the blockage is in a toilet, a flange plunger is the appropriate choice.
Additionally, ensure that the plunger's rubber cup or flange is in good condition, free from cracks or damage that could compromise its sealing ability. A plunger with a sturdy handle and a well-maintained rubber cup or flange will provide the necessary suction and pressure to effectively clear the drain blockage.
By selecting the right plunger for the specific type of drain and ensuring its proper condition, you set the stage for successful unclogging in the subsequent steps. With the appropriate plunger in hand, you are ready to proceed to the next step of positioning the plunger for optimal effectiveness.
Step 2: Position the Plunger
Proper positioning of the plunger is essential to maximize its effectiveness in clearing a drain blockage. Whether you are using a cup plunger for sinks and bathtubs or a flange plunger for toilets, the positioning technique plays a pivotal role in creating the necessary seal and generating the required suction and pressure.
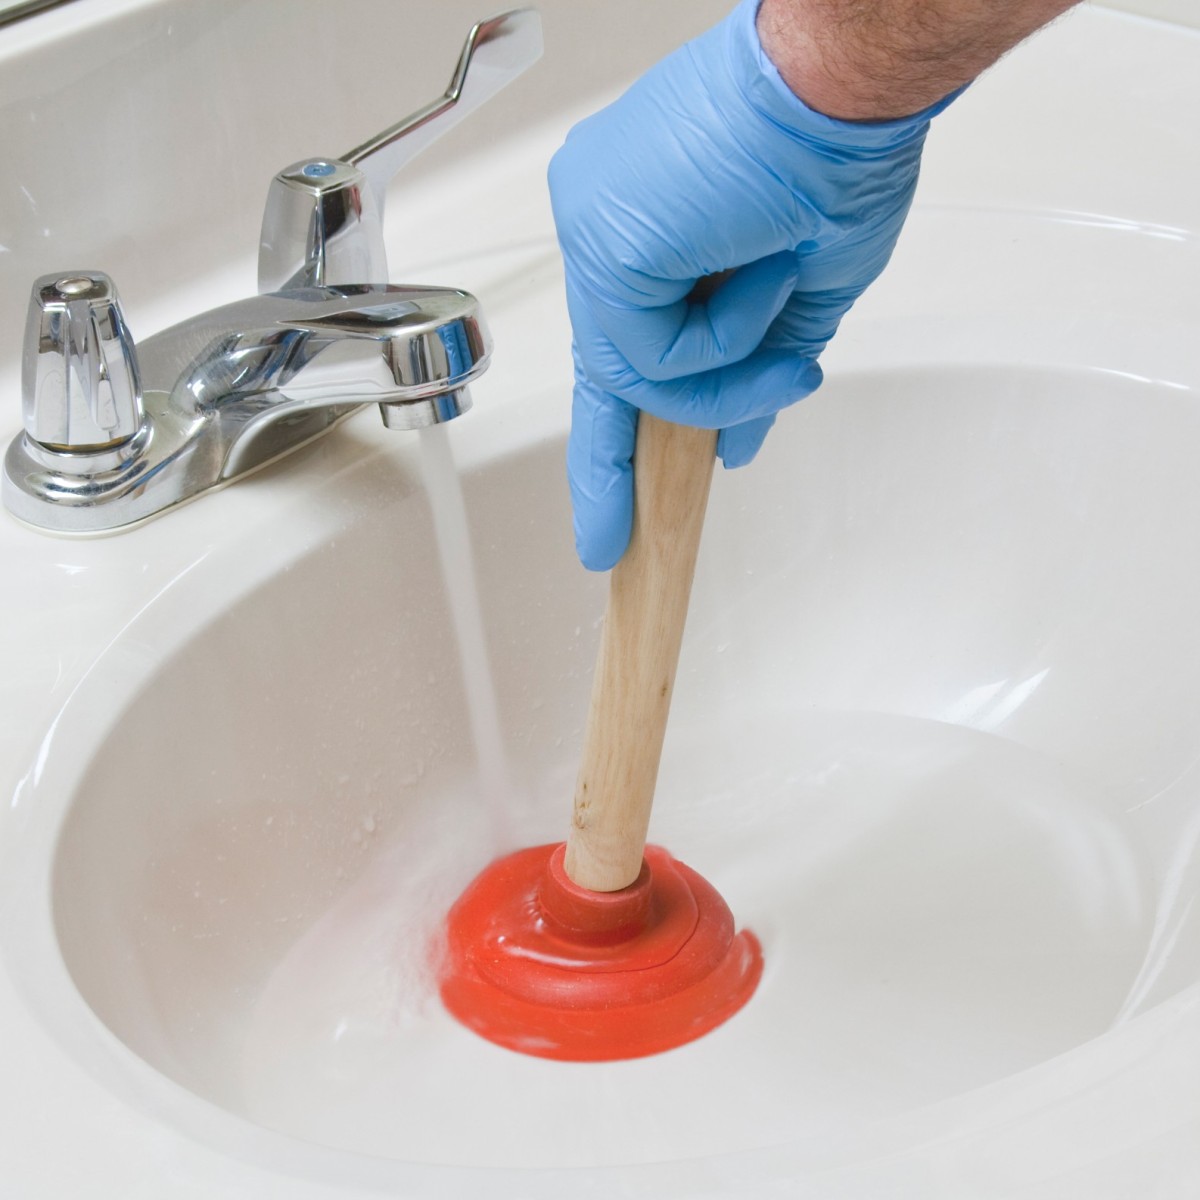
For a sink or bathtub drain, begin by ensuring that the surrounding area is free from any obstructions. Place the cup of the plunger directly over the drain opening, ensuring a snug fit. The plunger should be positioned to cover the entire drain opening, forming a tight seal to prevent air from escaping during the plunging process. This seal is crucial for creating the suction needed to dislodge the clog effectively.
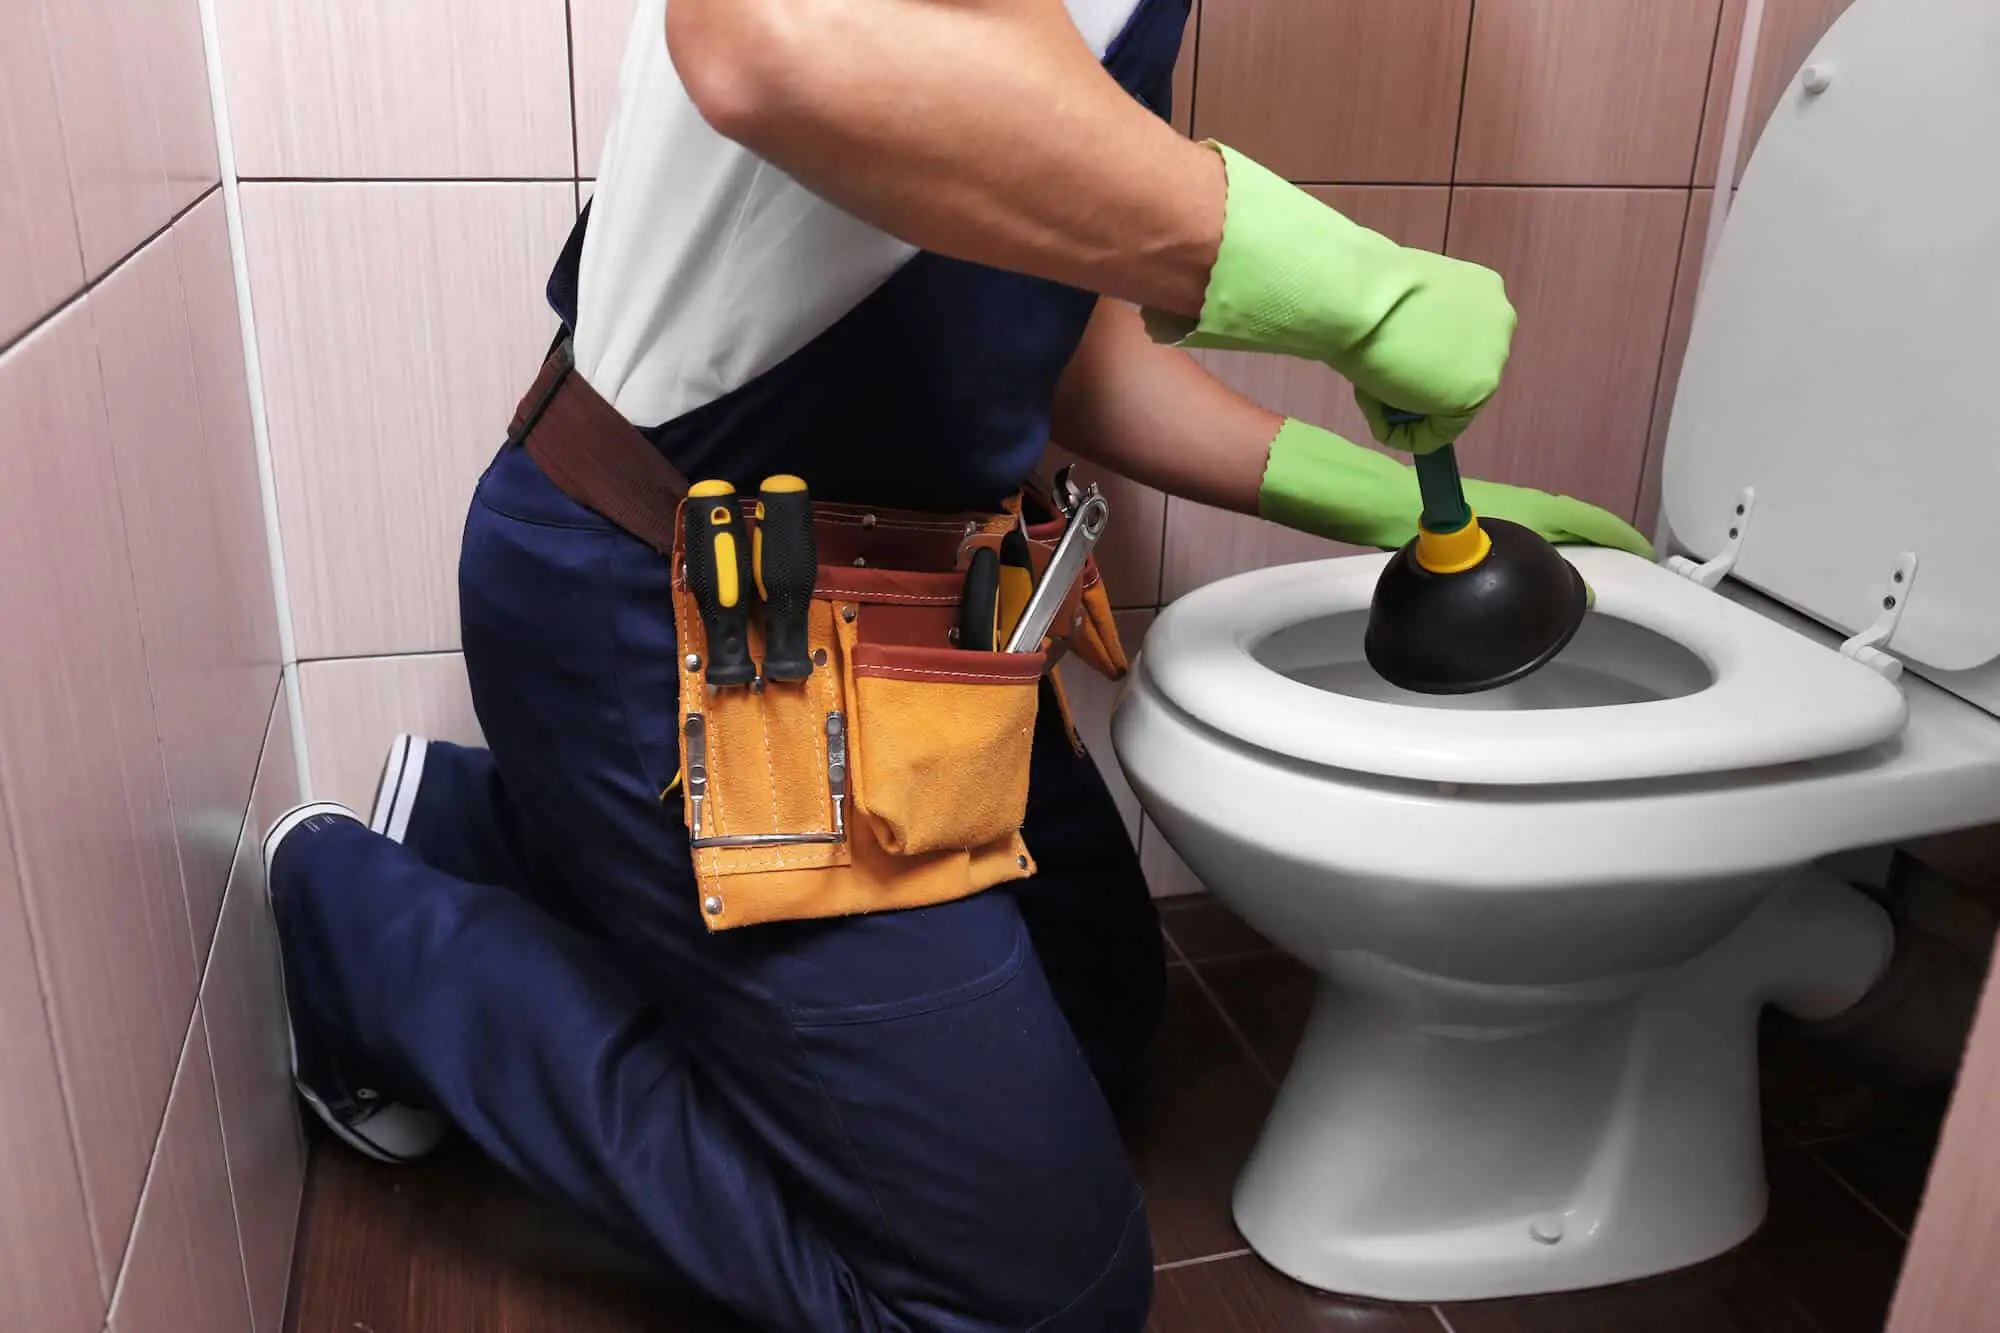
When dealing with a toilet clog, the positioning of the flange plunger is slightly different due to the curved shape of the toilet drain. Start by carefully inserting the flange into the toilet bowl, ensuring that it fits securely into the drain opening. The flange should be positioned to create a tight seal within the curved portion of the toilet drain, allowing for optimal suction and pressure application during plunging.
In both cases, it is important to maintain a firm grip on the plunger handle while positioning it over the drain. This ensures stability and control during the plunging process, preventing the plunger from slipping or losing its seal. Additionally, positioning the plunger at a straight angle to the drain surface helps in generating consistent pressure and suction, enhancing the effectiveness of the plunging action.
By mastering the art of positioning the plunger correctly, you set the stage for successful unclogging in the subsequent steps. With the plunger securely positioned and forming a tight seal, you are ready to move on to the next step of creating the necessary suction to dislodge the drain blockage.
Step 3: Create a Seal
Creating a proper seal is a critical aspect of using a plunger effectively to clear a drain blockage. The seal ensures that the plunger can generate the necessary suction and pressure to dislodge the obstruction, making it a fundamental step in the plunging process.
To create a seal, begin by ensuring that the rubber cup or flange of the plunger is positioned securely over the drain opening, forming a tight connection. This connection is essential for preventing air from escaping and allowing the plunger to create a vacuum effect when pressure is applied. The seal should be airtight, enabling the plunger to exert force directly onto the clog, rather than allowing air to escape around the edges of the plunger.
For sinks and bathtubs, the rubber cup of the plunger should cover the entire drain opening, ensuring that no gaps exist between the cup and the surface. Press down firmly to create a seal, and if necessary, add a small amount of petroleum jelly around the rim of the cup to enhance the seal's effectiveness. This simple trick can help improve the plunger's suction capabilities, especially if the drain surface is uneven or textured.
When dealing with a toilet clog, the flange of the plunger should be inserted into the toilet bowl, ensuring a snug fit within the curved portion of the drain. Gently press the flange against the drain opening to create a secure seal, taking care to maintain the seal throughout the plunging process. The flange's unique design is tailored to fit the contours of the toilet drain, allowing for maximum suction and pressure application.
Once the plunger is in position and the seal is created, it's essential to ensure that the surrounding area is clear of any potential obstructions. This precaution prevents splashing or displacement of water during the plunging process, maintaining a controlled environment for effective unclogging.
By focusing on creating a proper seal, you set the stage for successful plunging, as the seal is the gateway to generating the necessary force to dislodge the drain blockage. With the seal in place, you are ready to proceed to the next step of applying the plunging technique to clear the clog effectively.
When using a plunger, make sure the rubber cup is completely covering the drain. Push and pull the plunger to create suction, then release to dislodge the clog. Repeat as needed.
Step 4: Plunge
With the plunger positioned and a proper seal created, it's time to initiate the plunging action to dislodge the drain blockage effectively. The plunging technique involves applying controlled pressure and suction to break up and remove the obstruction, restoring the flow of water through the drain.
To begin the plunging process, grip the plunger handle firmly with both hands, ensuring a stable and comfortable hold. For sinks, bathtubs, and other flat-surface drains, use a vertical plunging motion, pushing the plunger's cup down and then pulling it back up in a rhythmic manner. This action creates a suction effect, dislodging the clog as the pressure alternates between pushing and pulling. It's important to maintain a consistent and controlled plunging rhythm to maximize the effectiveness of the suction and pressure applied to the blockage.
When dealing with a toilet clog, the plunging technique is slightly modified due to the curved shape of the toilet drain. Start by inserting the flange of the plunger into the toilet bowl, ensuring a secure seal, and then perform a series of gentle yet forceful plunges. The motion involves pressing the plunger down and then pulling it up, similar to the technique used for flat-surface drains. The key is to maintain steady pressure and rhythm to create the necessary suction and force to dislodge the obstruction within the toilet drain.
During the plunging process, it's important to avoid using excessive force, as this can lead to splashing and potential mess. Instead, focus on applying controlled pressure and maintaining a consistent plunging rhythm to maximize the suction and pressure exerted on the clog. Depending on the severity of the blockage, it may take several plunging attempts to achieve success, so patience and persistence are essential.
As you continue to plunge, listen for any changes in the drain, such as gurgling or the sound of water moving. These auditory cues indicate that the plunging action is having an impact on the clog, and the obstruction may be starting to break up and clear. If you notice these signs, continue plunging to further dislodge the blockage and restore proper drainage.
By mastering the plunging technique and maintaining a controlled, rhythmic motion, you can effectively harness the suction and pressure of the plunger to break up and remove the drain blockage. With each plunge, you are one step closer to successfully clearing the clog and restoring the proper function of the drain.
Read more: How To Use A Coffee Plunger
Step 5: Repeat if Necessary
After applying the plunging technique, it's essential to assess the effectiveness of the initial attempts in clearing the drain blockage. In some cases, a single round of plunging may suffice to dislodge the obstruction and restore proper drainage. However, if the clog persists, it's important to be prepared to repeat the plunging process as needed.
When determining whether to repeat the plunging, consider the following factors:
-
Observation: Take note of any changes in the drain's behavior during and after the initial plunging attempts. If you observe improvements, such as increased drainage or reduced water level in the toilet bowl, it indicates progress in dislodging the clog. Conversely, if there are no discernible changes or the blockage remains unaffected, it may be necessary to repeat the plunging process.
-
Persistence of the Clog: The nature and persistence of the clog also influence the decision to repeat the plunging. For minor obstructions or partial blockages, a single round of plunging may suffice to clear the drain. However, stubborn or severe clogs may require multiple plunging attempts to effectively break up and remove the obstruction.
-
Patience and Persistence: Patience is key when dealing with persistent drain blockages. If the initial plunging efforts yield partial success but the clog remains, don't be discouraged. Persistence is often the key to overcoming stubborn obstructions. By remaining patient and committed to the process, you can increase the likelihood of successfully clearing the drain through repeated plunging.
If it becomes evident that the initial plunging attempts did not fully resolve the clog, it's time to repeat the plunging process. Return to Step 4 and initiate another round of controlled plunging, focusing on maintaining a consistent rhythm and applying controlled pressure to the obstruction.
As you repeat the plunging, pay attention to any changes in the drain's behavior and continue to listen for auditory cues indicating progress, such as gurgling or movement of water. These signs can provide valuable feedback on the effectiveness of the repeated plunging attempts.
By being prepared to repeat the plunging process as necessary, you demonstrate a proactive approach to resolving drain blockages effectively. Through patience, persistence, and a willingness to repeat the plunging when needed, you can increase the likelihood of successfully clearing the clog and restoring proper drainage.
Remember, each additional round of plunging brings you closer to achieving a clear and unobstructed drain, so don't hesitate to repeat the process if the clog persists.
Step 6: Clean the Plunger
After successfully clearing the drain blockage using the plunger, it's essential to properly clean and maintain the plunger to ensure its effectiveness for future use. Cleaning the plunger not only helps maintain hygiene but also prevents the spread of bacteria and germs that may have been present in the clogged drain.
To clean the plunger, follow these simple yet important steps:
-
Rinse the Plunger: Begin by rinsing the plunger under hot water to remove any residual debris or particles that may have accumulated during the plunging process. Use a gentle scrubbing brush or sponge to dislodge any stubborn residue from the rubber cup or flange. Thoroughly rinsing the plunger helps remove any remaining traces of the clog and prepares it for the cleaning process.
-
Disinfect the Plunger: After rinsing, it's crucial to disinfect the plunger to eliminate any bacteria or germs that may have been transferred from the drain. Prepare a solution of hot water and disinfectant, such as bleach or a commercial disinfectant cleaner. Submerge the plunger in the disinfectant solution, ensuring that the rubber cup or flange is fully covered. Allow the plunger to soak for a few minutes to ensure thorough disinfection.
-
Scrub and Rinse Again: Using a scrubbing brush or sponge, gently scrub the rubber cup or flange to remove any remaining residue and ensure that the disinfectant penetrates all areas. Once scrubbed, rinse the plunger under hot water to remove the disinfectant solution and any loosened debris. Thorough rinsing is essential to ensure that the plunger is clean and free from any cleaning agents.
-
Dry the Plunger: After cleaning and rinsing, allow the plunger to air-dry completely. Position it in a well-ventilated area, such as outdoors or near an open window, to facilitate drying. Ensuring that the plunger is completely dry helps prevent the growth of mold or mildew and maintains its condition for future use.
-
Store the Plunger Properly: Once dry, store the plunger in a clean and dry location, away from direct contact with other items. Proper storage helps maintain the plunger's cleanliness and prevents contamination between uses. Consider designating a specific area or container for storing the plunger to ensure it remains hygienic and ready for future use.
By following these steps to clean the plunger, you not only maintain its hygiene and effectiveness but also contribute to a clean and healthy home environment. Regular cleaning and maintenance of the plunger ensure that it remains a reliable tool for addressing future drain blockages, allowing you to tackle plumbing issues with confidence and efficiency.
Conclusion
In conclusion, mastering the art of using a plunger is a valuable skill that empowers homeowners to tackle common drain blockages with confidence and efficiency. By following the step-by-step process outlined in this guide, individuals can effectively address clogs in sinks, bathtubs, and toilets, restoring proper drainage without the need for professional assistance.
The journey of using a plunger begins with selecting the right type of plunger for the specific drain, whether it's a cup plunger for flat-surface drains or a flange plunger for toilets. Ensuring the plunger's rubber cup or flange is in good condition and capable of creating a tight seal is essential for successful unclogging.
Proper positioning and creating a secure seal are fundamental to harnessing the suction and pressure of the plunger effectively. Whether it's positioning the cup plunger over a sink drain or inserting the flange plunger into a toilet bowl, these steps lay the groundwork for successful plunging.
The plunging technique itself involves applying controlled pressure and maintaining a consistent rhythm to dislodge the obstruction. Whether it's a series of vertical plunges for sinks and bathtubs or gentle yet forceful plunges for toilets, the goal is to break up the clog and restore proper drainage.
Being prepared to repeat the plunging process if necessary demonstrates a proactive approach to addressing persistent drain blockages. Patience, persistence, and a keen observation of the drain's behavior are key factors in determining the need for repeated plunging to achieve success.
After successfully clearing the clog, proper cleaning and maintenance of the plunger ensure its hygiene and effectiveness for future use. Thorough rinsing, disinfection, and drying, followed by proper storage, contribute to a clean and healthy home environment.
By mastering the use of a plunger and incorporating it into your home maintenance toolkit, you gain the confidence to address minor plumbing issues independently. The ability to effectively clear drain blockages not only saves time and money but also contributes to a sense of empowerment and self-sufficiency in maintaining a functional home.
In essence, the knowledge and skills acquired through this guide empower individuals to navigate common plumbing challenges with ease, ensuring that a clogged drain no longer poses a daunting obstacle. With the right plunger and the know-how to use it effectively, homeowners can confidently tackle drain blockages and maintain the smooth operation of their household plumbing.
Frequently Asked Questions about How To Use A Plunger?
Was this page helpful?
At Storables.com, we guarantee accurate and reliable information. Our content, validated by Expert Board Contributors, is crafted following stringent Editorial Policies. We're committed to providing you with well-researched, expert-backed insights for all your informational needs.


0 thoughts on “How To Use A Plunger?”