
Articles
How To Caulk Toilet
Modified: August 28, 2024
Learn how to properly caulk your toilet at home with our informative articles. Find step-by-step guides and expert tips to ensure a tight and leak-free seal.
(Many of the links in this article redirect to a specific reviewed product. Your purchase of these products through affiliate links helps to generate commission for Storables.com, at no extra cost. Learn more)
Introduction
When it comes to household maintenance, caulking is a task that often gets overlooked. However, caulking plays a crucial role in maintaining the integrity and functionality of various areas in your home, including the bathroom. In particular, caulking around your toilet is important to prevent water leaks, improve sanitation, and enhance the overall appearance of your bathroom.
This article will guide you through the process of caulking your toilet, providing step-by-step instructions and tips to help you achieve a professional-looking result. By following these guidelines and using the right tools and materials, you can effectively seal any gaps or cracks around your toilet and ensure a leak-free environment.
Before we get started, let’s gather the necessary tools and materials:
– Caulking gun
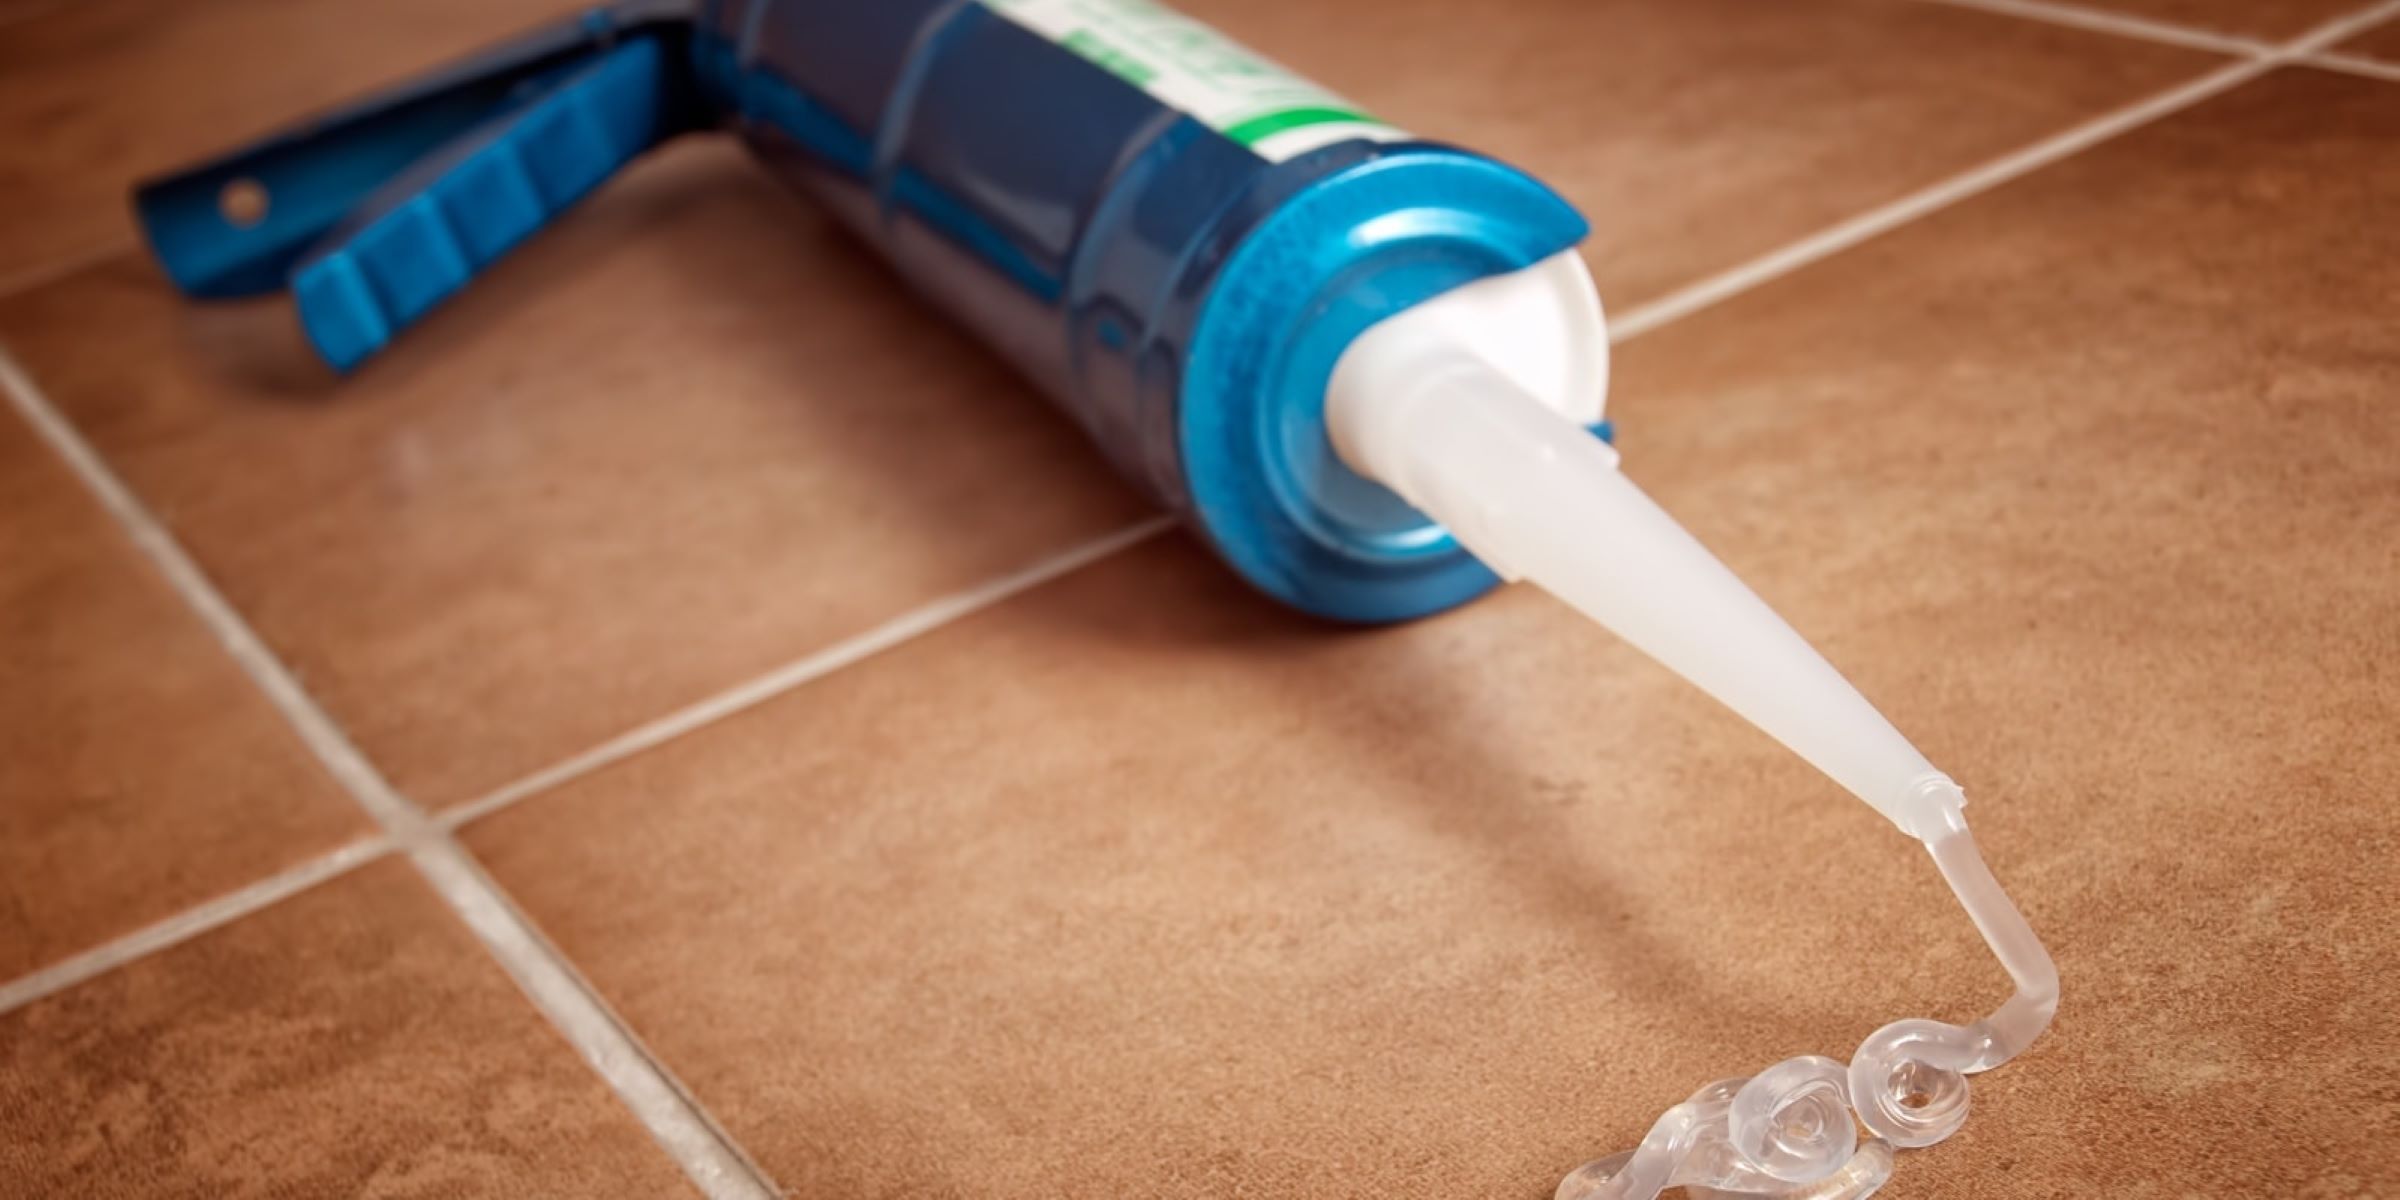
– Tube of silicone caulk
– Caulk removal tool or utility knife
– Scrub brush or sponge
– Mildew-resistant cleaner
– Disposable gloves
– Clean cloth or rag
– Painter’s tape (optional)
Now that you have everything you need, let’s dive into the process of caulking your toilet.
Key Takeaways:
- Proper caulking around your toilet can prevent water leaks, improve sanitation, and enhance the appearance of your bathroom. Follow the step-by-step guide to achieve a professional-looking, watertight seal.
- By gathering the right tools, preparing the area, removing old caulk, cleaning, applying, smoothing, and allowing the caulk to dry, you can successfully caulk your toilet and maintain its effectiveness over time.
Read more: How To Caulk Stairs
Tools and Materials Needed
Before you begin caulking your toilet, it’s important to gather the necessary tools and materials. Having everything ready will ensure a smooth and efficient process. Here’s a list of what you’ll need:
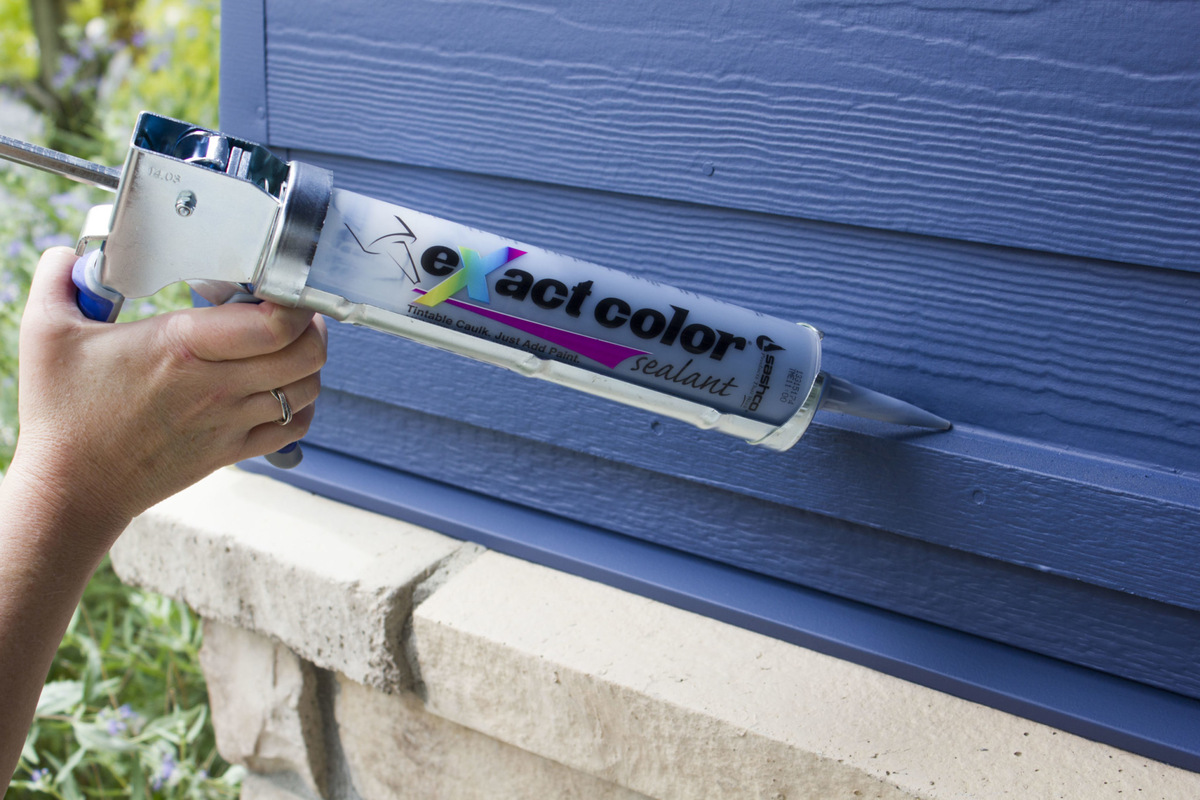
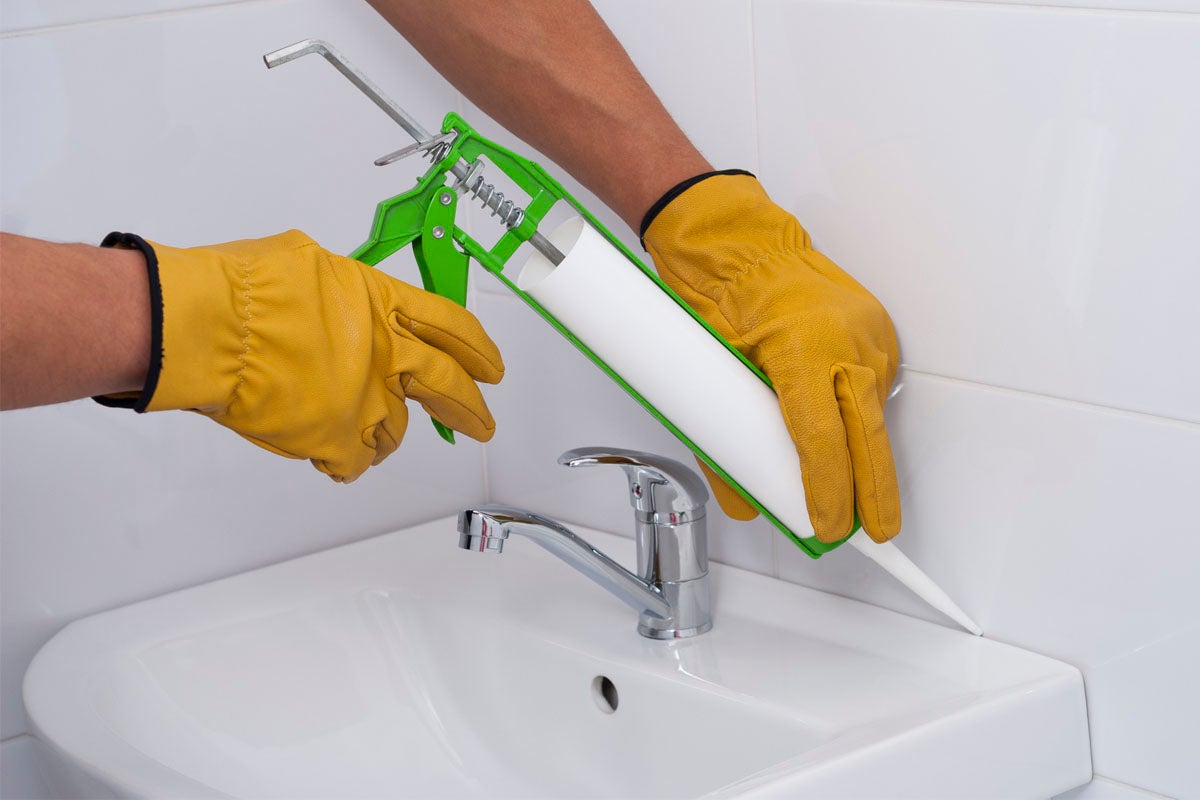
- Caulking gun: This tool is essential for applying the caulk evenly and smoothly. Make sure you have a caulk gun that fits the size of the caulk tube you’re using.
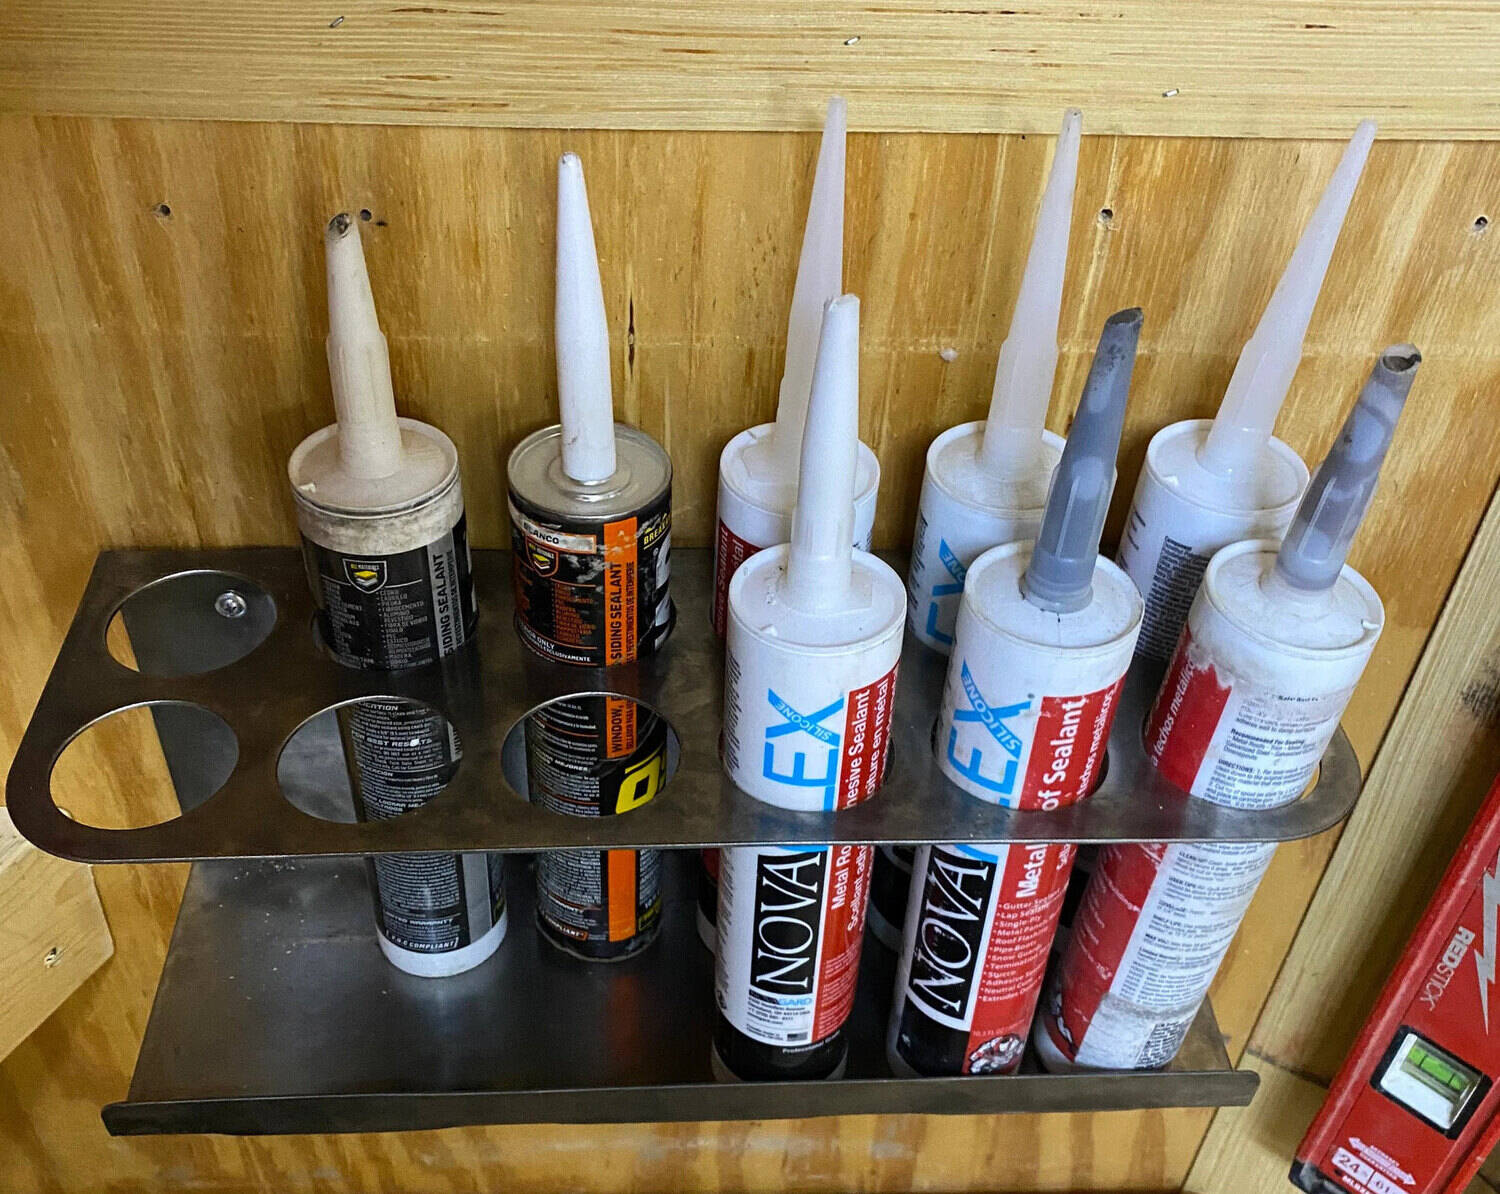
- Tube of silicone caulk: Silicone caulk is the recommended type of caulk for bathroom applications. It provides a strong waterproof seal and is resistant to mold and mildew.
- Caulk removal tool or utility knife: If there’s any existing caulk around your toilet, you’ll need a tool to remove it. A specialized caulk removal tool or a utility knife will do the job.
- Scrub brush or sponge: Before applying new caulk, you’ll want to thoroughly clean the area. A scrub brush or sponge will help you remove any dirt, grime, or old caulk residue.
- Mildew-resistant cleaner: To ensure a clean surface, use a mildew-resistant cleaner to remove any stubborn stains or bacteria. This will help prevent mold or mildew growth in the future.
- Disposable gloves: It’s always a good idea to protect your hands while working with chemicals and adhesives. Disposable gloves will keep your hands clean and safe throughout the process.
- Clean cloth or rag: You’ll need a cloth or rag to wipe away excess caulk and clean up any spills or smudges.
- Painter’s tape (optional): If you want to achieve a clean and precise caulk line, you can use painter’s tape to mask off the surrounding areas. This will help you avoid any accidental smears or drips.
Once you have all the necessary tools and materials gathered, you’re ready to begin the process of caulking your toilet. In the next steps, we’ll walk you through the process, making sure you achieve a professional and watertight seal.
Step 1: Preparation
Before you start applying new caulk to your toilet, it’s important to properly prepare the area. This will ensure better adhesion and a longer-lasting seal. Follow these steps to prepare your toilet for caulking:
- Turn off the water supply: Locate the shutoff valve near the base of your toilet, usually on the wall behind it. Turn the valve clockwise to shut off the water supply. This will prevent any accidental leaks or spills while you work.
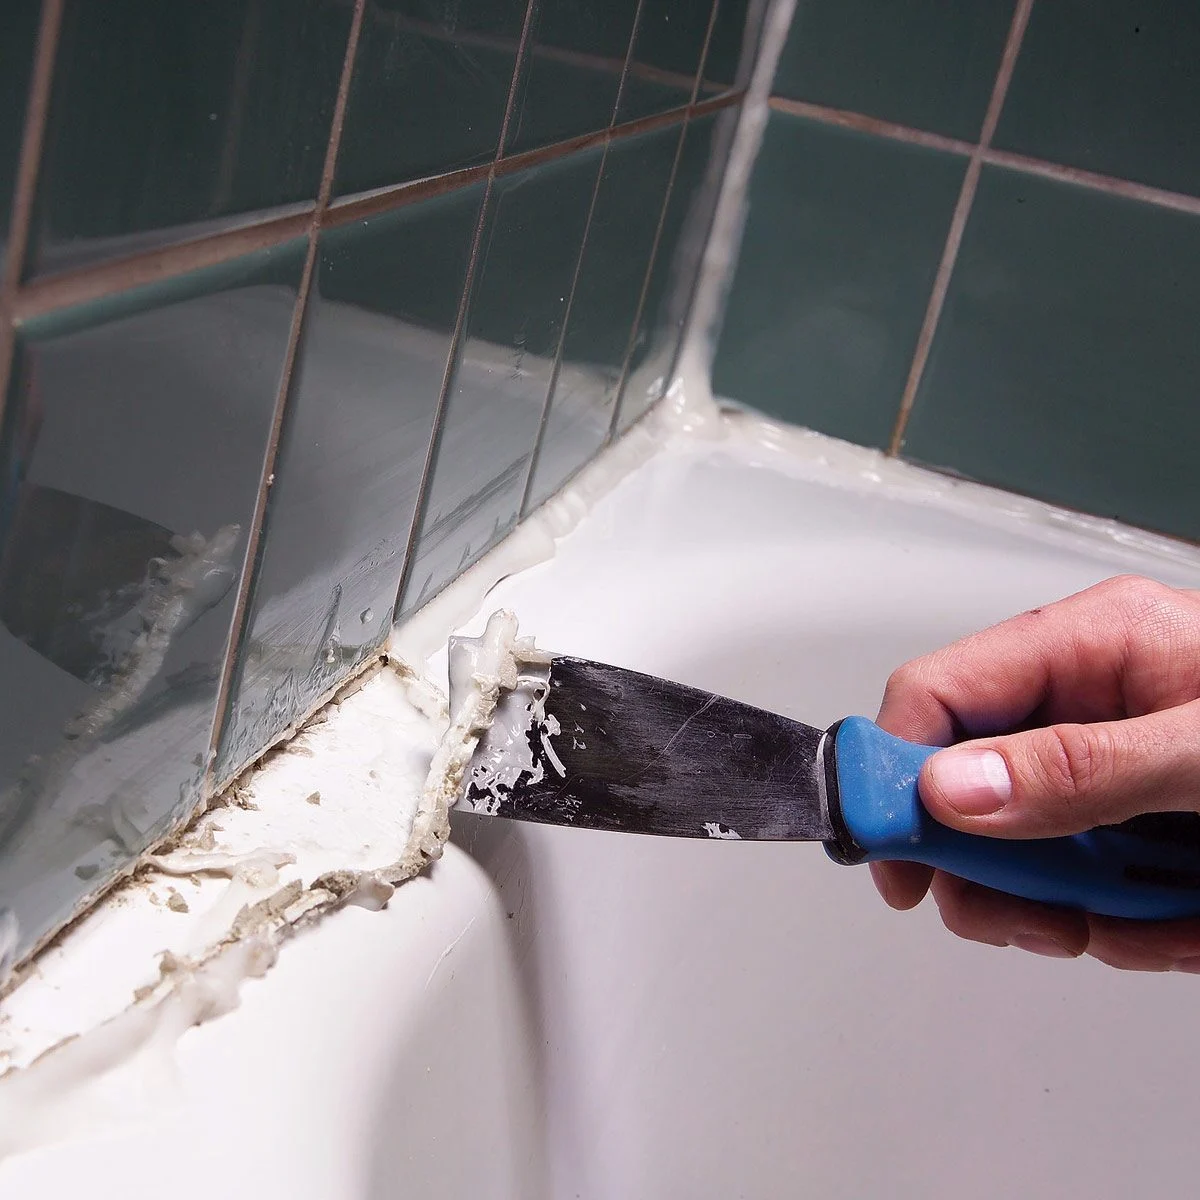
- Remove any existing caulk: Use a caulk removal tool or a utility knife to carefully scrape away any old caulk around the base of your toilet. Take your time and make sure to remove all traces of the old caulk to achieve a clean surface for the new seal.
- Clean the area: Use a scrub brush or sponge and a mildew-resistant cleaner to thoroughly clean the area around the base of your toilet. Remove any dirt, grime, or stains that may prevent the caulk from adhering properly. Rinse with water and allow the area to dry completely.
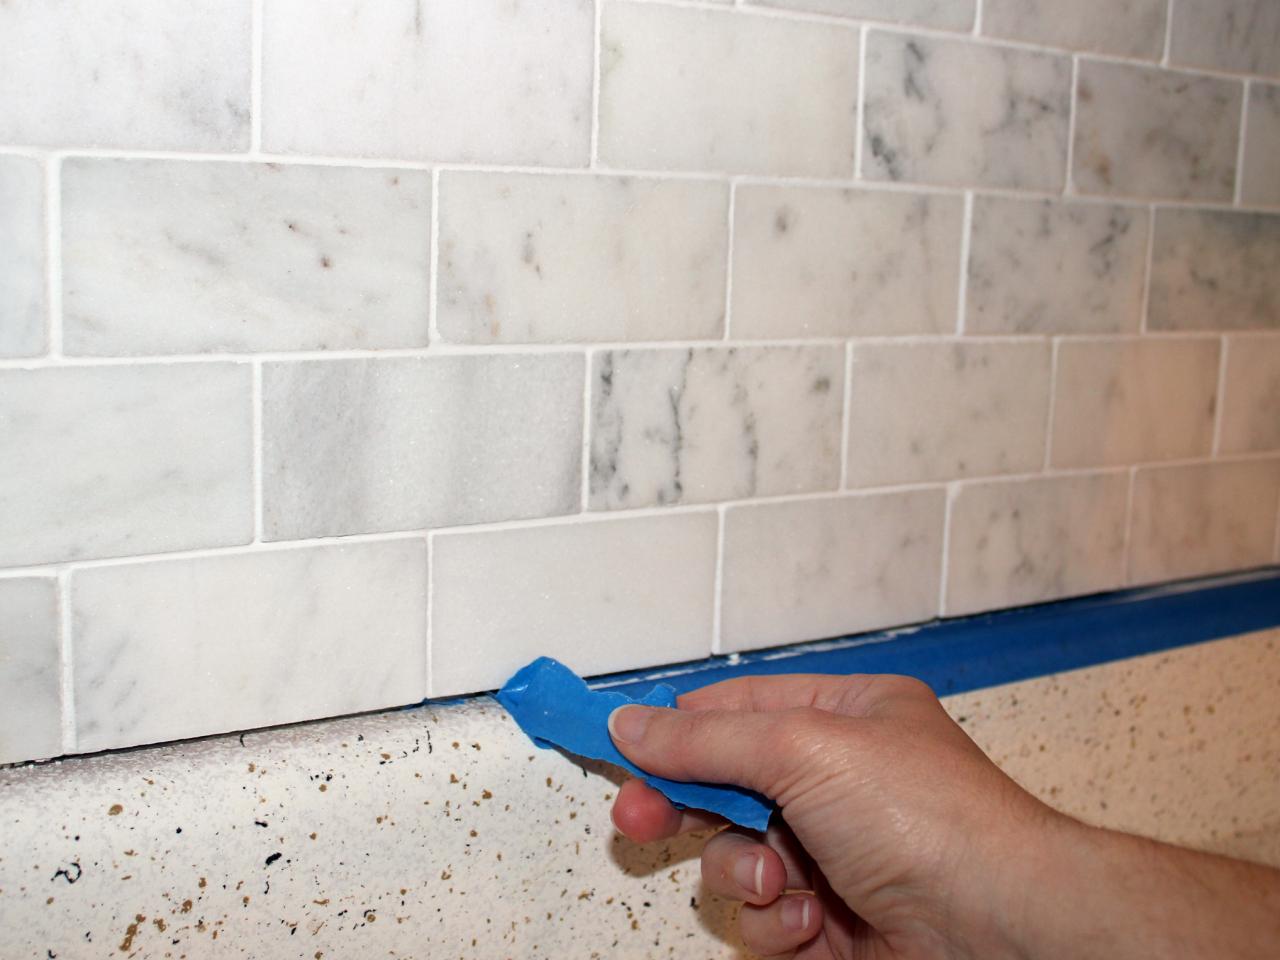
- Protect the surrounding areas: If you’re concerned about accidentally smearing caulk onto the floor or the toilet itself, you can use painter’s tape to mask off the surrounding areas. Apply the tape along the edges of the floor and the bottom of the toilet, leaving a small gap for the caulk line.
By properly preparing the area, you’ll create a clean and well-adhered surface for the new caulk. This will ensure a strong and effective seal, preventing any water leaks or damage. Once you’ve completed the preparation steps, you’re ready to move on to the next step: removing the old caulk.
Step 2: Remove Old Caulk
Before you can apply new caulk to your toilet, it’s important to remove any existing caulk. This will ensure a clean and smooth surface for the new sealant. Follow these steps to effectively remove old caulk:
- Prepare your caulk removal tool: If you have a specialized caulk removal tool, make sure it’s clean and ready to use. If you don’t have a caulk removal tool, you can use a utility knife. Ensure that the blade is sharp and be careful to avoid any accidents.
- Start at one end: Begin by placing the caulk removal tool or utility knife at one end of the caulk line. Apply gentle pressure and carefully slide the tool along the length of the caulk line. This will help loosen and detach the caulk from the surface.
- Remove the old caulk: Continue sliding the caulk removal tool or utility knife along the entire length of the caulk line, gradually lifting and removing the old caulk as you go. Take your time and be patient, ensuring that you remove all traces of the old caulk.
- Clean the area: Once you’ve removed the old caulk, use a scrub brush or sponge to clean the area around the base of your toilet. Remove any loose caulk or debris to create a smooth and clean surface for the new caulk.
- Pat dry: After cleaning, use a clean cloth or rag to pat the area dry. Make sure there’s no moisture left on the surface before proceeding to the next step.
Removing the old caulk is a crucial step in the caulking process. It ensures that the new caulk adheres properly and creates a tight seal. By following these steps, you’ll effectively remove the old caulk and prepare the surface for the next steps in the caulking process.
Step 3: Clean the Area
After removing the old caulk, it’s important to thoroughly clean the area around the base of your toilet. This will ensure that the new caulk adheres smoothly and creates a tight seal. Follow these steps to effectively clean the area:
- Gather your cleaning supplies: Grab a scrub brush or sponge and a mildew-resistant cleaner. Make sure the cleaner is suitable for use on bathroom surfaces and won’t cause any damage or discoloration.
- Apply the cleaner: Spray or apply the mildew-resistant cleaner around the base of your toilet, focusing on any remaining residue from the old caulk, dirt, or stains. Allow the cleaner to sit for a few minutes to loosen any grime.
- Scrub the area: Using the scrub brush or sponge, scrub the entire surface around the base of the toilet. Apply sufficient pressure to remove any dirt, grime, or stains. Pay attention to the corners and hard-to-reach areas.
- Rinse with water: Once you’ve scrubbed the area, rinse it thoroughly with water. This will remove any remaining residues from the cleaner and ensure a clean surface for the new caulk.
- Dry the area: After rinsing, use a clean cloth or rag to dry the area completely. Make sure there’s no moisture left on the surface before proceeding to the next step.
Cleaning the area is essential to create a smooth and clean surface for the new caulk. By following these steps, you’ll remove any remaining dirt, grime, or residue, ensuring that the new caulk adheres properly and creates an effective seal. Once the area is clean and dry, you’re ready to move on to applying the caulk in the next step.
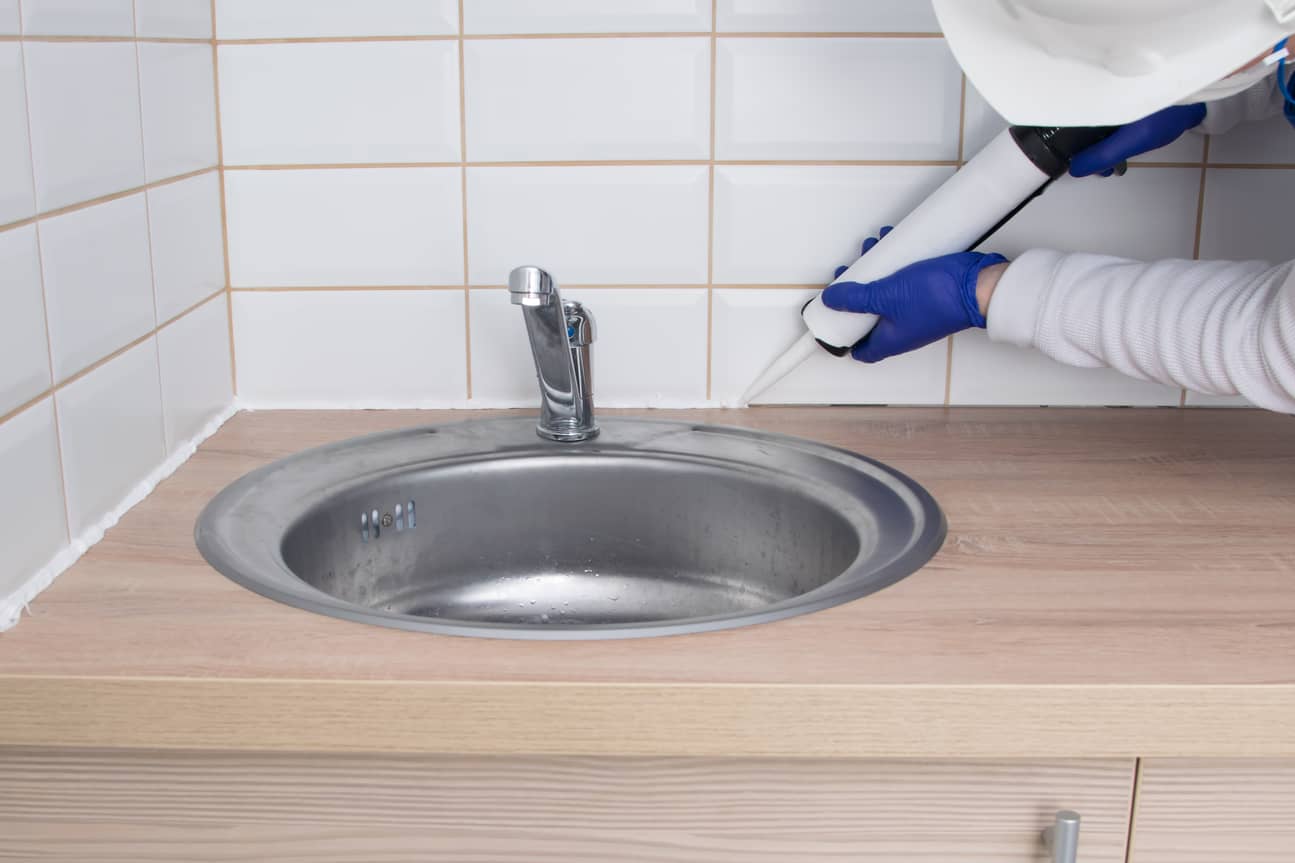
Before caulking around the base of the toilet, make sure to thoroughly clean and dry the area to ensure a proper seal. Use a high-quality silicone caulk and apply it in a continuous bead for best results.
Read more: How To Store Unused Caulk
Step 4: Apply Caulk
Now that you’ve prepared and cleaned the area, it’s time to apply the new caulk to create a watertight seal around your toilet. Follow these steps to effectively apply caulk:
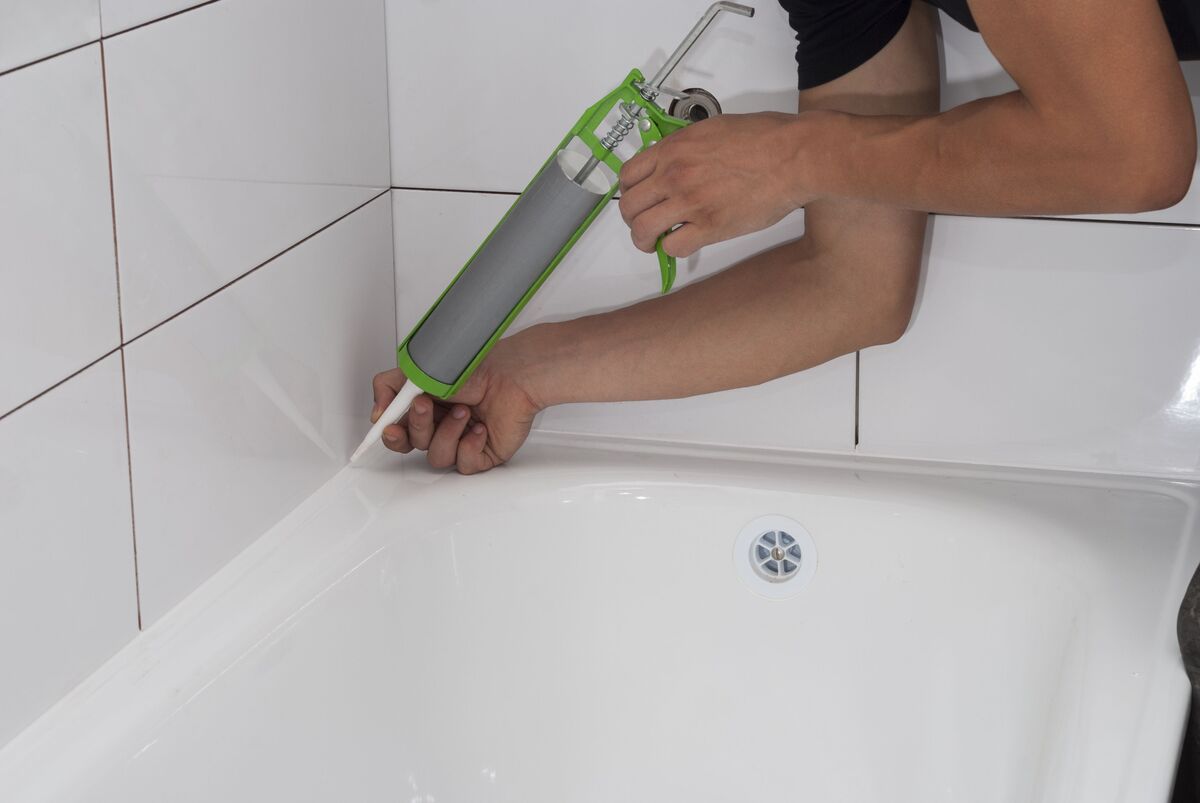
- Load the caulk into the caulk gun: Remove the cap from the caulk tube and insert it into the caulk gun. Push the back rod of the caulk gun against the bottom of the caulk tube, then squeeze the gun’s trigger a few times until caulk starts coming out of the nozzle. This will ensure a steady flow of caulk.
- Start at one end: Position the caulk gun at one end of the gap between the toilet base and the floor. Hold the caulk gun at a 45-degree angle, with the nozzle touching the surface.
- Squeeze the trigger and move along: Squeeze the trigger steadily to release a uniform bead of caulk along the gap between the toilet base and the floor. Keep a consistent pressure to ensure an even application. Move the caulk gun along the entire length of the gap, filling it with caulk as you go.
- Continue around the toilet base: Once you’ve reached the end, lift the caulk gun and reposition it to continue applying caulk along the remaining gaps. Repeat the squeezing and moving motion until you’ve gone around the entire base of the toilet.
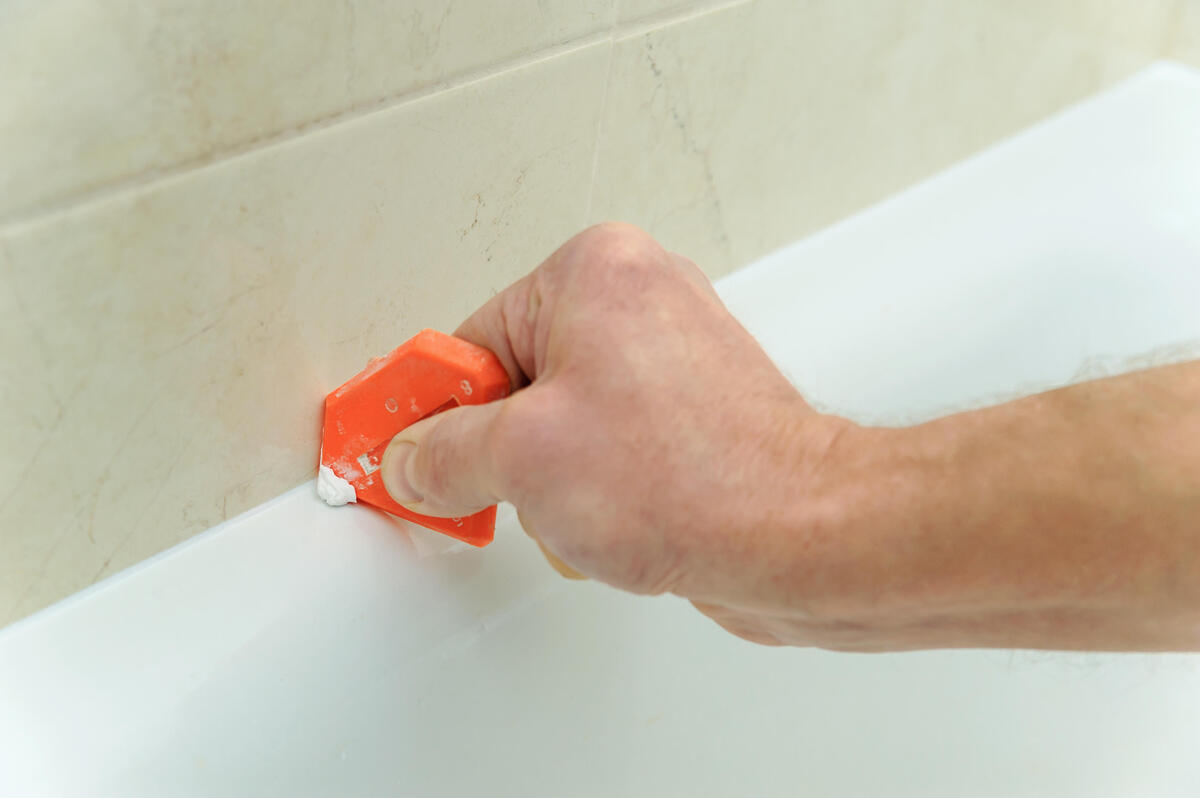
- Smooth the caulk: Dip your finger or a caulk-smoothing tool into water to prevent sticking, then run it along the caulk line to smooth and shape it. This will help create a professional and neat finish.
Remember to work quickly but carefully when applying caulk, as it starts to dry and become less workable within minutes. Be sure to apply enough caulk to fill the gap and ensure a watertight seal, but avoid applying excessive amounts that could create a messy appearance.
Once you’ve completed the application of caulk, you’re ready to move on to the next step: smoothing the caulk for a professional-looking finish.
Step 5: Smooth the Caulk
After applying the caulk around the base of your toilet, it’s important to smooth it out for a professional-looking finish. Follow these steps to effectively smooth the caulk:
- Dip your finger in water: Before you start smoothing the caulk, dip your finger in water or use a small bowl of water nearby. This will prevent the caulk from sticking to your finger and allow for a smoother, more even finish.
- Gently press down on the caulk: Starting at one end of the caulk line, place your finger lightly on the caulk and apply gentle pressure. Slowly run your finger along the caulk line, moving consistently along its length.
- Smooth out any ridges or bumps: As you smooth the caulk, pay attention to any ridges or bumps that may form. If you encounter any, gently press down on the caulk to even it out and create a seamless appearance.
- Wipe off excess caulk: As you smooth the caulk, you may notice excess caulk accumulating on your finger. Wipe off any excess caulk on a cloth or rag to avoid smearing it on the surrounding area.
- Use a caulk-smoothing tool (optional): If you prefer not to use your finger, you can also use a caulk-smoothing tool to achieve a professional finish. Simply run the tool along the caulk line, applying light pressure and keeping a steady motion.
Take your time while smoothing the caulk to ensure a neat and seamless finish. This step is crucial for achieving an aesthetically pleasing result. The smoother the caulk, the more professional your final outcome will look.
Once you’ve finished smoothing the caulk, it’s time to let it dry before moving on to the next step.
Step 6: Let It Dry
After applying and smoothing the caulk, it’s important to allow it to dry thoroughly before using your toilet or disturbing the area. This will ensure that the caulk sets properly and forms a strong, watertight seal. Follow these guidelines for drying the caulk:
- Check the caulk label for drying time: Different caulk products have varying drying times. Check the label on the caulk tube for specific instructions regarding the drying time. Typically, it takes anywhere from 24 to 48 hours for the caulk to fully dry and cure.
- Avoid touching or disturbing the caulk: During the drying period, it’s important to avoid touching or disturbing the caulk. This could disrupt its setting process and compromise the integrity of the seal. Be mindful of using the toilet or placing any objects near the caulked area.
- Ensure proper ventilation: Providing adequate ventilation in the bathroom can help expedite the drying process. Open windows or turn on the exhaust fan to allow fresh air to circulate. This will help the caulk dry more efficiently.
- Monitor the caulk’s appearance: Keep an eye on the caulk while it’s drying. It should change in color or texture as it sets. If you notice any discoloration or unevenness, it may indicate that the caulk isn’t drying properly. In such cases, refer to the caulk label for troubleshooting or consider seeking professional advice.
Patience is key when it comes to drying caulk. Rushing the process can lead to a compromised seal or a less durable result. By allowing the caulk to dry completely, you’ll ensure a long-lasting and effective seal around your toilet.
Once the caulk is thoroughly dry, you can move on to the final step: cleaning up any remaining debris or residue.
Step 7: Clean Up
After the caulk has dried and formed a solid seal around your toilet, it’s time to clean up any remaining debris or residue. Completing this final step will give your caulked toilet a polished and finished look. Follow these steps to properly clean up:
- Inspect the area: Take a close look at the caulked area to identify any excess caulk or stray smudges. Pay attention to the edges and corners, where caulk may have spread during the application process.
- Remove excess caulk: Use a clean cloth or rag to carefully wipe away any excess caulk. Be gentle to avoid smearing or damaging the caulked area.
- Clean the surrounding surfaces: If any caulk has accidentally landed on the floor, the toilet, or any other surface, clean it up promptly. Use a mild household cleaner and follow the manufacturer’s instructions to ensure you don’t damage any materials.
- Dispose of used materials: Properly dispose of any used gloves, rags, or other materials that came into contact with the caulk or cleaning products. Follow local disposal guidelines, which may include placing them in sealed bags and disposing of them with your regular household trash.
- Admire your work: Step back and take a moment to appreciate your freshly caulked and cleaned toilet. Admire the smooth and seamless finish, knowing that you have taken an important step in maintaining the integrity of your bathroom.
Completing the clean-up process will leave your bathroom looking neat and tidy. It’s worth investing a few extra minutes to ensure that no residual caulk or mess remains after finishing the caulking project.
With the clean-up complete, you have successfully caulked your toilet and created a well-sealed and aesthetically pleasing barrier. Congratulations on a job well done!
Remember, regular inspection and maintenance of your caulked toilet will prolong the life of the seal. If you notice any signs of wear, cracking, or deterioration, consider re-caulking the area to maintain its effectiveness.
Thank you for following this comprehensive step-by-step guide. Happy caulking!
Read more: How To Caulk Around A Sink
Conclusion
Caulking your toilet is a simple yet essential task that can make a significant difference in the functionality and appearance of your bathroom. By following the steps outlined in this guide, you have learned how to effectively caulk your toilet and create a watertight seal that protects against leaks and enhances cleanliness.
Throughout the process, you gathered the necessary tools and materials, prepared the area, removed old caulk, cleaned the surface, applied the caulk, smoothed it for a professional finish, allowed it to dry, and completed the clean-up. These steps, when executed properly, ensure a successful caulking project that will provide long-lasting results.
By taking the time to maintain your toilet’s caulked seal, you can prevent water damage, mold, and unsightly stains around the base of the toilet. Regularly inspecting the caulked area and addressing any signs of wear or deterioration will help maintain the effectiveness of the seal over time.
Remember, the key factors to keep in mind when caulking your toilet are proper preparation, thorough cleaning, precise application, and patient drying. By following these steps and using the right tools and materials, you can achieve a professional-looking finish that not only improves the functionality of your bathroom but also enhances its visual appeal.
Thank you for following this comprehensive guide on how to caulk your toilet. We hope you found it informative and helpful. Now, armed with the knowledge and skills to perform this task, you can confidently tackle any caulking project in your home. Happy caulking!
Frequently Asked Questions about How To Caulk Toilet
Was this page helpful?
At Storables.com, we guarantee accurate and reliable information. Our content, validated by Expert Board Contributors, is crafted following stringent Editorial Policies. We're committed to providing you with well-researched, expert-backed insights for all your informational needs.

0 thoughts on “How To Caulk Toilet”