Articles
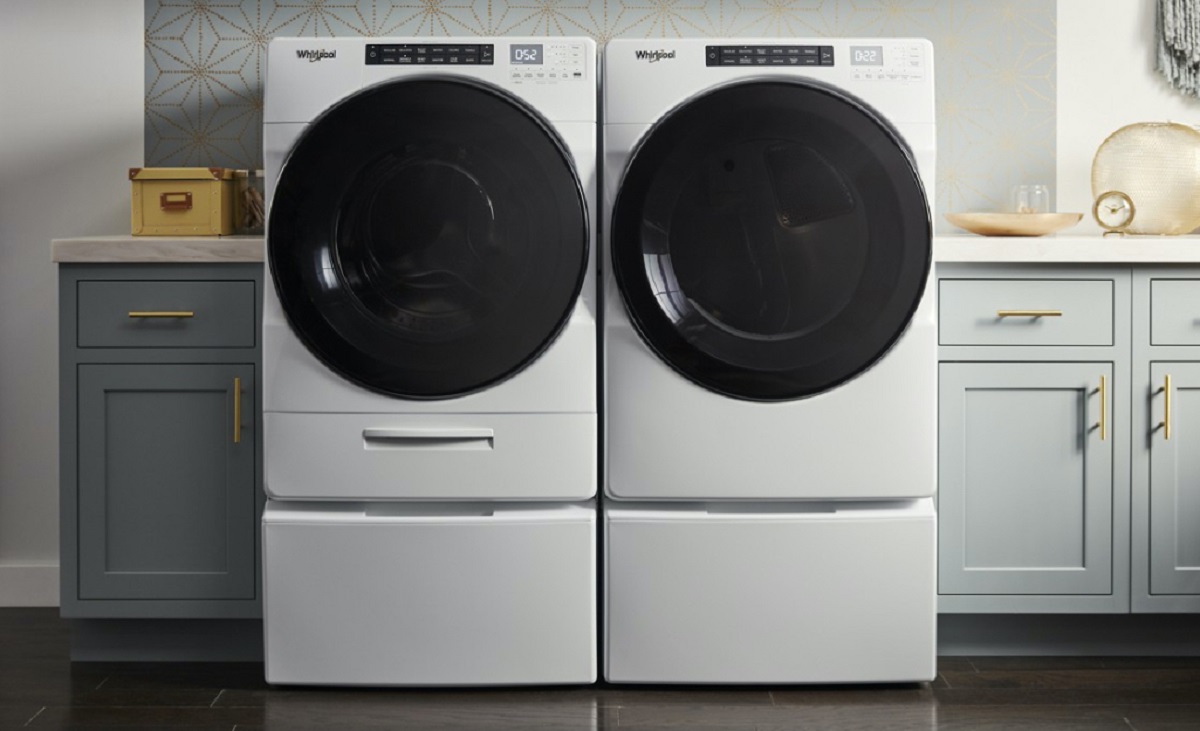
How To Unlock Whirlpool Washer
Modified: February 19, 2024
Unlock your Whirlpool washer easily with our informative articles. Find step-by-step guides and troubleshooting tips to fix common washer issues.
(Many of the links in this article redirect to a specific reviewed product. Your purchase of these products through affiliate links helps to generate commission for Storables.com, at no extra cost. Learn more)
Introduction
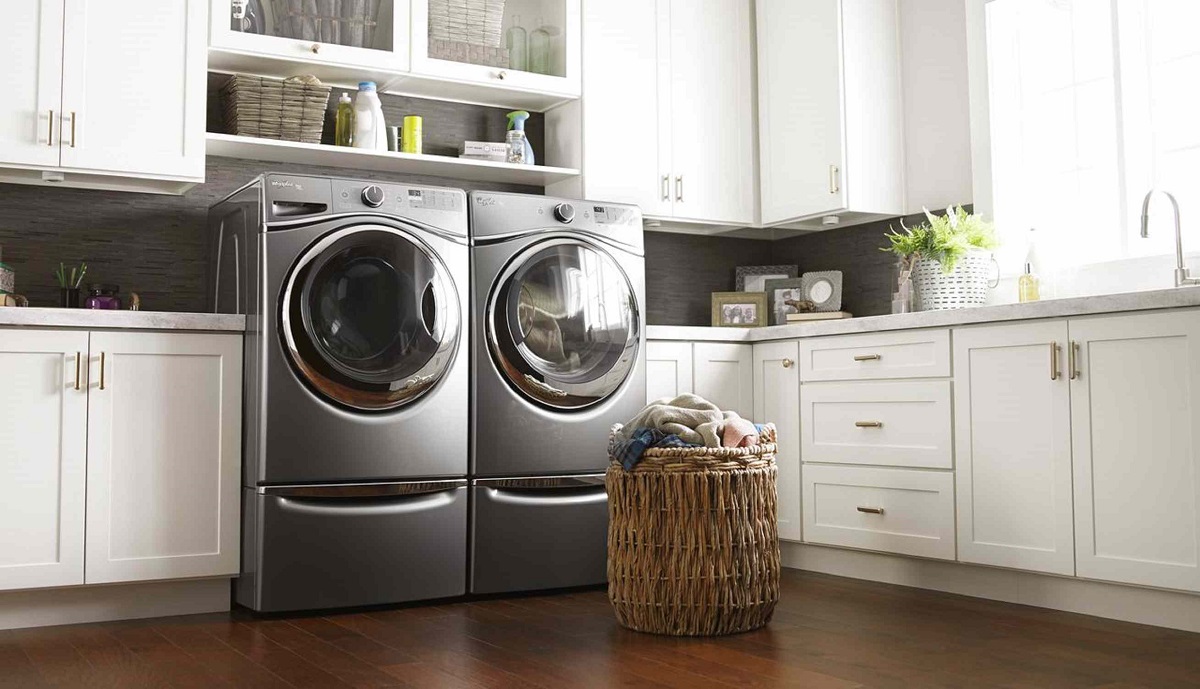
Welcome to this comprehensive guide on how to unlock a Whirlpool washer. If you’ve ever found yourself in a situation where your Whirlpool washer is locked and you’re unable to open the door, don’t worry, you’re not alone.
Locked doors on washing machines can be frustrating, especially when you have a load of laundry waiting to be washed or removed from the machine. However, with the right knowledge and tools, you can easily unlock your Whirlpool washer and get back to your laundry routine.
Before we dive into the step-by-step process of unlocking a Whirlpool washer, it’s essential to emphasize the importance of safety. Always exercise caution when working with any electrical appliance and follow the safety precautions provided by the manufacturer.
In this guide, we’ll walk you through the necessary steps to unlock a Whirlpool washer safely. We’ll also highlight the tools you’ll need and provide helpful tips along the way. So, let’s get started!
Key Takeaways:
- Prioritize safety by disconnecting the power supply, using proper tools, and following manufacturer’s instructions. Always work in a well-ventilated area and keep children and pets away to ensure a safe unlocking process.
- Gather necessary tools such as screwdrivers, pliers, and a flashlight before starting the unlocking process. After unlocking the door, reassemble the washer and test its functionality to ensure a successful outcome.
Read more: How To Unlock Whirlpool Stove Top
Safety Precautions
Before attempting to unlock your Whirlpool washer, it’s crucial to prioritize safety to minimize the risk of accidents or injury. Here are some essential safety precautions to keep in mind:
- Disconnect the power supply: Before beginning any work on the washer, make sure to disconnect the power supply. This can be done by unplugging the washer from the electrical outlet or turning off the circuit breaker that controls the washer.
- Take precautions against electrical shock: Even when the power supply is disconnected, there may still be residual electrical charges. To avoid electrical shock, it’s recommended to wear insulated gloves and shoes with rubber soles. Additionally, avoid touching any exposed wires or metal parts.
- Use proper tools: Always use the appropriate tools for the job. This will ensure that you can work efficiently and safely without causing damage to the washer or yourself. If you’re unsure about which tools to use, refer to the manufacturer’s instructions or consult a professional.
- Refer to manufacturer’s instructions: It’s important to familiarize yourself with the specific instructions provided by the manufacturer for your Whirlpool washer model. These instructions may vary slightly from model to model, so make sure to follow them carefully.
- Work in a well-ventilated area: If you’re working with any cleaning agents or chemicals, make sure to do so in a well-ventilated area. This will minimize exposure to potentially harmful fumes.
- Work with a partner if needed: Some procedures may require additional assistance. If you need to lift or maneuver heavy parts, it’s advisable to have a partner help you to prevent strain or injury.
- Keep children and pets away: When working on your washer, it’s important to keep children and pets away from the area. They may inadvertently touch exposed wires or moving parts, putting themselves at risk.
By following these safety precautions, you can ensure a safe and successful process of unlocking your Whirlpool washer. Now, let’s move on to the next step: gathering the necessary tools.
Gather Necessary Tools
Before you begin unlocking your Whirlpool washer, it’s important to gather the necessary tools to ensure a smooth and efficient process. Here are some essential tools you’ll need:
- Phillips screwdriver: This tool will be used to remove screws and access panels on your washer.
- Flathead screwdriver: A flathead screwdriver may be necessary for certain models to release locking mechanisms or pry open the door.
- Needle-nose pliers: These pliers are useful for gripping and manipulating small components or wires.
- Socket wrench: If your washer has a locking mechanism that requires the use of nuts or bolts, a socket wrench will be needed to remove them.
- Flashlight: A flashlight will come in handy for illuminating hard-to-see areas inside the washer.
- Towel or cloth: Having a towel or cloth nearby will help protect the washer’s exterior or catch any water that may spill during the unlocking process.
It’s essential to have all these tools readily available before starting the unlocking process. This will help you avoid delays and ensure a seamless experience.
Additionally, it’s a good idea to familiarize yourself with the specific instructions provided by the manufacturer for your Whirlpool washer model. These instructions may outline any specialized tools that are required for unlocking the washer.
Now that you have the necessary tools, let’s move on to the next step: shutting off the power supply.
Step 1: Shut Off the Power Supply
Before you begin working on your Whirlpool washer, it’s crucial to shut off the power supply to ensure your safety. Here’s how you can do it:
- Locate the power cord: First, locate the power cord attached to your washer. It is usually located at the back of the machine near the bottom. If you can’t find it, refer to the manufacturer’s instructions.
- Unplug the washer: Once you’ve located the power cord, unplug it from the electrical outlet to cut off the power supply. Make sure you have a clear path and be cautious not to damage the cord or the outlet in the process.
- Disable the circuit breaker: If you’re unable to access the power cord or if there’s no nearby electrical outlet, you can also disable the power supply by turning off the circuit breaker that controls the washer. Locate the appropriate circuit breaker in your electrical panel and switch it off.
- Confirm the power is off: To ensure your safety, it is important to confirm that the power is indeed off before proceeding with any work on the washer. Make sure the control panel is dark, and there are no signs of electrical activity.
By shutting off the power supply, you minimize the risk of electrical shock while working on your Whirlpool washer. Remember to keep the power supply off until the unlocking process is complete and you’re ready to test the washer.
With the power supply safely shut off, we can now move on to the next step: removing the access panel.
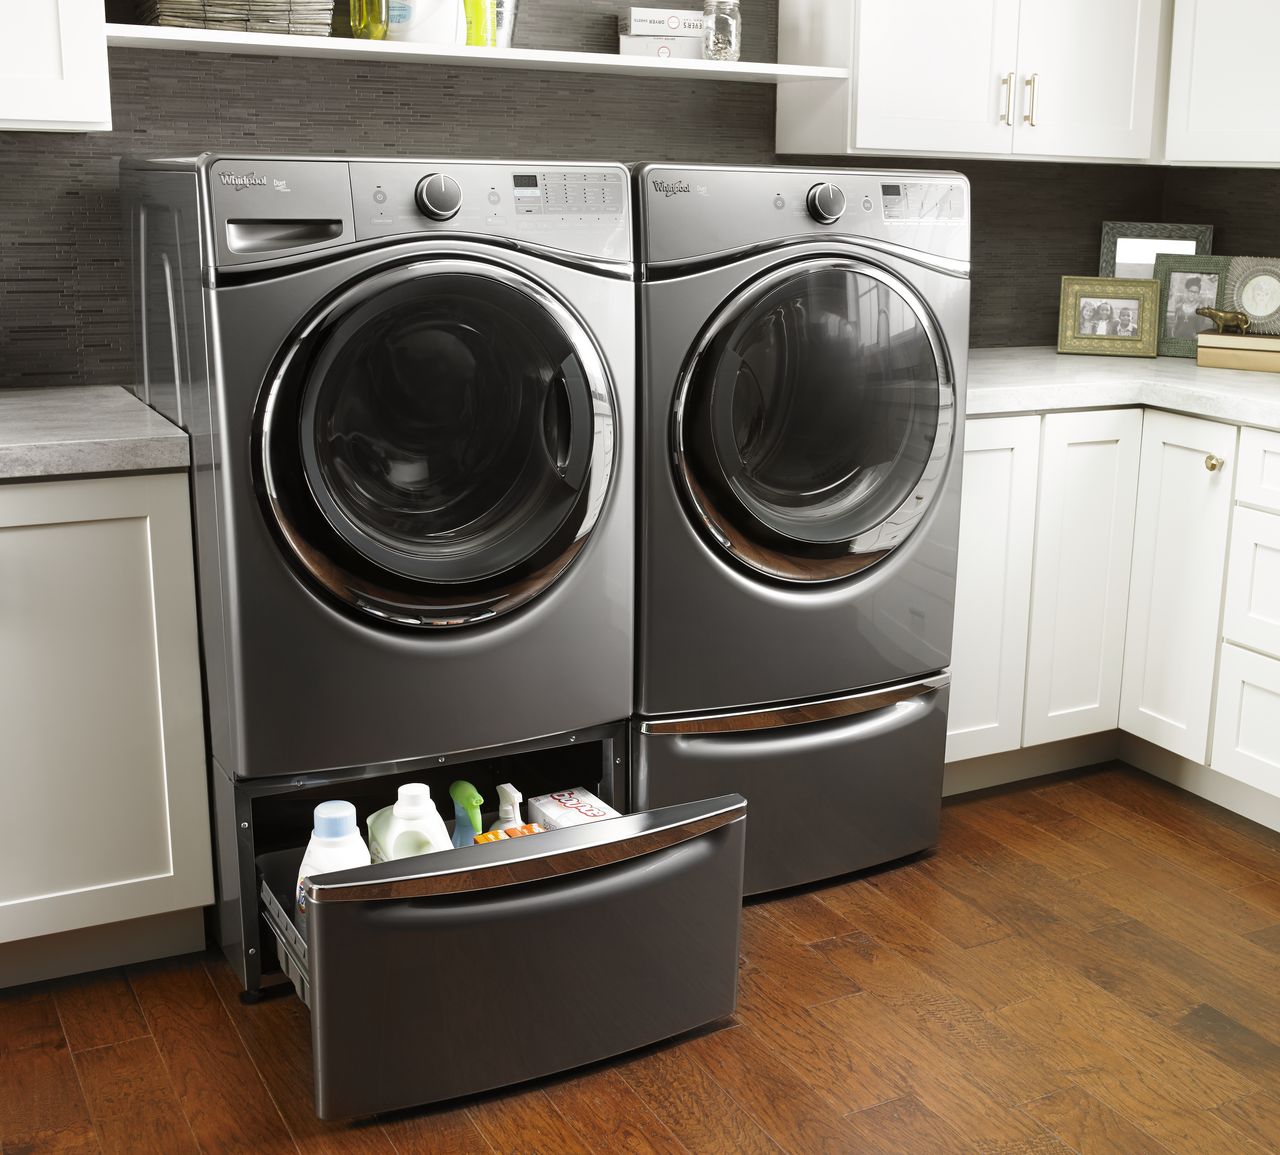
Step 2: Remove the Access Panel
Now that the power supply is shut off, it’s time to remove the access panel on your Whirlpool washer. The access panel provides you with a clear view of the internal components and allows you to reach the locking mechanism. Follow these steps to remove the access panel:
- Locate the access panel: The access panel is typically located at the front or back of the washer. Refer to the manufacturer’s instructions or visually inspect the washer to find the panel.
- Use a screwdriver: Most access panels are secured with screws. Using a Phillips screwdriver, carefully remove the screws that hold the panel in place. Set the screws aside in a secure location to prevent losing them.
- Remove the access panel: Once the screws are removed, gently pull or slide the access panel away from the washer. Be cautious not to apply excessive force or damage any wiring or components behind the panel.
With the access panel removed, you’ll have a clear view of the internal components of your Whirlpool washer. Take a moment to familiarize yourself with the layout, as this will be helpful in the next steps.
It’s important to note that the location and method of removing the access panel may vary depending on your Whirlpool washer model. Always refer to the manufacturer’s instructions for specific guidance.
Now that you have successfully removed the access panel, we can move on to the next step: locating and removing the locking mechanism.
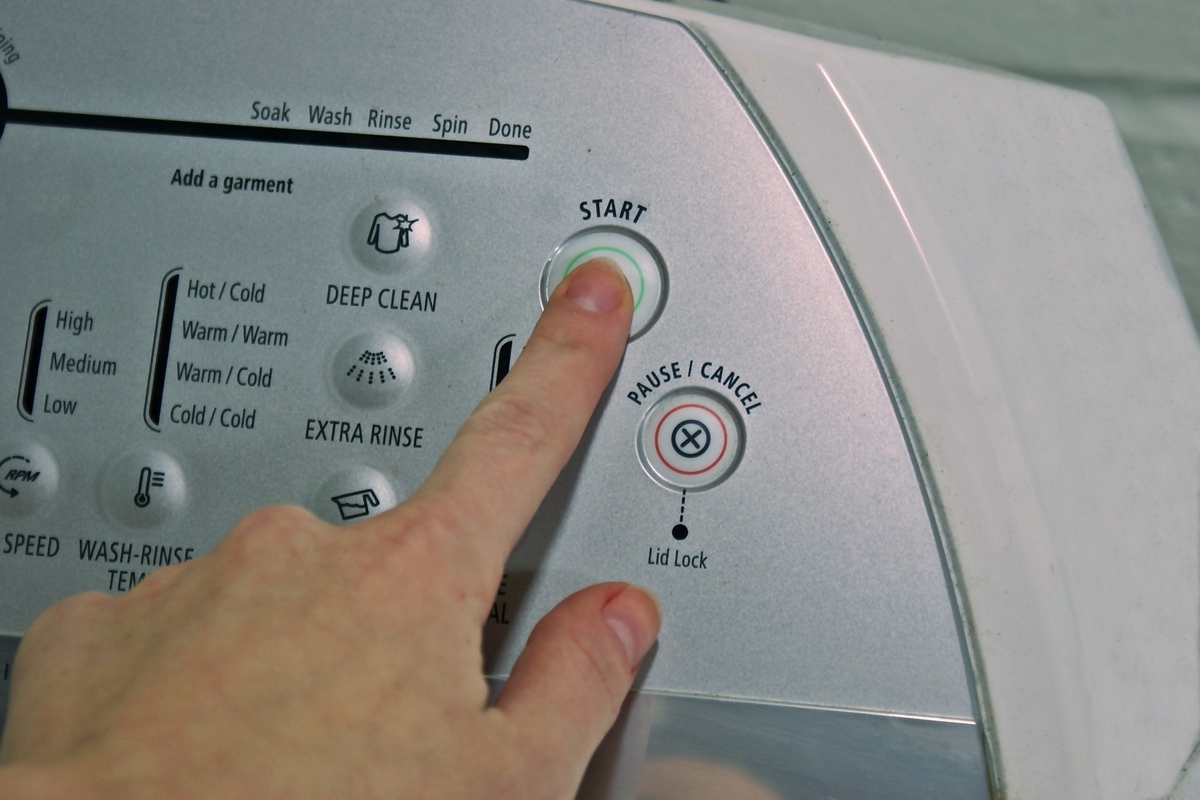
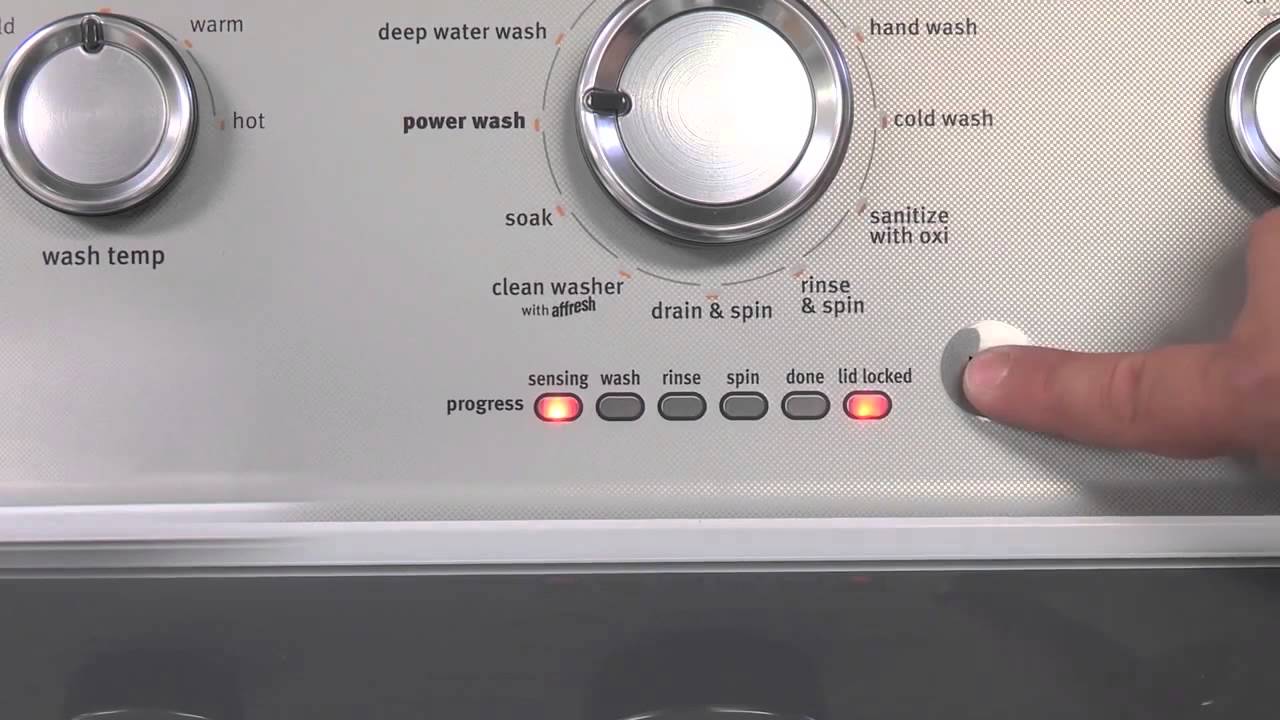
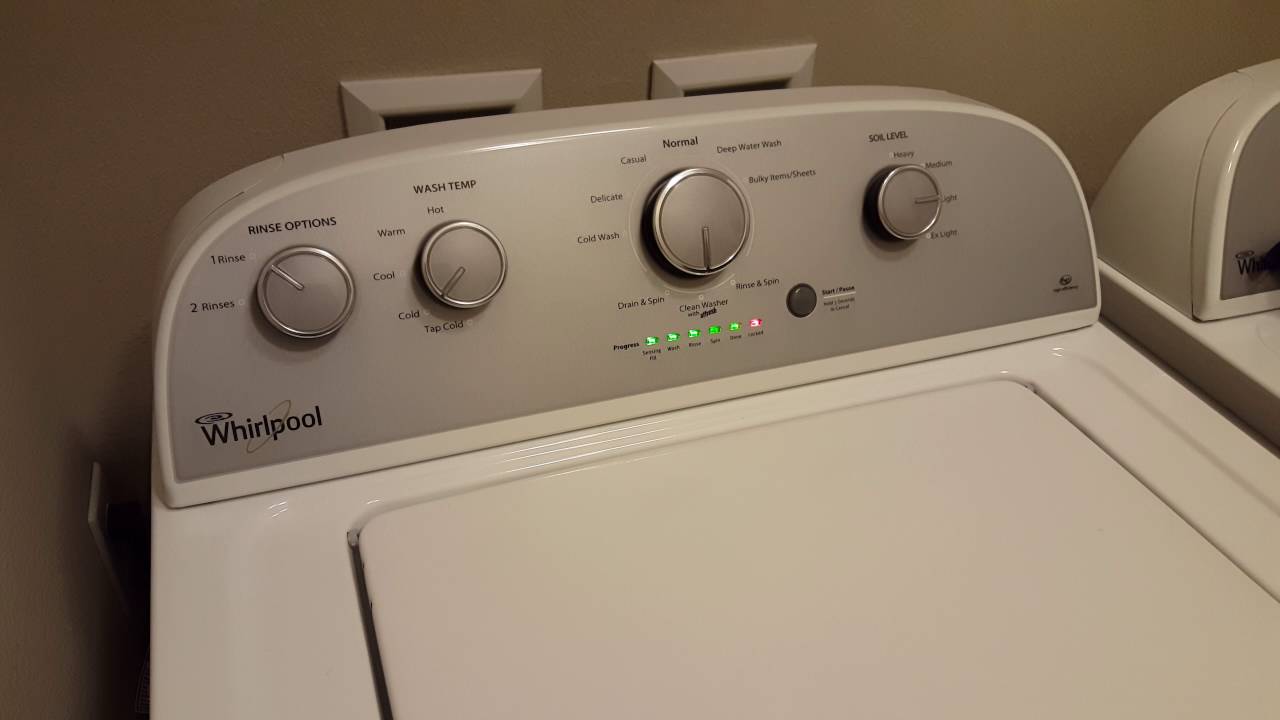
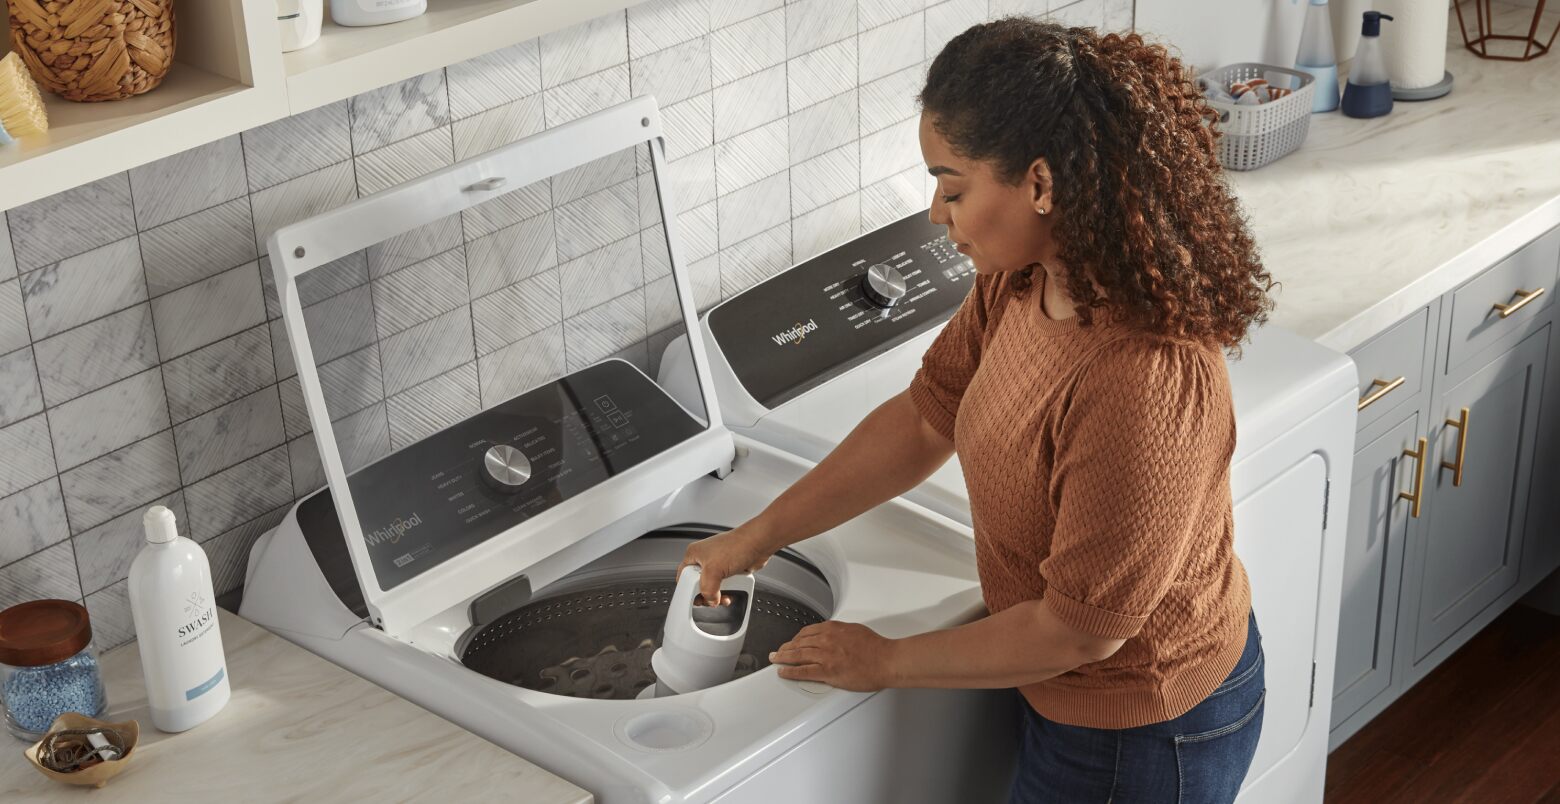
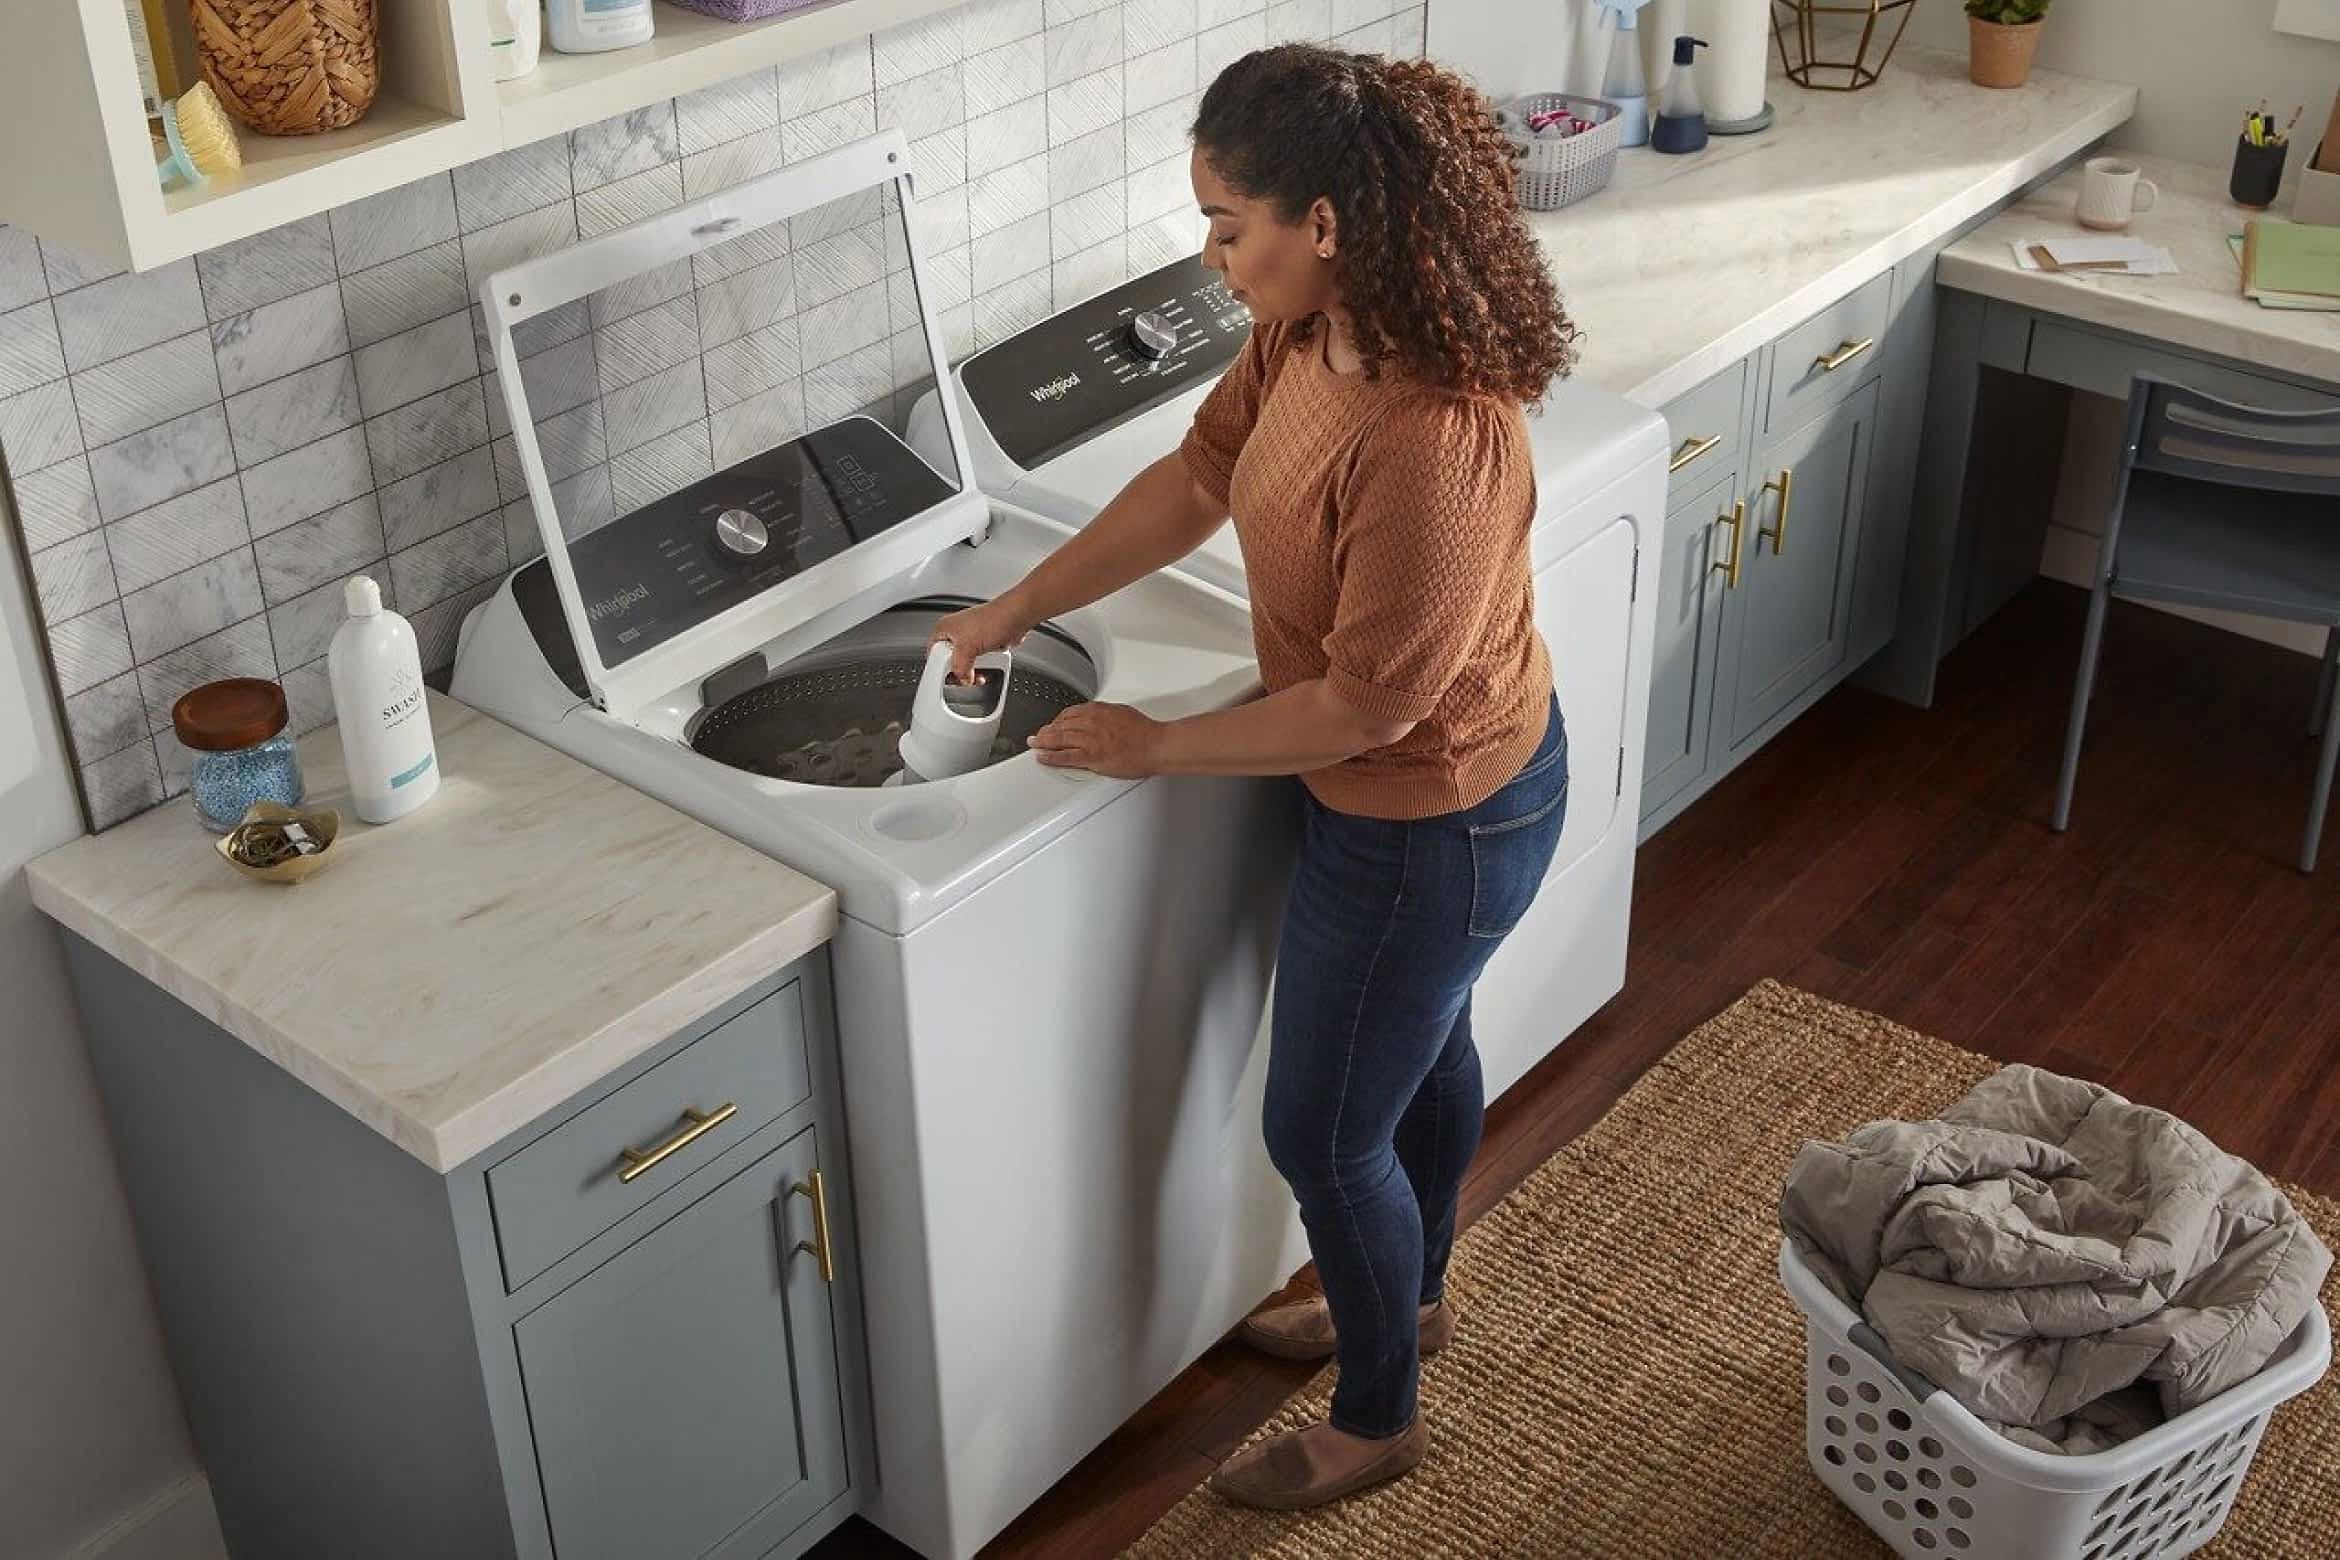
To unlock a Whirlpool washer, press and hold the “Control Lock” button for 3 seconds. This will deactivate the control lock feature and allow you to use the washer.
Read more: How To Unlock Washer Door
Step 3: Locate and Remove the Locking Mechanism
With the access panel removed, you can now proceed to locate and remove the locking mechanism on your Whirlpool washer. The locking mechanism is what keeps the door securely closed during the wash cycle. Follow these steps to locate and remove it:
- Locate the locking mechanism: Look for a latching mechanism or a hook-shaped piece near the door latch area. This is the part responsible for keeping the door locked. Take note of its position and how it is secured to the washer.
- Inspect the securing method: Depending on your washer model, the locking mechanism may be secured with screws, clips, or retaining brackets. Use a flashlight to clearly see how it is attached to the washer.
- Remove the securing components: Using the appropriate tools, such as a Phillips screwdriver or needle-nose pliers, carefully remove any screws, clips, or retaining brackets holding the locking mechanism in place. Set aside these components for reassembly later.
- Disconnect any electrical connections: In some cases, the locking mechanism may be connected to electrical wires or a control board. If this is the case, carefully disconnect any electrical connections by gently pulling them apart or using a flathead screwdriver to release any locking tabs.
- Remove the locking mechanism: Once all securing components and electrical connections are detached, you can now remove the locking mechanism from the washer. Gently lift or slide the mechanism out of its position, taking care not to damage any surrounding components.
By successfully locating and removing the locking mechanism, you’re one step closer to unlocking your Whirlpool washer. Stay tuned for the next step: unlocking the door manually.
Step 4: Unlock the Door manually
Now that you have removed the locking mechanism, it’s time to manually unlock the door of your Whirlpool washer. Follow these steps to unlock the door:
- Inspect the door latch: Examine the door latch area to identify any release mechanisms or buttons that can be used to open the door manually. In some models, there may be a manual release lever or a hidden release button.
- Use the release lever or button: If your washer has a manual release lever or button, simply pull or press it to release the door latch. This should allow the door to unlock and open freely.
- Try a manual release tool: If your washer doesn’t have a visible release lever or button, you can try using a manual release tool. A flathead screwdriver or a suitable tool can be inserted into the latch area to manually release the door. Gently push or pry until you feel the latch release and the door unlocks.
- Gently open the door: Once the door is unlocked, carefully open it to access the inside of the washer. Take care not to force the door open, as this can cause damage to the hinges or the door itself.
It’s important to note that the door latch and manual release mechanisms may vary depending on your Whirlpool washer model. Refer to the manufacturer’s instructions for specific guidance on manually unlocking the door.
Now that you have successfully unlocked the door, you can proceed to the final step: reassembling the washer.
Step 5: Reassemble the Washer
After manually unlocking the door of your Whirlpool washer, it’s important to reassemble the machine correctly to ensure optimal performance. Follow these steps to reassemble your washer:
- Replace the locking mechanism: Take the locking mechanism that you removed earlier and carefully place it back into its original position. Make sure it fits securely and aligns with the screw holes or securing brackets.
- Secure the locking mechanism: Using the appropriate tools, such as a Phillips screwdriver or needle-nose pliers, reattach any screws, clips, or retaining brackets to secure the locking mechanism in place. Ensure that all components are tightened securely but avoid overtightening to prevent damage.
- Reconnect electrical connections: If the locking mechanism had any electrical connections, carefully reconnect them as they were before. Ensure that the connections are secure and there are no loose wires.
- Replace the access panel: Line up the access panel with the corresponding slots or holes on the washer. Gently push or slide it into place until it fits snugly. Use the screws you removed earlier to secure the panel, tightening them with your screwdriver.
- Restore power supply: Once the access panel is securely in place, it’s time to restore the power supply to your Whirlpool washer. Reconnect the power cord or flip the circuit breaker switch back on to supply power to the machine.
With the washer reassembled and power restored, you can now test the door to ensure it locks and unlocks properly. Run a short cycle with no laundry and monitor the door’s functionality to confirm it’s working correctly.
Congratulations! You have successfully unlocked your Whirlpool washer and reassembled it. Now you can resume your laundry tasks and enjoy the convenience of a fully functional washer.
Remember, if you encounter any difficulties during the unlocking process or if your washer continues to have issues with the door lock, it’s recommended to consult a professional technician or reach out to Whirlpool’s customer support for further assistance.
Thank you for following this comprehensive guide on how to unlock a Whirlpool washer. We hope this guide has been helpful in resolving your washer’s locked door issue.
Happy laundering!
Conclusion
Unlocking a Whirlpool washer can be a frustrating situation, but with the right knowledge and steps, it is easily achievable. By following the comprehensive guide we have provided, you can safely and effectively unlock the door of your Whirlpool washer.
We began by emphasizing the importance of safety and taking necessary precautions throughout the unlocking process. By shutting off the power supply, gathering the necessary tools, and following manufacturer instructions, you can minimize the risk of accidents or injury.
We then walked through the step-by-step process, which included shutting off the power supply, removing the access panel, locating and removing the locking mechanism, manually unlocking the door, and finally reassembling the washer.
By following these steps, you can regain access to your washer and continue with your laundry routine. Remember to consult your specific Whirlpool washer model’s instructions for any additional guidance or modifications that may be required.
If you encounter any difficulties or are unsure about any step, it is always recommended to seek professional assistance or contact Whirlpool’s customer support for further guidance.
We hope this guide has provided you with the necessary information and guidance to unlock your Whirlpool washer successfully. Remember to prioritize safety, follow the steps carefully, and enjoy the convenience of a fully functional washer.
Happy washing!
Frequently Asked Questions about How To Unlock Whirlpool Washer
Was this page helpful?
At Storables.com, we guarantee accurate and reliable information. Our content, validated by Expert Board Contributors, is crafted following stringent Editorial Policies. We're committed to providing you with well-researched, expert-backed insights for all your informational needs.


0 thoughts on “How To Unlock Whirlpool Washer”