Home>Articles>Follow These Steps To Put A New Door In An Old Opening
Articles
Follow These Steps To Put A New Door In An Old Opening
Modified: October 19, 2024
Learn how to put a new door in an old opening with these step-by-step articles. Gain valuable insights and expert advice to successfully complete your door installation project.
(Many of the links in this article redirect to a specific reviewed product. Your purchase of these products through affiliate links helps to generate commission for Storables.com, at no extra cost. Learn more)
Introduction
When it comes to home improvement projects, replacing an old door with a new one can make a significant difference in both the aesthetics and functionality of your space. Whether you’re looking to upgrade your front entry door or replace an old door within your home, tackling this project can be a rewarding endeavor.
However, before diving into the process of installing a new door, it’s important to understand the steps involved and gather all the necessary tools and materials. This comprehensive guide will walk you through the process, from measuring and assessing the old door opening to adding the finishing touches.
By following these steps, you’ll be well-equipped to put a new door in an old opening that fits perfectly and complements your home’s style. So, roll up your sleeves and let’s get started!
Key Takeaways:
- Upgrade your home’s look and functionality by following these comprehensive steps to install a new door in an old opening. From measuring and assessing to adding finishing touches, this guide ensures a seamless and rewarding home improvement project.
- With precision and patience, you can confidently tackle the installation of a new door. From gathering tools to securing the door in place, each step contributes to a successful and aesthetically pleasing outcome, enhancing your home for years to come.
Read more: How To Put A New Showerhead On An Old Ball
Step 1: Measuring and assessing the old door opening
Before you can choose and install a new door, it’s crucial to accurately measure the dimensions of the old door opening. This step ensures that you find a door that fits perfectly and avoids any complications during installation.
Here’s how to measure and assess the old door opening:
- Measure the width: Use a tape measure to determine the width of the door frame. Start by measuring the width of the door at the top, middle, and bottom. Note down the measurements and take the smallest one as the width of the door opening.
- Measure the height: Repeat the same process for measuring the height of the door frame. Measure from the top of the door frame to the bottom at the left, center, and right sides of the opening. Once again, record the smallest measurement.
- Assess the condition of the door frame: Examine the condition of the existing door frame. Look for any signs of damage, rot, or structural issues. It’s essential to address any problems with the door frame before installing the new door to ensure stability and proper functionality.
- Consider additional factors: Take into account any additional factors that may impact the size and style of the new door. For instance, if you plan to install a storm door or screen door, you’ll need to account for the added width and thickness of these features.
Once you have gathered all the necessary measurements and assessed the condition of the door frame, you’ll be ready to move on to the next step. Remember, accuracy is key during this step to ensure a seamless installation process.
Step 2: Gathering the necessary tools and materials
Before you can begin the installation process, it’s important to gather all the necessary tools and materials. Having everything you need at hand will help streamline the installation process and make it more efficient.
Here’s a list of the basic tools and materials you’ll need:
- Tape measure: This is essential for accurately measuring the dimensions of the old door opening.
- Screwdriver set: You’ll need both Phillips and flathead screwdrivers for removing the old door and installing the new one.
- Drill: A drill will come in handy for pre-drilling holes and securing the new door.
- Level: Use a level to ensure the door is properly aligned and plumb during installation.
- Saw: Depending on the type of door and the opening, you may need a saw to trim the door to fit properly.
- Hammer: A hammer will be useful for removing any nails or staples left in the old door opening.
- Wood shims: These will help with leveling and aligning the new door during installation.
- Screws and nails: Make sure you have an assortment of screws and nails to secure the new door and hardware.
- Door hardware: Choose and purchase the necessary door hardware, including hinges, a knob or handle, and a lockset.
- Weatherstripping: Depending on your location and the type of door, weatherstripping may be needed for insulation and energy efficiency.
By gathering all these tools and materials before you start the installation process, you’ll avoid unnecessary delays and interruptions. It’s always best to be prepared and have everything you need readily available.
Step 3: Removing the old door and hardware
Before you can install a new door, you need to remove the old door and its hardware. This step ensures a clean slate for the installation of the new door and allows you to assess the condition of the door frame more accurately.
Here’s how to remove the old door and hardware:
- Remove the hinge pins: Starting with the hinge-side of the door, tap the bottom of each hinge pin upward with a hammer and a nail or screwdriver until the pins come out completely. Set the pins aside for later use if they are in good condition.
- Take out the old door: Gently pull the old door out of the frame, being careful not to damage the surrounding walls or floor. If the door is heavy or cumbersome, it’s recommended to have someone assist you.
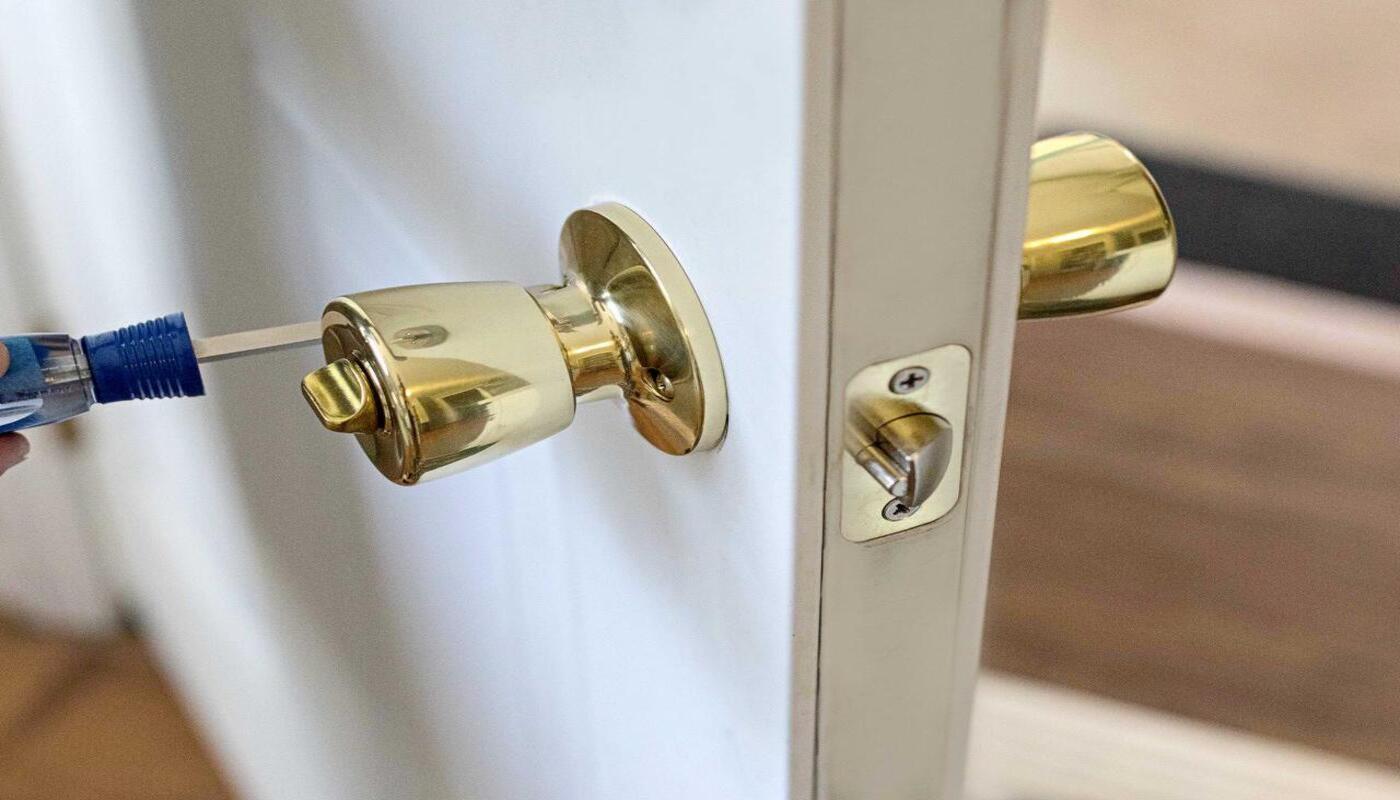
- Remove the door hardware: Unscrew and remove the hinges, door handle, lockset, and any other hardware attached to the old door. Keep these items aside if you plan on reusing them or dispose of them if they are no longer in good condition.
- Inspect the door frame: With the old door removed, take a close look at the door frame and check for any signs of damage, rot, or other issues. If you notice any problems, address them before proceeding with the installation of the new door. This may involve repairing or reinforcing the frame.
- Clean the door opening: Use a broom or vacuum cleaner to remove any debris or dust from the door opening. This will ensure a clean and smooth surface for the installation of the new door.
By following these steps, you will successfully remove the old door and its hardware, readying the old opening for the installation of the new door. Take your time and be cautious throughout this process to avoid any damages or injuries.
Step 4: Preparing the door frame for installation
With the old door and hardware removed, it’s time to prepare the door frame for the installation of the new door. This step involves making any necessary adjustments and ensuring that the frame is level and secure.
Here’s how to prepare the door frame:
- Inspect the door frame: Take a close look at the door frame to ensure it is in good condition. Look for any signs of damage, rot, or other issues. If you spot any problems, address them before proceeding with the installation.
- Clean the door frame: Remove any debris or dust from the door frame using a broom or vacuum cleaner. A clean surface allows for better adhesion and ensures a proper fit for the new door.
- Check for level: Use a level to determine if the door frame is level both vertically and horizontally. If it isn’t, you may need to make adjustments by inserting wood shims in the appropriate places.
- Secure the frame: Check the stability of the door frame by tightening any loose screws or nails. If needed, add additional screws or nails to reinforce the frame.
- Apply weatherstripping: Depending on the type of door and your location, applying weatherstripping can help improve insulation and energy efficiency. Measure and cut weatherstripping to fit along the sides and top of the door frame, then adhere it in place.
- Prepare the threshold: If your new door includes a threshold, make sure it is level and secure. Adjust or replace the threshold as necessary to ensure a proper fit and seal.
By properly preparing the door frame, you’ll create a solid foundation for the installation of the new door. Take the time to ensure that everything is level, secure, and in good condition before moving on to the next step.
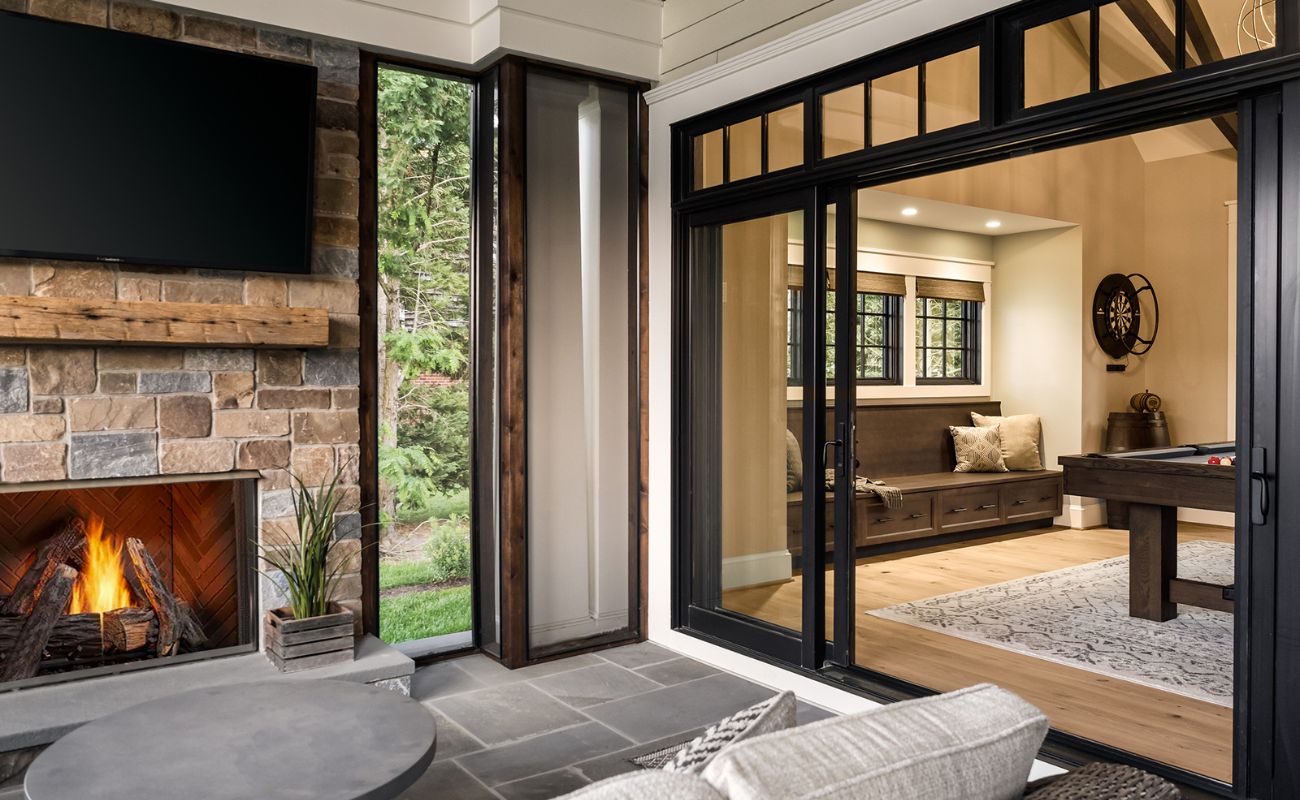
Measure the opening carefully before purchasing a new door to ensure a proper fit.
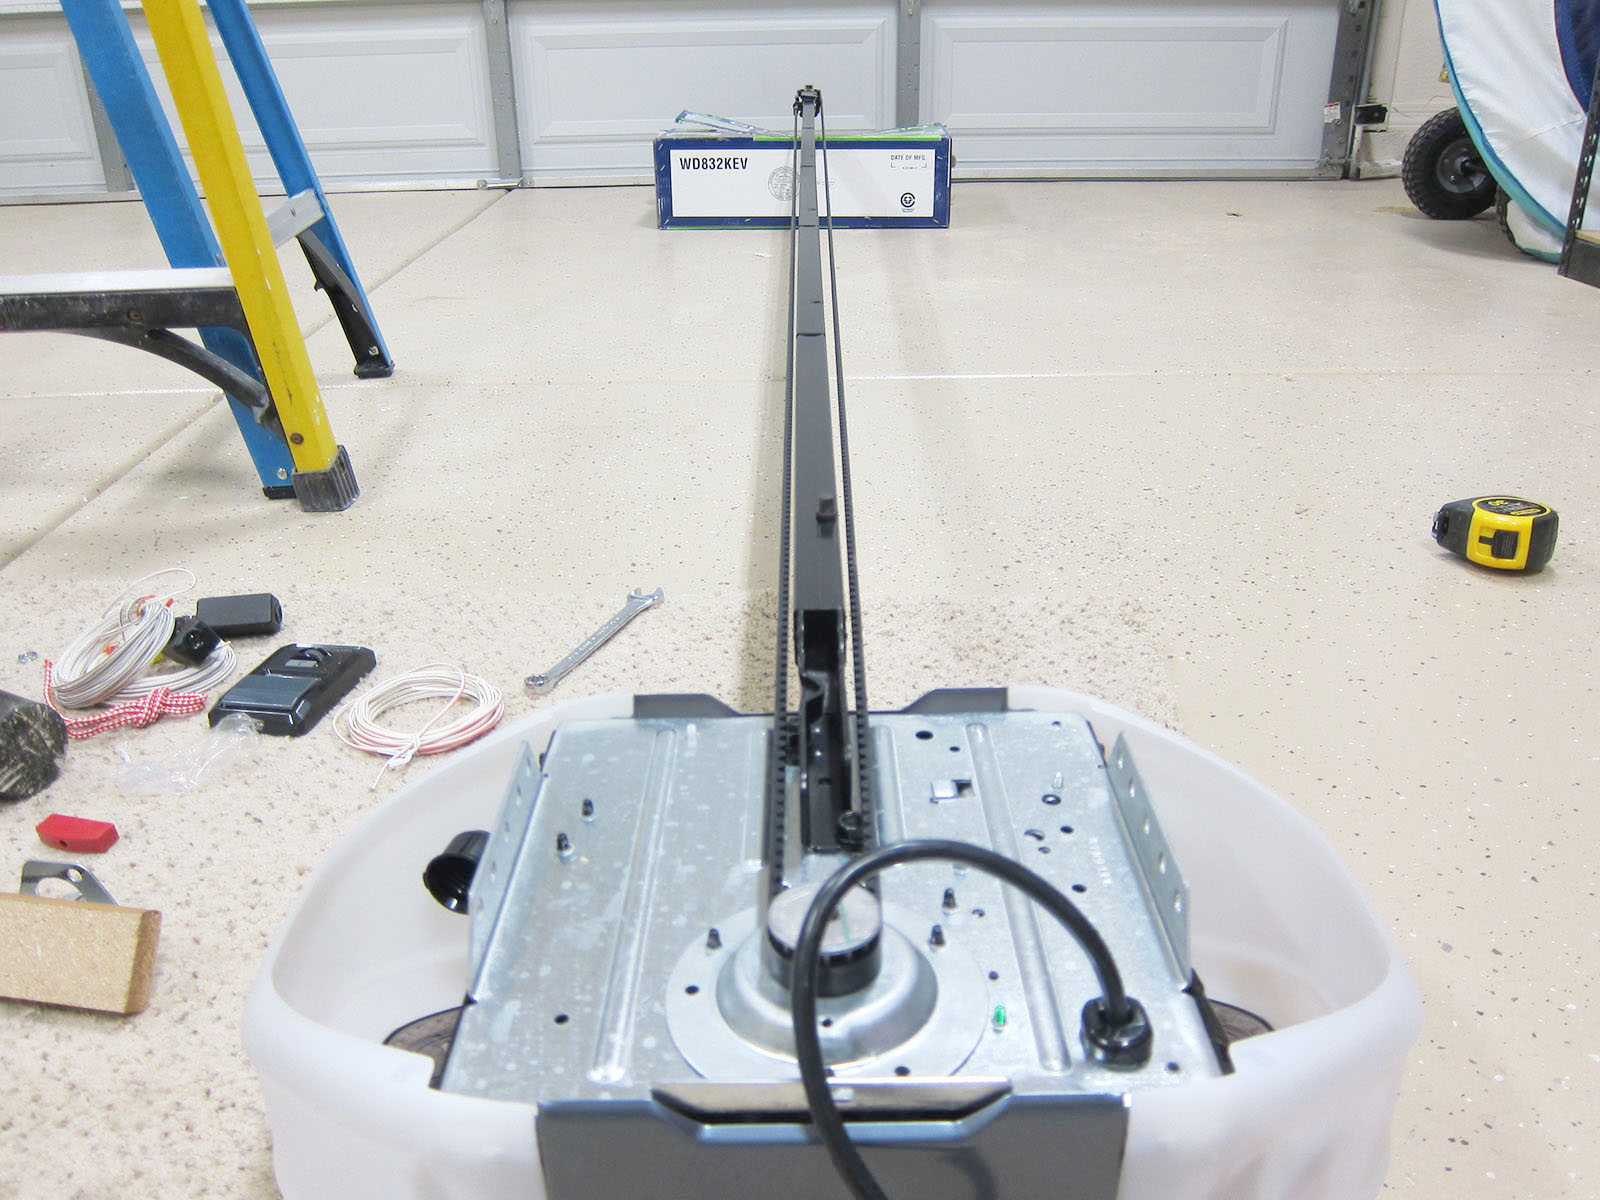
Read more: How To Get New Garage Door Opener
Step 5: Installing the new door
With the door frame prepared, it’s time to move on to the exciting part: installing the new door. This step involves carefully placing the door into the frame and securing it in place.
Follow these steps to install the new door:
- Prepare the door: If the new door requires any adjustments to fit properly, measure and trim it as needed. Use a saw or a door planer to carefully remove excess material, ensuring a precise fit.
- Place the door: Position the new door in the frame, resting it on the door sill or threshold. Make sure the door is centered and aligned properly.
- Attach the hinges: Starting with the top hinge, align it with the corresponding holes in the door and frame. Insert the hinge pins and tap them in with a hammer until they are secure. Repeat the process for the bottom and middle hinges, ensuring they are properly aligned.
- Check the door swing: Test the door swing to ensure it opens and closes smoothly. If necessary, adjust the hinges to ensure proper functionality.
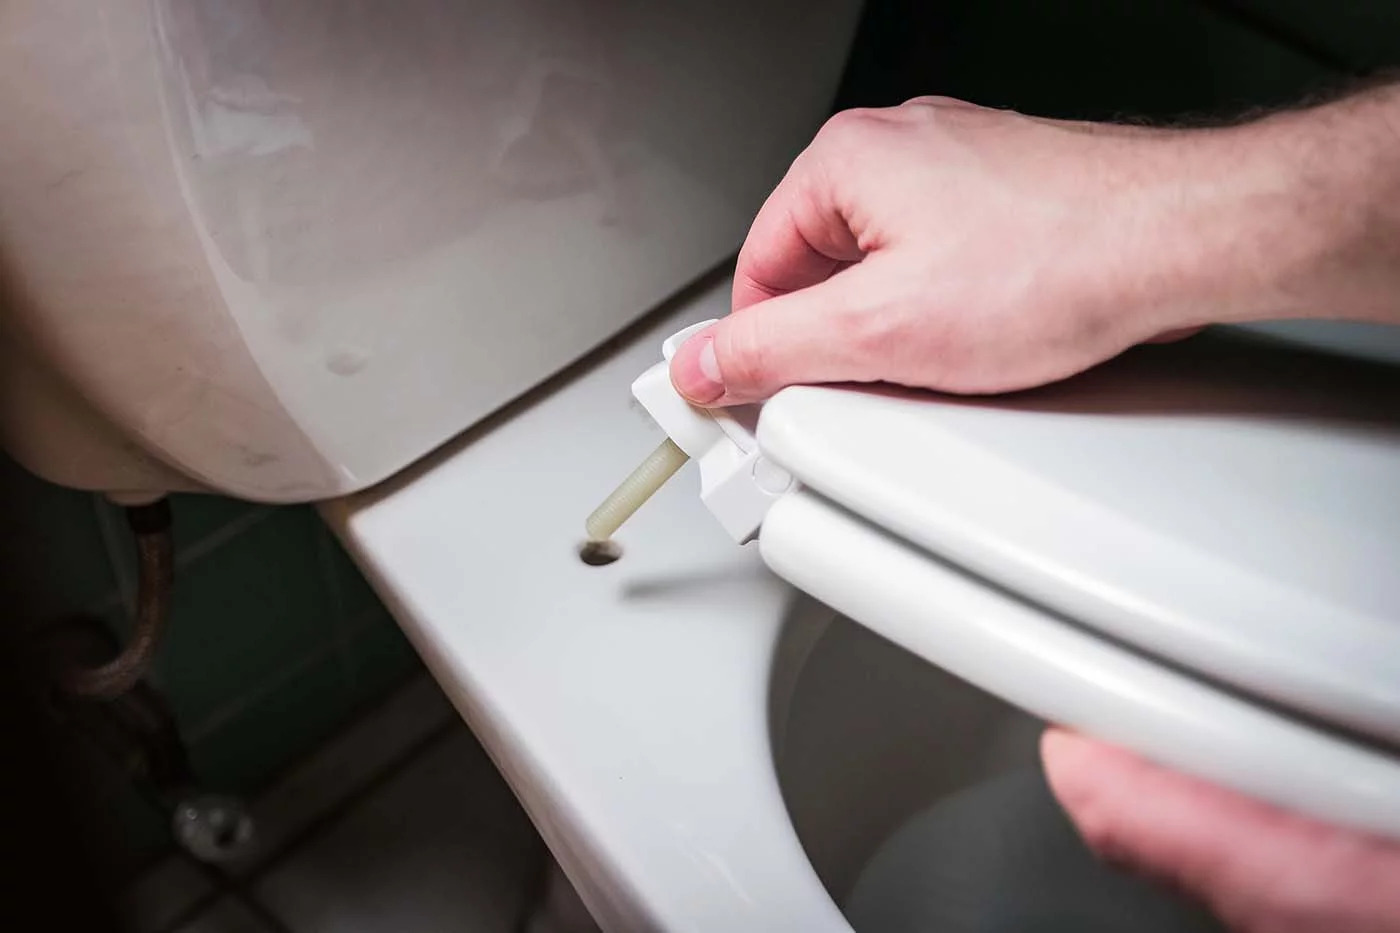
- Install the door hardware: Attach the door handle, lockset, and any other hardware included with the door. Follow the manufacturer’s instructions for proper installation.
- Check for gaps: Inspect the edges of the door to ensure there are no large gaps between the door and the frame. If you notice any gaps, adjust the hinges or use wood shims to achieve a proper fit.
Installing a new door can be a precise and meticulous process, so take your time to ensure everything is properly aligned and secured. Make any necessary adjustments along the way to achieve a seamless installation.
Step 6: Adjusting and aligning the door
After installing the new door, it’s important to carefully adjust and align it to ensure proper functionality and a polished look. This step involves making small adjustments to the door and its components to achieve a perfect fit and smooth operation.
Here’s how to adjust and align the door:
- Check for even gaps: Examine the gaps between the door and the frame on all sides. Ideally, the gaps should be consistent and evenly spaced. If you notice any discrepancies, adjust the hinges or use shims to achieve an even gap.
- Test the door swing: Open and close the door several times to assess its smoothness of operation. Pay attention to any sticking or rubbing, which may indicate that further adjustments are needed.
- Check for proper latching: Ensure that the door latches securely when closed. If the latch doesn’t align properly with the strike plate, adjust the strike plate or the position of the latch to achieve a secure fit.
- Verify the door’s level: Use a level to check if the door is straight and level. If it’s not, adjust the hinges or shims accordingly to achieve a level position.
- Test the door’s seal: Close the door and check for any drafts or air leaks around the edges. If necessary, add weatherstripping or adjust the alignment of the door to improve the seal.
Remember, it’s normal to make minor adjustments during this step to ensure the door operates smoothly and fits properly in the frame. Taking the time to carefully align the door will result in improved functionality and a professional finish.
Step 7: Securing the door in place
Once you have adjusted and aligned the door to your satisfaction, it’s time to secure it in place to ensure stability and security. This step involves properly securing the hinges, adding additional reinforcement, and checking for any loose components.
Follow these steps to secure the door in place:
- Secure the hinges: Double-check that all hinge screws are tightened securely. If any screws are loose, remove them and replace them with longer, heavier-duty screws to provide a stronger hold.
- Add reinforcements: For added security and stability, consider adding reinforcing plates or brackets to the door frame and hinges. These can help prevent the door from being forced open and improve overall durability.
- Check for loose components: Inspect the door handle, lockset, and any other hardware for any signs of looseness. Tighten any loose screws or bolts to ensure everything is securely in place.
- Test the door’s operation: Open and close the door multiple times to verify that it operates smoothly and without any issues. Pay attention to any unusual noises, sticking points, or misalignments that may require further adjustments.
- Check the door’s security: Verify that the door locks properly and provides the desired level of security. Test the operation of the lockset, deadbolt, and any other locking mechanisms to ensure they function as intended.
By taking the time to properly secure the door, you’ll have peace of mind knowing that it is stable and provides the necessary security for your home. Regularly check and maintain the door’s components to ensure continued functionality over time.
Step 8: Adding finishing touches
With the new door securely installed, it’s time to add the final touches to complete the project and enhance the overall appearance. This step involves making aesthetic enhancements, ensuring proper insulation, and applying any necessary sealants or finishes.
Follow these steps to add the finishing touches to your newly installed door:
- Apply weatherstripping: Weatherstripping helps improve insulation and energy efficiency. Measure and cut weatherstripping to fit along the sides and top of the door frame, ensuring a tight seal when the door is closed.
- Install a door sweep: If needed, attach a door sweep to the bottom of the door to prevent drafts and minimize airflow under the door. Measure and cut the sweep to fit the width of the door, then attach it with screws or adhesive.
- Add decorative elements: Consider adding decorative elements, such as trim or molding, to enhance the visual appeal of the door. Paint or stain these elements to match the door or complement the surrounding decor.
- Seal any gaps: Inspect the door and its frame for any gaps or cracks that may allow drafts or moisture to seep in. Use a sealant or caulk to fill in these gaps and provide a tight seal.
- Apply a protective finish: Depending on the material of the door, consider applying a protective finish to improve its durability and appearance. For wooden doors, apply a coat of paint, stain, or varnish. For metal doors, consider applying a protective coating to prevent rust and corrosion.
- Clean up: Finally, clean up any debris or dust generated during the installation process. Use a broom or vacuum cleaner to ensure the area around the door is tidy and free from any obstructions.
By adding these finishing touches, you’ll not only improve the functionality and aesthetics of your newly installed door but also ensure its long-term durability and performance.
With the completion of these steps, you have successfully put a new door in an old opening. Take a step back and admire your handiwork, knowing that you’ve accomplished a rewarding home improvement project that will enhance both the look and functionality of your space for years to come.
Conclusion
Replacing an old door with a new one can have a significant impact on the overall look and functionality of your home. By following the steps outlined in this comprehensive guide, you can confidently tackle the project of putting a new door in an old opening.
From measuring and assessing the old door opening to securing the new door in place, each step plays a crucial role in ensuring a successful installation. It’s important to gather the necessary tools and materials, remove the old door and hardware, prepare the door frame, and carefully install and align the new door.
Throughout the process, paying attention to details such as adjusting and aligning the door, securing it in place, and adding the finishing touches will contribute to a smooth operation and enhance the overall aesthetics.
Remember, precision and patience are key in successfully completing this project. Take the time to measure accurately, make necessary adjustments, and ensure that everything is aligned and secure. This will not only result in an aesthetically pleasing outcome but also improve the functionality and security of your door.
By following the steps outlined in this guide, you’ll be well-equipped to put a new door in an old opening that fits perfectly and complements the style of your home. So, roll up your sleeves and embark on this rewarding home improvement project that will enhance your living space for years to come.
Frequently Asked Questions about Follow These Steps To Put A New Door In An Old Opening
Was this page helpful?
At Storables.com, we guarantee accurate and reliable information. Our content, validated by Expert Board Contributors, is crafted following stringent Editorial Policies. We're committed to providing you with well-researched, expert-backed insights for all your informational needs.


0 thoughts on “Follow These Steps To Put A New Door In An Old Opening”