Articles
How To Unlock Kitchenaid Dishwasher
Modified: August 28, 2024
Discover expert articles on how to unlock your Kitchenaid dishwasher. Read our helpful tips and tricks to solve any dishwasher lock issues quickly and efficiently.
(Many of the links in this article redirect to a specific reviewed product. Your purchase of these products through affiliate links helps to generate commission for Storables.com, at no extra cost. Learn more)
Introduction
Welcome to this step-by-step guide on how to unlock your Kitchenaid dishwasher. If you’ve recently purchased a Kitchenaid dishwasher or accidentally engaged the lock feature, you may be wondering how to unlock it and resume using it. Don’t worry, we’ve got you covered!
Unlocking a Kitchenaid dishwasher is a simple process that can be done in just a few easy steps. Whether you’re a first-time user or just need a quick refresher, this guide will walk you through the process and have your dishwasher back up and running in no time.
Before we dive into the steps, it’s important to note that the lock feature on a Kitchenaid dishwasher is designed to prevent accidental operation or tampering, particularly if you have small children in your household. It provides an extra layer of safety and peace of mind. However, it can be frustrating if you accidentally engage the lock or forget how to unlock it. That’s why we’re here to help you unlock your Kitchenaid dishwasher with ease.
So, let’s get started with the first step: preparation.
Key Takeaways:
- Easily unlock your Kitchenaid dishwasher by following simple steps, ensuring safety and proper preparation. Identify the lock feature and navigate through the control options to deactivate the lock, allowing you to resume using your dishwasher hassle-free.
- After unlocking, test your dishwasher’s functionality, load it correctly, and select the desired cycle and settings. Enjoy the convenience of clean dishes with just a press of a button, following the manufacturer’s instructions for optimal performance.
Read more: How To Unlock A Ge Dishwasher
Step 1: Preparation
Before you begin the process of unlocking your Kitchenaid dishwasher, it’s important to make sure you have everything you need. Here are a few things to check off your list:
- Gather the necessary tools: To unlock the dishwasher, you typically won’t need any specialized tools. However, having a flashlight handy can be helpful, especially if your dishwasher is in a dimly lit area.
- Ensure safety: Before attempting to unlock the dishwasher, make sure it is disconnected from the power source. This will prevent any accidental start-ups while you’re working on it.
- Read the user manual: While this guide will provide you with step-by-step instructions, it’s always a good idea to refer to the user manual that came with your specific model of Kitchenaid dishwasher. The manual may have specific instructions or diagrams that can assist you in unlocking the dishwasher.
Once you have gathered the necessary tools and ensured your safety, you’re ready to move on to the next step: identifying the lock feature on your Kitchenaid dishwasher.
Step 2: Identifying the Lock
Before you can unlock your Kitchenaid dishwasher, it’s important to locate the lock feature. The location and appearance of the lock may vary depending on the model of your dishwasher, but here are some common places to look:
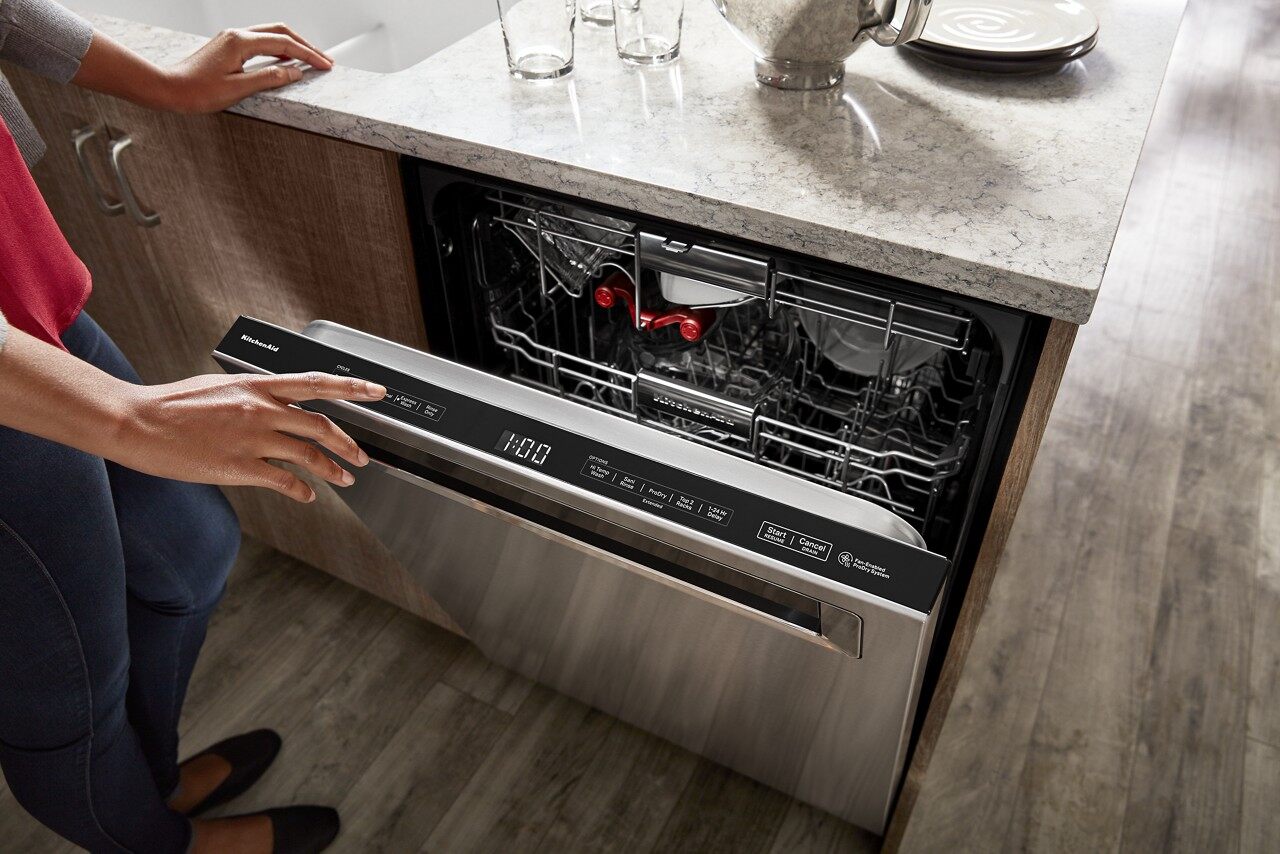
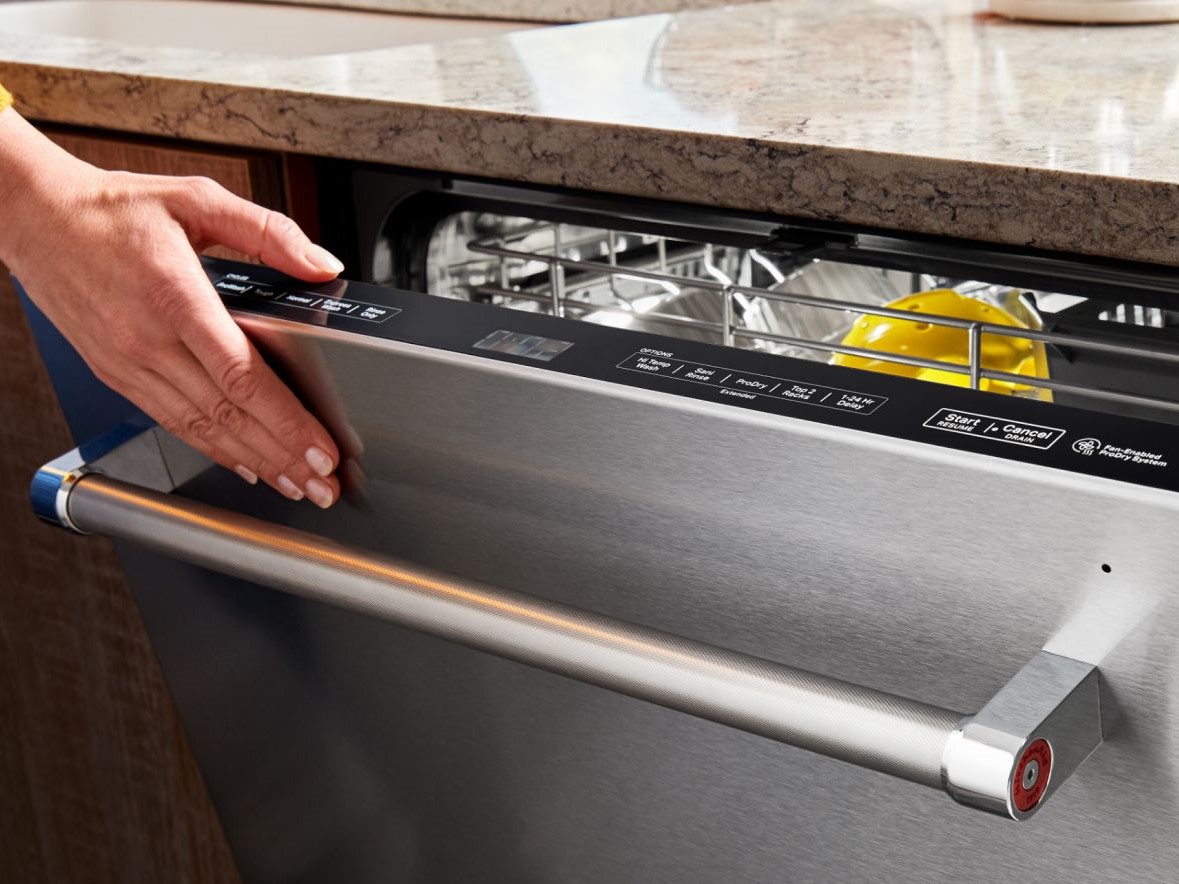
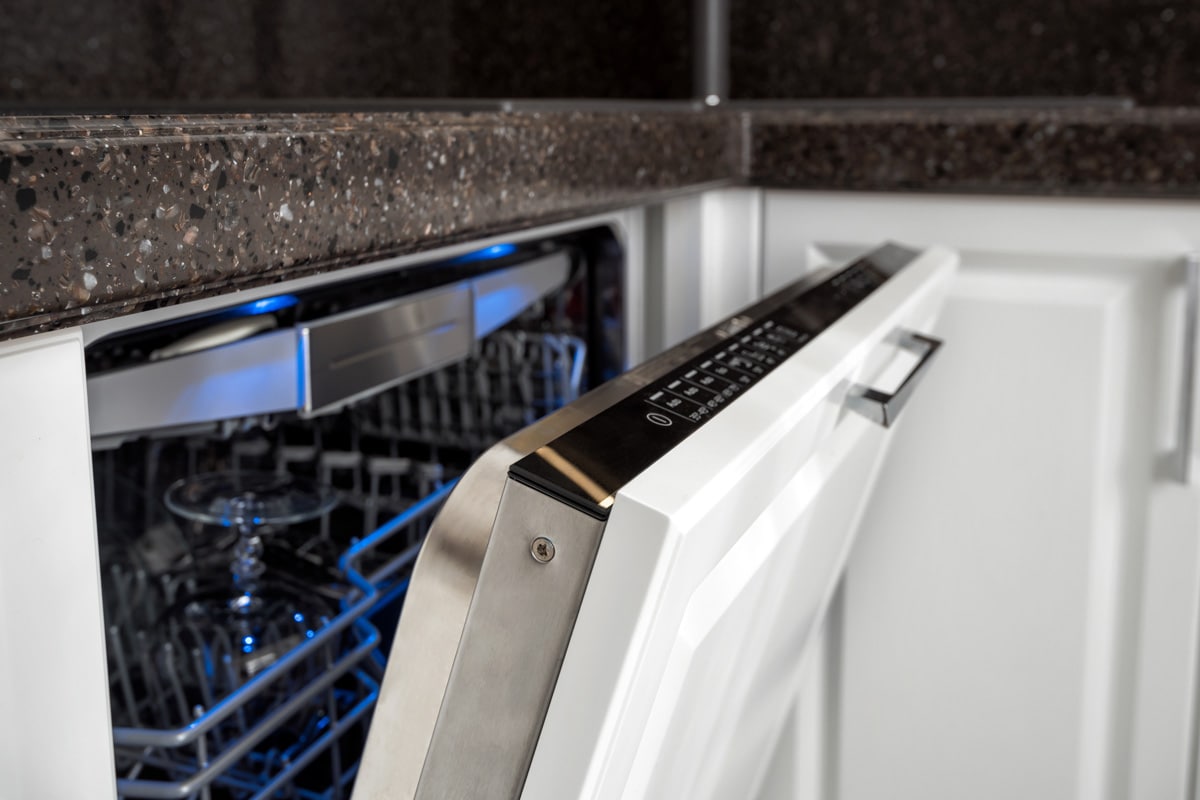
- Front panel: Many Kitchenaid dishwashers have a lock button or indicator light on the front panel. This may be labeled as “Lock,” “Control Lock,” or have a lock symbol. Look for a button or light that is different from the other control buttons.
- Control panel: Some models may have the lock feature integrated into the control panel. Look for a button or touchpad area that is designated for the lock function. It may have a lock symbol or be labeled as “Control Lock.”
- Display panel: If your Kitchenaid dishwasher has a digital display panel, the lock feature may be accessed through the control options. Look for a lock icon or a menu option related to the lock.
Once you have located the lock feature, take note of how it is currently activated. Is the lock light illuminated? Is the lock button pressed in? Understanding the current state of the lock will help you proceed to the next step of unlocking your Kitchenaid dishwasher effectively.
Now that you have identified the lock feature, it’s time to move on to the exciting part – unlocking your Kitchenaid dishwasher!
To unlock a KitchenAid dishwasher, press and hold the “Control Lock” button for 3 seconds. This will deactivate the control lock feature and allow you to use the dishwasher.
Step 3: Unlocking the Kitchenaid Dishwasher
Once you have located the lock feature on your Kitchenaid dishwasher, it’s time to unlock it. The process of unlocking may vary slightly depending on the model of your dishwasher, but here are the general steps to follow:
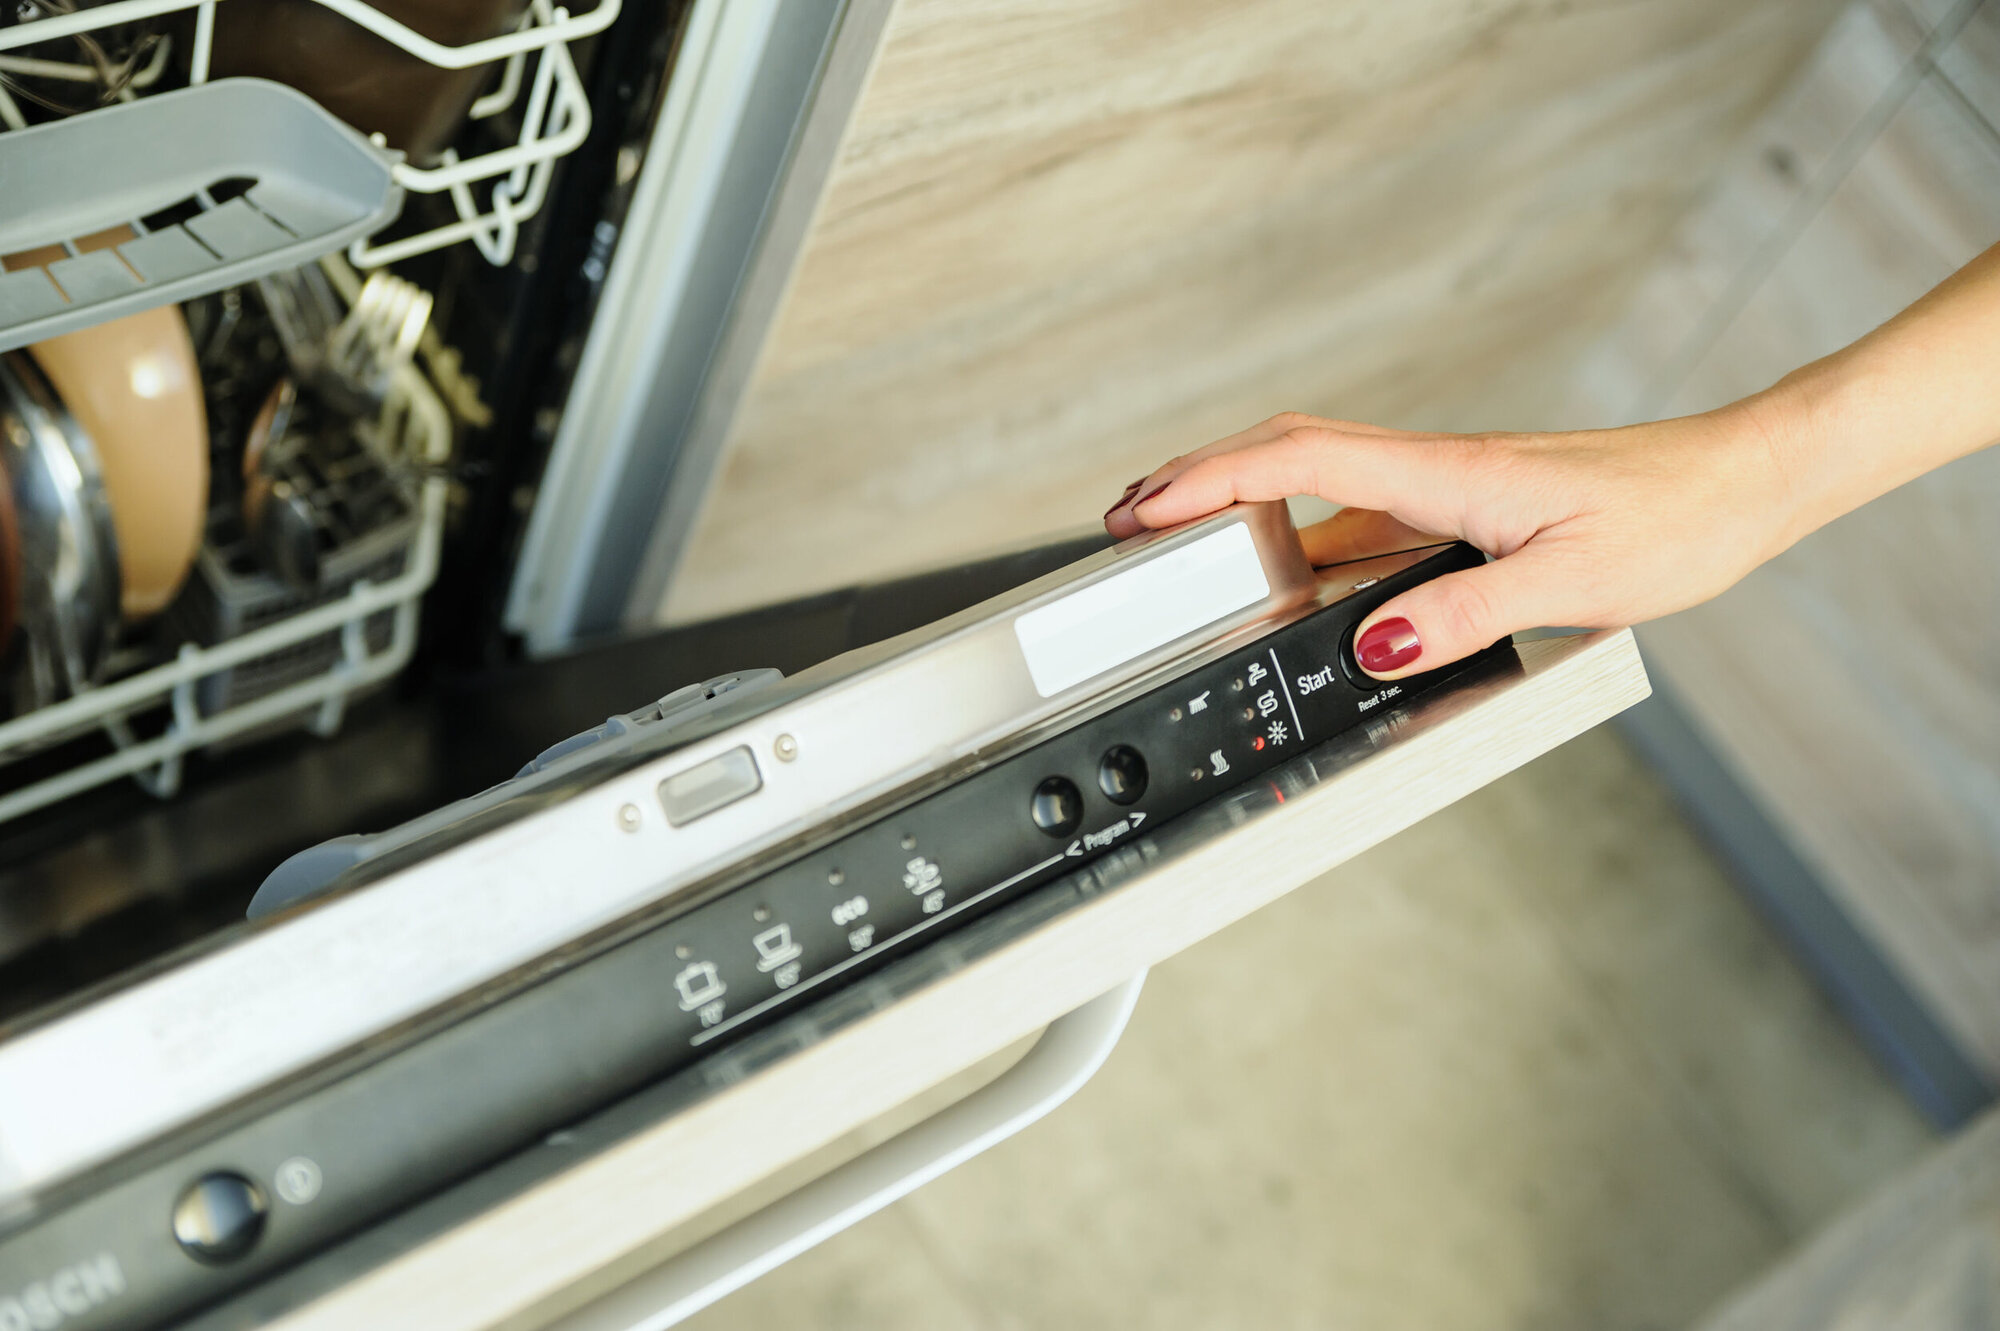
- Press and hold the lock button: If your dishwasher has a physical lock button, press and hold it for a few seconds. This should deactivate the lock feature and allow you to use your dishwasher again. Keep in mind that some models may have a two-step process, requiring you to press and hold the lock button first, and then press another button or combination of buttons to unlock it.
- Deactivate the lock through the control panel: If your Kitchenaid dishwasher has a control panel or touchpad, locate the lock function within the control options. Depending on the model, you may need to navigate through a menu or press a combination of buttons to unlock the dishwasher. Refer to your user manual or the control panel instructions for the specific steps to follow.
- Look for an indicator light: Some dishwashers have an indicator light that turns off when the lock is deactivated. Once you have completed the unlocking process, check if the lock indicator light has turned off. This is a good indication that your Kitchenaid dishwasher is now unlocked and ready for use.
Remember to follow the specific instructions for your model of Kitchenaid dishwasher, as the steps may vary. If you are unsure about any step or encounter any difficulties, refer to the user manual or contact Kitchenaid customer support for assistance.
Now that your Kitchenaid dishwasher is unlocked, it’s time to move on to the final step: testing and using the dishwasher.
Step 4: Testing and Using the Dishwasher
Now that you have successfully unlocked your Kitchenaid dishwasher, it’s time to test it out and resume using it. Follow these steps to ensure everything is working properly:
- Reconnect the power: If you disconnected your dishwasher from the power source during the unlocking process, make sure to reconnect it before proceeding. This will ensure that the dishwasher receives the necessary power to operate.
- Run a test cycle: To verify that the dishwasher is functioning correctly, run a test cycle. This can be done by selecting a short cycle with no dishes and allowing the dishwasher to go through the entire wash and dry process. Observe the dishwasher during the cycle to check for any unusual noises or malfunctions.
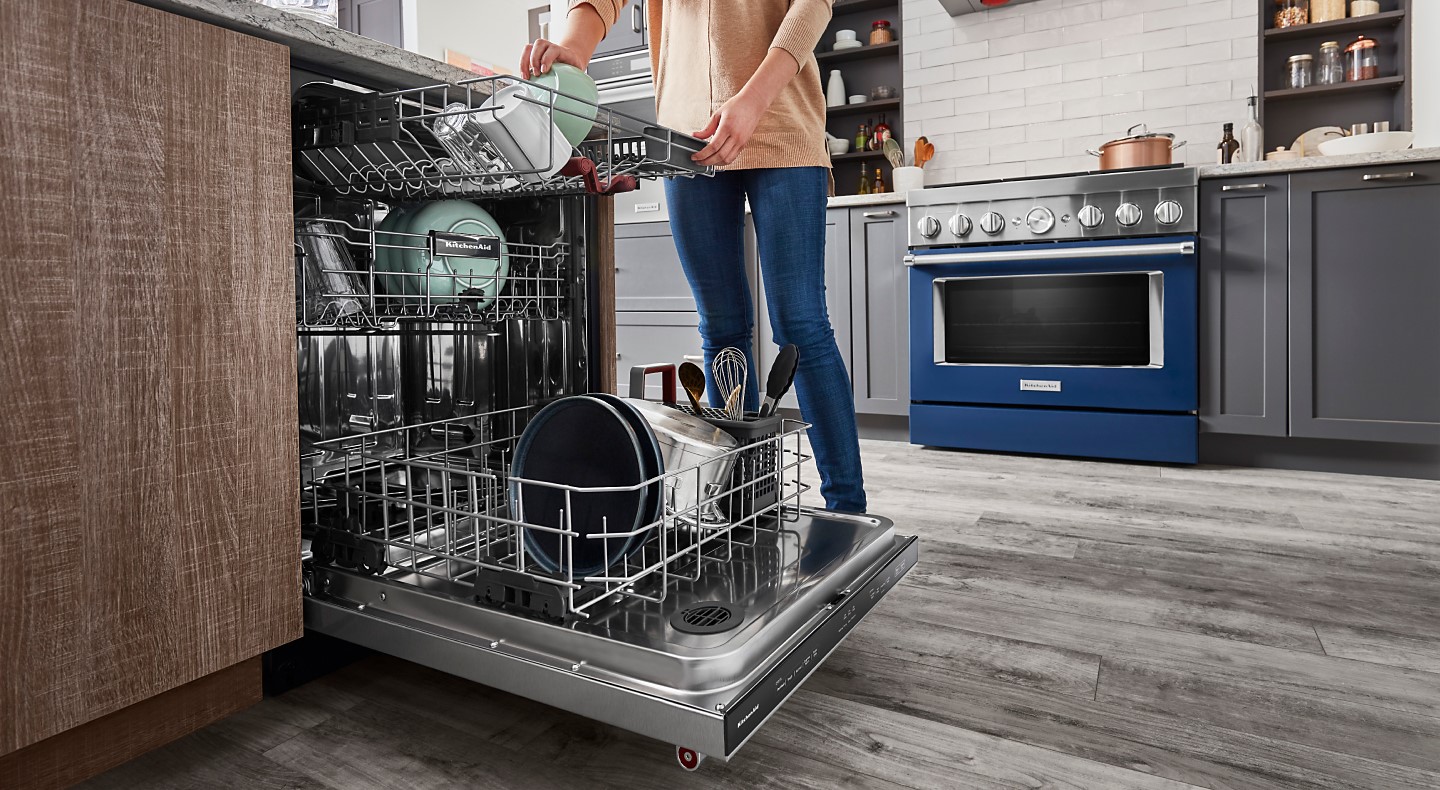
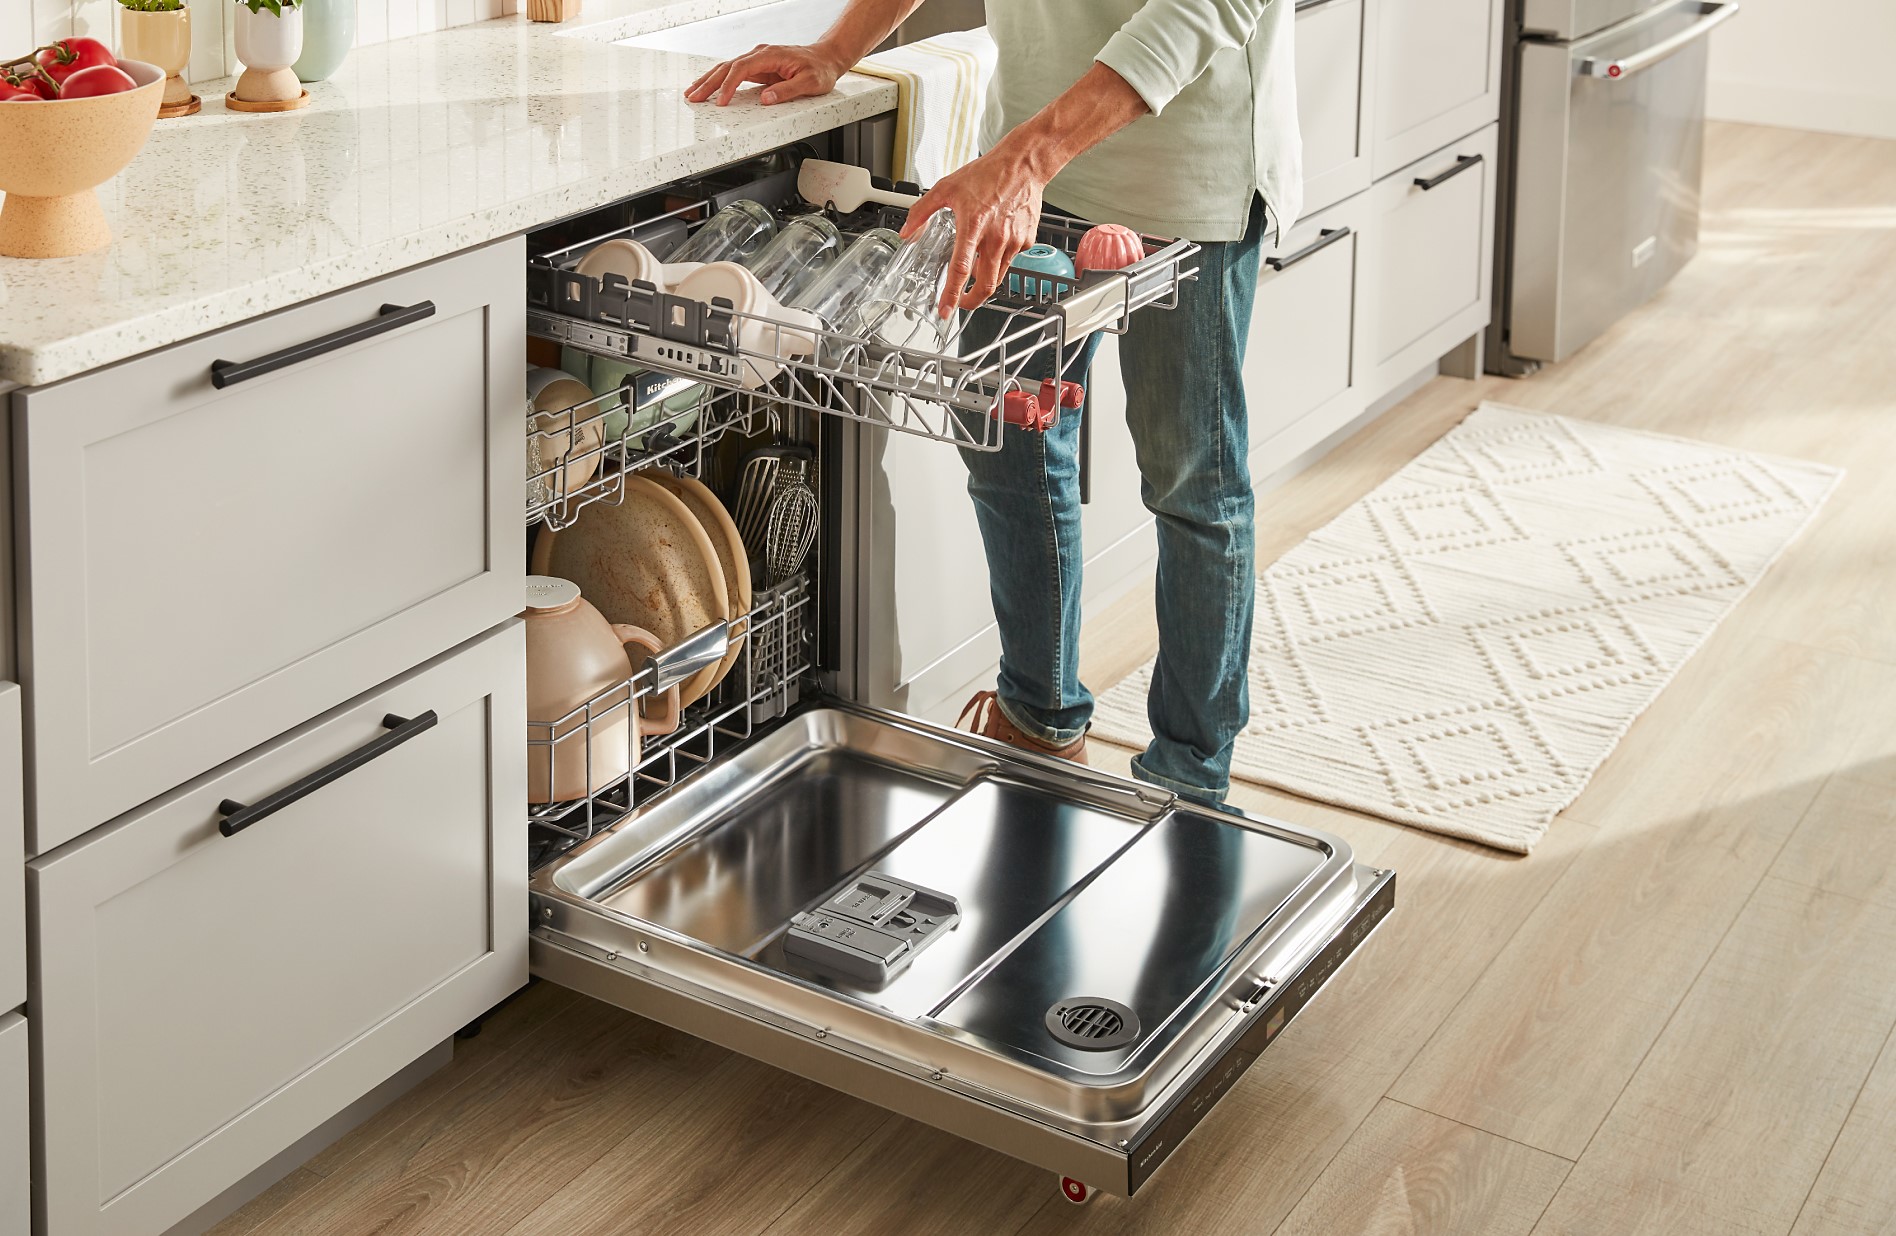
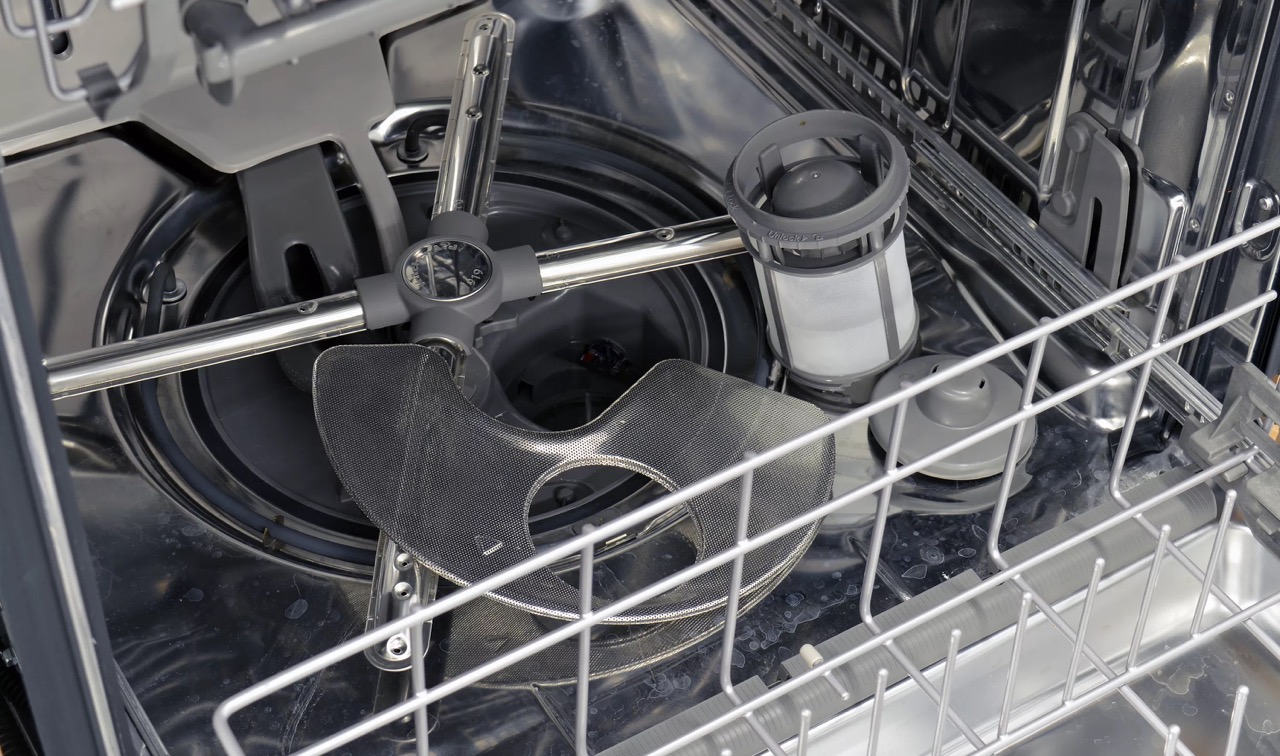
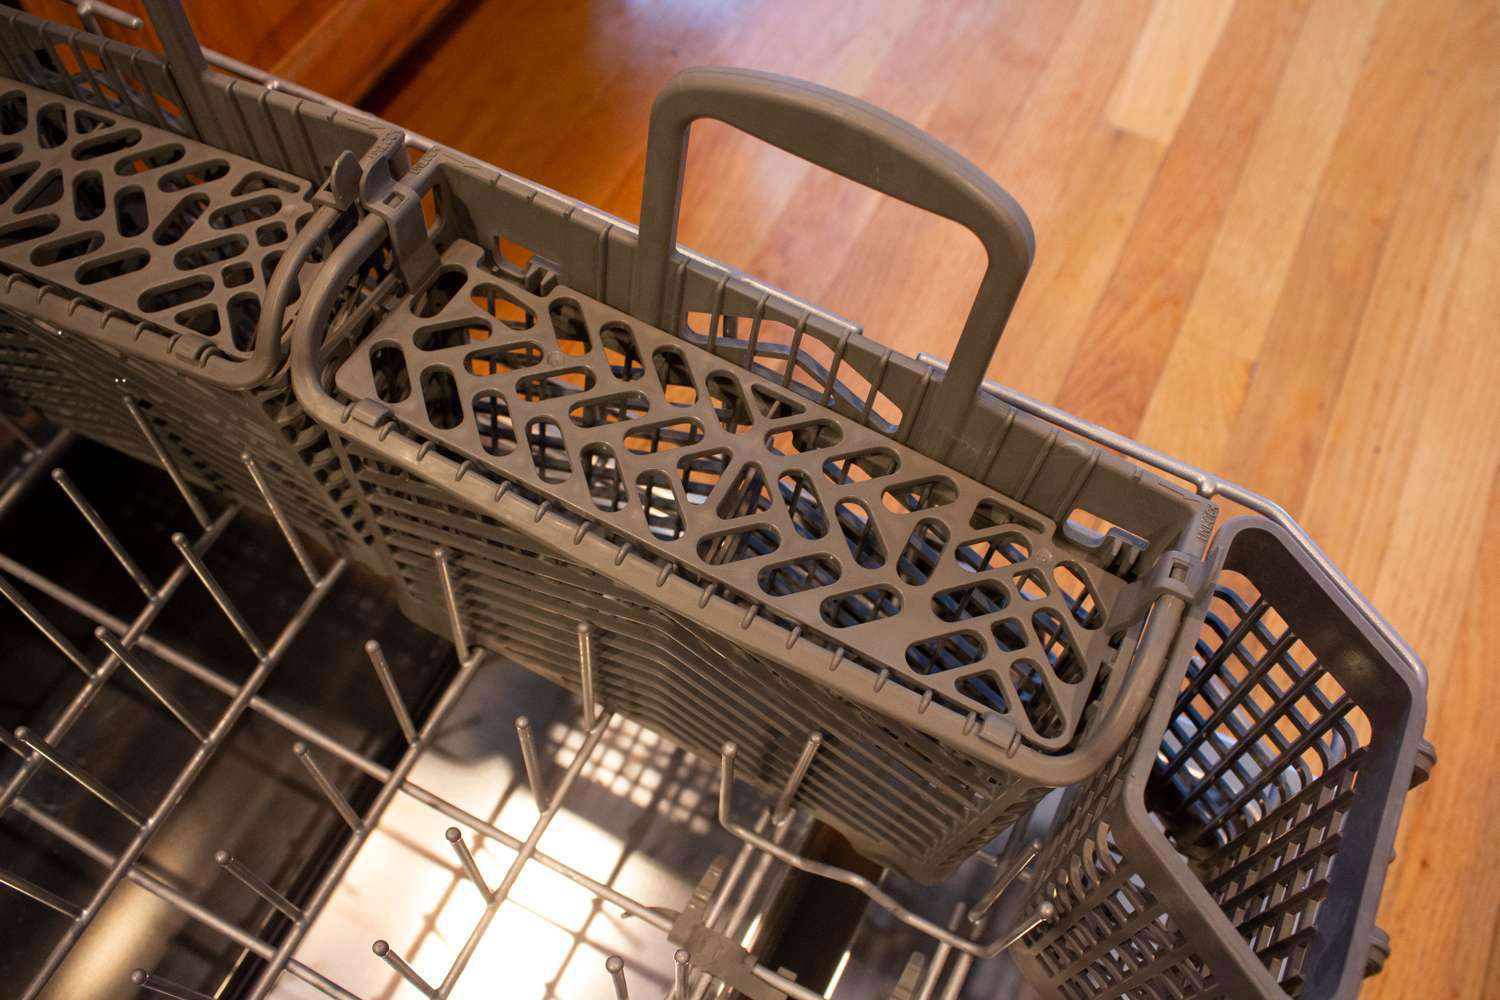
- Load the dishwasher: Once you have confirmed that the dishwasher is working properly, it’s time to start using it. Load your dishes, utensils, and cookware according to the manufacturer’s recommendations, making sure not to overload or block the spray arms.
- Select the desired cycle and settings: Depending on your needs, choose the appropriate wash cycle (such as Quick Wash, Normal, or Heavy Duty) and any additional settings (such as heated dry or sanitizing). Refer to the user manual for guidance on which settings to choose for different types of dishes or levels of dirtiness.
- Start the dishwasher: Close the dishwasher door securely and press the appropriate buttons or select the start option on the control panel to begin the wash cycle. You will hear the dishwasher start and may see indicator lights or an estimated time remaining display.
- Monitor the wash cycle: Throughout the wash cycle, keep an eye on the dishwasher to ensure it is functioning properly. Listen for any unusual noises or vibrations and check for any error messages on the control panel. If you notice anything out of the ordinary, refer to the user manual or contact customer support for further assistance.
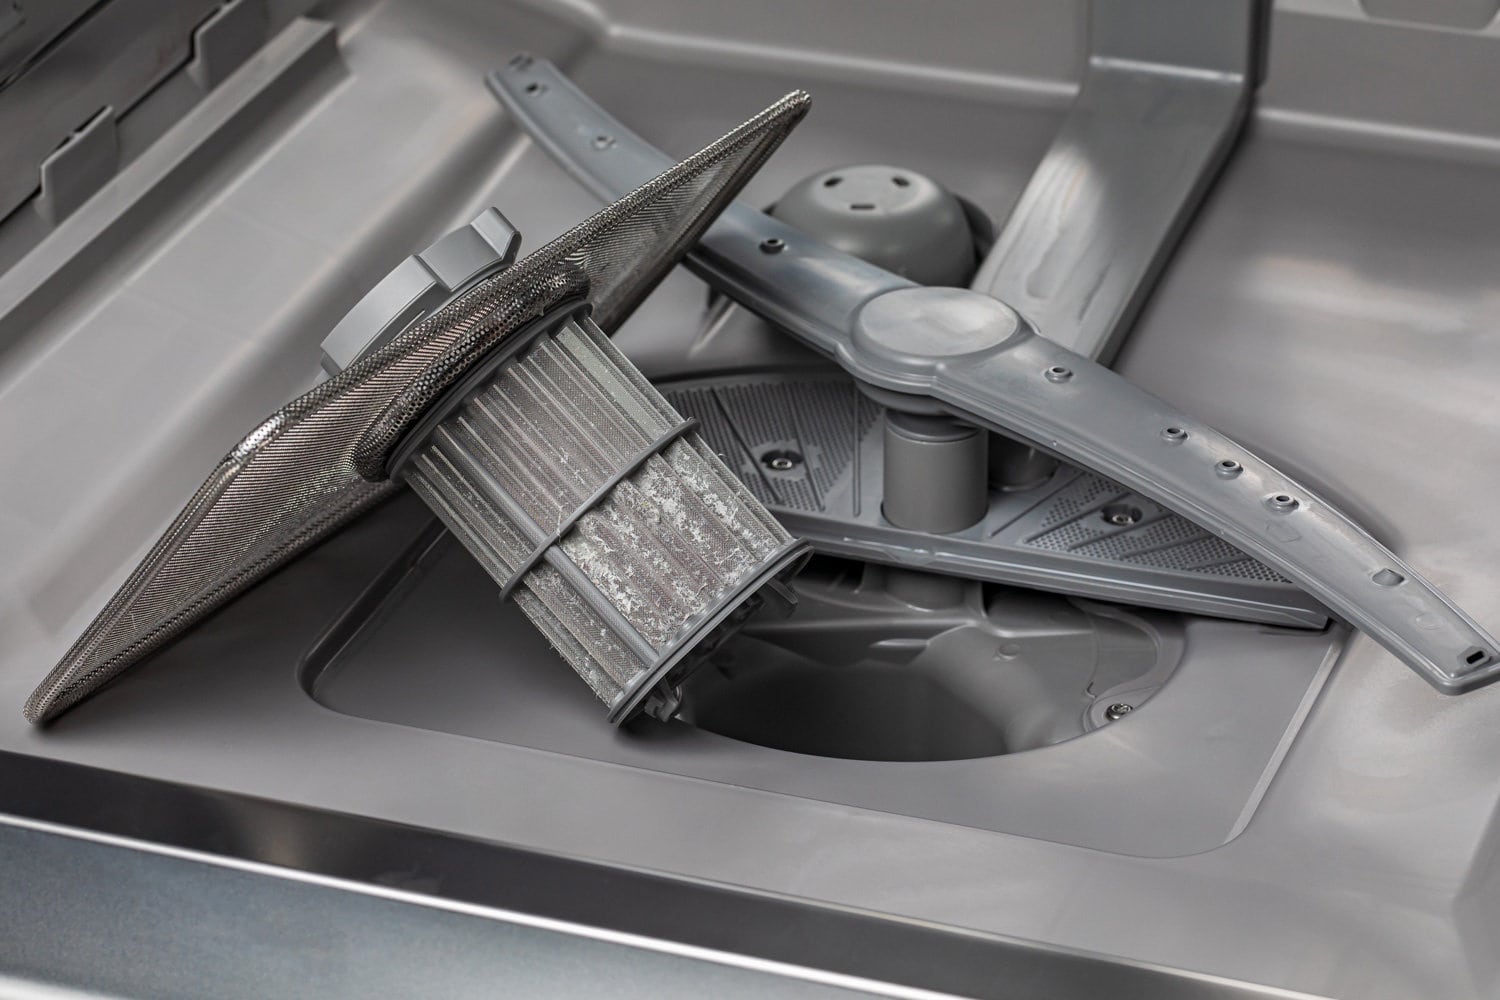
With these steps, you can confidently use your Kitchenaid dishwasher now that it is unlocked. Remember to regularly clean the dishwasher’s filter, maintain proper loading techniques, and follow the manufacturer’s instructions for optimal performance and longevity of your appliance.
Congratulations! You have successfully unlocked and started using your Kitchenaid dishwasher. Enjoy the convenience of having clean dishes with just a press of a button!
Read more: How To Unlock Frigidaire Dishwasher
Conclusion
Unlocking your Kitchenaid dishwasher is a relatively simple process that can be done in just a few steps. By following this guide, you can quickly and effectively unlock your dishwasher, allowing you to resume using it without any hassle.
Remember to start with proper preparation, gathering the necessary tools and ensuring your safety by disconnecting the power. Identify the lock feature, which may be located on the front panel, control panel, or display panel of your dishwasher. Then, follow the specific steps to unlock the dishwasher, either by pressing and holding the lock button or navigating through the control options. Don’t forget to check for any indicator lights that signal the lock is deactivated.
Once your Kitchenaid dishwasher is unlocked, you can proceed with testing its functionality and loading your dishes. Run a test cycle to make sure everything is working properly, and then load the dishwasher according to the manufacturer’s recommendations. Select the desired cycle and settings, start the dishwasher, and monitor the wash cycle for any abnormalities.
By unlocking and using your Kitchenaid dishwasher correctly, you can enjoy clean dishes with ease and efficiency. Refer to the user manual for any specific instructions or contact customer support if you encounter any difficulties along the way.
We hope this guide has been helpful and that you can now confidently unlock your Kitchenaid dishwasher. Happy dishwashing!
Frequently Asked Questions about How To Unlock Kitchenaid Dishwasher
Was this page helpful?
At Storables.com, we guarantee accurate and reliable information. Our content, validated by Expert Board Contributors, is crafted following stringent Editorial Policies. We're committed to providing you with well-researched, expert-backed insights for all your informational needs.
0 thoughts on “How To Unlock Kitchenaid Dishwasher”