Home>Home Appliances>Cleaning Appliances>How To Change A Belt On A Bissell Steam Cleaner
Cleaning Appliances
How To Change A Belt On A Bissell Steam Cleaner
Modified: January 4, 2024
Learn how to easily replace the belt on your Bissell steam cleaner with our step-by-step guide. Keep your cleaning appliances in top condition.
(Many of the links in this article redirect to a specific reviewed product. Your purchase of these products through affiliate links helps to generate commission for Storables.com, at no extra cost. Learn more)
Introduction
Welcome to the world of Bissell steam cleaners, where the power of steam meets the art of deep cleaning. Bissell steam cleaners are renowned for their ability to tackle tough stains and grime, leaving your floors and surfaces sparkling clean and sanitized. However, like any hardworking appliance, Bissell steam cleaners may require occasional maintenance to ensure optimal performance. One essential aspect of maintenance is replacing the belt, which is crucial for the proper functioning of the cleaner’s brush roll.
In this comprehensive guide, we will walk you through the step-by-step process of changing the belt on your Bissell steam cleaner. Whether you’re a seasoned DIY enthusiast or a first-time steam cleaner owner, this article will equip you with the knowledge and confidence to tackle this essential maintenance task. So, grab your tools and let’s dive into the world of Bissell steam cleaner maintenance!
Key Takeaways:
- Regular maintenance, like changing the belt on your Bissell steam cleaner, ensures it works efficiently. It’s like giving your cleaner a power boost for sparkling clean floors and surfaces!
- Before replacing the belt, gather the right tools and prepare your steam cleaner. It’s like getting ready for a DIY adventure to keep your cleaner in top shape!
Read also: 9 Best Bissell Steam Cleaner For 2025
Tools and Materials Needed
Before embarking on the belt replacement journey, it’s essential to gather the necessary tools and materials. Here’s a comprehensive list of what you’ll need:
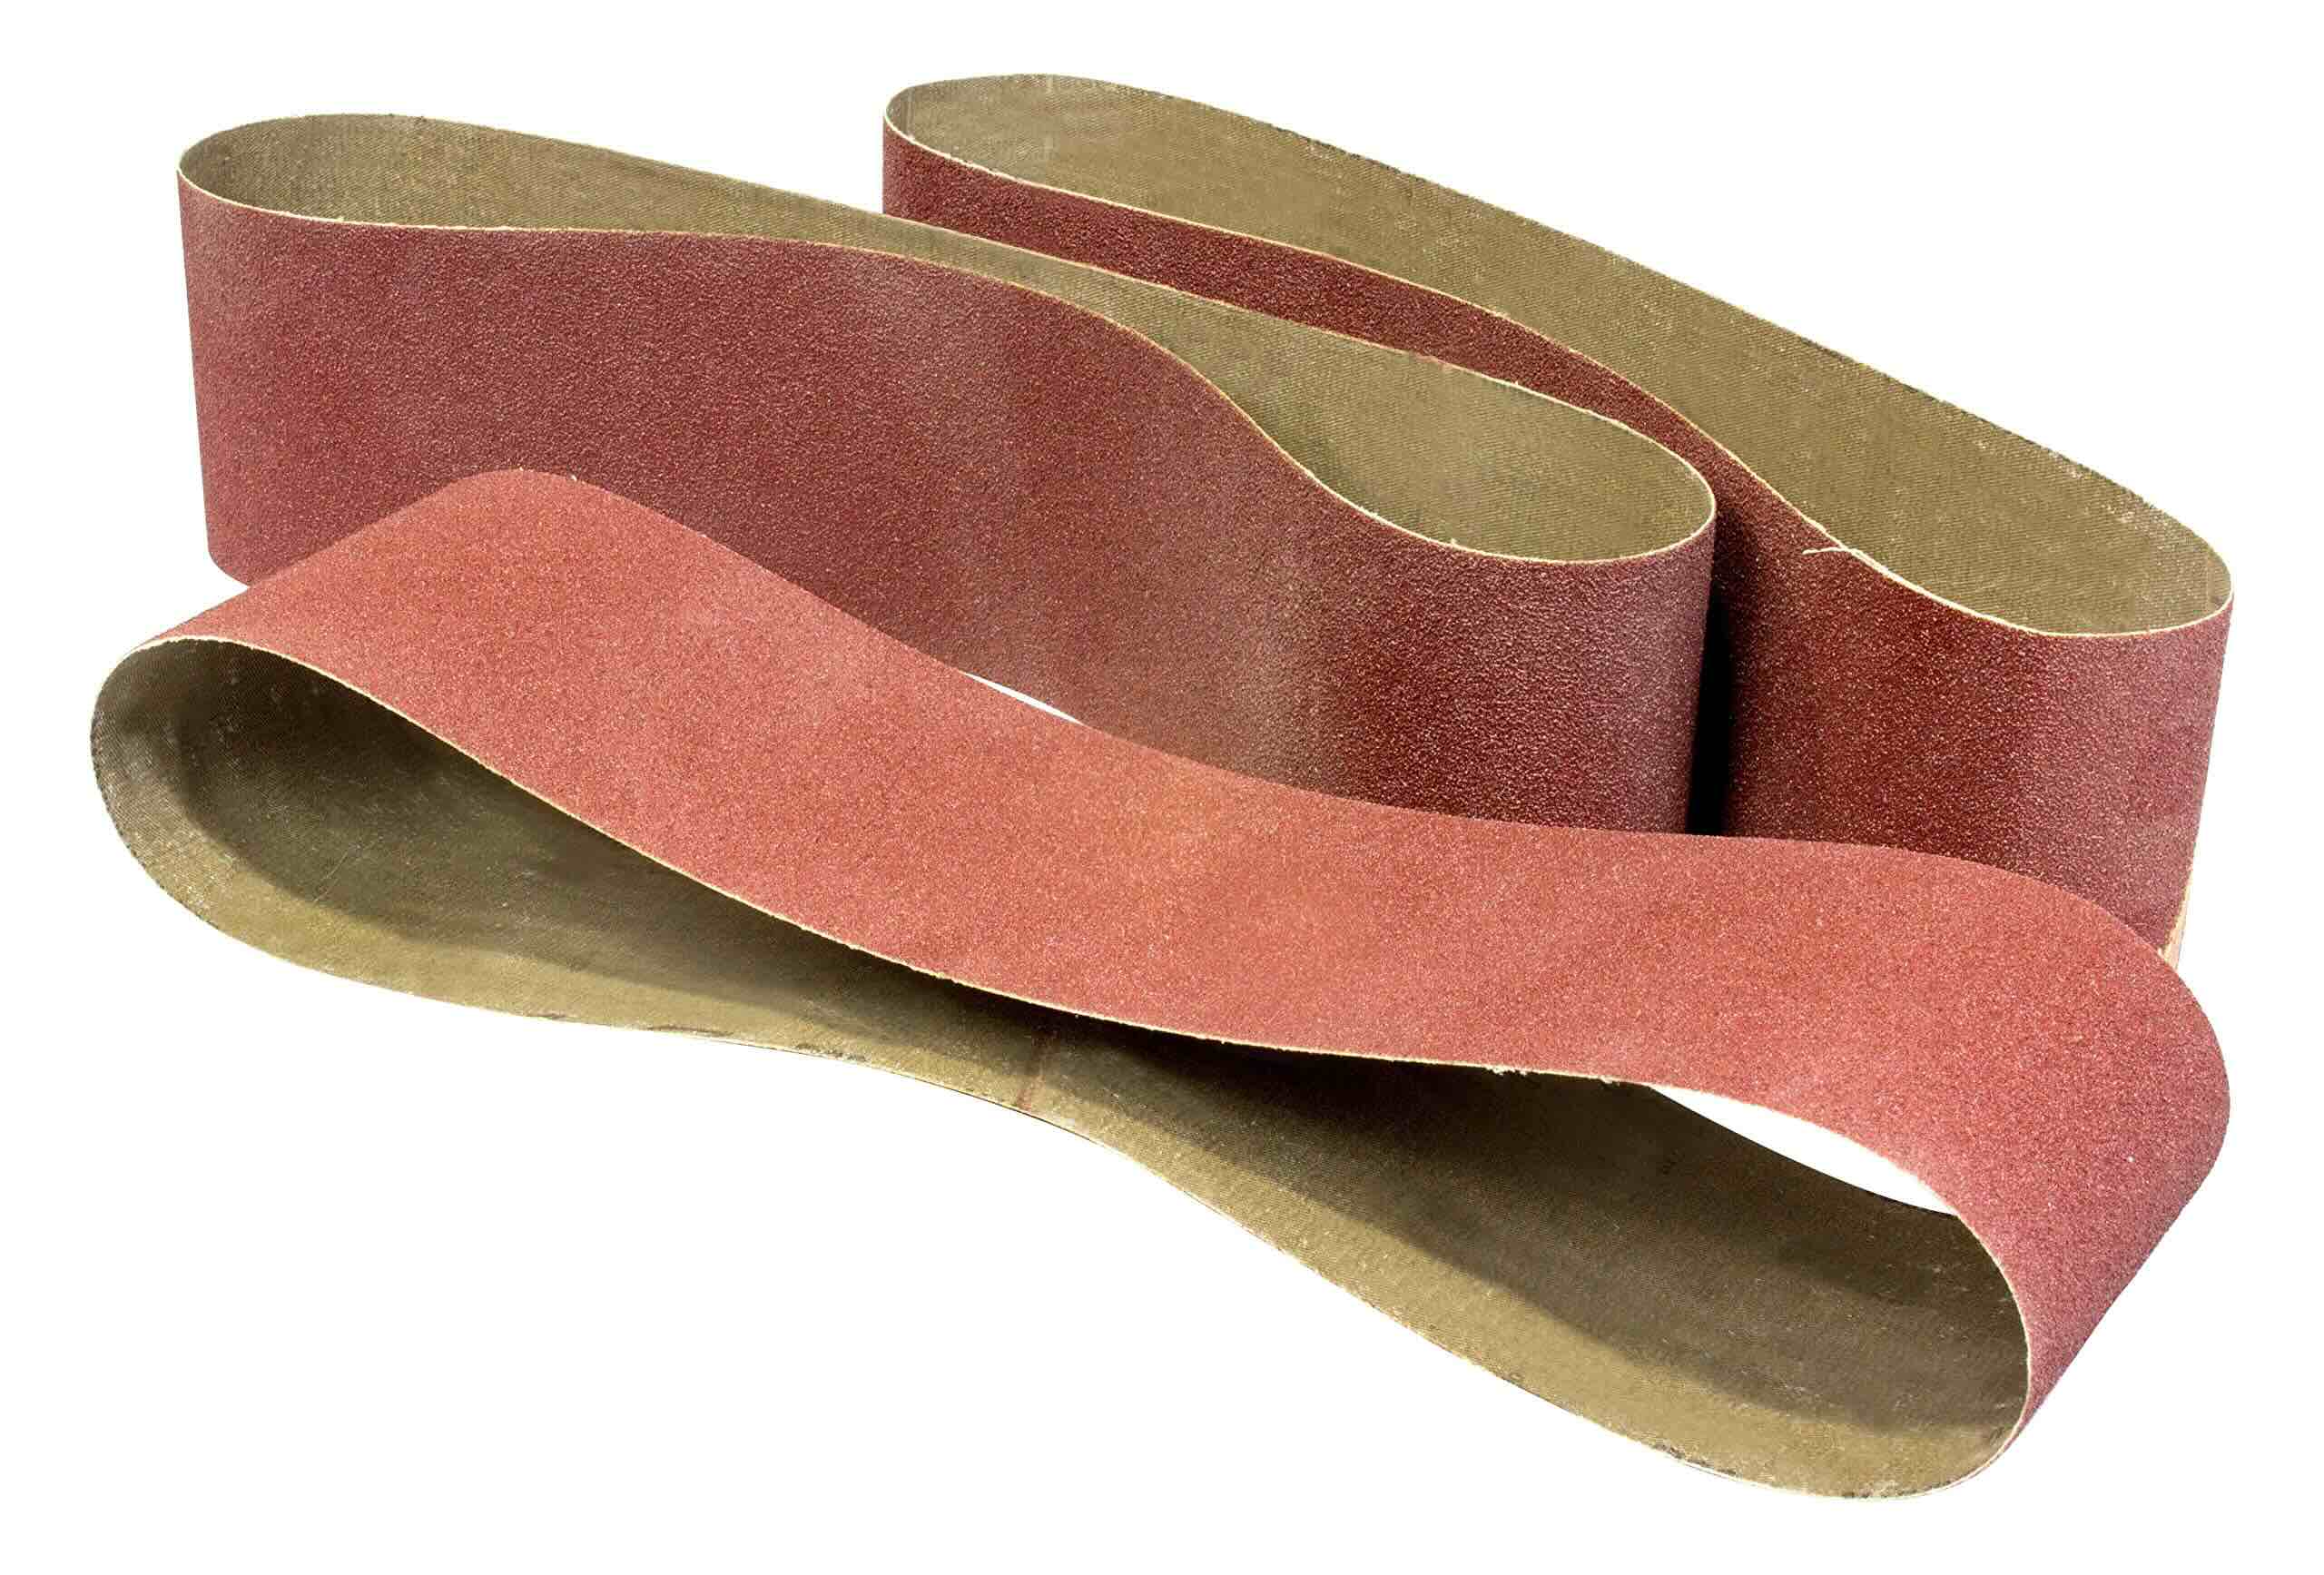
- Replacement Belt: Ensure you have the correct replacement belt for your specific Bissell steam cleaner model. Refer to the user manual or the manufacturer’s website to identify the compatible belt.
- Screwdriver: A Phillips-head or flat-head screwdriver, depending on the type of screws securing the cleaner’s components.
- Work Surface: Find a spacious, well-lit area to work on, providing ample room to maneuver the steam cleaner and its components.
- Clean Cloth: Have a clean cloth or paper towels on hand to wipe any accumulated dust or debris from the cleaner’s interior components.
- Access to Water: Depending on the model, you may need access to water to refill the steam cleaner’s reservoir after the maintenance is complete.
Gathering these tools and materials before starting the belt replacement process will streamline the procedure and ensure a smoother experience. With everything in place, you’ll be ready to delve into the intricate workings of your Bissell steam cleaner and give it the care it deserves.
Preparing the Steam Cleaner
Before diving into the belt replacement process, it’s crucial to prepare the Bissell steam cleaner to ensure a safe and efficient maintenance procedure. Follow these steps to get your steam cleaner ready for the belt replacement:
- Unplug the Steam Cleaner: Safety first! Always unplug the steam cleaner from the power source before performing any maintenance tasks. This prevents the risk of electrical shock and ensures a safe working environment.
- Allow the Steam Cleaner to Cool: If the steam cleaner has been in use, allow it to cool down completely before proceeding with the maintenance. Hot components can cause burns or discomfort during the belt replacement process.
- Clear the Work Area: Ensure the area where you’ll be working is free from clutter and obstacles. This provides ample space to maneuver the steam cleaner and reduces the risk of accidentally knocking over tools or materials.
- Inspect the Cleaner’s Exterior: Take a moment to inspect the exterior of the steam cleaner for any visible damage or wear. If you notice any issues, such as frayed cords or cracked casings, it’s best to address these concerns before proceeding with the belt replacement.
By carefully preparing the steam cleaner and its surrounding environment, you set the stage for a smooth and hassle-free belt replacement process. These preparatory steps not only ensure your safety but also contribute to the overall success of the maintenance task.
Removing the Old Belt
With the steam cleaner prepared for maintenance, it’s time to delve into the process of removing the old belt. Follow these step-by-step instructions to safely and effectively remove the old belt from your Bissell steam cleaner:
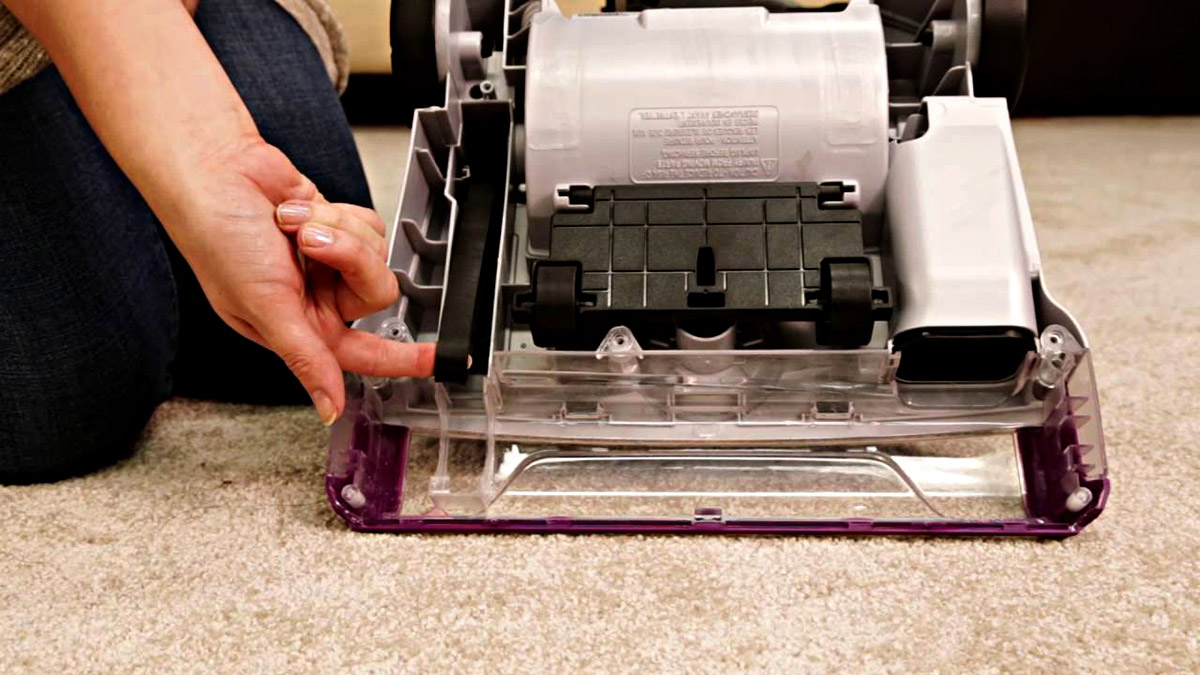
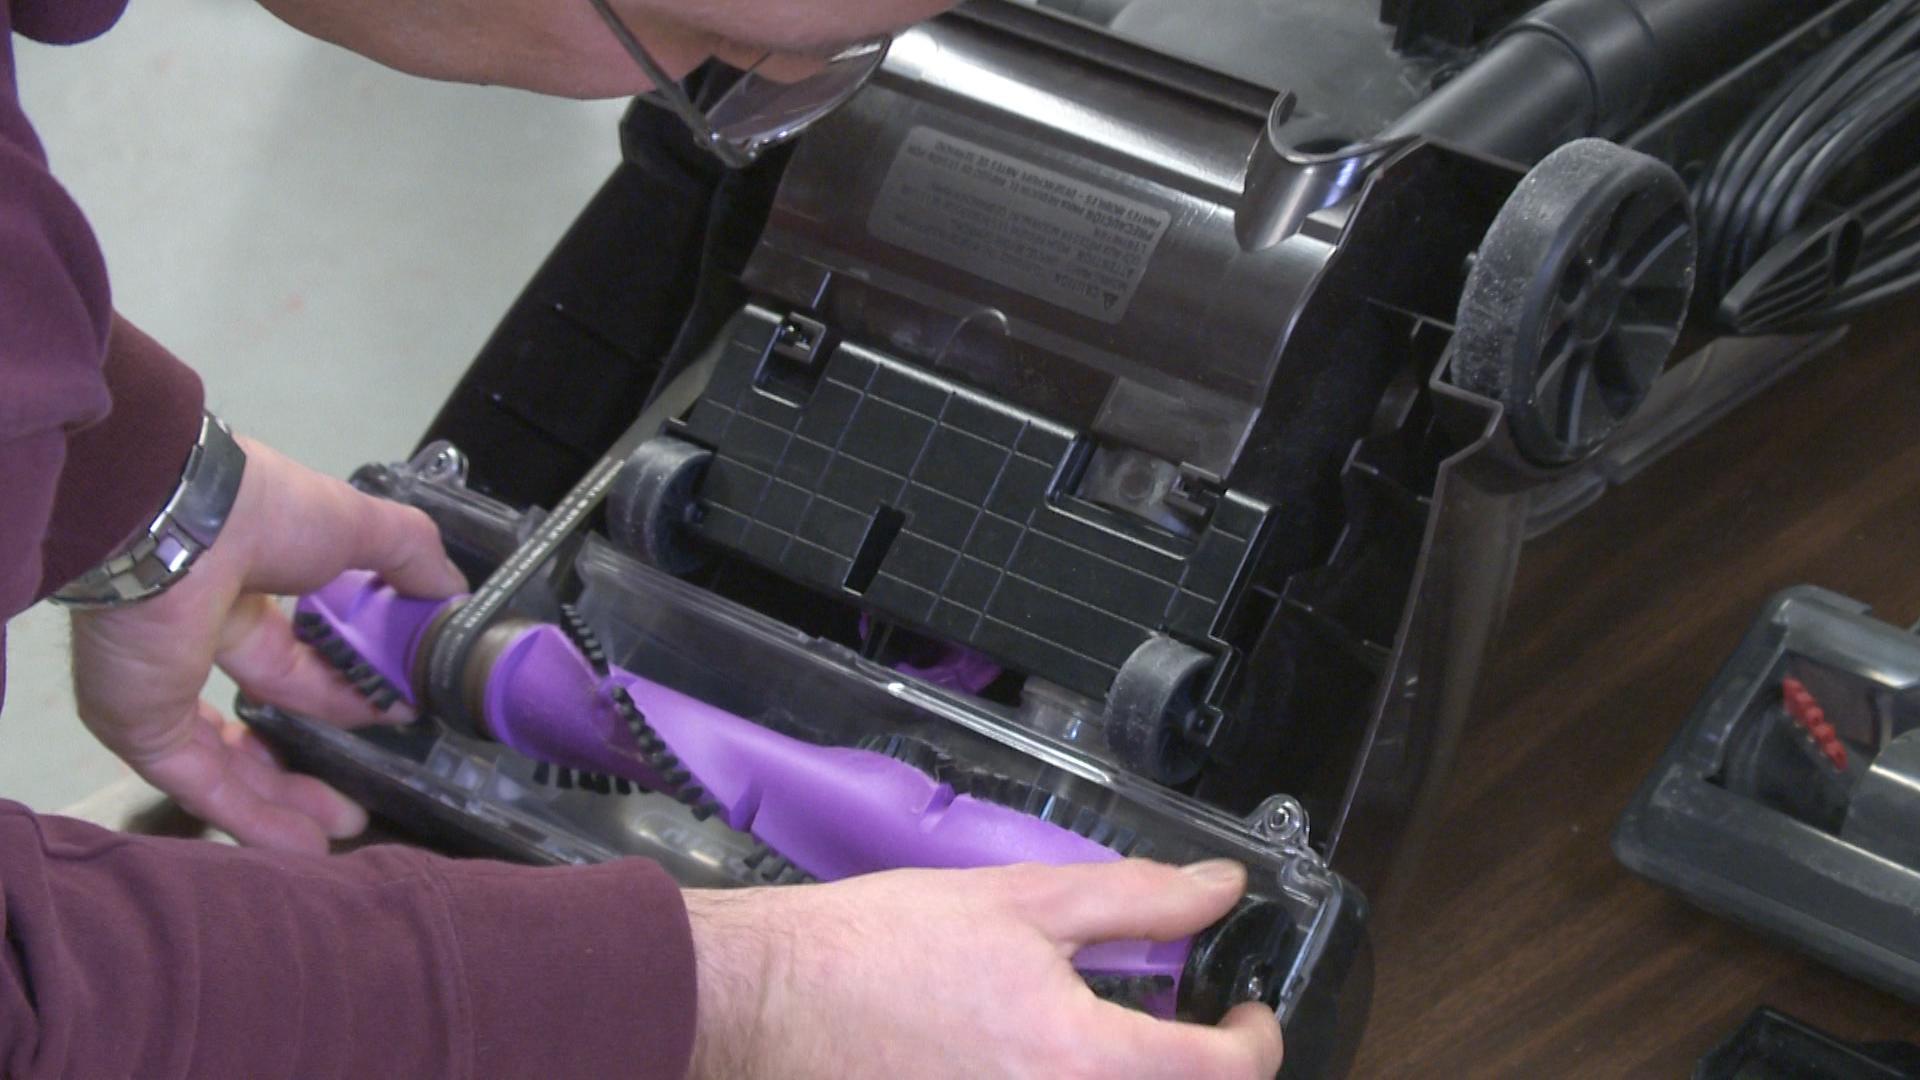
- Access the Brush Roll Area: Depending on your Bissell steam cleaner model, you may need to remove a cover or access panel to reach the brush roll and the old belt. Refer to the user manual for specific instructions on accessing this area.
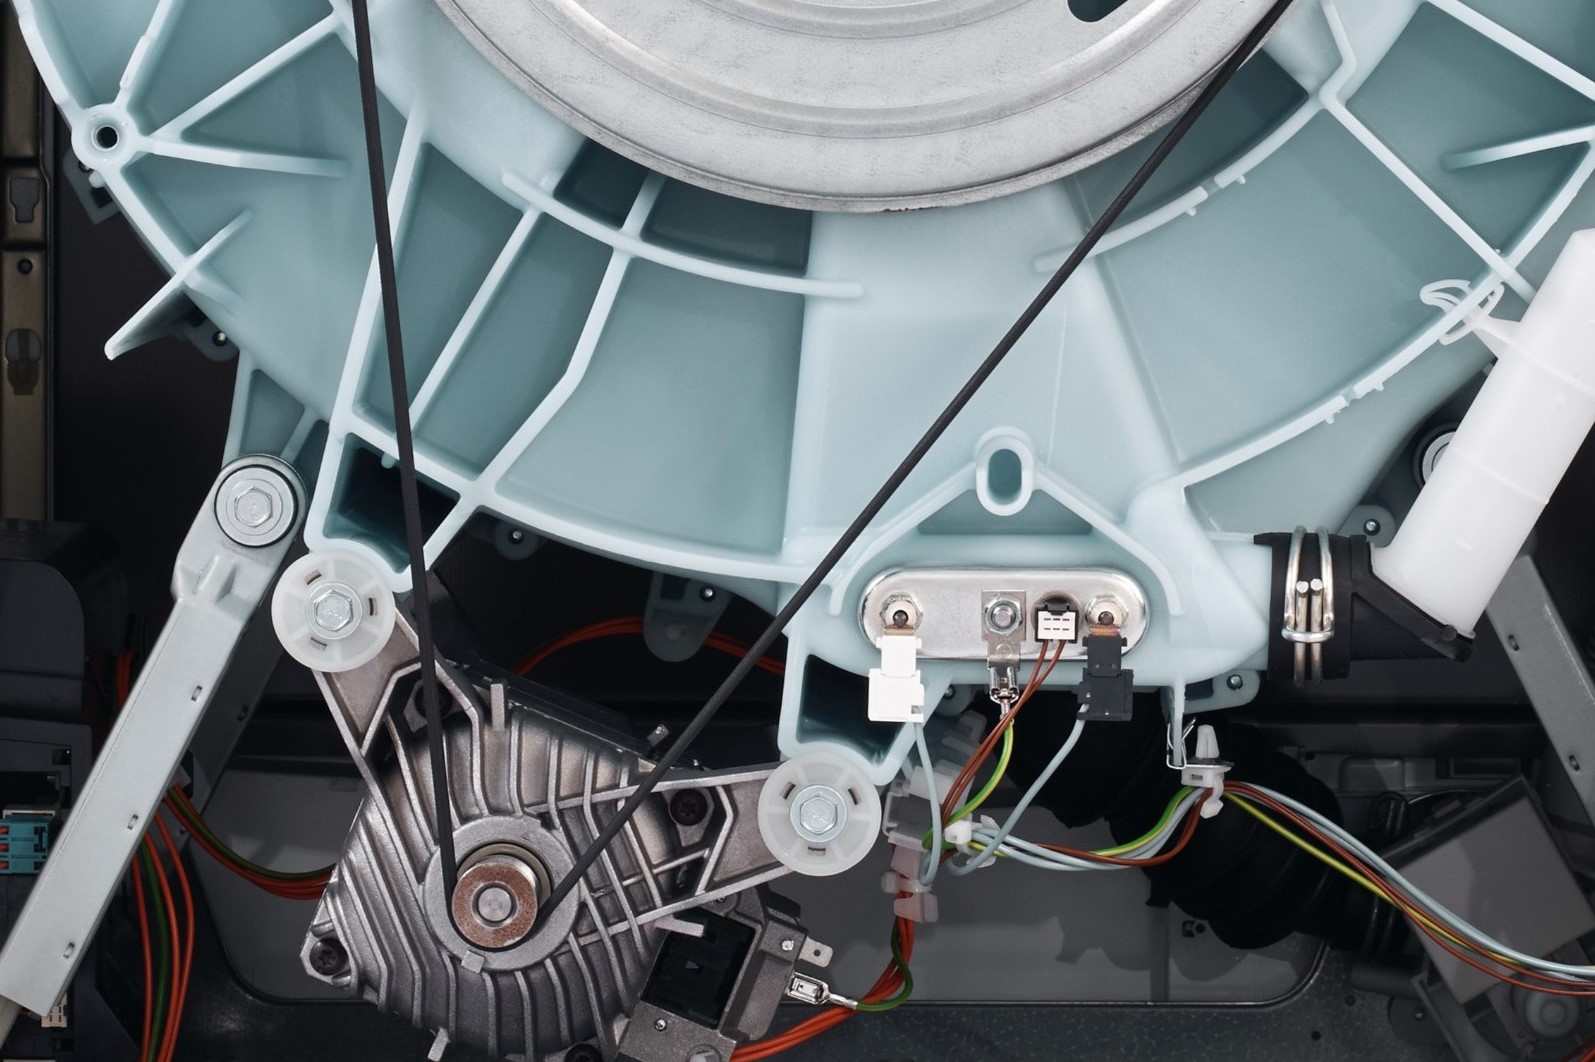
- Identify the Belt Position: Take note of how the old belt is positioned around the brush roll and the motor shaft. This will be helpful when installing the new belt.
- Release Tension and Remove the Belt: Using a screwdriver, release the tension from the brush roll and carefully remove the old belt. Take note of the belt’s condition and any signs of wear or damage, which can provide insights into the cleaner’s maintenance needs.
- Inspect the Brush Roll: While the old belt is removed, take a moment to inspect the brush roll for any debris, hair, or obstructions. Clearing any accumulated debris ensures optimal performance once the new belt is installed.
- Clean the Brush Roll Area: Use a clean cloth or paper towels to wipe the brush roll and the surrounding area, removing any dust or debris that may have accumulated during the cleaner’s regular use.
By carefully following these steps, you’ll successfully remove the old belt from your Bissell steam cleaner, setting the stage for the next phase of the maintenance process. With the old belt out of the way, you’re one step closer to revitalizing your steam cleaner’s performance with a new, reliable belt.
When changing the belt on a Bissell steam cleaner, make sure to unplug the machine first. Then, remove the brush cover and old belt. Install the new belt by looping it around the motor shaft and brush roll, then reattach the brush cover.
Installing the New Belt
Now that the old belt has been removed, it’s time to install a new belt to rejuvenate the performance of your Bissell steam cleaner. Follow these detailed steps to seamlessly install the new belt and ensure that your steam cleaner is ready to tackle cleaning tasks with renewed vigor:
- Verify the New Belt Compatibility: Before proceeding, double-check that the new belt is compatible with your specific Bissell steam cleaner model. Ensuring the correct fit is essential for optimal performance and longevity.
- Position the New Belt: Carefully position the new belt around the brush roll and the motor shaft, following the same configuration observed when removing the old belt. Pay attention to any guides or markers that indicate the correct belt placement.
- Apply Tension to the Belt: Using a screwdriver or the designated tension release mechanism, apply tension to the belt to secure it in place. Ensure that the belt is snug and properly aligned to prevent slippage during operation.
- Test the Belt Alignment: Rotate the brush roll by hand to confirm that the new belt is correctly aligned and moves smoothly without any obstructions. This step helps verify that the belt is properly installed before reassembling the cleaner.
- Replace the Access Panel or Cover: If you removed an access panel or cover to access the brush roll area, securely reattach it according to the manufacturer’s instructions. Proper reassembly ensures the safety and optimal functioning of the steam cleaner.
By meticulously following these steps, you’ll successfully install the new belt, breathing new life into your Bissell steam cleaner. With the new belt in place, your steam cleaner is poised to deliver exceptional cleaning performance, ensuring that your floors and surfaces receive the deep cleaning they deserve.
Read more: How To Change Belt On Kirby Vacuum Cleaner
Testing the Steam Cleaner
With the new belt securely installed, it’s time to put your Bissell steam cleaner to the test and ensure that the belt replacement has restored its functionality. Follow these steps to conduct a thorough testing of the steam cleaner after the belt replacement:
- Reconnect the Power: Plug the steam cleaner back into the power source, ensuring that the cord is free from any obstructions or hazards.
- Fill the Reservoir: If your steam cleaner requires water, fill the reservoir according to the manufacturer’s instructions. This step ensures that the cleaner has an adequate water supply for generating steam during operation.
- Power On the Steam Cleaner: Switch on the steam cleaner and allow it to reach the appropriate operating temperature, if applicable. This ensures that the steam generation mechanism is functioning as expected.
- Engage the Brush Roll: Activate the brush roll function to confirm that the new belt is effectively driving the brush roll. Observe the brush roll’s movement and listen for any unusual noises that may indicate issues with the belt or its alignment.
- Test on a Small Area: Select a small, inconspicuous area to test the cleaning performance of the steam cleaner. This allows you to observe the cleaner’s functionality and ensure that the new belt contributes to effective cleaning action.
- Observe Performance: Pay close attention to the steam cleaner’s performance, noting any improvements in cleaning efficacy and the smooth operation of the brush roll. If the cleaner exhibits optimal performance, you can proceed with confidence, knowing that the belt replacement has been successful.
By meticulously testing the steam cleaner after the belt replacement, you can verify that the new belt has restored the cleaner’s functionality and efficiency. This thorough testing process ensures that your Bissell steam cleaner is ready to tackle cleaning tasks with reliability and precision, providing you with the pristine results you expect.
Conclusion
Congratulations on successfully navigating the process of changing the belt on your Bissell steam cleaner! By following the step-by-step instructions outlined in this guide, you’ve demonstrated your commitment to maintaining the optimal performance of your cleaning appliance. As you conclude this maintenance task, take a moment to reflect on the importance of regular upkeep and the impact it has on the longevity and effectiveness of your Bissell steam cleaner.
With the new belt in place, your steam cleaner is poised to deliver exceptional cleaning performance, ensuring that your floors and surfaces receive the deep cleaning they deserve. The seamless installation of the new belt has not only revitalized the brush roll’s functionality but has also contributed to the overall efficiency and reliability of your Bissell steam cleaner.
Remember, regular maintenance, including belt replacements and thorough testing, is key to preserving the peak performance of your steam cleaner. By incorporating these maintenance tasks into your cleaning appliance care routine, you’re investing in the longevity of your Bissell steam cleaner and the quality of the cleaning results it delivers.
As you bask in the satisfaction of a successfully replaced belt and a rejuvenated steam cleaner, take pride in your DIY prowess and the care you’ve shown for your cleaning equipment. With a well-maintained Bissell steam cleaner at your disposal, you can confidently tackle cleaning challenges, knowing that your appliance is primed to deliver outstanding results time and time again.
Thank you for entrusting us with the guidance and knowledge needed to change the belt on your Bissell steam cleaner. We hope this comprehensive guide has empowered you to take charge of your appliance’s maintenance and enjoy the benefits of a seamlessly functioning, reliable cleaning companion.
Frequently Asked Questions about How To Change A Belt On A Bissell Steam Cleaner
Was this page helpful?
At Storables.com, we guarantee accurate and reliable information. Our content, validated by Expert Board Contributors, is crafted following stringent Editorial Policies. We're committed to providing you with well-researched, expert-backed insights for all your informational needs.

0 thoughts on “How To Change A Belt On A Bissell Steam Cleaner”