Articles
How To Inlay Wood With Hand Tools
Modified: December 7, 2023
Learn how to enhance your woodworking projects with the art of wood inlay using simple hand tools. Our informative articles will guide you through the process step-by-step.
(Many of the links in this article redirect to a specific reviewed product. Your purchase of these products through affiliate links helps to generate commission for Storables.com, at no extra cost. Learn more)
Introduction
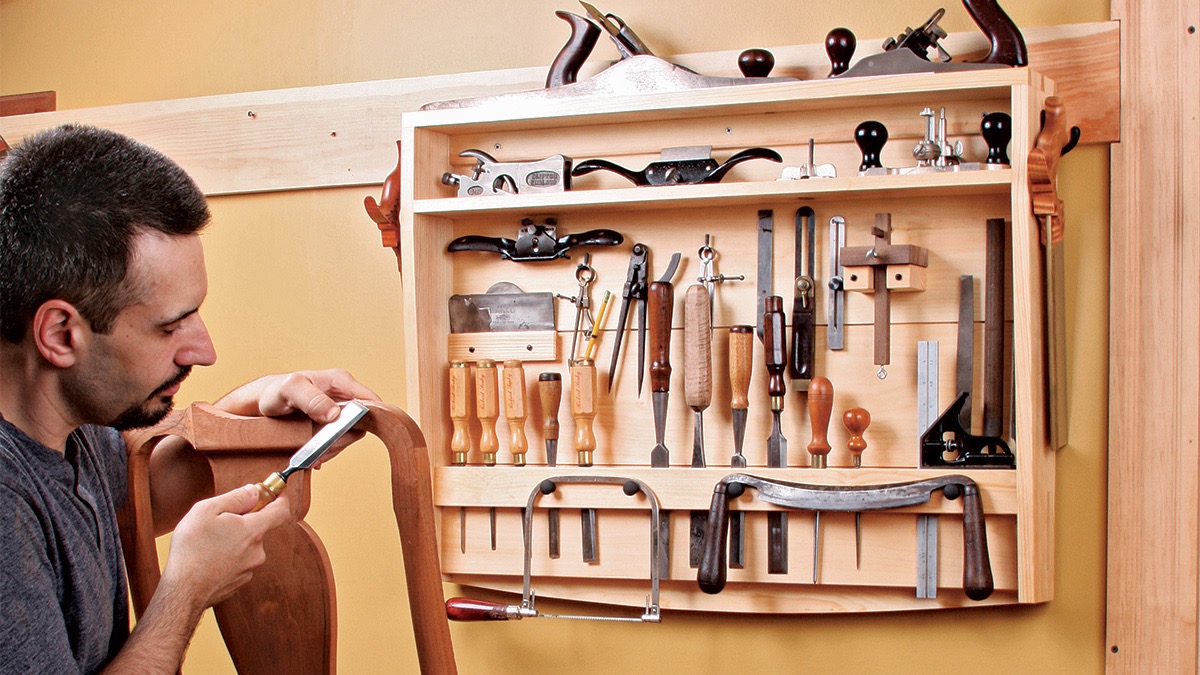
Creating intricate and beautiful inlay designs on wood surfaces is a craft that has been practiced for centuries. While modern technology has made it possible to achieve precise inlay work with power tools, there is a certain satisfaction and sense of connection that comes from using hand tools for this traditional technique. Inlaying wood with hand tools allows for a more hands-on approach, providing a greater level of control and precision.
Whether you are a woodworking enthusiast or a professional craftsman, learning how to inlay wood with hand tools can open up a world of creative possibilities. From adding subtle accents to furniture pieces to creating intricate designs on musical instruments, the art of wood inlay can elevate the visual appeal of any project.
In this article, we will guide you through the process of inlaying wood with hand tools. We will cover everything from the tools and materials you’ll need to the step-by-step process of creating a beautiful inlay design. So, let’s dive in and discover the art of hand tool wood inlay!
Key Takeaways:
- Embrace the traditional art of wood inlay with hand tools, allowing for a hands-on approach and greater control over intricate designs, elevating the visual appeal of woodworking projects.
- Patience and attention to detail are crucial when inlaying wood with hand tools, from preparing the wood surface to fitting and securing the inlay pieces, resulting in stunning, professional-grade craftsmanship.
Read more: How To Carve Wood With Hand Tools
Required Tools and Materials
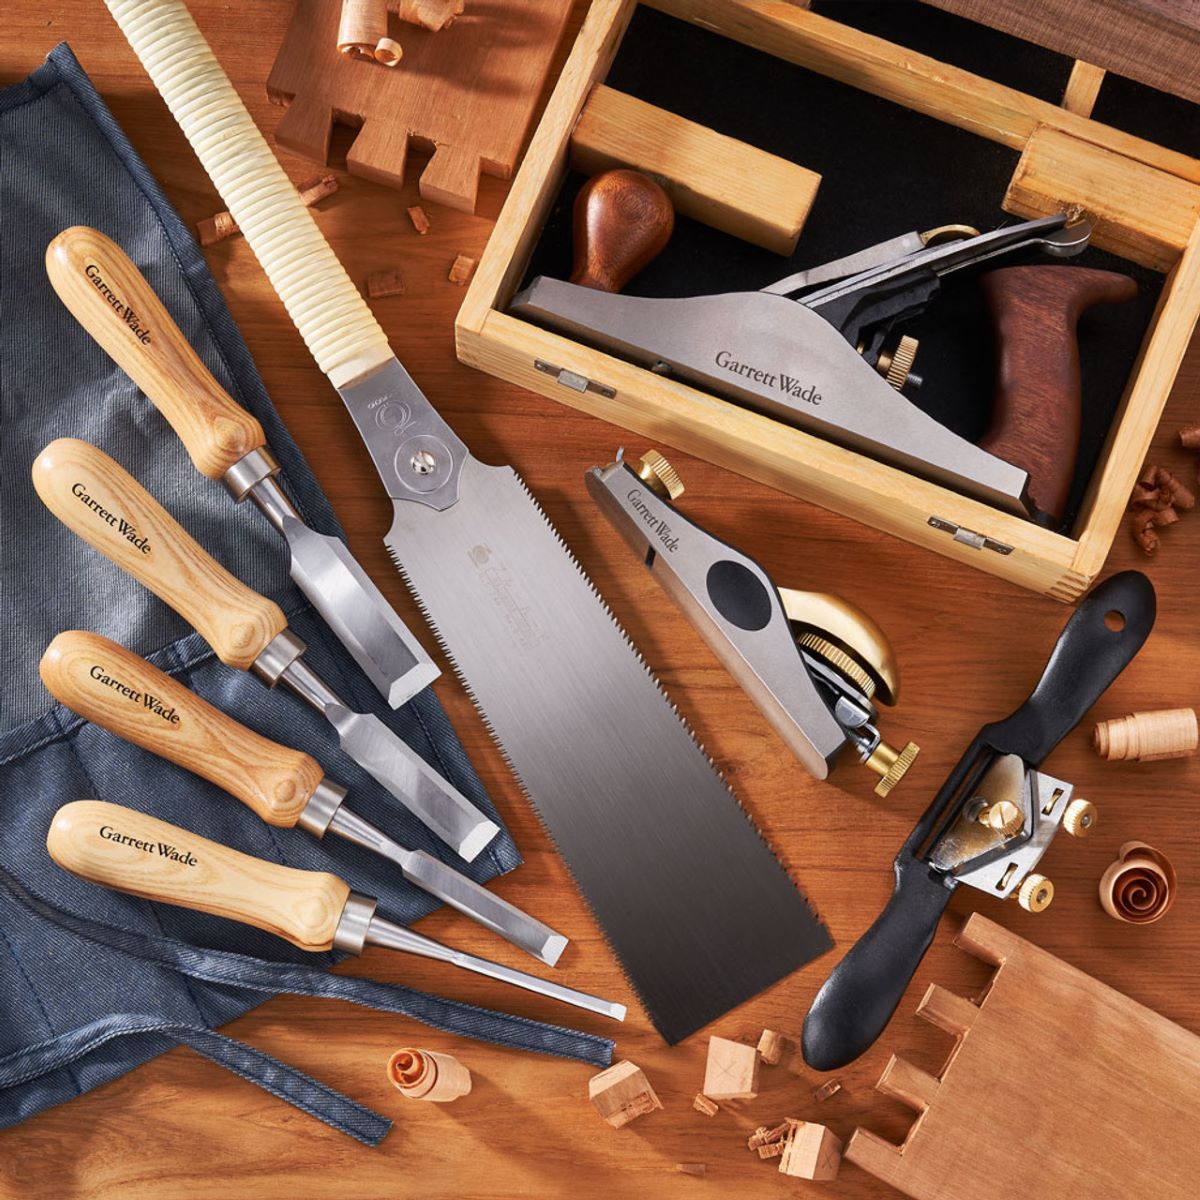
Before you begin your wood inlay project, it’s important to gather all the necessary tools and materials. Here’s a list of what you’ll need:
- Wood inlay pieces: These can be pre-cut or custom-made, depending on your design preference.
- Wood surface: Choose a sturdy and clean wood surface for your project.
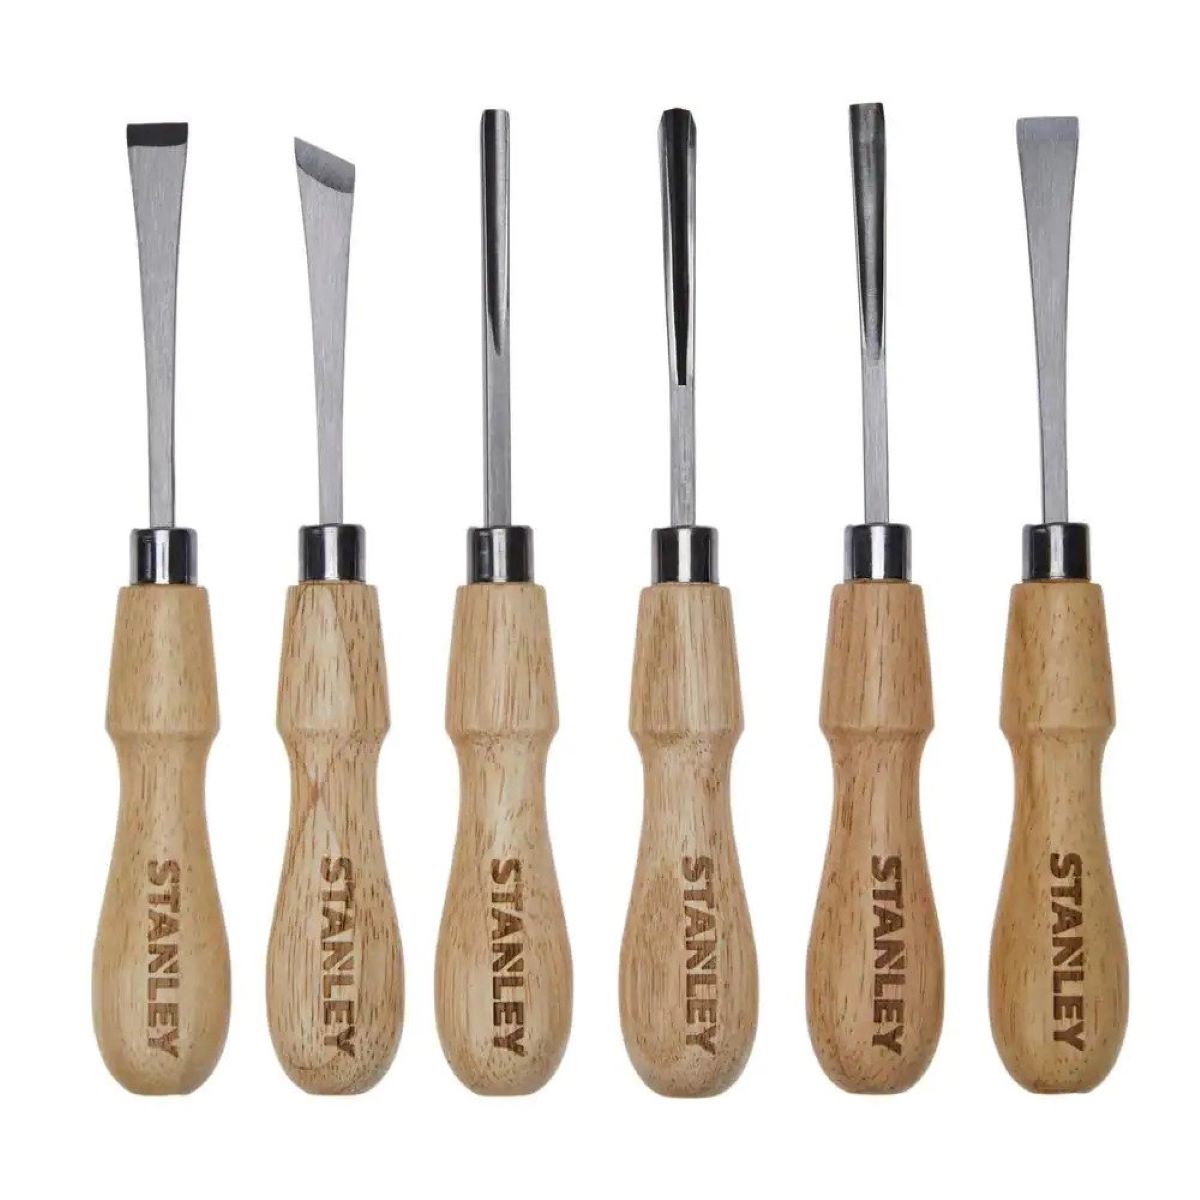
- Chisels: You’ll need a variety of chisels with different sizes for cutting and shaping the inlay grooves.
- Hammer: A lightweight hammer will be useful for tapping the chisels and securing the inlay pieces.
- Sandpaper: Prepare different grits of sandpaper for sanding the inlay and achieving a smooth finish.
- Wood glue: Use a high-quality wood glue to secure the inlay pieces in place.
- Clamps: Clamps will help hold the inlay in position while the glue dries.
- Woodworking knife: A sharp woodworking knife is essential for making precise cuts and adjustments.
- Markers or pencils: These will be used for marking the design and cutting lines on the wood.
- Ruler or measuring tape: Accurate measurements are crucial for achieving symmetrical and well-fitting inlays.
- Protective gear: Safety should always be a priority. Wear safety goggles, gloves, and a dust mask to protect yourself during the process.
Once you have gathered all the necessary tools and materials, you’ll be ready to embark on your wood inlay project. Make sure to have a clean and well-organized workspace, and take your time to familiarize yourself with each tool before starting.
Now that you have your tools and materials ready, let’s move on to preparing the wood surface for the inlay process.
Preparing the Wood Surface
Before you can start the process of inlaying wood, it’s crucial to properly prepare the wood surface. Here are the steps to follow:
- Clean the wood: Start by ensuring that the wood surface is clean and free from any debris or dust. Use a soft cloth or brush to gently remove any loose particles.
- Smooth out the surface: Use sandpaper to smooth out the wood surface, ensuring it is free from any roughness or imperfections. Start with a coarser grit and gradually move to finer grits for a seamless finish.
- Remove any existing finish: If there is any existing finish or coating on the wood, it’s essential to remove it before proceeding with the inlay. Use appropriate chemical strippers or sandpaper to remove the finish completely.
- Choose the area for inlay: Identify the area of the wood surface where you want to create the inlay design. Consider the size and shape of the inlay pieces you’ll be using and mark the area accordingly.
- Mask off the area: Use painter’s tape or masking tape to create a boundary around the marked area. This will help prevent any accidental damage to the surrounding wood while working on the inlay.
By properly preparing the wood surface, you’ll ensure that the inlay process goes smoothly and the final result is visually pleasing. Once you have prepared the surface, it’s time to move on to the next step: designing and planning your inlay pattern.
Design and Planning
Designing and planning your inlay pattern is a crucial step in the wood inlay process. It’s where you get to unleash your creativity and envision the final outcome of your project. Here’s how you can approach the design and planning phase:
- Choose a design: Start by selecting a design for your inlay. It can be a simple geometric pattern, an intricate floral design, or even a custom logo. Consider the overall aesthetic of your project and the skill level required to execute the design.
- Create a template: Once you have chosen a design, it’s helpful to create a template. You can use tracing paper or cardboard to draw and cut out the shape of your inlay pattern. This template will serve as a guide during the cutting and fitting process.
- Measure and mark: Use a ruler or measuring tape to measure the dimensions of your inlay pattern. Transfer these measurements onto the wood surface, making sure to use precise and light markings. This will help guide your cutting and carving process.
- Consider the wood grain: Take into account the direction and pattern of the wood grain when planning your inlay design. Aligning the inlay pieces with the wood grain can enhance the visual appeal and create a seamless integration.
- Test the fit: Before cutting the actual inlay groove, it’s advisable to do a test fit using the template and the chosen inlay pieces. This will allow you to make any necessary adjustments to ensure a perfect fit.
By investing time and effort in the design and planning phase, you’ll have a clear roadmap for executing your wood inlay project. Once you’re satisfied with the design and the fit, it’s time to move on to the next step: creating the inlay template.
Creating the Inlay Template
Creating an inlay template is an essential step in the wood inlay process. The template serves as a guide for cutting and shaping the inlay groove and ensures that your inlay pieces fit snugly into the wood surface. Here’s how you can create an inlay template:
- Transfer the design: Take your chosen design and transfer it onto a piece of cardboard or a thin sheet of plywood. You can do this by tracing the design onto the material or by using carbon paper for a more precise transfer.
- Cut out the template: Use a sharp knife or a jigsaw to carefully cut out the shape of your design from the template material. Take your time to ensure clean and accurate cuts.
- Refine the template: Once you have cut out the basic shape of the design, you can refine the template by sanding or filing any rough edges. This will help achieve a smooth fit and prevent any snagging or misalignment during the inlay process.
- Test the template: Place the template onto the wood surface and check the fit. Make any necessary adjustments by trimming or reshaping the template until it matches the dimensions and contours of your desired inlay pattern.
Creating an inlay template ensures consistency and accuracy in your wood inlay project. It allows you to replicate the design multiple times, should you wish to create multiple inlay pieces. With your template ready, you’re now prepared to move on to the next step: preparing the inlay materials.
Read more: How To Cut Wood Channel With Hand Tools
Preparing the Inlay Materials
Preparing the inlay materials is a crucial step to ensure a successful wood inlay project. The materials you choose will determine the visual impact and durability of your inlay design. Here’s how you can prepare the inlay materials:
- Select the appropriate wood: Choose a wood species that complements the base wood and enhances the overall aesthetic of your project. Consider factors such as color, grain pattern, and hardness. Ensure that the inlay wood is properly dried and stable.
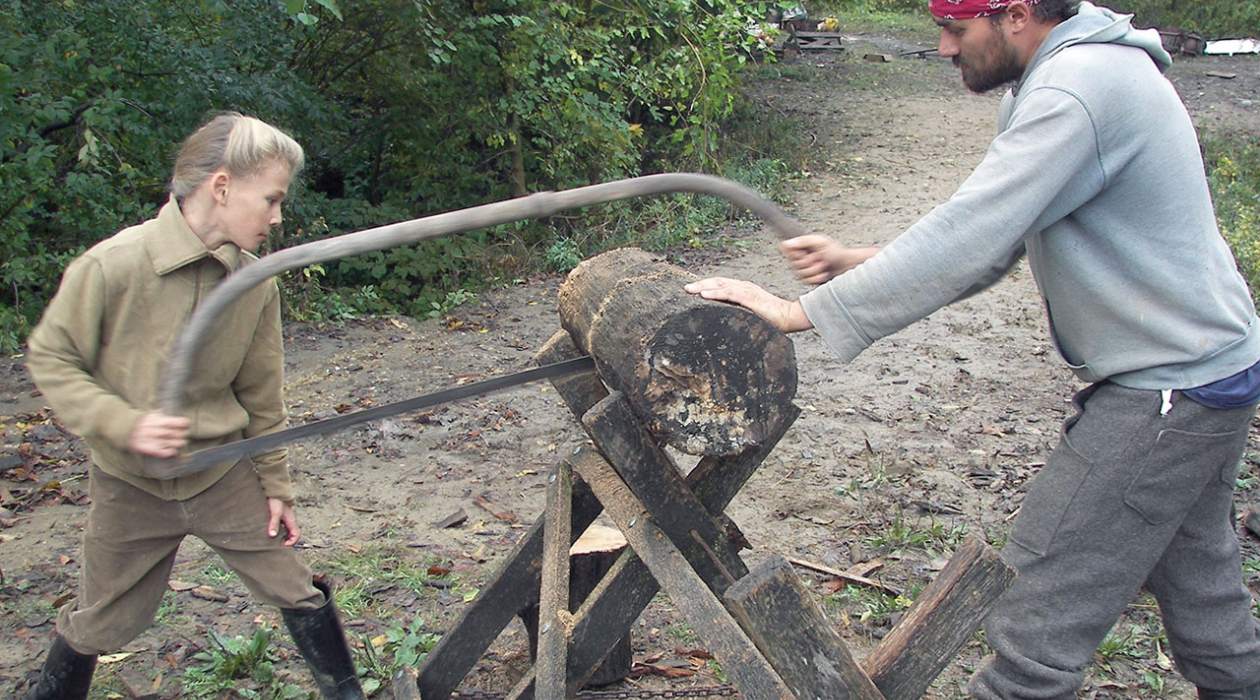
- Create the inlay pieces: Using your inlay template as a guide, carefully cut and shape the chosen wood into desired inlay pieces. This can be done using a bandsaw, coping saw, or scroll saw, depending on the complexity of the design.
- Smooth the inlay pieces: Once the inlay pieces are cut, use sandpaper or a file to smooth out any rough edges or imperfections. This will ensure a seamless fit and a professional-looking finish.
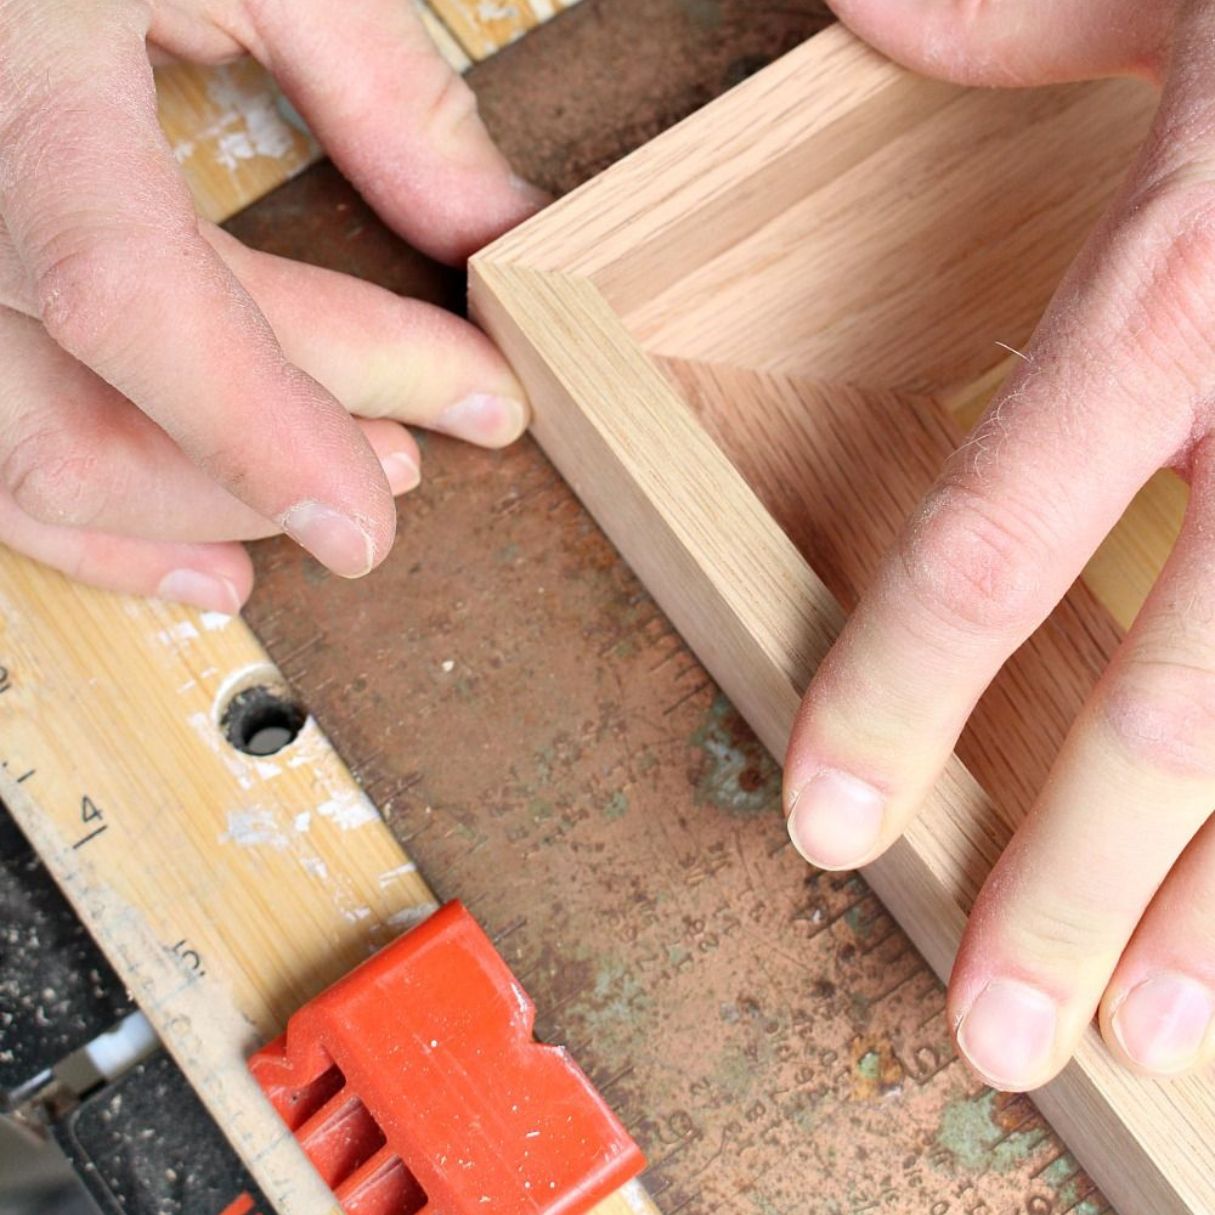
- Test the fit: Place the inlay pieces into the corresponding inlay groove on the wood surface. Check for any gaps or tight spots that may require further adjustment. The inlay pieces should fit snugly and flush with the surrounding wood.
By properly preparing the inlay materials, you ensure that they are ready for the next step: cutting the inlay groove on the wood surface. Take your time with this process and make sure the inlay pieces are shaped and fitted to perfection. With the inlay materials prepared, it’s time to proceed to the next step: cutting the inlay groove.
When inlaying wood with hand tools, make sure to use sharp chisels and a mallet for clean and precise cuts. Take your time and work slowly to avoid any mistakes.
Cutting the Inlay Groove
The next step in the wood inlay process is cutting the groove on the wood surface to accommodate the inlay pieces. This groove provides a secure and seamless fit for the inlay materials. Here’s how you can cut the inlay groove:
- Select the appropriate chisel: Choose a chisel that matches the width of the inlay groove you want to create. A wider chisel is ideal for larger inlay designs, while a narrower chisel is suitable for delicate or intricate patterns.
- Mark the cutting lines: Use a pencil or a marking knife to trace the outline of the inlay groove on the wood surface. Make sure your lines are accurate and precise, following the design and dimensions of your inlay template.
- Make shallow cuts: Position the chisel at a slight angle and make shallow cuts along the marked lines. Repeat this process until you have cut the entire length of the inlay groove. Take your time and work carefully to avoid any accidental slips or cuts.
- Remove the waste wood: Use the chisel to carefully remove the waste wood from the groove. Take small and controlled cuts, ensuring that you stay within the marked lines. Be cautious not to apply excessive force that could damage the wood surface.
- Check the fit: Periodically check the fit of the inlay pieces in the groove. They should sit flush with the wood surface without any gaps or irregularities. Make any necessary adjustments to the groove or inlay pieces until you achieve a perfect fit.
It’s important to approach the cutting process with patience and precision, as it directly affects the final outcome of your wood inlay project. With the inlay groove cut, you’re ready to move on to the next step: fitting the inlay pieces into the groove.
Fitting the Inlay Piece
Once you have cut the groove on the wood surface, it’s time to fit the inlay pieces into place. Properly fitting the inlay ensures a seamless and professional finish to your wood inlay project. Here’s how you can fit the inlay piece:
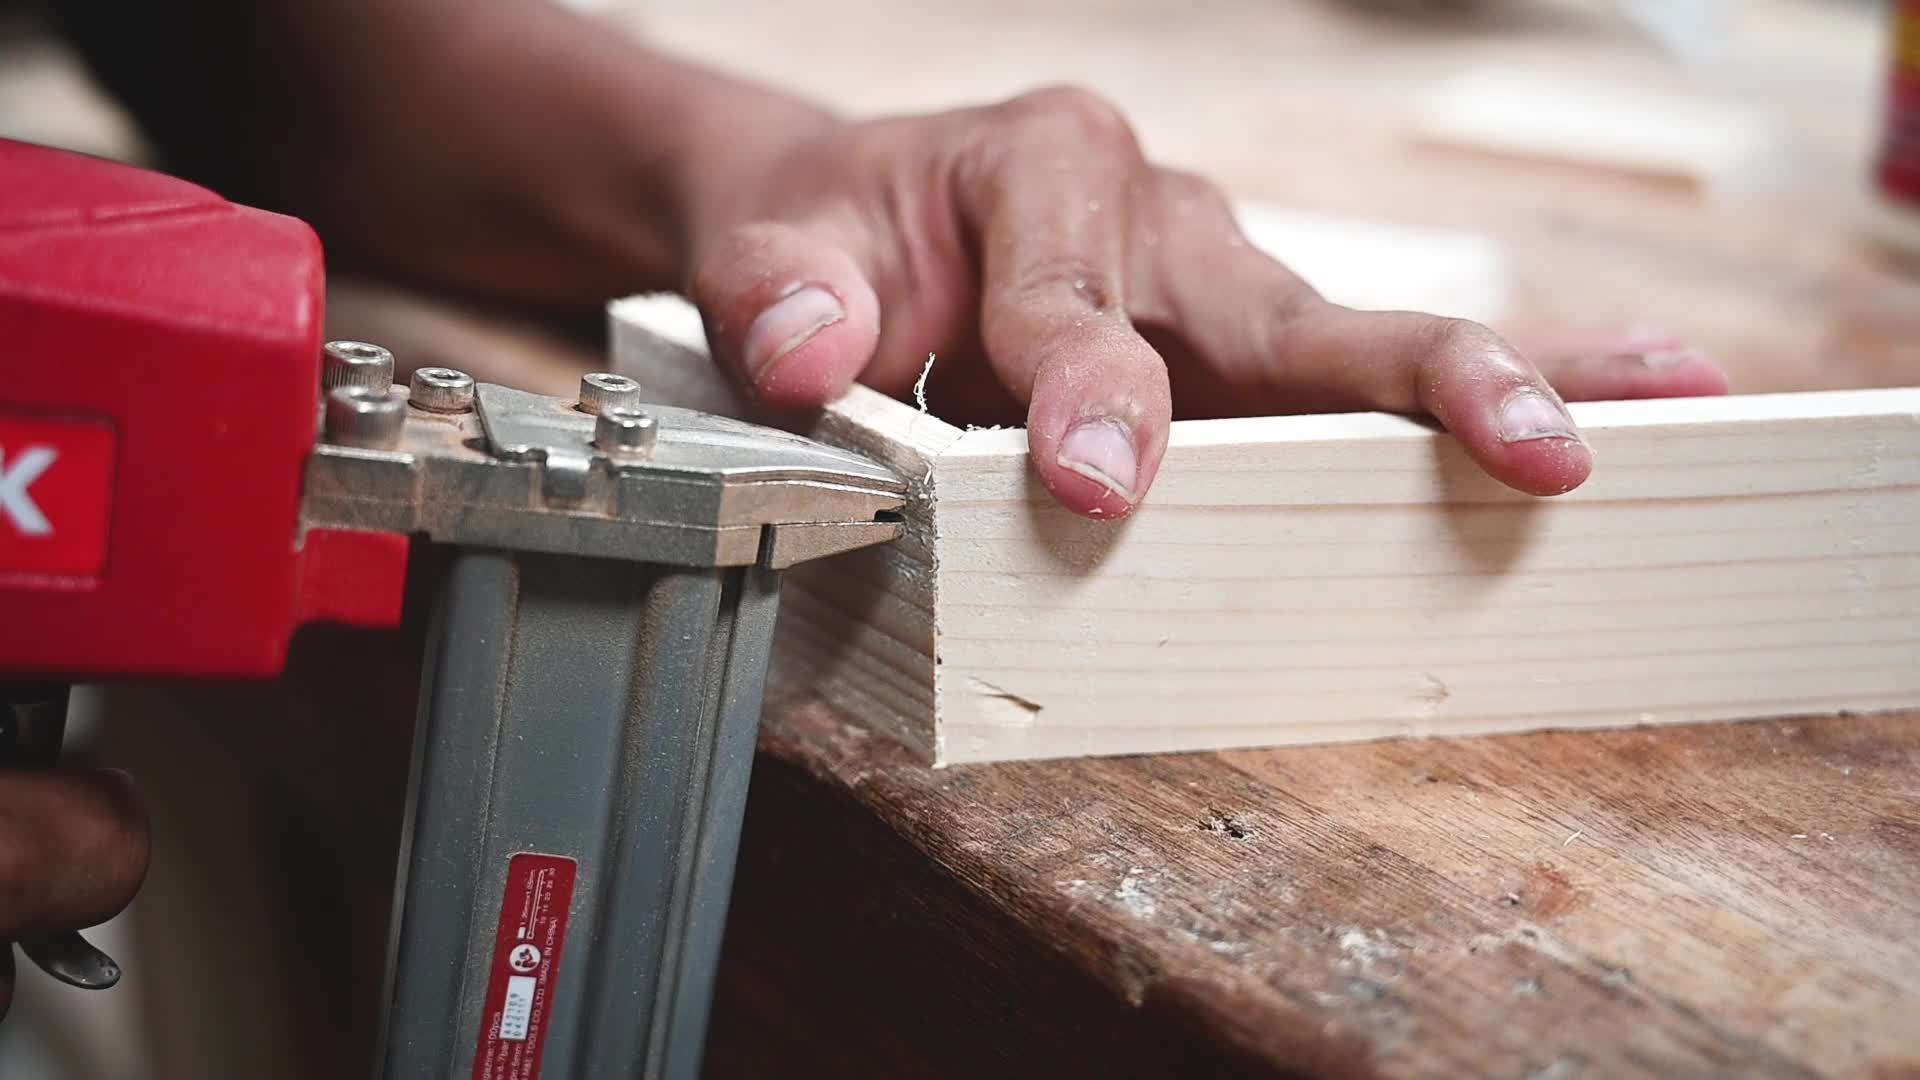
- Apply wood glue: Apply a thin and even layer of wood glue to the bottom of the inlay groove. Be careful not to use too much glue, as it can cause excess squeeze-out and create a messy finish.
- Place the inlay piece: Carefully place the inlay piece into the groove, ensuring that it fits snugly and aligns with the design and surrounding wood surface. Use light finger pressure to press it down gently and evenly.
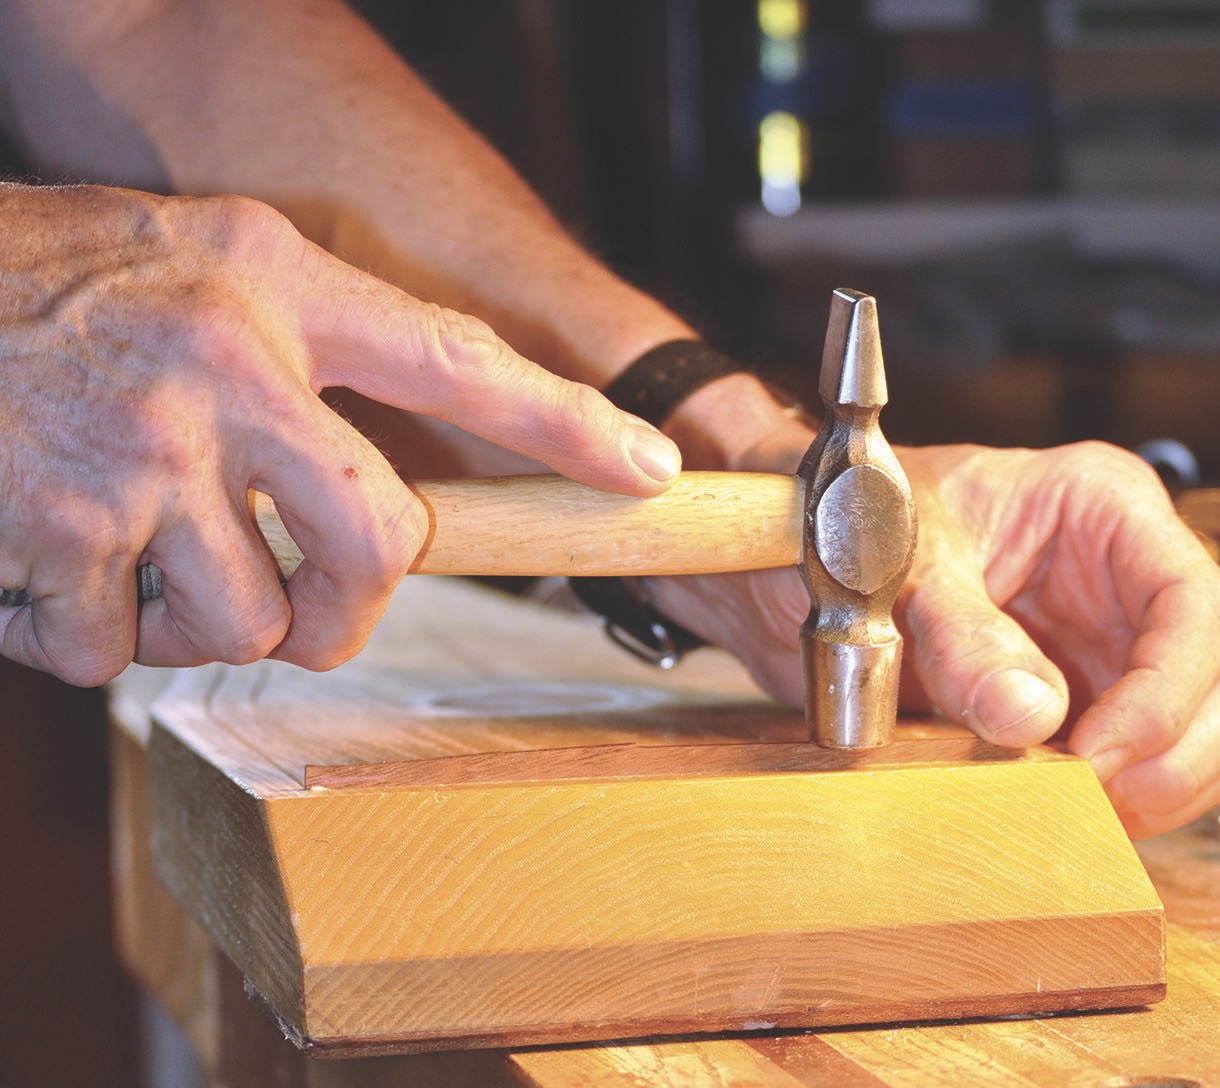
- Tap the inlay piece: Use a hammer with a gentle tapping motion to ensure that the inlay piece is fully seated in the groove. Work from one end to the other, tapping along the length of the inlay piece. This helps secure it firmly in place.
- Check for flushness: Use a straightedge or your fingers to check for flushness between the inlay piece and the wood surface. The inlay should sit level and smooth, without any noticeable gaps or raised areas.
- Remove excess glue: Use a damp cloth or a cotton swab to remove any excess glue that may have squeezed out from the edges of the inlay. Wipe gently to avoid smearing the glue on the surrounding wood.
Take your time when fitting the inlay piece, ensuring that it is aligned properly and fits securely into the groove. Don’t rush this step, as it greatly contributes to the overall quality of your wood inlay. With the inlay securely fitted, it’s time to move on to the next step: gluing and securing the inlay.
Gluing and Securing the Inlay
After fitting the inlay piece into the groove, the next step is to glue and secure it firmly in place. Properly gluing and securing the inlay ensures its long-lasting durability and stability. Here’s how you can do it:
- Apply wood glue: Use a small brush or a toothpick to apply a thin, even layer of wood glue to the entire surface of the inlay groove. Make sure to cover the bottom and sides of the groove to ensure a strong bond.
- Reposition the inlay piece: Carefully lift the inlay piece and reposition it back into the groove. Align it correctly with the surrounding wood and press it down firmly, ensuring good contact with the glue.
- Use clamps or weights: If necessary, use clamps or weights to hold the inlay piece in place while the glue cures. This will help apply even pressure and prevent the inlay from shifting during the drying process. Ensure that the clamps or weights do not damage the wood surface.
- Wipe off excess glue: Immediately after clamping or positioning the inlay, use a damp cloth or sponge to wipe off any excess glue that may have squeezed out. Be gentle to avoid spreading the glue and creating a messy finish.
- Let the glue dry: Allow the glued inlay to dry according to the manufacturer’s instructions. It is essential to give the glue sufficient time to cure to ensure a strong bond. Avoid disturbing or moving the inlay during this time.
- Remove clamps or weights: Once the glue is completely dry, carefully remove the clamps or weights. Check the inlay to ensure it is secure and flush with the surrounding wood surface.
By following these steps, you can ensure that your inlay is firmly glued and securely in place, ready for the final step: sanding and finishing.
Read more: How To Use Hand Tools To Shape Hard Wood
Sanding and Finishing the Inlay
After the inlay is securely glued and dried, it’s time to sand and finish the inlay. This step is crucial for achieving a smooth, polished, and professional-looking result. Here’s how you can sand and finish the inlay:
- Sand the inlay: Use a fine-grit sandpaper or sanding block to carefully sand the surface of the inlay. Start with a lower grit to remove any roughness or imperfections and gradually move to higher grits for a finer finish. Sand in a circular or back-and-forth motion, ensuring you cover the entire surface.
- Pay attention to edges and corners: Be meticulous when sanding around the edges and corners of the inlay. Use a piece of sandpaper folded into a small corner or utilize a sanding stick to reach these areas. This will help achieve a smooth and seamless transition between the inlay and the wood surface.
- Remove dust: After sanding, wipe away any sanding dust with a clean, dry cloth or a soft brush. Make sure to remove all the dust particles to ensure a clean finish.
- Apply finish: Once the inlay is sanded and dust-free, you can apply a finish of your choice. Consider using a clear varnish, lacquer, or oil-based finish to enhance the beauty and protect the inlay. Apply the finish evenly and follow the manufacturer’s instructions.
- Let the finish dry: Allow the finish to dry completely according to the manufacturer’s instructions. Avoid touching or disturbing the inlay until the finish has cured fully.
- Buff and polish: After the finish has dried, use a soft cloth or a buffing wheel to gently buff and polish the inlay. This will help bring out the shine and highlight the intricate details of the inlay design.
By carefully sanding and finishing the inlay, you can achieve a professional-grade result that showcases your craftsmanship. Take your time during this step and pay attention to detail. Once the inlay is sanded and finished, you can step back and admire the beautiful, completed result.
Conclusion
Congratulations! You have now learned how to inlay wood with hand tools. This traditional woodworking technique allows you to create stunning and intricate designs on wood surfaces. By following the step-by-step process outlined in this article, you can create beautiful wood inlay projects that showcase your creativity and craftsmanship.
Throughout the process, we discussed the tools and materials required, the importance of preparing the wood surface, designing and planning your inlay pattern, creating an inlay template, preparing the inlay materials, cutting the inlay groove, fitting and securing the inlay piece, and finally, sanding and finishing the inlay.
Remember, patience and attention to detail are key when working with hand tools for inlay work. Take the time to properly prepare and fit the inlay pieces, ensuring a seamless and flush integration with the wood surface. Sanding and finishing the inlay will enhance its appearance and protect it for years to come.
Now, armed with the knowledge and skills to inlay wood with hand tools, you can embark on your own projects, whether it’s embellishing furniture, creating custom designs on musical instruments, or adding unique details to your woodworking creations.
Enjoy the process of working with your hands and creating stunning wood inlay pieces that will be admired for generations to come!
Frequently Asked Questions about How To Inlay Wood With Hand Tools
Was this page helpful?
At Storables.com, we guarantee accurate and reliable information. Our content, validated by Expert Board Contributors, is crafted following stringent Editorial Policies. We're committed to providing you with well-researched, expert-backed insights for all your informational needs.


0 thoughts on “How To Inlay Wood With Hand Tools”