Articles
How To Use Drano In Toilet
Modified: October 20, 2024
Looking for articles on how to use Drano in the toilet? Get expert tips and step-by-step guides to safely and effectively use Drano for unclogging toilets.
(Many of the links in this article redirect to a specific reviewed product. Your purchase of these products through affiliate links helps to generate commission for Storables.com, at no extra cost. Learn more)
Introduction
Welcome to our guide on how to use Drano in a toilet. Dealing with a clogged toilet can be a frustrating experience, but with the help of Drano, you can quickly and effectively clear the blockage and restore proper flushing. In this article, we will walk you through the steps to safely and effectively use Drano in your toilet.
Drano is a popular chemical drain cleaner that is known for its powerful formula in clearing clogs. It is specifically designed to dissolve various types of material, such as hair, soap scum, and other debris that can accumulate in your toilet’s pipes. However, it is important to follow the instructions carefully and take necessary safety precautions when using Drano in your toilet.
Before we begin, it’s essential to note that if you have a severe or persistent clog, it may be best to contact a professional plumber. They have the necessary tools and expertise to handle more complex clogs and ensure that your toilet is properly unclogged. However, for minor clogs, using Drano can be a convenient and effective solution.
In the next sections, we will discuss the safety precautions you should take before using Drano, as well as the step-by-step process to successfully clear a clogged toilet using this popular drain cleaner.
Key Takeaways:
- Safely and effectively use Drano in your toilet by following essential safety precautions, gathering necessary materials, and patiently allowing Drano to work its magic to clear clogs.
- If the clog persists, repeat the Drano process or seek professional help. Prioritize safety, proper disposal, and follow instructions for a successful unclogging experience.
Read more: How To Use Drano In Bathtub
Safety Precautions
Before using Drano in your toilet, it is crucial to take certain safety precautions to protect yourself and prevent any damage to your plumbing system. Here are some essential safety measures to keep in mind:
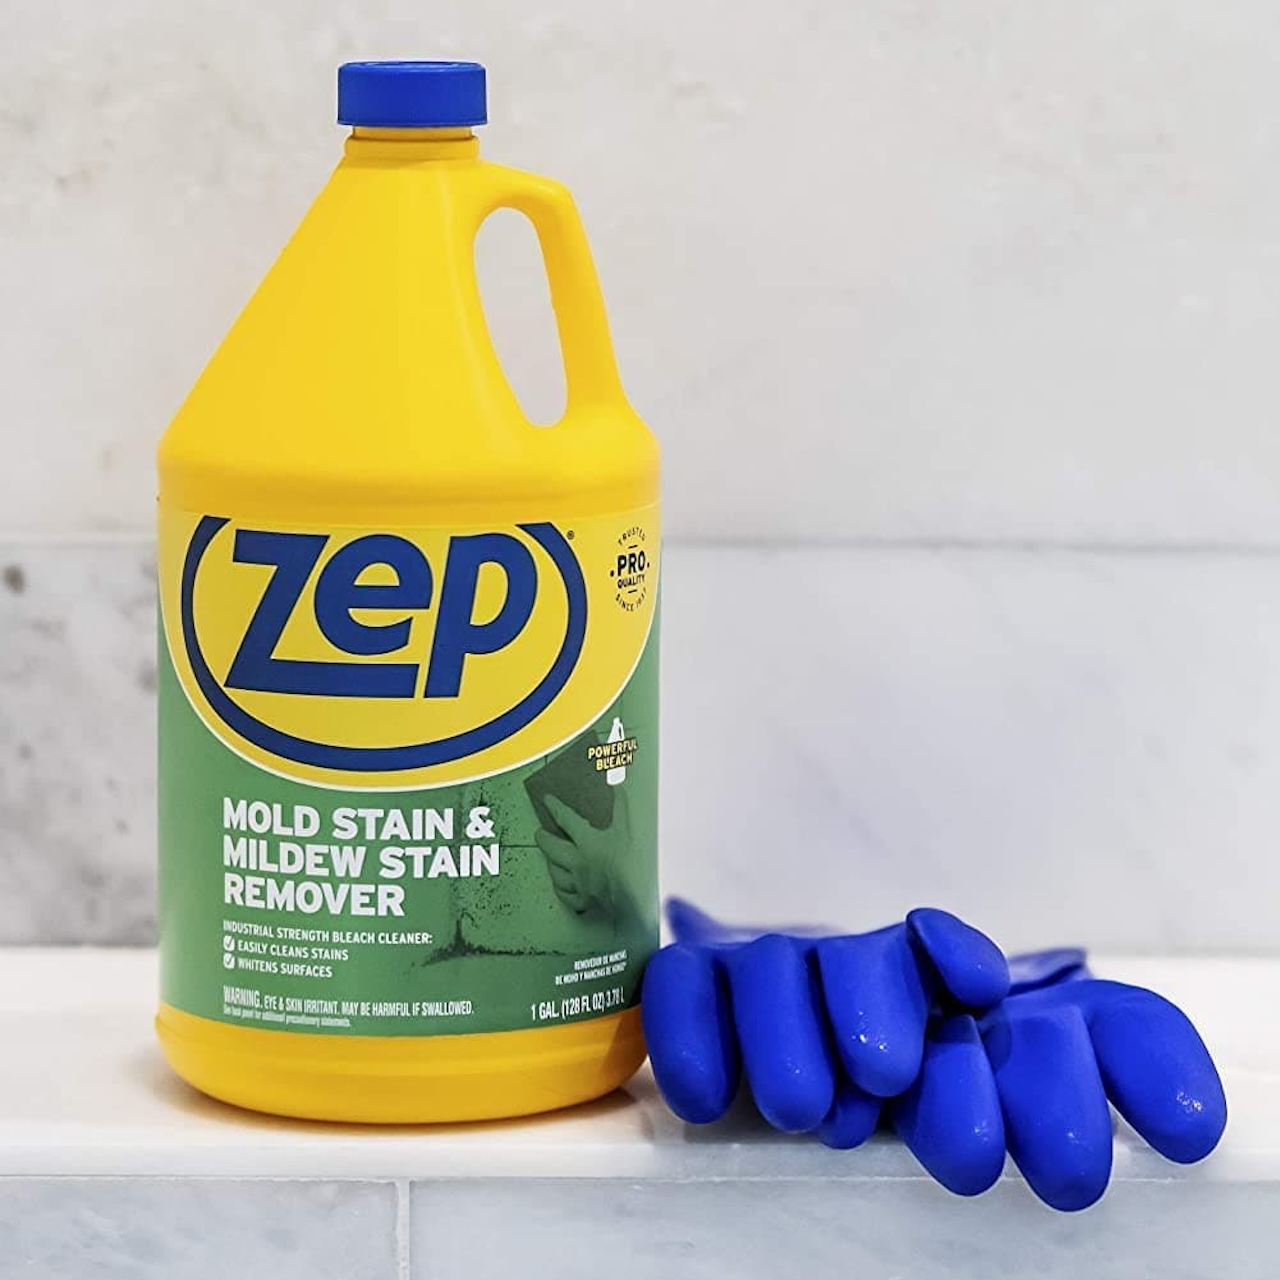
- Wear protective gear: It is recommended to wear rubber gloves and safety goggles to protect your skin and eyes from any potential contact with Drano. Additionally, wearing old clothes that you don’t mind getting dirty is advisable.
- Ensure proper ventilation: Open windows or turn on a fan to ensure proper ventilation in the bathroom. Drano produces strong fumes, and having adequate airflow will help prevent any inhalation of potentially harmful vapors.
- Keep children and pets away: Drano is a dangerous chemical and should be kept out of reach of children and pets. Store the product in a secure location and do not allow anyone near the area while you are using it.
- Do not mix chemicals: Avoid mixing Drano with any other chemical cleaners, as it can create hazardous reactions. Stick to using Drano on its own and follow the instructions provided by the manufacturer.
- Follow the instructions: Carefully read and follow the instructions provided on the Drano packaging. It is crucial to use the right amount of the product and follow the recommended wait times before flushing the toilet. This will ensure safe and effective usage.
- Avoid contact with skin: If Drano comes into contact with your skin, rinse the affected area immediately with plenty of cold water. If any irritation or burning sensation persists, seek medical attention.
- Properly dispose of leftover product: After using Drano, dispose of the leftover product and packaging according to local regulations. Do not pour it down the drain or toilet, as it can cause further damage to your plumbing system or harm the environment.
By following these safety precautions, you can minimize any risks associated with using Drano and ensure a safe and successful experience in unclogging your toilet. Let’s move on to the step-by-step process of using Drano in your toilet.
Step 1: Gather the necessary materials
Before you begin using Drano in your toilet, it’s important to gather all the necessary materials. Having everything you need readily available will streamline the process and prevent any unnecessary delays. Here are the materials you will need:
- Drano: Purchase a bottle of Drano specifically designed for toilet use. Look for the Drano Max Gel Clog Remover or a similar product. Make sure to check the packaging to ensure it is safe for use in toilets.
- Rubber gloves: To protect your hands from coming into direct contact with the Drano and any debris, wear a pair of rubber gloves. Disposable gloves are widely available and will help keep your hands clean throughout the process.
- Safety goggles: As an added precaution, it’s recommended to wear safety goggles to shield your eyes from any potential splashes or fumes that may occur during the process. Safety goggles can be purchased at your local hardware store.
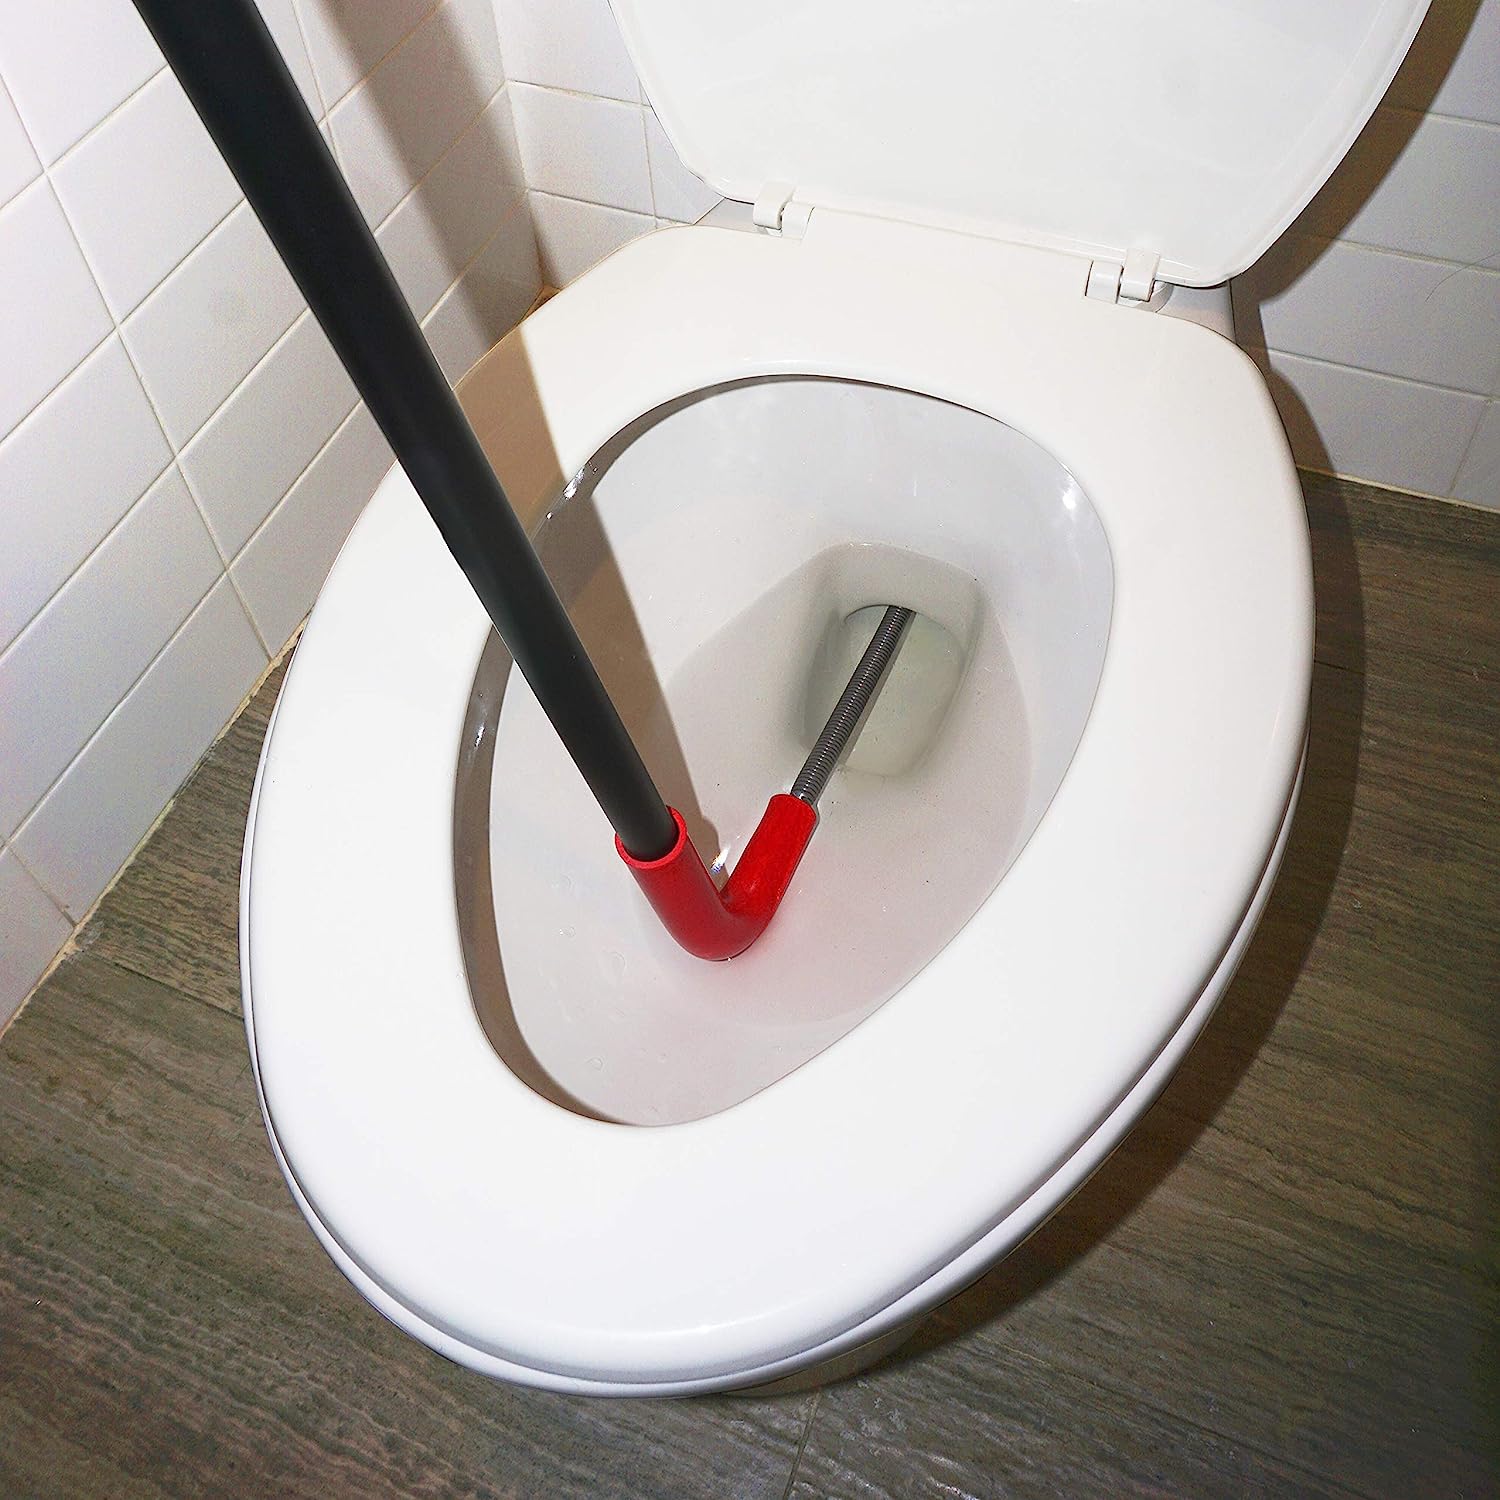
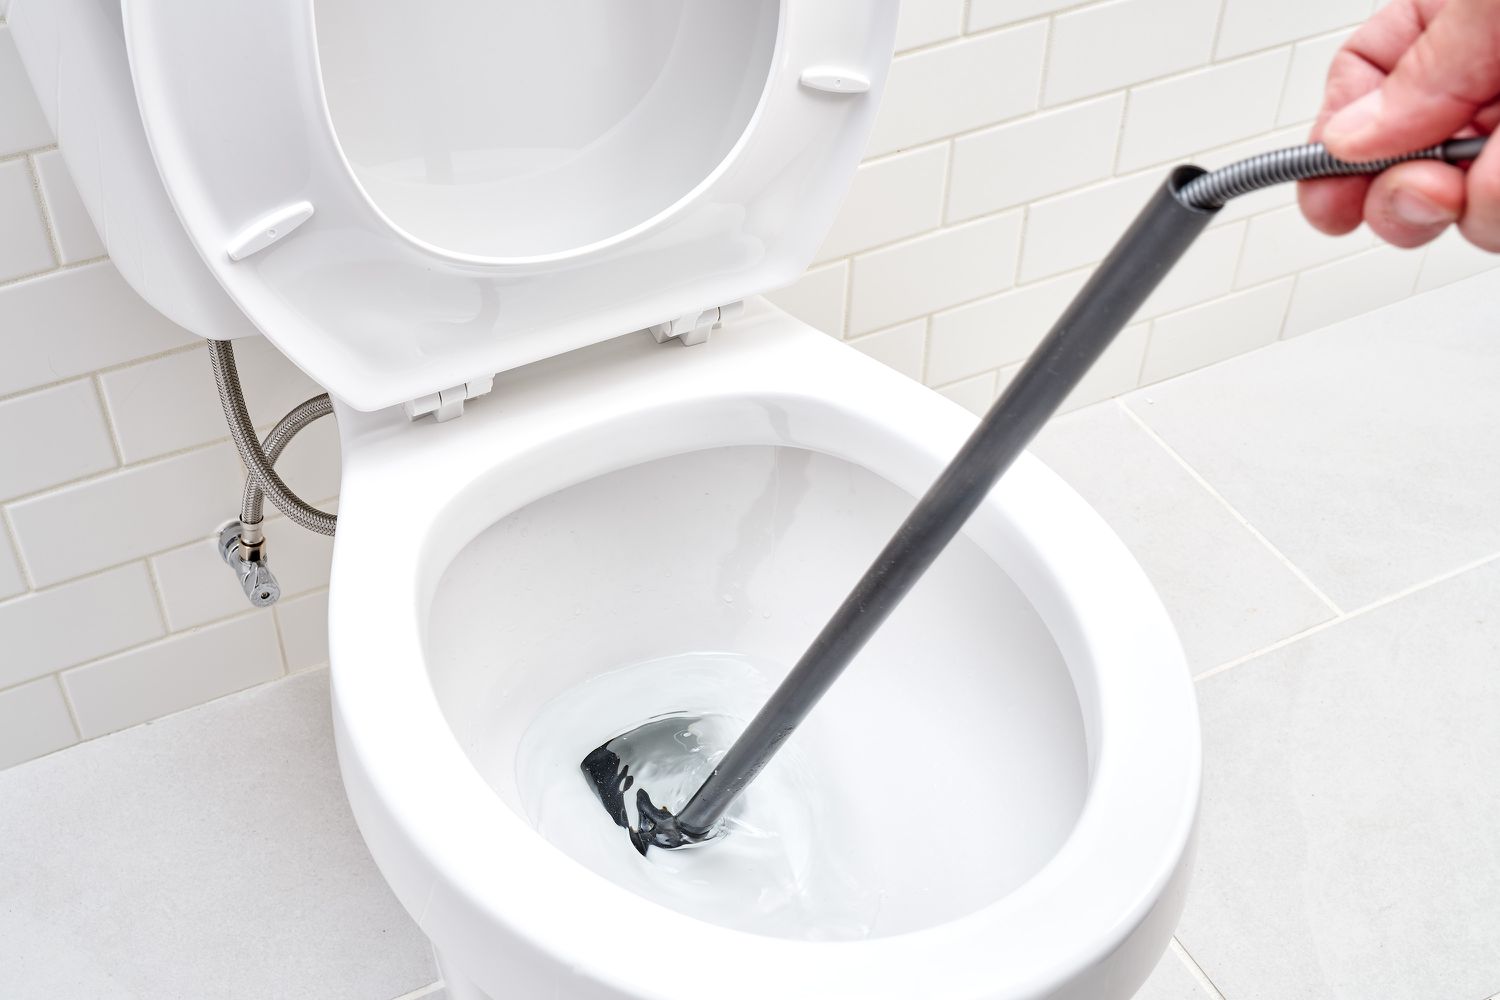
- Plunger: While not essential for using Drano, having a plunger handy can be useful in case the initial Drano treatment does not fully resolve the clog. A plunger can help provide additional pressure to clear any remaining blockages.
- Bucket or old towels: It’s a good idea to have a bucket or old towels on hand to catch any excess water that may spill during the process. This will help prevent any mess and make cleaning up easier.
Once you have gathered all the necessary materials, you are ready to move on to the next step: removing any standing water from the toilet bowl.
Step 2: Remove any standing water
Before applying Drano to the toilet bowl, it’s important to remove any standing water. This will allow the Drano to come into direct contact with the clog and work more effectively. Follow these steps to remove the standing water:
- Put on your rubber gloves to protect your hands from any germs or debris in the water.
- Locate the shut-off valve: In most toilets, the shut-off valve is located behind the bowl near the floor. Turn the valve clockwise to shut off the water supply to the toilet.
- If you cannot find the shut-off valve or it is not working properly, remove the tank lid and lift the float mechanism or flapper valve to stop the water flow into the toilet bowl. Be careful not to drop the lid into the tank.
- Using a small cup or bucket, carefully scoop out the standing water from the toilet bowl. Pour it into a nearby sink, bucket, or drain.
- If there is a large amount of water and it is not possible to remove it all with a cup or bucket, use an old towel to soak up the excess water. Wring out the towel into a container as needed.
Once you have successfully removed the standing water from the toilet bowl, you can proceed to the next step: pouring Drano into the toilet bowl.
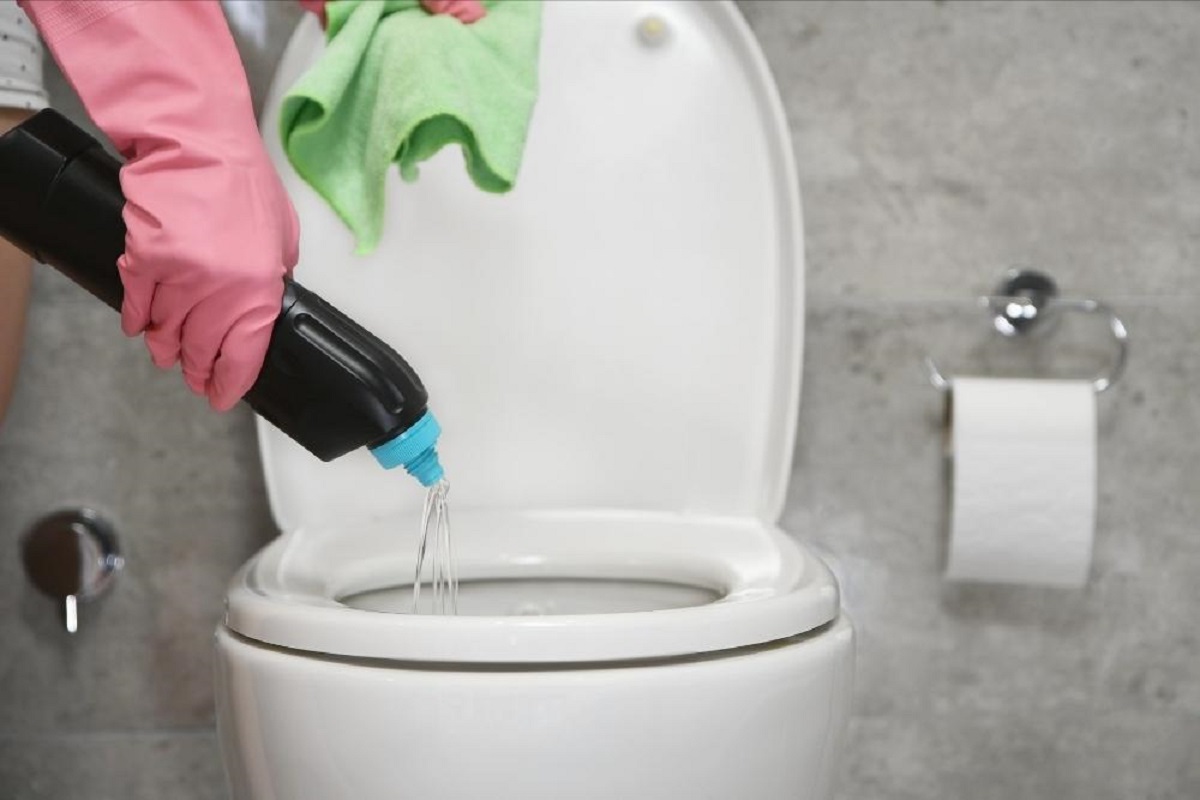
Step 3: Pour Drano into the toilet bowl
Now that you have removed the standing water from the toilet bowl, it’s time to pour Drano into the bowl. Follow these steps to ensure proper application:
- Put on your rubber gloves and safety goggles to protect your hands and eyes from any potential contact with Drano.
- Take the Drano bottle and carefully open it. Make sure to read the instructions on the bottle for any specific guidelines or precautions.
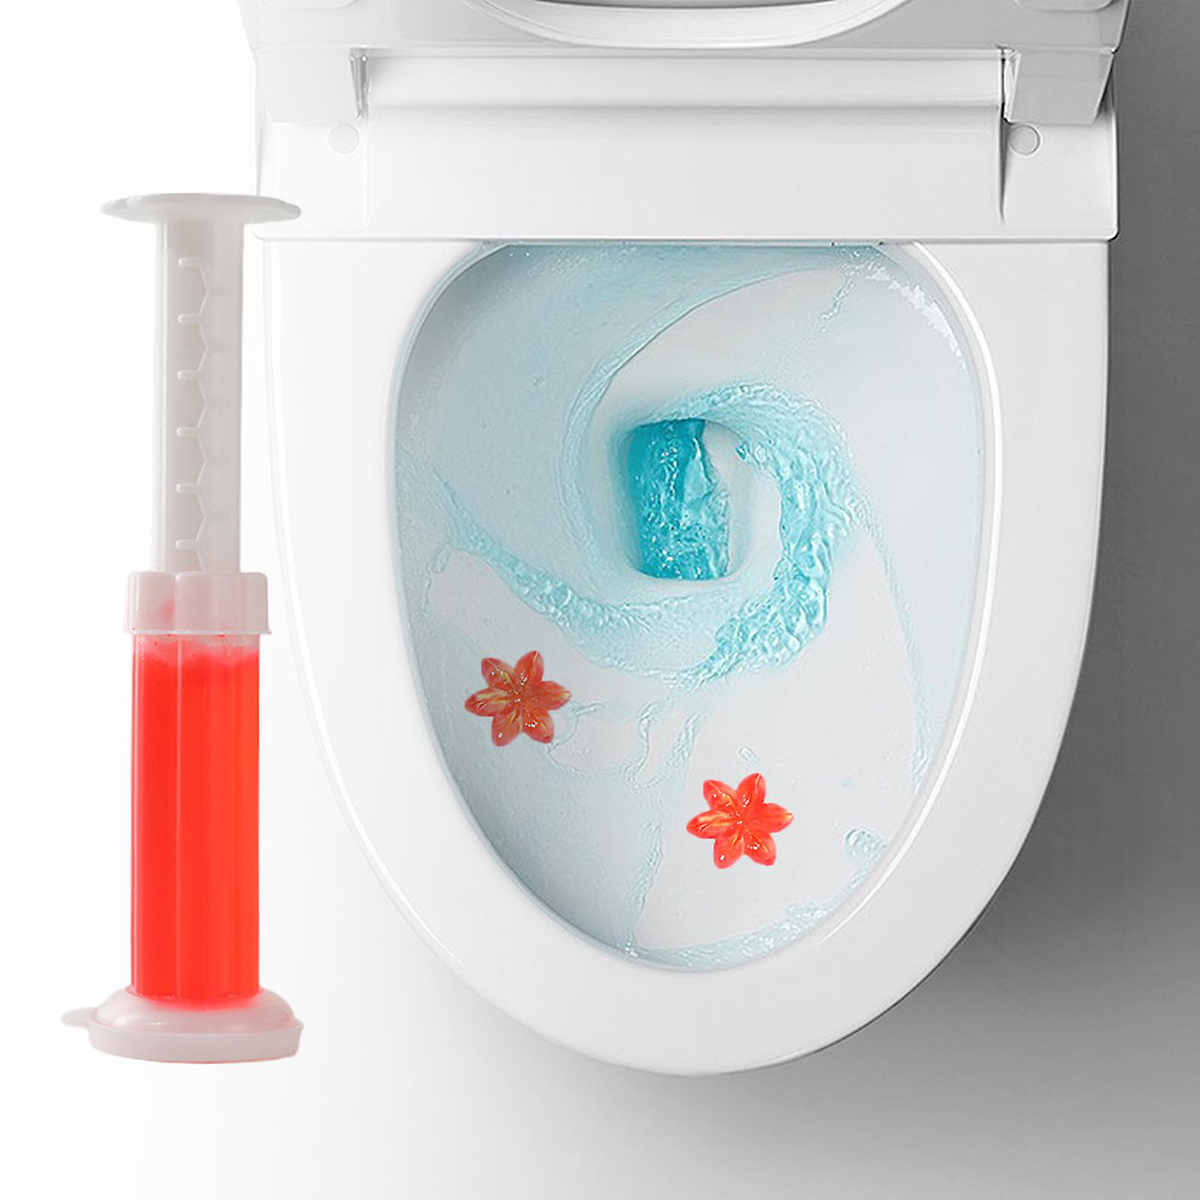
- Hold the Drano bottle over the toilet bowl and slowly pour the recommended amount of Drano into the bowl. The amount required will depend on the severity of the clog and the instructions provided on the Drano packaging. Typically, for a moderate clog, it is recommended to use about half a bottle of Drano.
- Take care not to let the Drano overflow the rim of the toilet bowl. If necessary, pour in smaller increments to prevent any spills.
- Once you have poured the Drano into the toilet bowl, you can gently set the bottle aside.
Allowing the Drano to sit in the toilet bowl will give it time to work on dissolving the clog. In the next step, we will discuss the recommended wait time and how to effectively let Drano work its magic.
Pour 1/4 bottle of Drano into the toilet, let it sit for 15-30 minutes, then flush with hot water. Repeat if necessary, but do not use a plunger after using Drano.
Read more: How To Use A Composting Toilet
Step 4: Allow Drano to work its magic
After pouring Drano into the toilet bowl, it’s important to allow it sufficient time to work on dissolving the clog. Follow these steps to effectively let Drano work its magic:
- Refer to the instructions provided on the Drano packaging for the recommended wait time. This will vary depending on the product you are using.
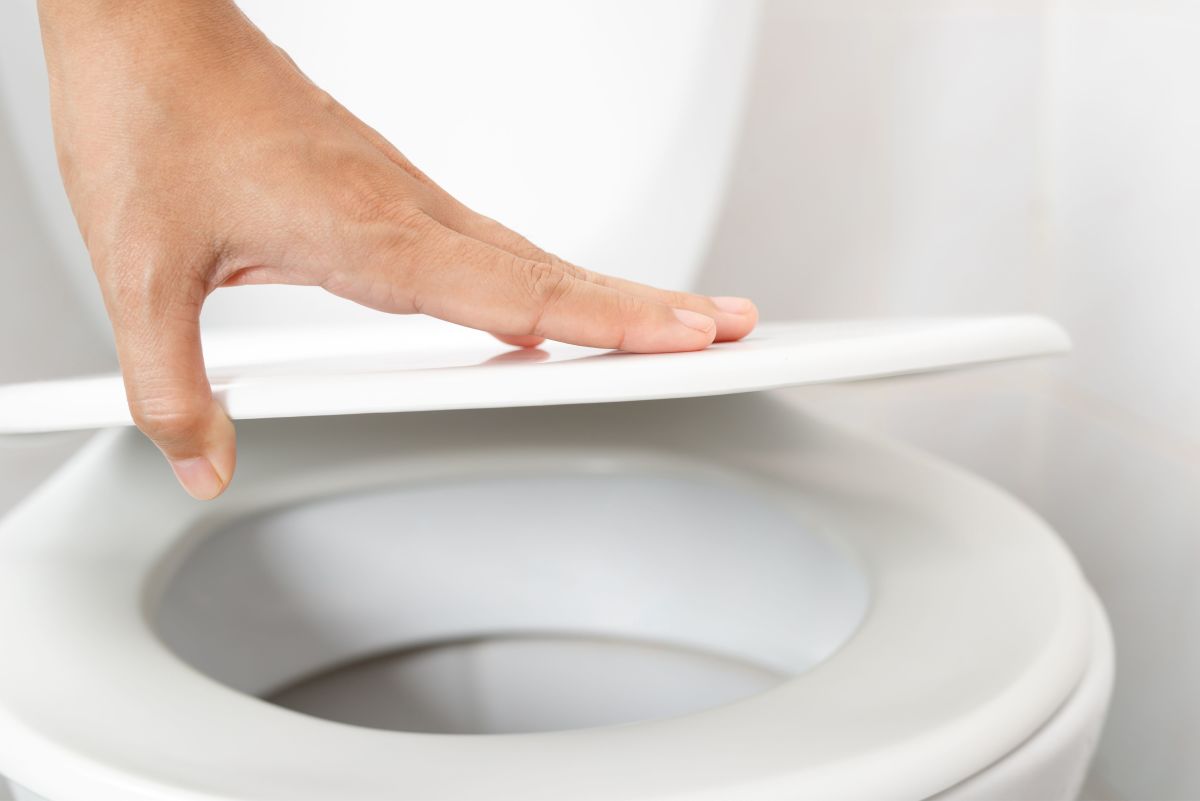
- Carefully close the toilet lid to prevent any accidental splashes or spills.
- While waiting for Drano to work, it’s advisable to keep the bathroom well-ventilated. Open a window or turn on a fan to ensure proper airflow and to minimize any fumes generated by the chemical reaction.
- It’s important to note that Drano contains strong chemicals, so it’s crucial to keep the bathroom door closed and to keep children and pets away from the area.
- For the best results, let Drano sit in the toilet bowl undisturbed for at least 15-30 minutes. This will give it ample time to break down the clog and clear the blockage.
During this waiting period, the powerful formula of Drano will work to dissolve the clog and restore proper drainage to your toilet. While it may be tempting to check on the progress, it’s best to avoid doing so to allow Drano to work undisturbed. Once the recommended wait time has elapsed, you can proceed to the next step: flushing the toilet.
Step 5: Flush the toilet
After allowing Drano sufficient time to work on dissolving the clog, it’s time to flush the toilet and see the results. Follow these steps to effectively flush the toilet:
- Put on your rubber gloves and safety goggles before proceeding.
- Slowly approach the toilet and carefully open the lid.
- Reach down and locate the shut-off valve behind the toilet bowl or the flapper valve inside the tank.
- If the shut-off valve is closed, turn it counterclockwise to reopen the water supply to the toilet. If the flapper valve is lifted, gently release it to allow water to flow back into the bowl.
- Ensure you are in a safe position and ready to react in case of any unexpected overflow or splashback.
- Once the water supply is restored, press the flush handle or button to initiate the flushing process.
- Observe the water flow and check if the toilet flushes smoothly. If the water drains freely without any signs of clogging, the Drano treatment has been successful.
- If the water begins to rise and shows signs of a continued clog, do not panic. It may be necessary to repeat the Drano treatment or consider using a plunger to apply additional pressure and clear the blockage.
- After successfully flushing the toilet and confirming that the clog is cleared, it’s important to clean up any residual Drano or debris that may be present around the toilet bowl or floor. Wipe any spills or splashes with a disposable towel or mop.
Now that you have successfully flushed the toilet, it’s time to move on to the final step: repeating the process if necessary.
Step 6: Repeat if necessary
If after flushing the toilet you notice that the clog is not fully cleared, don’t worry. Sometimes, stubborn clogs may require a second or even a third application of Drano. Follow these steps to repeat the process if necessary:
- Assess the situation: If the clog is still present or if the water does not drain properly after the first attempt, it’s a sign that the blockage may require further treatment.
- Allow the toilet bowl to empty as much as possible by shutting off the water supply again, as explained in Step 2.
- Repeat Steps 3 to 5: Once the toilet bowl is empty, pour another recommended amount of Drano into the bowl (as specified on the packaging) and let it sit for the instructed duration.
- Flush and observe: After the waiting period, repeat Step 5 by following the flushing process and checking if the clog is cleared. If necessary, you can repeat this step one more time.
If the clog persists even after multiple attempts with Drano, it may be best to seek the assistance of a professional plumber. They have the tools and expertise to handle more stubborn or complex clogs that cannot be resolved using household drain cleaners.
Remember, always prioritize your safety and follow the instructions provided by the manufacturer when using any chemical drain cleaner. If you are unsure or uncomfortable with the process, it’s best to reach out to a professional.
With these steps, you now have a comprehensive guide on how to use Drano in a toilet to clear clogs effectively. By following the proper precautions and taking the necessary steps, you can restore proper flushing to your toilet and maintain a clean and functional plumbing system.
Happy unclogging!
Conclusion
In conclusion, using Drano in a toilet can be a convenient and effective solution for clearing clogs and restoring proper drainage. By following the steps outlined in this guide, you can safely and successfully use Drano to unclog your toilet.
Before beginning the process, it’s crucial to take safety precautions, such as wearing protective gear, ensuring proper ventilation, and keeping children and pets away from the area. Additionally, gathering the necessary materials, including Drano, rubber gloves, safety goggles, a plunger, and a bucket or old towels, will ensure a smooth process.
The step-by-step process involves removing any standing water from the toilet bowl, pouring Drano into the bowl, allowing it to work its magic for the recommended time, flushing the toilet, and repeating the process if necessary. It’s important to follow the instructions provided on the Drano packaging and to exercise patience throughout the waiting period.
If at any point the clog persists or the situation becomes more complex, it’s advisable to seek the assistance of a professional plumber. They have the expertise and tools to handle more stubborn or severe clogs that cannot be resolved using household drain cleaners.
Remember to prioritize your safety and the proper disposal of Drano and its packaging after use. Dispose of any leftover product according to local regulations to prevent harm to your plumbing system and the environment.
With these guidelines in mind, you are now equipped with the knowledge to confidently use Drano in your toilet to unclog it effectively. By taking the necessary precautions and following the proper steps, you can restore proper flushing and maintain a functional plumbing system in your home.
Happy unclogging!
If your toilet refuses to flush properly, find out what to do if the toilet is clogged in our detailed guide. Elsewhere, ensure your home remains in great shape with our essential home maintenance insights. Also, don’t miss our upcoming article detailing 15 amazing toilet repair strategies for 2024, perfect for staying ahead of common issues.
Frequently Asked Questions about How To Use Drano In Toilet
Was this page helpful?
At Storables.com, we guarantee accurate and reliable information. Our content, validated by Expert Board Contributors, is crafted following stringent Editorial Policies. We're committed to providing you with well-researched, expert-backed insights for all your informational needs.
0 thoughts on “How To Use Drano In Toilet”