Articles
How To Use Plumbing Snake In Toilet
Modified: October 18, 2024
Learn how to effectively use a plumbing snake in your toilet with our informative articles. Find step-by-step guides and expert tips to solve your plumbing issues.
(Many of the links in this article redirect to a specific reviewed product. Your purchase of these products through affiliate links helps to generate commission for Storables.com, at no extra cost. Learn more)
Introduction
Welcome to our comprehensive guide on how to use a plumbing snake in a toilet! Dealing with a clogged toilet can be a frustrating and unpleasant experience, but fear not – with the right tools and know-how, you can quickly and effectively clear the blockage and get your toilet back to working order. In this article, we will walk you through the step-by-step process of using a plumbing snake in a toilet, ensuring that you have all the information you need to tackle this common plumbing issue.
Plumbing snakes, also known as drain snakes or augers, are versatile and effective tools used to clear stubborn clogs in pipes and drains. They consist of a long, flexible cable with a coiled or hook-shaped end, designed to break up and remove blockages. When it comes to clearing a clogged toilet, a plumbing snake is often the go-to tool for homeowners and plumbing professionals alike.
Before you begin using a plumbing snake in your toilet, it’s important to take some safety precautions. Firstly, make sure you have protective gloves and eyewear to shield yourself from any potential splashes or debris. Additionally, keep in mind that using a plumbing snake in a toilet requires a certain level of skill and caution. If you are uncomfortable or unsure about handling the snake, it’s always best to call a professional plumber to avoid causing further damage.
Now that you understand the basics, let’s jump right into the step-by-step instructions on how to use a plumbing snake in a toilet.
Key Takeaways:
- Using a plumbing snake in a toilet requires patience, caution, and the right tools. Prioritize safety, gather necessary materials, and maneuver the snake gently to effectively clear stubborn clogs without causing damage.
- After successfully removing the blockage, perform a thorough cleanup, check for leaks, and sanitize the area. If persistent clogs or difficulties arise, seek professional plumbing assistance to avoid further damage.
Read more: Toilet Snake How To Use
Understanding Plumbing Snakes
Before delving into the process of using a plumbing snake in a toilet, it’s essential to have a good understanding of how these tools work. Plumbing snakes are designed to break up and remove clogs that are too stubborn for traditional plungers or chemical drain cleaners.
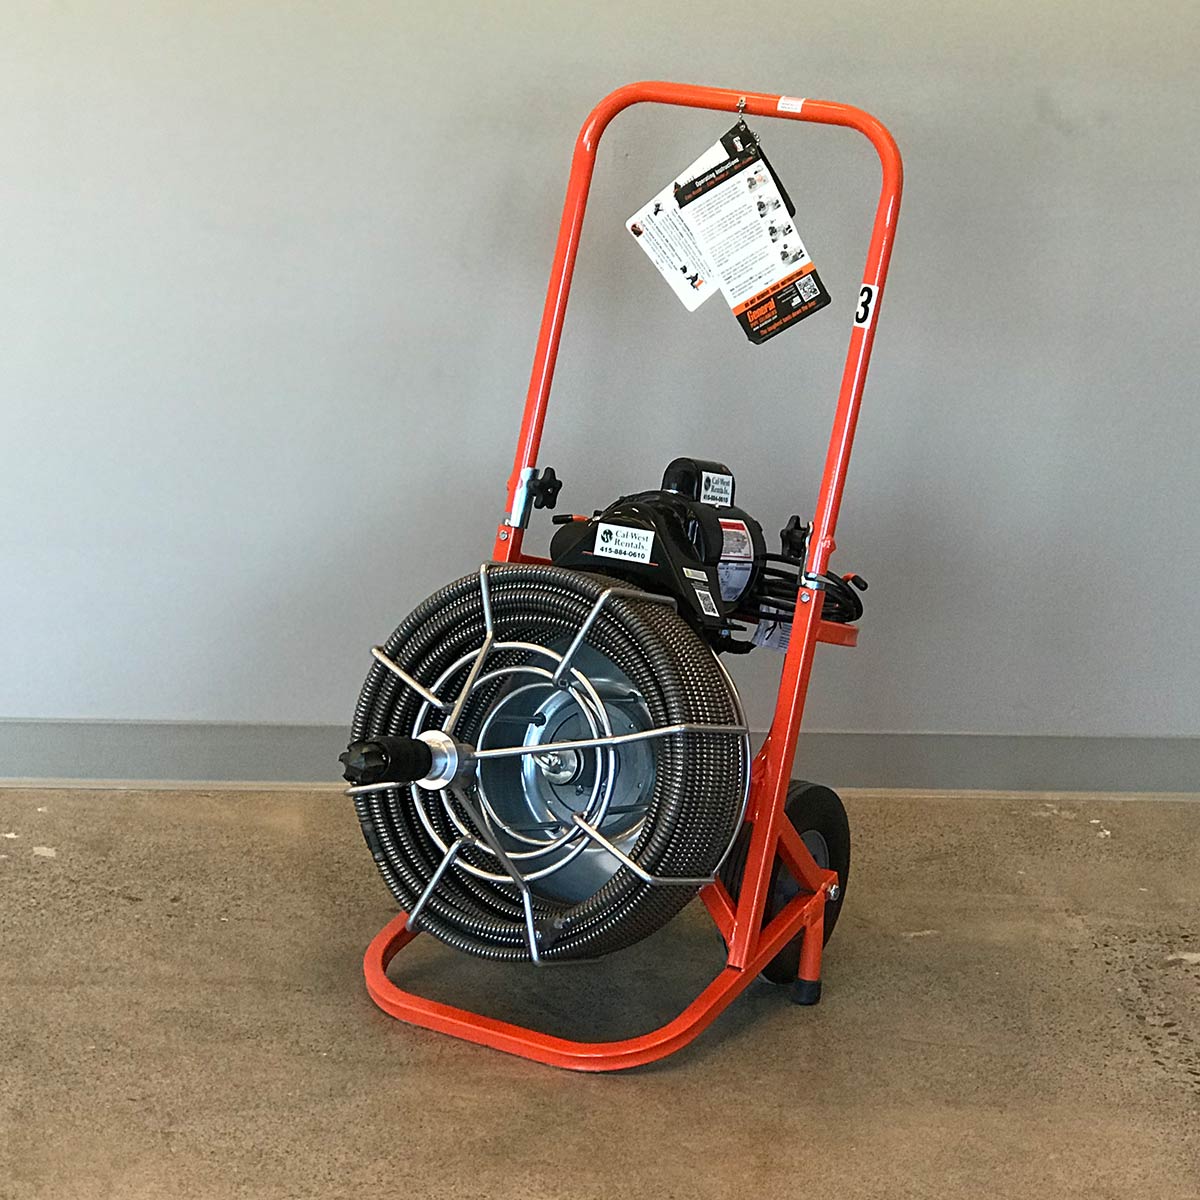
Plumbing snakes come in various types and lengths, but they all generally consist of a long, flexible cable made of steel or plastic. The cable is either manually cranked or powered by a motor, depending on the type of snake you’re using. At the end of the cable, there is a coiled or hook-shaped attachment, which helps to grab onto and dislodge the clog.
When inserted into a toilet drain, the plumbing snake works by either pushing the clog further down the pipe or breaking it apart. As you rotate or push the snake, its attachment grabs onto the clog, allowing you to pull it out or break it into smaller pieces. This process helps to restore proper water flow and eliminate the clog causing the toilet to back up.
It’s important to note that plumbing snakes come in different sizes, with some specifically designed for toilets. It’s crucial to choose the right size snake for your toilet to ensure that it effectively reaches the clog without causing damage to the plumbing system.
While plumbing snakes can be incredibly useful in clearing toilet clogs, they are not suitable for every situation. For instance, if you suspect that the clog is due to a more severe issue, such as a main sewer line blockage, it’s best to consult a professional plumber. Attempting to use a plumbing snake in such cases can worsen the problem and lead to expensive repairs.
Now that you have a better understanding of plumbing snakes and how they work, let’s move on to the necessary safety precautions you should keep in mind before using one in your toilet.
Safety Precautions
Before using a plumbing snake in your toilet, it’s essential to prioritize safety. By taking the necessary precautions, you can minimize the risk of accidents and ensure a smooth and safe experience. Here are some safety measures to keep in mind:
- Protective Gear: Always wear protective gloves and eyewear when using a plumbing snake. This will shield you from any splashes, debris, or potential harm.
- Caution with Chemicals: If you’ve previously used chemical drain cleaners in your toilet, be cautious when using a plumbing snake. These chemicals can cause skin and eye irritation, so make sure to thoroughly wash your hands after handling them.
- Be Gentle: Avoid applying excessive force or pressure when using the plumbing snake. Pushing too hard can damage the toilet bowl or pipes, leading to costly repairs.
- Avoid Overuse: Using a plumbing snake should be your first line of defense against a clogged toilet, but it’s important not to overuse it. Repeatedly snaking your toilet can cause wear and tear on the plumbing system, leading to further problems down the line.
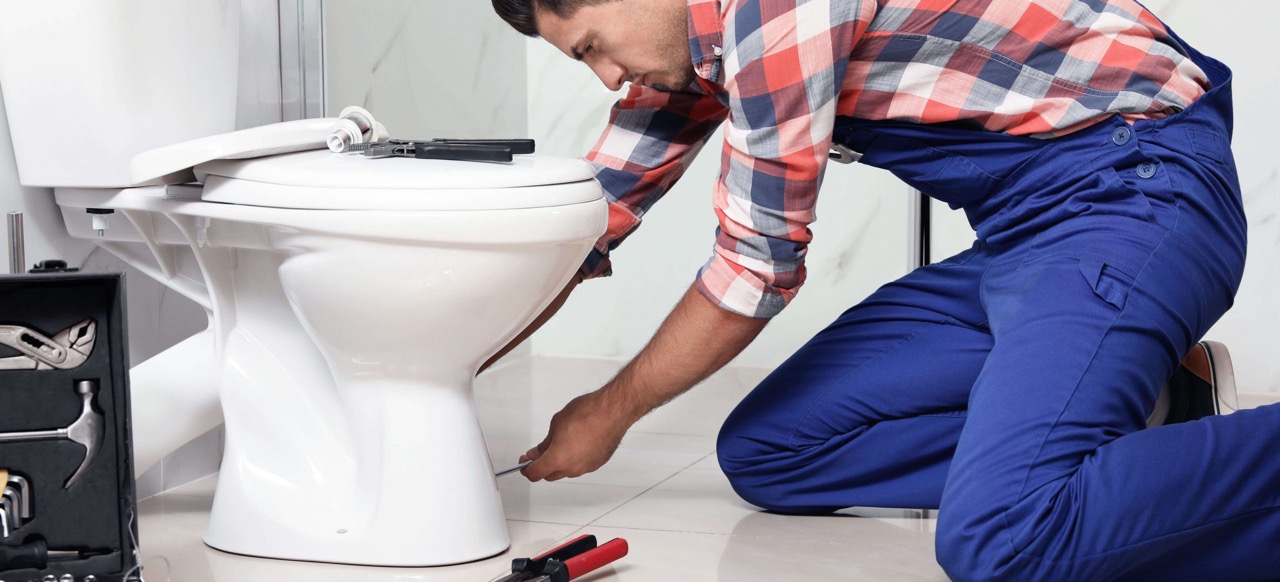
- Know Your Limits: If you’re uncomfortable or hesitant about using a plumbing snake, it’s best to call a professional plumber. They have the experience and expertise to handle plumbing issues safely and efficiently.
By following these safety precautions, you can ensure a safer and more successful experience when using a plumbing snake in your toilet. Now let’s move on to the step-by-step process of using a plumbing snake.
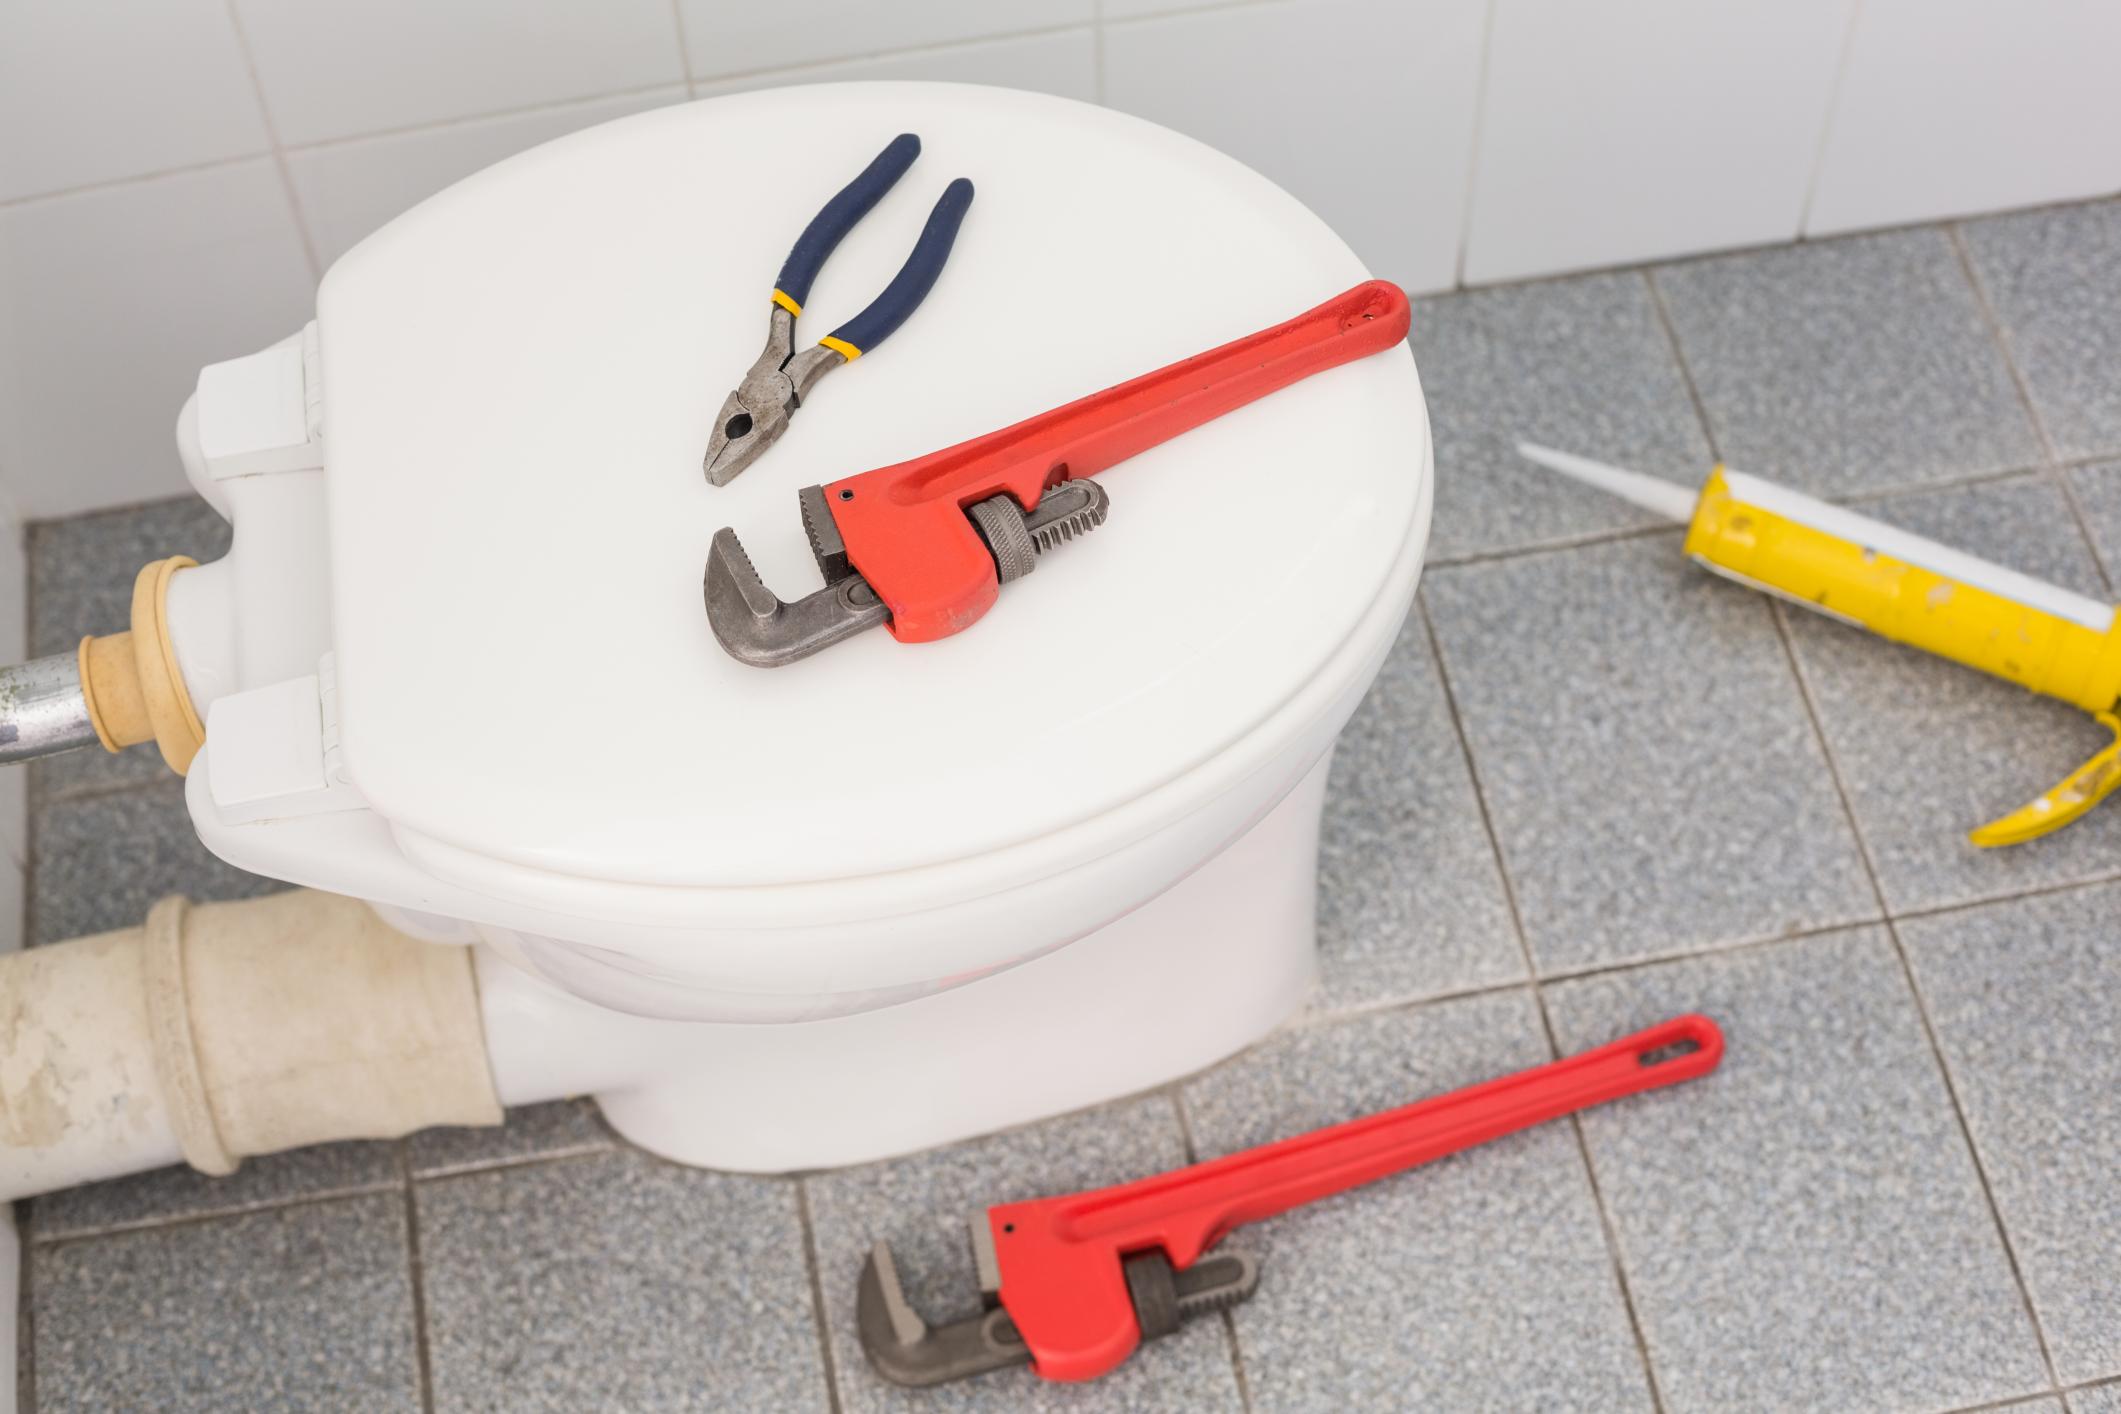
Step 1: Gather the Tools and Materials
Before you begin using a plumbing snake in your toilet, it’s crucial to gather all the necessary tools and materials. Having everything you need on hand will make the process smoother and more efficient. Here’s what you’ll need:
- Plumbing Snake: Make sure you have a suitable plumbing snake for your toilet. Choose a snake specifically designed for toilets, as they are typically shorter and have a specially shaped attachment to navigate the curved drain.
- Protective Gear: As mentioned before, it’s important to protect yourself when working with a plumbing snake. Wear protective gloves and safety goggles to prevent any potential injuries from splashes or debris.
- Bucket or Bin: Have a bucket or bin nearby to collect any water that may overflow during the process. This will help prevent any mess from spreading.
- Towels or Rags: Keep some towels or rags handy to clean up any spills or drips. It’s better to be prepared and have a clean-up plan in place.
- Flashlight: A flashlight will come in handy to provide better visibility in the toilet bowl. Sometimes clogs can be difficult to detect, so a light source will help you locate the problem areas.
- Plunger: While a plumbing snake is the main tool for clearing a toilet clog, it’s always good to have a plunger nearby. In some cases, a simple plunge may solve the problem without the need for a snake.
Once you have gathered all the necessary tools and materials, you’re ready to move on to the next step – clearing the area around the toilet. In the next section, we will discuss how to prepare the space before using the plumbing snake.
Step 2: Clearing the Area
Before you start using a plumbing snake in your toilet, it’s important to clear the area around the toilet to create a comfortable and accessible working space. Here’s what you should do:
- Remove any Obstacles: Take a moment to remove any objects or items that might be in the way, such as bath mats, toilet paper holders, or trash cans. This will give you enough room to maneuver the snake and prevent any accidents or damage to nearby items.
- Protect the Floor: Lay down old towels or rags around the base of the toilet. This will protect the floor from any water spills or drips that may occur during the process. It’s better to be safe than sorry.
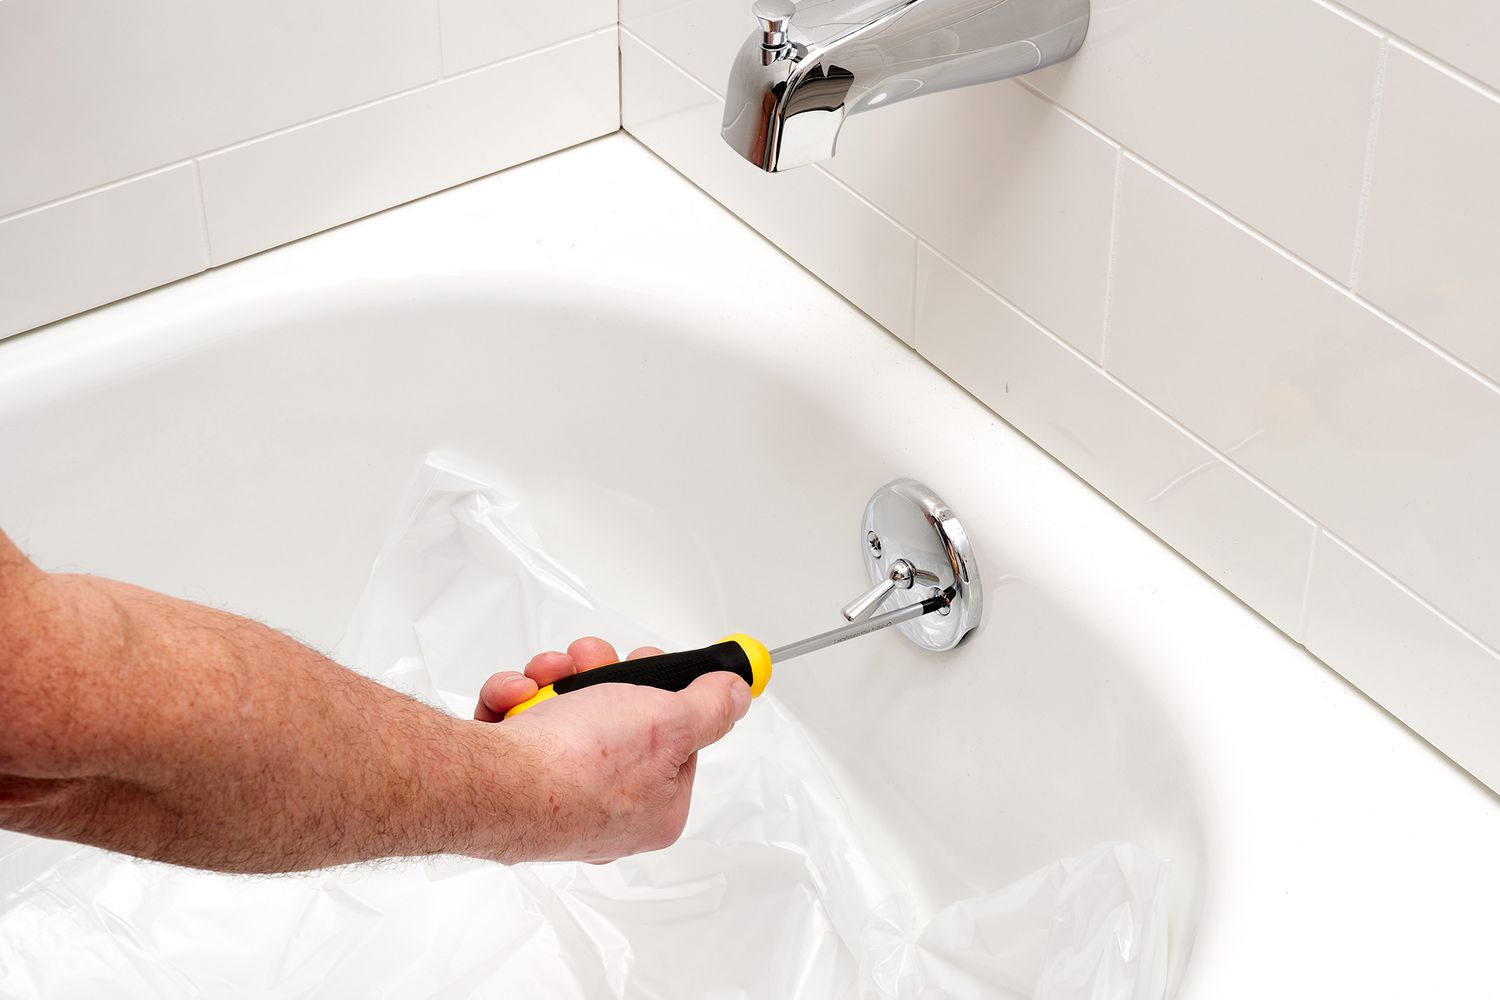
- Turn off the Water Supply: Locate the shut-off valve behind or near the toilet. Turn it clockwise to shut off the water supply to the toilet. This will prevent any accidental flushing and minimize the risk of water overflow while using the snake.
- Get Proper Lighting: Turn on the bathroom lights or use a flashlight to ensure good visibility in and around the toilet bowl. This will help you locate the clog and navigate the snake more effectively.
- Prepare the Bucket or Bin: Place a bucket or bin near the toilet to catch any excess water that may overflow during the process. This will help contain the mess and make cleanup easier.
- Have a Plunger Handy: Keep a plunger nearby as a backup option. If the clog is minor or located near the surface, a few plunges might be enough to clear it without using the plumbing snake.
Once you have cleared the area and prepared everything, you’re now ready to move on to the next step – inserting the plumbing snake into the toilet. In the following section, we will guide you through the process of properly using the snake to clear the clog.
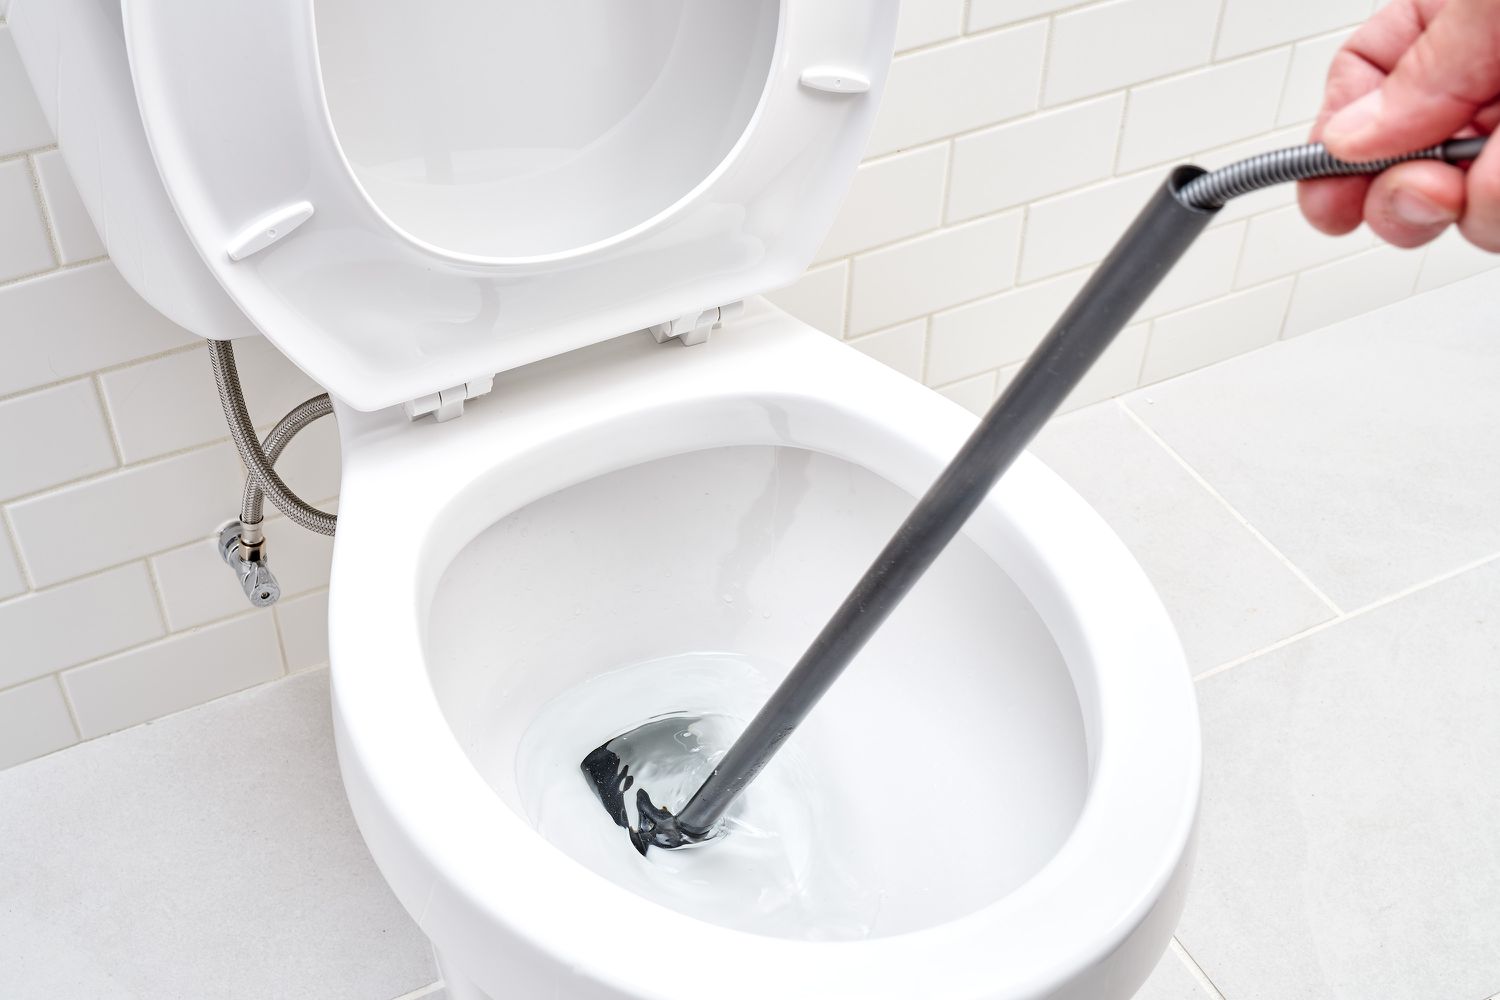
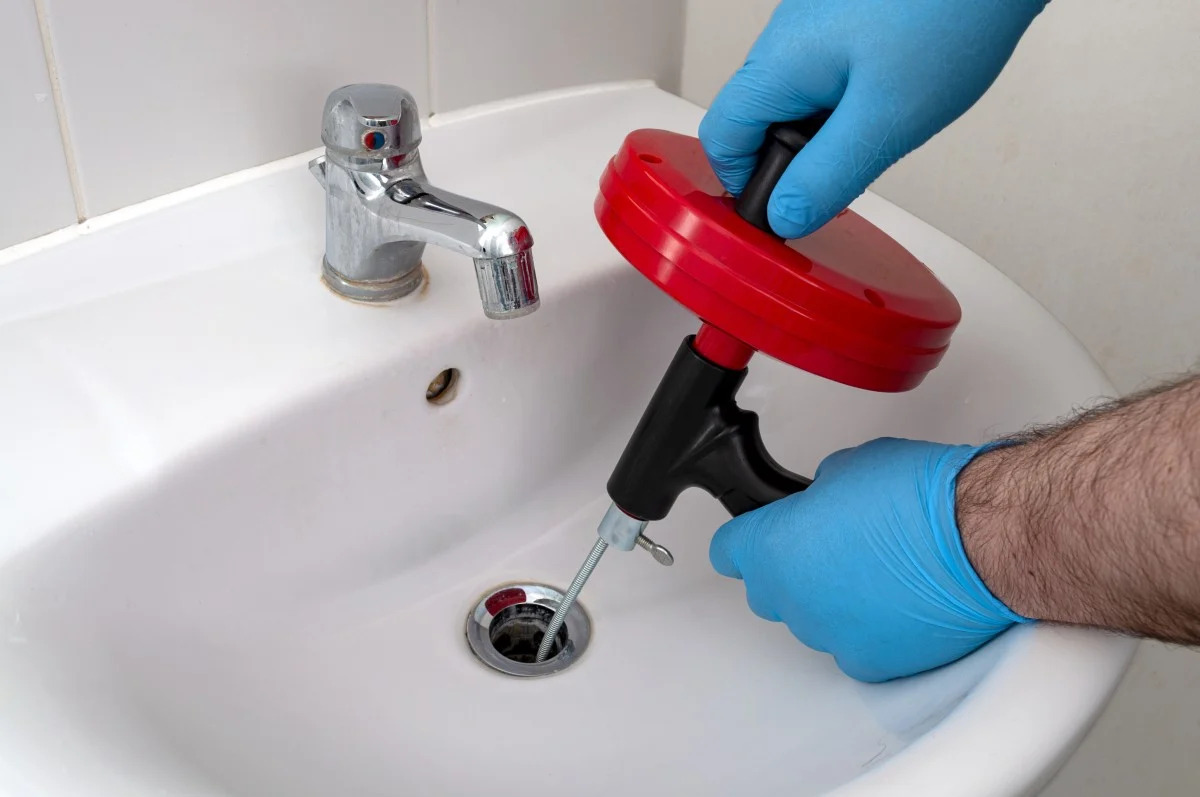
When using a plumbing snake in a toilet, feed the snake into the drain and turn the handle clockwise to break up and remove clogs. Be gentle to avoid damaging the porcelain.
Read more: How Much Is A Plumbing Snake
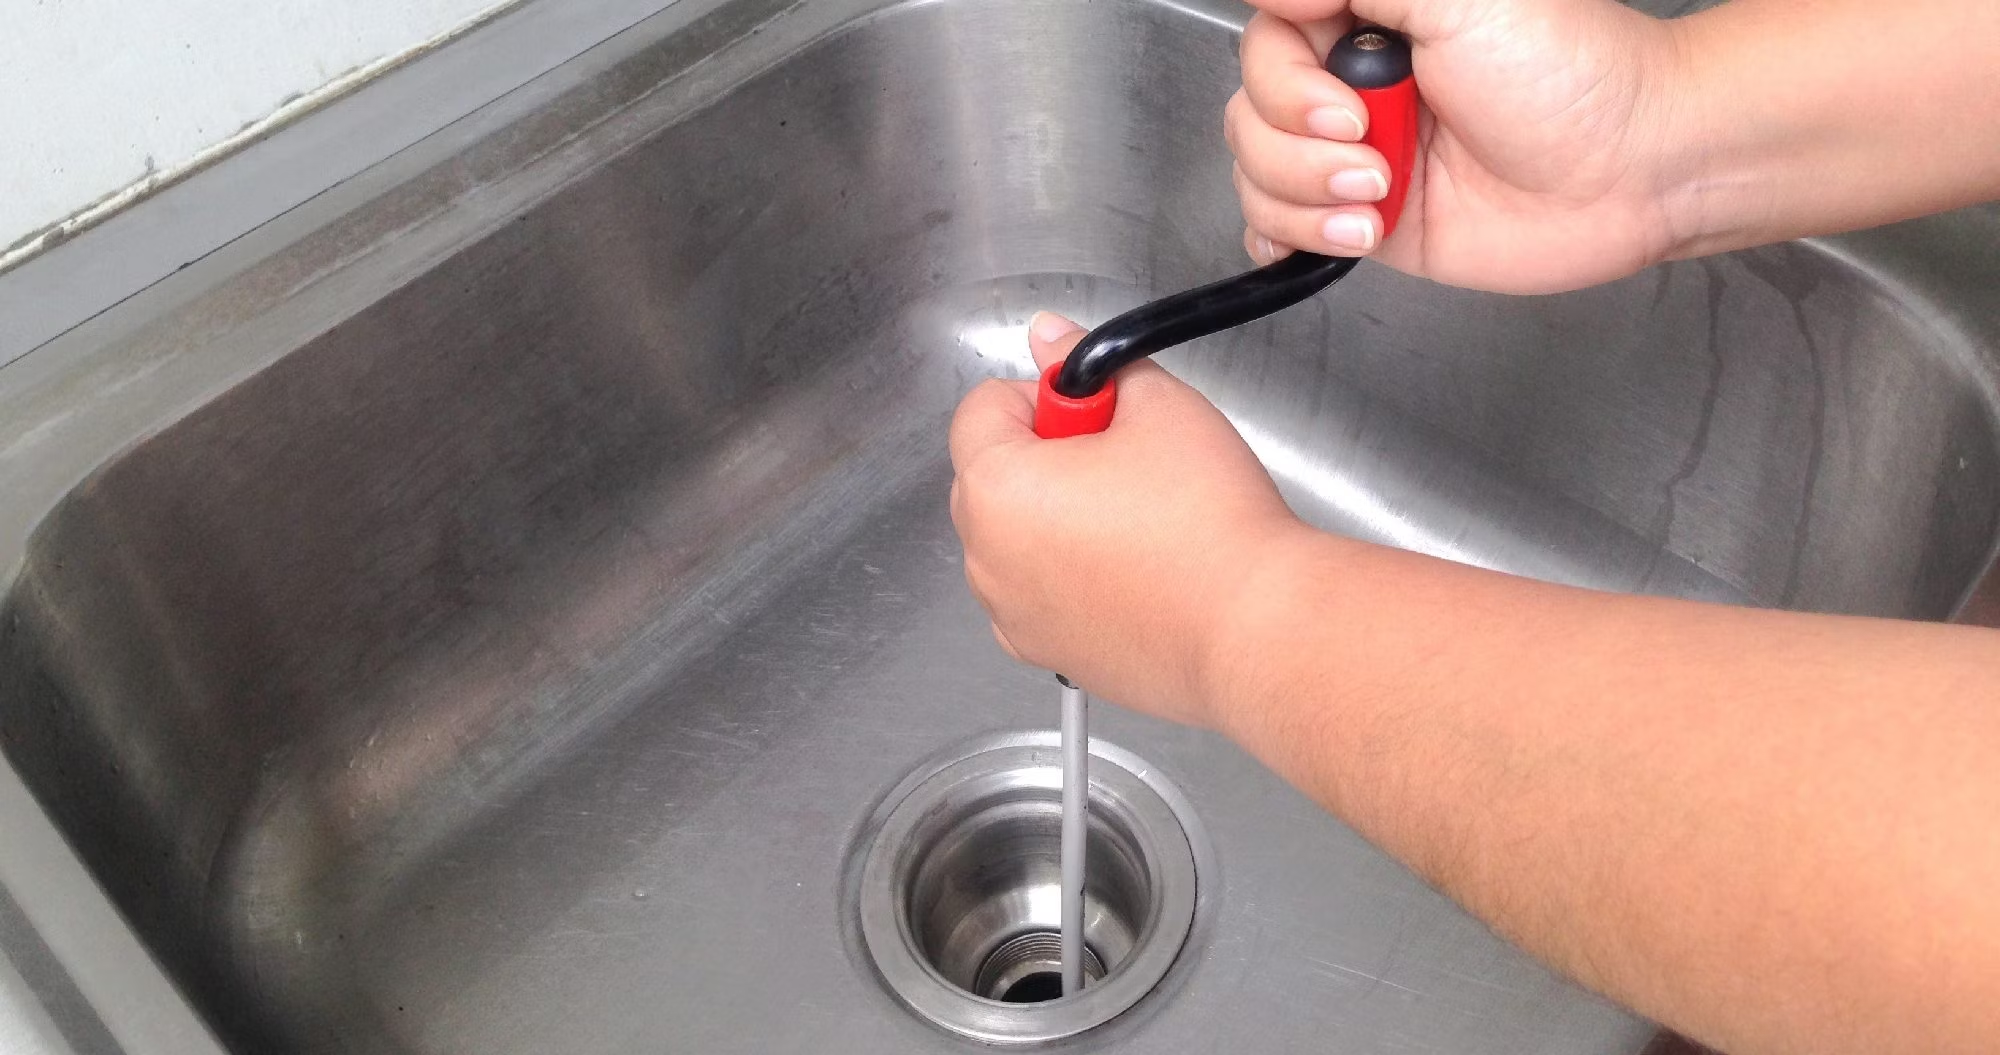
Step 3: Inserting the Plumbing Snake
With the area cleared and all the necessary preparations in place, it’s time to insert the plumbing snake into the toilet. Follow these steps to ensure a smooth and effective process:
- Position Yourself: Stand facing the toilet bowl, ensuring that you have a clear line of sight and comfortable access to the toilet’s interior.
- Choose the Right End: Take a moment to examine the plumbing snake and identify the end with the coiled or hook-shaped attachment. This is the business end that will effectively grab onto and remove the clog.
- Insert the Snake: Gently insert the snake’s attachment end into the toilet drain. Start by guiding it past the trap, the curved part of the drain. Carefully push the snake in until you feel some resistance, which indicates that it has reached the clog.
- Rotate as Needed: Once the snake is inserted, you can start rotating it. If you’re using a manual snake, you will need to manually rotate the handle in a clockwise motion. If you’re using a power snake, follow the manufacturer’s instructions on how to operate it effectively.
- Gradually Push the Snake: As you rotate the snake, slowly push it further into the drain. The goal is to push it through the clog or break it apart. Apply gentle and steady pressure, being careful not to force it or use excessive strength.
- Continue Feeding the Snake: If the snake encounters resistance, continue feeding it further into the drain. The longer the snake, the better the chances of reaching the clog and overcoming any obstructions.
It’s important to note that during this process, you may encounter some resistance or debris coming back onto the snake. If this happens, carefully and slowly pull out the snake, allowing the clog or debris to loosen and come out with it. However, if you feel significant resistance and are unable to dislodge the clog, it may be best to call a professional plumber for assistance.
With the plumbing snake properly inserted into the toilet and the rotation in motion, you’re now ready to move on to the next step – maneuvering the snake to effectively clear the clog. This will be covered in the following section.
Step 4: Maneuvering the Snake
Once you have inserted the plumbing snake into the toilet and started the rotational motion, it’s time to maneuver the snake to effectively clear the clog. Follow these steps to ensure proper snake maneuvering:
- Be Patient and Gentle: It’s important to remain patient and gentle while maneuvering the snake. Avoid applying excessive force or aggressive movements, as this can cause damage to the toilet or pipes.
- Rotate in a Smooth Motion: Continue rotating the snake in a smooth and steady motion. If you encounter any resistance or feel the snake tightening, pause for a moment and gently twist the snake back and forth to loosen the clog.
- Move Back and Forth: To effectively break up the clog, move the snake back and forth within the drain. This motion helps to dislodge any stubborn debris and encourages the snake to grab onto the clog for removal.
- Continue Feeding the Snake: As you maneuver the snake, continue feeding it further into the drain. The length of the snake will allow you to reach deeper into the plumbing system, increasing your chances of successfully clearing the clog.
- Pay Attention to Sensations: As you rotate and maneuver the snake, pay attention to any sensations you feel. You may feel the resistance lessen, indicating that the clog is breaking up or being pulled out.
- Be Mindful of the Toilet’s Porcelain: While maneuvering the snake, be mindful of the toilet’s porcelain surface. Avoid scraping or banging the snake against the toilet bowl, as this can cause damage or scratches.
Remember, it’s important to take your time and be patient throughout the process. Rushing or using excessive force can lead to further complications or damages. In the next step, we will cover how to effectively remove the blockage using the plumbing snake.
Step 5: Removing the Blockage
After maneuvering the plumbing snake to dislodge and break up the clog, it’s time to remove the blockage from the toilet drain. Follow these steps to effectively remove the blockage:
- Observe any Signs of Progress: As you maneuver the snake, pay attention to any signs of progress. You may notice water draining more freely or hear the sound of the clog breaking up. These are positive indications that the blockage is clearing.
- Gradually Pull Out the Snake: Slowly and carefully begin pulling the snake out of the toilet drain. Maintain a steady and gentle motion to prevent any debris or water from splashing out of the toilet bowl.
- Inspect the Snake and Drain: As you remove the snake, take a moment to inspect both the snake and the drain. Look for any signs of the clog being caught on the snake’s attachment or any remaining debris in the drain.
- Dispose of the Debris: If you notice any debris on the snake or in the drain, dispose of it in a garbage bag or bin. It’s important to properly dispose of the blockage to prevent further issues.
- Repeat the Process: If the blockage has not completely cleared after the first attempt, repeat the steps of inserting, maneuvering, and removing the snake. Multiple attempts may be necessary to completely eliminate stubborn clogs.
- Check the Toilet’s Functionality: Once you believe the blockage has been removed, turn on the water supply again and flush the toilet to check if it is now functioning properly. Make sure the water flows smoothly and that the toilet bowl empties and refills without any issues.
If, after multiple attempts, the clog persists or there are other complications, it is recommended to contact a professional plumber for assistance. They will have the expertise and specialized equipment to handle more complex toilet clogs.
With the blockage successfully removed from the drain, we can now move on to the final step – flushing and cleanup. This will be covered in the next section.
Step 6: Flushing and Cleanup
Once you have successfully removed the blockage from the toilet drain, it’s important to complete the process by flushing the toilet and performing some cleanup. Follow these steps to ensure everything is in order:
- Turn on the Water Supply: Before flushing the toilet, remember to turn on the water supply again. This will allow the tank to refill and prepare the toilet for flushing.
- Flush the Toilet: Once the water supply is turned on, flush the toilet to ensure proper functionality. The water should flow smoothly and the bowl should empty and refill without any issues. If the water level appears higher than normal, there may be a partial blockage still present.
- Inspect for Leaks: After flushing, check around the base of the toilet and the connections for any signs of leaks. Look for any water seepage or moisture that could indicate a problem. If you notice any leaks, tighten connections or seek professional assistance as needed.
- Cleanup the Area: Take the time to clean up any spills or messes that may have occurred during the process. Use the towels or rags placed around the toilet to wipe up any water or debris, and dispose of them appropriately.
- Dispose of Debris Properly: Dispose of any debris or waste materials collected during the process in a garbage bag or bin. Do not flush these items down the toilet, as they can lead to future clogs or damage the plumbing system.
- Sanitize and Wash: After completing the cleanup, sanitize the area around the toilet using a disinfectant cleaner. This will help maintain cleanliness and prevent the spread of bacteria. Remember to thoroughly wash your hands as well.
With the toilet flushed and the cleanup completed, you can now enjoy a properly functioning toilet that is free from the previous blockage. Congratulations on successfully using a plumbing snake to resolve the clog!
Remember, if you encounter persistent clogs or face any difficulties during the process, it is always recommended to seek the assistance of a professional plumber. They have the expertise and knowledge to handle complex plumbing issues and ensure the proper functioning of your toilet and plumbing system.
Thank you for following this step-by-step guide on how to use a plumbing snake in a toilet. We hope this information has been helpful in solving your toilet clog issue.
Conclusion
Dealing with a clogged toilet can be a frustrating experience, but with the right tools and knowledge, you can effectively resolve the issue. Using a plumbing snake in a toilet is a common and effective method for clearing stubborn clogs. By following the step-by-step guide outlined in this article, you can confidently tackle toilet clogs and restore proper functionality to your bathroom.
Throughout the process, it’s important to prioritize safety by wearing protective gear and avoiding excessive force. Remember to gather all the necessary tools and materials before starting, and take the time to clear the area and prepare the space for the task at hand.
Properly inserting and maneuvering the plumbing snake is key to removing the blockage. Take your time, be patient, and gently rotate the snake to loosen and break up the clog. Remove any debris from the snake and drain, and repeat the process if necessary.
After successfully clearing the clog, don’t forget to flush the toilet and perform any necessary cleanup. Check for leaks, sanitize the area, and dispose of all waste materials properly.
However, if you encounter persistent clogs or feel uncomfortable handling the plumbing snake, it’s best to contact a professional plumber. They have the expertise and experience to handle more complex plumbing issues and prevent any further damage or complications.
By following these steps and using a plumbing snake in a toilet, you can save time and money by resolving clogs on your own. Remember to take proper care of your plumbing system by avoiding putting non-flushable items down the toilet and maintaining regular maintenance to prevent future clogs.
Thank you for reading our comprehensive guide on how to use a plumbing snake in a toilet. We hope this article has provided you with the information and confidence you need to tackle toilet clogs successfully.
Now that you're equipped with knowledge on using a plumbing snake, why stop there? Dive deeper into toilet maintenance with our detailed guide on Toilet Repair, perfect for tackling common issues and ensuring smooth operation. Facing a stubborn blockage? Our tips on Clogged Toilet can help you handle even the trickiest situations effortlessly. For those keen on broader upkeep, our insights on Home Maintenance are invaluable, covering essential tasks to keep your living space in top shape year-round.
Frequently Asked Questions about How To Use Plumbing Snake In Toilet
Was this page helpful?
At Storables.com, we guarantee accurate and reliable information. Our content, validated by Expert Board Contributors, is crafted following stringent Editorial Policies. We're committed to providing you with well-researched, expert-backed insights for all your informational needs.

0 thoughts on “How To Use Plumbing Snake In Toilet”