Home>Furniture & Design>Bathroom Accessories>How To Use The Plunger In The Toilet
Bathroom Accessories
How To Use The Plunger In The Toilet
Modified: February 18, 2024
Learn the proper technique for using a plunger in the toilet to unclog it effectively. Find out how this bathroom accessory can save the day! Ideal for DIY plumbing.
(Many of the links in this article redirect to a specific reviewed product. Your purchase of these products through affiliate links helps to generate commission for Storables.com, at no extra cost. Learn more)
Introduction
When it comes to dealing with a clogged toilet, having the right tools and techniques at your disposal can make all the difference. One of the most essential tools for addressing this common household issue is the plunger. This simple yet effective device is designed to create the necessary pressure and suction to dislodge blockages and restore proper flushing functionality to your toilet.
Understanding how to use a plunger correctly can save you from the inconvenience and potential mess of a clogged toilet. Whether you're a homeowner, a renter, or simply find yourself facing a clog in someone else's bathroom, mastering the art of plunging can be a valuable skill.
In this comprehensive guide, we will walk you through the step-by-step process of using a plunger to unclog a toilet effectively. By following these instructions and tips, you'll be equipped with the knowledge and confidence to tackle toilet clogs with ease. So, let's dive in and learn how to wield this humble yet indispensable tool to restore your bathroom to full functionality.
Key Takeaways:
- Mastering the art of using a plunger can save you from the frustration of a clogged toilet. Follow the steps to prepare, position, create a seal, plunge, and repeat if necessary for effective unclogging.
- Patience and persistence are key when using a plunger. Assess the effectiveness of plunging and be prepared to repeat the process if necessary. With the right technique, you can restore your toilet’s functionality.
Read more: How To Properly Use A Plunger On A Toilet
Step 1: Prepare the Plunger
Before diving into the task of unclogging a toilet, it's crucial to ensure that your plunger is properly prepared for the job. Here's how to get your plunger ready for action:
-
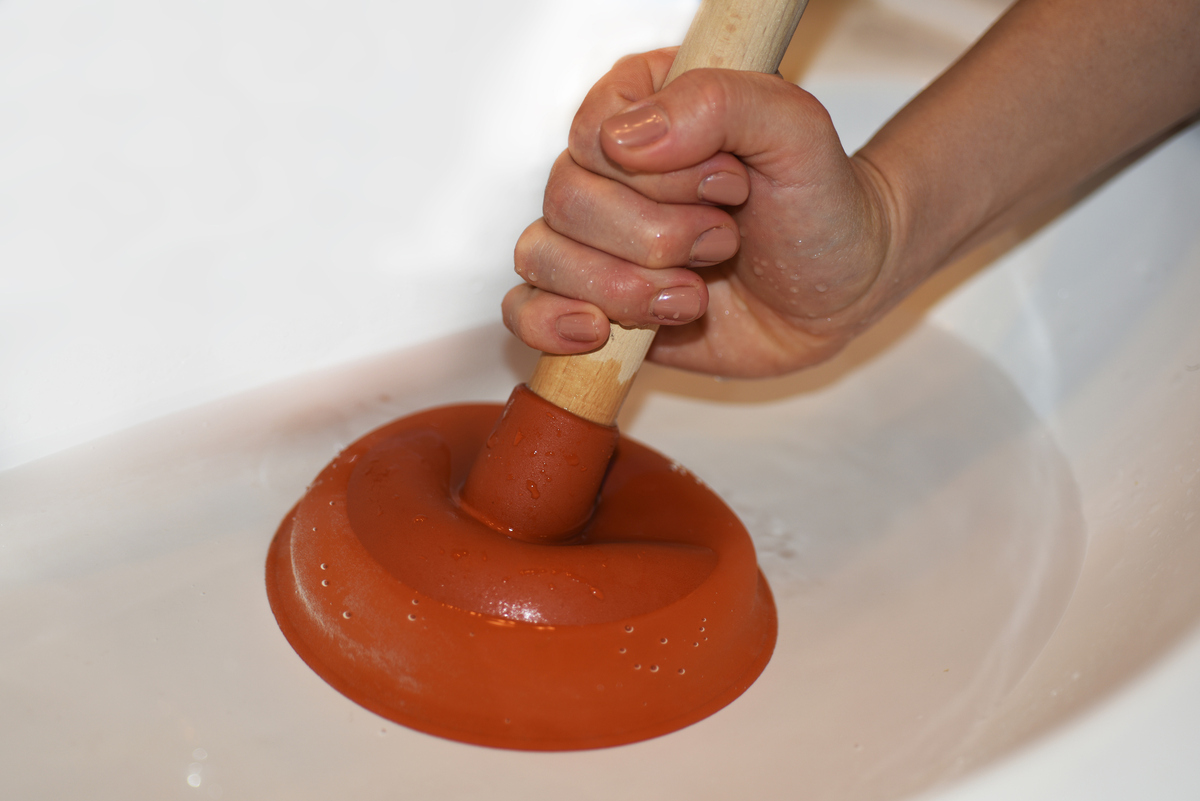
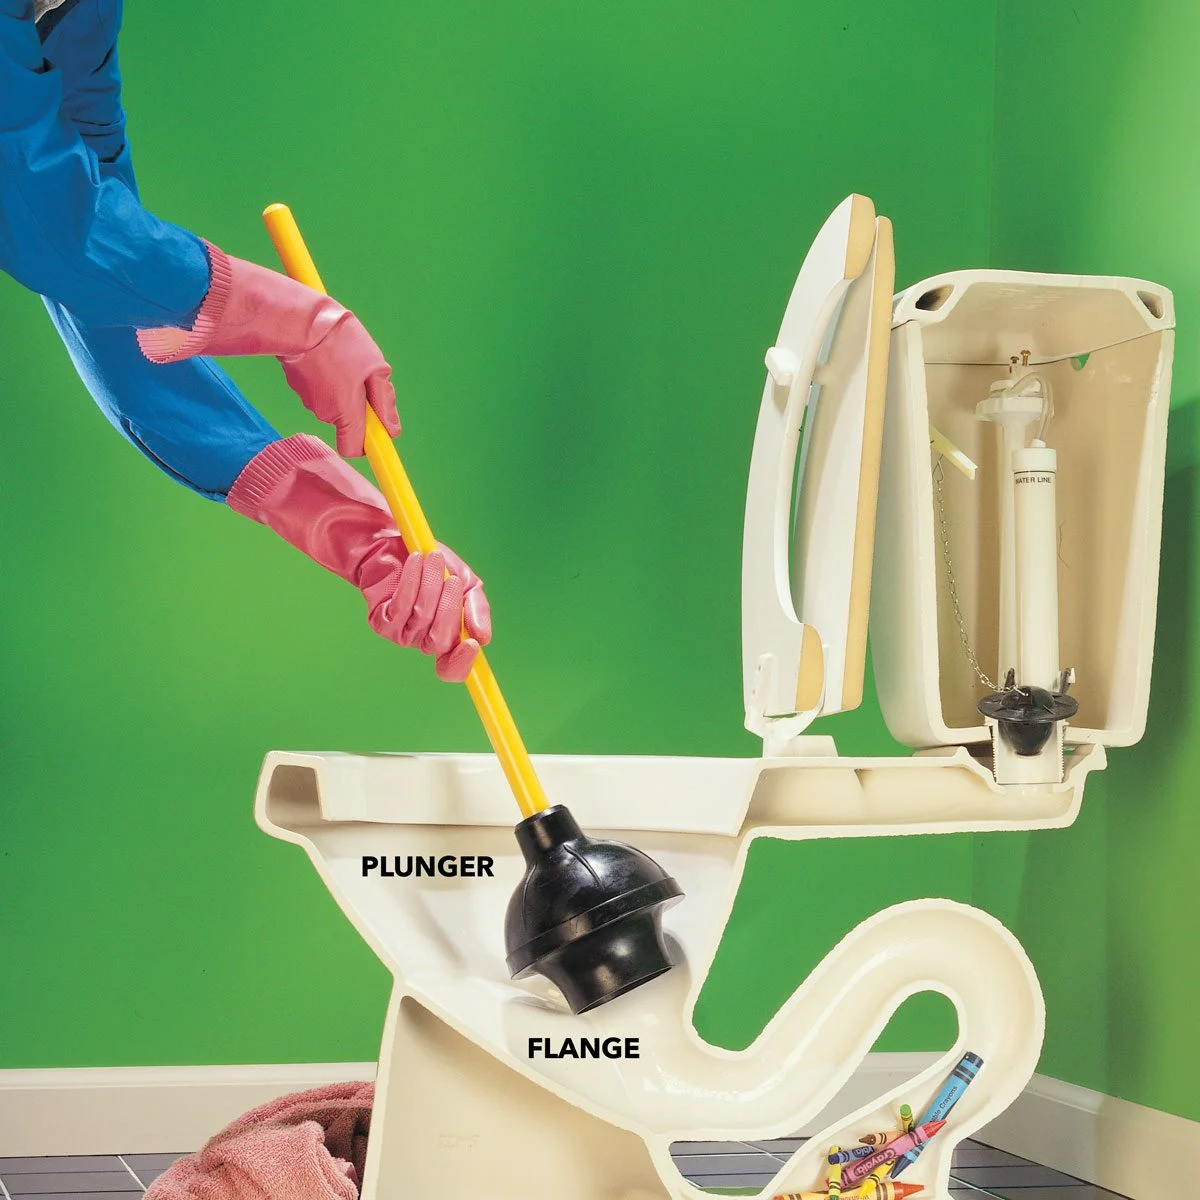
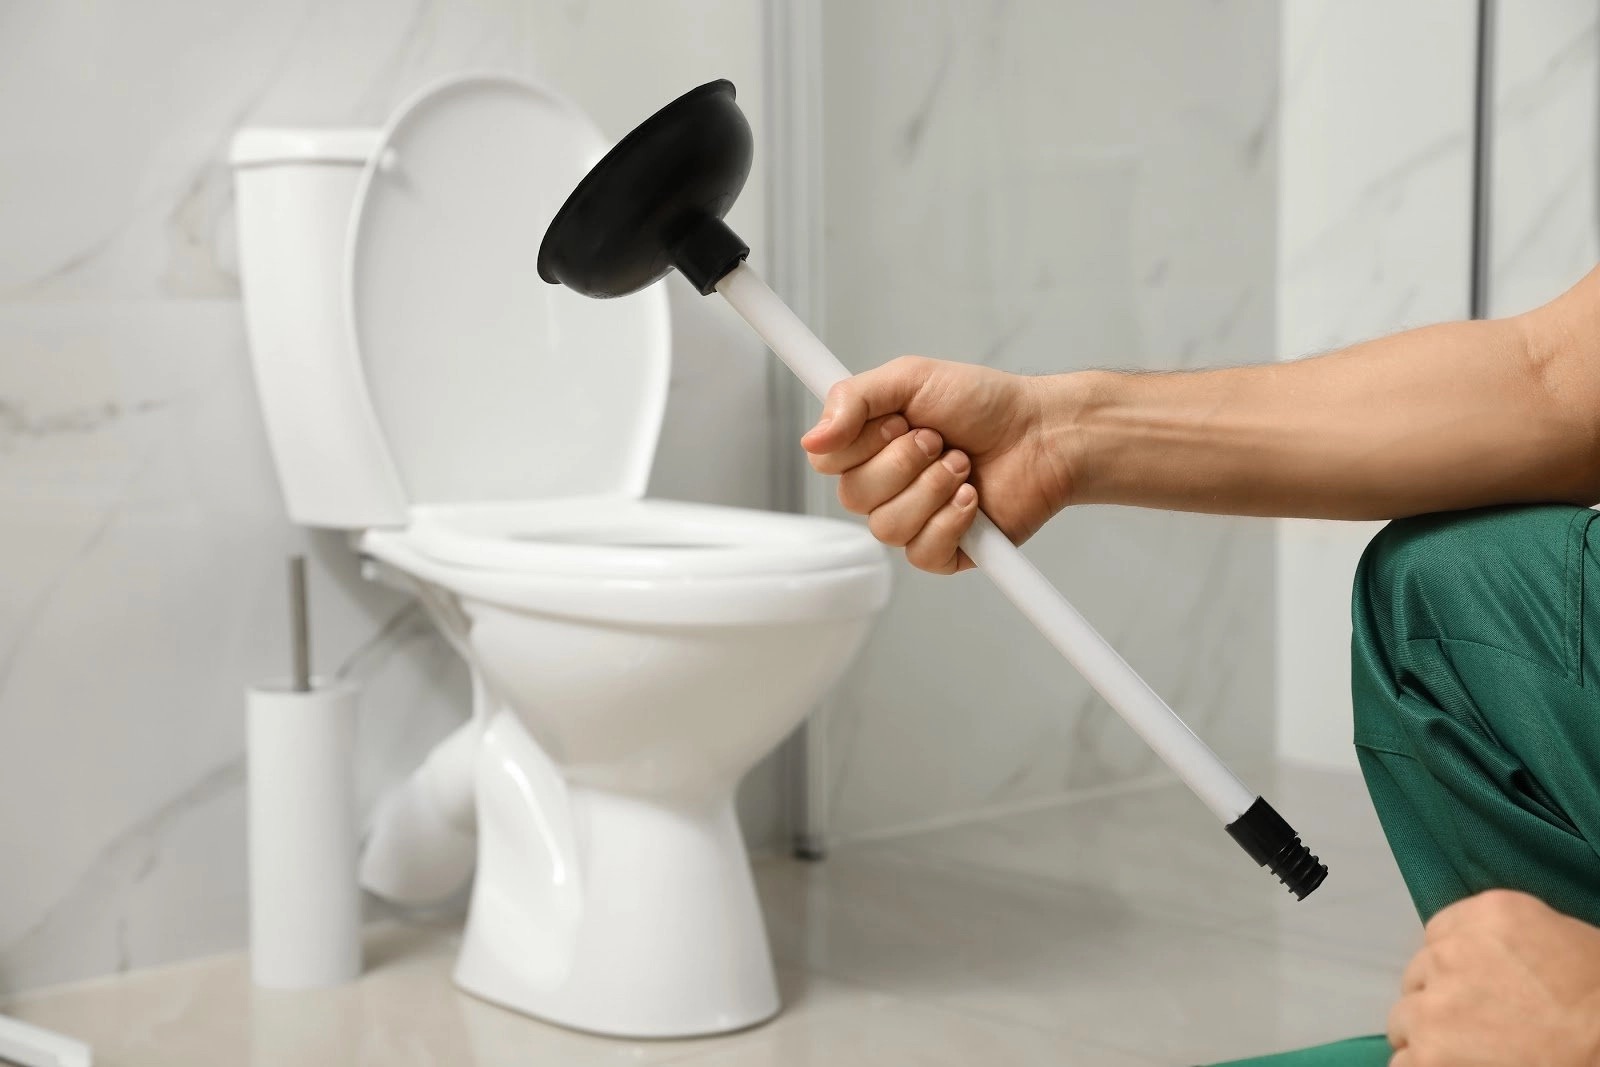
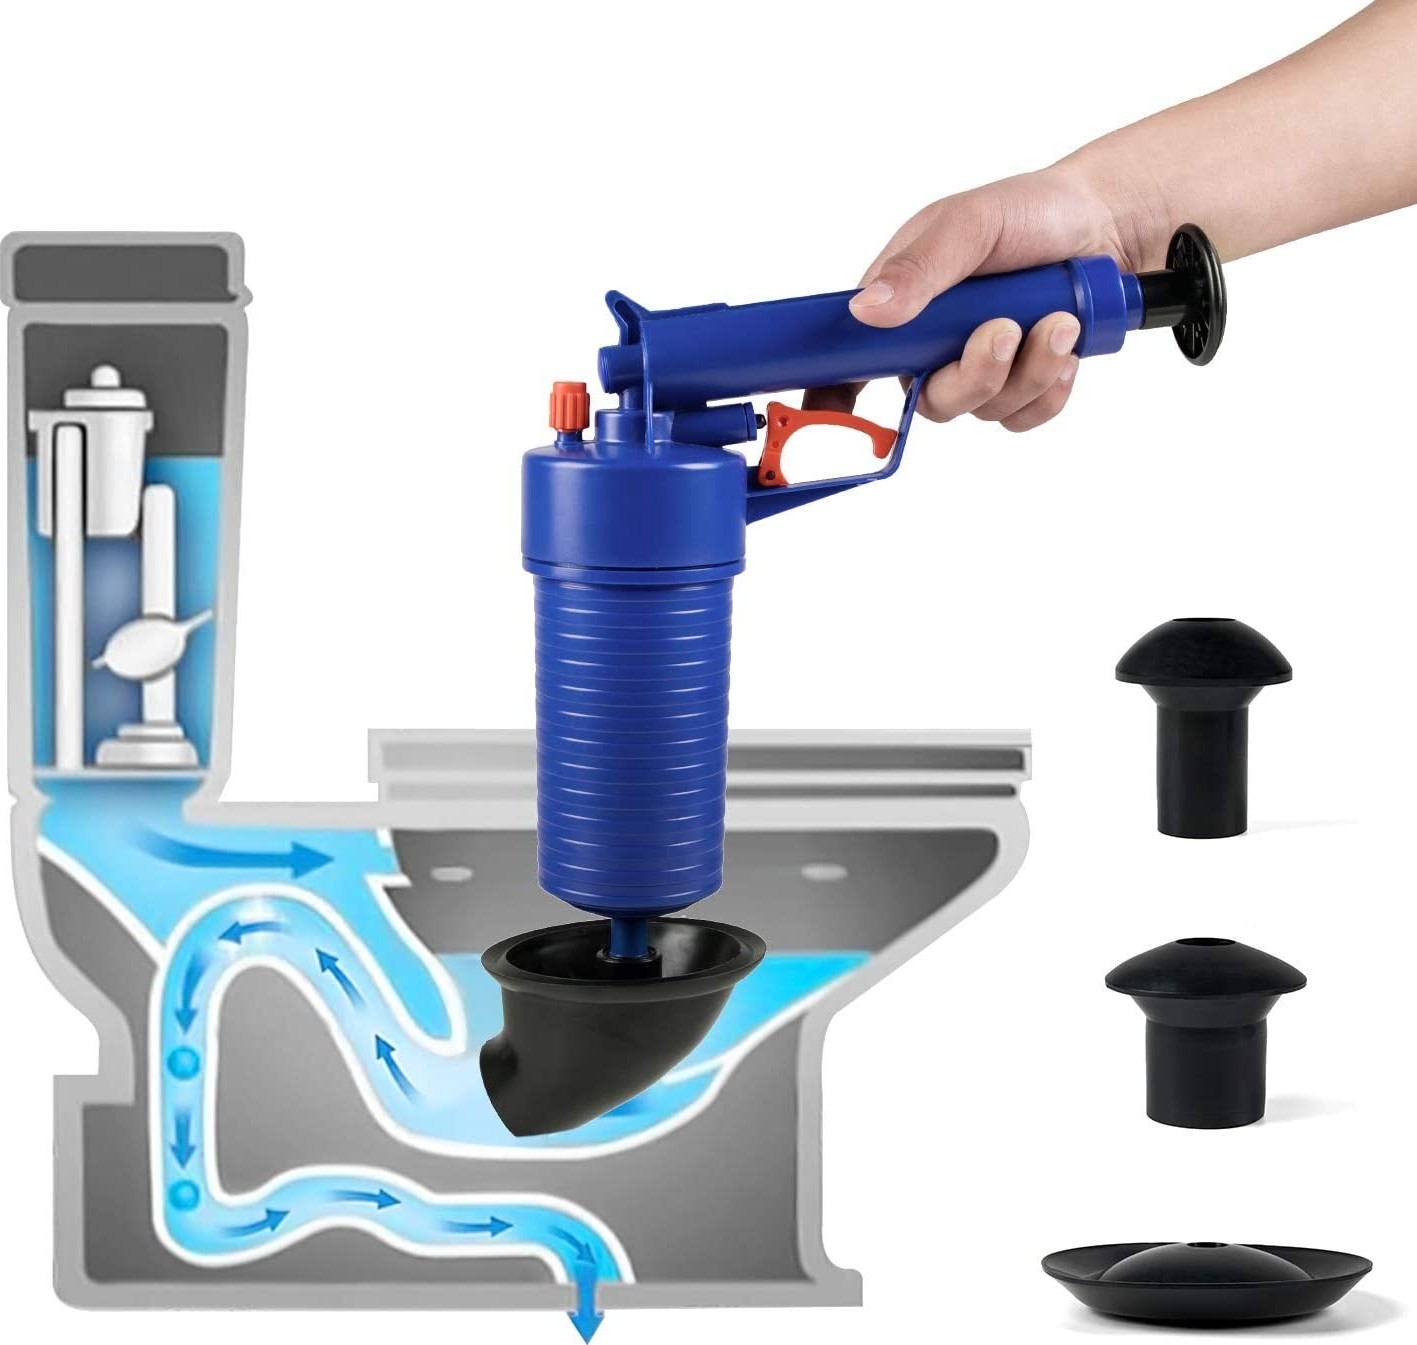
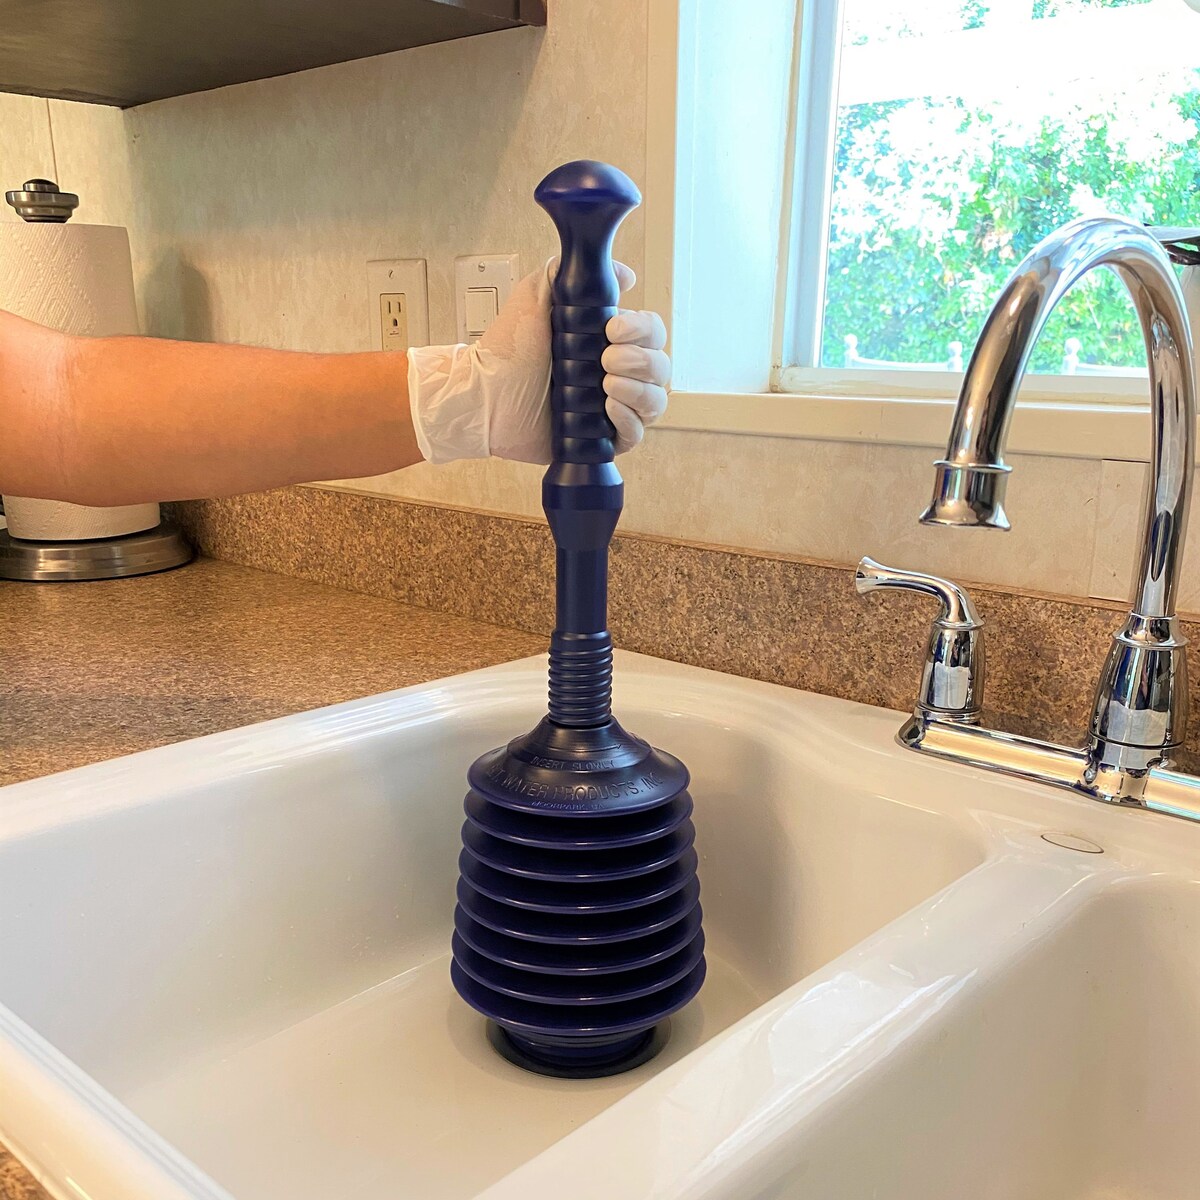
Select the Right Plunger: Not all plungers are created equal. For toilet clogs, it's best to use a flange plunger, also known as a toilet plunger. This type of plunger features an extended flange or collar at the bottom, which is specifically designed to fit into the toilet drain for a better seal.
-
Inspect the Plunger: Before use, give your plunger a quick once-over to ensure it's clean and free of any damage. Check for any cracks, tears, or deformities in the rubber cup, as these could compromise the plunger's effectiveness.
-
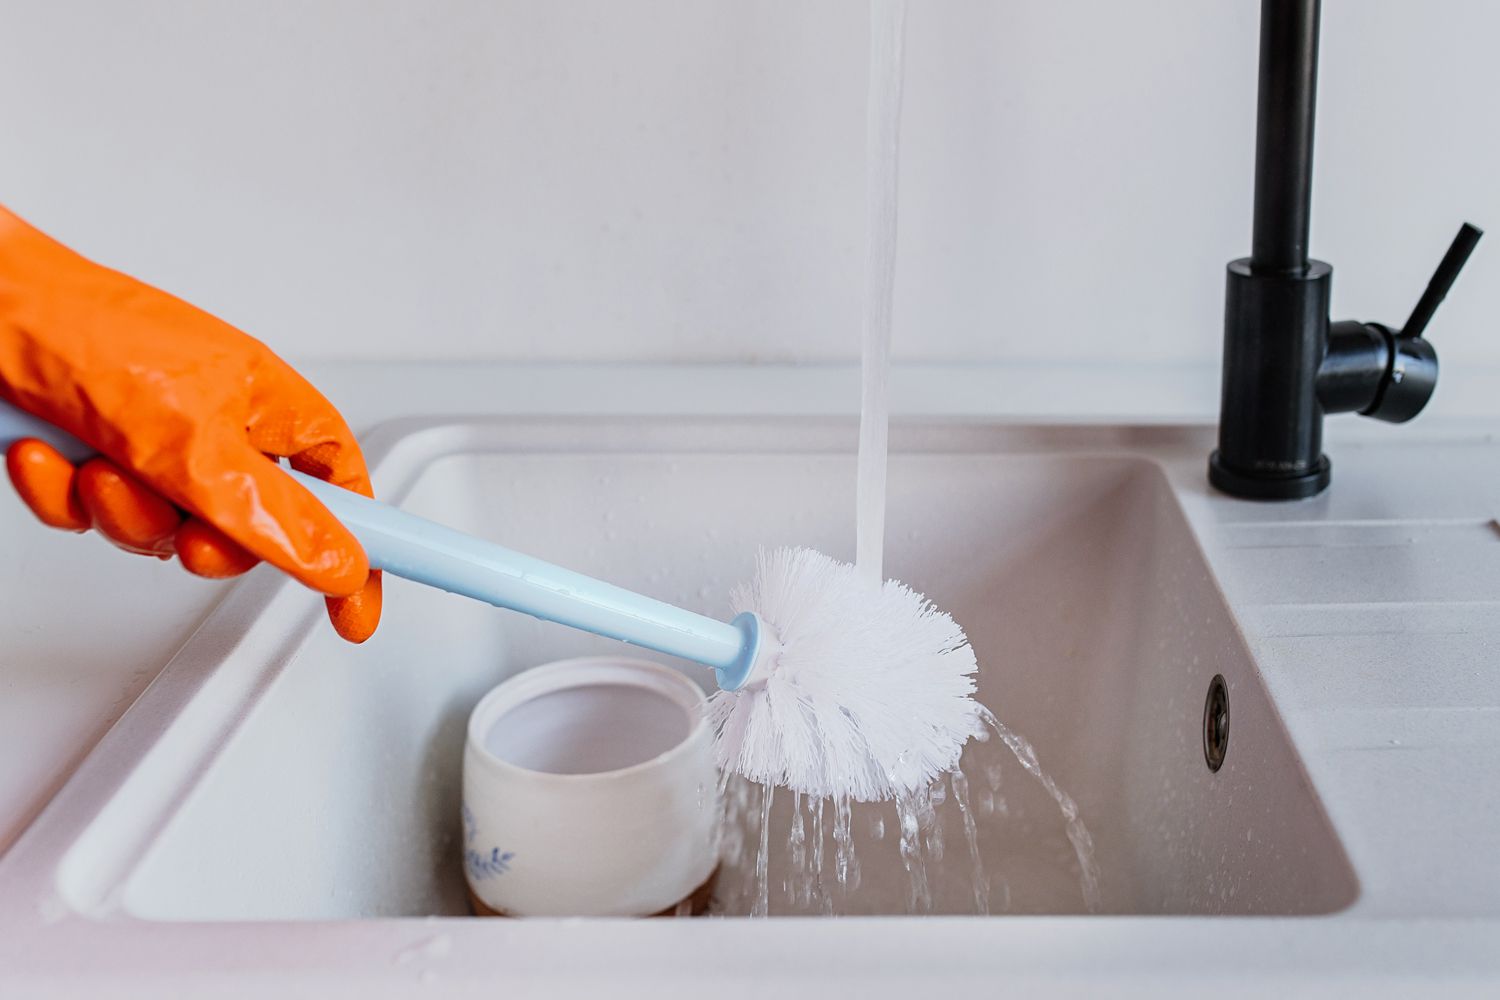
Clean the Plunger: If your plunger has been used before, it's essential to clean it thoroughly before each use. Rinse the rubber cup and the handle with hot water to remove any dirt, debris, or lingering odors. You can also use a mild soap or disinfectant for a more thorough cleaning.
-
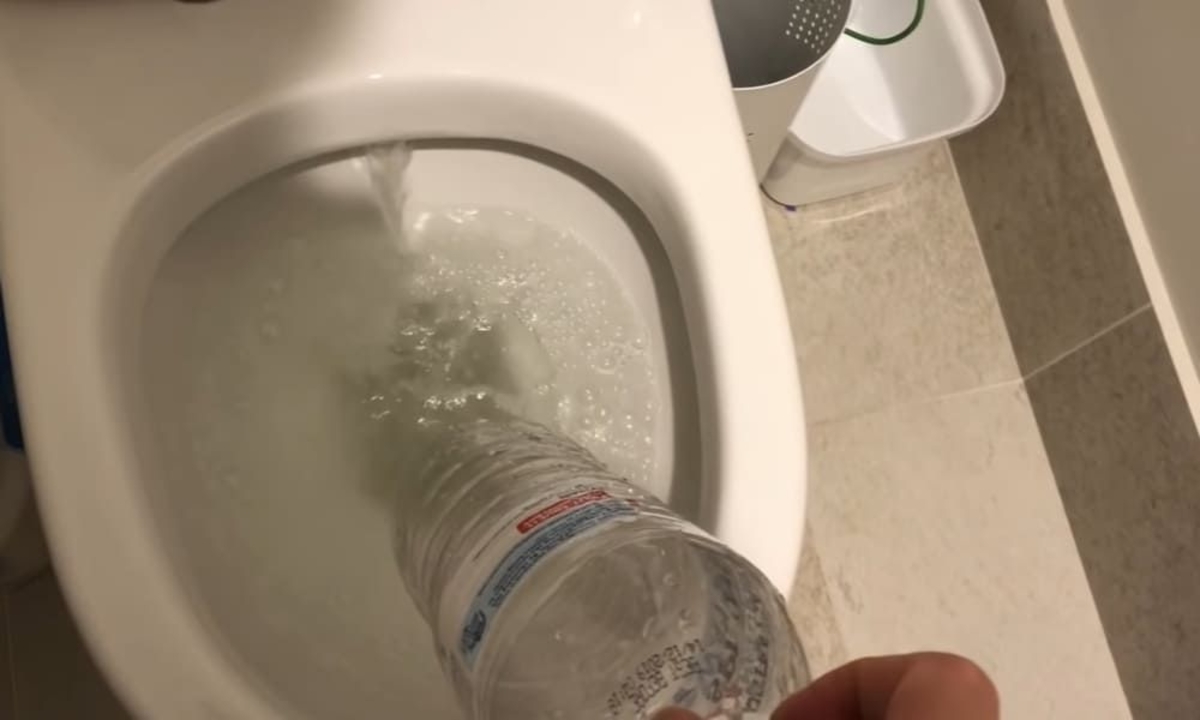
Fill the Toilet Bowl: To enhance the effectiveness of the plunge, it's beneficial to have enough water in the toilet bowl to cover the rubber cup of the plunger. If the water level is low, carefully add enough water to submerge the cup without causing an overflow.
-
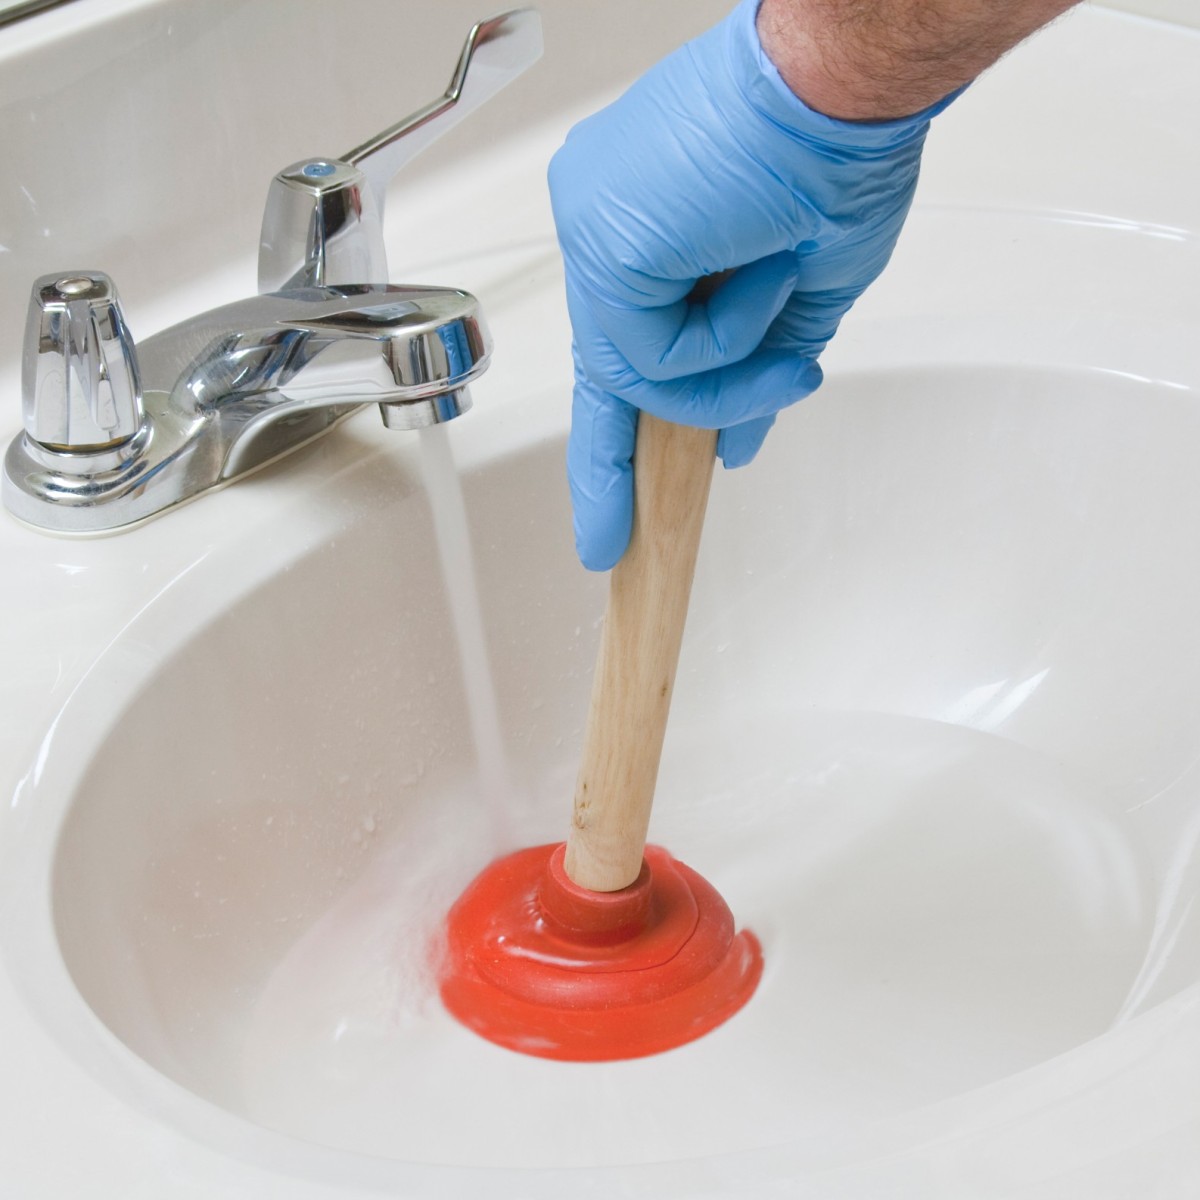
Position the Plunger: Once the plunger is clean and the toilet bowl is adequately filled with water, it's time to position the plunger for action. Hold the plunger by the handle and lower it into the toilet bowl, ensuring that the rubber cup is fully submerged and centered over the drain opening.
By taking these preparatory steps, you'll set the stage for a successful plunging experience. With the plunger ready and the toilet bowl properly filled, you'll be well-equipped to move on to the next crucial step in the unclogging process.
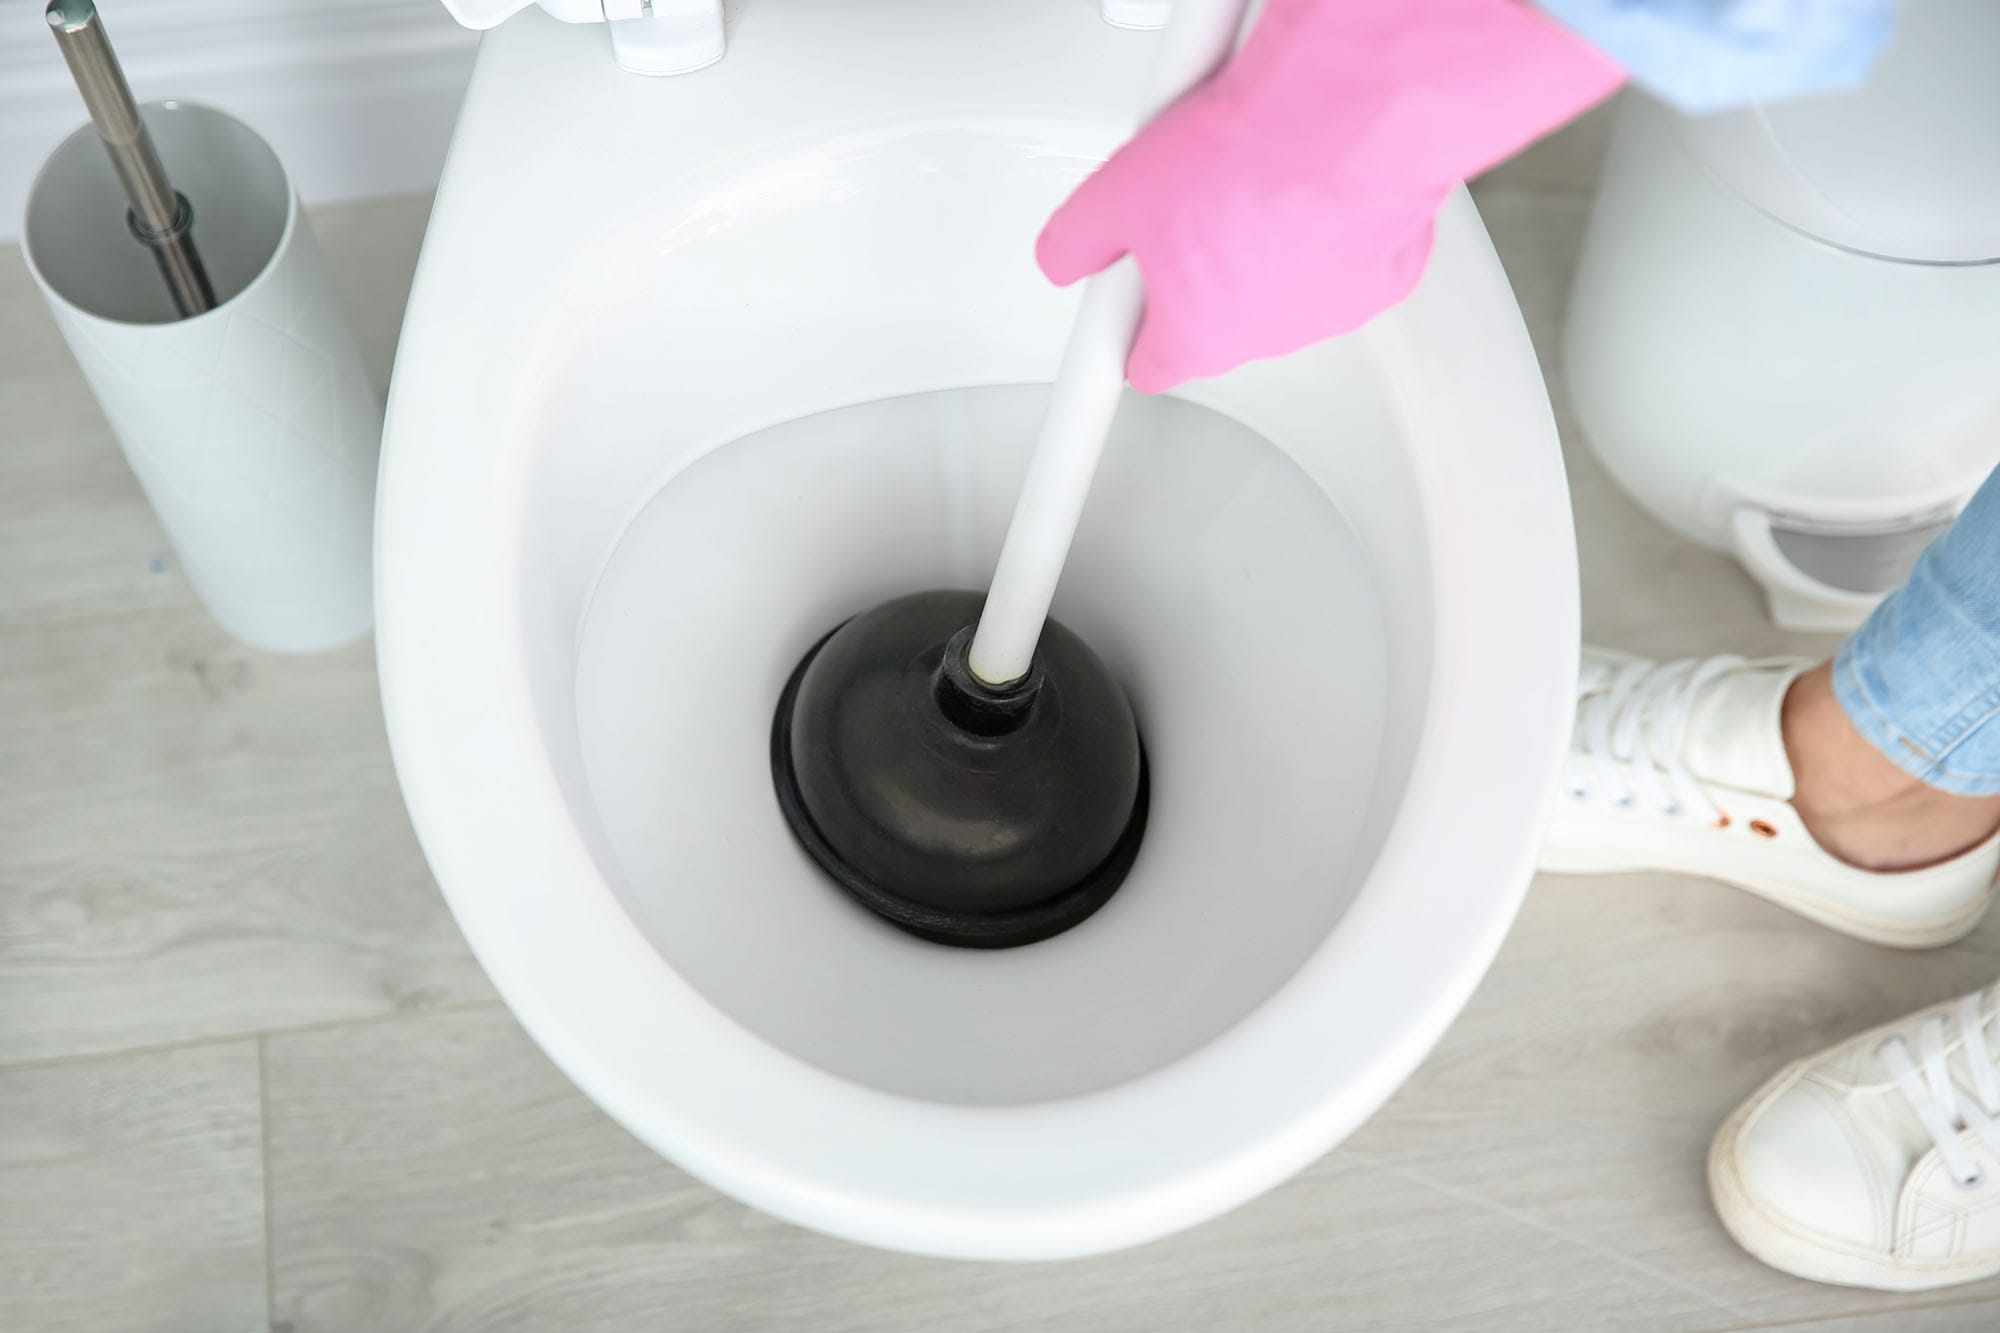
Step 2: Position the Plunger
Proper positioning of the plunger is essential for achieving a tight seal and generating the necessary suction to dislodge the clog. Here's a detailed look at how to position the plunger effectively:
-
Grip the Handle: Before positioning the plunger, ensure that you have a firm grip on the handle. This will provide you with better control and leverage as you maneuver the plunger in the toilet bowl.
-
Submerge the Plunger: With a secure grip on the handle, carefully lower the plunger into the toilet bowl. Submerge the rubber cup completely in the water, ensuring that it covers the drain opening. The goal is to create a watertight seal between the rubber cup and the porcelain surface around the drain.
-
Center the Plunger: Once the plunger is submerged, make sure it is centered directly over the drain opening. This alignment is crucial for maximizing the effectiveness of the plunging action. A centered position helps to concentrate the force and suction onto the clog, increasing the likelihood of dislodging it.
-
Angle the Handle: To achieve optimal results, angle the plunger handle slightly towards the toilet bowl. This angle allows you to apply downward pressure while maintaining a secure seal between the rubber cup and the drain. The goal is to create a tight seal to prevent air from escaping, which is essential for generating the suction needed to dislodge the clog.
-
Stabilize the Plunger: Once the plunger is properly positioned, stabilize it by holding the handle with one hand and using the other hand to support the top of the plunger cup. This dual-handed approach helps to maintain the seal and provides better control over the plunging motion.
By following these detailed steps to position the plunger correctly, you'll be ready to move on to the next crucial phase of the plunging process. With the plunger securely in place and the seal established, you'll be poised to apply the necessary force to tackle the stubborn clog in your toilet.
Step 3: Create a Seal
Creating a tight seal between the plunger and the drain opening is a pivotal step in the plunging process. The seal is what enables the plunger to generate the necessary suction and pressure to dislodge the clog effectively. Here's a detailed look at how to create a strong and airtight seal when using a plunger to unclog a toilet:
-
Apply Even Pressure: With the plunger properly positioned over the drain, apply even pressure to the rubber cup by pressing down gently. This initial pressure helps to expel any air trapped inside the cup, allowing it to form a tight seal against the porcelain surface. The goal is to eliminate any air gaps that could compromise the suction action.
-
Check for Leakage: Once you've applied pressure, observe the area where the rubber cup meets the porcelain. Look for any signs of leakage or air bubbles escaping from the seal. If you notice leaks, adjust the position of the plunger and reapply pressure to create a more secure seal. A watertight seal is essential for maximizing the effectiveness of the plunging action.
-
Maintain Seal Integrity: As you prepare to plunge the toilet, it's crucial to maintain the integrity of the seal throughout the process. Avoid lifting the plunger or breaking the seal between plunges, as this can disrupt the suction and diminish the overall effectiveness of the unclogging effort. Keeping the seal intact ensures that the force and pressure generated by the plunger are concentrated directly on the clog.
-
Utilize Proper Technique: While maintaining the seal, it's important to employ the right plunging technique. This involves using controlled and deliberate plunging motions to create a consistent pressure and suction effect. The seal acts as a barrier to contain the force within the drain, directing it towards the obstruction and increasing the likelihood of dislodging the clog.
-
Monitor Seal Stability: Throughout the plunging process, periodically check the stability of the seal. If you notice any loss of suction or a weakening of the seal, readjust the position of the plunger and reestablish the seal before continuing. A stable and airtight seal is essential for achieving optimal results when using a plunger to unclog a toilet.
By following these detailed steps to create a strong and airtight seal, you'll be well-equipped to harness the full potential of the plunger and maximize its effectiveness in addressing toilet clogs. With the seal in place, you'll be ready to proceed with the plunging action and work towards restoring your toilet's proper functionality.
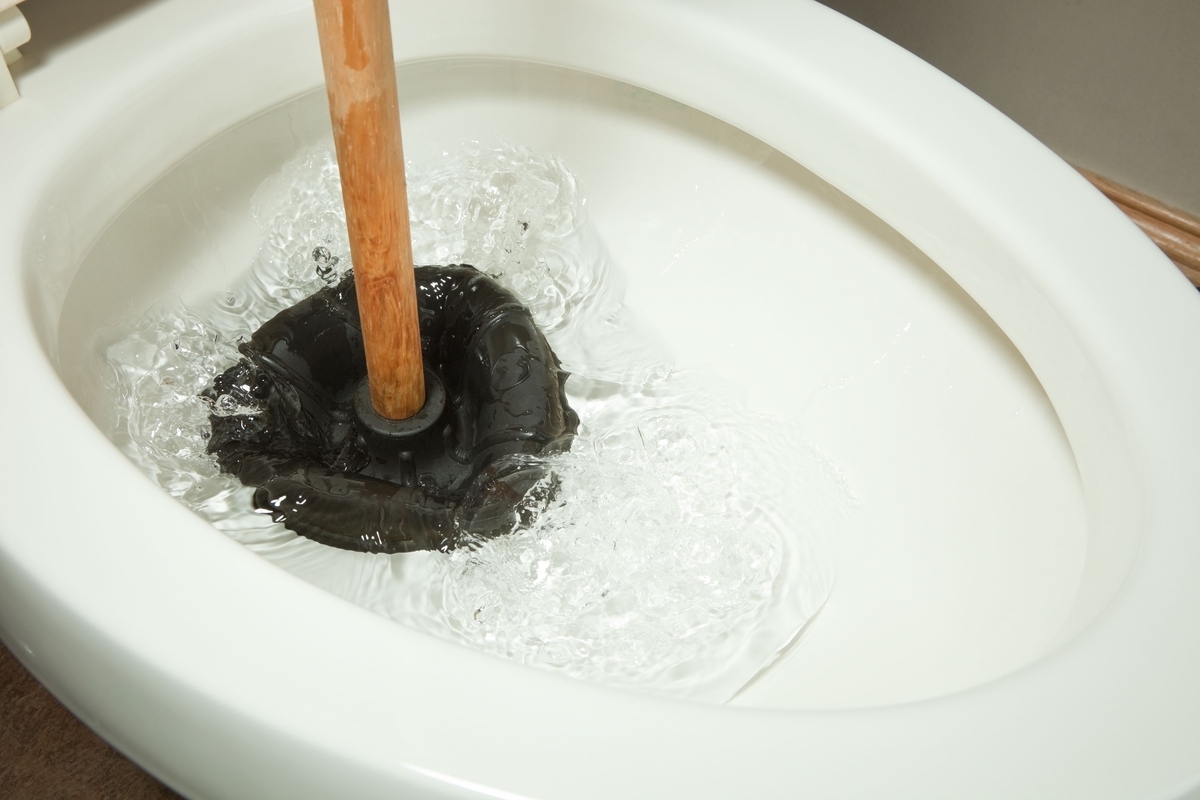
When using a plunger in the toilet, make sure to create a tight seal around the drain. Push and pull the plunger in a steady motion to create suction and dislodge the clog. Keep repeating until the water starts to drain.
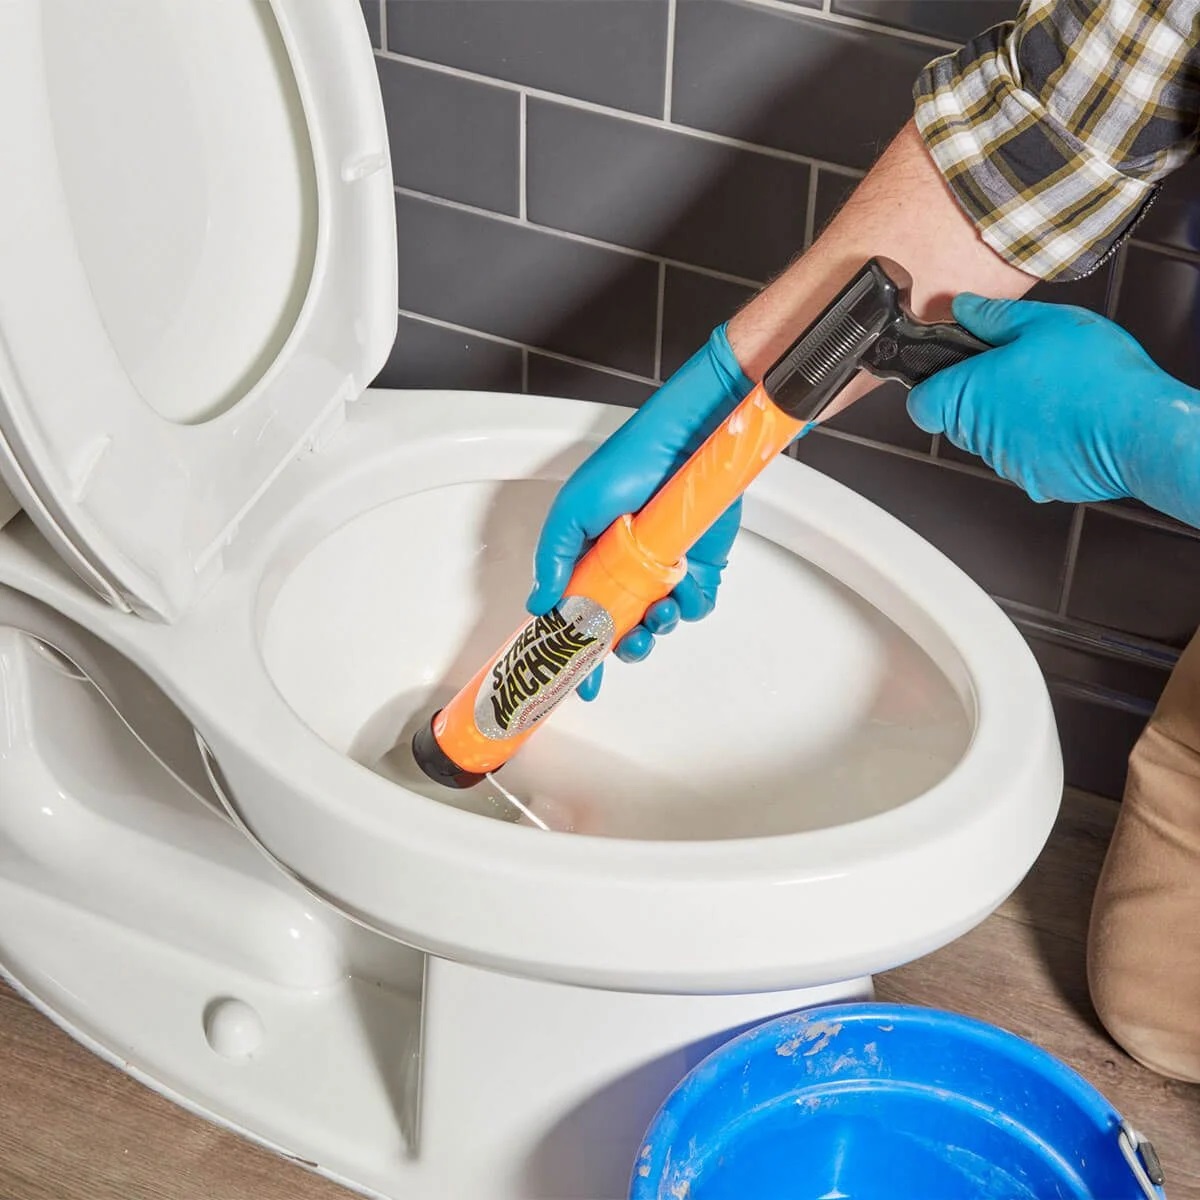
Step 4: Plunge the Toilet
With the plunger properly positioned and a secure seal in place, it's time to initiate the plunging action to dislodge the stubborn clog in your toilet. Plunging is a dynamic process that involves applying controlled pressure and suction to break up and remove the obstruction. Here's a detailed look at how to plunge the toilet effectively:
-
Engage in Controlled Plunging: Begin the plunging process by exerting downward pressure on the plunger handle while maintaining the seal. Use controlled and rhythmic plunging motions to create a consistent suction effect. The goal is to generate enough force to dislodge the clog without causing splashing or dislodging the plunger from its position.
-
Mindful Pressure Application: As you plunge, be mindful of the pressure you apply. Avoid using excessive force, as this can lead to splashing and potential water spillage. Instead, focus on applying steady and deliberate pressure to maintain the seal and direct the force towards the obstruction.
-
Utilize Full Plunge Strokes: When plunging, engage in full strokes that extend the rubber cup fully into the drain and then pull it back up. This full range of motion helps to create a strong suction effect and dislodge the clog more effectively. Ensure that each plunge is deliberate and purposeful, maximizing the pressure and suction applied to the obstruction.
-
Observe Plunge Resistance: Pay attention to the resistance encountered during plunging. If you feel significant pushback or the water level in the bowl rises, it may indicate that the plunger is effectively dislodging the clog. Continue with consistent plunging motions to further break up and remove the obstruction.
-
Monitor Progress: Throughout the plunging process, monitor the progress by observing any changes in the water flow and the level of resistance encountered. If you notice a gradual improvement in flushing or a reduction in resistance, it's a positive indication that the clog is being cleared. Continue plunging until the water begins to drain freely.
By following these detailed steps to plunge the toilet effectively, you'll be able to harness the full potential of the plunger and work towards resolving the clog. With controlled and purposeful plunging, you can increase the likelihood of dislodging the obstruction and restoring proper flushing functionality to your toilet. Remember to maintain the seal, apply mindful pressure, and engage in consistent plunging motions to achieve optimal results.
Read more: How To Store A Toilet Plunger
Step 5: Repeat if Necessary
After completing the initial plunging efforts, it's essential to assess the effectiveness of the unclogging process. In some cases, a single round of plunging may successfully dislodge the clog and restore proper flushing functionality to the toilet. However, if the clog persists or if the water drainage does not improve significantly, it may be necessary to repeat the plunging process. Here's a detailed look at when and how to repeat the plunging if necessary:
-
Assess the Drainage: Following the initial plunging, observe the drainage in the toilet bowl. If the water level remains high, or if the flushing action is still sluggish, it indicates that the clog has not been fully cleared. Assessing the drainage provides valuable insight into the effectiveness of the initial plunging efforts.
-
Reevaluate the Seal: Before repeating the plunging process, reevaluate the seal created by the plunger. Ensure that the rubber cup is still securely positioned over the drain opening and that the seal remains airtight. If the seal has been compromised during the initial plunging, readjust the plunger and recreate a strong seal before proceeding.
-
Prepare for Repeat Plunging: If it becomes evident that the initial plunging was not sufficient to clear the clog, prepare to repeat the plunging process. This may involve adding more water to the toilet bowl to ensure adequate coverage of the rubber cup and readjusting the position of the plunger for optimal effectiveness.
-
Engage in Controlled Plunging: When repeating the plunging, employ the same controlled and deliberate plunging motions as in the initial phase. Focus on maintaining a strong seal, applying mindful pressure, and utilizing full plunge strokes to maximize the suction and force directed towards the clog.
-
Monitor Progress: Throughout the repeat plunging process, monitor the progress closely. Observe any changes in the water flow, the level of resistance encountered, and the effectiveness of the plunging action. If you notice gradual improvements in drainage or a reduction in resistance, continue with consistent plunging motions until the clog is successfully dislodged.
-
Assess the Results: After repeating the plunging, assess the results by observing the water drainage and the flushing action. If the clog has been cleared, the water should drain freely, and the flushing functionality should be restored. If the situation improves, but the clog persists, consider repeating the plunging process as needed.
By following these steps and repeating the plunging process if necessary, you can increase the likelihood of effectively clearing stubborn toilet clogs. Remember to assess the drainage, maintain a strong seal, and engage in controlled plunging to address the clog comprehensively. If the repeat plunging efforts prove successful, you can enjoy the satisfaction of resolving the issue and restoring your toilet to full functionality.
Conclusion
Mastering the art of using a plunger to unclog a toilet is a valuable skill that can save you from the inconvenience and frustration of dealing with a stubborn clog. By following the step-by-step process outlined in this guide, you can approach the task with confidence and effectively address toilet blockages. From preparing the plunger to creating a strong seal and engaging in controlled plunging, each step plays a crucial role in the unclogging process.
It's important to remember that patience and persistence are key when using a plunger to tackle a toilet clog. Assessing the effectiveness of the initial plunging and being prepared to repeat the process if necessary can significantly improve your chances of success. By maintaining a strong seal, applying mindful pressure, and utilizing full plunge strokes, you can maximize the suction and force directed towards the clog, increasing the likelihood of dislodging it.
In the event that the clog persists despite your initial efforts, don't be discouraged. Repeating the plunging process with the same attention to detail and technique can often lead to a successful resolution. By monitoring the progress, assessing the drainage, and ensuring a secure seal, you can work towards achieving the desired outcome of a fully functional and unclogged toilet.
Ultimately, understanding how to use a plunger effectively empowers you to take proactive measures in maintaining your bathroom's functionality. Whether you're a homeowner, a renter, or find yourself facing a clog in someone else's bathroom, the knowledge and skills gained from this guide can be invaluable. By approaching the task with the right tools, techniques, and mindset, you can confidently address toilet clogs and restore proper flushing functionality.
So, armed with the knowledge and insights provided in this guide, you're well-prepared to face the challenge of a clogged toilet. With the right approach and a well-prepared plunger, you can confidently tackle the task at hand and overcome toilet clogs with ease. Remember, a well-maintained plunger and a clear understanding of the plunging process can make all the difference when it comes to restoring your bathroom to full functionality.
Frequently Asked Questions about How To Use The Plunger In The Toilet
Was this page helpful?
At Storables.com, we guarantee accurate and reliable information. Our content, validated by Expert Board Contributors, is crafted following stringent Editorial Policies. We're committed to providing you with well-researched, expert-backed insights for all your informational needs.
0 thoughts on “How To Use The Plunger In The Toilet”