
Articles
How To Use Margaritaville Blender
Modified: August 16, 2024
Learn how to use the Margaritaville blender with our expert articles. Get step-by-step instructions and tips to make the perfect margarita every time.
(Many of the links in this article redirect to a specific reviewed product. Your purchase of these products through affiliate links helps to generate commission for Storables.com, at no extra cost. Learn more)
Introduction
Welcome to the world of margaritas! Whether you’re hosting a party or simply craving a refreshing cocktail, having a Margaritaville Blender can take your margarita-making skills to a whole new level. With its powerful blending capabilities and specialized settings, this blender is designed to make the perfect margarita every time.
In this article, we will guide you through the steps of using a Margaritaville Blender to create your own delicious margaritas. From assembling the blender to blending the ingredients and serving the final drink, we’ll cover everything you need to know to become a margarita master.
So, grab your blender, prepare your taste buds, and let’s get started on this flavorful journey!
Key Takeaways:
- Master the art of making perfect margaritas with a Margaritaville Blender by following simple steps from assembly to blending and serving. Unleash your creativity and impress your guests with restaurant-quality cocktails at home!
- Keep your Margaritaville Blender in top-notch condition by following proper cleaning and maintenance practices. Ensure longevity and optimal performance to continue enjoying delicious margaritas for years to come. Cheers to homemade tropical paradise in a glass!
Read also: 8 Best Margaritaville Blender for 2025
Step 1: Assembling the Margaritaville Blender
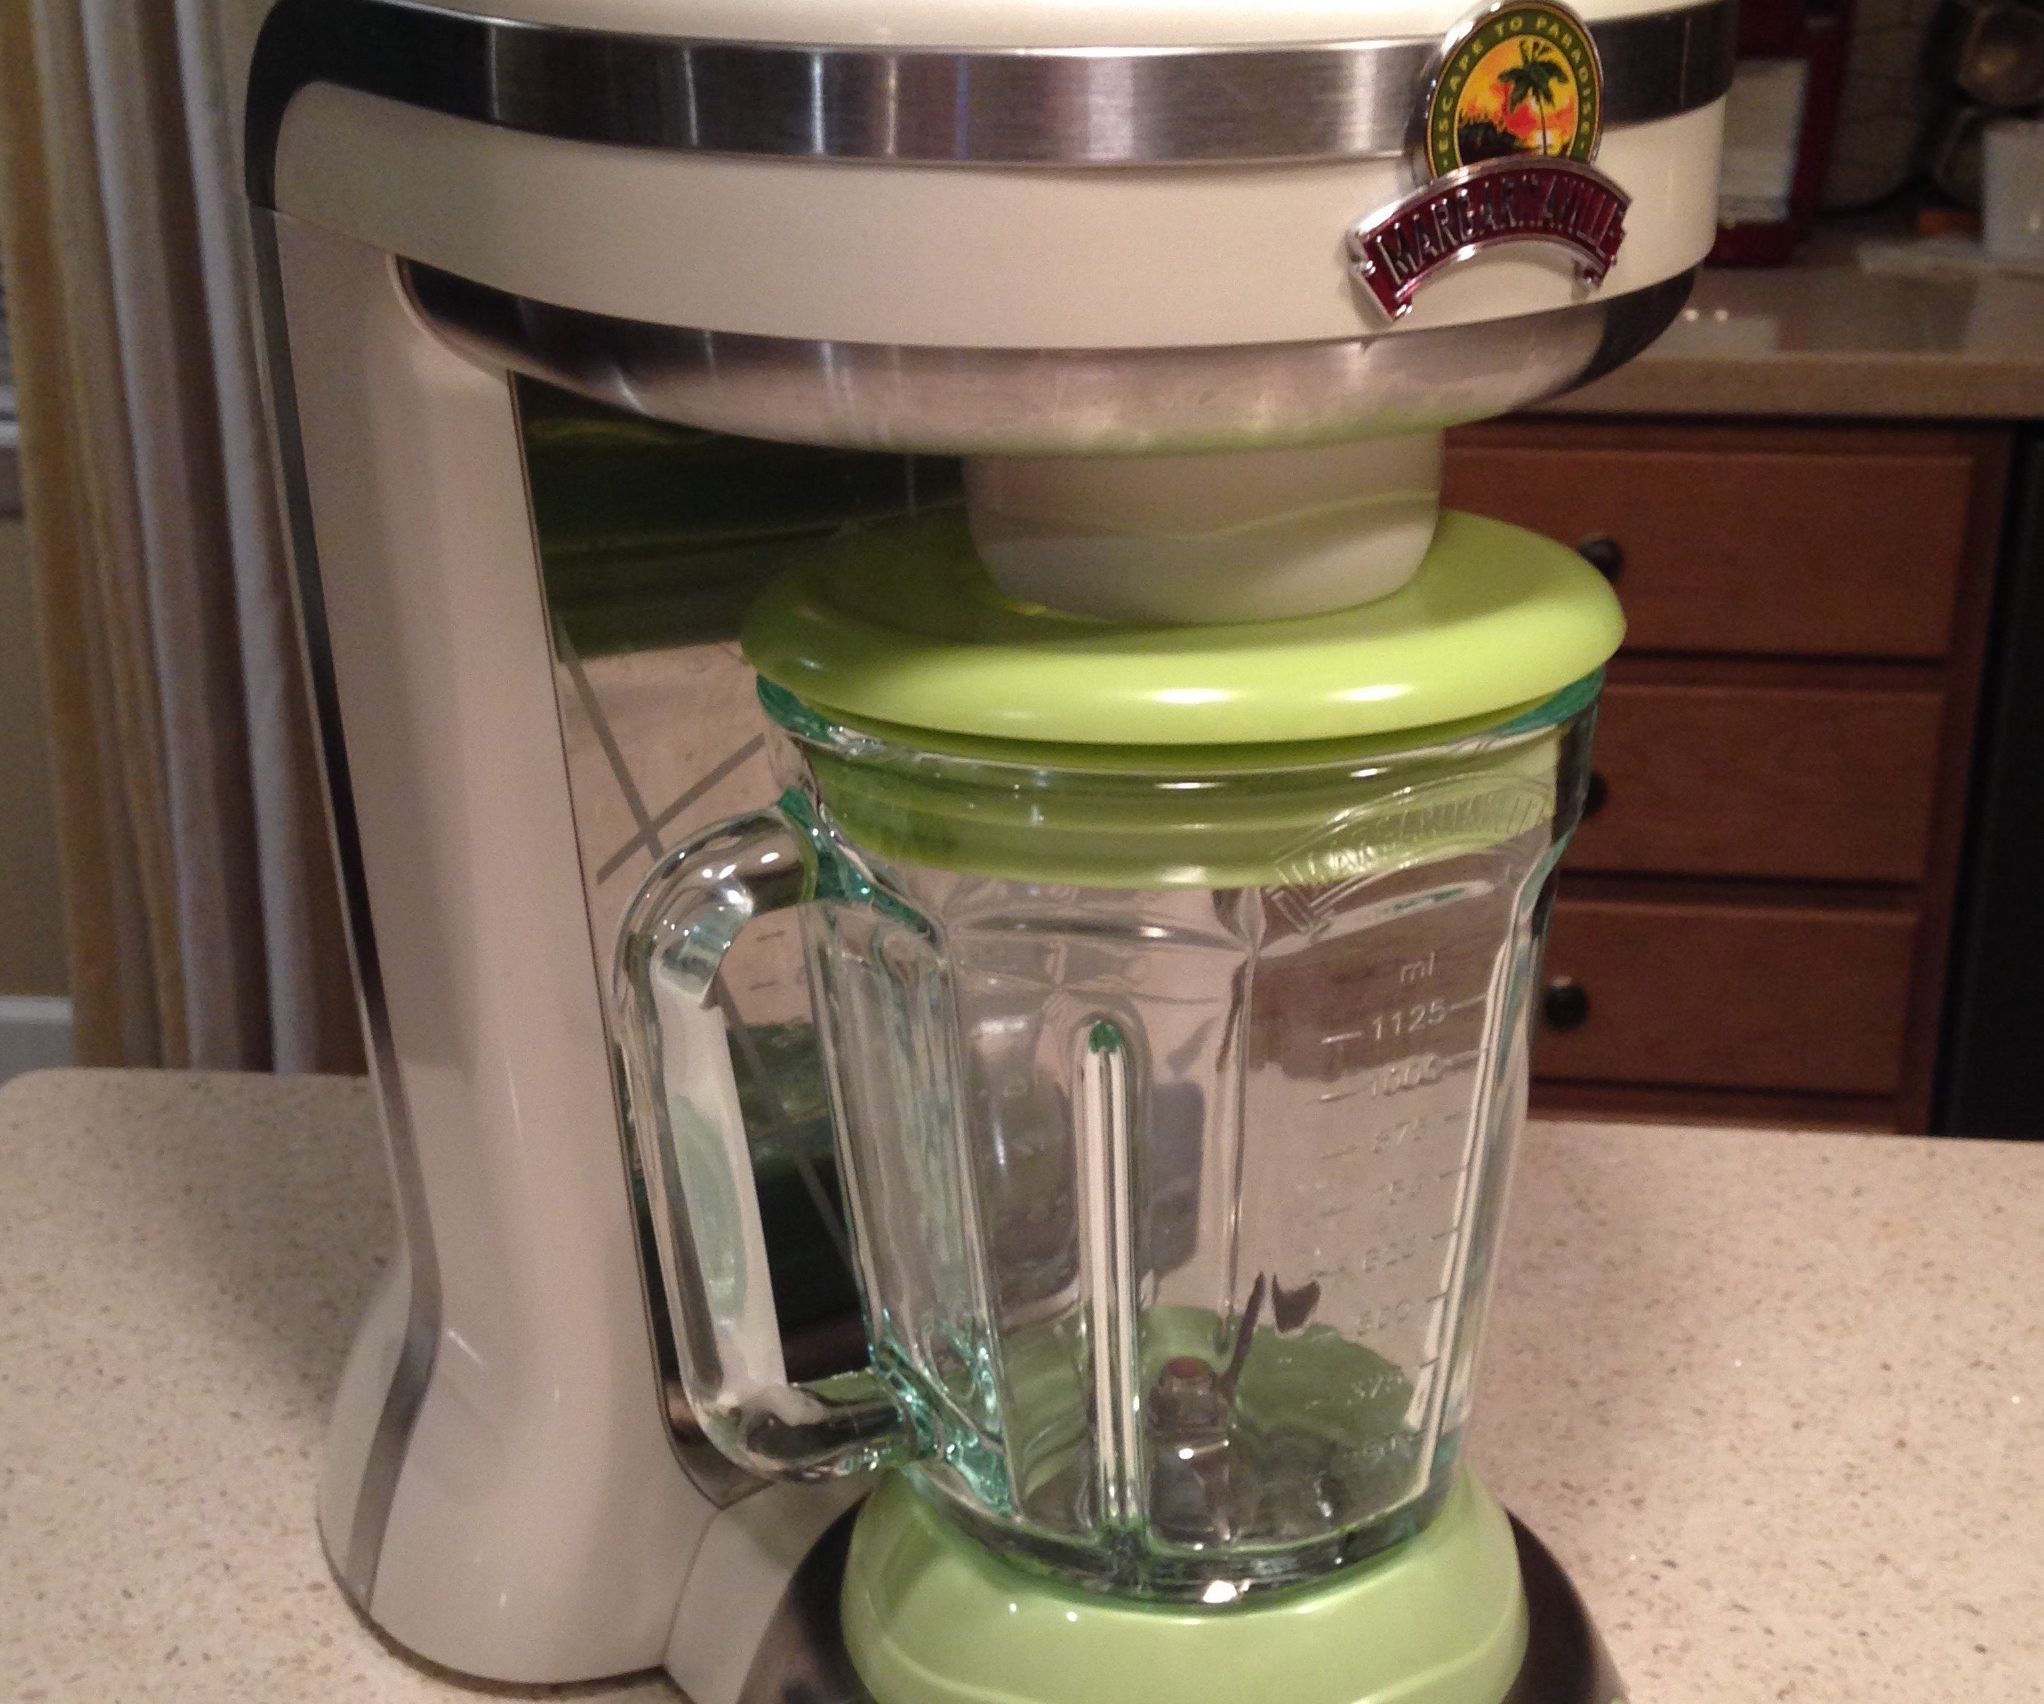
The first step in using your Margaritaville Blender is to assemble it properly. While this process may vary slightly depending on the specific model of the blender you have, here are some general guidelines to follow:
- Remove all the components from the packaging and ensure that you have all the necessary parts, including the blender base, blending jar, lid, and any additional accessories that came with your blender.
- Place the blender base on a flat and stable surface, such as a countertop.
- Attach the blending jar to the base by aligning the arrows or notches on both the base and the jar. Twist the jar clockwise until it locks securely onto the base.
- Next, place the lid on top of the blending jar and press it firmly until it clicks into place. Make sure the lid is properly sealed to prevent any leaks during the blending process.
- If your blender model includes any additional accessories, such as a measuring cap or an ice reservoir, attach them according to the manufacturer’s instructions.
- Before proceeding to the next step, double-check that all components are securely attached and in the correct position.
Once you have successfully assembled your Margaritaville Blender, you’re ready to move on to the next step: preparing the ingredients.
Step 2: Preparing the Ingredients
Now that you have your Margaritaville Blender assembled, it’s time to gather and prepare the ingredients for your margarita. Here’s what you’ll need:
- Fresh lime juice
- Tequila
- Triple Sec or orange liqueur
- Ice
- Salt or sugar for rimming the glasses (optional)
Start by squeezing fresh lime juice. You can use a manual juicer or a citrus press to extract the juice from the limes. Aim for about 1 ounce of lime juice per serving.
Next, measure out your desired amount of tequila and triple sec. A typical margarita recipe calls for 2 ounces of tequila and 1 ounce of triple sec per serving, but you can adjust the proportions based on your taste preferences.
If you prefer a sweeter margarita, you can also add a splash of simple syrup or agave nectar to the blender. This step is optional and can be adjusted to suit your desired level of sweetness.
Moving on to the ice, make sure you have enough ice cubes on hand to fill the blender jar. The ice will help to create the slushy texture that is characteristic of a margarita. If your blender has an ice reservoir, follow the manufacturer’s instructions for adding ice to the blender.
Lastly, if you want to rim your margarita glasses with salt or sugar, prepare a shallow dish with a layer of salt or sugar. Wet the rim of each glass with a lime wedge, then dip it into the salt or sugar, ensuring an even coating around the rim.
With all your ingredients prepared, it’s time to move on to the next step: adding the ingredients to the blender.
Step 3: Adding the Ingredients to the Blender
Now that you have prepared your ingredients, it’s time to add them to the Margaritaville Blender and start creating your margarita masterpiece. Here’s how to do it:
- Remove the lid from the blender jar.
- Pour the freshly squeezed lime juice, tequila, triple sec, and any additional ingredients you’d like to include, such as simple syrup, into the blender jar.
- If your blender has an ice reservoir, add the desired amount of ice cubes into it. Otherwise, simply add the ice cubes directly into the blender jar.
- Securely place the lid back onto the blender jar.
Before moving on to the next step, take a moment to ensure that the lid is securely attached to the blender jar. This will prevent any potential spills or accidents during the blending process.
Now that you have added all the ingredients to the blender, it’s time to move on to the exciting part: blending the margarita!
To use a Margaritaville blender, start by adding ice, then pour in your desired ingredients. Use the pre-programmed settings for consistent results, and don’t forget to clean the blender thoroughly after each use.
Step 4: Blending the Margarita
Now that all the ingredients are in the blender, it’s time to blend them together and create the perfect margarita consistency. Follow these steps to ensure a smooth and delicious blend:
- Make sure the blender is securely placed on a stable surface.
- Connect the blender to a power source and turn it on.
- Some Margaritaville Blender models have preset settings specifically for making margaritas. If your blender has these settings, select the appropriate option for your desired consistency.
- If your blender does not have preset settings, start by blending on a low speed for a few seconds to break down the ice cubes. Then, gradually increase the speed to a higher setting until the mixture reaches a smooth and slushy consistency. Blend for approximately 15-30 seconds, or until the desired texture is achieved.
- Keep an eye on the blend throughout the process, and if needed, use a tamper or spatula to push down any ingredients that may have stuck to the sides of the blender jar.
- Once the margarita has reached your desired consistency, turn off the blender and detach it from the power source.
Now that you’ve successfully blended your margarita, it’s time to move on to the final step: pouring and serving your delicious creation!
Read more: How To Use A Blender Bottle
Step 5: Pouring and Serving the Margarita
Now that your margarita is perfectly blended, it’s time to pour it into glasses and serve it to your eagerly awaiting guests (or enjoy it yourself!). Follow these steps to ensure a beautiful and enjoyable presentation:
- Select the desired glassware for serving your margarita. Traditional margarita glasses with a wide rim and a stem are popular choices, but any glassware that can hold your margarita will work.
- If you have rimmed your glasses with salt or sugar, gently turn each glass upside down and dip the rim into the dish again to moisten it. This will help the salt or sugar to adhere to the rim.
- Hold the blender jar over each glass at a slight angle and slowly pour the margarita into the glass. Be careful to avoid overflowing the glass.
- If desired, garnish each margarita with a lime wedge or a sprig of fresh mint for added visual appeal.
Now that your margarita is beautifully presented in the glass, it’s time to serve and enjoy the fruits of your labor!
Remember, margaritas are best enjoyed when they are fresh and chilled. Serve your margaritas immediately after pouring to ensure that they are at their peak flavor and texture.
Now that you’ve mastered the art of pouring and serving a margarita, let’s move on to the final step: cleaning and maintaining your Margaritaville Blender.
Step 6: Cleaning and Maintenance of the Margaritaville Blender
Once you’ve enjoyed your delicious margarita, it’s important to properly clean and maintain your Margaritaville Blender to ensure its longevity and optimal performance. Follow these steps for cleaning and maintenance:
- Unplug the blender from the power source before starting the cleaning process to ensure safety.
- Disassemble the blender by removing the blending jar, lid, and any additional accessories.
- Rinse the blending jar, lid, and accessories with warm soapy water to remove any residual liquids or ingredients. Use a non-abrasive sponge or cloth to scrub away any stubborn stains, if necessary.
- Thoroughly rinse all components with clean water to remove any soap residue.
- Allow the components to air dry completely before reassembling the blender. Ensure that they are completely dry to prevent any potential mold growth.
- Once all the components are dry, reassemble the blender by attaching the blending jar, lid, and any additional accessories according to the manufacturer’s instructions.
- Store the blender in a clean and dry place to prevent dust accumulation and maintain its quality.
- Regularly check the blender’s motor base for any signs of wear or damage. If you notice any issues, contact the manufacturer for further assistance or professional maintenance.
- It’s also important to refer to the blender’s instruction manual for specific cleaning and maintenance guidelines provided by the manufacturer.
By following these cleaning and maintenance practices, you can keep your Margaritaville Blender in excellent condition, ensuring that it continues to serve you delicious margaritas for years to come!
Now that you’re familiar with the cleaning and maintenance process, you’ve successfully completed all the steps to become a margarita-making pro with your Margaritaville Blender!
Conclusion
Congratulations! You have now mastered the art of using a Margaritaville Blender to create delicious margaritas. From assembling the blender to preparing the ingredients, blending the margarita, pouring it into glasses, and cleaning and maintaining the blender, you have learned all the essential steps to make the perfect margarita.
The Margaritaville Blender offers convenience and efficiency in creating restaurant-quality margaritas right in the comfort of your own home. With its powerful blending capabilities and user-friendly features, this blender ensures consistently smooth and flavorful margaritas every time.
Remember to unleash your creativity by experimenting with different flavors and variations of margaritas. Whether you prefer classic lime, fruity tropical, or spicy variations, the Margaritaville Blender provides endless possibilities to satisfy your taste buds.
Always prioritize safety by following the manufacturer’s instructions and guidelines while using and cleaning the blender. Regular cleaning and maintenance will keep your Margaritaville Blender in top-notch condition, ready to whip up delicious margaritas at a moment’s notice.
So, grab your Margaritaville Blender, gather your favorite ingredients, and start making margaritas that will impress and delight your guests. Sit back, relax, and transport yourself to a tropical paradise with each sip of your homemade margarita.
As Jimmy Buffett once said, “It’s 5 o’clock somewhere.” Cheers to the joy and flavor of margaritas with your Margaritaville Blender!
Frequently Asked Questions about How To Use Margaritaville Blender
Was this page helpful?
At Storables.com, we guarantee accurate and reliable information. Our content, validated by Expert Board Contributors, is crafted following stringent Editorial Policies. We're committed to providing you with well-researched, expert-backed insights for all your informational needs.

0 thoughts on “How To Use Margaritaville Blender”