Articles
How To Use A Blender Bottle
Modified: October 20, 2024
Learn how to properly use a blender bottle to create delicious smoothies and protein shakes with these informative articles. Improve your blending skills now!
(Many of the links in this article redirect to a specific reviewed product. Your purchase of these products through affiliate links helps to generate commission for Storables.com, at no extra cost. Learn more)
Introduction
Welcome to the world of Blender Bottles, the ultimate tool for blending your favorite drinks on the go. Whether you’re a fitness enthusiast, a smoothie lover, or simply someone who enjoys a well-mixed beverage, a Blender Bottle is a must-have accessory. This handy bottle is designed with a built-in blender ball that effortlessly mixes your ingredients for a smooth and consistent result.
In this article, we will guide you through the steps of using a Blender Bottle to create delicious and nutritious drinks. From assembling the bottle to cleaning it after use, we’ll cover everything you need to know to make the most of this versatile tool. So, let’s dive in and discover how to use a Blender Bottle like a pro!
Key Takeaways:
- Assemble, blend, and enjoy! Using a Blender Bottle is a simple and efficient way to create perfectly mixed drinks on the go. Just follow the steps to assemble, add ingredients, blend, pour, and clean for a hassle-free blending experience.
- The Blender Bottle offers versatility and convenience for creating a wide range of drinks. From protein shakes to smoothies, this handy tool ensures a smooth and well-blended texture, enhancing the taste and enjoyment of your favorite beverages.
Read more: What Is Blender Bottle
Step 1: Assemble the Blender Bottle
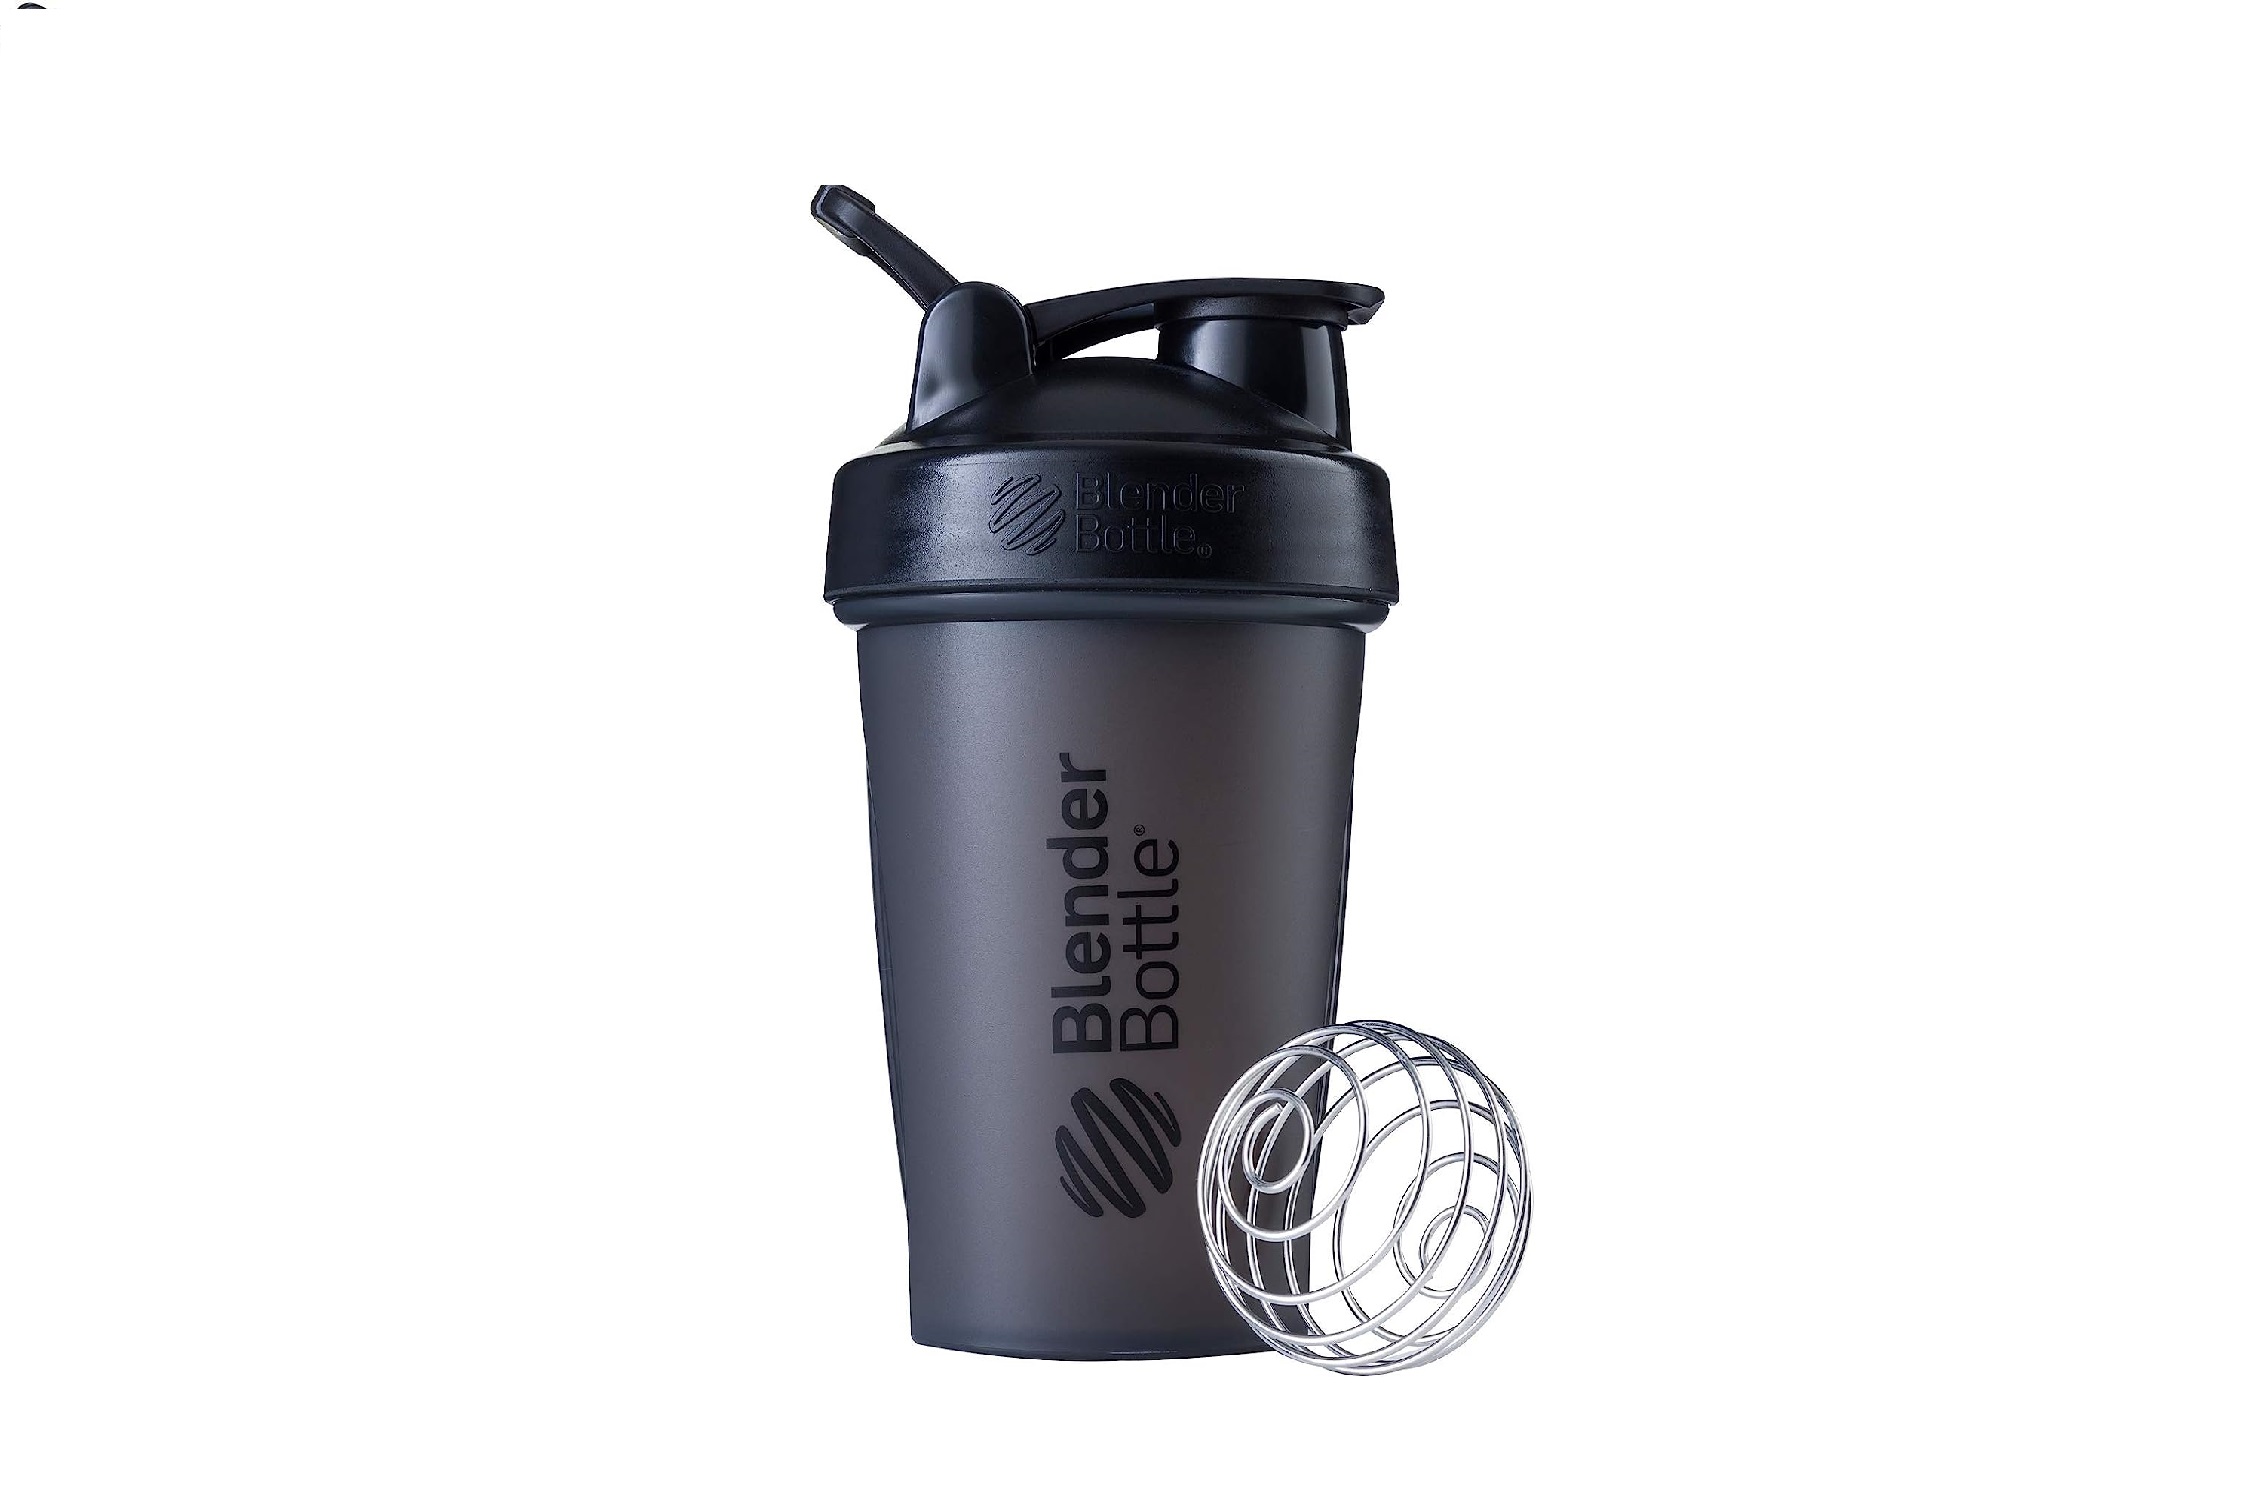
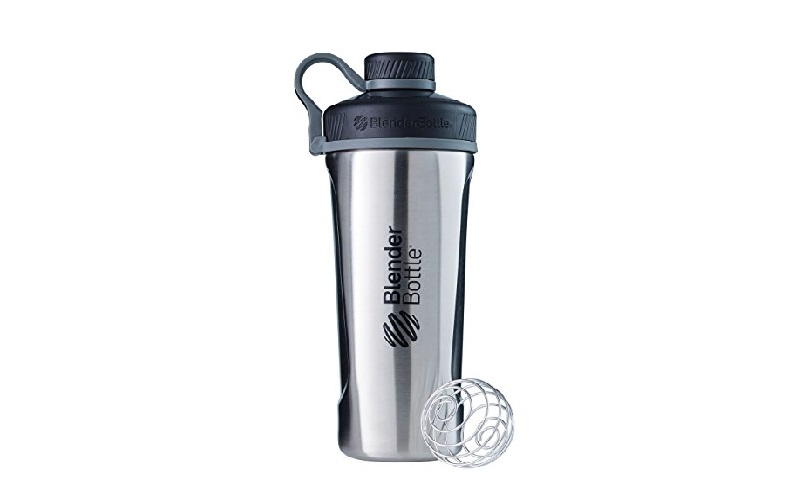
The first step in using a Blender Bottle is to assemble it properly. Start by ensuring that all the parts of the bottle are clean and dry. This includes the bottle itself, the lid, and the blender ball.
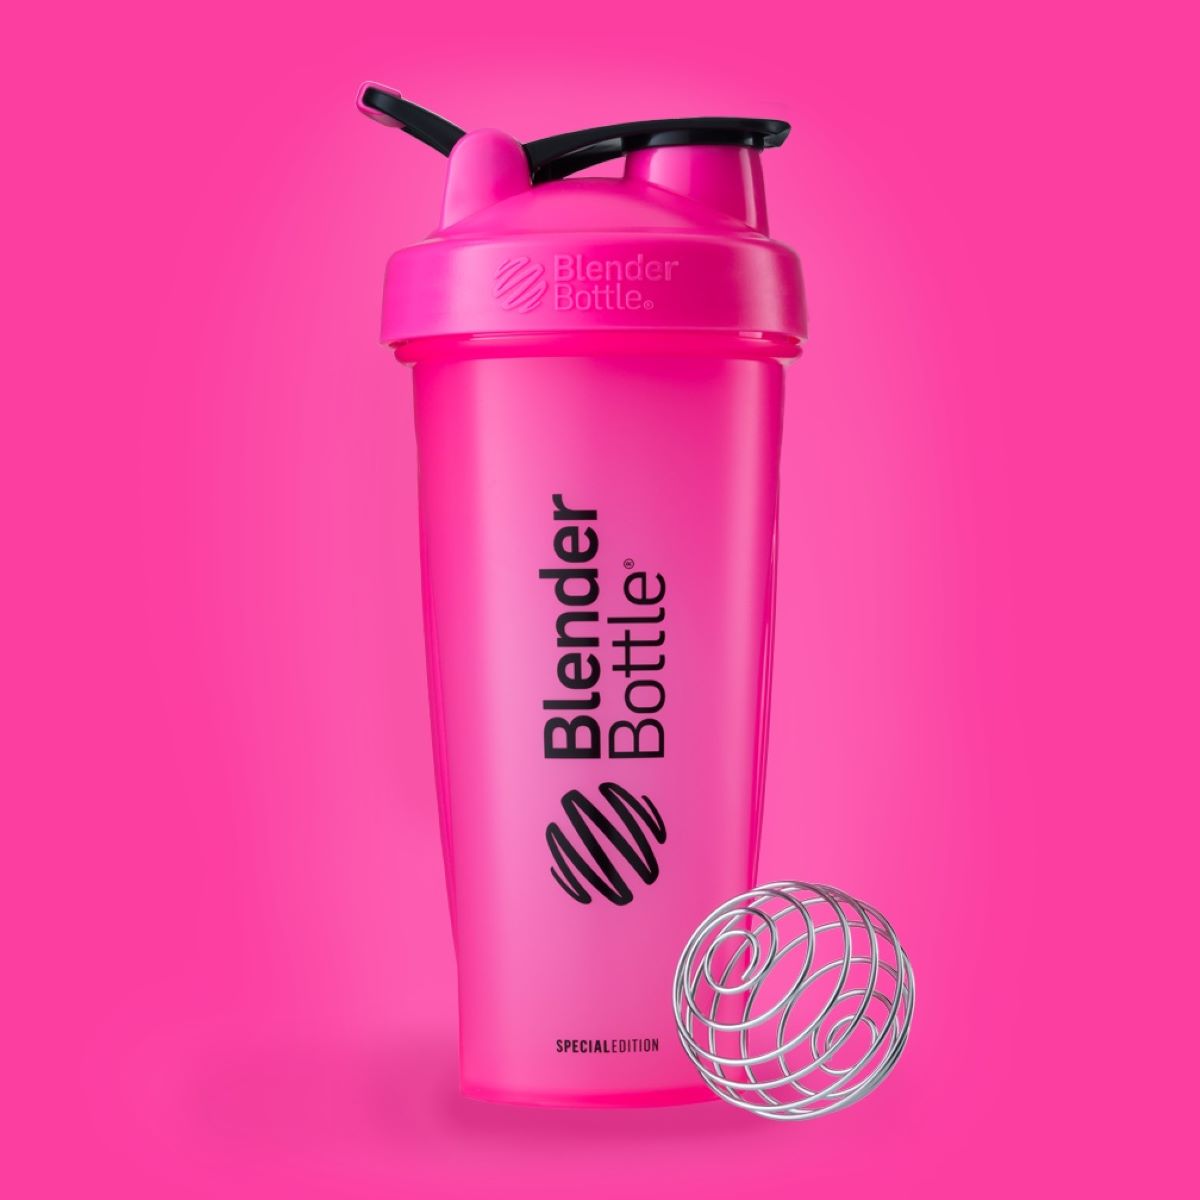
To assemble the bottle, unscrew the lid from the bottle and set it aside. Next, take the blender ball and place it inside the bottle. This small, wire whisk-like ball is the key to achieving a smooth and well-blended drink. It helps to break up any clumps and mix the ingredients evenly.
Once the blender ball is inside the bottle, screw the lid back onto the bottle tightly. Make sure it is securely fastened to prevent any leaks during the blending process. Now your Blender Bottle is ready to use!
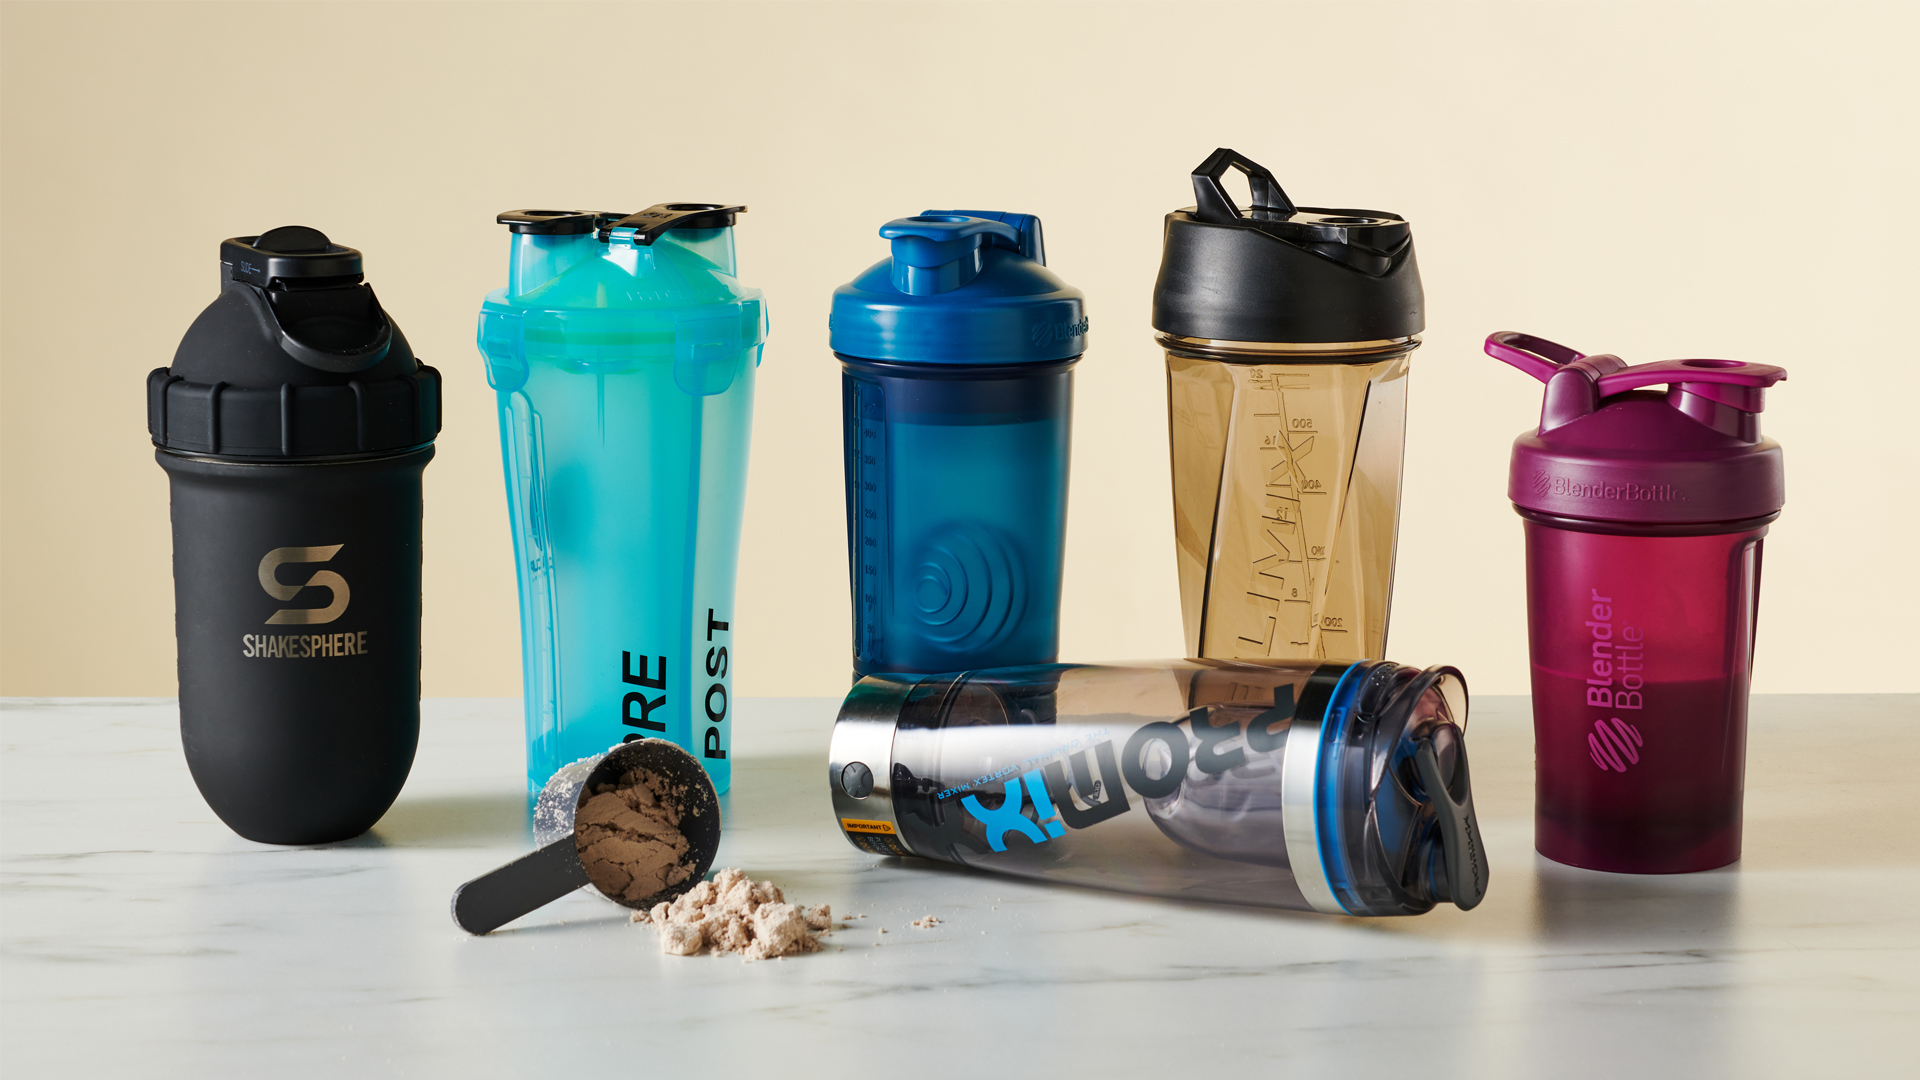
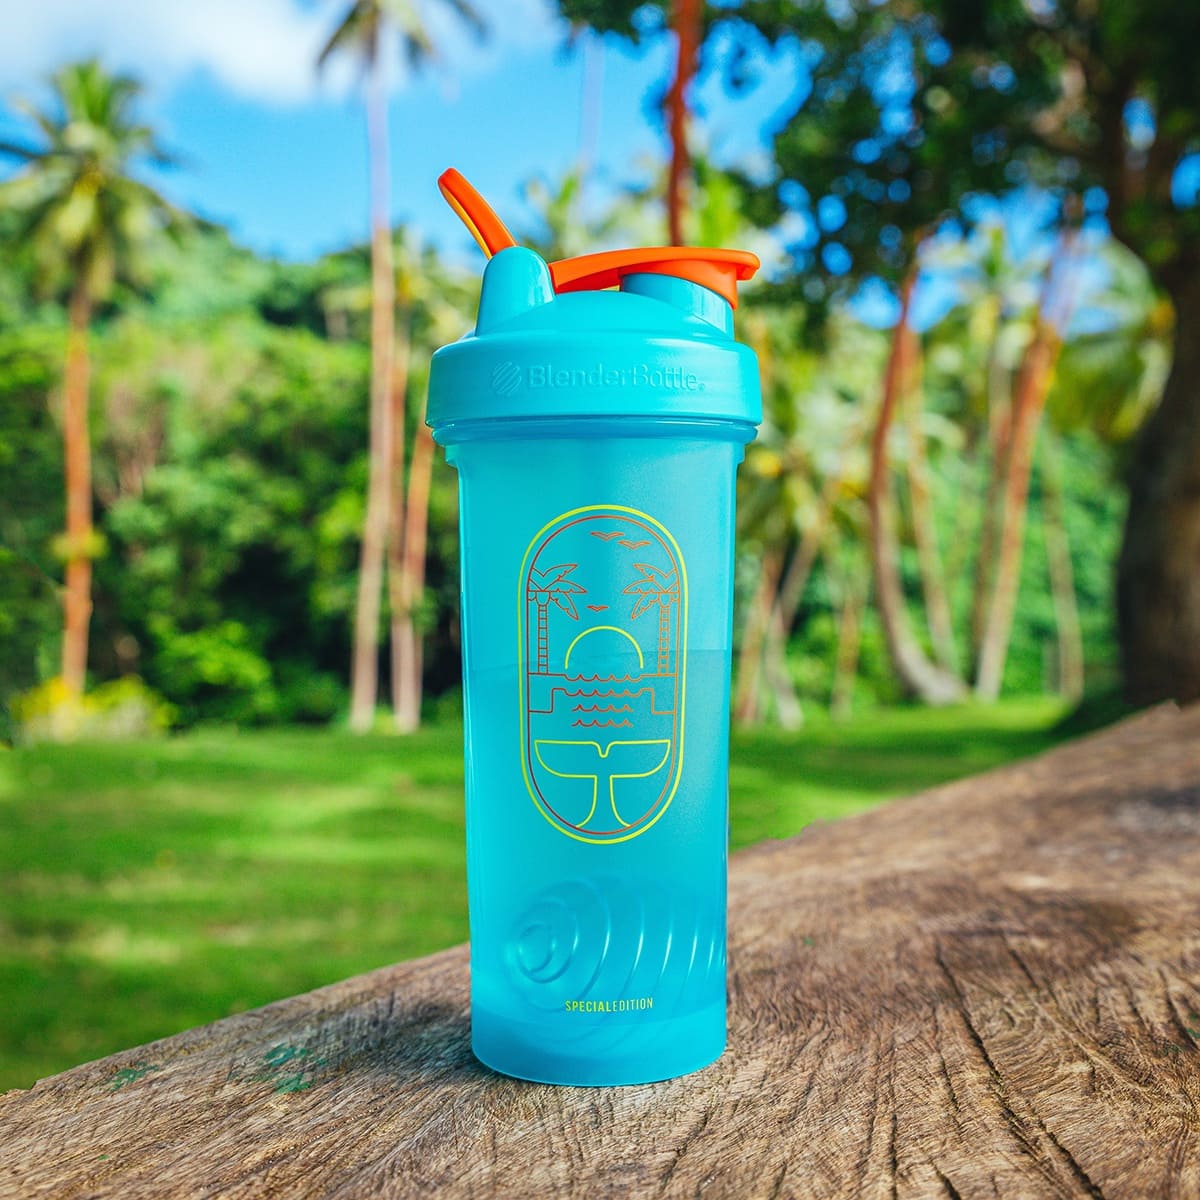
It’s worth mentioning that Blender Bottles come in various sizes, so the assembly process may vary slightly depending on the model you have. However, the basic steps remain the same: insert the blender ball, screw on the lid, and ensure a tight seal.
Now that your Blender Bottle is assembled, it’s time to move on to the next step: adding your ingredients.
Step 2: Add Ingredients
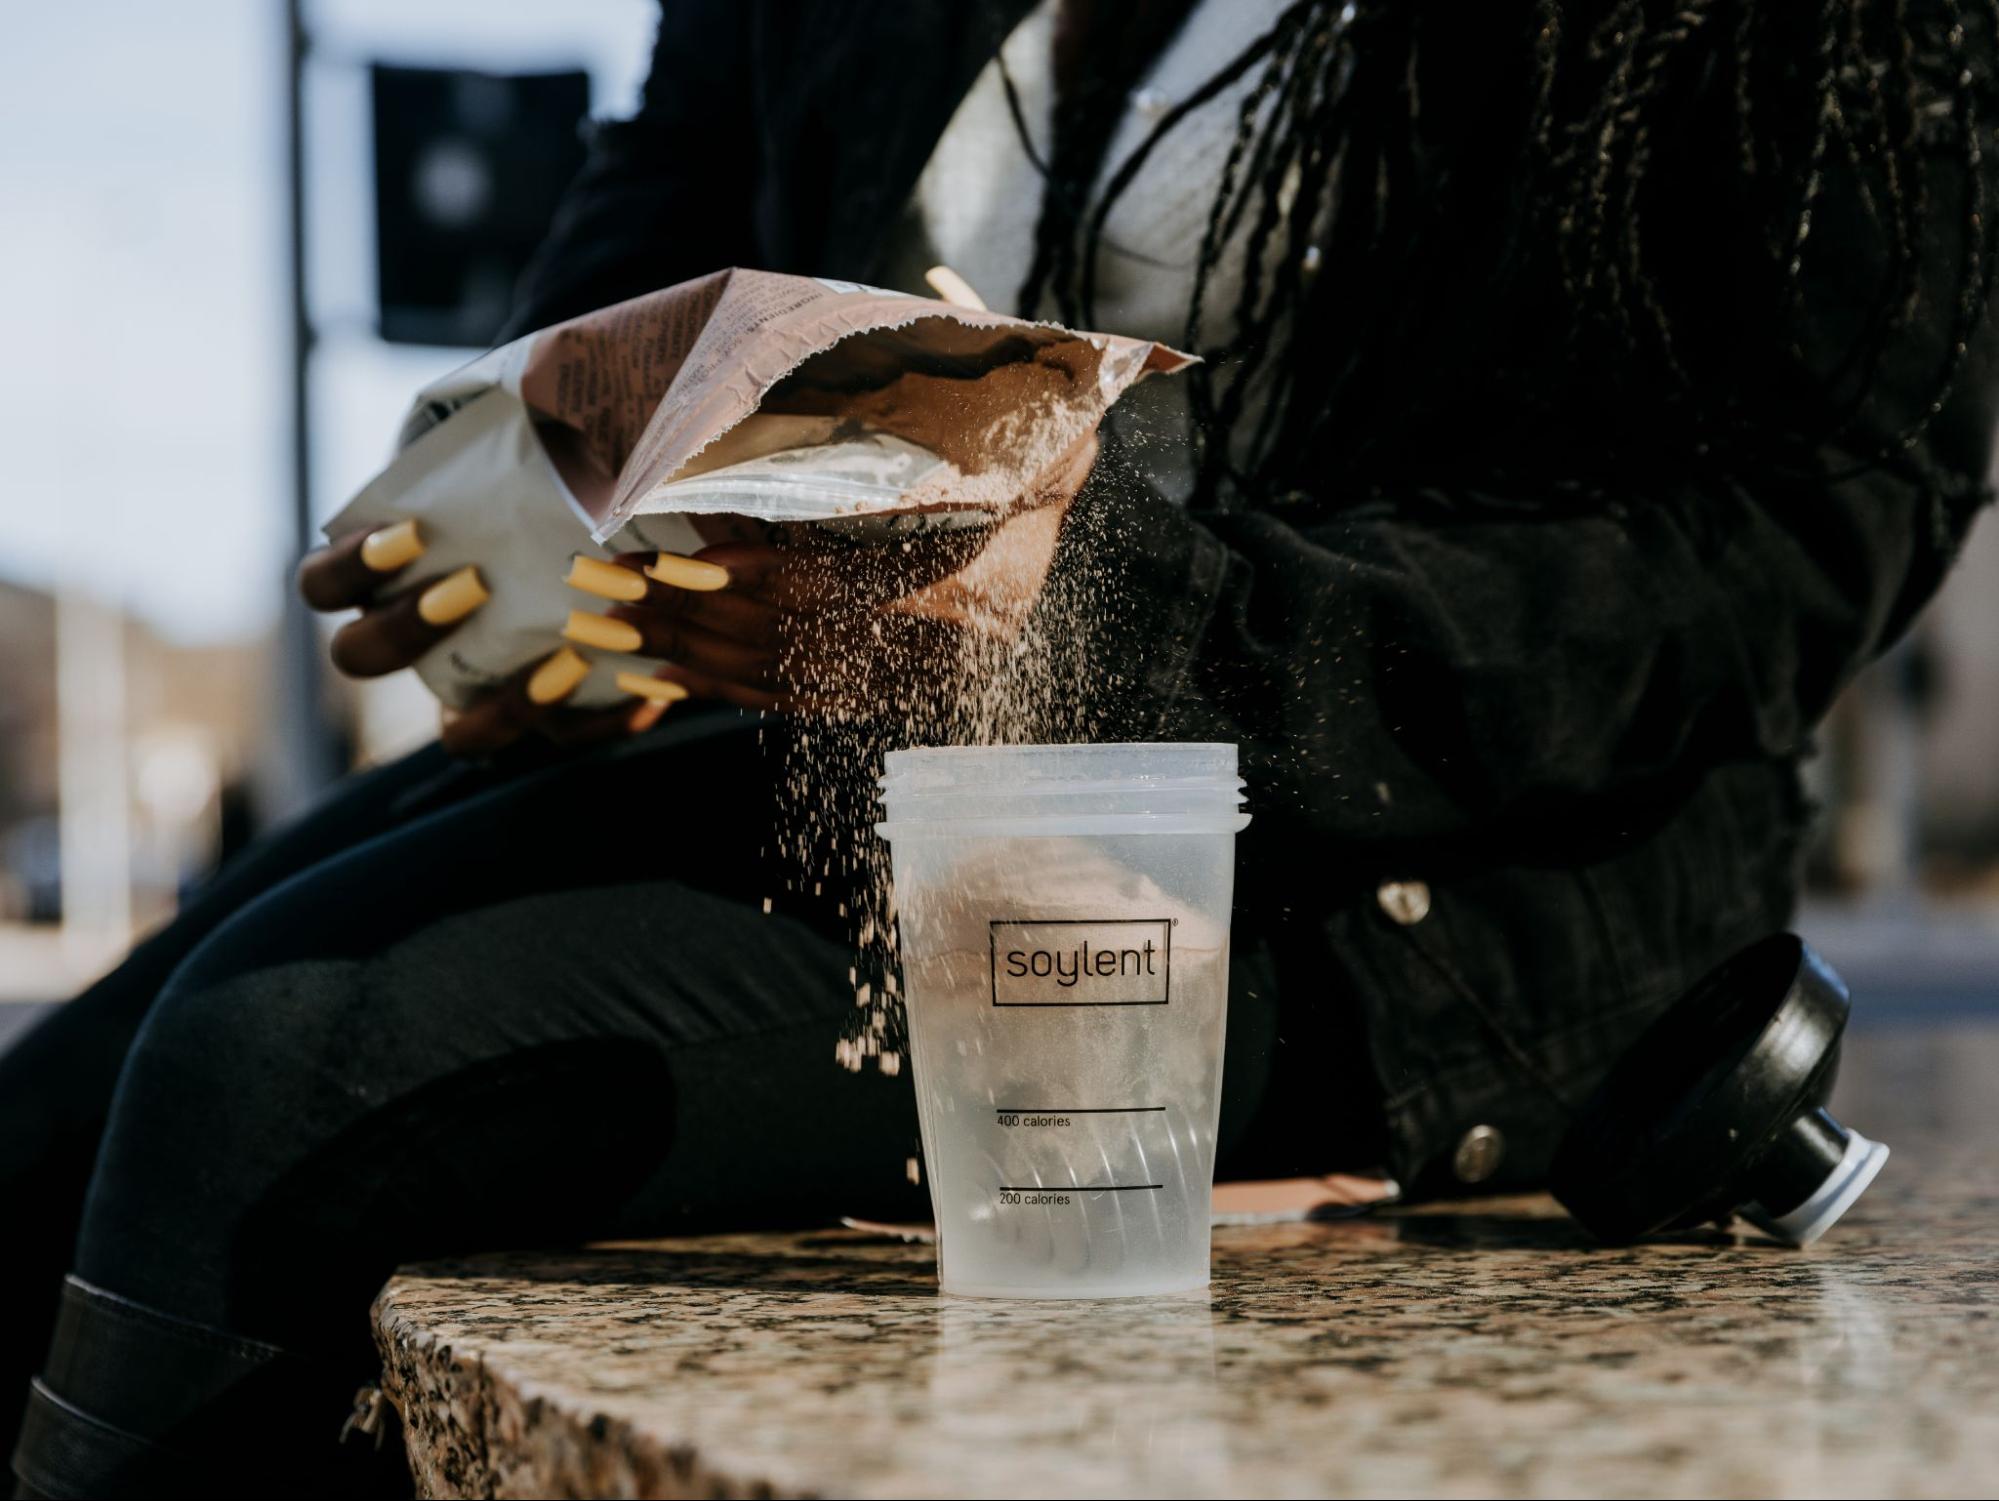
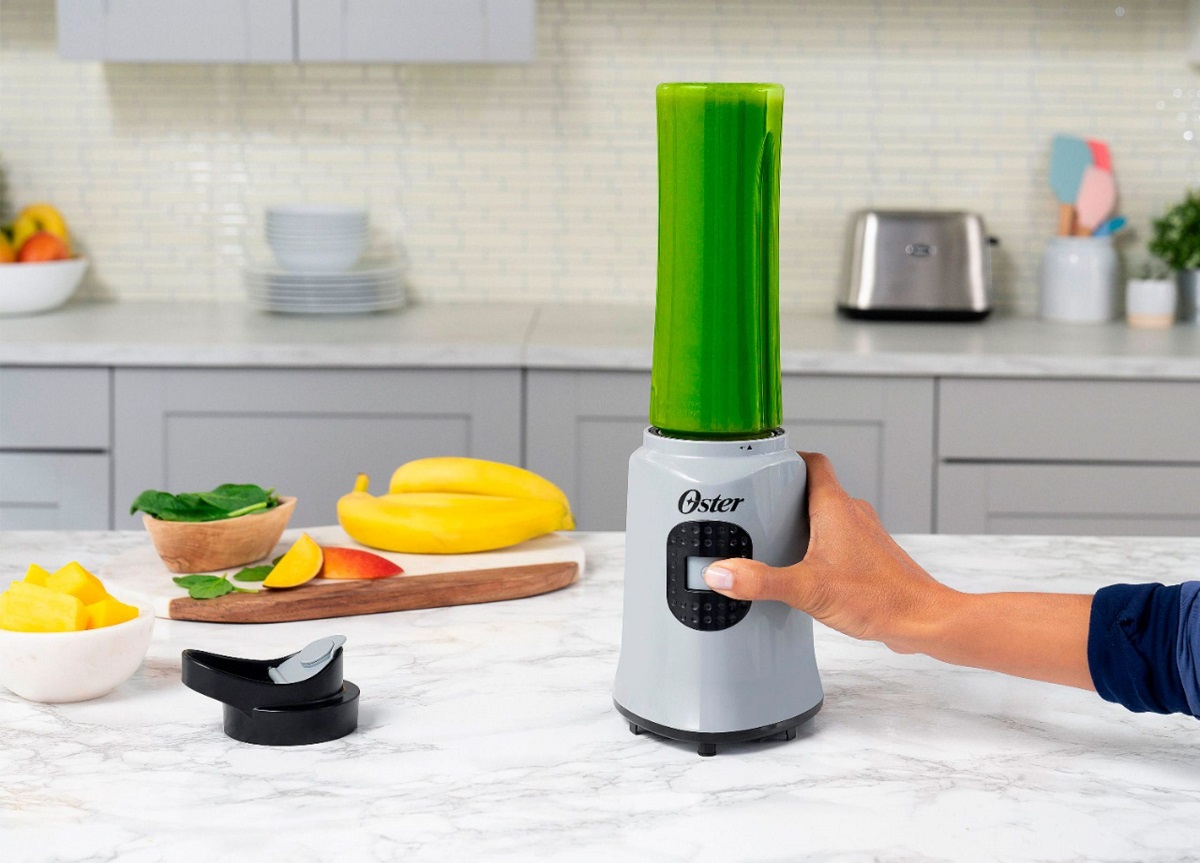
Now that you have assembled your Blender Bottle, it’s time to add your ingredients. The beauty of a Blender Bottle is its versatility – you can use it to create a wide range of drinks, from protein shakes to smoothies to refreshing infused water.
To begin, gather your desired ingredients and measure them according to your recipe or personal preference. Whether it’s protein powder, fruits, vegetables, yogurt, or any other ingredients, make sure to add them in the right proportions to ensure a balanced and tasty drink.
Open the lid of your Blender Bottle by unscrewing it or flipping the top cap, depending on the model you have. This will provide you with a wide opening to pour and mix your ingredients.
Carefully pour your ingredients into the bottle, making sure not to exceed the recommended maximum fill line. Overfilling the bottle may result in leaks or difficulty in properly blending the ingredients.
It’s worth noting that if you’re using powders or supplements, it’s generally best to add them after the liquid or other ingredients to prevent clumping. This ensures a smooth blend without any lumps.
Once all your ingredients are in the Blender Bottle, it’s time to move on to the next step: securing the lid.
Step 3: Secure the Lid
After adding your ingredients to the Blender Bottle, it’s important to secure the lid properly to ensure a mess-free blending experience. The lid plays a crucial role in keeping the contents of the bottle contained and preventing any leaks or spills.
Depending on the model of your Blender Bottle, there are different mechanisms for securing the lid. Some bottles have a screw-on lid, while others may have a flip-top cap or a snap-on lid.
If your Blender Bottle has a screw-on lid, make sure to twist it tightly until it is securely fastened. This will create a watertight seal, ensuring that none of your precious ingredients escape during the blending process.
For bottles with a flip-top cap, simply close the cap firmly until you hear a click. This indicates that the cap is securely locked in place and ready for blending.
If your Blender Bottle has a snap-on lid, align the lid properly with the bottle and press it firmly down until you hear a satisfying snap. This indicates that the lid is securely sealed.
It’s important to note that no matter what type of lid your Blender Bottle has, you should always double-check to ensure it is tightly closed before proceeding to blend the ingredients. This will minimize the risk of any leaks or spills.
With the lid securely fastened, it’s time to move on to the exciting part – blending the ingredients!
When using a Blender Bottle, make sure to add the liquid ingredients first before adding any powders or supplements. This will help prevent clumping and ensure a smooth blend.
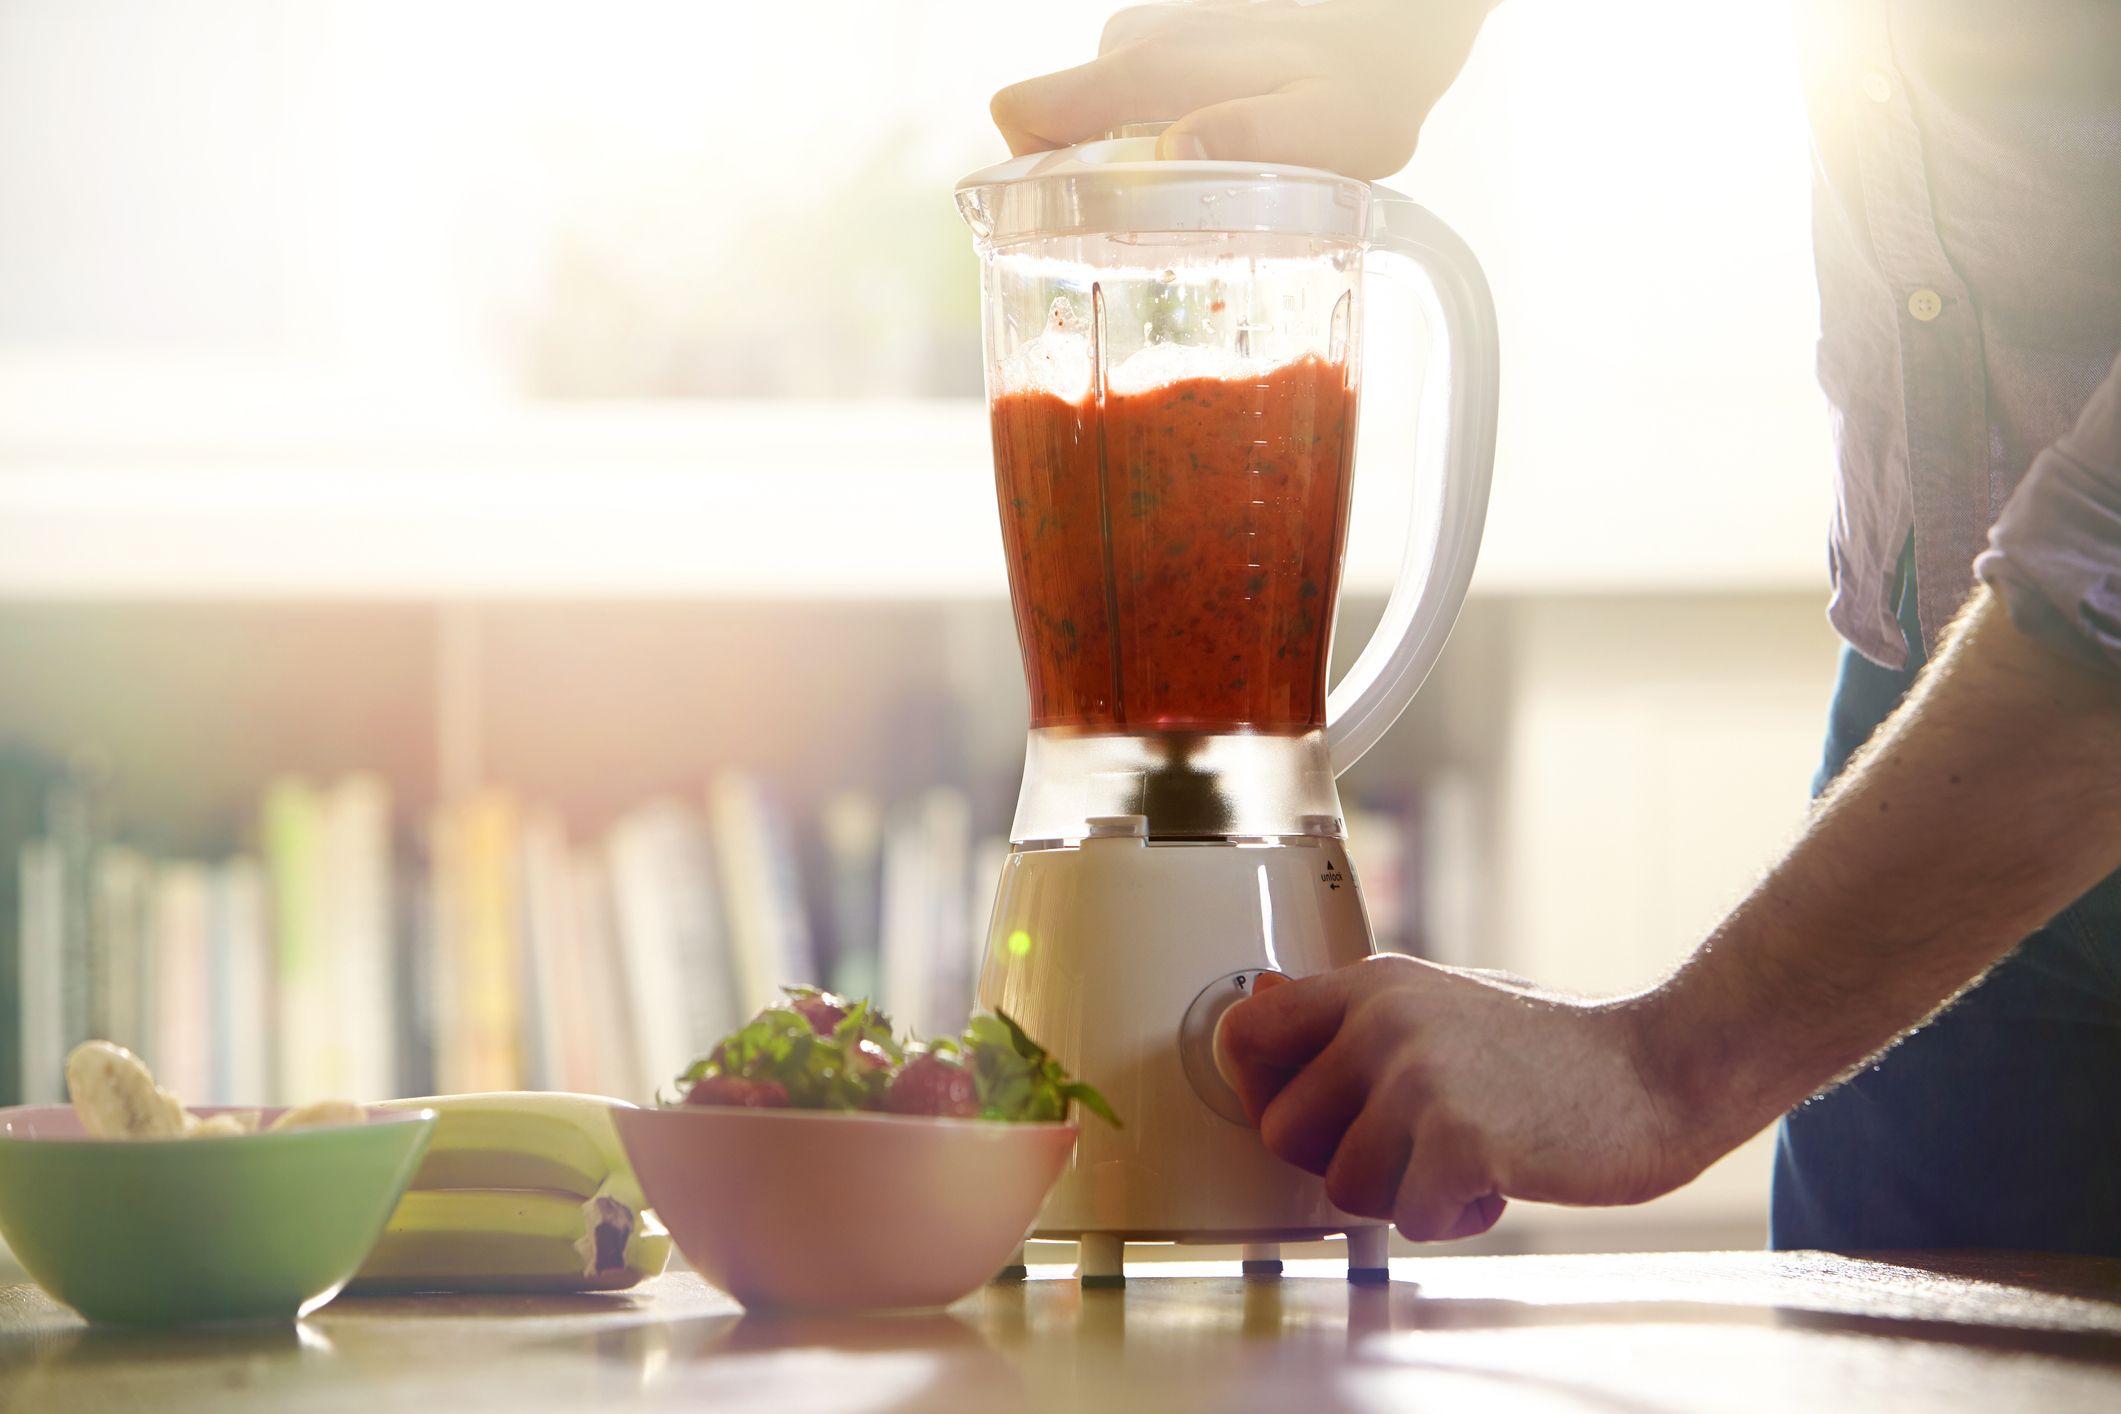
Step 4: Blend the Ingredients
Now that your Blender Bottle is assembled, the ingredients are added, and the lid is securely fastened, it’s time to blend everything together to achieve a smooth and perfectly mixed drink.
To start the blending process, hold the Blender Bottle with one hand on the bottle and the other hand on the lid, ensuring a firm grip. This will prevent any accidental spills or leaks while blending.
Next, give the bottle a gentle shake to distribute the ingredients evenly. This will help to loosen any clumps and prepare them for blending.
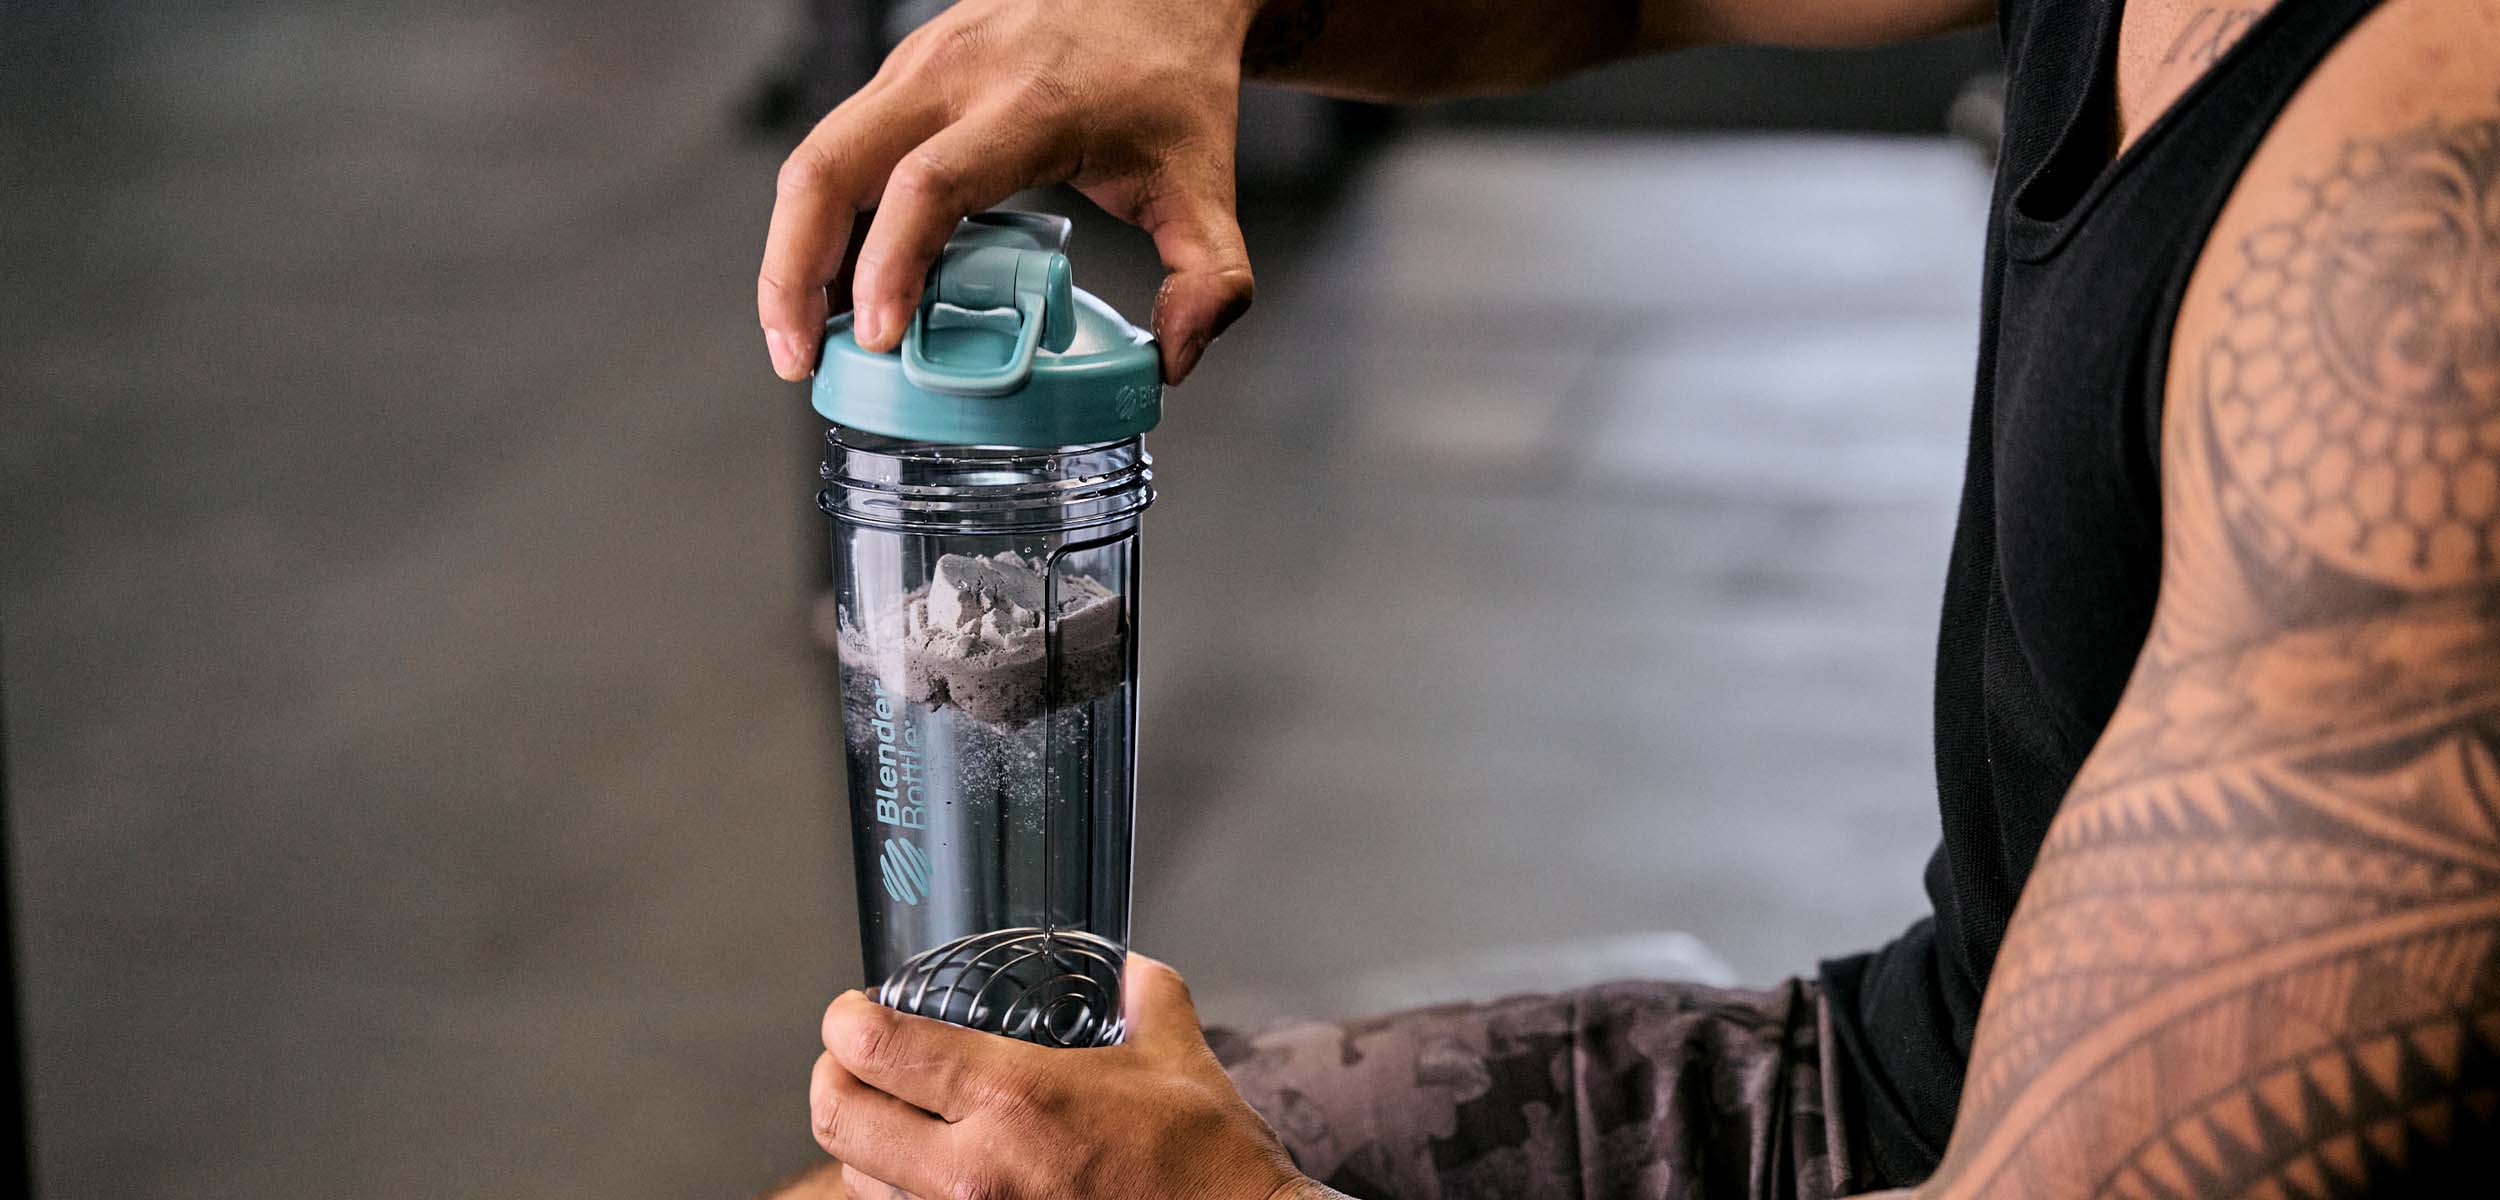
Now, it’s time to activate the blender ball. The Blender Bottle’s unique design features a small, round metal blender ball that sits inside the bottle. As you shake the bottle, this ball moves freely and helps to mix the ingredients together.
With a firm grip on the bottle, vigorously shake it for about 30 seconds to one minute. The blender ball will quickly break up any clumps, ensuring a smooth and consistent blend.
It’s essential to shake the Blender Bottle with enough force to activate the blender ball but also be mindful of not shaking it too forcefully, as this can cause the lid to loosen and result in spills.
Once you feel that the ingredients are well mixed, and the desired consistency has been achieved, you can stop shaking. Congratulations! You have successfully blended your ingredients to perfection.
Now, it’s time to move on to the final steps and enjoy the fruits of your labor.
Read more: What To Put In A Blender Bottle
Step 5: Pour and Enjoy
With your ingredients successfully blended to perfection, it’s time to pour your delicious creation and savor every sip. The Blender Bottle is designed with a convenient spout or flip-top cap, making pouring effortless and mess-free.
Start by unscrewing or opening the lid of your Blender Bottle. Depending on the model you have, you may need to flip open the spout or remove the cap.
Hold the bottle with one hand on the bottle itself and the other hand supporting the bottom, ensuring a stable grip. Slowly and steadily pour the contents of the Blender Bottle into a glass or your preferred drinking vessel.
You’ll notice how the smooth and well-blended texture of your drink enhances its taste and enjoyment. Whether it’s a protein shake for post-workout recovery or a refreshing smoothie to start your day, your Blender Bottle ensures a satisfying drinking experience.
Don’t forget to savor each sip and appreciate the effort you put into creating your drink. Enjoying the fruits of your labor is one of the best parts of the blending process.
Now that you have poured and are ready to indulge, it’s time for the final step: cleaning the Blender Bottle.
Step 6: Clean the Blender Bottle
After enjoying your delicious drink, it’s essential to clean your Blender Bottle to maintain its hygiene and ensure its longevity. Cleaning your Blender Bottle is a straightforward process that will keep it in optimal condition for future use.
Start by unscrewing the lid and removing the blender ball from the bottle. Rinse both the lid and the blender ball under warm water to remove any residue or stuck-on particles.
Next, fill the Blender Bottle halfway with warm water and add a few drops of dish soap or a gentle cleaning solution. Screw the lid back onto the bottle tightly.
Hold the bottle with both hands and shake it vigorously for about 30 seconds to one minute. This will allow the soapy water to reach every corner and thoroughly clean the interior of the bottle.
After shaking, remove the lid and empty the soapy water. Rinse the bottle thoroughly with clean water to remove any soap residue. Make sure to rinse the lid and blender ball as well.
If there are any stubborn stains or odors, you can try using a bottle brush or a soft sponge to scrub the interior of the bottle. Be gentle to avoid scratching the surface.
Once you are satisfied with the cleanliness of the Blender Bottle, rinse it one final time and allow it to air dry completely. It’s important to ensure that there is no moisture trapped inside the bottle, as it can lead to unpleasant odors or mold growth.
Remember, it’s best to clean your Blender Bottle immediately after each use to prevent any residue from drying and becoming harder to remove. Regular cleaning will keep your bottle fresh and ready for your next blending adventure.
With the Blender Bottle now clean and dry, it’s ready to be assembled and used again for your next drink creation!
Conclusion
Using a Blender Bottle is a convenient and efficient way to blend your favorite drinks on the go. From protein shakes to smoothies, these versatile bottles provide a quick and hassle-free solution for achieving a smooth and well-mixed beverage.
Throughout this article, we have walked you through the step-by-step process of using a Blender Bottle from assembly to cleaning. By following these simple steps, you can enjoy delicious and nutritious drinks anytime, anywhere.
Assembling the Blender Bottle is straightforward – insert the blender ball, screw on the lid tightly, and ensure a tight seal. Adding your ingredients is a creative and customizable process where you can experiment with various flavors and ingredients to suit your taste preferences.
Securing the lid properly is crucial to prevent any leaks or spills while blending. With the lid securely fastened, shake the bottle vigorously to activate the blender ball and achieve a smooth blend. This step is where the magic happens, as the blender ball breaks up clumps and ensures a well-mixed drink.
After blending, it’s time to pour your drink into a glass or your preferred drinking vessel. The smooth and well-blended texture of your drink enhances the taste and enjoyment.
Once you have finished indulging in your drink, it’s important to clean your Blender Bottle promptly. The cleaning process is simple and involves rinsing the lid and blender ball, shaking with soapy water, and rinsing thoroughly. Regular cleaning will keep your Blender Bottle fresh and ready for use on your next blending adventure.
In conclusion, a Blender Bottle is a handy tool that makes blending your favorite drinks a breeze. By following the steps outlined in this article, you can harness the power of the blender ball and enjoy perfectly blended beverages every time.
So, grab your Blender Bottle, gather your ingredients, and start blending your way to delicious and refreshing drinks!
Frequently Asked Questions about How To Use A Blender Bottle
Was this page helpful?
At Storables.com, we guarantee accurate and reliable information. Our content, validated by Expert Board Contributors, is crafted following stringent Editorial Policies. We're committed to providing you with well-researched, expert-backed insights for all your informational needs.

0 thoughts on “How To Use A Blender Bottle”