Articles
How To Use The Vents On A Charcoal Grill
Modified: January 18, 2024
Learn how to properly use the vents on a charcoal grill with these informative articles. Enhance your grilling skills and achieve perfect cooking results.
(Many of the links in this article redirect to a specific reviewed product. Your purchase of these products through affiliate links helps to generate commission for Storables.com, at no extra cost. Learn more)
Introduction
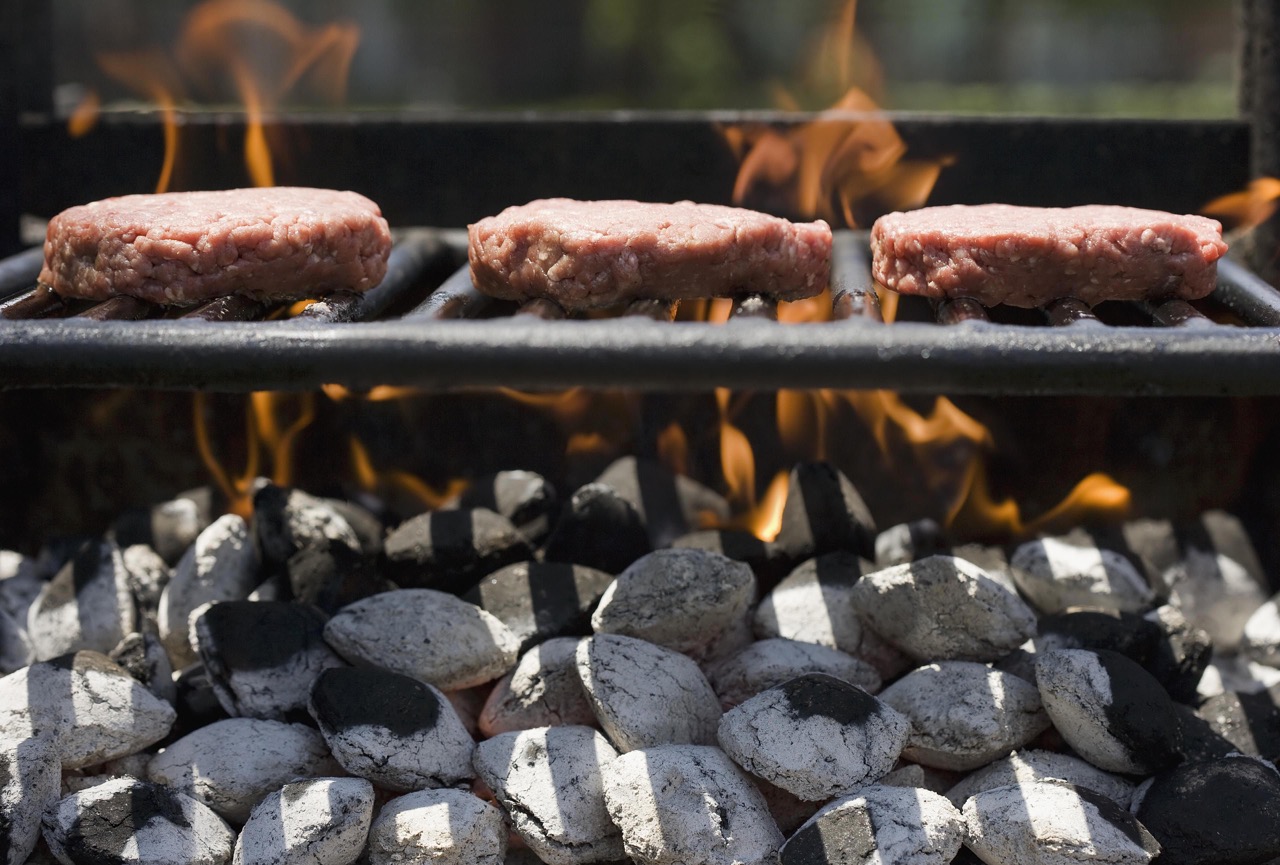
Grilling over charcoal is a classic and time-honored method of cooking that allows you to infuse your food with a delicious smoky flavor. While the process may seem straightforward, mastering the art of charcoal grilling requires an understanding of various factors, including the use of vents. The vents on a charcoal grill play a crucial role in controlling temperature, airflow, and smoke levels, ultimately influencing the taste and texture of your grilled wonders.
In this article, we will explore how to effectively use the vents on a charcoal grill to achieve optimal cooking results. Whether you’re a novice or seasoned griller, understanding the role of vents will help you elevate your grilling game and impress your family and friends with perfectly cooked meals.
Before we dive into the specifics, it’s important to note that different charcoal grills may have varying vent designs and configurations. While the basic principles remain consistent, it’s always a good idea to consult your grill’s instruction manual to familiarize yourself with its particular vent system.
So, let’s fire up the grill and get ready to unlock the secrets of controlling heat and smoke with the vents on your charcoal grill!
Key Takeaways:
- Master the art of charcoal grilling by understanding and utilizing intake and exhaust vents to control temperature, airflow, and smoke levels for perfectly cooked, smoky-flavored dishes.
- Fine-tune vents for different cooking techniques, from direct grilling to low and slow smoking, to elevate your grilling game and achieve culinary perfection.
Read more: How To Get Charcoal Grill Hotter
Understanding the Vents on a Charcoal Grill
Before we delve into the practical aspects of using vents, let’s take a moment to understand their purpose and how they work. A charcoal grill typically consists of two main vents: the intake vent and the exhaust vent.
The intake vent, also known as the bottom vent or air intake, is located at the bottom of the grill. Its primary function is to regulate the amount of oxygen entering the grill, which affects the intensity of the fire. By adjusting the intake vent, you can control the temperature and rate of combustion.
The exhaust vent, also called the top vent or chimney vent, is positioned at the top of the grill. Its main role is to release smoke and hot air from the cooking chamber, controlling the airflow and maintaining a consistent temperature inside the grill.
Together, these vents work in harmony to create a balanced and controlled cooking environment. Understanding how these vents function is crucial for achieving the desired results.
Now that we have a basic understanding of the vents, let’s move on to the practical steps of using them effectively.
Step 1: Familiarizing Yourself with the Vent System
Before you start grilling, it’s important to familiarize yourself with the vent system of your charcoal grill. As mentioned earlier, different grills may have different vent designs and configurations, so it’s essential to consult your grill’s instruction manual to understand how your specific grill functions.
Take a moment to locate the intake vent and the exhaust vent on your grill. Usually, the intake vent is positioned at the bottom of the grill, while the exhaust vent is located on the lid or chimney. Understanding their locations will help you make precise adjustments during the cooking process.
Additionally, pay attention to the size and design of the vents. Some grills have adjustable vents, allowing for more accurate control of airflow. Others may have fixed vents that require different techniques for temperature regulation.
By familiarizing yourself with the vent system, you can approach the grilling process with confidence and make precise adjustments to achieve the desired cooking temperature and smoke levels.
Now that we understand the importance of familiarizing ourselves with the vent system, let’s move on to setting up the grill for a successful grilling session.
Step 2: Setting Up the Charcoal Grill
Properly setting up your charcoal grill is essential for creating the right environment for cooking. Follow these steps to ensure a successful grilling session:
- Choose the right charcoal: There are two types of charcoal commonly used – briquettes and lump charcoal. Briquettes are uniform in size and burn more consistently, while lump charcoal is made from natural hardwood and burns hotter. Select the charcoal that suits your cooking needs.
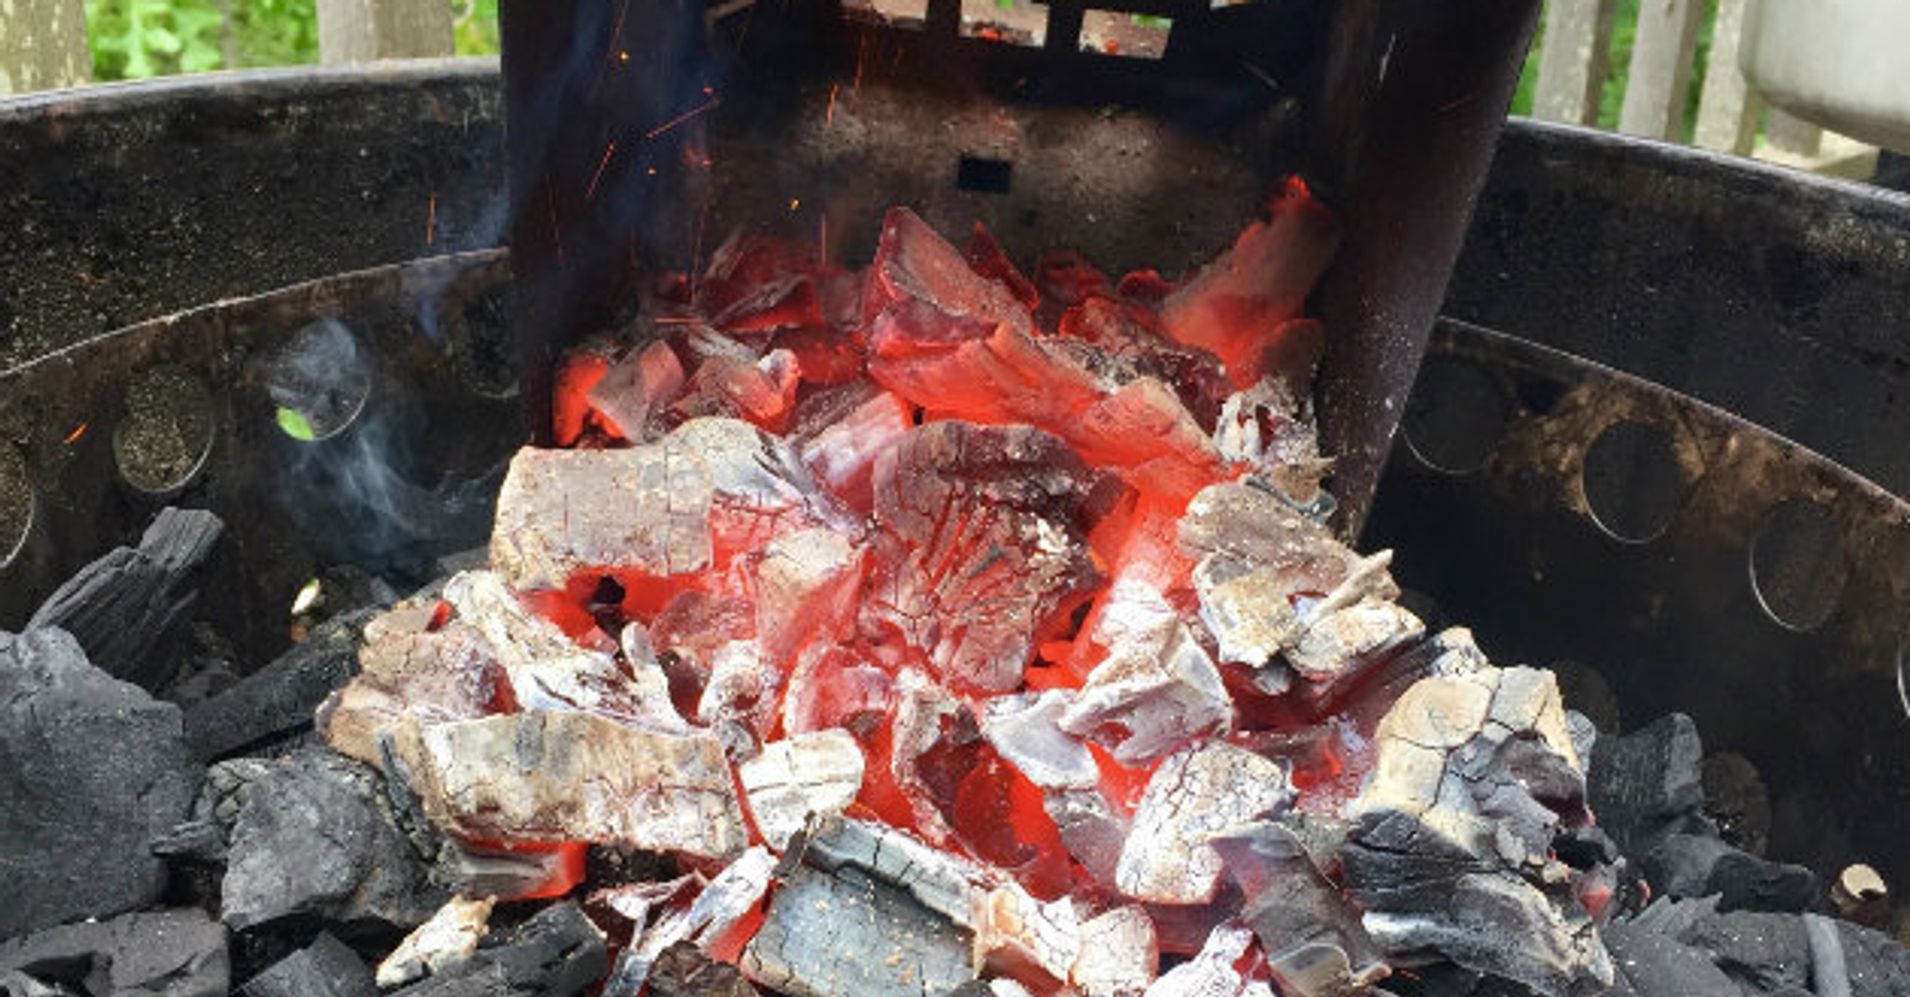
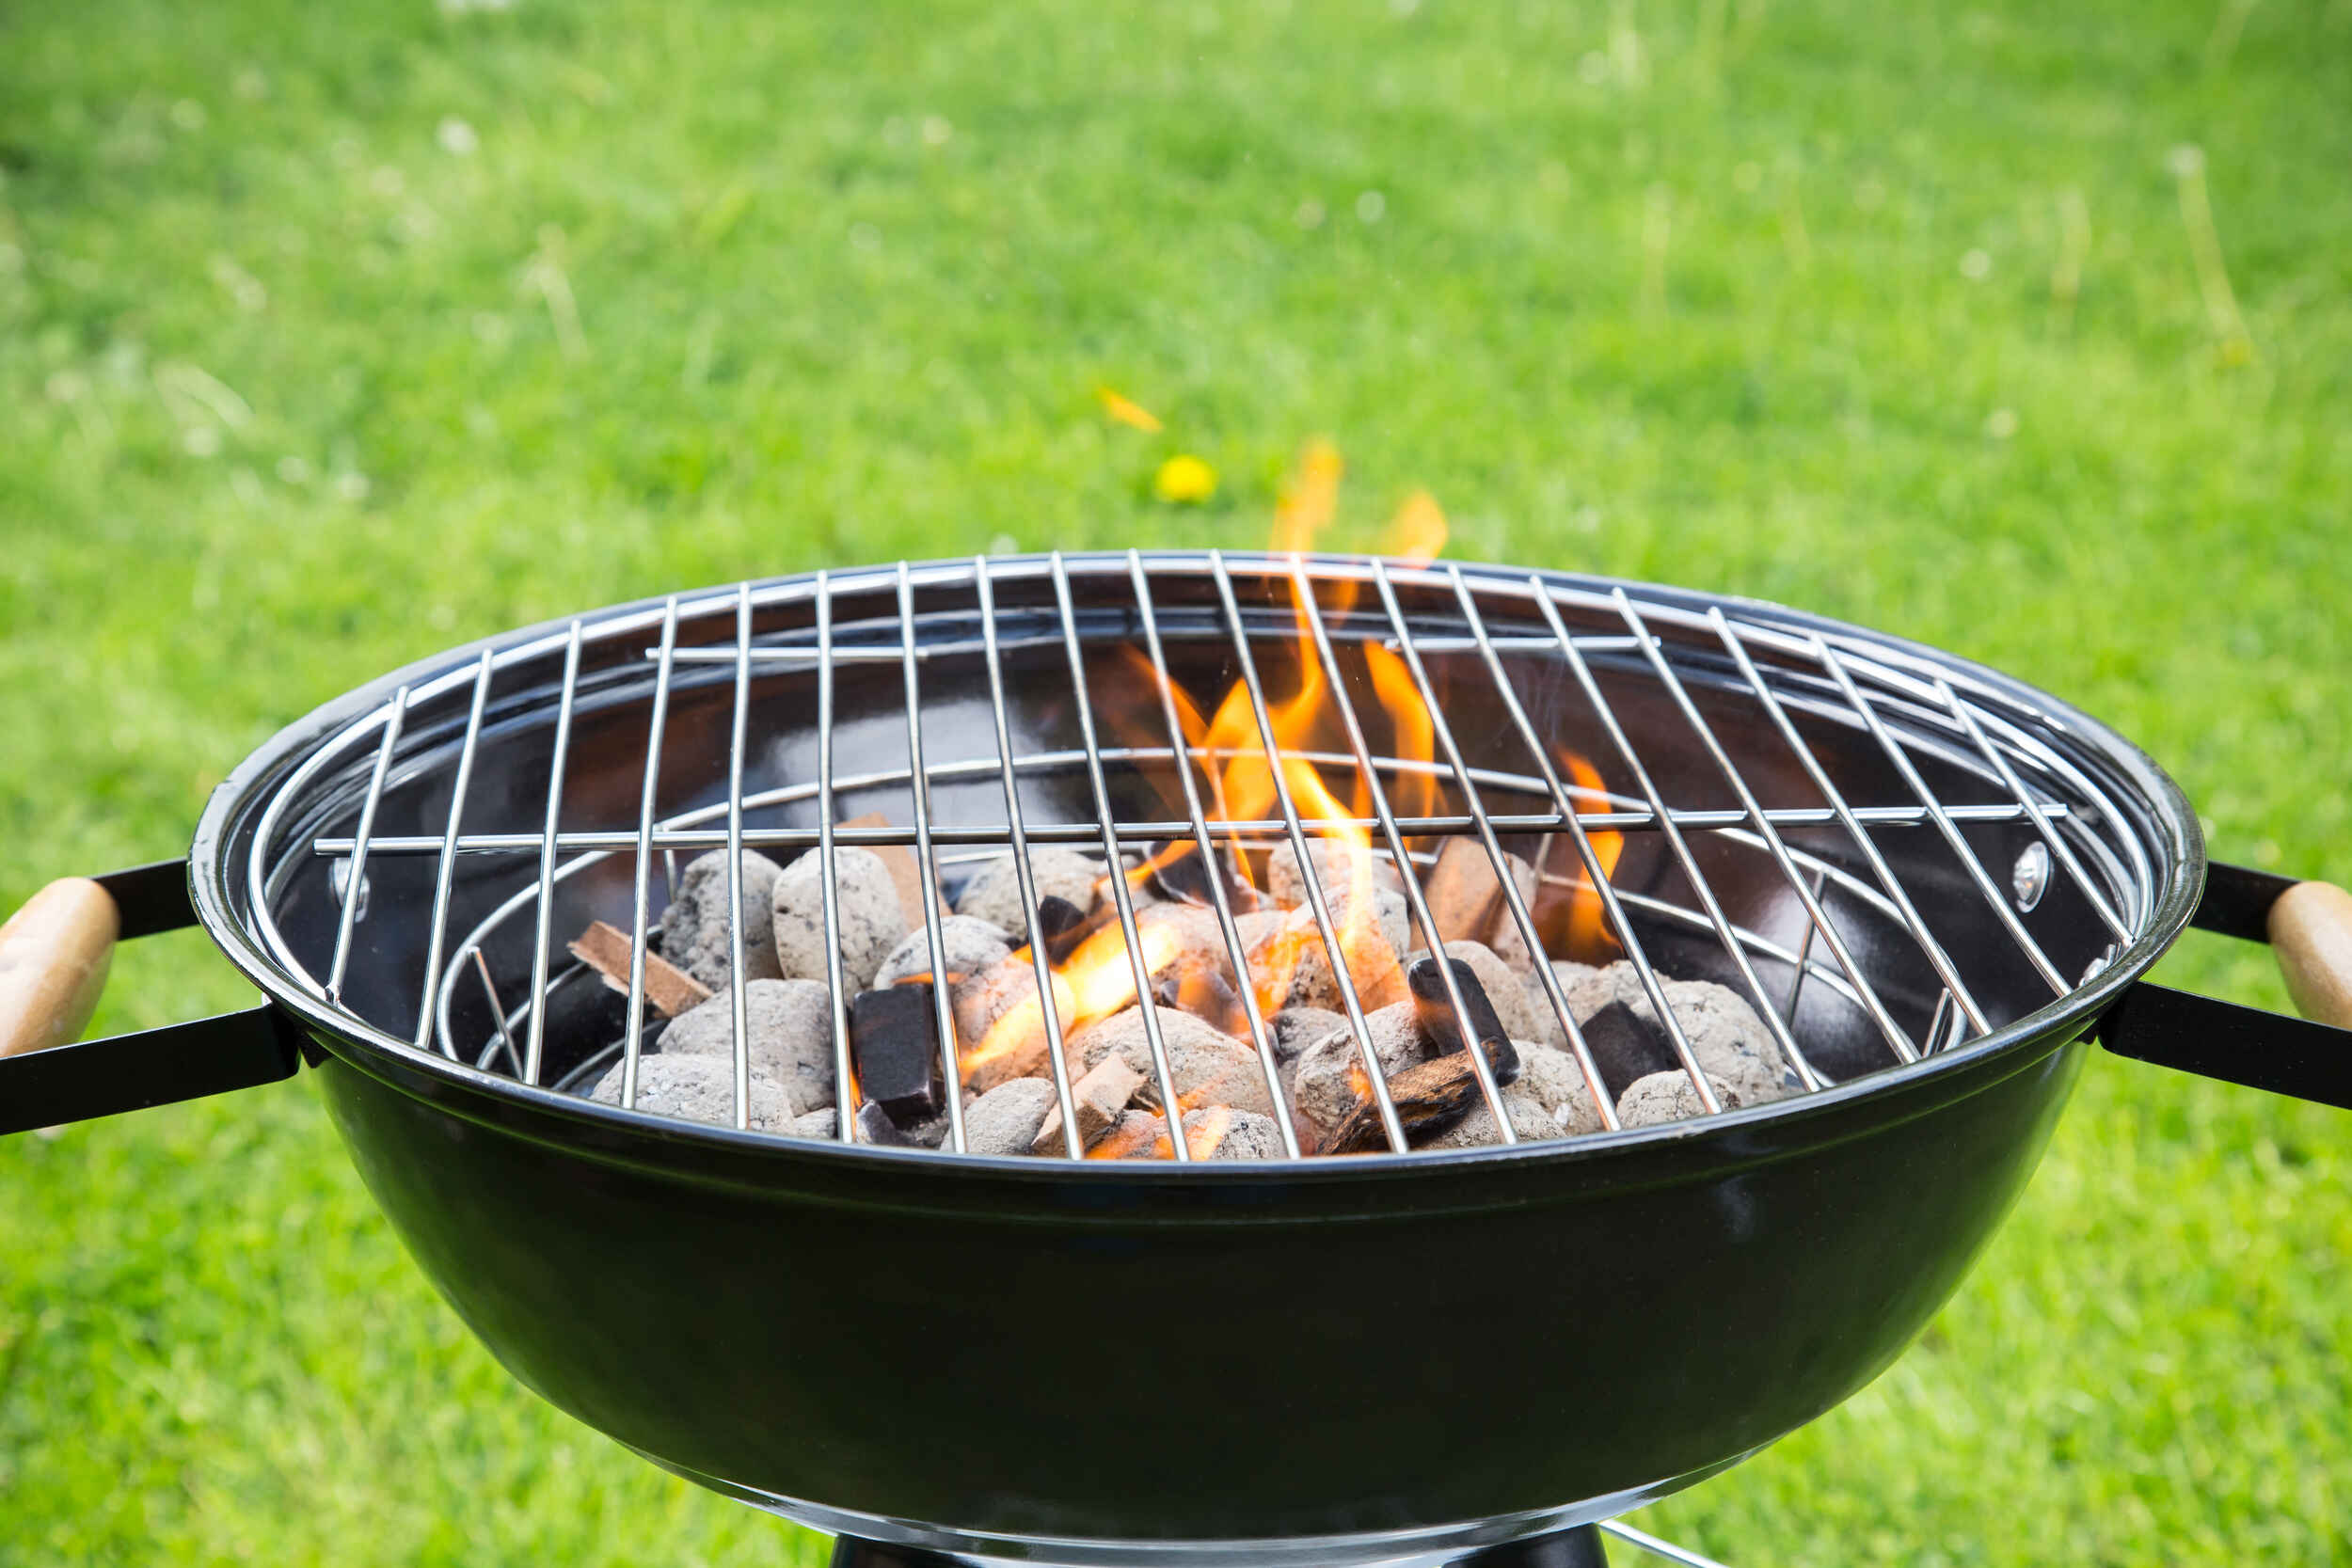
- Create a charcoal mound: Start by placing a layer of charcoal in the bottom of the grill, forming a mound. This allows for better airflow and even distribution of heat.
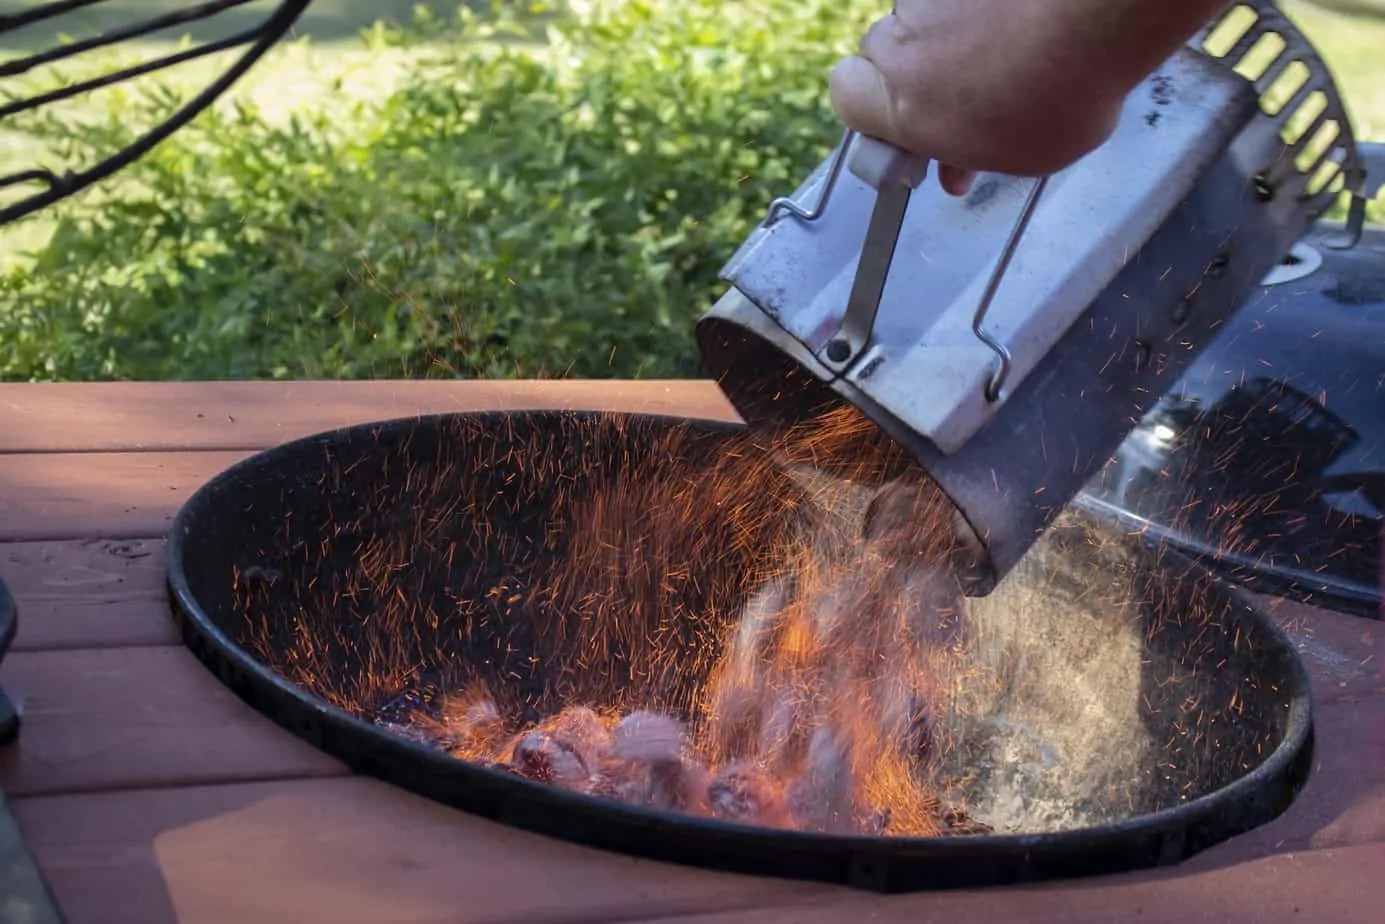
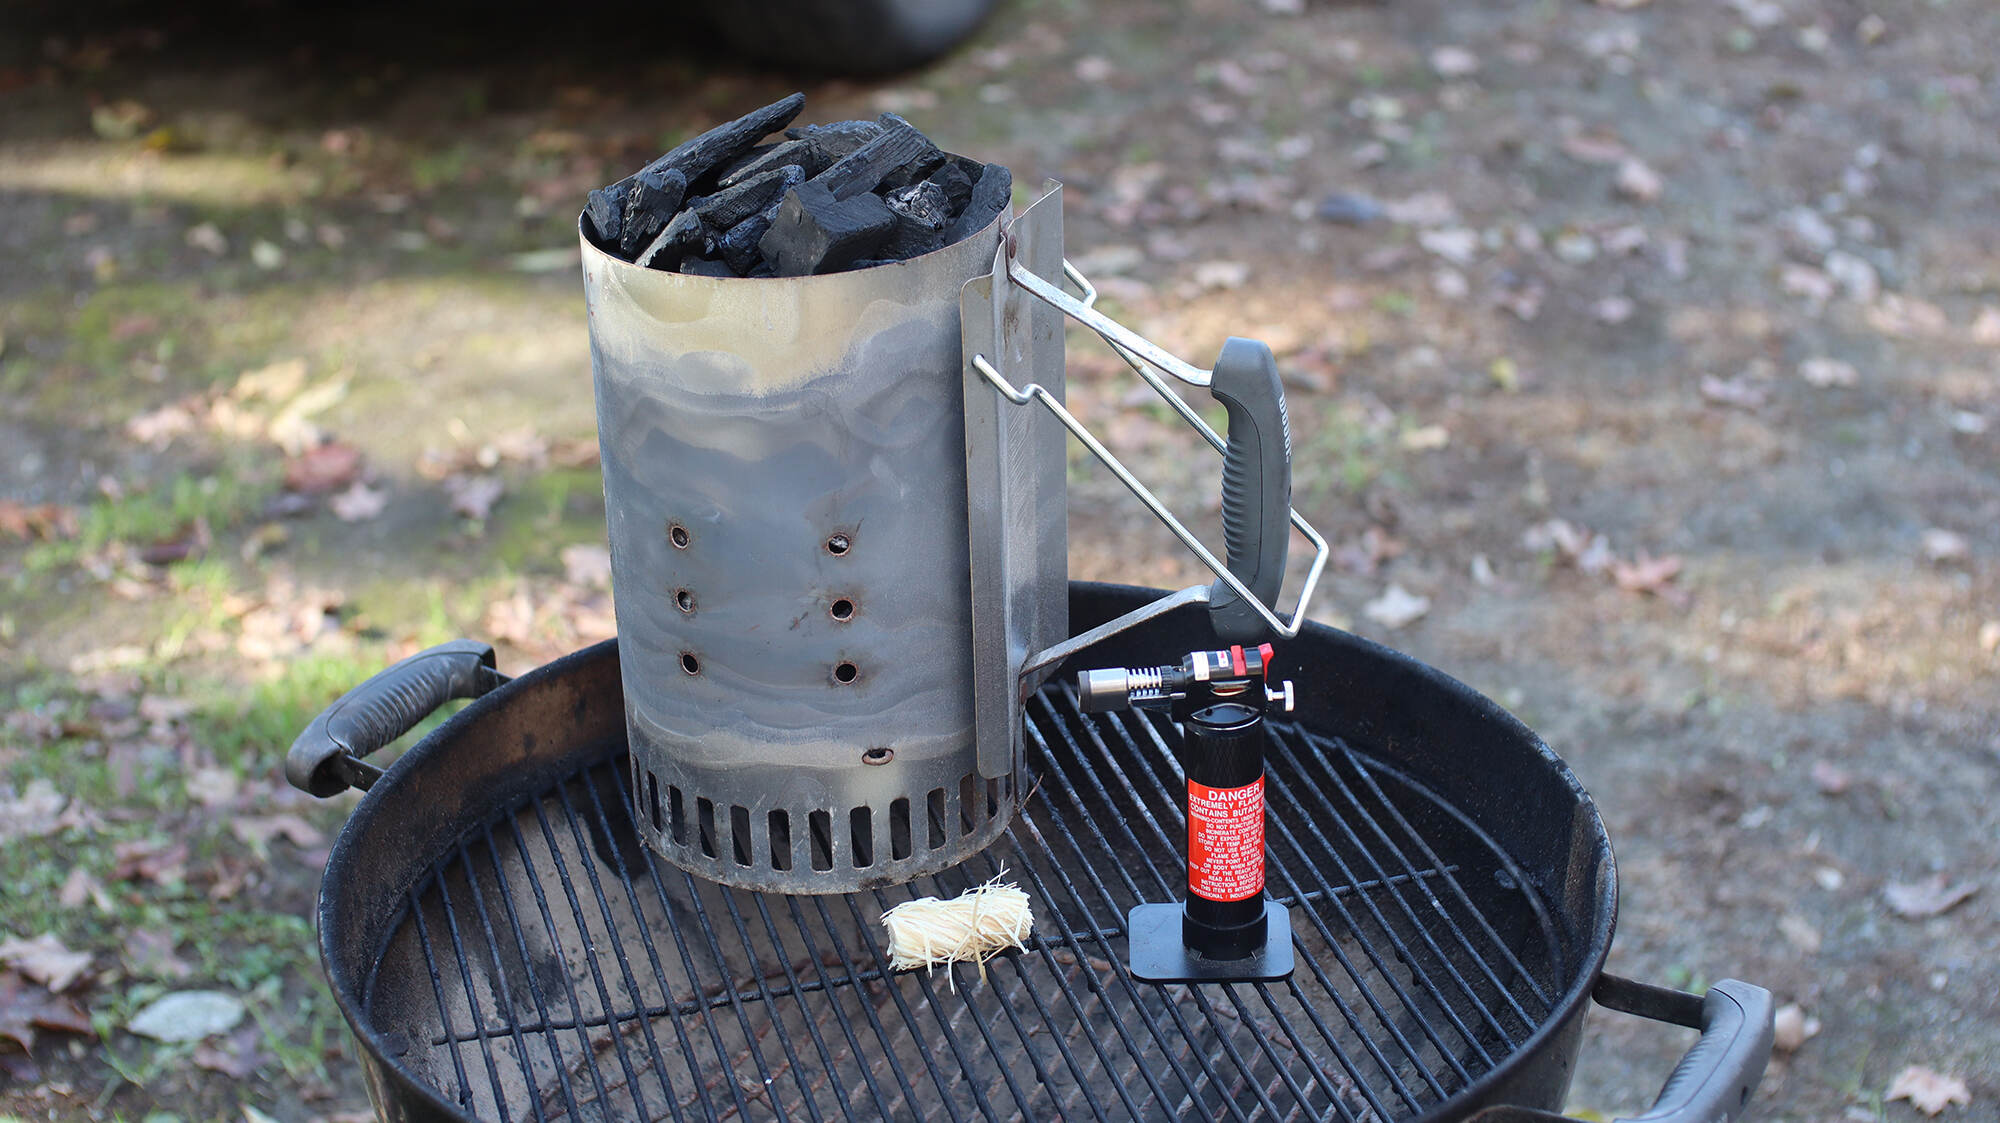
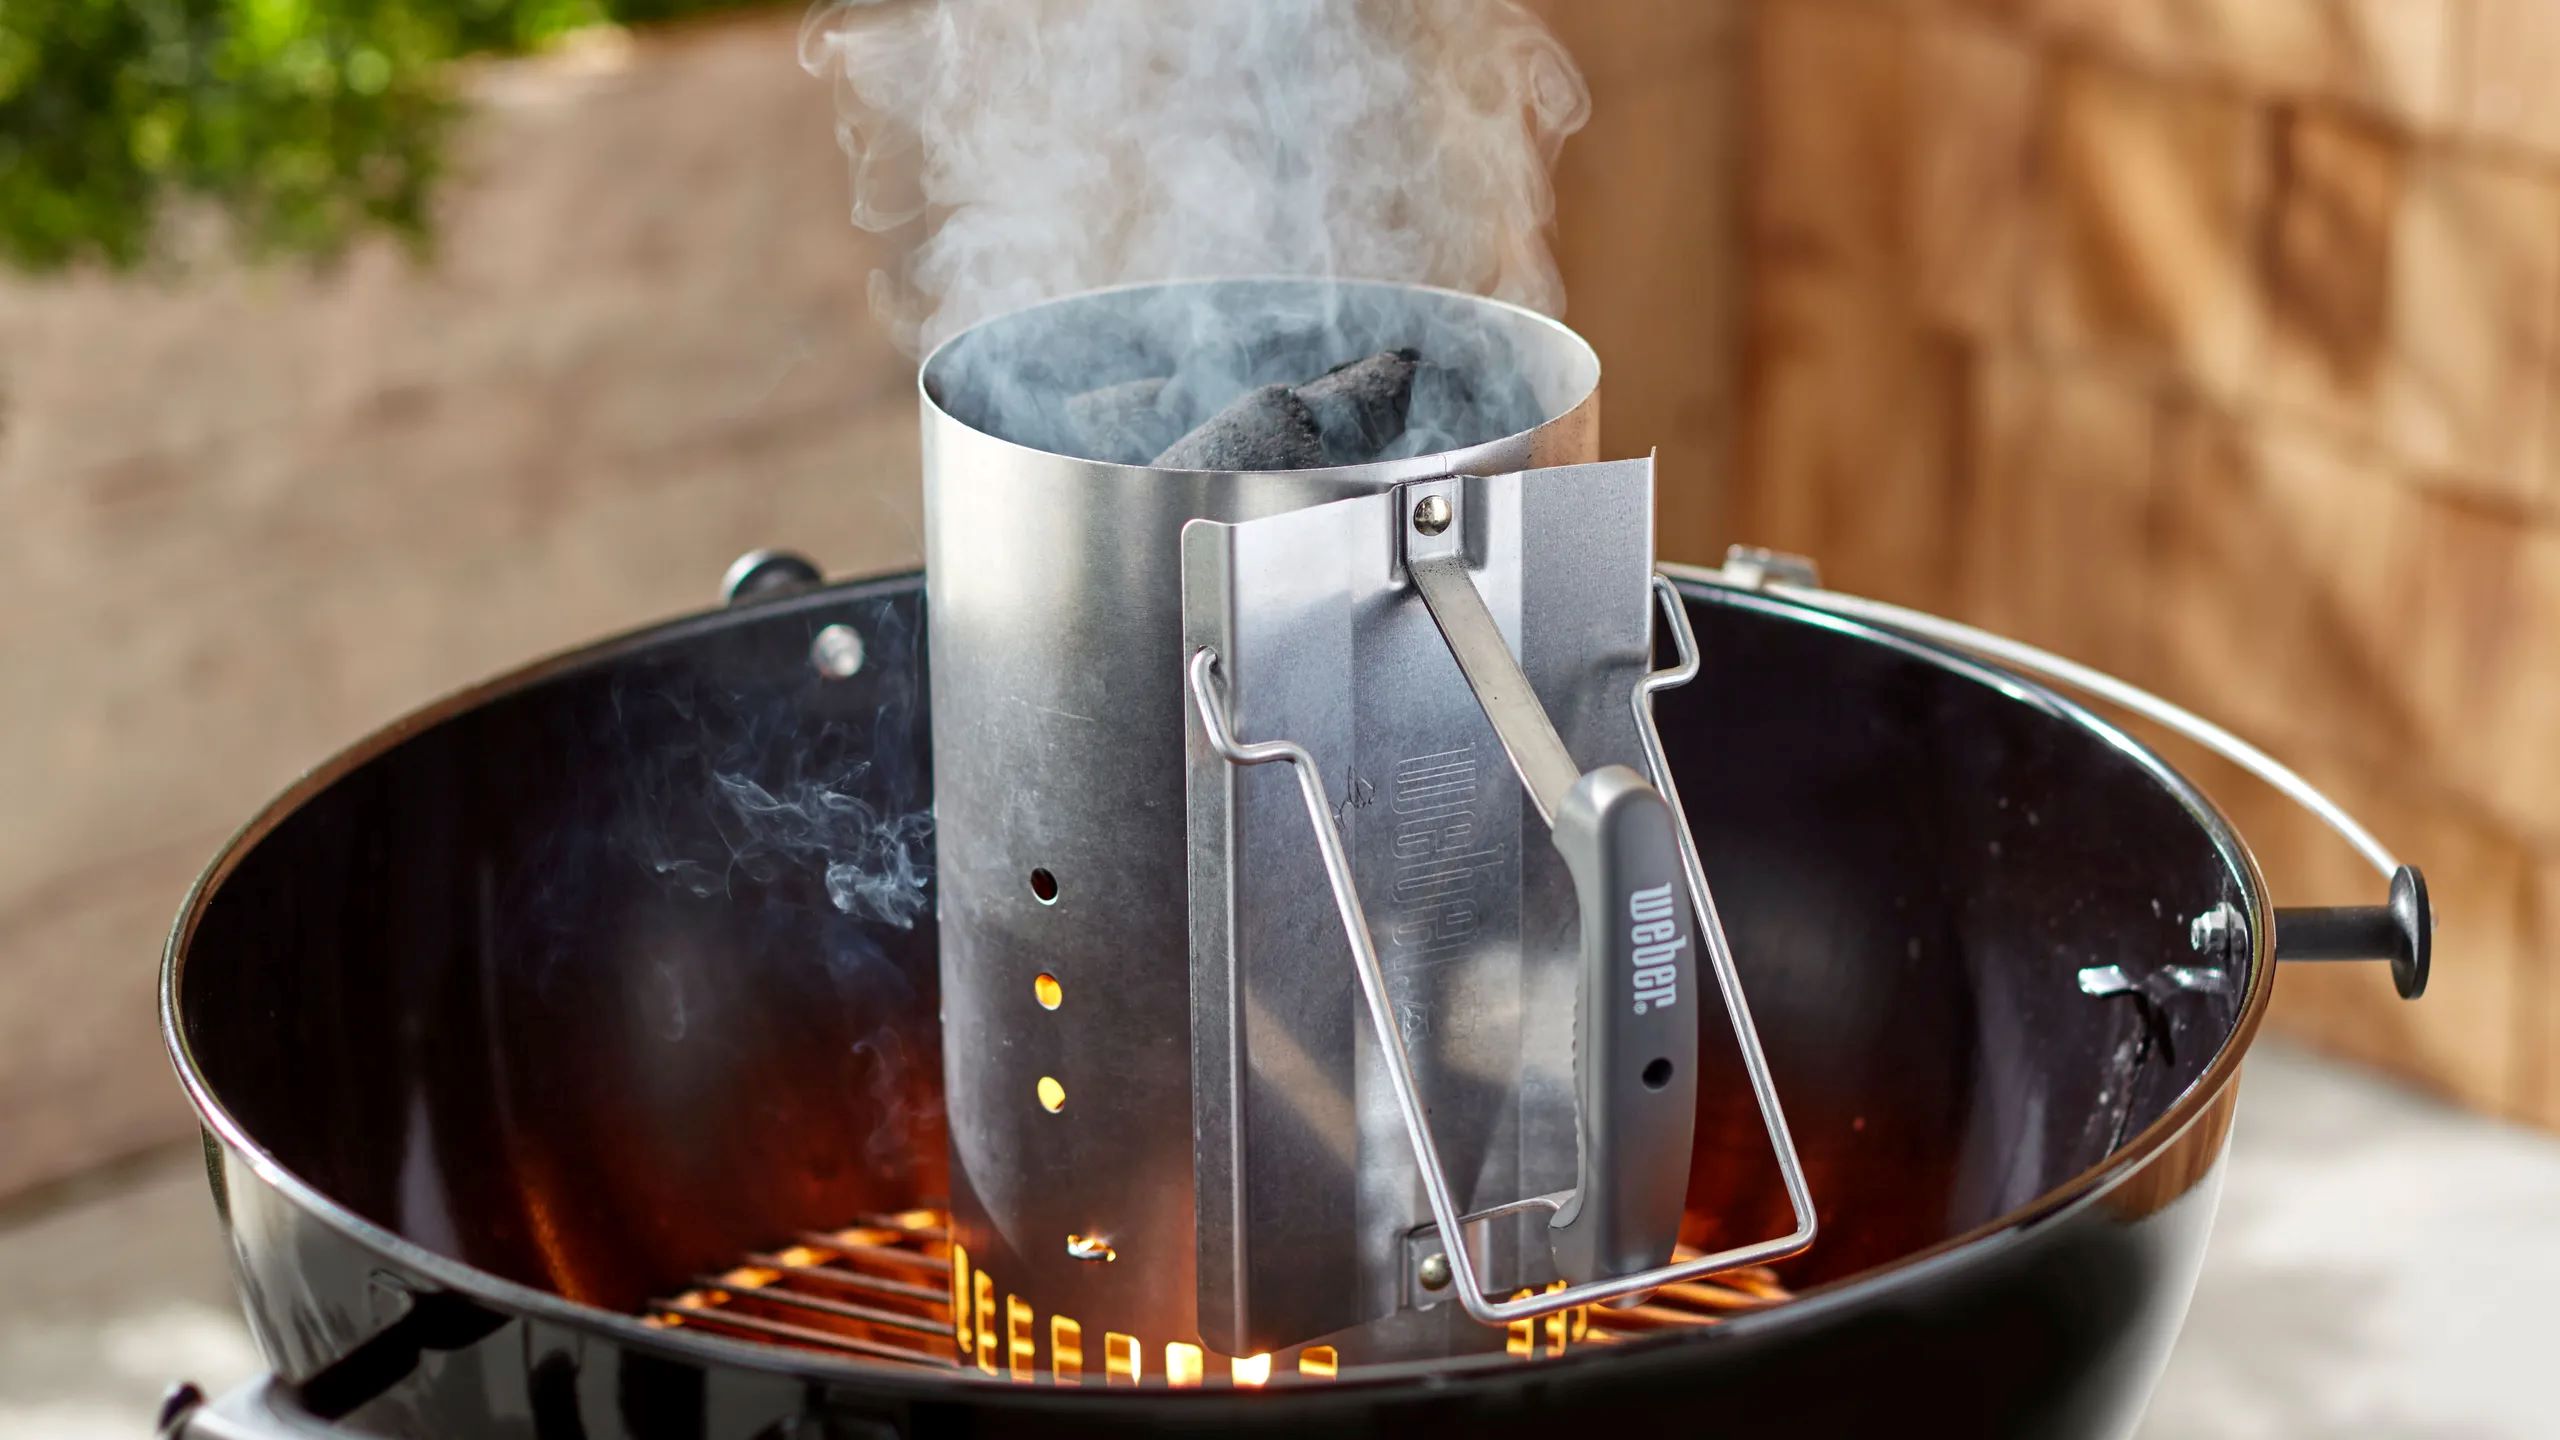
- Add lighter fluid or use a chimney starter: If you’re using briquettes, you can add lighter fluid to the mound of charcoal and let it sit for a few minutes before lighting. Alternatively, you can use a chimney starter to ignite the charcoal and then pour it onto the mound.
- Light the charcoal: If using lighter fluid, carefully light the charcoal mound and wait until the coals are ashed over and have a faint red glow. If using a chimney starter, allow the charcoal to fully ignite before pouring it onto the mound.
- Spread the coals: Once the charcoal is lit and ashed over, spread the coals evenly across the bottom of the grill using long-handled tongs. This ensures even heat distribution during the cooking process.
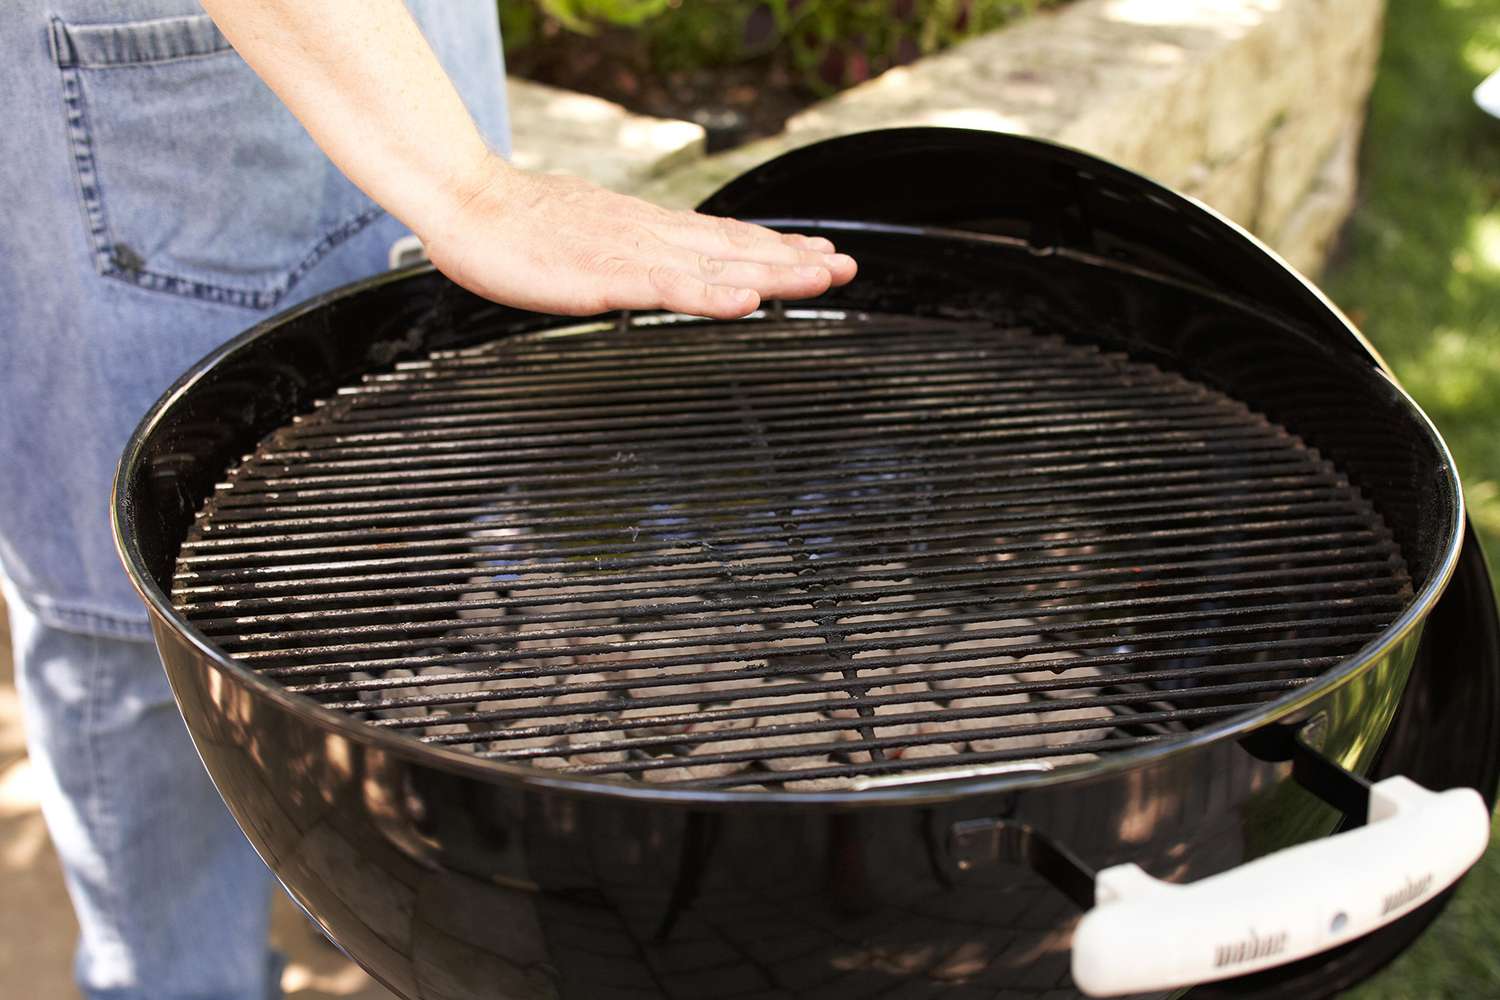
- Place the cooking grate: Once the coals are spread and glowing, place the cooking grate on top of the grill.
With the grill properly set up, we can move on to adjusting the intake vent to control the temperature.
Step 3: Adjusting the Intake Vent
Now that your charcoal grill is set up and ready, it’s time to adjust the intake vent to control the temperature within the grill.
The intake vent, also known as the bottom vent or air intake, is responsible for controlling the amount of oxygen that enters the grill. More oxygen means a hotter fire, while less oxygen results in a cooler fire. Here’s how you can adjust the intake vent:
- Locate the intake vent: Depending on your grill, the intake vent is usually located at the bottom of the grill, either on the side or at the front.
- Open or close the intake vent: To increase the temperature, open the intake vent wider to allow more oxygen into the grill. For lower temperatures, partially close or restrict the intake vent to minimize the oxygen flow.
- Monitor and make adjustments: After making adjustments to the intake vent, give the grill some time to reach the desired temperature. Monitor the grill’s internal temperature using a thermometer. If it’s too hot, close the intake vent slightly. If it’s too cool, open the vent wider to allow more oxygen in.
- Be vigilant: Keep in mind that small adjustments to the intake vent can have significant effects on the temperature. It’s important to make gradual adjustments and give the grill sufficient time to stabilize before making any further changes.
- Practice and experience: Achieving the perfect temperature takes practice and experience. Experiment with different positions of the intake vent until you find the right balance to achieve your desired heat level for cooking.
By adjusting the intake vent, you have control over the temperature inside the grill, allowing you to cook different foods at the optimal heat levels. Now, let’s move on to controlling the exhaust vent to further fine-tune the grilling process.
When using the vents on a charcoal grill, remember to adjust the bottom vent to control the airflow and the top vent to control the temperature. Opening both vents fully will increase the heat, while closing them will decrease it.
Read more: Where To Buy Charcoal Grills
Step 4: Controlling the Exhaust Vent
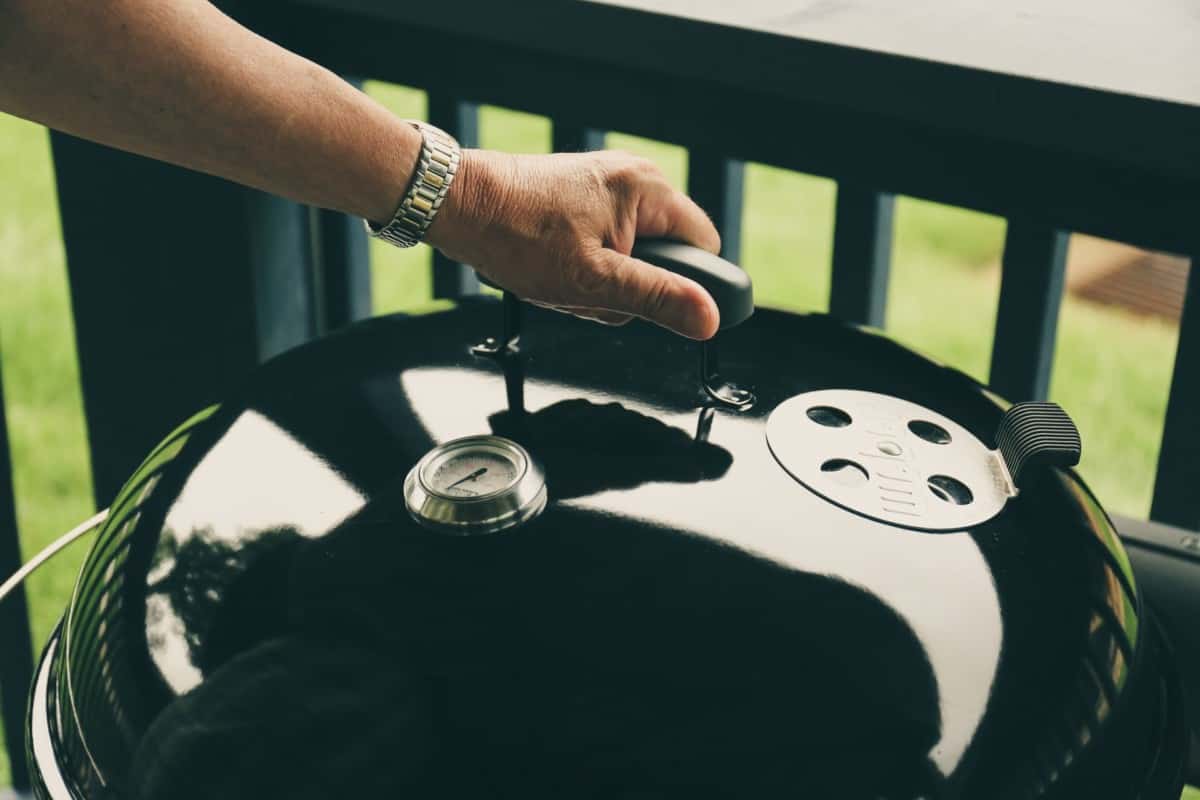
Controlling the exhaust vent, also known as the top vent or chimney vent, is crucial for maintaining airflow and regulating the temperature inside the grill. Here’s how you can effectively control the exhaust vent:
- Locate the exhaust vent: The exhaust vent is typically positioned on the lid or chimney of the grill. It allows smoke and hot air to escape, influencing the airflow within the grill.
- Adjust the exhaust vent: To increase the temperature inside the grill, open the exhaust vent wider, allowing for better airflow and releasing more heat. For lower temperatures, partially close the vent to reduce the airflow.
- Balance the intake and exhaust vents: To maintain a consistent temperature, it’s important to balance the positions of the intake and exhaust vents. Adjust one vent at a time, making small changes and observing their effects on the temperature.
- Monitor and make adjustments: Similar to adjusting the intake vent, monitor the grill’s internal temperature using a thermometer and make necessary adjustments to the exhaust vent as needed. Small changes can have a significant impact, so proceed with caution and make incremental adjustments.
- Adapt to different cooking methods: Different recipes and cooking methods may require specific temperatures or levels of smoke. By controlling the exhaust vent, you can modify the smoke levels and airflow to suit the specific needs of your dish.
The exhaust vent works in conjunction with the intake vent to create a balanced airflow and temperature inside the grill. Practice and experimentation will help you master the art of controlling the exhaust vent and achieving the ideal grilling conditions.
Next, let’s move on to monitoring and adjusting the temperature throughout the cooking process to ensure perfectly cooked meals.
Step 5: Monitoring and Adjusting Temperature
Monitoring and adjusting the temperature during the grilling process is crucial for achieving perfectly cooked meals. Here’s how you can effectively monitor and adjust the temperature on your charcoal grill:
- Use a thermometer: Invest in a reliable thermometer to accurately measure the internal temperature of the grill. Place the thermometer probe away from the direct heat source to get an accurate reading.
- Keep an eye on the temperature: Regularly monitor the temperature throughout the cooking process to ensure it remains within the desired range. This will allow you to make timely adjustments and maintain consistent heat.
- Adjust the vents: Based on the temperature readings, make adjustments to the intake and exhaust vents as needed. If the temperature is too high, close the vents partially to reduce the oxygen flow. If the temperature is too low, open the vents to increase airflow.
- Practice patience: It’s important to give the grill time to respond to the vent adjustments. Gradual changes are more effective than rapid adjustments, which can lead to fluctuating temperatures.
- Consider the food being cooked: Different foods require different cooking temperatures. For example, high heat is suitable for searing steaks, while low and slow cooking is ideal for smoking meats. Adjust the vent positions accordingly to achieve the desired temperature for the specific food.
- Make small adjustments: When making vent adjustments, do so in small increments. Keep in mind that subtle changes can greatly impact the temperature inside the grill.
- Take note and learn: Each grilling session is an opportunity to learn and refine your techniques. Take note of the vent adjustments that worked well for specific dishes and replicate those techniques in future cooking sessions.
With careful monitoring and precise vent adjustments, you can maintain a consistent temperature and ensure that your food cooks evenly and to perfection.
Now that you have mastered the art of monitoring and adjusting the temperature, let’s move on to fine-tuning the vents for different cooking techniques.
Step 6: Fine-tuning the Vents for Different Cooking Techniques
Understanding how to fine-tune the vents on your charcoal grill for different cooking techniques is key to achieving the best results. Let’s explore how you can adjust the vents for specific cooking styles:
1. Direct Grilling: For direct grilling, where food is cooked directly over the heat source, you’ll want to have both the intake and exhaust vents open wider to allow for maximum airflow. This ensures a hot fire, perfect for achieving a nice sear on steaks, burgers, or vegetables.
2. Indirect Grilling: Indirect grilling involves cooking food away from direct heat, often with the lid closed. To achieve this, you’ll want to partially close the intake and exhaust vents to lower the fire’s intensity. This allows for slower and more even cooking, ideal for larger cuts of meat, whole chickens, or delicate fish.
3. Low and Slow Smoking: Smoking requires a lower and more controlled temperature to infuse the food with a rich smoky flavor. To achieve this, you’ll want to adjust the intake vent to a smaller opening, reducing the amount of oxygen and slowing down the combustion process. The exhaust vent should be partially open to allow for a steady flow of smoke and heat to escape.
4. High Heat Searing: When you want to achieve a delicious crust on your meats, such as when searing a thick steak, you’ll want a hot fire. Open both the intake and exhaust vents wider to allow for maximum oxygen flow and a higher temperature.
Remember, practice and experience will help you find the right balance and vent adjustments for different cooking techniques. Take note of the adjustments that work well for specific dishes and use them as a starting point for future grilling sessions.
By fine-tuning the vents, you can elevate your grilling game and master a variety of cooking techniques, ensuring that each dish is cooked to perfection.
Now that you’ve learned how to fine-tune the vents for different cooking techniques, let’s wrap it up.
Conclusion
Congratulations! You’ve now become well-versed in using the vents on a charcoal grill to achieve optimal cooking results. By understanding the purpose and functionality of the intake and exhaust vents, you have the power to control temperature, airflow, and smoke levels, ultimately influencing the taste and texture of your grilled masterpieces.
Throughout this article, we’ve covered the essential steps in utilizing the vents effectively. Familiarizing yourself with the vent system of your charcoal grill sets the foundation for successful grilling. Setting up the grill properly, adjusting the intake vent, and controlling the exhaust vent are crucial for creating the ideal cooking environment.
Monitoring and adjusting the temperature, along with fine-tuning the vents for different cooking techniques, allows you to showcase your culinary skills and experiment with various flavors and styles.
Remember, achieving the perfect balance of heat and smoke takes practice, experience, and a bit of trial and error. Don’t be afraid to adjust the vents, make small changes, and learn from each grilling session to refine your techniques.
So, the next time you fire up your charcoal grill, take control of the vents and let your creativity shine. Prepare to impress your family and friends with delicious meals infused with that smoky goodness.
Happy grilling!
Frequently Asked Questions about How To Use The Vents On A Charcoal Grill
Was this page helpful?
At Storables.com, we guarantee accurate and reliable information. Our content, validated by Expert Board Contributors, is crafted following stringent Editorial Policies. We're committed to providing you with well-researched, expert-backed insights for all your informational needs.

0 thoughts on “How To Use The Vents On A Charcoal Grill”