
Articles
How To Whip Egg White Without Mixer
Modified: October 20, 2024
Learn the art of whipping egg white without a mixer in this informative article. Discover tips and techniques to achieve fluffy peaks and perfect meringues without any specialized equipment.
(Many of the links in this article redirect to a specific reviewed product. Your purchase of these products through affiliate links helps to generate commission for Storables.com, at no extra cost. Learn more)
Introduction
Welcome to the world of baking and culinary adventures! Whether you are a seasoned chef or just starting out in the kitchen, learning how to whip egg whites without a mixer is a valuable skill to have. While a mixer can make this task easier and more convenient, there may be situations where you don’t have access to one or simply prefer to do it by hand. Don’t worry, with a few simple techniques and a bit of patience, you can achieve perfectly whipped egg whites without the need for any fancy equipment.
Whipping egg whites is a fundamental technique used in many recipes, from creating fluffy meringues to light and airy soufflés. The process involves incorporating air into the egg whites, which causes them to expand and increase in volume. This creates a stable foam that is essential for achieving the desired texture and structure in various culinary creations.
Before we delve into the steps of hand-whipping egg whites, let’s gather the necessary tools and ingredients.
Key Takeaways:
- Master the art of hand-whipping egg whites for airy, fluffy foams without a mixer. With patience, the right tools, and fresh eggs, achieve soft or stiff peaks for delightful culinary creations.
- Embrace the joy of creating whipped egg whites by hand and explore a world of recipes, from meringues to cakes. Trust your instincts, experiment with flavors, and enjoy the fruits of your labor!
Read more: How To Whip Heavy Cream Without A Mixer
Tools and Ingredients
Before we begin whipping egg whites by hand, let’s make sure we have everything we need. Here are the essential tools and ingredients:
- A large mixing bowl: Choose a bowl that is spacious enough to allow for proper whipping and expansion of the egg whites.
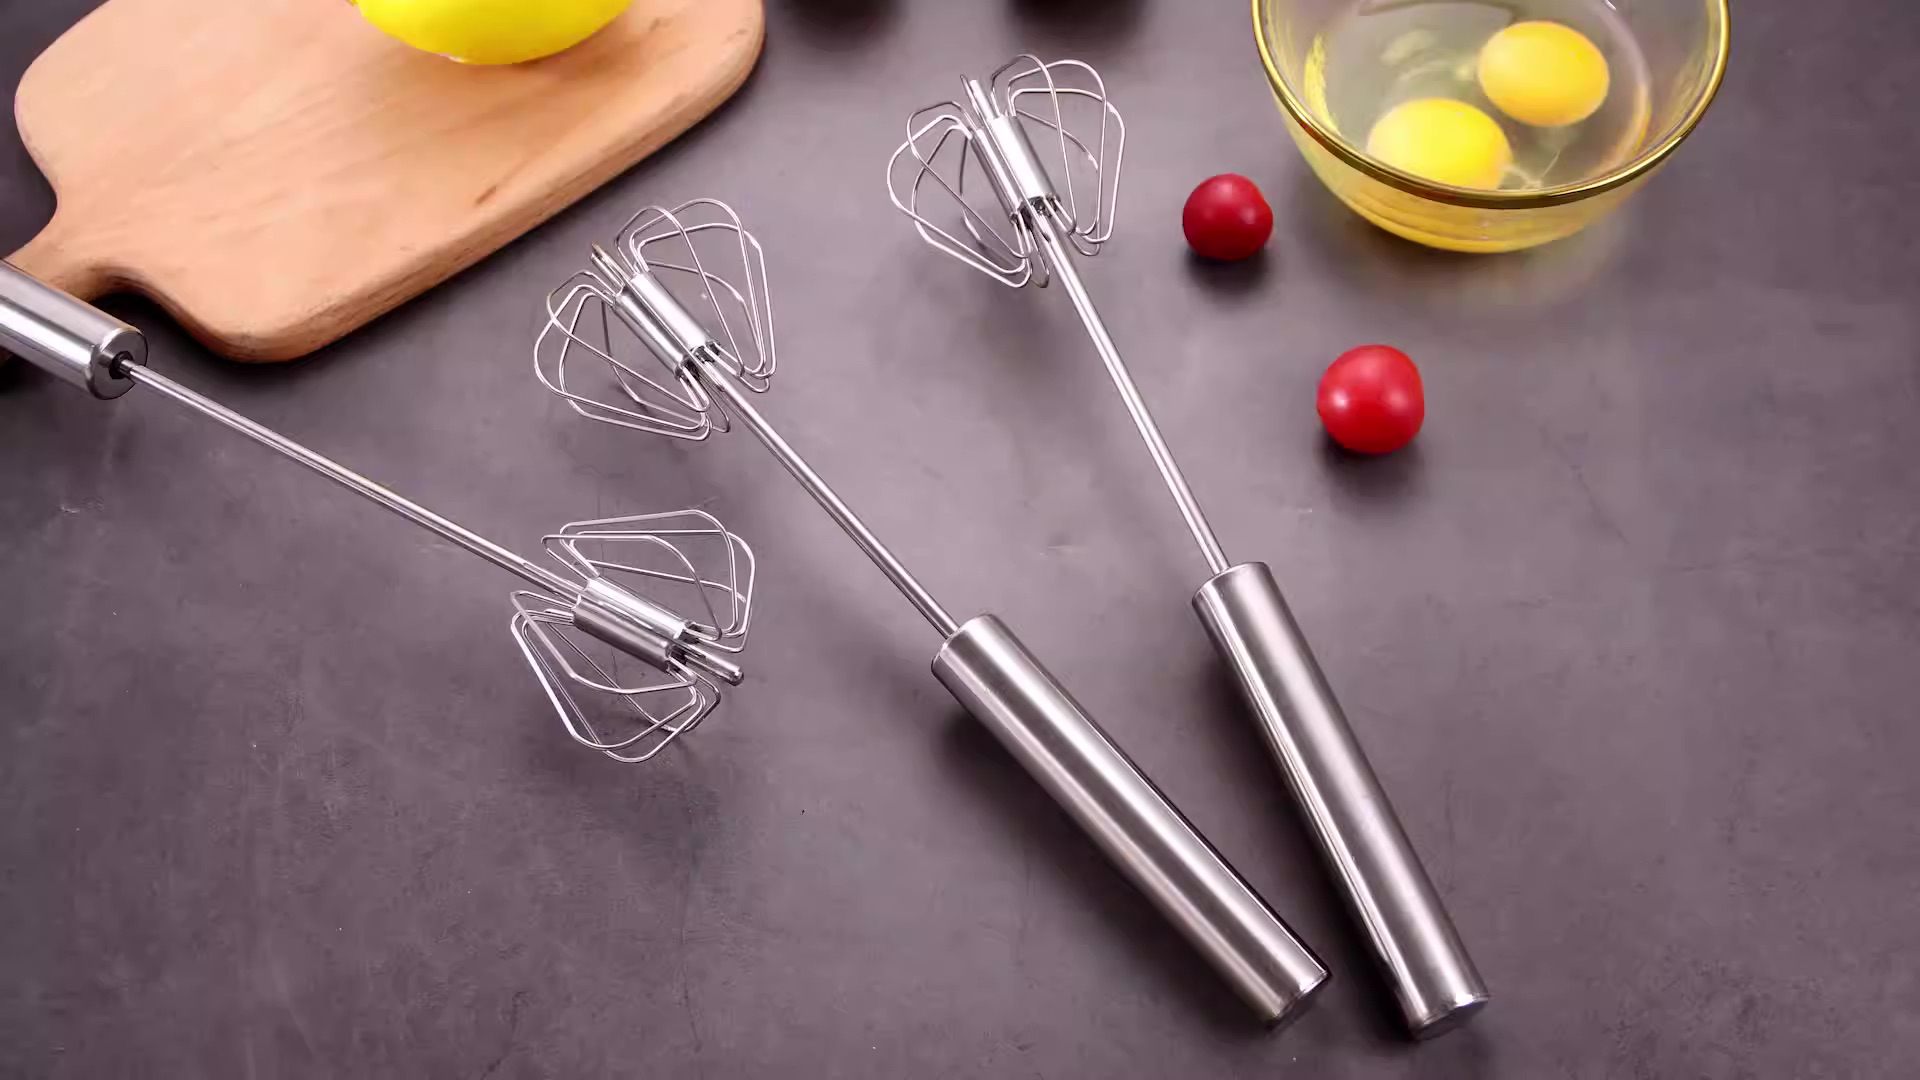
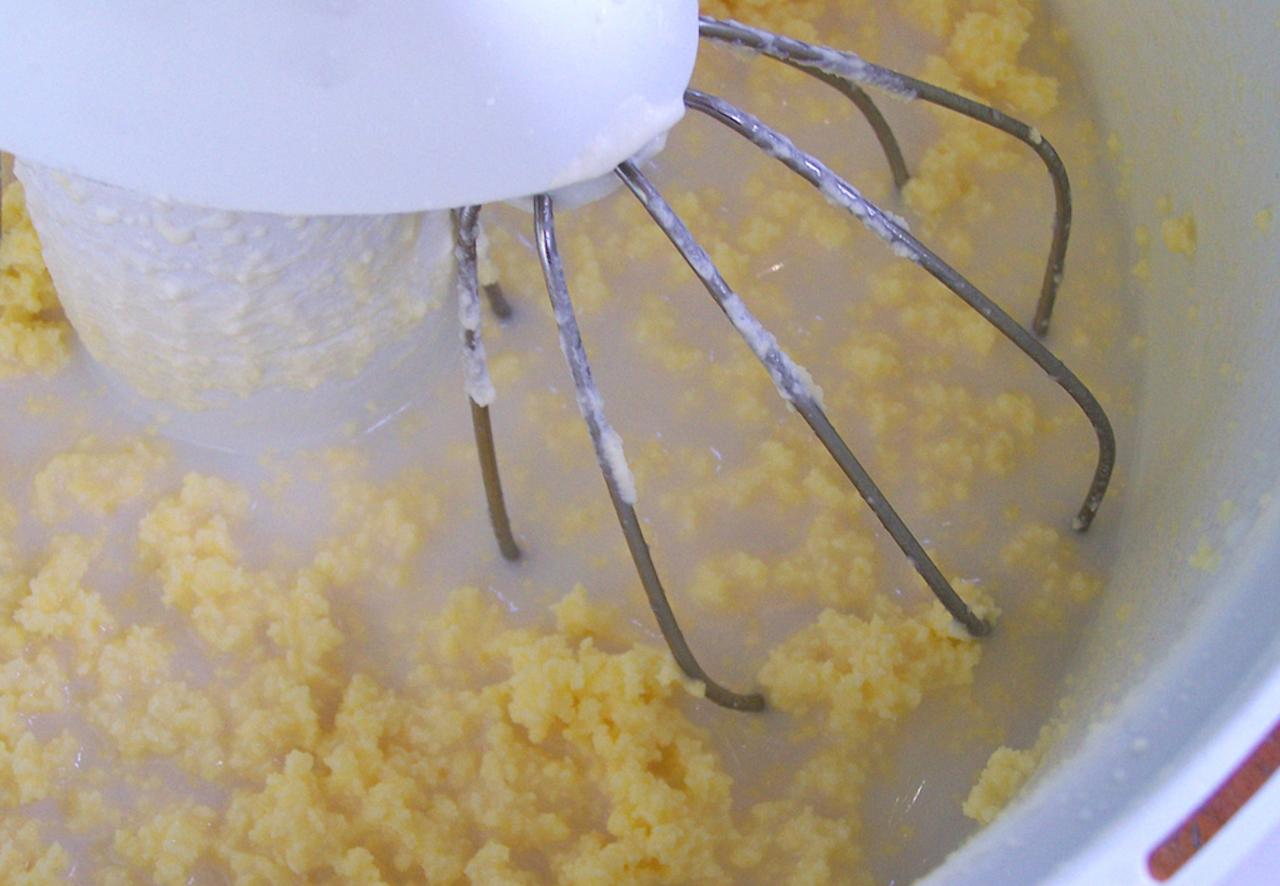
- A whisk: Opt for a whisk with thin wires and a comfortable grip. A balloon whisk works well for this task.
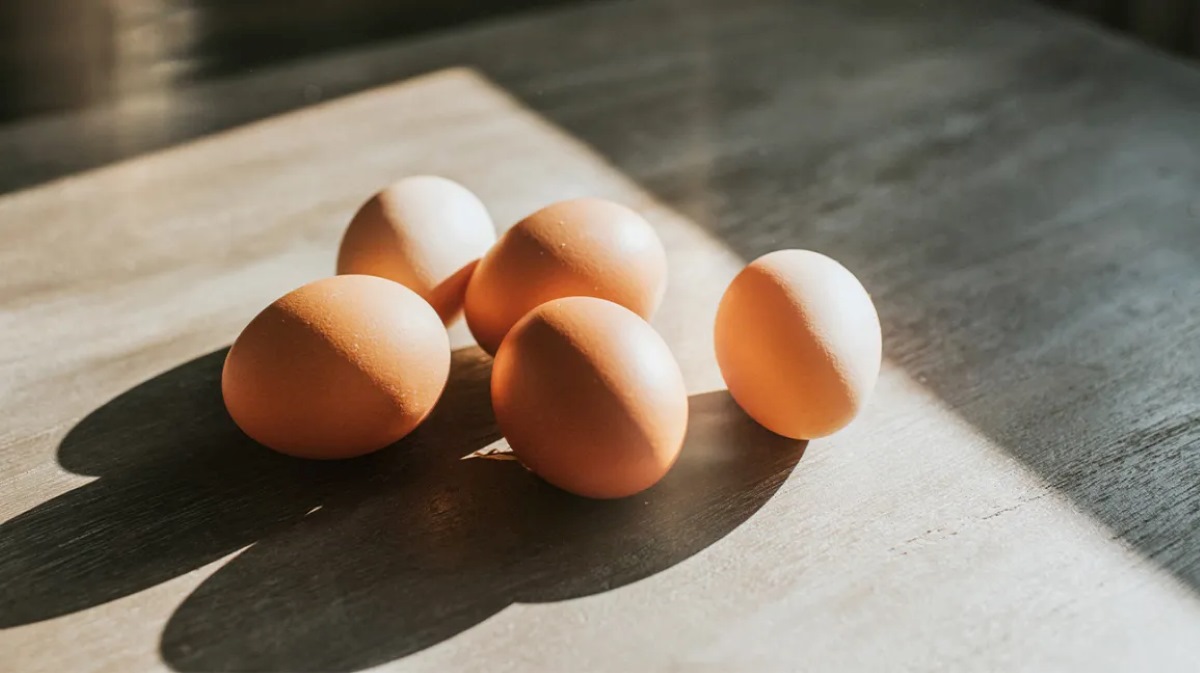
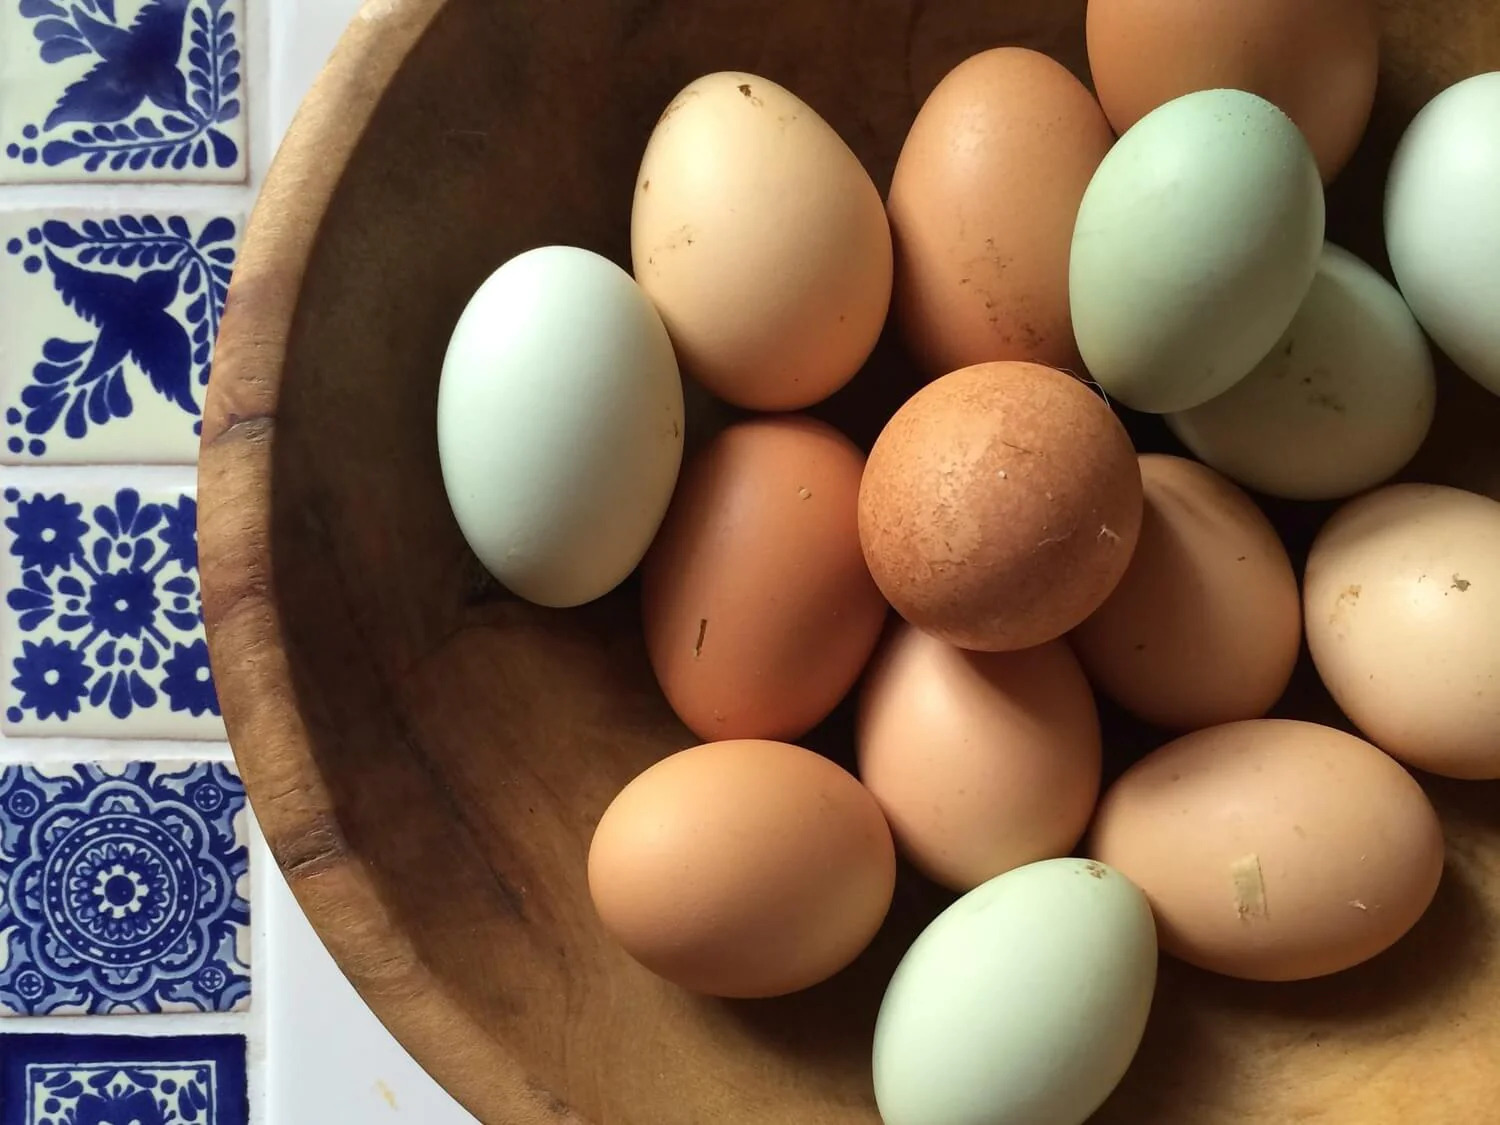
- Fresh eggs: It’s important to use fresh eggs as they tend to whip up better. If possible, use eggs at room temperature.
- Optional ingredients: Depending on the recipe you’re working with, you may need additional ingredients such as sugar, cream of tartar, or a pinch of salt.
Now that we have gathered our tools and ingredients, let’s move on to the step-by-step process of whipping egg whites by hand.
Step 1: Choose the Right Bowl
When it comes to hand-whipping egg whites, the choice of the right bowl is crucial. Look for a large mixing bowl that is clean and free of any grease or residue. Any trace of fat can inhibit the egg whites from reaching their full potential and achieving the desired volume.
Opt for a bowl made of metal or glass, as they provide a cool surface that helps in stabilizing the egg whites. Avoid using plastic bowls, as they can retain traces of oil or fat even after thorough cleaning.
Ensure that the bowl is deep enough to accommodate the expanding volume of the egg whites. As you whisk, the egg whites will increase in size, so it’s important to have enough space for proper aeration.
Before you begin, give the bowl a quick wipe with a clean cloth or paper towel to ensure there are no particles or moisture that could affect the whipping process. A clean and suitable bowl will set the perfect foundation for whipping egg whites by hand.
Step 2: Separate the Egg Whites
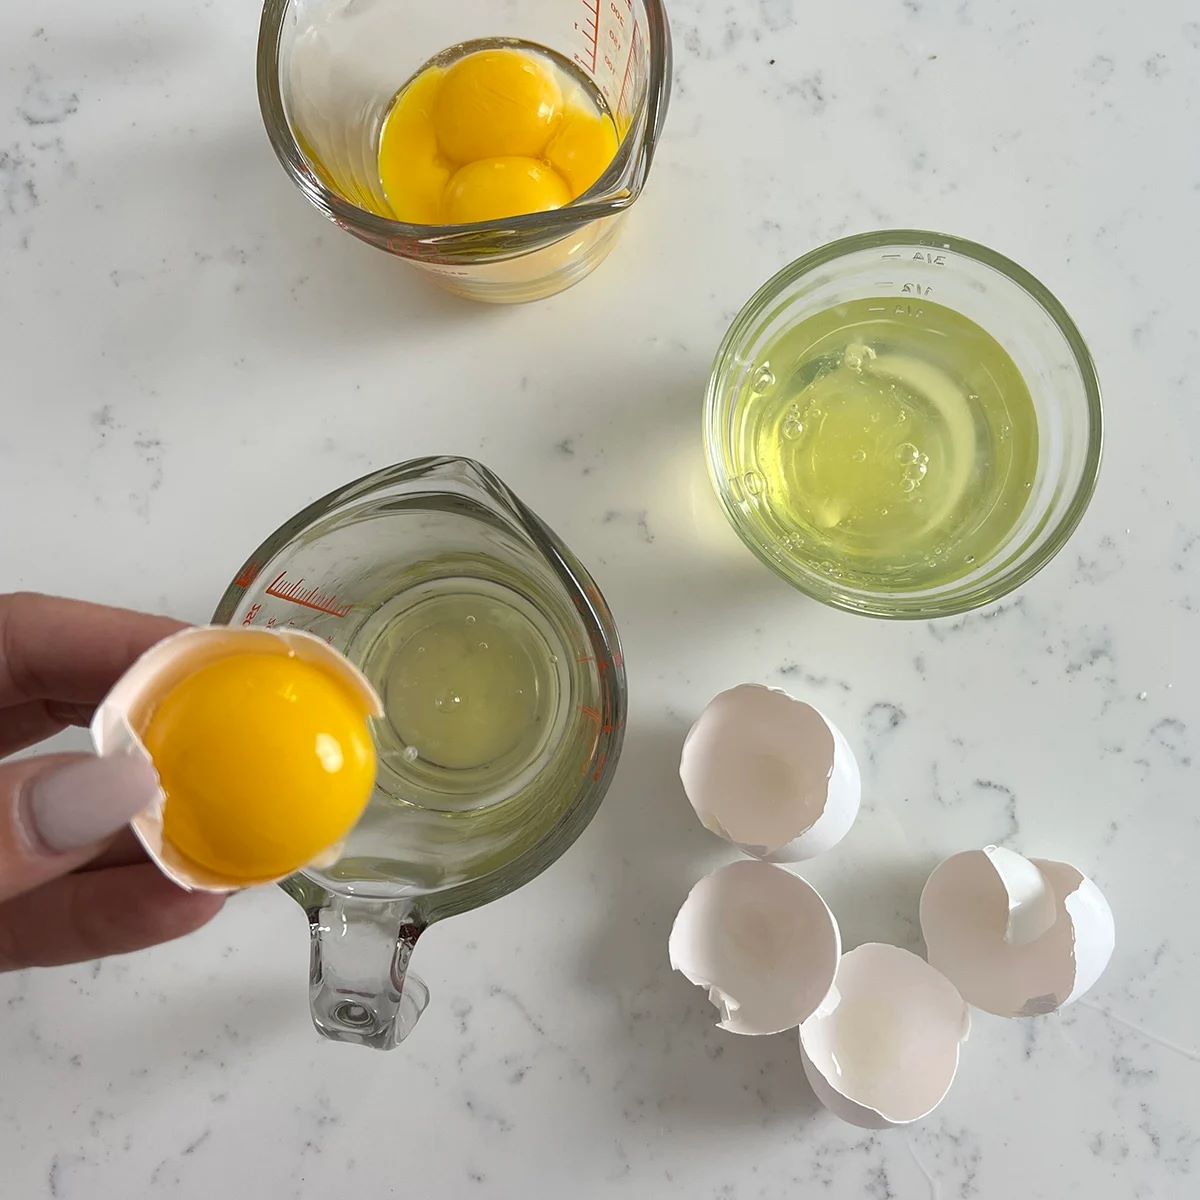
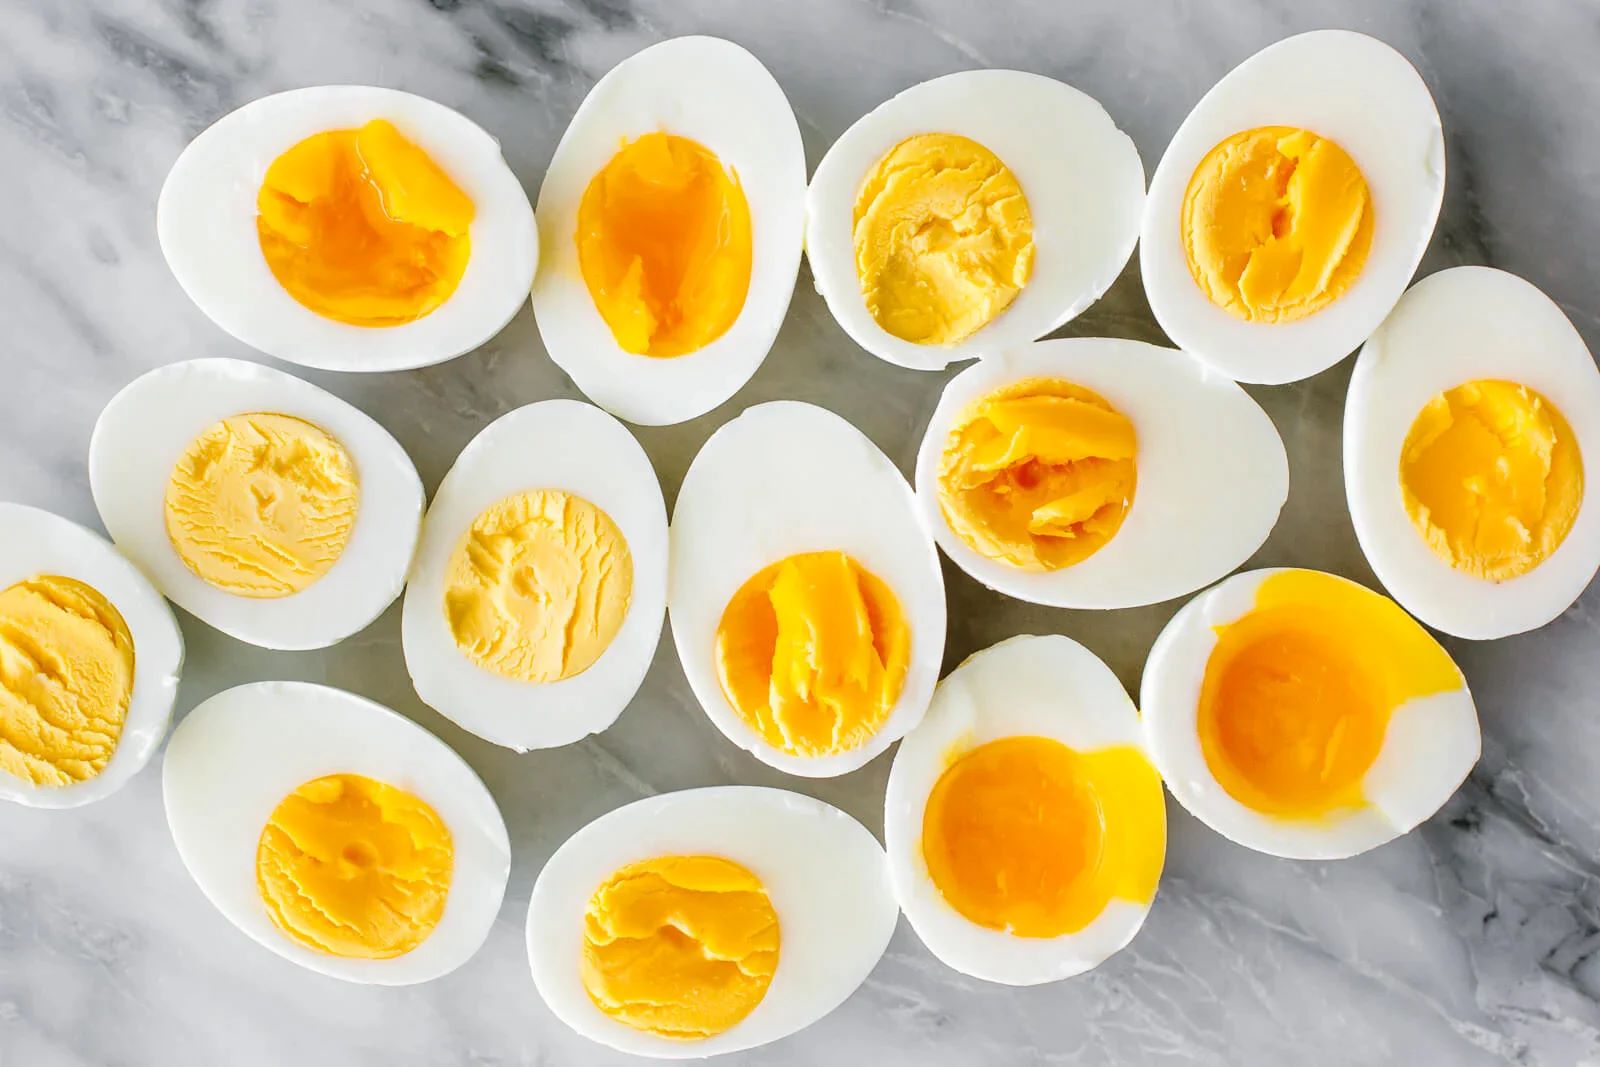
Now that you have the right bowl, it’s time to separate the egg whites from the yolks. It’s important to separate them carefully, as even a small amount of yolk in the whites can hinder the whipping process.
Here’s a simple method to separate the eggs:
- Start by cracking the egg on a flat surface, such as the countertop or the rim of the bowl. Avoid cracking it on the edge of the mixing bowl, as it can increase the risk of shell fragments falling into the egg whites.
- Hold the egg over the bowl and use your thumbs to gently open the cracked egg into two halves. Transfer the yolk back and forth between the halves, allowing the whites to fall into the bowl beneath.
- Continue this process, taking extra care to prevent the yolk from breaking and mixing with the whites. If needed, you can use your hands or a slotted spoon to transfer any stubborn bits of yolk that may have made their way into the bowl.
- Repeat this step for each egg, separating the whites into the mixing bowl.
Remember, it’s always a good idea to crack each egg into a separate bowl before transferring the whites into the main mixing bowl. This helps prevent any mishaps where one yolk contaminates a whole batch of whites.
Now that you have successfully separated the egg whites, it’s time to move on to the next step: whipping them to perfection.
To whip egg whites without a mixer, use a clean, dry bowl and whisk. Add a pinch of cream of tartar to stabilize the whites and whisk vigorously in a circular motion until stiff peaks form.
Step 3: Whip the Egg Whites
With the separated egg whites in the bowl, it’s time to start whipping! This step requires some arm work and patience, as we’ll be incorporating air into the egg whites to create a light and fluffy foam.
Here’s how to whip the egg whites by hand:
- Grab your whisk and hold it firmly, placing it in the middle of the bowl with the wire ends touching the bottom. Tilt the bowl slightly towards you, ensuring it’s stable on your working surface.
- Begin whisking vigorously in a circular motion, using your wrist to rotate the whisk and your other hand to keep the bowl steady.
- Continue whisking for a few minutes until the egg whites start to foam and froth. As you whisk, incorporate larger, sweeping motions to ensure even aeration of the egg whites.
- As the foam begins to form, adjust your speed and intensity to maintain a consistent whipping rhythm. The goal is to gradually increase the volume of the egg whites and create small air bubbles throughout.
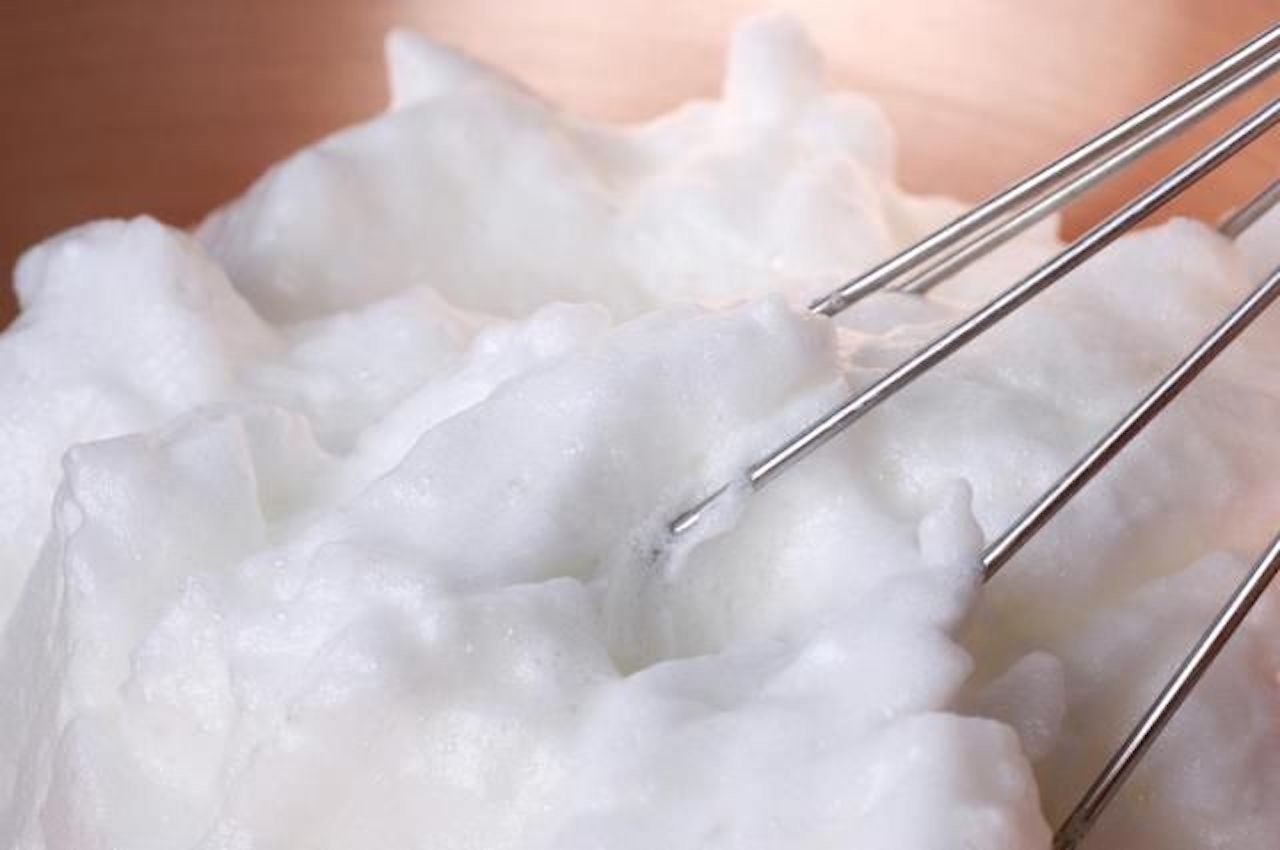
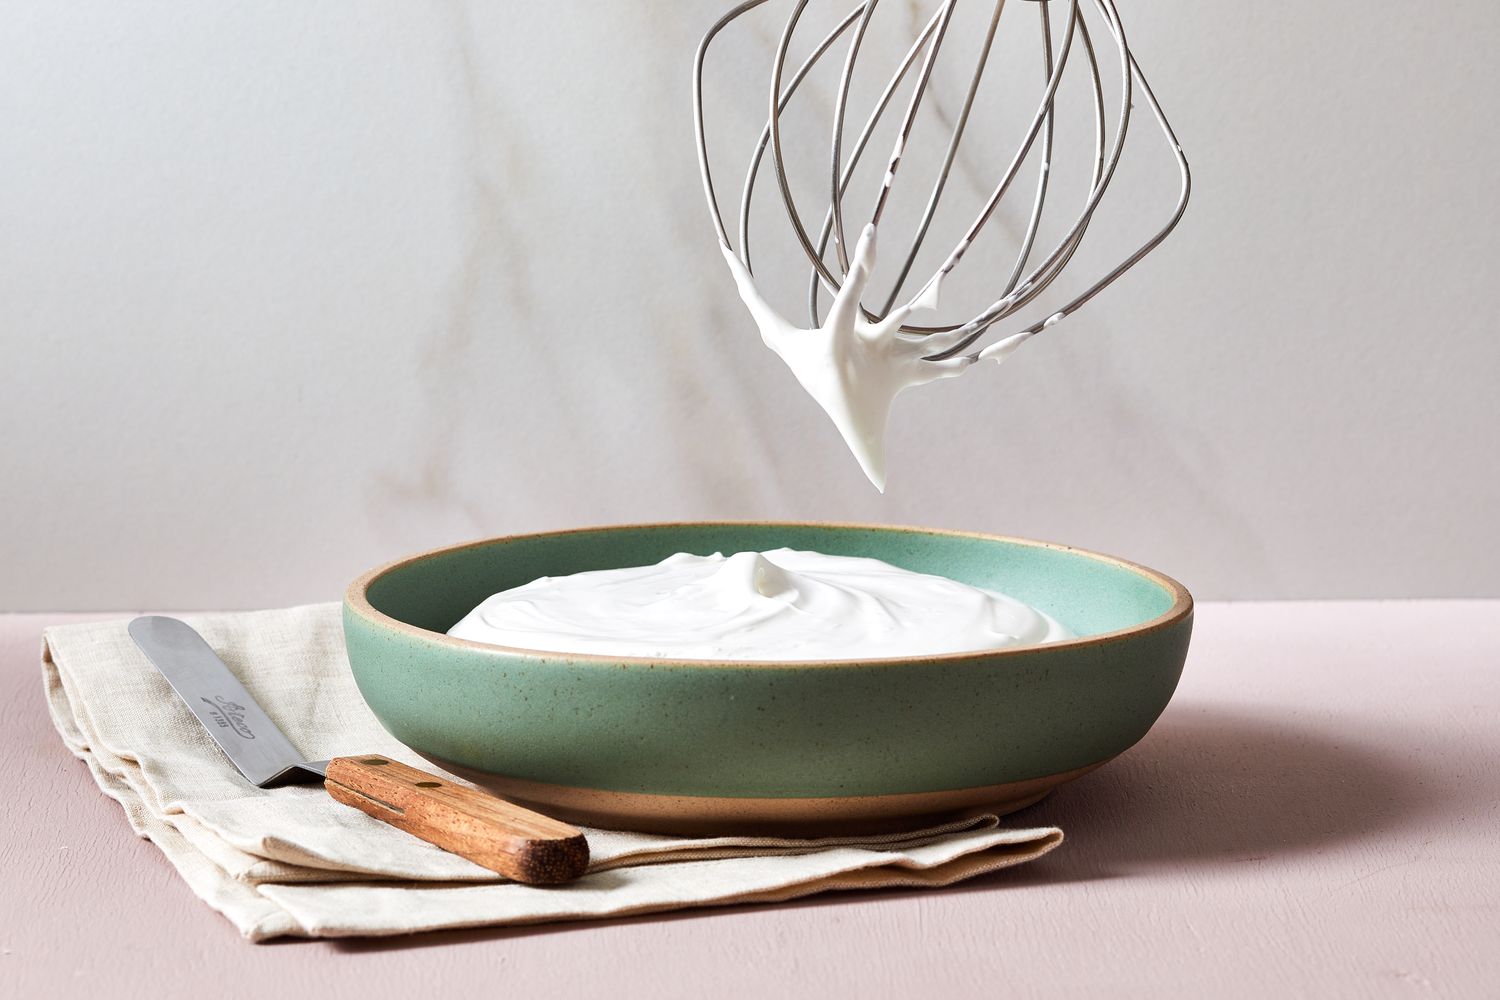
- Keep whisking until the egg whites reach the desired consistency. This will depend on the recipe you’re following. For soft peaks, whisk until the foam is thick, glossy, and falls over slightly when the whisk is lifted. For stiff peaks, continue whisking until the foam becomes even thicker, holds its shape, and stands upright when the whisk is lifted.
It’s important to note that when whisking manually, it may take longer to reach the desired consistency compared to using an electric mixer. Be patient and keep going until you achieve the desired results.
Now that you have successfully whipped the egg whites, let’s move on to the next step: checking for stiff peaks.
Read more: How To Whip Shea Butter Without A Mixer
Step 4: Checking for Stiff Peaks
Once you have whipped the egg whites to the desired consistency, it’s essential to check for stiff peaks. This will determine if the egg whites are ready to be used in your recipe or if they need a bit more whisking.
Here’s how to check for stiff peaks:
- Stop whisking and lift the whisk out of the bowl, holding it horizontally.
- Observe the foam at the end of the whisk. If the peaks collapse immediately and cannot hold their shape, the egg whites are not yet at the stiff peak stage.
- If the peaks hold their shape but slightly droop over at the tips, you have reached soft peaks. This is ideal for some recipes like mousses or lighter desserts.
- To achieve stiff peaks, continue whisking for a bit longer. The peaks should stand upright without collapsing and hold their shape even when the whisk is lifted. This is perfect for recipes that require more structure, such as meringues or pavlovas.
It’s important not to overwhip the egg whites, as they can become dry and grainy, losing their desirable texture. Pay close attention while whisking and stop as soon as you reach the desired consistency.
Congratulations! You have successfully whipped the egg whites to either soft peaks or stiff peaks. Now you are ready to incorporate them into your recipe or move on to the next steps of your culinary adventure.
Step 5: Tips and Tricks for Hand Whipping
Whipping egg whites by hand may require a bit of effort, but with these tips and tricks, you’ll be able to achieve great results:
- Use a clean, dry bowl: Any moisture or residue in the bowl can affect the whipping process. Make sure the bowl is clean and completely dry before starting.
- Room temperature eggs: Ideally, use eggs that are at room temperature. They whip up better and faster than cold eggs.
- Start slow: Begin whisking slowly and gradually increase your speed. This helps create a more stable foam and minimizes the risk of overwhipping.
- Add sugar gradually: If your recipe calls for sugar, add it gradually while whisking. This allows the sugar to dissolve properly and incorporate evenly into the foam.
- Use a stable surface: Place the bowl on a stable surface or secure the bowl with a damp kitchen towel to prevent it from sliding around while whisking.
- Take breaks if needed: Whisking egg whites can be a workout for your arm muscles. If you need to take short breaks, do so. Just make sure to pick up where you left off and maintain a consistent whisking technique.
- Trust your instincts: Pay attention to the texture and appearance of the egg whites as you whisk. Adjust your technique or speed if necessary to achieve the desired results.
- Experiment with flavorings: If desired, add a splash of vanilla extract, a sprinkle of cinnamon, or other flavorings to the egg whites before whisking. This can add extra flavor and dimension to your recipe.
Remember, practice makes perfect when it comes to hand-whipping egg whites. With time and experience, you’ll become more comfortable and proficient in achieving the desired results.
Now that you have learned these valuable tips and tricks, you are well-equipped to whip egg whites by hand like a culinary pro!
Conclusion
Whipping egg whites without a mixer may seem like a daunting task, but with the right techniques and a little patience, you can achieve beautifully whipped egg whites by hand. By following the steps outlined in this guide and implementing the tips and tricks provided, you can successfully create airy and fluffy egg white foams for a variety of culinary delights.
Remember, the key to achieving whipped egg whites is to start with the right tools and ingredients, including a suitable bowl, a whisk, and fresh eggs. Taking the time to separate the egg whites properly and whisking them vigorously will result in a foam with the desired consistency, whether it’s soft peaks or stiff peaks.
Throughout the process, be sure to check for the desired peaks and avoid overwhipping, which can lead to a dry and grainy texture. Take breaks if needed and trust your instincts along the way.
Hand-whipping egg whites not only allows you to create delicious recipes but also gives you a sense of accomplishment and a deeper understanding of the culinary process. So, roll up your sleeves and embrace the joy of creating whipped egg whites by hand.
Now that you have mastered this technique, feel free to explore various recipes that call for whipped egg whites, from delightful meringues and soufflés to heavenly cakes and desserts. Get creative, experiment with flavors, and enjoy the fruits of your labor!
Happy hand-whipping!
Frequently Asked Questions about How To Whip Egg White Without Mixer
Was this page helpful?
At Storables.com, we guarantee accurate and reliable information. Our content, validated by Expert Board Contributors, is crafted following stringent Editorial Policies. We're committed to providing you with well-researched, expert-backed insights for all your informational needs.

0 thoughts on “How To Whip Egg White Without Mixer”