Articles
How To Mix Without Electric Mixer
Modified: August 25, 2024
Learn the art of mixing without an electric mixer with these helpful articles. Discover techniques and tips to achieve perfect results in your kitchen creations.
(Many of the links in this article redirect to a specific reviewed product. Your purchase of these products through affiliate links helps to generate commission for Storables.com, at no extra cost. Learn more)
Introduction
When it comes to baking or cooking, having the right tools can make all the difference. But what do you do if you find yourself without an electric mixer? Maybe your mixer broke, or perhaps you’re in a situation where you don’t have access to one. Don’t worry; you can still achieve perfectly mixed ingredients without an electric mixer by using some common kitchen tools and techniques.
In this article, we will explore various methods of mixing ingredients without an electric mixer. Whether you’re whipping up a cake batter or making a creamy sauce, these alternative methods will allow you to achieve the same results as if you were using an electric mixer. So let’s dive in and discover how to mix without an electric mixer!
Key Takeaways:
- Embrace the challenge of mixing without an electric mixer and connect with your ingredients on a more hands-on level. Experiment with different techniques and tools to achieve the perfect blend of flavors and textures.
- Whether using a whisk, wooden spoon, mason jar, or alternative kitchen tools, enjoy the immersive and rewarding process of manually blending ingredients. Let your creativity flow and mix away!
Read more: How To Mix Cake Batter Without A Mixer
Using a Whisk or Fork
One of the simplest and most accessible tools for mixing ingredients is a whisk or fork. These common kitchen utensils can effectively blend your ingredients and create a smooth texture.
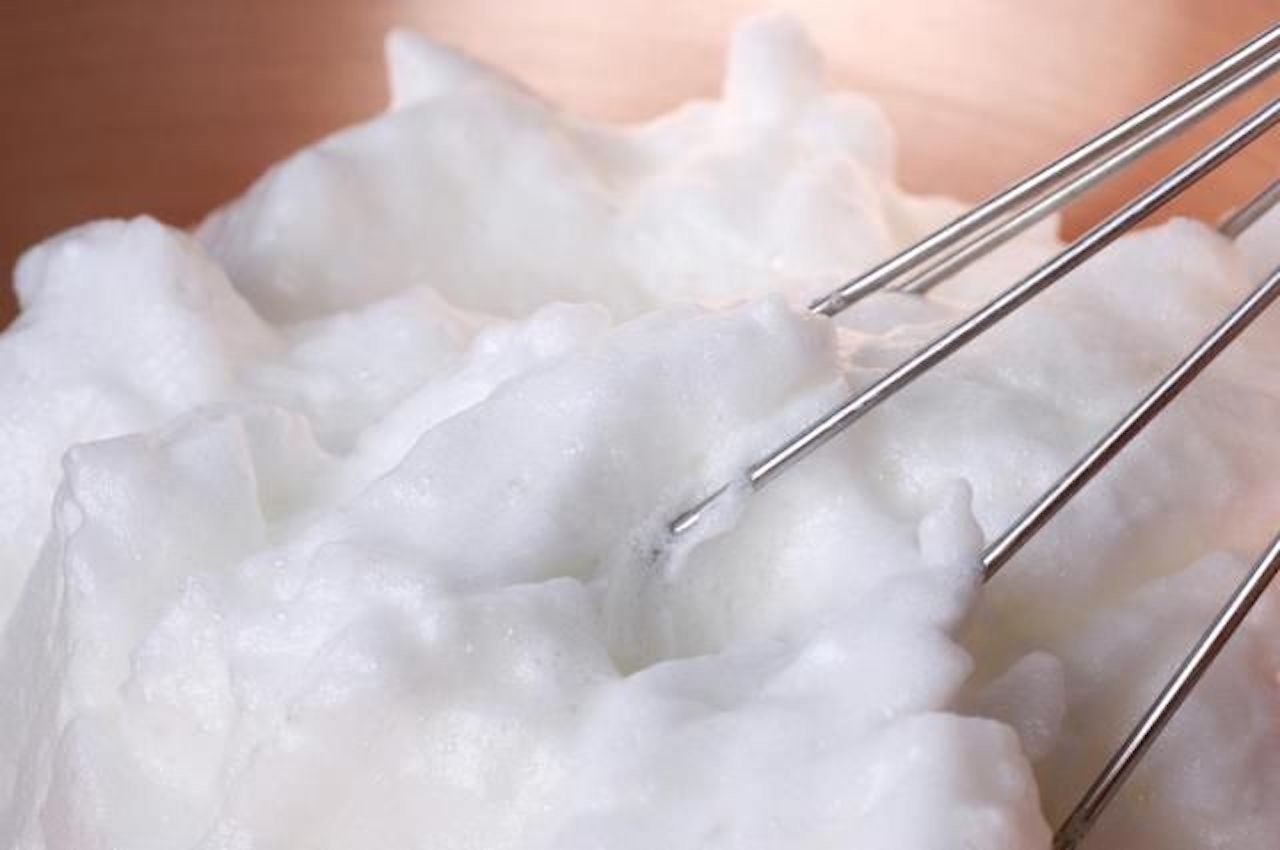
To use a whisk, start by placing the ingredients in a mixing bowl. Hold the whisk firmly and use a back-and-forth motion to stir the ingredients in a circular pattern. This motion helps incorporate air into the mixture, resulting in a lighter texture. Continue whisking until the ingredients are well combined and have reached the desired consistency.
If you don’t have a whisk, a fork can be a suitable alternative. The process is similar: place the ingredients in a mixing bowl and use the tines of the fork to mix the ingredients together. The fork can be especially useful when mashing or breaking up ingredients like potatoes or eggs. Keep stirring until the ingredients are thoroughly combined.
It’s important to note that using a whisk or fork might require a bit more effort and elbow grease compared to an electric mixer. But with a little patience and persistence, you can achieve excellent results, especially for recipes that don’t require extensive mixing or heavy dough.
Remember, when using a whisk or fork, it’s essential to be mindful of the size and shape of the bowl you’re using. Opt for a larger bowl to give yourself enough room to maneuver the utensil and prevent any splatters or spills.
Using a whisk or fork is a versatile and straightforward method for mixing ingredients without an electric mixer. So if you find yourself without the convenience of an electric mixer, don’t worry. Just reach for a trusty whisk or fork and let your arm muscles do the work!
Using a Wooden Spoon
Another handy tool for mixing ingredients without an electric mixer is a wooden spoon. This kitchen staple is not only excellent for stirring, but it also offers good control while incorporating ingredients.
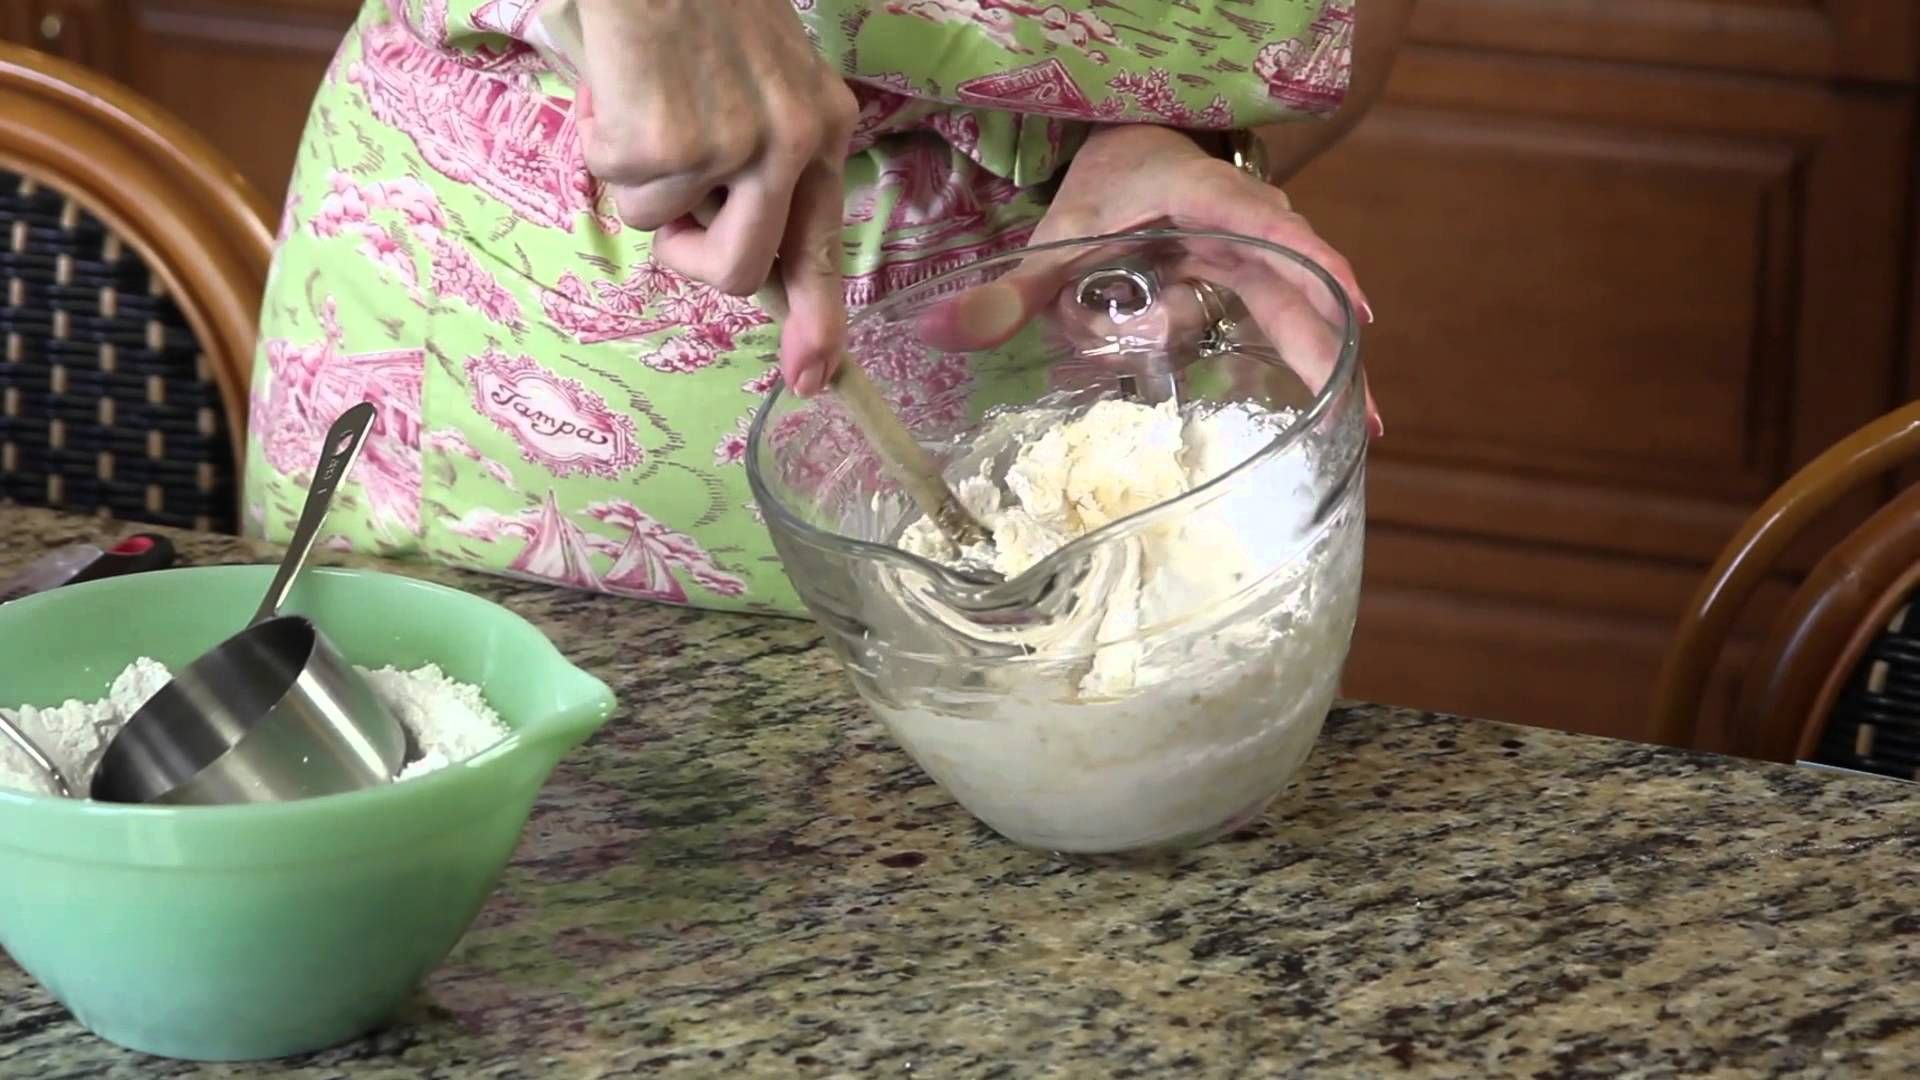
To use a wooden spoon, start by placing your ingredients in a mixing bowl. Use the spoon to gently stir the ingredients in a circular motion, making sure to reach the bottom and sides of the bowl to ensure thorough mixing. Apply a bit of pressure to break up any clumps and to combine the ingredients evenly.
A wooden spoon is particularly useful for mixing heavier mixtures or doughs that require a bit more resistance. It allows you to blend the ingredients effectively while providing the necessary strength to tackle thicker consistencies.
When using a wooden spoon, it’s important to remember that it may not be as efficient as an electric mixer in terms of speed and consistency. You might need to spend a bit more time and put in a little extra effort to achieve the desired results. However, this method can be quite satisfying, as you have full control over the mixing process.
Additionally, a wooden spoon is great for recipes that involve folding ingredients, such as incorporating dry ingredients into a wet mixture or gently mixing in nuts or chocolate chunks into batter. Its wide and flat shape allows for gentle folding without overly disturbing the mixture.
Cleanup is also a breeze with a wooden spoon. Unlike electric mixers, there are no attachments or blades to disassemble and clean. Simply give the spoon a good rinse or wash it with warm, soapy water.
So, if you don’t have access to an electric mixer, grab a wooden spoon and enjoy the simple pleasure of mixing ingredients by hand. It’s a tried-and-true method that has been used for generations and can deliver satisfying and delicious results in your cooking and baking endeavors.
Using a Mason Jar
Did you know that a mason jar can double as a handy mixing tool when you don’t have an electric mixer? That’s right! This versatile kitchen item can be repurposed to mix ingredients and create delicious recipes.
To use a mason jar as a makeshift mixer, you’ll need to choose a size that suits the amount of ingredients you’re working with. Smaller jars work well for smaller quantities, while larger jars are ideal for larger batches.
First, gather your ingredients and place them in the mason jar. Ensure that the jar is clean and dry before you begin. Then, simply seal the lid tightly and hold the jar firmly with both hands. Now, shake the jar vigorously, making sure to incorporate air into the mixture and thoroughly blend the ingredients together.
Shaking the jar mimics the whipping action of an electric mixer and can effectively combine ingredients in a short amount of time. It’s a fun and unconventional method that can be especially useful for making dressings, marinades, or even whipping cream.
While using a mason jar as a mixing tool provides convenient portability, it’s important to handle the jar with caution. Be mindful of the strength and stability of the jar’s lid, as overly vigorous shaking could cause it to come loose, resulting in a messy situation. Also, make sure to hold the jar securely to prevent it from slipping out of your hands.
Another advantage of using a mason jar is that it can double as a storage container once you’re done mixing. Simply remove the lid and place the jar in the refrigerator if needed. This eliminates the need for additional transfer of the mixture into another container, saving both time and effort.
So, if you find yourself without an electric mixer but have a trusty mason jar on hand, don’t hesitate to use it as a mixing tool. Shake it up and unleash your inner mixologist as you create delicious concoctions with this unconventional method.
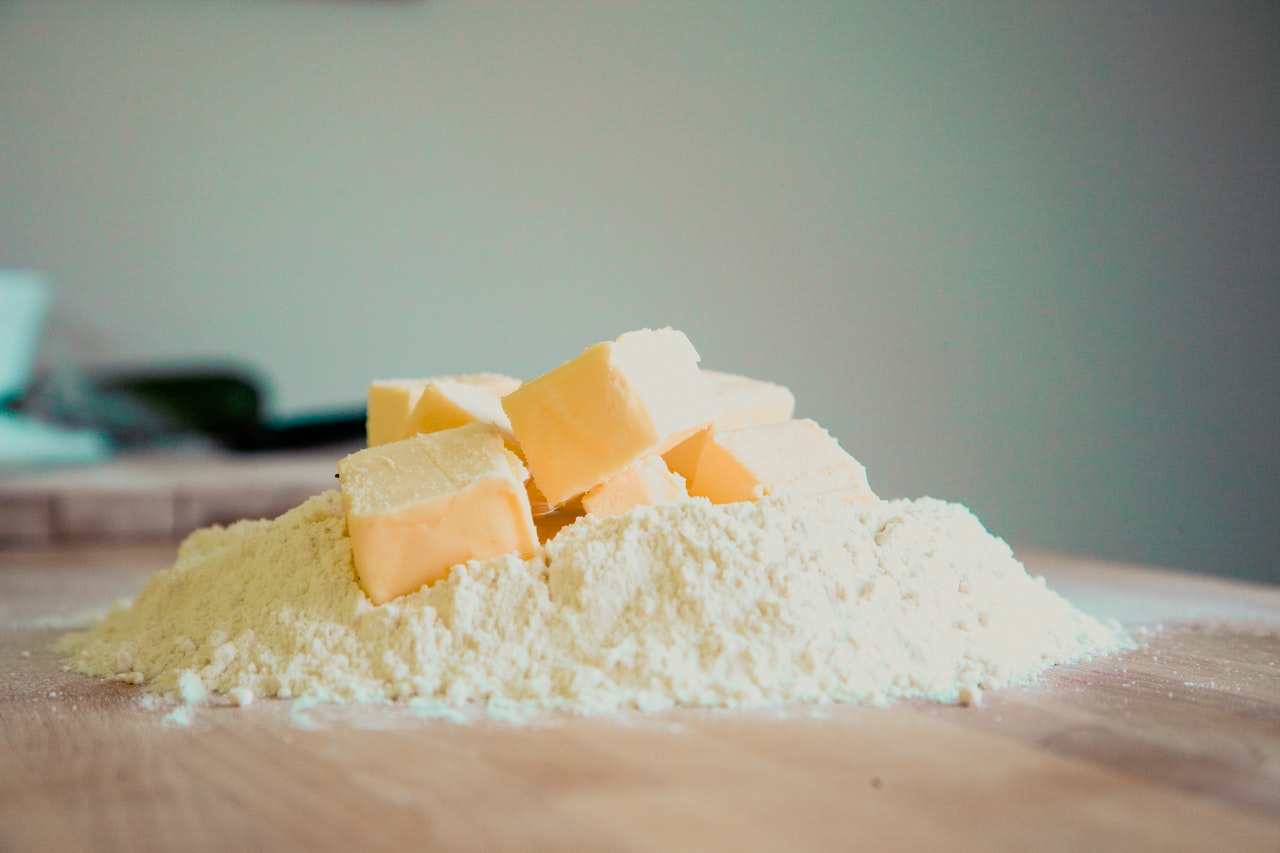
Use a whisk or fork to beat ingredients thoroughly. For creaming butter and sugar, use a wooden spoon and mix vigorously until light and fluffy.
Using a Blender or Food Processor
If you have a blender or a food processor at your disposal, you’re in luck! These powerful kitchen appliances can quickly and effortlessly mix ingredients, making them an excellent alternative to an electric mixer.
To use a blender or food processor for mixing, start by placing your ingredients into the container. Make sure not to overfill it, as the ingredients need space to move and mix properly. Secure the lid tightly to prevent any spills or accidents.
If you’re using a blender, start on low speed and gradually increase it to the desired speed. The blender’s sharp blades will chop and blend the ingredients together, resulting in a smooth and well-mixed consistency.
A food processor, on the other hand, uses sharp blades to chop and process the ingredients. You can use the pulse function to ensure better control and avoid over-mixing the ingredients. Simply pulse the food processor in short bursts until the ingredients are combined and reach the desired texture.
Both the blender and the food processor are excellent tools for tasks that require more power, such as pureeing soups, making smoothies, or blending sauces. They can also be used for mixing batters, doughs, or creams that require a smooth and consistent texture.
When using a blender or food processor for mixing, keep in mind that the speed and duration of blending can affect the texture of the ingredients. Be mindful not to over-blend, as this can lead to a dense or tough end result. It’s always a good idea to refer to the recipe instructions to ensure you achieve the desired outcome.
After mixing, cleaning the blender or food processor is relatively simple. Disassemble the blades and container, and wash them with warm, soapy water. Be careful when handling the sharp blades and use caution while cleaning.
So, if you have a blender or a food processor available, take advantage of their versatility and power to mix ingredients without the need for an electric mixer. Enjoy the convenience and efficiency they offer as you effortlessly blend and combine ingredients to create delicious culinary creations.
Read more: How To Cream Butter Without Mixer
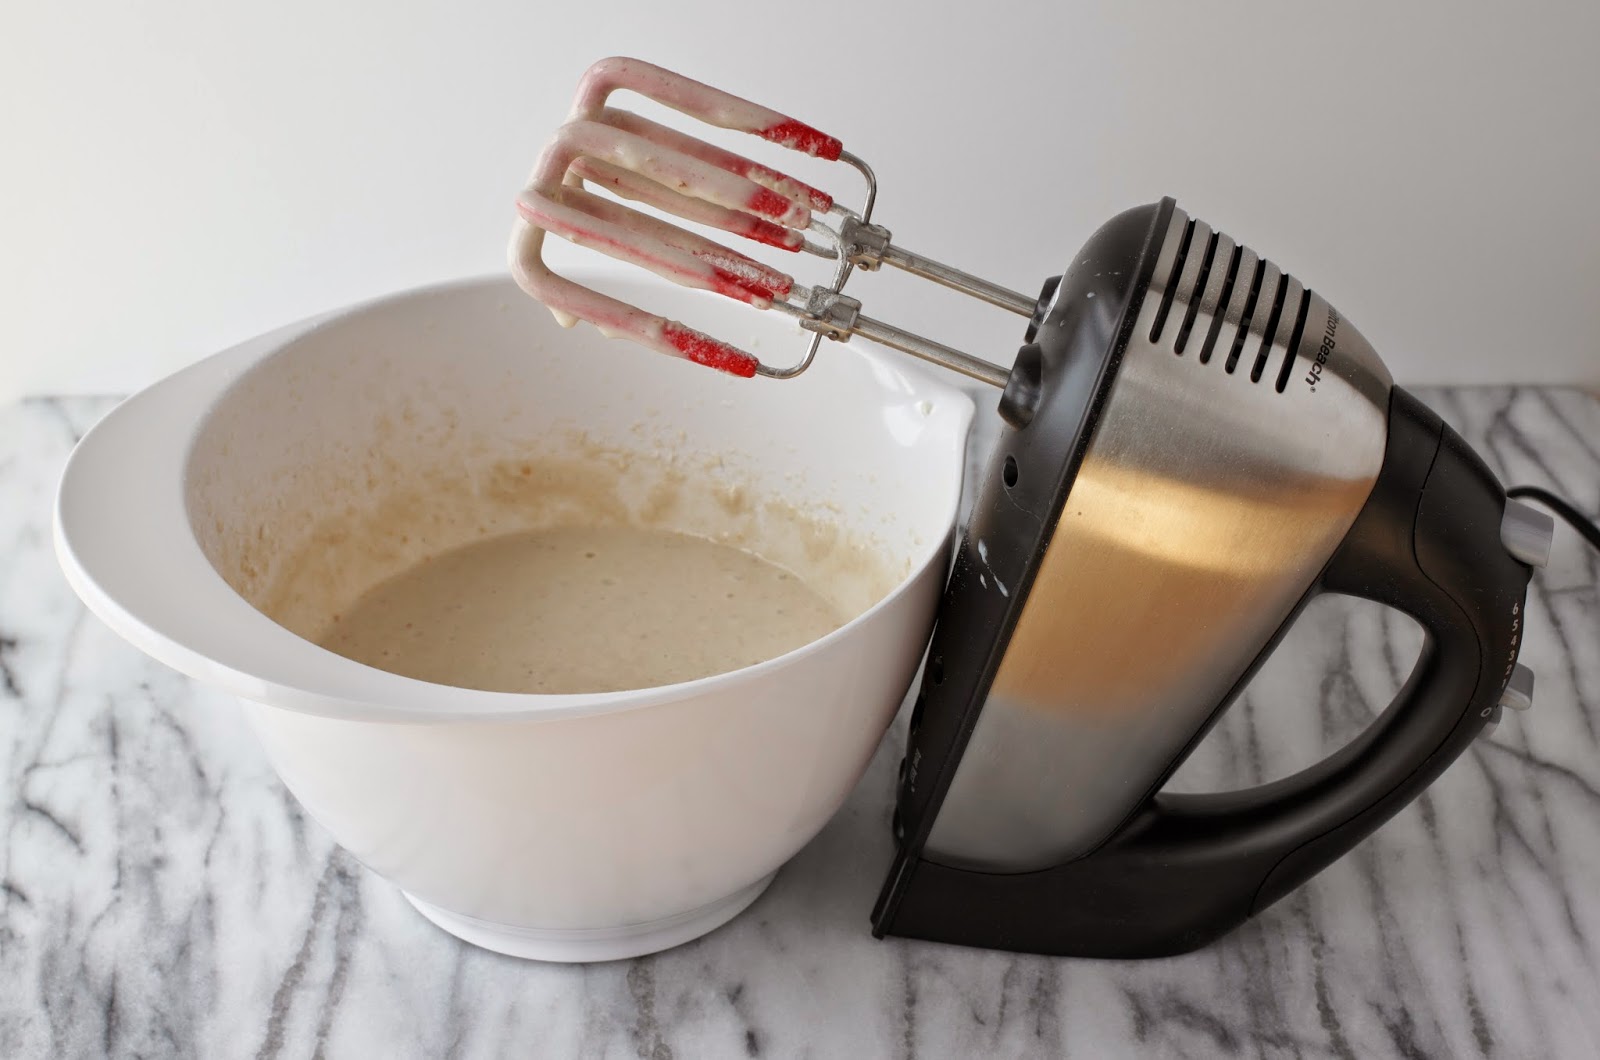
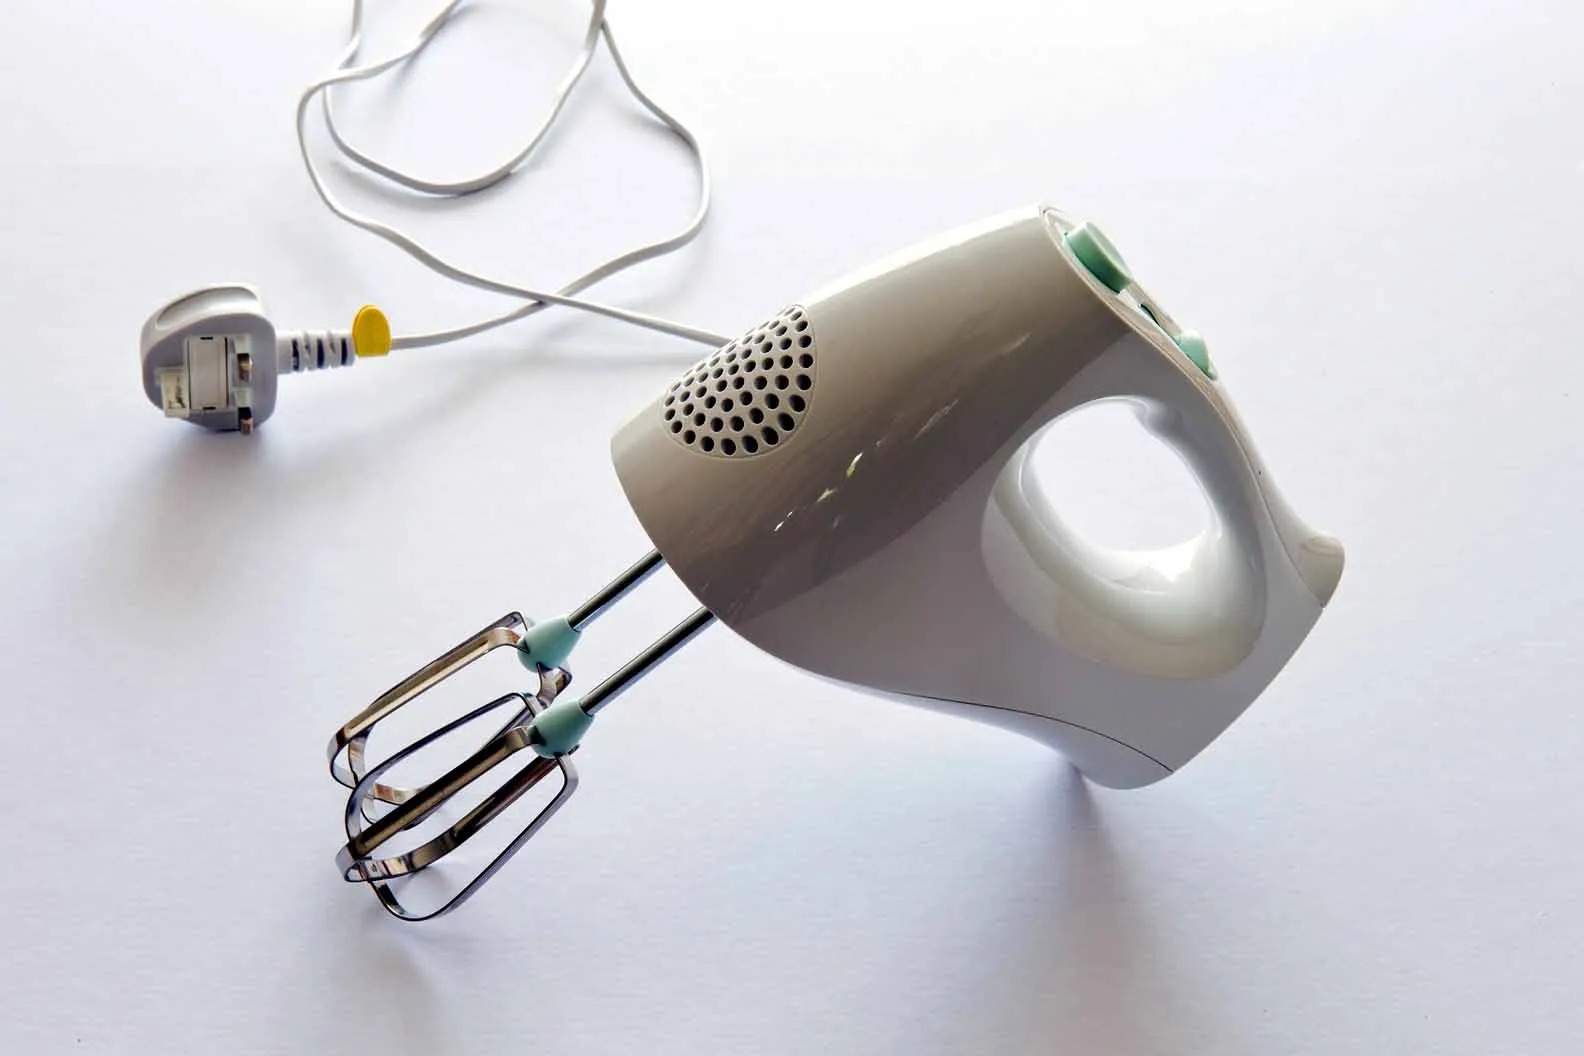
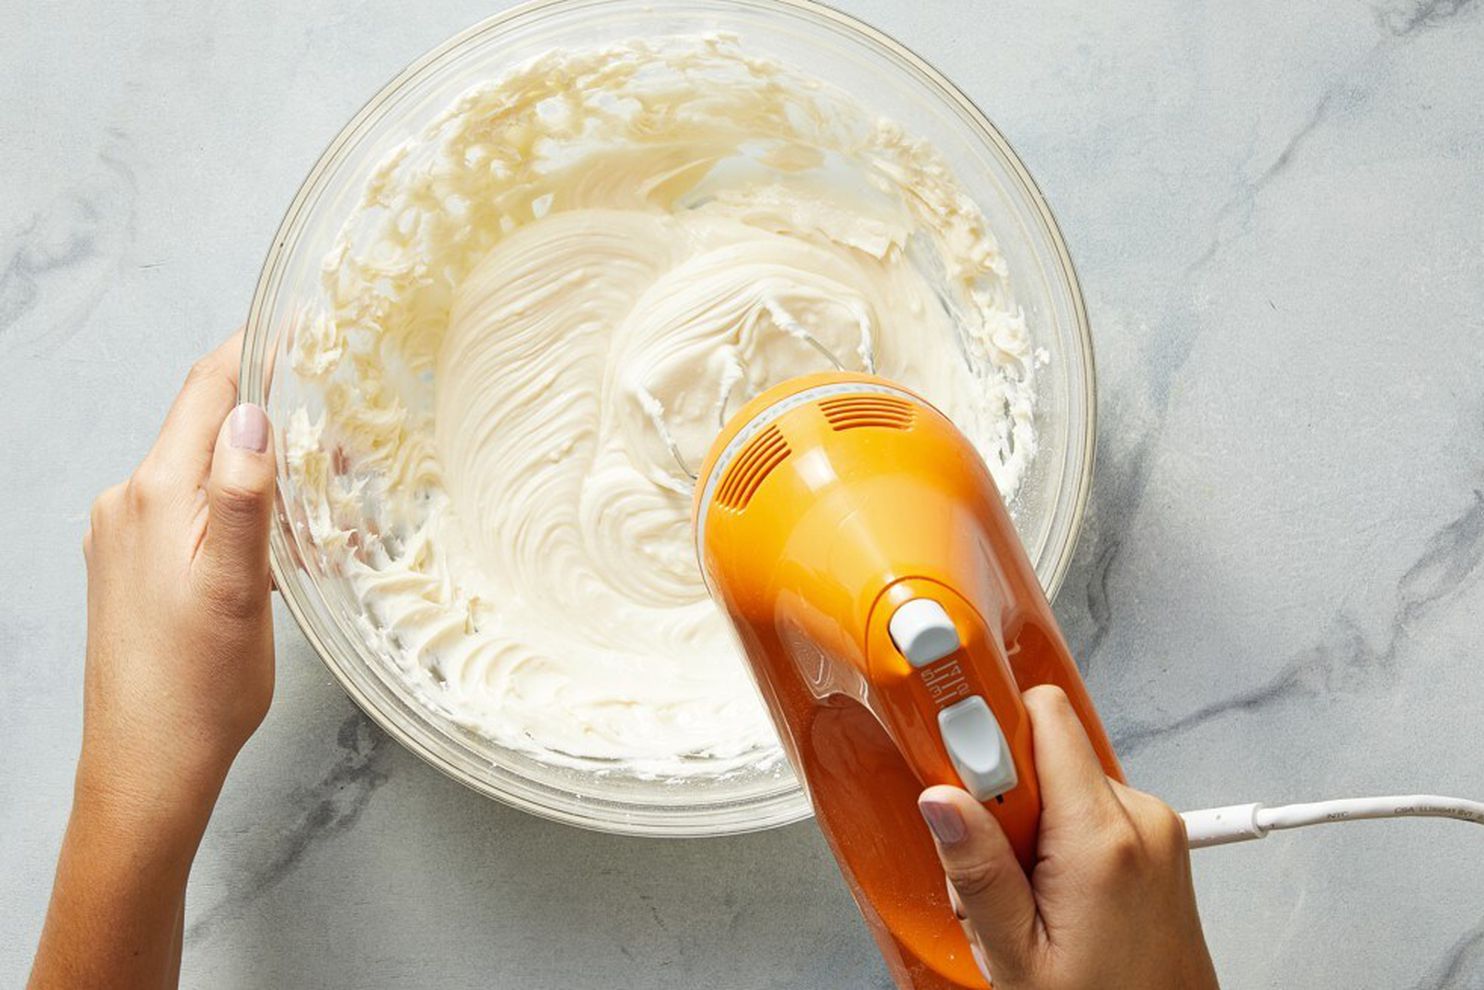
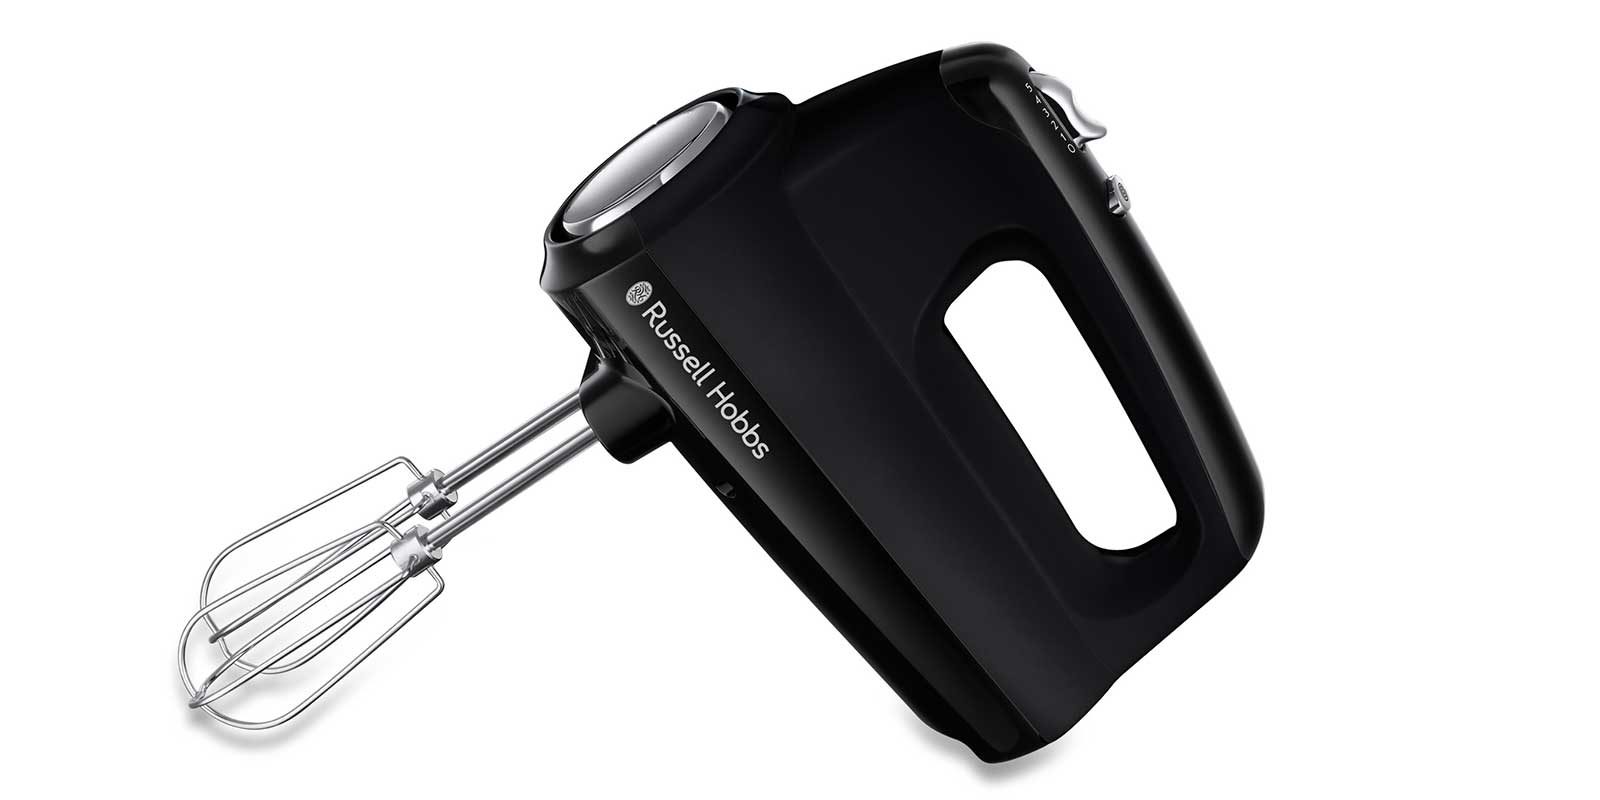
Using a Hand Whisk or Hand-held Mixer
When it comes to mixing ingredients without an electric mixer, a hand whisk or hand-held mixer can be a game-changer. These compact and convenient tools make light work of incorporating ingredients to achieve the desired consistency.
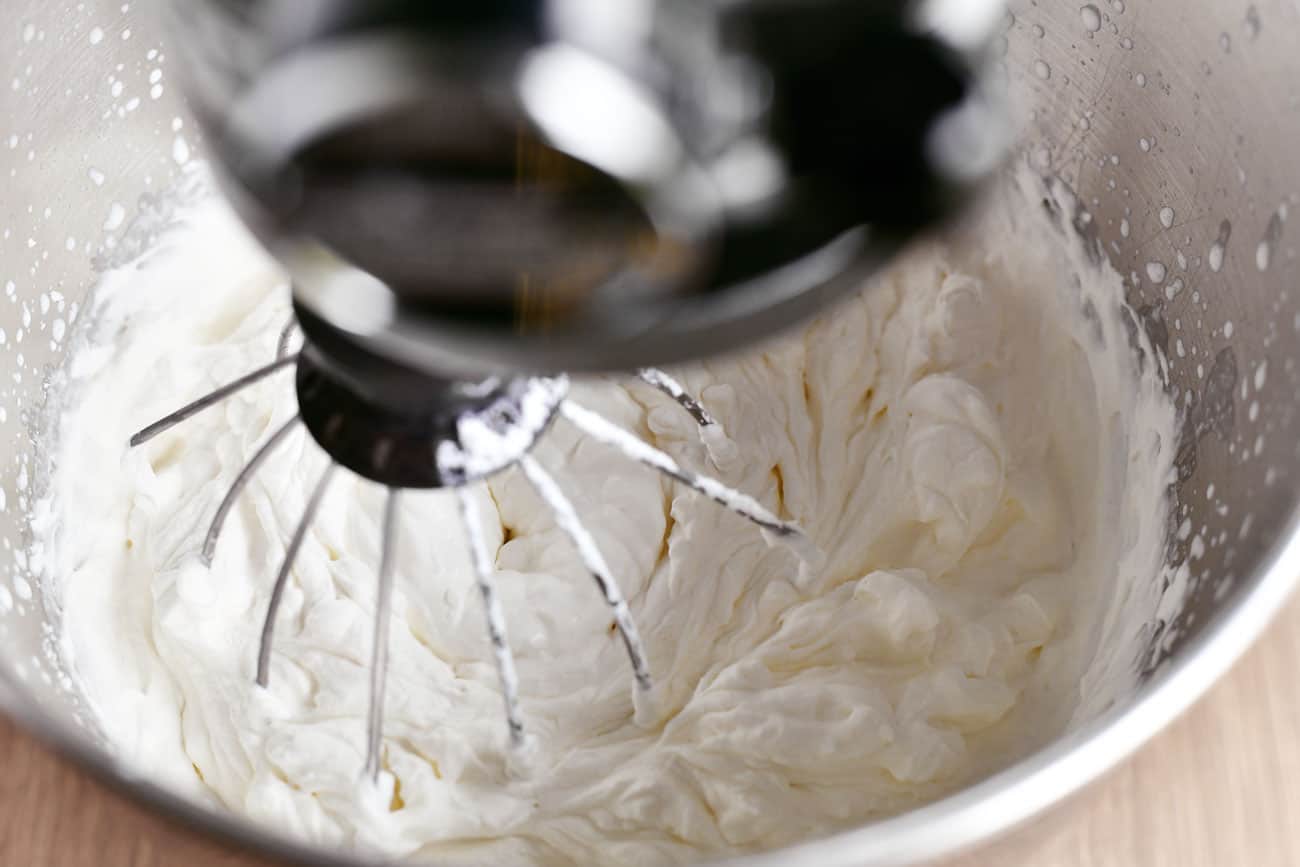
A hand whisk consists of a handle with several wire loops or tines attached to it. To use a hand whisk, simply place your ingredients in a mixing bowl and insert the whisk into the mixture. Hold the handle firmly and move your wrist in a circular or back-and-forth motion to blend the ingredients. The wire loops help incorporate air and create a light, fluffy texture. This method is particularly effective for whisking eggs, whipping cream, or blending lighter batters.
A hand-held mixer, often referred to as a hand mixer, is a motorized version of a hand whisk. It comes with removable beaters or attachments that rotate at varying speeds to mix ingredients thoroughly. To use a hand-held mixer, attach the beaters or desired attachment and place them in the mixing bowl with the ingredients. Start on a low speed and gradually increase it as the ingredients mix together. This tool is especially handy for blending heavy doughs, creaming butter and sugar, or creating smooth cake batters.
Both the hand whisk and hand-held mixer offer the convenience of portability and ease of use. They allow you to have more control over the mixing process compared to an electric mixer, as you can adjust the speed and movement to achieve the desired results.
After using a hand whisk or hand-held mixer, cleaning is a breeze. Detach the beaters or attachments and wash them with warm, soapy water. Make sure to dry them thoroughly before storing in a safe place.
If you don’t have an electric mixer but have a hand whisk or hand-held mixer on hand, you’re well-equipped to mix ingredients with ease. Harness the power of these handheld tools to achieve perfectly blended results in your cooking and baking endeavors.
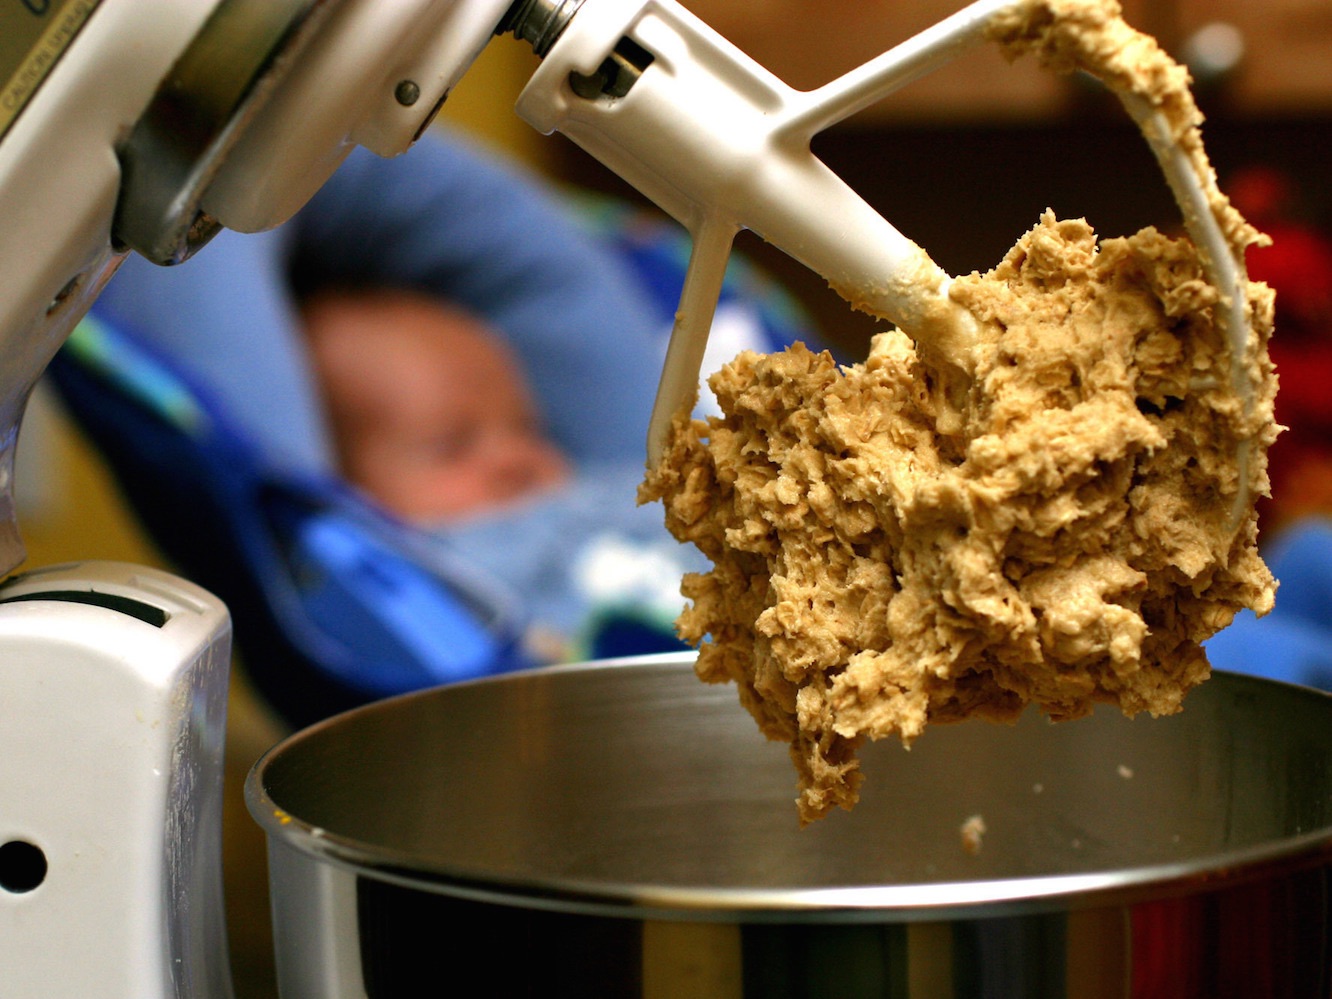
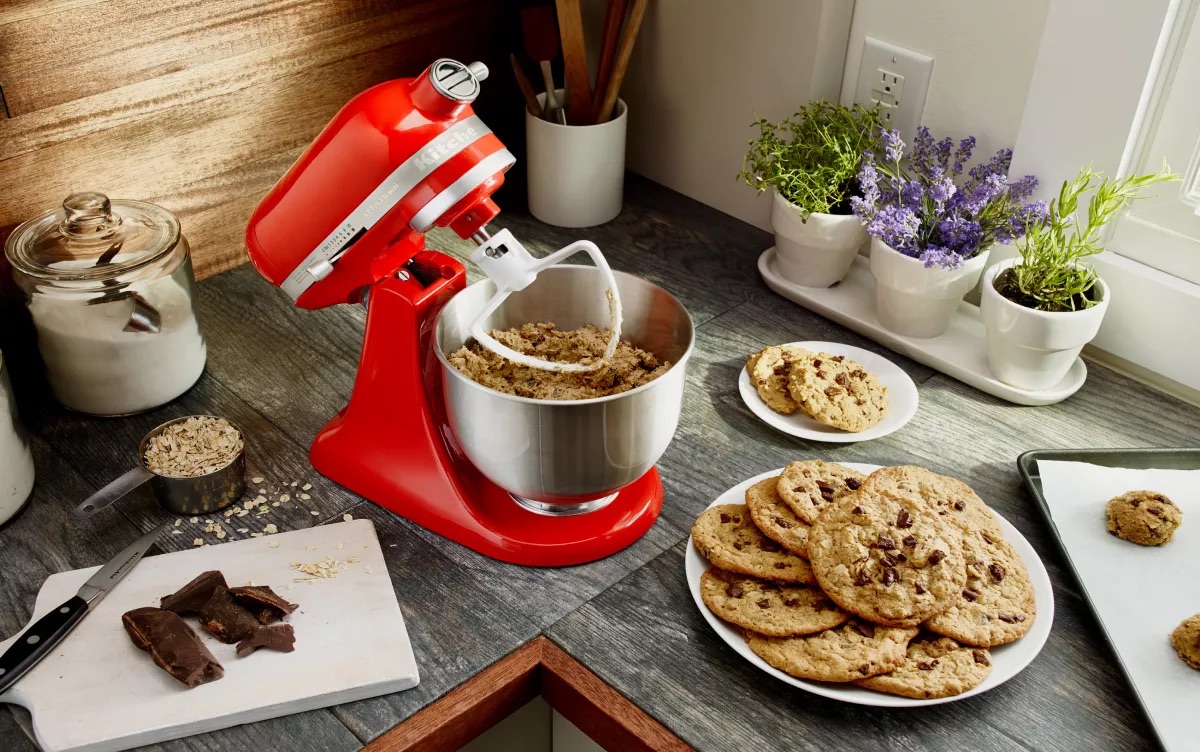
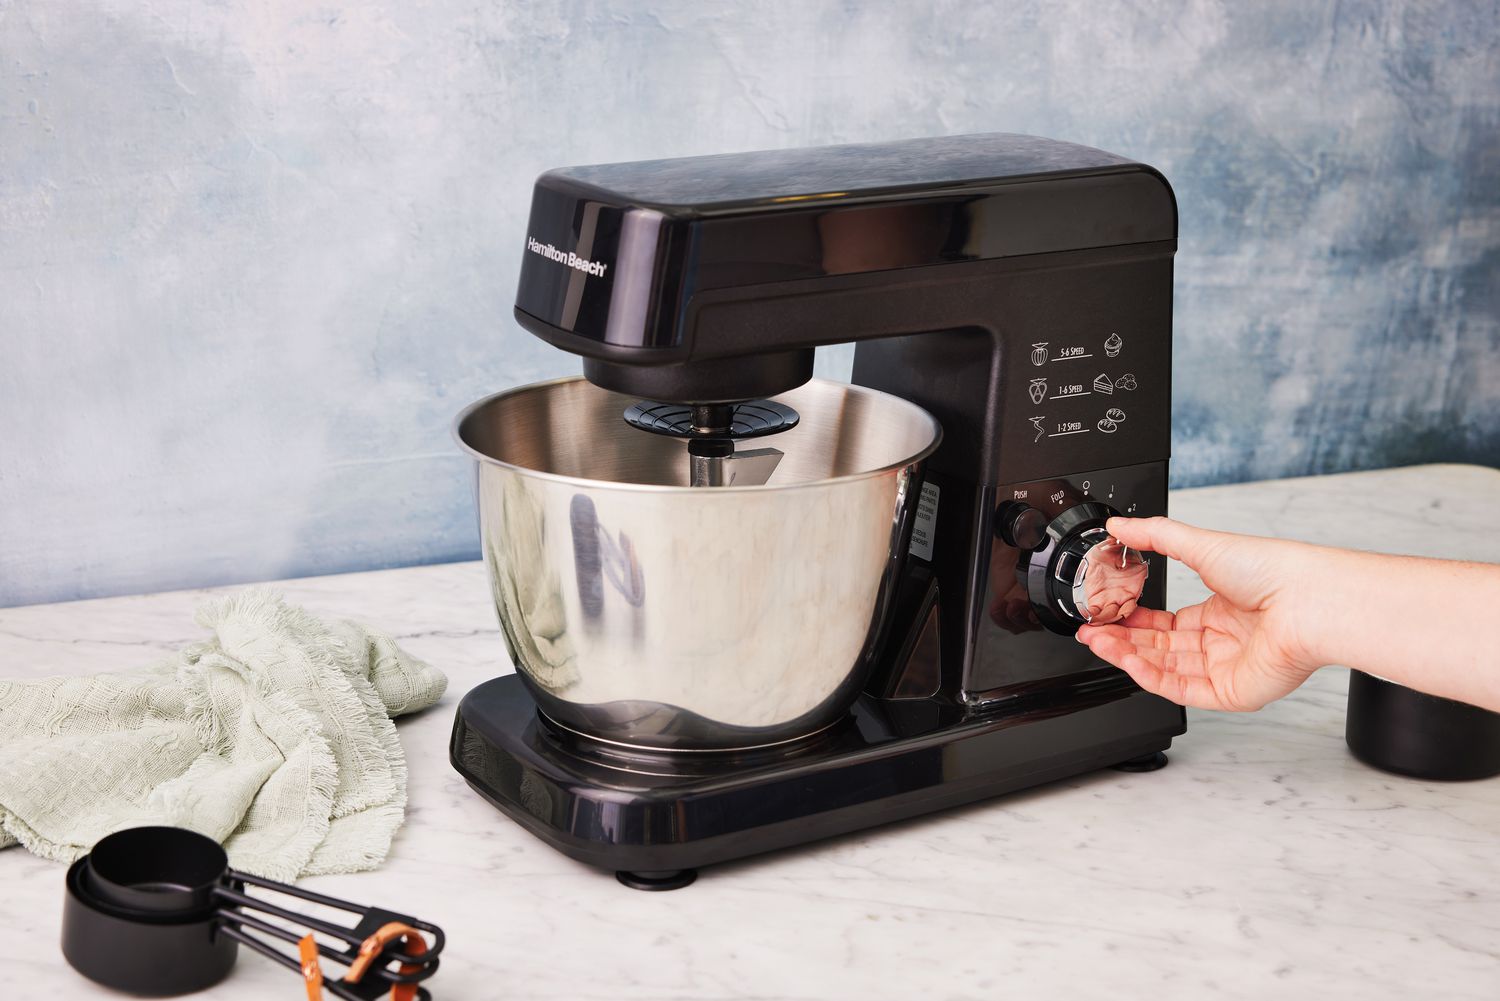
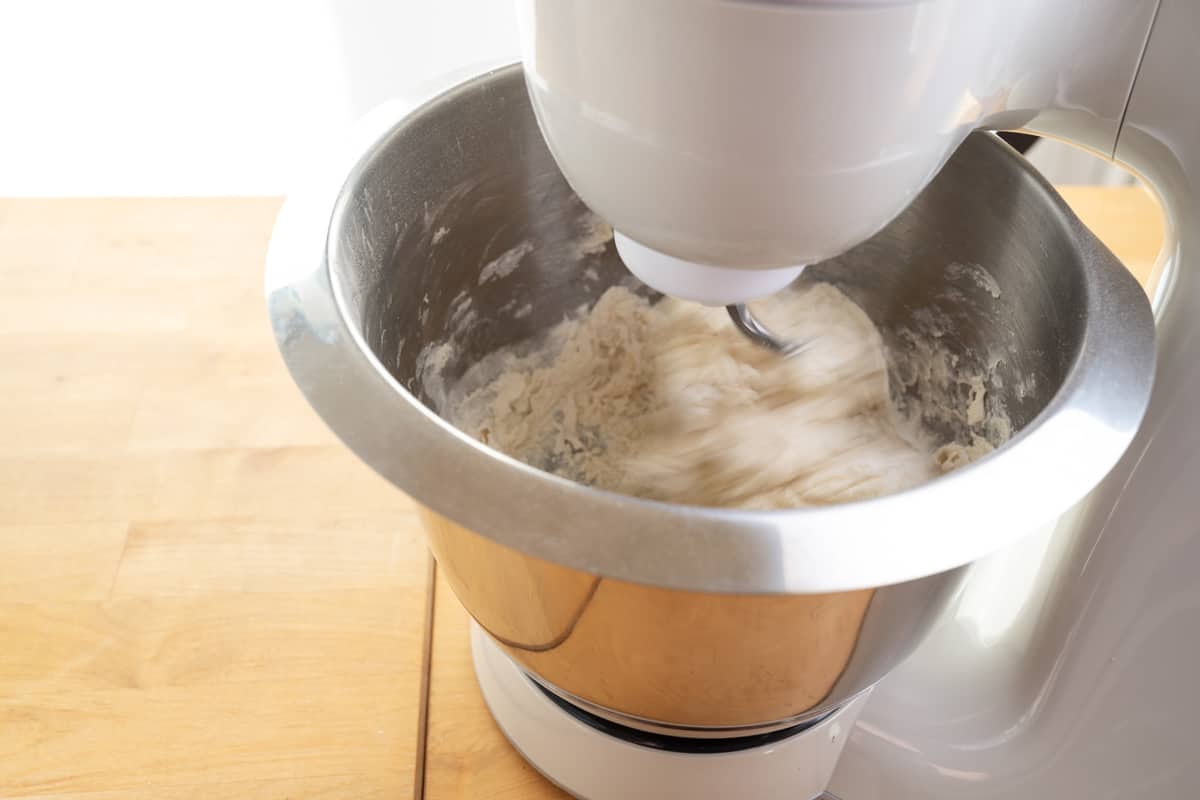
Using a Stand Mixer with Manual Crank
When it comes to mixing ingredients without an electric mixer, a stand mixer with a manual crank can be a helpful tool. This type of mixer provides the convenience of hands-free mixing with the control of a manual crank.
To use a stand mixer with a manual crank, start by placing your ingredients in the mixing bowl. Attach the appropriate mixing attachment, such as a paddle or dough hook, to the mixer. Then, secure the bowl onto the stand mixer and engage the manual crank mechanism.
Using the manual crank, turn the handle in a clockwise motion to rotate the mixing attachment. This motion effectively combines the ingredients and creates a uniform mixture. The advantage of a stand mixer with a manual crank is that it offers consistent mixing without the need for physical exertion, making it ideal for recipes that require extended mixing times or heavier doughs.
Depending on the model of the stand mixer, you may have the option to adjust the speed or intensity of the mixing by altering the rotation speed of the crank. This allows you to customize the mixing process according to the specific requirements of your recipe.
Stand mixers with manual cranks are particularly useful for tasks like creaming butter and sugar, kneading dough, or mixing thick batters. They offer the benefit of hands-free mixing while ensuring that the ingredients are thoroughly combined and the desired texture is achieved.
After using a stand mixer with a manual crank, clean the mixing attachments and bowl with warm, soapy water. Dry them thoroughly to prevent rust or corrosion.
If you have a stand mixer with a manual crank, take advantage of its versatility and convenience to mix ingredients without the need for an electric mixer. Enjoy the ease of the manual crank mechanism as you effortlessly blend, knead, and combine ingredients to create your culinary masterpieces.
Conclusion
Just because you don’t have an electric mixer, doesn’t mean you can’t achieve perfect mixing results in your cooking and baking endeavors. By utilizing alternative methods and common kitchen tools, you can successfully mix ingredients and create delicious recipes with ease.
From using a whisk or fork for simple blending to incorporating the power of a blender or food processor, there are various options available to suit your needs and the specific requirements of your recipes. A wooden spoon can be your trusty companion for mixing heavier mixtures, while a mason jar provides a fun and unconventional mixing experience.
If you have access to a hand whisk or hand-held mixer, take advantage of their portability and control to achieve the desired consistency effortlessly. And if you have a stand mixer with a manual crank, enjoy the convenience of hands-free mixing with the flexibility of manual control.
Remember, while these alternative methods may require a bit more effort and time compared to an electric mixer, they offer the opportunity to connect with the ingredients on a more hands-on level. From feeling the resistance of the dough to witnessing the transformation of ingredients as they blend, the process becomes more immersive and rewarding.
So, the next time you find yourself without an electric mixer, embrace the challenge and explore the world of mixing without one. Let your creativity flow as you experiment with different techniques and tools to achieve the perfect blend of flavors and textures.
Whether you’re whipping up a delicious cake, making a savory sauce, or preparing a batch of cookies, these alternative methods of mixing will allow you to create culinary masterpieces and enjoy the process of manually blending ingredients. So roll up your sleeves, gather your tools, and mix away!
Frequently Asked Questions about How To Mix Without Electric Mixer
Was this page helpful?
At Storables.com, we guarantee accurate and reliable information. Our content, validated by Expert Board Contributors, is crafted following stringent Editorial Policies. We're committed to providing you with well-researched, expert-backed insights for all your informational needs.


0 thoughts on “How To Mix Without Electric Mixer”